Articles
How To Adjust The Flame On A Gas Fireplace
Modified: May 6, 2024
Learn how to adjust the flame on your gas fireplace with our informative articles. Discover the steps to achieve the perfect flame setting for cozy and efficient heating.
(Many of the links in this article redirect to a specific reviewed product. Your purchase of these products through affiliate links helps to generate commission for Storables.com, at no extra cost. Learn more)
Introduction
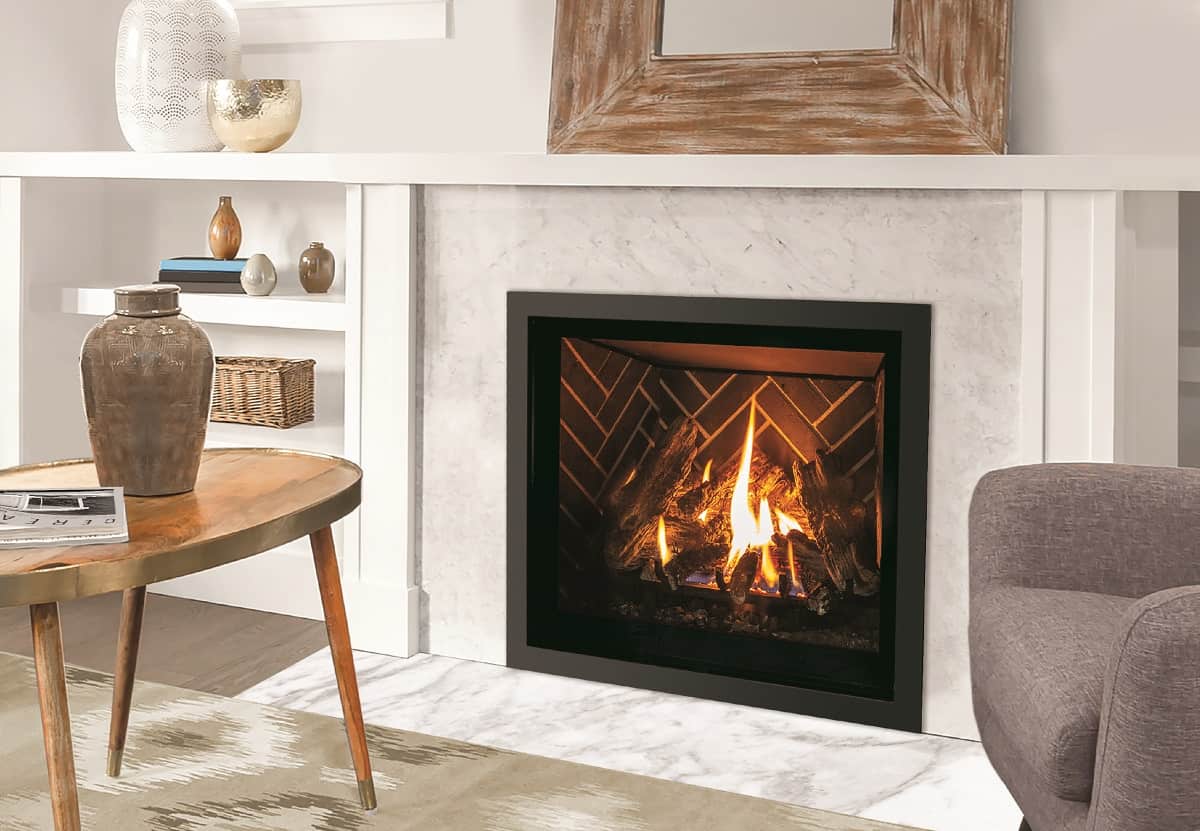
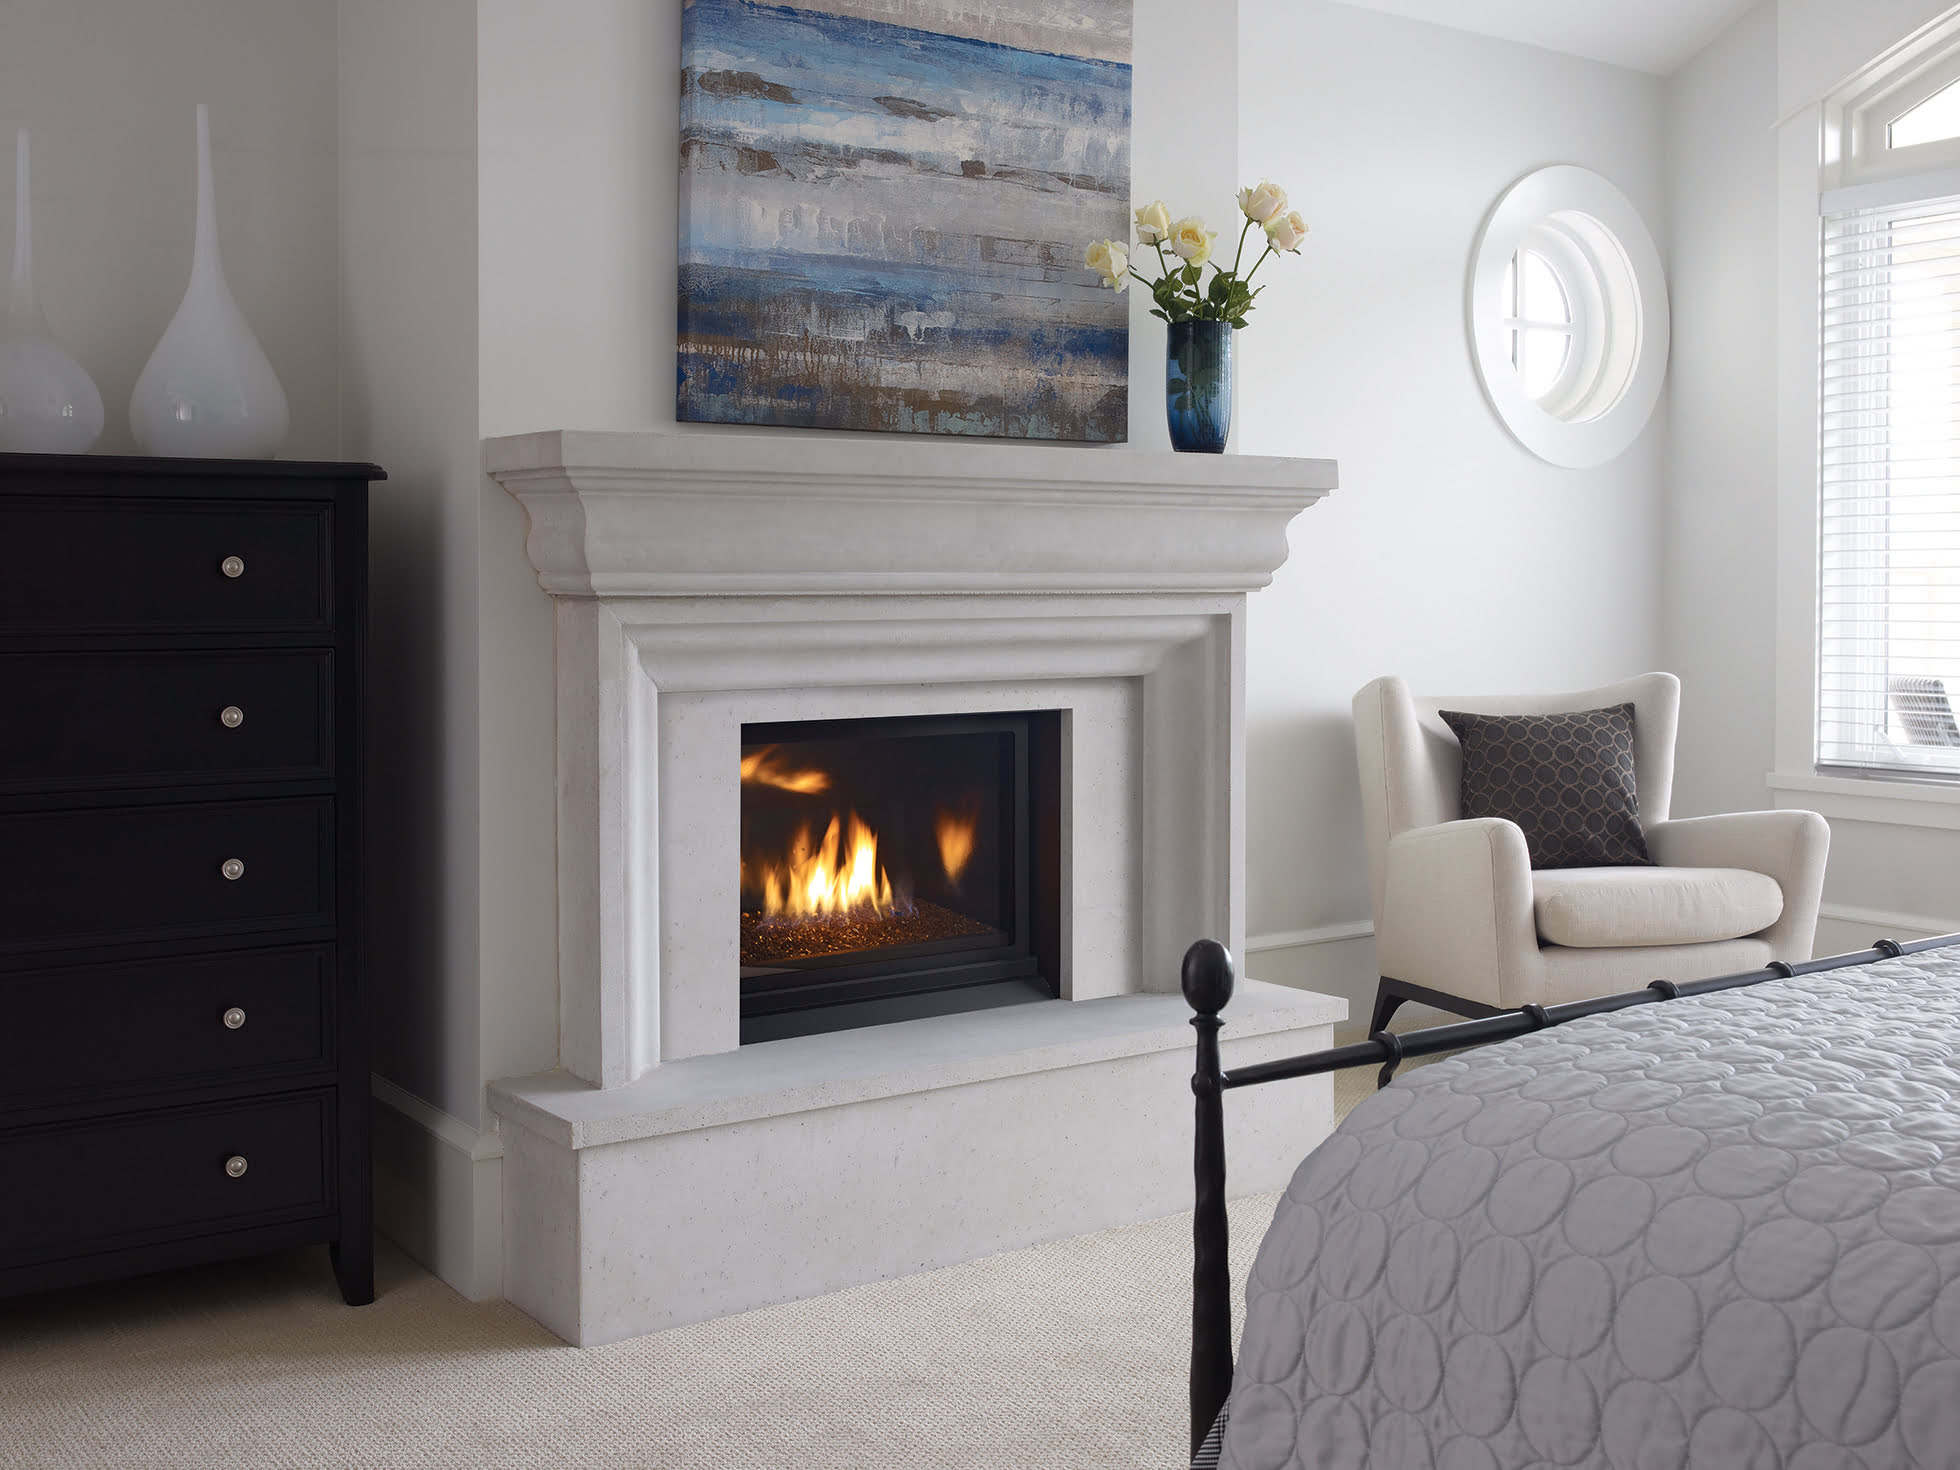
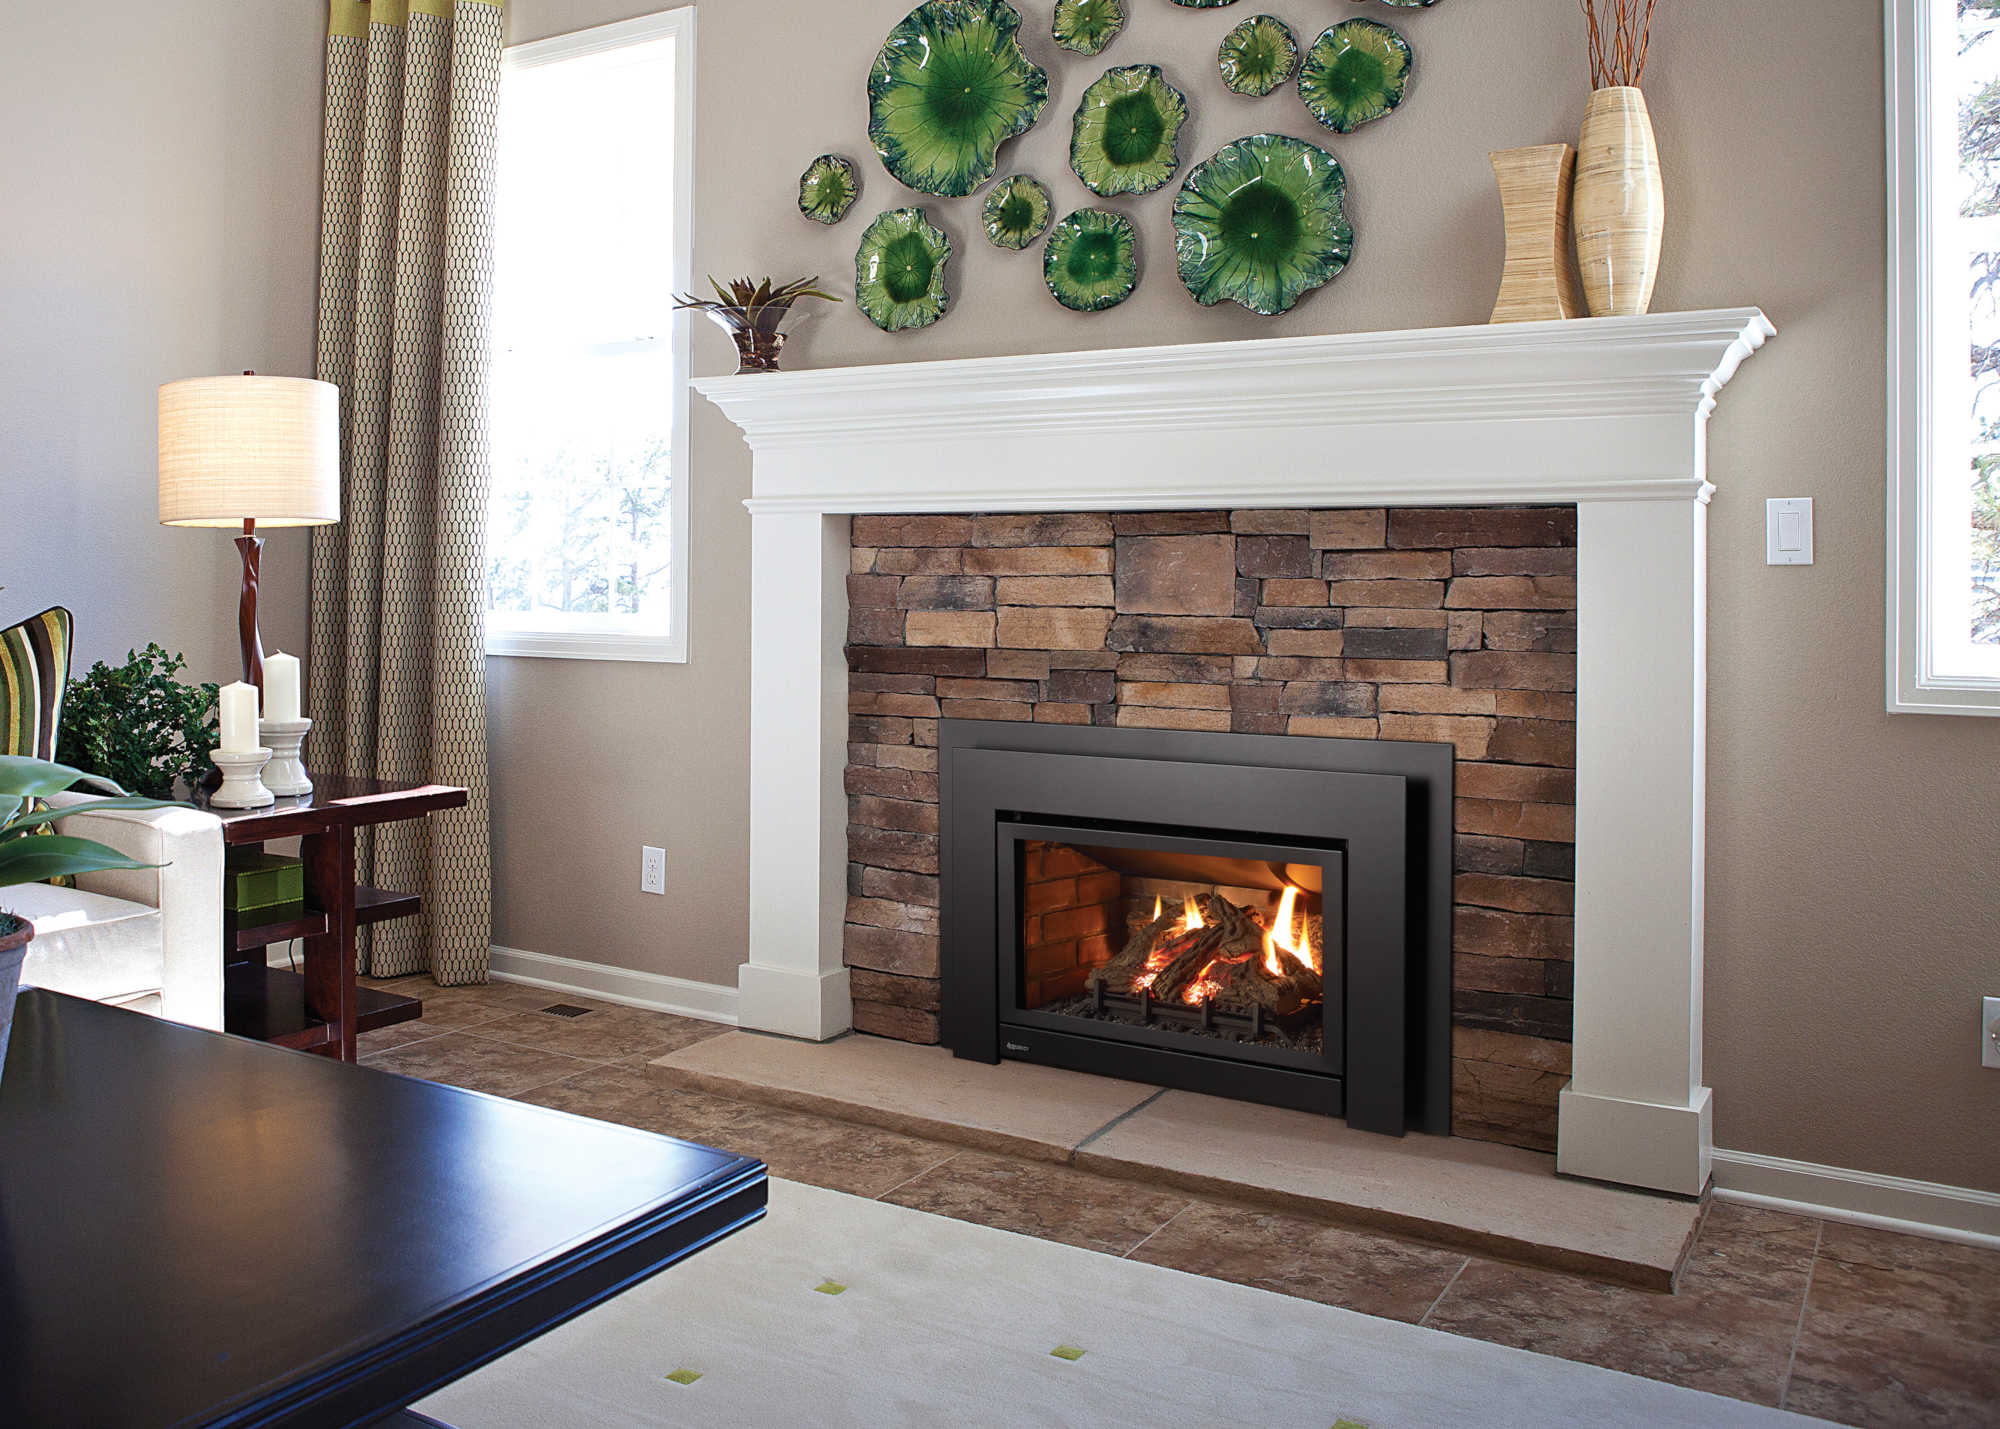
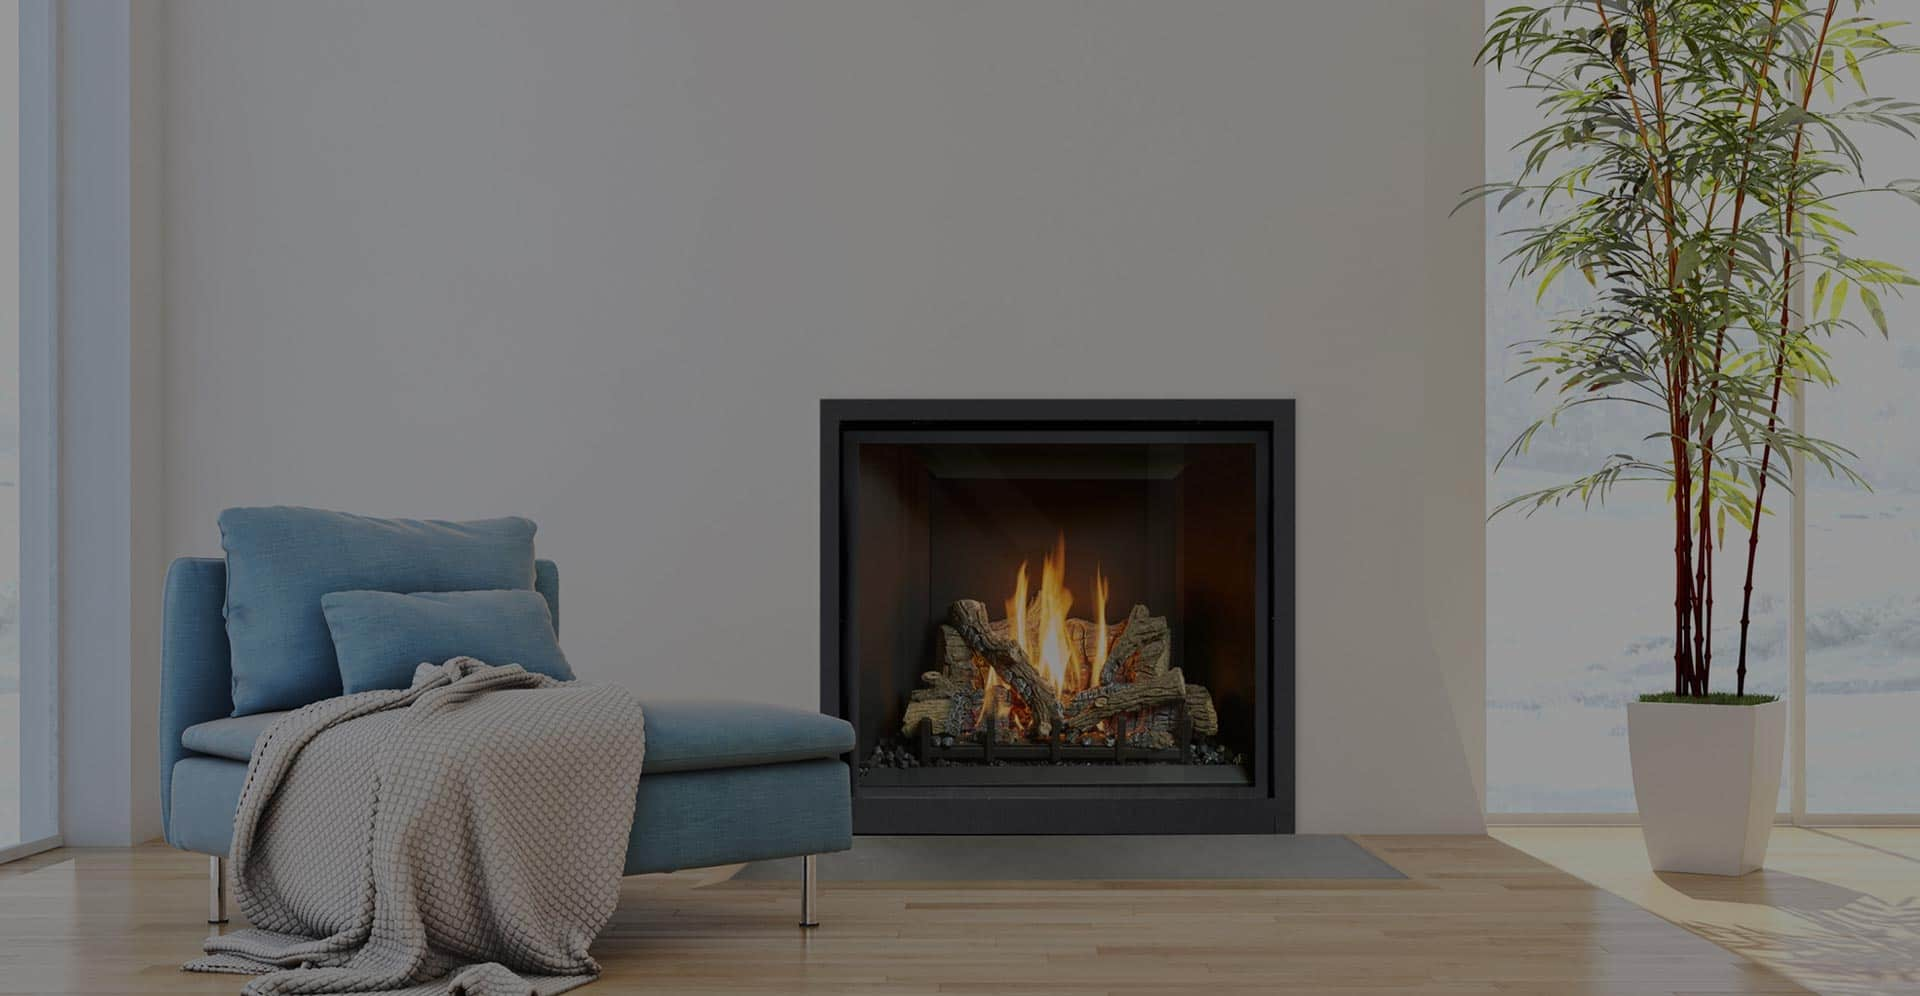
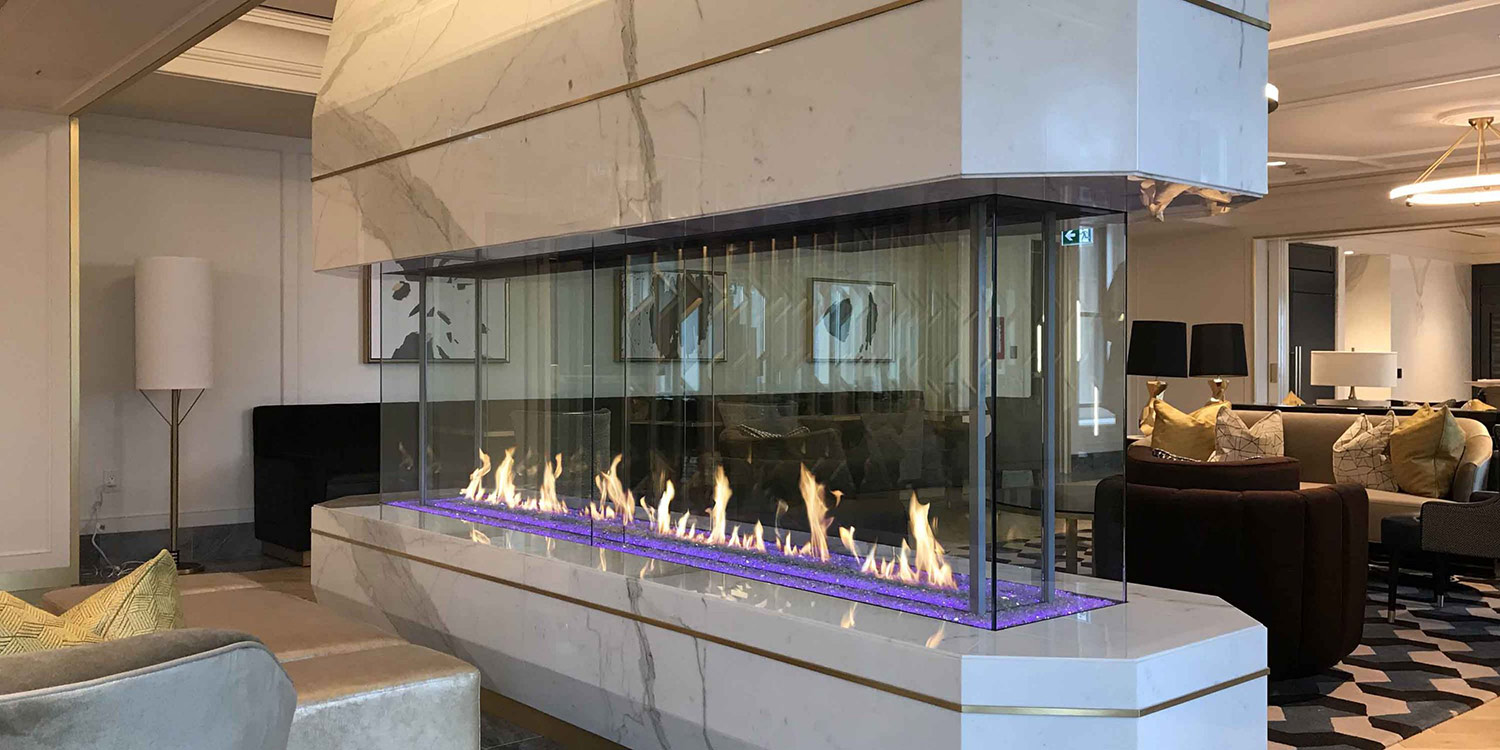
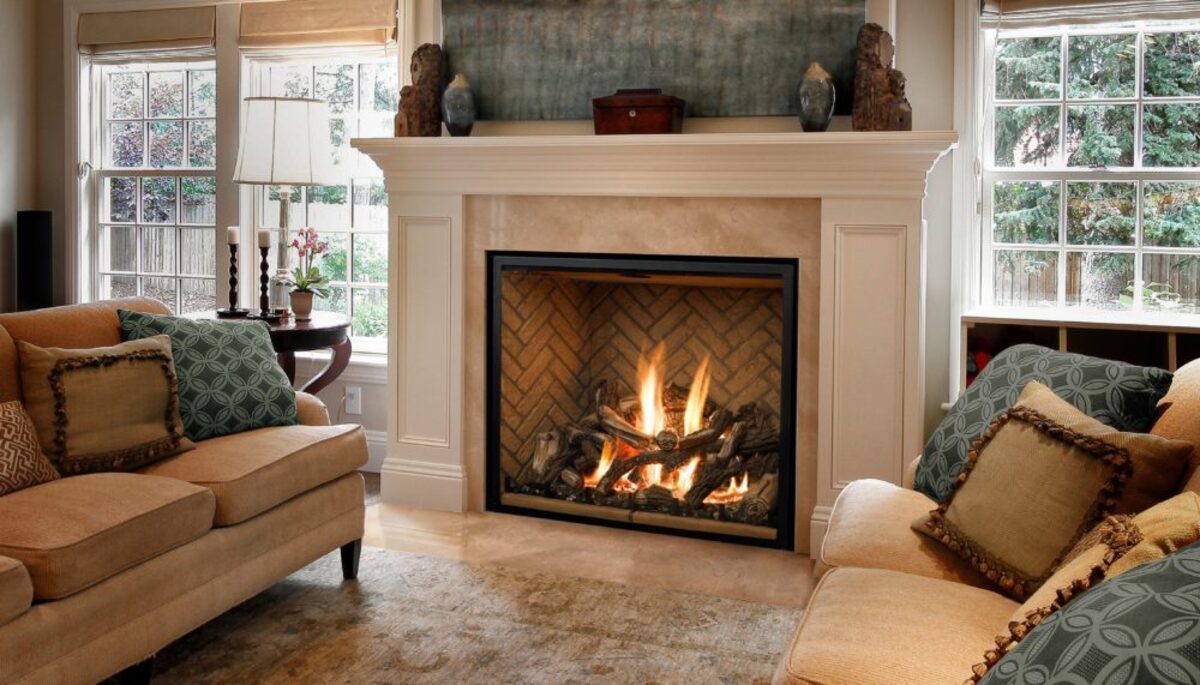
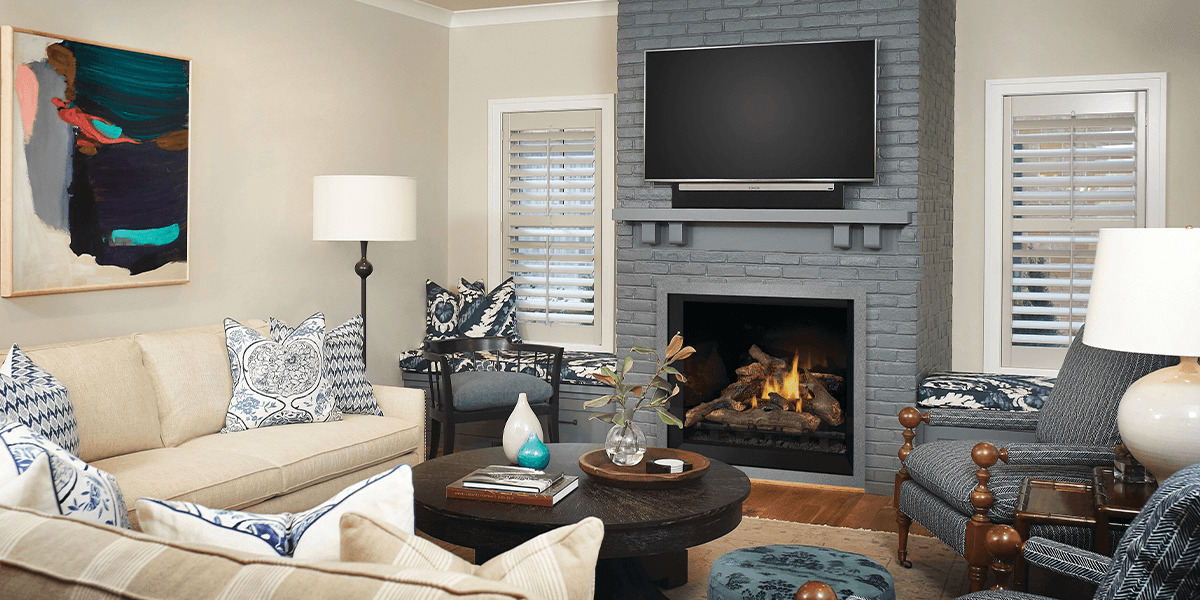
Gas fireplaces offer a convenient and efficient way to add warmth and ambiance to your home. Unlike traditional wood-burning fireplaces, gas fireplaces allow you to control the flame height and intensity, providing a comfortable and customizable heating experience. If you find that the flame on your gas fireplace is too low or too high, you may need to adjust it to achieve the desired effect and ensure optimal performance.
Adjusting the flame on a gas fireplace is a relatively simple process that can be done by following a few steps. However, it is important to note that safety should always be the top priority when working with gas appliances. Before attempting to adjust the flame, make sure to familiarize yourself with the necessary safety precautions.
In this article, we will guide you through the step-by-step process of adjusting the flame on a gas fireplace, ensuring that you do it safely and effectively. So let’s get started!
Key Takeaways:
- Safely adjust the flame on your gas fireplace by following step-by-step instructions, prioritizing safety precautions, and conducting a thorough flame test for optimal performance.
- Create the perfect ambiance and heating experience in your home by mastering the art of adjusting the flame height on your gas fireplace, ensuring safety, and enjoying a cozy atmosphere.
Read more: How To Enhance A Gas Fireplace Flame
Safety Precautions
Adjusting the flame on a gas fireplace involves working with flammable gas and flames, so it is crucial to take the necessary safety precautions to protect yourself and your property. Here are some important safety measures to keep in mind before starting the adjustment process:
- Read the Manufacturer’s Instructions: Familiarize yourself with the manufacturer’s guidelines and recommendations for adjusting the flame on your specific gas fireplace model. These instructions will provide you with important safety information and specific steps to follow.
- Turn off the Fireplace: Before making any adjustments, ensure that the gas fireplace is turned off and the switch or control knob is in the off position. This will prevent any accidental ignition or gas leaks.
- Wear Protective Gear: Always wear protective gloves and safety goggles when working with gas appliances. This will protect your hands from potential burns and your eyes from any debris or sparks.
- Ensure Proper Ventilation: Make sure the room where the gas fireplace is located is well-ventilated. Open windows or doors to allow fresh air to circulate, as adjusting the flame may produce small amounts of carbon monoxide.
- Keep Flammable Objects Away: Clear the area around the fireplace of any flammable objects such as paper, fabric, or furniture. This will reduce the risk of accidental fires due to sparks or excessive heat.
- Have a Fire Extinguisher Nearby: It is always a good idea to have a fire extinguisher within reach in case of emergencies. Familiarize yourself with its operation beforehand, and ensure it is in proper working condition.
By following these safety precautions, you can minimize the risks associated with adjusting the flame on a gas fireplace and carry out the process with confidence and peace of mind.
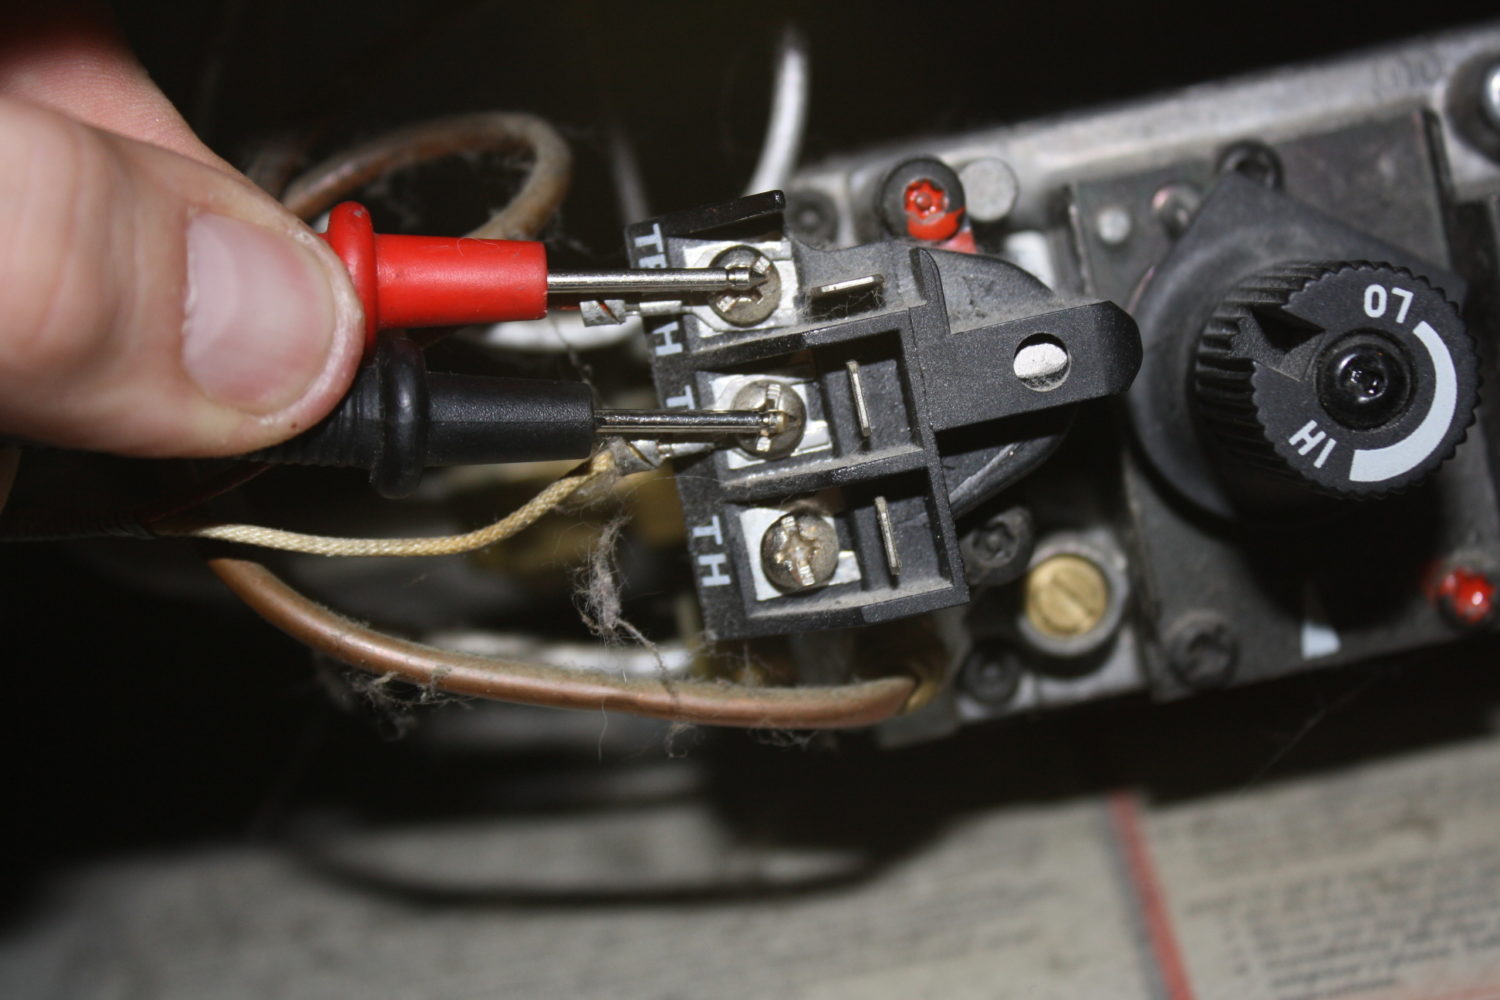
Step 1: Locate the Gas Valve
The gas valve is a crucial component of your gas fireplace as it controls the flow of gas to the burner. Before you can adjust the flame, you need to locate the gas valve. The exact location of the gas valve may vary depending on the design of your fireplace, but it is typically located either inside the firebox or in the control panel.
To locate the gas valve, start by carefully examining your fireplace. Look for any control panels, knobs, or access doors. If you have a remote control for your fireplace, check the remote control receiver as well. In most cases, you will find the gas valve near these areas.
If you are unable to locate the gas valve, consult the owner’s manual or contact the manufacturer for specific instructions related to your fireplace model. They will be able to provide you with accurate guidance to find the gas valve.
Once you have located the gas valve, it is important to become familiar with its components and functions. Take note of the different knobs or switches on the gas valve, as you will need to interact with them to adjust the flame height. Understanding the layout of the gas valve will make the adjustment process much easier.
By successfully locating the gas valve, you have completed the first step towards adjusting the flame on your gas fireplace. Now let’s move on to step 2.
Step 2: Turn off the Gas Supply
Before making any adjustments to the flame on your gas fireplace, it is crucial to ensure that the gas supply is turned off. This step is essential for your safety and prevents any accidental gas leaks or ignitions.
To turn off the gas supply, locate the gas shut-off valve. The shut-off valve is typically located near the gas meter or in the vicinity of the gas line leading to your fireplace. It may be a lever-type valve that you need to turn perpendicular to the gas line, or it may be a ball valve that you need to rotate a quarter or half turn.
If you are unsure about the location of the gas shut-off valve or how to operate it, consult the owner’s manual for your fireplace or contact a professional gas technician for assistance.
Once you have turned off the gas supply, it is recommended to wait for a few minutes to allow any residual gas in the lines to dissipate. This will further ensure your safety when working with the gas valve and flame adjustment.
Remember, safety should always be the top priority when dealing with gas appliances. Taking the time to turn off the gas supply before proceeding to adjust the flame is a crucial step in preventing accidents and ensuring a safe environment.
Now that you have successfully turned off the gas supply, you are ready to move on to step 3.
Step 3: Remove the Fireplace Grate
To adjust the flame on your gas fireplace, you will need to gain access to the burner control knob. In most cases, the burner control knob is located behind the fireplace grate. Therefore, the next step is to remove the fireplace grate.
Start by carefully inspecting the fireplace grate and identifying any latches, screws, or fasteners that may be holding it in place. The specific method of removing the grate may vary depending on your fireplace model. However, common methods include unscrewing or unclipping the grate from the walls or floor of the firebox.
Refer to the owner’s manual or contact the manufacturer if you are unsure about how to remove the fireplace grate. They will be able to provide you with the specific instructions for your particular fireplace model.
Once you have identified the method of removal, carefully and gently detach the fireplace grate. Pay attention to any attachments, such as gas pipes or electrical wires, that may be connected to the grate. Ensure that these are properly disconnected before attempting to remove the grate completely.
Set the fireplace grate aside in a safe place, away from the immediate work area. This will give you unobstructed access to the burner control knob and allow for easy flame adjustment.
By successfully removing the fireplace grate, you have completed an important step towards adjusting the flame on your gas fireplace. Now, let’s move on to step 4.
Before adjusting the flame on a gas fireplace, make sure to turn off the fireplace and let it cool down completely. Then, locate the flame adjustment screw or knob and carefully adjust it to increase or decrease the flame height as needed. Always refer to the manufacturer’s instructions for specific guidance.
Read more: What Color Should Gas Fireplace Flames Be
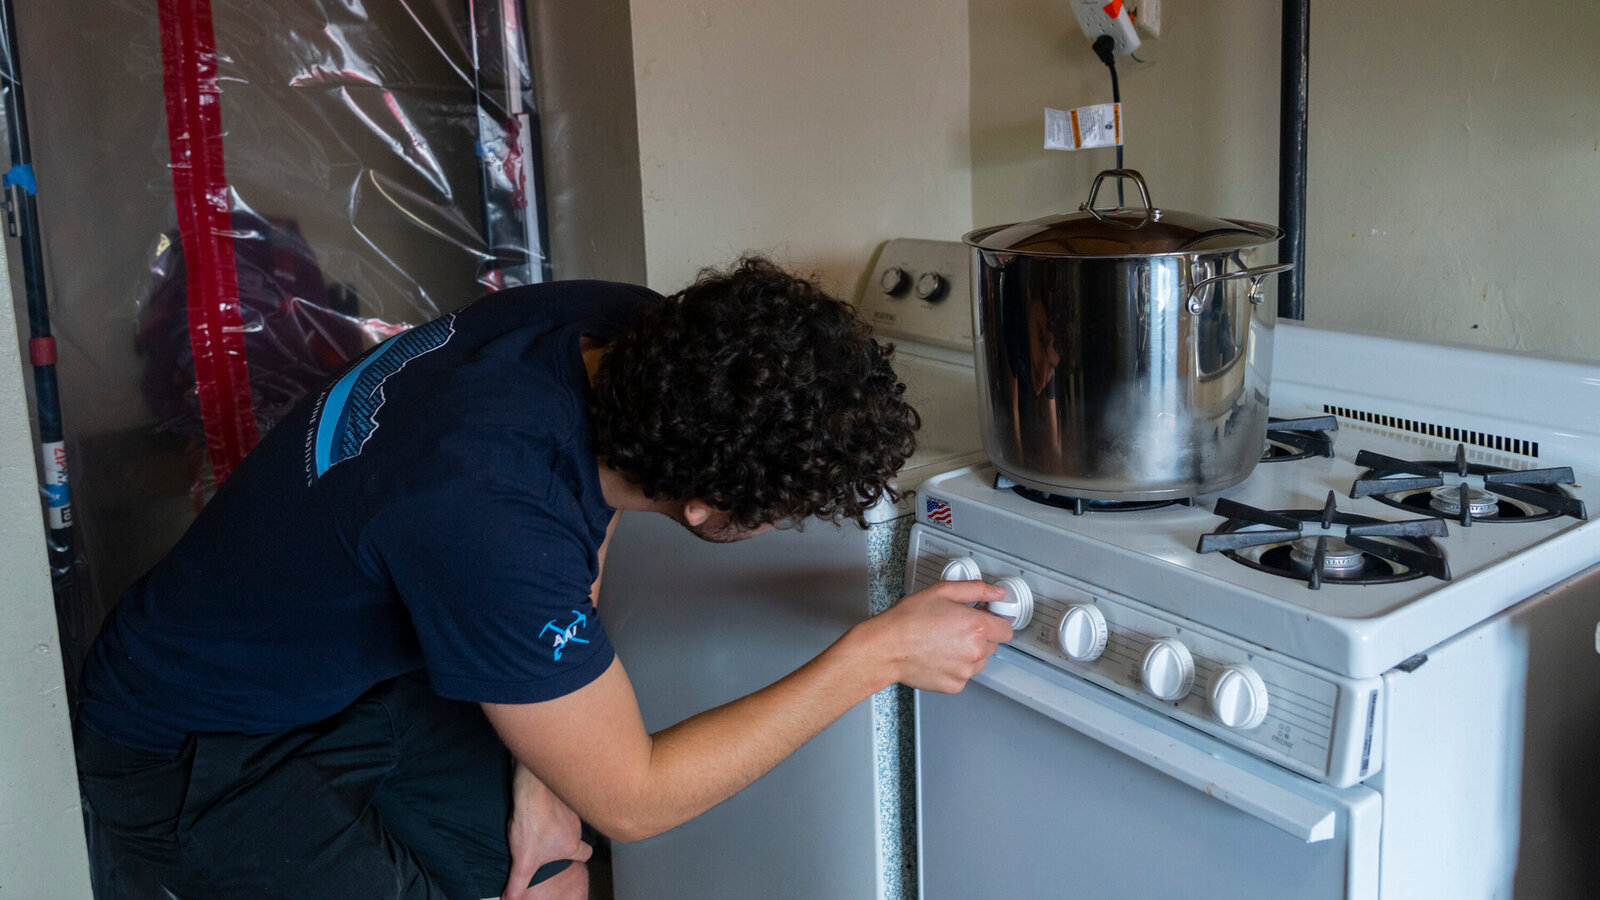
Step 4: Access the Burner Control Knob
Now that you have removed the fireplace grate, you can proceed to access the burner control knob. The burner control knob is the component that allows you to adjust the flame height and intensity.
The location of the burner control knob may vary based on the design of your gas fireplace. In most cases, it is located near the gas valve or on the control panel of the fireplace. Look for a knob or switch labeled “Flame” or “Burner Control” to locate it.
If you are having trouble finding the burner control knob, consult the owner’s manual or reach out to the manufacturer for specific instructions relating to your fireplace model. They will be able to provide you with guidance on how to access the burner control knob.
Once you have located the burner control knob, take a moment to understand its functions. Some burner control knobs have markings or indicators that show the flame height settings, while others may have a simple dial or slider. Understanding how the knob operates will help you make precise adjustments to the flame.
Before proceeding to adjust the flame, ensure that you have a clear view of the burner and the area surrounding it. Make sure there are no debris, dust, or any other obstructions that could interfere with the flame adjustment process.
With the burner control knob accessible and a clear line of sight to the burner, you are now ready to move on to step 5 and begin adjusting the flame on your gas fireplace.
Step 5: Adjust the Flame Height
Now that you have accessed the burner control knob, it’s time to adjust the flame height on your gas fireplace. Follow these steps to make precise adjustments:
- Start by turning the burner control knob counterclockwise to increase the flame height or clockwise to decrease it. Take small, gradual turns to achieve the desired flame height.
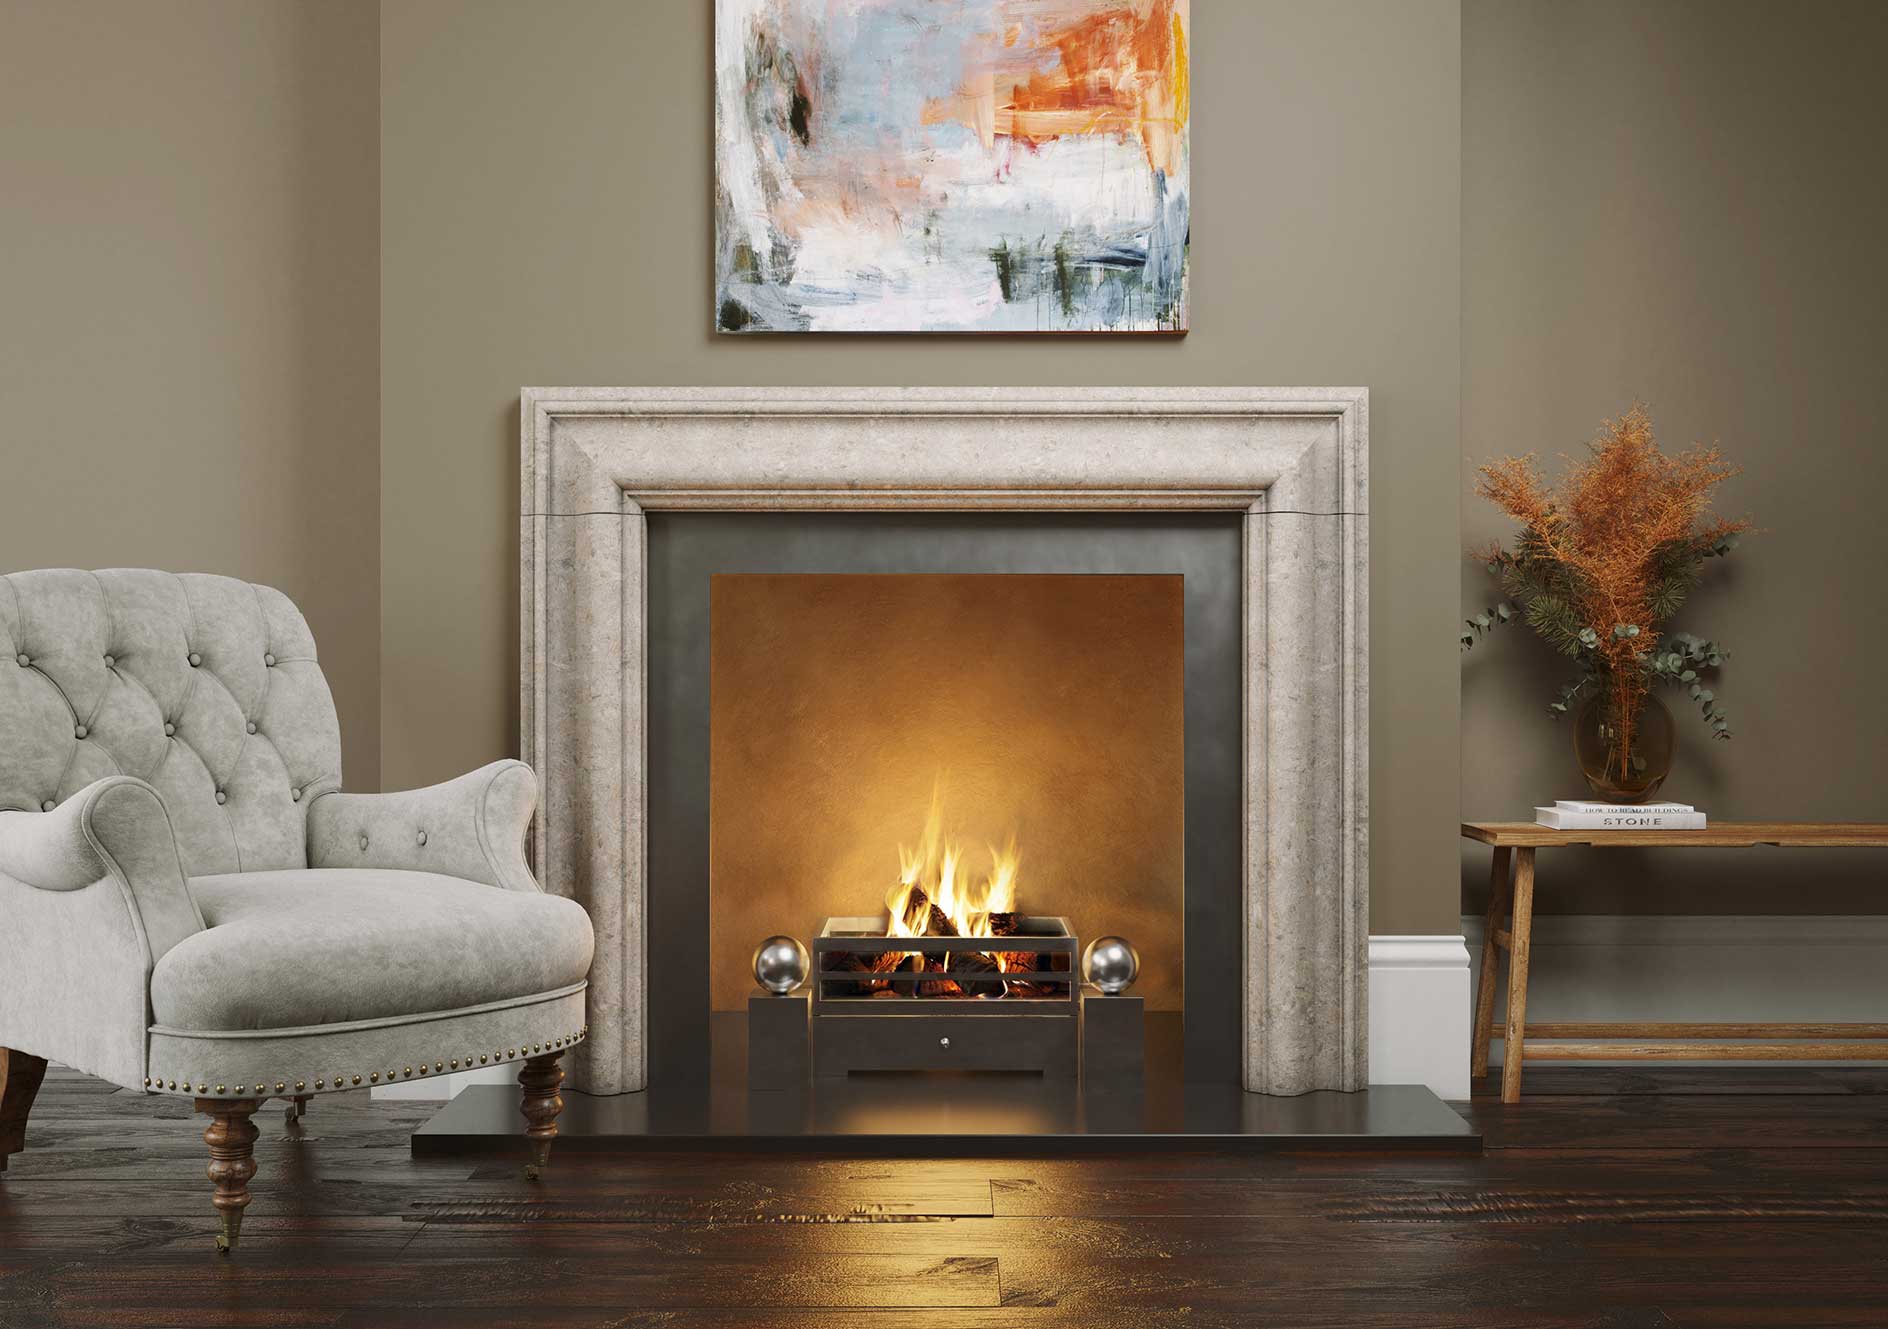
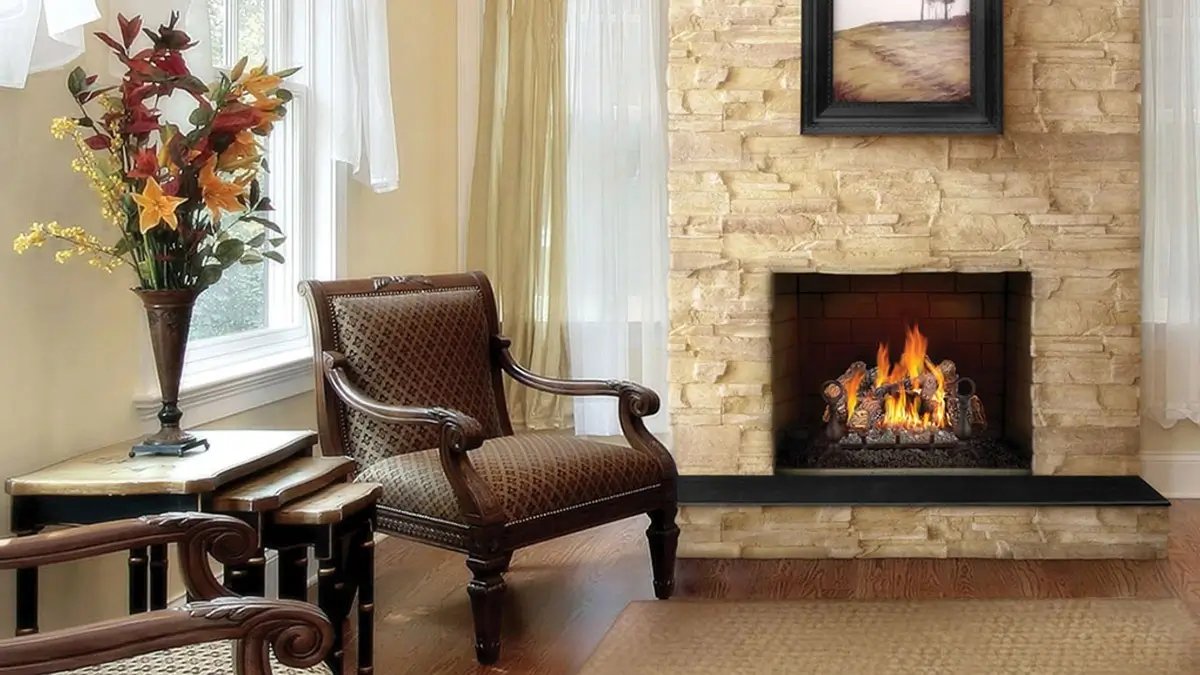
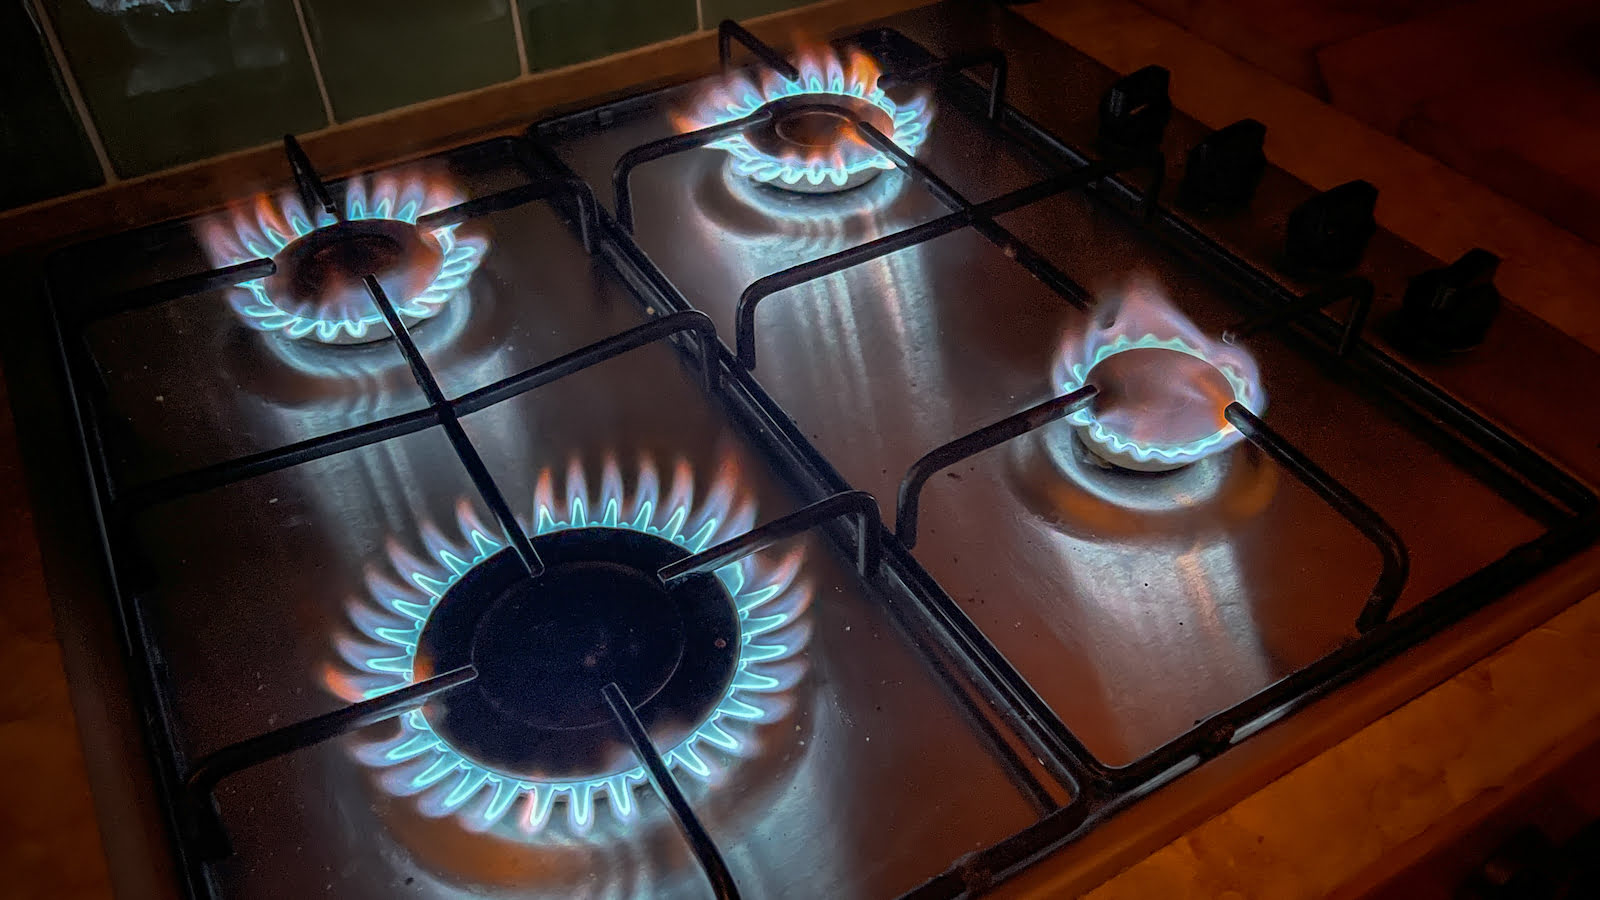
- Observe the flame as you make adjustments. It should be steady and evenly distributed across the burner. A well-adjusted flame should have a blue color, indicating efficient combustion.
- If you notice any yellow or orange color in the flame, it may indicate incomplete combustion. In such cases, adjust the flame height until it turns blue and stable.
- Continue making small adjustments until you achieve the desired flame height. Remember to take breaks between adjustments to allow the flame to stabilize and settle.
- If your gas fireplace has multiple burners, repeat the same adjustment process for each individual burner, ensuring that the flame height is consistent across all burners.
- Take note of the position of the burner control knob after making the adjustment, as this will serve as a reference point for future use.
Keep in mind that the ideal flame height may vary depending on your preferences and the specific requirements of your gas fireplace. Some people prefer a taller, more noticeable flame, while others may prefer a lower, subtler flame. Adjust the flame height to suit your desired aesthetics and heating requirements.
By accurately adjusting the flame height, you can achieve a pleasing and efficient burn on your gas fireplace. However, the process doesn’t end here. Move on to step 6 to test the flame and ensure it is operating as desired.
Step 6: Test the Flame
After adjusting the flame height on your gas fireplace, it’s important to test the flame to ensure that it is functioning correctly. Follow these steps to perform a flame test:
- Turn on the gas supply by carefully turning the gas shut-off valve back to the open position.
- Once the gas supply is restored, ignite the fireplace using the ignition switch or control knob. Refer to the owner’s manual for your specific fireplace model if you are unsure how to ignite it.
- Observe the flame carefully. It should ignite evenly across the burner and should have a steady, blue flame.
- Check for any signs of irregularities. The flame should not flicker excessively, produce excessive soot or smoke, or have any strange odors.
- Allow the flame to burn for a few minutes. Watch for any fluctuations in the flame height or any other unusual behavior.
- If you notice any issues with the flame, such as uneven ignition or abnormal behavior, it is recommended to consult a professional technician or contact the manufacturer for further assistance.
By conducting a thorough flame test, you can ensure that the adjustments made to the flame height are working as intended and that your gas fireplace is operating safely and efficiently.
If the flame test is successful and you are satisfied with the flame height and appearance, you can proceed to the final step of reassembling the fireplace and enjoying the cozy warmth it provides.
However, if you are not fully satisfied with the flame or encounter any issues during the flame test, it is always best to seek professional help to address the problem and ensure the optimal performance of your gas fireplace.
Now that you have tested the flame, let’s move on to step 7 to reassemble the fireplace and complete the adjustment process.
Step 7: Replace the Fireplace Grate
Once you have successfully adjusted the flame on your gas fireplace and performed a flame test, it’s time to reassemble the fireplace by replacing the fireplace grate. Follow these steps to complete the adjustment process:
- Make sure the area around the burner is clean and free from any debris or objects that could obstruct proper airflow.
- Carefully position the fireplace grate back into its original place, aligning it with any attachment points or hooks.
- Ensure that the grate is securely in place and properly positioned to support the logs or decorative elements.
- If there were any gas pipes or electrical connections attached to the grate, ensure that they are reconnected properly.
- Gently push or secure the grate into position, making sure it is stable and level.
- Double-check that there are no loose components or parts protruding from the grate that could potentially interfere with the flame or pose a safety hazard.
- With the grate securely in place, you can now turn on the gas supply by carefully returning the gas shut-off valve to the open position.
- Test the ignition and operation of the fireplace to ensure that everything is functioning as expected.
By following these steps, you can successfully reassemble your gas fireplace and complete the adjustment process. Take a moment to appreciate the improved flame height and the cozy ambiance it brings to your living space.
Remember, it’s always important to prioritize safety when working with gas appliances. If you encounter any difficulties during the reassembly process or if the flame does not operate as expected, consult a professional technician or contact the manufacturer for assistance.
Enjoy the warmth and comfort of your adjusted gas fireplace, and remember to regularly maintain and inspect it to ensure its continued safe and efficient operation.
With that, you have completed all the steps to adjust the flame on your gas fireplace. Stay cozy and enjoy your well-tailored flame!
Read more: What Is A Gas Fireplace
Conclusion
Adjusting the flame on a gas fireplace allows you to create the perfect ambiance and heating experience in your home. By following the step-by-step process outlined in this article, you can safely and effectively adjust the flame height to suit your preferences and needs.
Throughout the adjustment process, it is essential to prioritize safety. Familiarize yourself with the necessary safety precautions, turn off the gas supply, and wear protective gear to minimize any potential risks. Always consult the owner’s manual or contact the manufacturer if you are unsure about any steps or procedures.
Locating the gas valve, turning off the gas supply, and removing the fireplace grate provide you with the necessary access to the burner control knob. Adjusting the flame height in small increments while observing the flame’s color and stability allows you to achieve the desired effect.
Once the flame has been adjusted, it is crucial to perform a flame test to ensure proper ignition and behavior. If any issues arise during the test, seek professional assistance to address them promptly.
Finally, carefully reassemble the fireplace by replacing the grate, ensuring its stability and proper positioning. Double-check all connections and components to avoid potential hazards.
By mastering the art of adjusting the flame on your gas fireplace, you can enjoy a cozy and inviting atmosphere in your home, tailored to your personal preferences. Remember to perform regular maintenance and inspections to keep your gas fireplace in optimal condition.
With the knowledge and understanding gained from this article, you can confidently set the perfect flame height and create warm memories around your gas fireplace for years to come.
Now that you've learned how to adjust the flame on your gas fireplace for optimal warmth and efficiency, you might wonder about the overall safety of your fireplace. Ensuring your fireplace is in top condition is vital for both performance and safety. Our next article guides you on how to assess if your fireplace is ready and safe for use, covering all necessary checks and precautions. Don't miss out on crucial insights that keep your home cozy and secure.
Frequently Asked Questions about How To Adjust The Flame On A Gas Fireplace
Was this page helpful?
At Storables.com, we guarantee accurate and reliable information. Our content, validated by Expert Board Contributors, is crafted following stringent Editorial Policies. We're committed to providing you with well-researched, expert-backed insights for all your informational needs.

0 thoughts on “How To Adjust The Flame On A Gas Fireplace”