Home>Articles>How To Replace A Thermocouple On A Gas Fireplace
Articles
How To Replace A Thermocouple On A Gas Fireplace
Modified: August 31, 2024
Learn how to replace a thermocouple on a gas fireplace with our informative articles. Enhance the safety and functionality of your fireplace today!
(Many of the links in this article redirect to a specific reviewed product. Your purchase of these products through affiliate links helps to generate commission for Storables.com, at no extra cost. Learn more)
Introduction
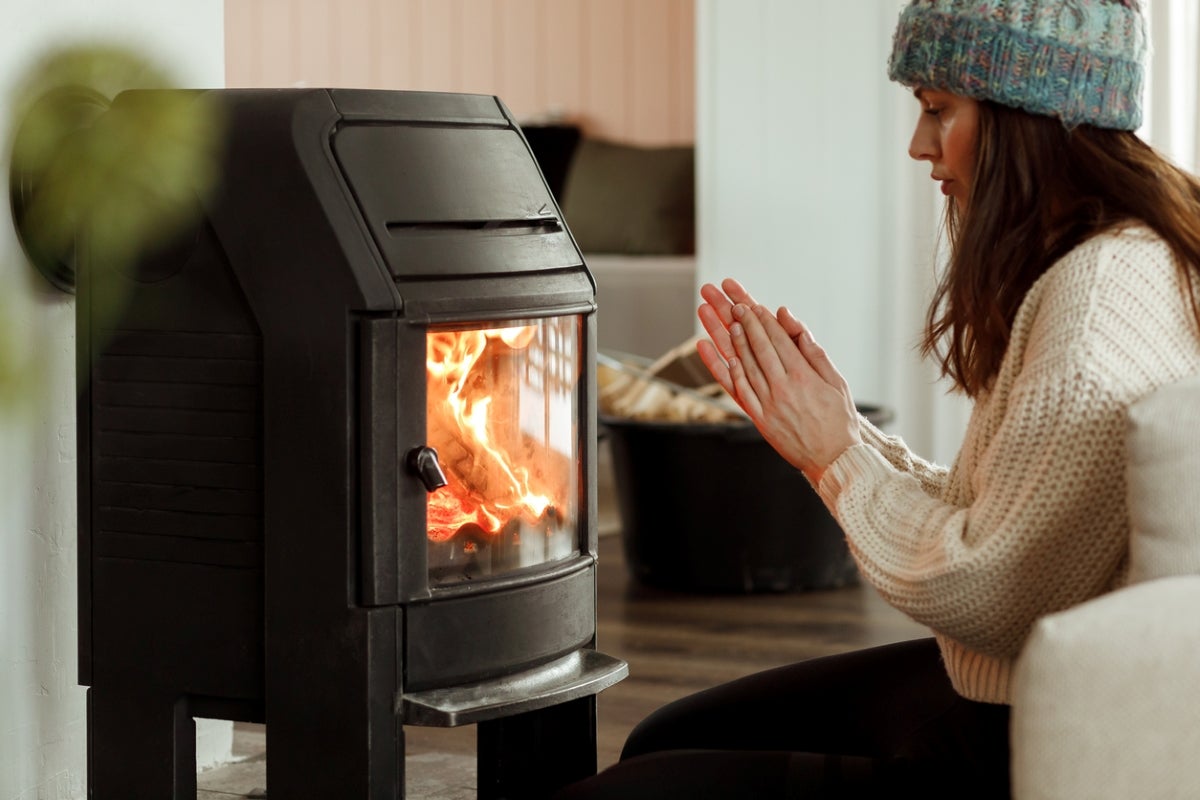
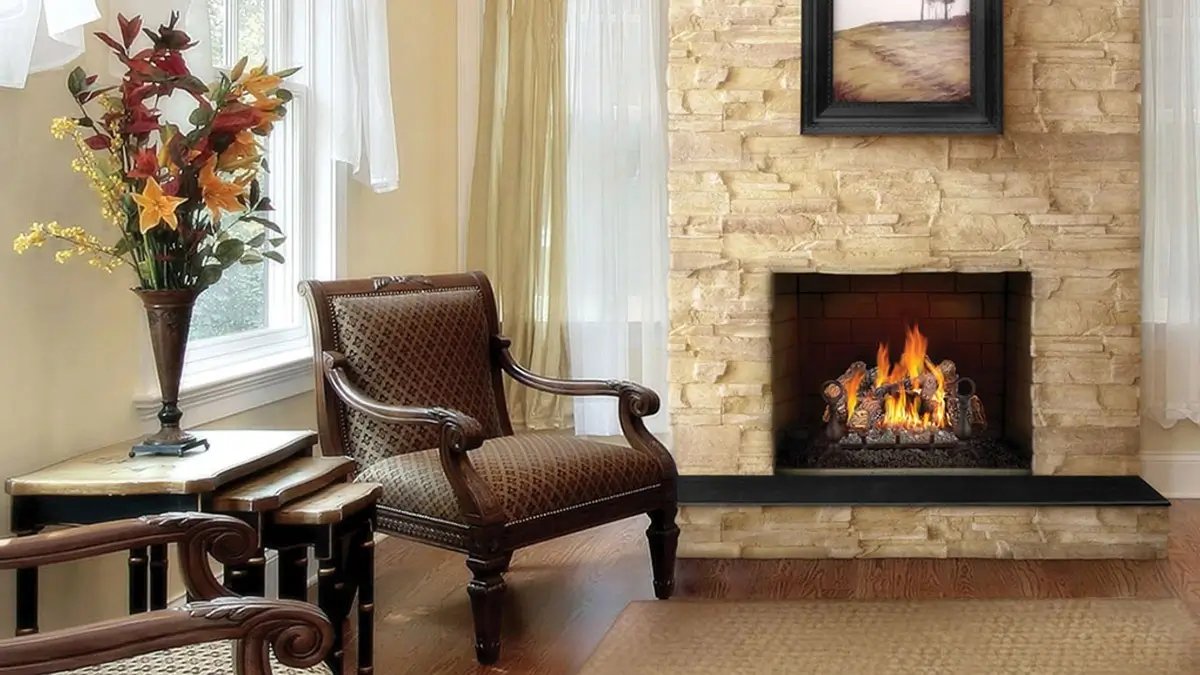
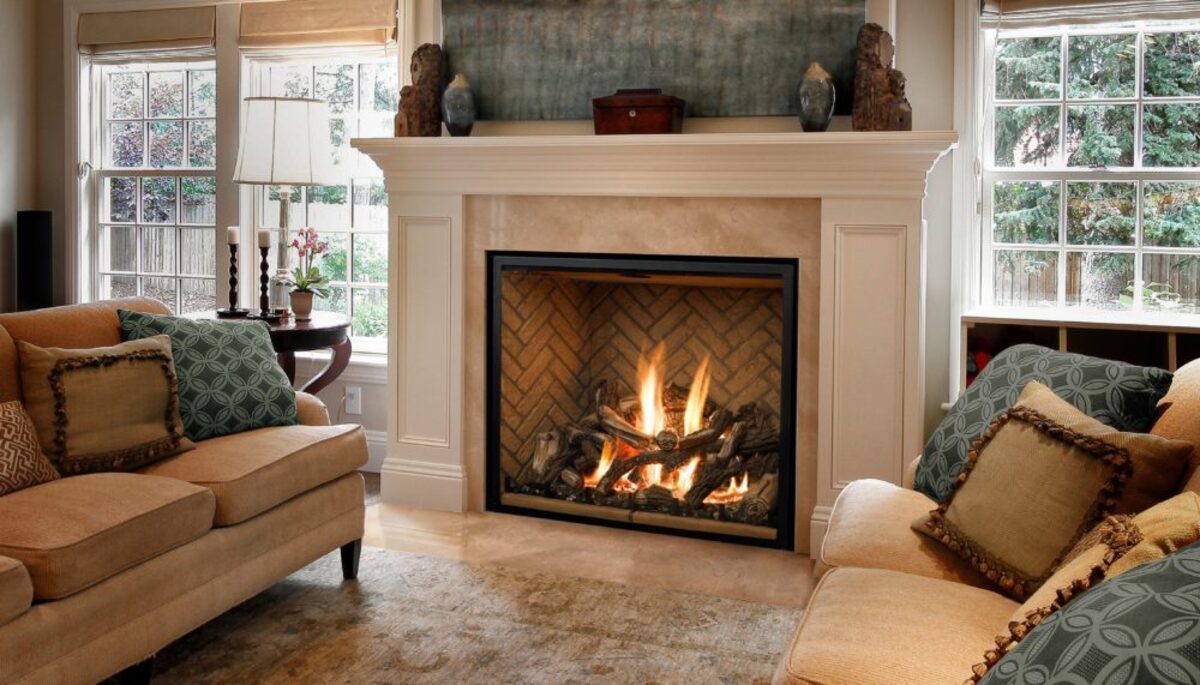
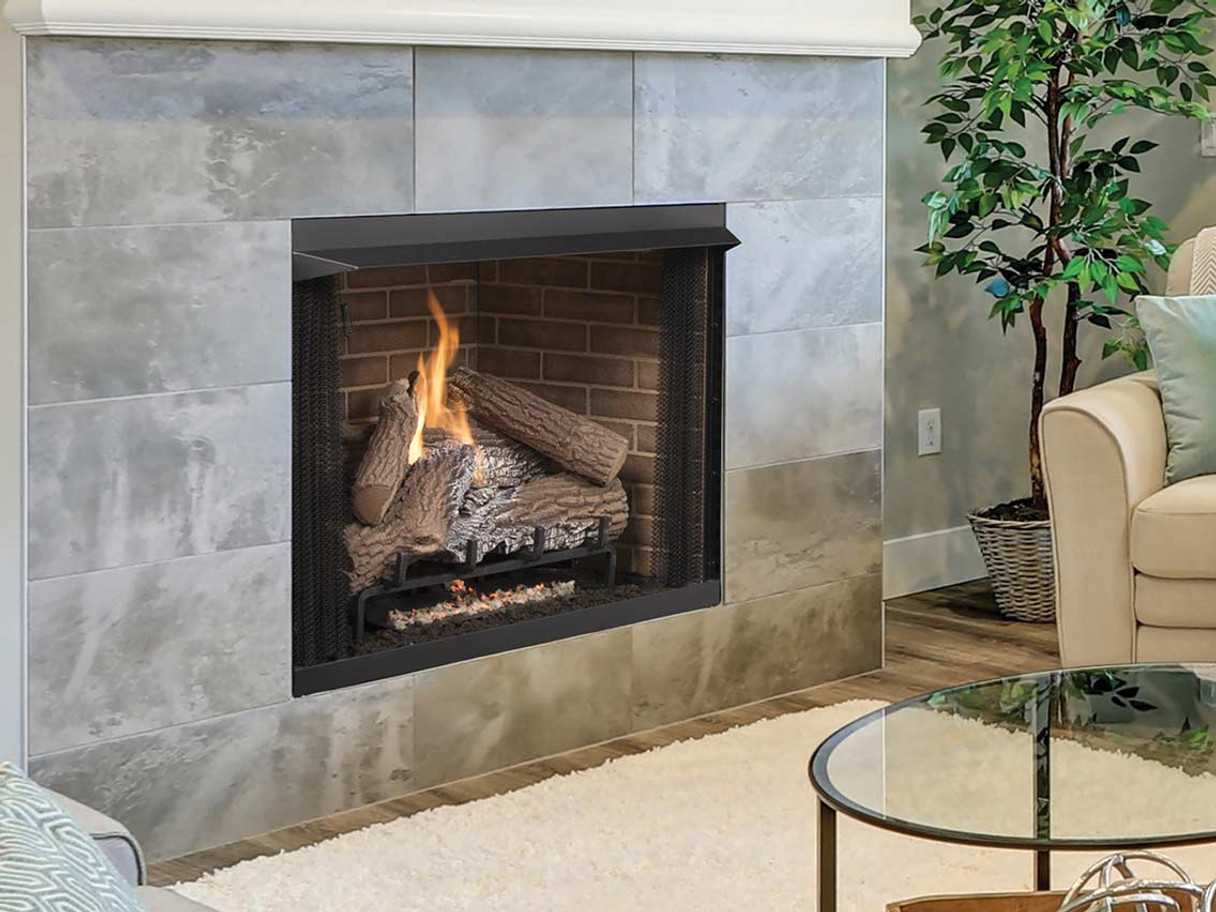
Gas fireplaces are a popular choice for homeowners who want to add warmth and ambiance to their homes. These fireplaces rely on a small but essential component called a thermocouple to function properly. The thermocouple is responsible for sensing the pilot flame and ensuring that the gas valve stays open. However, like any other part, the thermocouple may wear out over time, leading to issues with the fireplace’s operation.
Knowing how to replace a thermocouple on a gas fireplace can save you time and money by avoiding the need for professional assistance. In this article, we will guide you through the process of replacing a thermocouple, providing you with the necessary steps for a successful replacement.
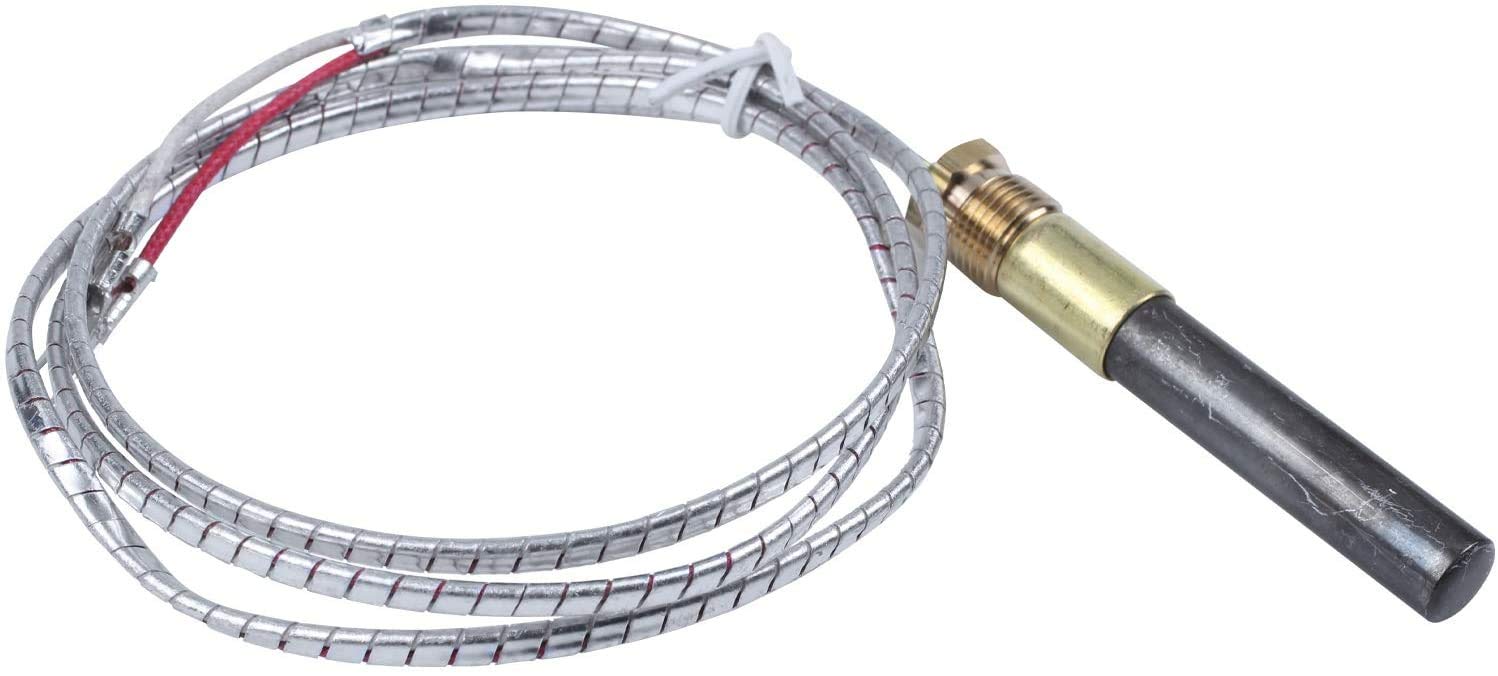
Before we dive into the details of replacing a thermocouple, it’s crucial to understand how this component works. A thermocouple is a device made up of two dissimilar metals that produce a small electrical current when heated. This current is what keeps the gas valve open, allowing the gas to flow and the pilot flame to stay lit.
Over time, the thermocouple can become dirty or faulty, leading to difficulties with the gas fireplace’s ignition. Signs that your thermocouple may need replacing include if the pilot light consistently goes out, you have trouble lighting the fireplace, or you notice a weak flame.
As with any home improvement project, it’s important to prepare yourself before diving into the replacement process. Gather the necessary tools, including a wrench, a screwdriver, and a new thermocouple that matches the specifications of your fireplace model. Additionally, ensure that you have a clear understanding of your gas fireplace’s make and model, as this information will be crucial when purchasing a new thermocouple.
In the next section, we will guide you through the steps to safely shut off the gas supply before proceeding with the replacement process. It’s essential to follow these steps carefully to prevent any mishaps or accidents. So let’s get started on learning how to replace a thermocouple on a gas fireplace!
Key Takeaways:
- Safely and confidently replace a thermocouple on your gas fireplace by understanding its function, preparing with the right tools, and following step-by-step instructions for a successful installation and testing process.
- Regular maintenance and timely replacement of a faulty thermocouple can ensure the longevity and uninterrupted enjoyment of your gas fireplace, providing warmth and ambiance for years to come.
Read more: How To Clean Thermocouple On Gas Fireplace
Understanding the Thermocouple
Before we dive into the process of replacing a thermocouple on a gas fireplace, it’s essential to understand the purpose and functionality of this crucial component.
In simple terms, a thermocouple is a safety device that ensures the safe operation of the fireplace by sensing the presence of a pilot flame. If the pilot flame goes out, the thermocouple detects this change and sends a signal to the gas valve, shutting off the gas supply and preventing the possibility of a gas leak.
The thermocouple consists of two dissimilar metals joined at one end, known as the hot junction. The other end, called the cold junction, connects to the control valve. When the pilot flame is lit, it heats the hot junction of the thermocouple, generating a small electrical current. This current acts as a signal to keep the gas valve open, allowing gas to flow to the pilot light and ensuring continuous ignition.
The thermocouple’s functioning relies on the principle of the Seebeck effect, where the voltage generated is proportional to the temperature difference between the two junctions.
Over time, thermocouples may wear out or become dirty, leading to weak or inconsistent electrical signals. This can result in issues such as the pilot light going out or difficulty in lighting the fireplace. Replacing a faulty thermocouple is a relatively simple process that can restore the functionality of your gas fireplace.
When selecting a new thermocouple, it’s essential to choose one that matches the specifications of your fireplace model. Thermocouples come in various lengths and configurations, so make sure to consult your fireplace’s user manual or contact the manufacturer to ensure you purchase the correct replacement.
In the next section, we will guide you through the steps of preparing for the thermocouple replacement, including shutting off the gas supply and ensuring your safety throughout the process. So let’s move forward and get ready to replace that faulty thermocouple!
Preparing for the Replacement
Replacing a thermocouple on a gas fireplace requires some preparation to ensure a smooth and safe process. By taking the necessary precautions and gathering the required tools, you can make the replacement process much easier and more efficient. Follow the steps below to prepare for the thermocouple replacement:
1. Familiarize Yourself with the Gas Fireplace: Before you start the replacement process, take some time to familiarize yourself with your gas fireplace. Locate the control panel, gas supply valve, and pilot light. Understanding the different parts of your fireplace will help you navigate the replacement process more effectively.
2. Turn Off the Gas Supply: Safety should always be a top priority when working with gas appliances. Locate the gas supply valve, usually located near the gas line or at the bottom of the fireplace, and turn it clockwise to shut off the gas supply. This step will prevent any gas leaks while you’re working on the thermocouple replacement.
3. Allow Time for Cooling: After shutting off the gas supply, it’s crucial to let the fireplace cool down before proceeding with the replacement. This step will protect you from any potential burns when handling the thermocouple and other fireplace components.
4. Gather the Necessary Tools: To replace the thermocouple, you’ll need a few tools. Make sure you have a wrench, usually an adjustable wrench, to loosen and tighten connections. Additionally, you may need a screwdriver to remove any panels or covers that are obstructing access to the thermocouple.
5. Purchase the Correct Replacement Thermocouple: Before starting the replacement process, ensure you have the correct replacement thermocouple on hand. Refer to your fireplace’s make and model to determine the appropriate thermocouple specifications. Most hardware stores carry a variety of thermocouples, but it’s always a good idea to check availability before making a trip.
6. Read the User Manual: If available, consult your fireplace’s user manual for specific instructions on replacing the thermocouple. The manual may provide valuable information and guidance that can make the replacement process smoother.
By following these preparatory steps, you can set yourself up for a successful thermocouple replacement. Now that you’re ready to delve into the replacement process, let’s proceed to the next section, where we will guide you through safely shutting off the gas supply.
Shutting Off the Gas Supply
Before you begin the process of replacing the thermocouple on your gas fireplace, it is crucial to ensure that the gas supply is shut off. Shutting off the gas supply will prevent any gas leaks and ensure your safety throughout the replacement process. Follow these steps to safely shut off the gas supply:
1. Locate the Gas Supply Valve: The gas supply valve is typically located near the gas line or at the lower part of the fireplace. Look for a valve that is connected to the gas line leading to the fireplace.
2. Turn the Valve Clockwise: Using an adjustable wrench or your hand, turn the valve clockwise until it stops. This action will shut off the flow of gas to the fireplace. Make sure the valve is fully closed to prevent any gas from leaking.
3. Confirm Gas Flow is Shut Off: After turning the valve, it is essential to verify that the gas supply is indeed shut off. To do this, try igniting the pilot light or turning on the fireplace. If there is no flame or gas flow, it means the gas supply has been successfully shut off.
4. Wait for Gas to Dissipate: Even after shutting off the gas supply, there may still be some residual gas in the lines. It is important to wait for a few minutes to allow any remaining gas to dissipate before proceeding with the thermocouple replacement. This step will ensure your safety and minimize the risk of any accidents.
Remember, if you ever detect the smell of gas or suspect a gas leak, immediately evacuate the area and contact your gas service provider or emergency services. Gas leaks can be dangerous and should be handled by professionals.
Once you have successfully shut off the gas supply and ensured that there is no gas flow, you are ready to move on to the next step in the thermocouple replacement process. In the following section, we will guide you through removing the old thermocouple from your gas fireplace.
When replacing a thermocouple on a gas fireplace, make sure to turn off the gas supply and allow the fireplace to cool completely before starting the replacement process. This will ensure your safety and prevent any accidents.
Removing the Old Thermocouple
Now that you have shut off the gas supply to your fireplace, it’s time to remove the old thermocouple. Follow these steps to safely and effectively remove the old thermocouple:
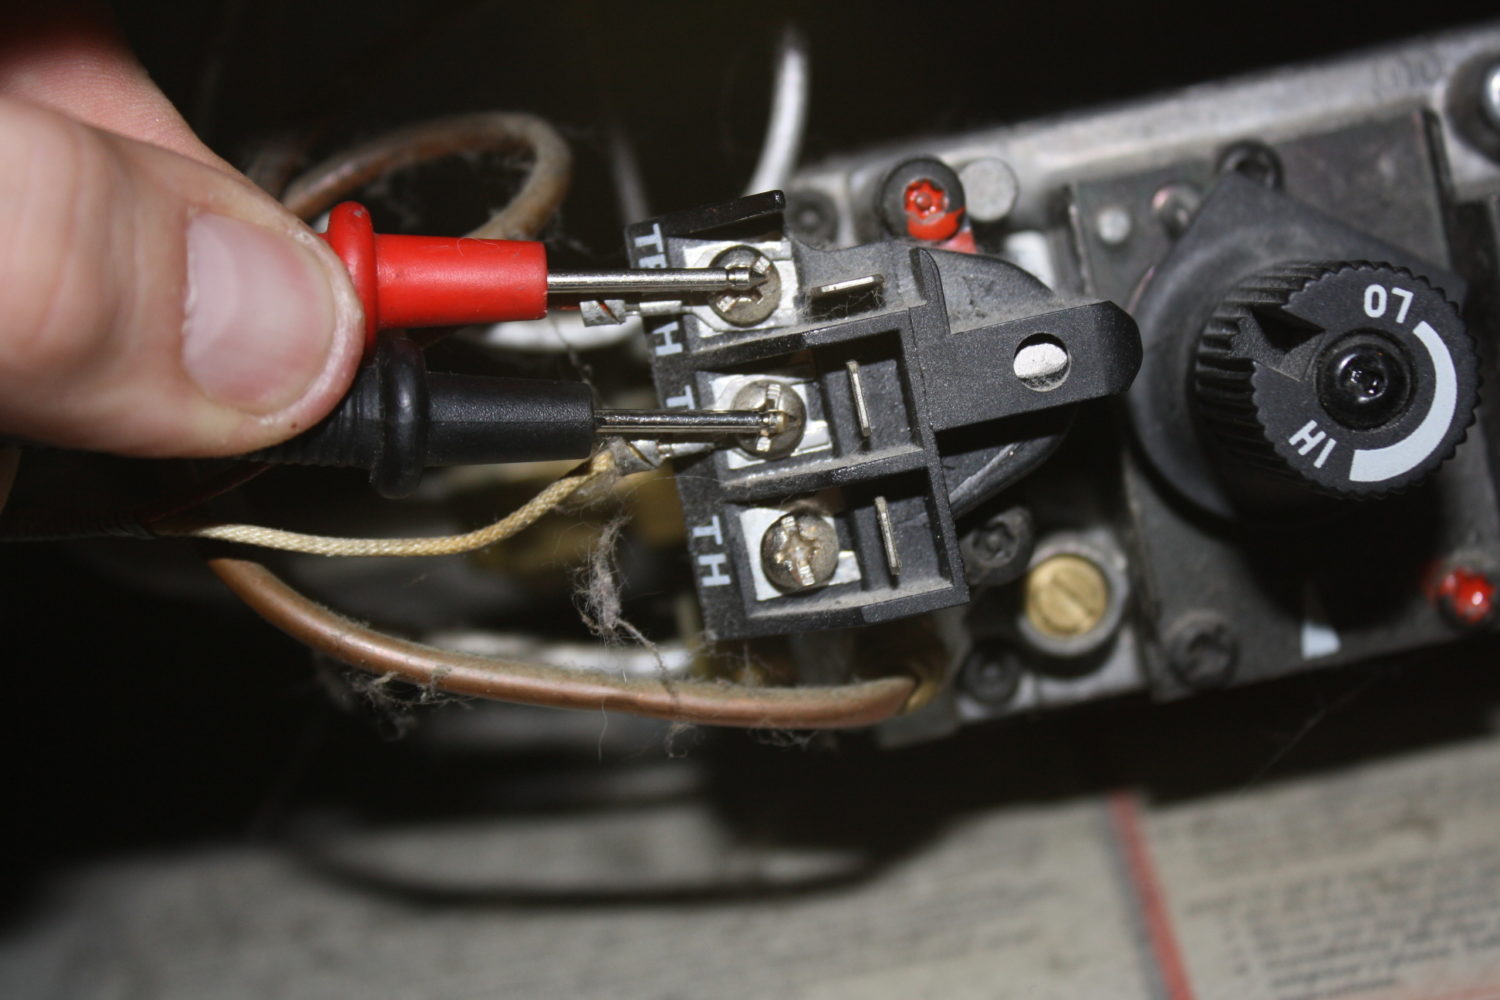
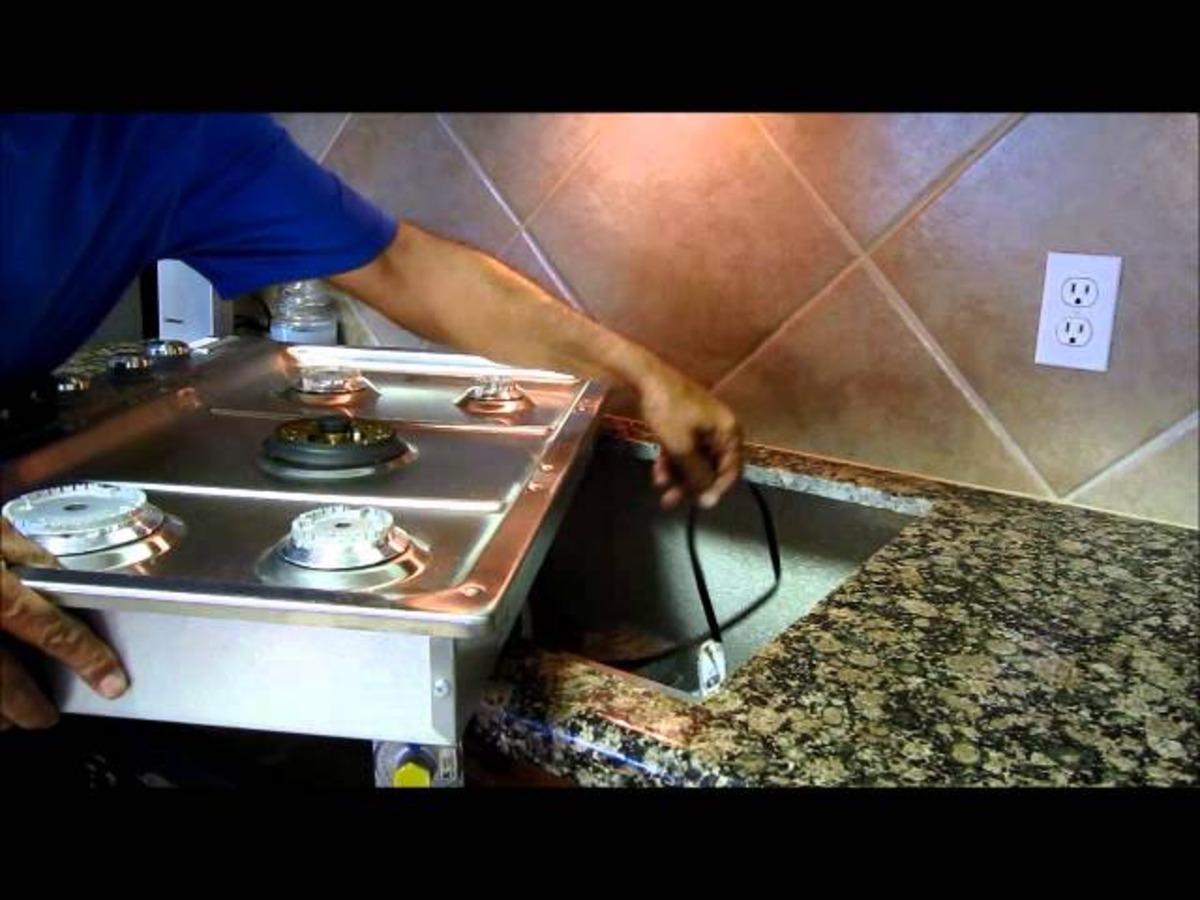
1. Locate the Old Thermocouple: The thermocouple is typically located near the pilot light assembly. It is a small copper tube that connects to the gas control valve.
2. Disconnect the Thermocouple from the Gas Control Valve: Use an adjustable wrench to loosen the nut that secures the thermocouple to the gas control valve. Turn the nut counterclockwise until it is loose enough to remove by hand.
3. Remove the Thermocouple from the Pilot Assembly: After disconnecting the thermocouple from the gas control valve, locate where it is connected to the pilot assembly. The thermocouple is secured to the pilot assembly with a mounting bracket or a small screw. Use a screwdriver to remove the screw or loosen the bracket and free the thermocouple.
4. Disconnect the Thermocouple from the Pilot Flame: Once the thermocouple is detached from the pilot assembly, gently slide it out of the pilot flame. Be careful not to damage the pilot assembly or any surrounding components.
5. Inspect the Old Thermocouple: Take a moment to inspect the old thermocouple for any signs of wear or damage. If you notice any significant corrosion, weak spots, or other issues, it confirms the need for a replacement.
6. Dispose of the Old Thermocouple: Properly dispose of the old thermocouple according to local regulations. Check with your local municipality for guidelines on disposing of metal or hazardous waste.
By following these steps, you can safely remove the old thermocouple from your gas fireplace. Now that the old thermocouple is out of the way, you can proceed with installing the new thermocouple. In the next section, we will guide you through the process of installing the new thermocouple for a seamless replacement.
Installing the New Thermocouple
With the old thermocouple successfully removed, it’s time to install the new thermocouple in your gas fireplace. Follow these steps to ensure a proper and secure installation:
1. Match the New Thermocouple: Before proceeding with the installation, ensure that the new thermocouple matches the specifications of your gas fireplace. Refer to your fireplace’s user manual or contact the manufacturer for the correct model and size.
2. Attach the New Thermocouple to the Pilot Assembly: Start by sliding the new thermocouple into the pilot flame assembly. Position it in the same location as the previous thermocouple, ensuring that it is securely in place.
3. Connect the Thermocouple to the Pilot Assembly: Depending on the design of your fireplace, there may be a mounting bracket or a small screw that secures the thermocouple to the pilot assembly. Use a screwdriver to tighten the screw or secure the bracket, ensuring a stable connection.
4. Secure the Thermocouple to the Gas Control Valve: Align the end of the new thermocouple with the connection point on the gas control valve. Use an adjustable wrench to tighten the nut, threading it clockwise until it is securely fastened. Ensure that the thermocouple is firmly attached to the gas control valve but be careful not to overtighten.
5. Check for Proper Alignment and Clearance: Once the new thermocouple is installed, make sure it is properly aligned and has adequate clearance from any other components or flames. Adjust the positioning if necessary to ensure unrestricted operation.
6. Double-Check Tightness of Connections: Before proceeding, double-check the tightness of all connections, including the one on the pilot assembly and the gas control valve. Ensure that they are securely fastened to prevent any leaks.
By following these steps, you can install the new thermocouple in your gas fireplace properly. After the installation, it’s important to perform a test to ensure the replacement was successful and that the fireplace is functioning as expected. In the next section, we will guide you through the process of testing the new thermocouple and the overall functionality of your gas fireplace.
Testing the Replacement
After successfully installing the new thermocouple in your gas fireplace, it’s essential to test the functionality of the replacement. This step will ensure that the thermocouple is working correctly and that your fireplace is operating safely. Follow these steps to test the replacement:
1. Turn on the Gas Supply: Start by turning the gas supply valve counterclockwise to restore the gas flow to the fireplace. Ensure that the valve is fully open to allow a steady gas supply.
2. Ignite the Pilot Light: Refer to your fireplace’s user manual for specific instructions on how to ignite the pilot light. In most cases, you will need to hold down the pilot light button or switch while simultaneously pressing the ignition button or striking a match near the pilot assembly. Following the instructions, ignite the pilot light.
3. Hold the Pilot Light Button: Once the pilot light is lit, continue holding down the pilot light button for about 30 seconds. This allows the new thermocouple to heat up and generate the necessary electrical current to keep the gas valve open.
4. Release the Pilot Light Button: After 30 seconds, slowly release the pilot light button. The pilot flame should remain lit and steady. If it goes out immediately, there may be an issue with the thermocouple installation.
5. Monitor the Flame: Observe the pilot flame for a few minutes to ensure it remains consistent and stable. If the flame starts to flicker or goes out, it may indicate a problem with the thermocouple.
6. Test Fireplace Operation: After confirming a steady pilot flame, turn on the fireplace according to your fireplace’s instructions. Ensure that the flames ignite and burn evenly. Monitor the flames for any irregularities and listen for any unusual sounds that may indicate an issue.
7. Check for Gas Leaks: During and after the testing process, be vigilant for any gas odors or signs of gas leaks. If you detect a gas scent or suspect a leak, turn off the gas supply immediately and contact a professional.
By following these steps and testing the replacement, you can verify the functionality of the new thermocouple and ensure the proper operation of your gas fireplace. If everything is working as expected, you can now sit back, relax, and enjoy the warmth and ambiance of your gas fireplace. In the next section, we will summarize the key points and conclude the article.
Conclusion
Replacing a thermocouple on a gas fireplace may seem like a daunting task, but with the right knowledge and preparation, it can be a straightforward process. By understanding the purpose and functionality of the thermocouple, preparing for the replacement, and following the necessary steps, you can successfully replace the thermocouple and restore your gas fireplace’s functionality.
Start by familiarizing yourself with your gas fireplace and shutting off the gas supply to ensure your safety throughout the replacement process. Gather the necessary tools and purchase the correct replacement thermocouple that matches your fireplace’s specifications. With these preparations in place, you can proceed confidently to remove the old thermocouple, taking care to inspect it for any signs of wear or damage.
After removing the old thermocouple, install the new thermocouple carefully, ensuring a secure connection to both the pilot assembly and the gas control valve. Double-check the tightness of all connections, paying attention to proper alignment and clearance from other components. Once the installation is complete, it’s time to test the new thermocouple.
Turn on the gas supply, ignite the pilot light, and monitor the flame to ensure it remains steady and consistent. Test the operation of the fireplace, listening for any unusual sounds and observing the flames for irregularities. It’s crucial to check for gas leaks during and after the testing process, always prioritizing safety.
By following these steps and conducting a successful replacement and test, you can enjoy the warmth and beauty of your gas fireplace with confidence. However, if you encounter any difficulties or are unsure about any aspect of the replacement process, it’s recommended to consult a professional for assistance.
Remember, regular maintenance and inspections are essential for the proper functioning of your gas fireplace. If you notice any recurring issues or signs of malfunction, seeking professional help can help you address and rectify the problem promptly. By taking care of your gas fireplace and replacing a faulty thermocouple when needed, you can ensure its longevity and uninterrupted enjoyment for years to come.
Now that you've mastered replacing a thermocouple, why not ensure overall safety with your fireplace? Our next guide covers essential checks and maintenance routines that keep harmful accidents at bay. If you're uncertain about the safety of your fireplace, our detailed breakdown offers peace of mind through expert tips on regular assessments and upkeep. Don't miss out on securing your home!
Frequently Asked Questions about How To Replace A Thermocouple On A Gas Fireplace
Was this page helpful?
At Storables.com, we guarantee accurate and reliable information. Our content, validated by Expert Board Contributors, is crafted following stringent Editorial Policies. We're committed to providing you with well-researched, expert-backed insights for all your informational needs.


0 thoughts on “How To Replace A Thermocouple On A Gas Fireplace”