Articles
How To Set Up Gas Fireplace With Rocks
Modified: October 20, 2024
Learn how to set up a gas fireplace with rocks. Our articles provide step-by-step instructions and tips for a beautiful and cozy fireplace.
(Many of the links in this article redirect to a specific reviewed product. Your purchase of these products through affiliate links helps to generate commission for Storables.com, at no extra cost. Learn more)
Introduction
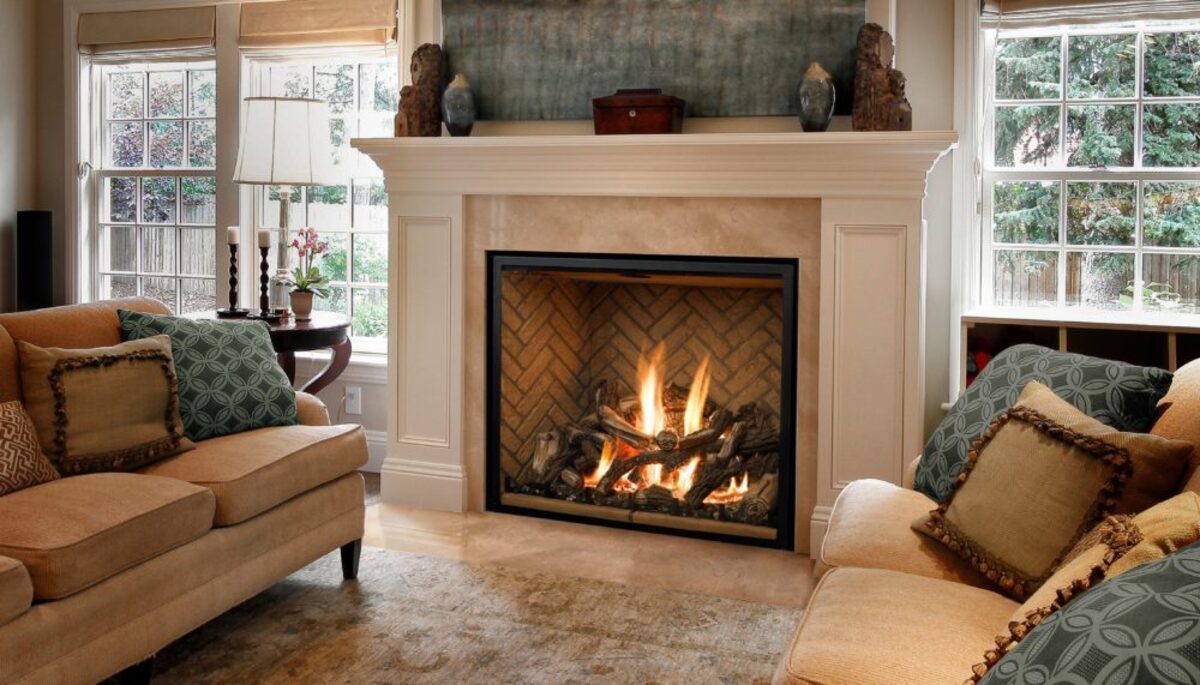
Welcome to the world of cozy warmth and mesmerizing flames that a gas fireplace with rocks can bring to your home. Gas fireplaces have become a popular choice for homeowners who want the ambiance of a traditional fireplace without the hassle of wood burning. With their convenience, efficiency, and realistic flames, gas fireplaces have become a staple in many households.
In this article, we will guide you through the process of setting up a gas fireplace with rocks. Whether you’re installing a new fireplace or looking to update your existing one, this step-by-step guide will help you achieve a beautiful and functional fireplace that you can enjoy all year round.
Before we dive into the installation process, it’s important to note that working with gas appliances can be potentially dangerous. It is crucial to follow all safety guidelines and local building codes when installing or handling gas lines. If you are unsure or uncomfortable with any step of the process, it is always best to consult a professional gas technician.
Now that we have the safety disclaimer out of the way, let’s get started on creating a stunning gas fireplace with rocks that will be the focal point of your living space.
Key Takeaways:
- Setting up a gas fireplace with rocks involves choosing the right type of fireplace, gathering necessary tools, preparing the firebox, installing the gas line, arranging the rocks, and testing the fireplace for safe and efficient operation.
- Safety is paramount when working with gas appliances, and professional assistance is recommended if unsure. Completing the final touches, such as adding a surround and mantel, enhances the aesthetics and functionality of the gas fireplace with rocks.
Read more: How To Paint A Rock Fireplace
Step 1: Choose the Right Type of Gas Fireplace
The first step in setting up a gas fireplace with rocks is to choose the right type of gas fireplace for your needs and the space you have available. There are several options to consider, each with its own advantages:
- Vented Gas Fireplace: This type of fireplace requires a chimney or venting system to expel the combustion byproducts. Vented fireplaces provide a more realistic flame and are ideal if you want a traditional look and feel.
- Ventless Gas Fireplace: Also known as “vent-free” fireplaces, these models don’t require a chimney or venting system. They are highly efficient and provide heat directly into the room. Ventless fireplaces are a great option if you want to maximize heat output and don’t have a chimney.
- Direct Vent Gas Fireplace: These fireplaces are a hybrid of vented and ventless designs. They use a double-walled pipe system that vents the combustion air outside, while bringing in fresh air for combustion. Direct vent fireplaces are highly efficient and offer the flexibility to be installed in various locations within your home.
Consider the size and layout of the room where you plan to install the gas fireplace. Measure the dimensions of the space and ensure that the chosen fireplace will fit appropriately. Take into account any clearances or safety requirements specified by the manufacturer and local building codes.
Additionally, think about your aesthetic preferences. Do you want a modern and sleek fireplace design or a more traditional look? Gas fireplaces come in a variety of styles, finishes, and sizes, so take the time to browse and choose one that matches your desired aesthetic.
Once you have selected the type and style of gas fireplace that fits your needs, you can proceed to the next step of gathering the necessary tools and materials for the installation process.
Step 2: Gather the Necessary Tools and Materials
Before you begin the installation process, it’s essential to gather all the necessary tools and materials. Having everything on hand will help ensure a smooth and efficient installation. Here’s a list of the tools and materials you’ll need:
- Gas fireplace kit: This includes the firebox, burner, control valve, and other essential components needed for the fireplace installation.
- Gas line: You’ll need a gas line that extends from your main gas supply to the fireplace location. Consult a professional gas technician to determine the appropriate size and length of the gas line.
- Rocks: Choose rocks that are suitable for use in a gas fireplace. Lava rocks and ceramic stones are popular choices due to their ability to withstand high heat.
- Pipe cutter and wrench: These tools will be necessary for cutting and connecting the gas line.
- Teflon tape: Teflon tape is used to create a tight seal when connecting gas fittings.
- Plumber’s putty or sealant: This will be needed to create a seal between the gas line and fittings.
- Safety goggles and gloves: It’s important to prioritize safety during the installation process. Wear safety goggles and gloves to protect yourself from any potential hazards.
- Measuring tape and level: These tools will help ensure accurate measurements and proper alignment during the installation.
- Screwdriver and drill: You may need these tools for securing the firebox and other components of the gas fireplace.
- Fireplace surround and mantel (if desired): If you plan to build a fireplace surround or add a mantel, gather the necessary materials for this as well.
Verify that you have all the tools and materials listed above before proceeding with the installation. It’s better to be prepared and have everything you need at hand to avoid any delays or hiccups along the way.
With your tools and materials ready, you’re now set to move on to the next step, which involves preparing the firebox for installation.
Step 3: Prepare the Firebox
Preparing the firebox is an essential step in the installation process of a gas fireplace with rocks. The firebox is where the flames will be produced and where the rocks will be placed. Follow these steps to properly prepare the firebox:
- Clear the area: Before installing the firebox, ensure that the area is clear of any obstructions or combustible materials. Clear out any dust, debris, or loose objects that may interfere with the installation.
- Check for proper insulation: Insulating the firebox is crucial for the efficiency and safety of the gas fireplace. Inspect the firebox to ensure it is properly insulated, following the manufacturer’s guidelines. If additional insulation is required, use fire-resistant insulation materials.
- Attach the firebox: Depending on the model and design of your gas fireplace, you may need to attach the firebox to the wall or insert it into an existing fireplace opening. Follow the manufacturer’s instructions for secure and proper attachment.
- Check for level and alignment: Use a level to ensure that the firebox is perfectly level before proceeding with the installation. This step is important to ensure the proper functioning and appearance of the gas fireplace.
- Secure the firebox: Once the firebox is level, secure it in place using screws or mounting brackets, as specified by the manufacturer. This will ensure that the firebox remains stable and tightly secured during operation.
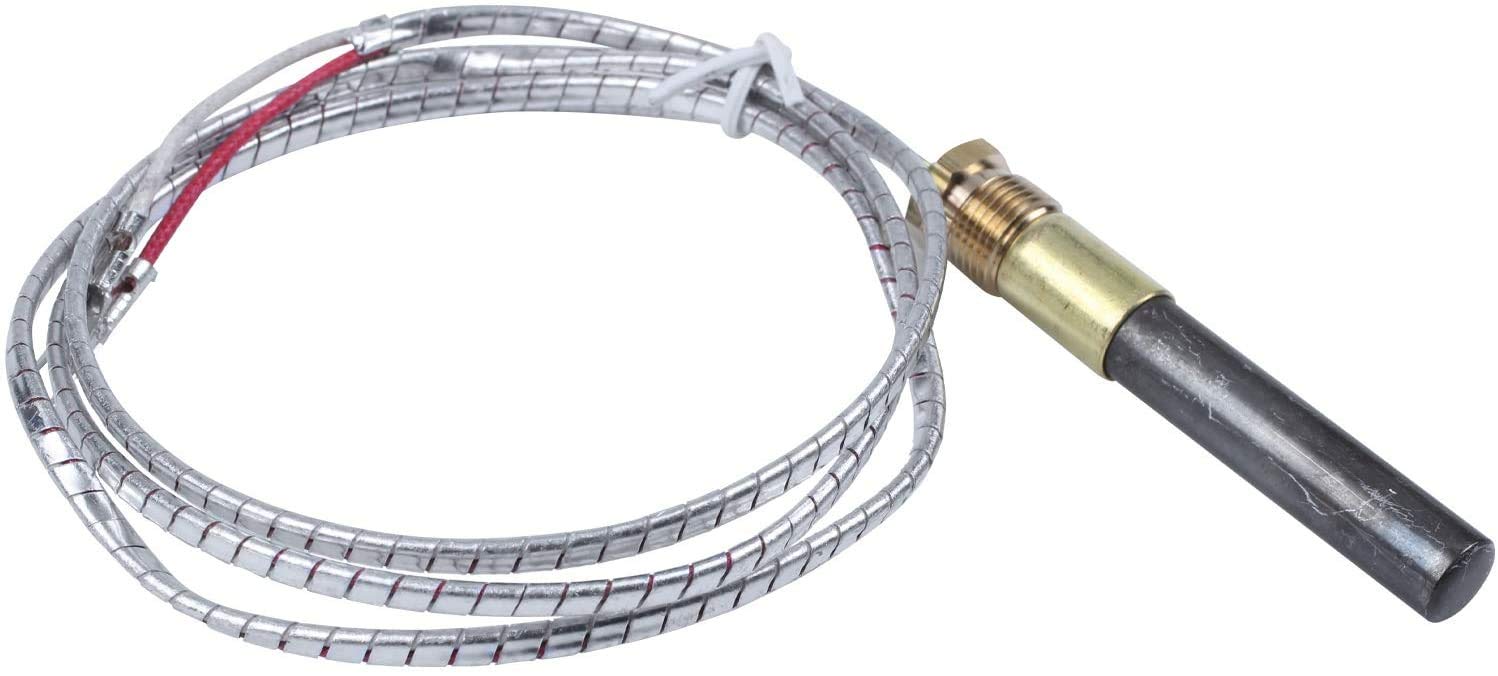
- Inspect gas line connection: Examine the gas line connection point on the firebox. Ensure that it is in good condition, with no visible leaks or damage. If any issues are detected, consult a professional gas technician to address them before proceeding.
By properly preparing the firebox, you are ensuring that it is in optimal condition for the installation of the gas fireplace with rocks. This step sets the foundation for a safe and efficient operation of the fireplace. Once the firebox is prepared, you can move on to installing the gas line, which is covered in the next step.
Step 4: Install the Gas Line
Installing the gas line is a critical step in setting up a gas fireplace with rocks. The gas line will supply the necessary fuel for the fireplace to function. Follow these steps to install the gas line properly:
- Consult a professional: It is highly recommended to consult a professional gas technician for the installation of the gas line. They have the expertise and knowledge to handle gas lines safely and ensure compliance with local building codes.
- Choose the right location: Determine the most suitable location for running the gas line. This will depend on the proximity to the main gas supply and the firebox. It’s important to consider safety, accessibility, and aesthetic factors when selecting the location.
- Shut off the gas supply: Before beginning the installation, make sure to shut off the gas supply to ensure safety.
- Measure and cut the gas line: Using a pipe cutter, measure and cut the gas line to the appropriate length. Remember to leave some extra length for flexibility.
- Attach fittings: Install the necessary fittings on each end of the gas line, such as valves, elbows, and couplings. Apply Teflon tape to the threaded connections to create a tight seal.
- Connect the gas line: Attach one end of the gas line to the main gas supply and the other end to the gas line connection point on the firebox. Use a wrench to tighten the fittings securely.
- Check for leaks: After connecting the gas line, it’s crucial to check for any leaks. Apply a solution of soapy water to the connections and look for bubbles. If bubbles appear, there may be a gas leak. In this case, turn off the gas supply immediately and consult a professional technician.
- Secure the gas line: Once you have confirmed that there are no leaks, secure the gas line in place using clamps or brackets. This will help prevent any movement or accidental disconnection.
Remember, working with gas lines can be hazardous, so it’s important to prioritize safety throughout the installation process. If you are unsure or uncomfortable with any step, it’s best to seek professional assistance. With the gas line installed and secured, you’re ready to move on to the next step: placing the firebox logs.
Read more: What Is A Gas Fireplace
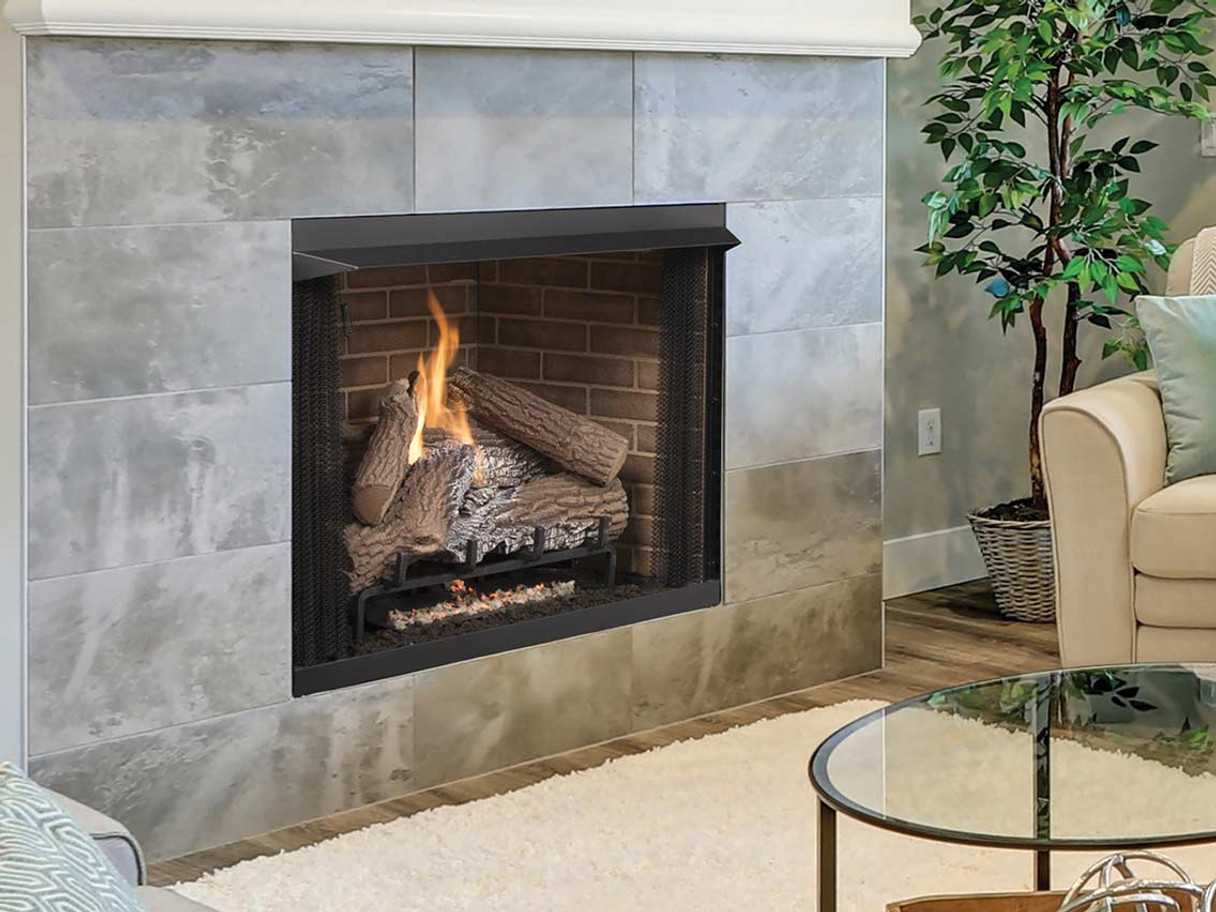
Step 5: Place the Firebox Logs
Now that you have the gas line installed, it’s time to bring your gas fireplace with rocks to life by placing the firebox logs. These logs are designed to provide a realistic and captivating flame effect. Follow these steps to properly place the firebox logs:
- Read the manufacturer’s instructions: Before proceeding, carefully read the instructions provided by the manufacturer for your specific gas fireplace model. This will ensure that you understand how to correctly position the logs for optimal performance.
- Arrange the logs: Begin by arranging the firebox logs according to the manufacturer’s recommended configuration. Most gas fireplaces will have a specific arrangement or order in which the logs should be placed to achieve a natural-looking flame. Pay attention to the size and shape of each log and follow the guidelines provided.
- Position the ignition bed: Some gas fireplaces come with an ignition bed or ember bed. This is the area where the flames will originate. Depending on your fireplace model, position the ignition bed in the designated area and ensure that it is evenly distributed.
- Ensure proper ventilation: Proper airflow is essential for the efficient operation of the gas fireplace. Ensure that there is ample space between the logs to prevent any blockage or restriction of airflow. This will also enhance the flame effect and prevent overheating.
- Check the alignment: Once the logs are in place, visually inspect them to ensure they are properly aligned and securely positioned. The logs should be stable and not shift or move during operation.
- Refer to the manual for additional features: Some gas fireplaces may offer additional features, such as glowing embers or decorative stones. If your fireplace includes these options, follow the manufacturer’s instructions to incorporate them into the arrangement of the firebox logs.
Take your time during this step to position the firebox logs accurately. The careful arrangement of the logs will enhance the realism and beauty of the flames. With the logs in place, the next step is to add the finishing touch: arranging the rocks in the firebox.
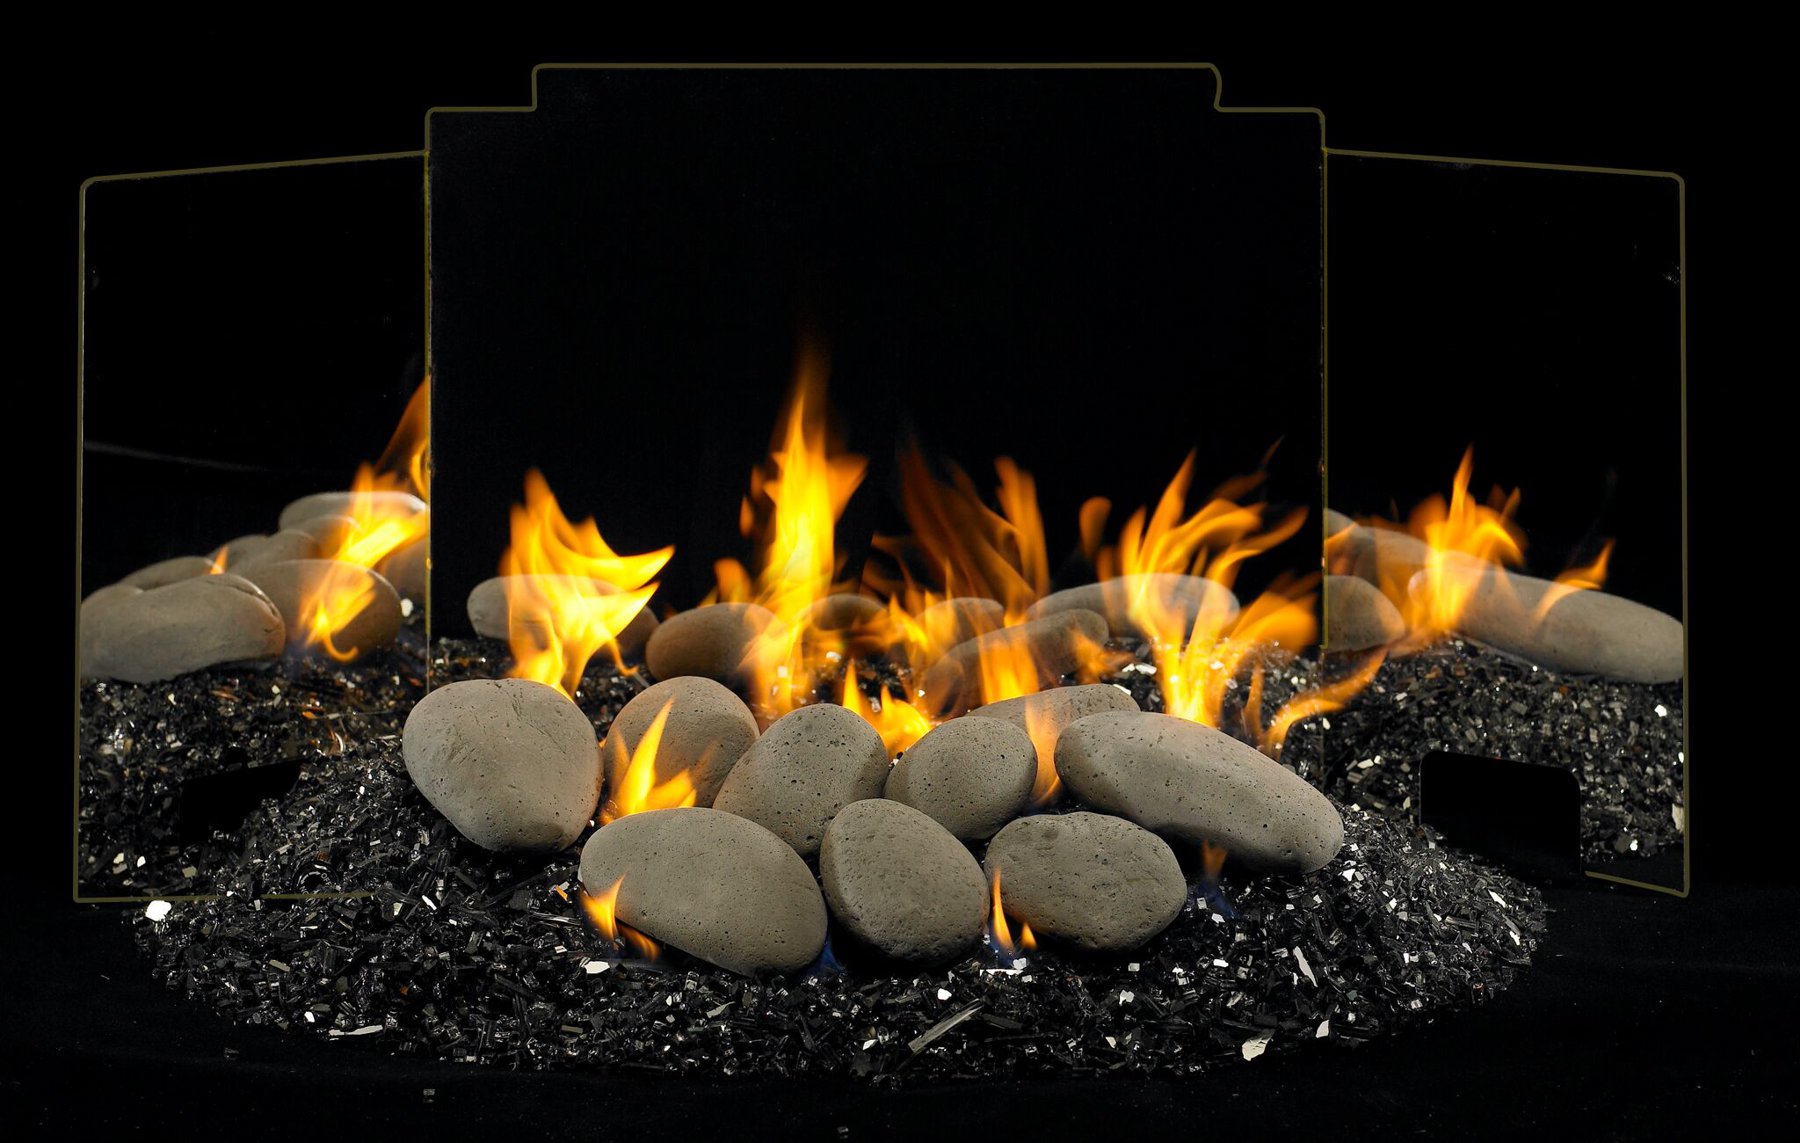
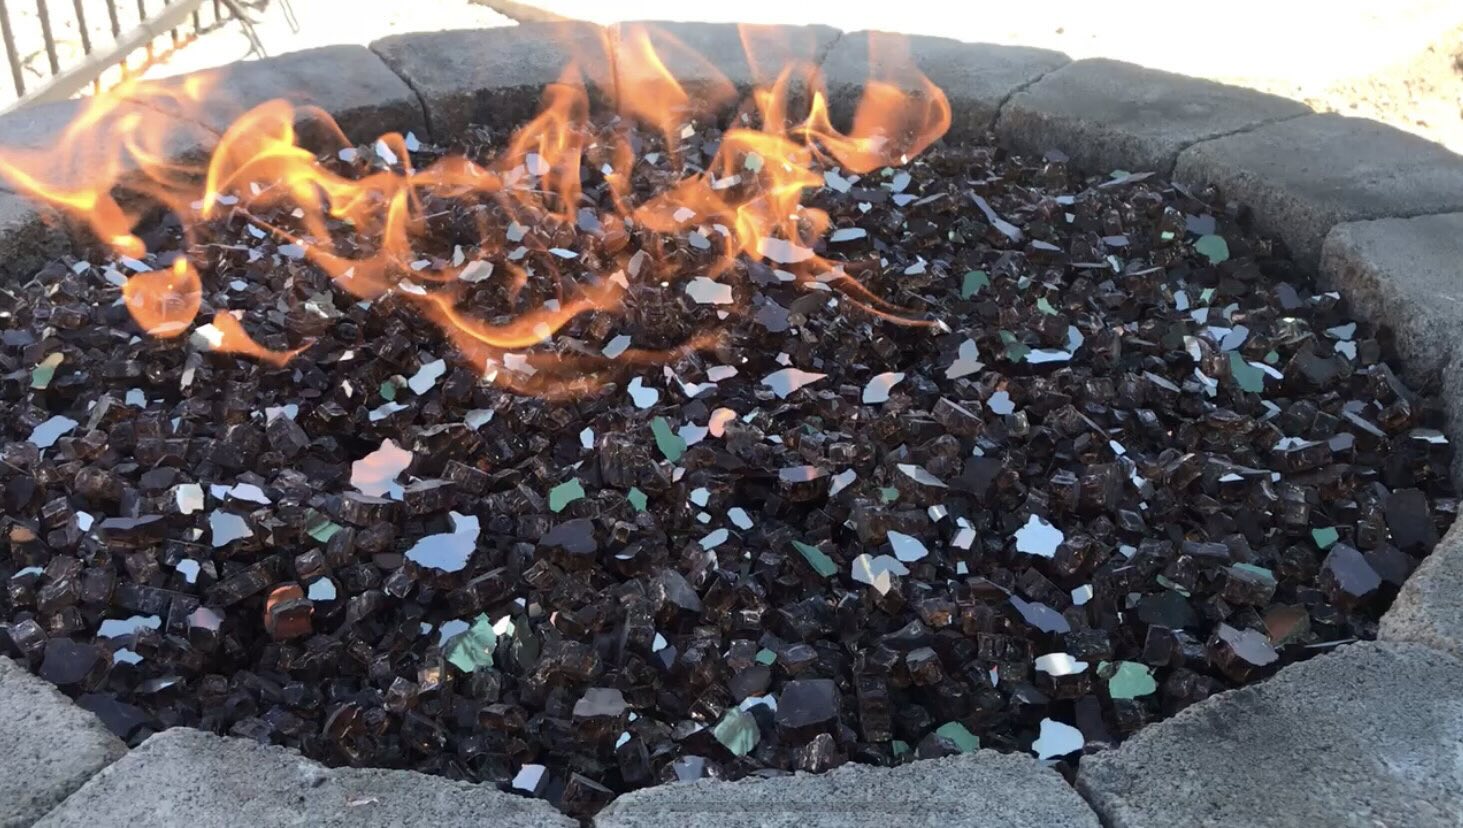
When setting up a gas fireplace with rocks, make sure to use heat-resistant rocks such as lava rocks or fire glass. Arrange the rocks evenly to ensure proper gas flow and even heat distribution.
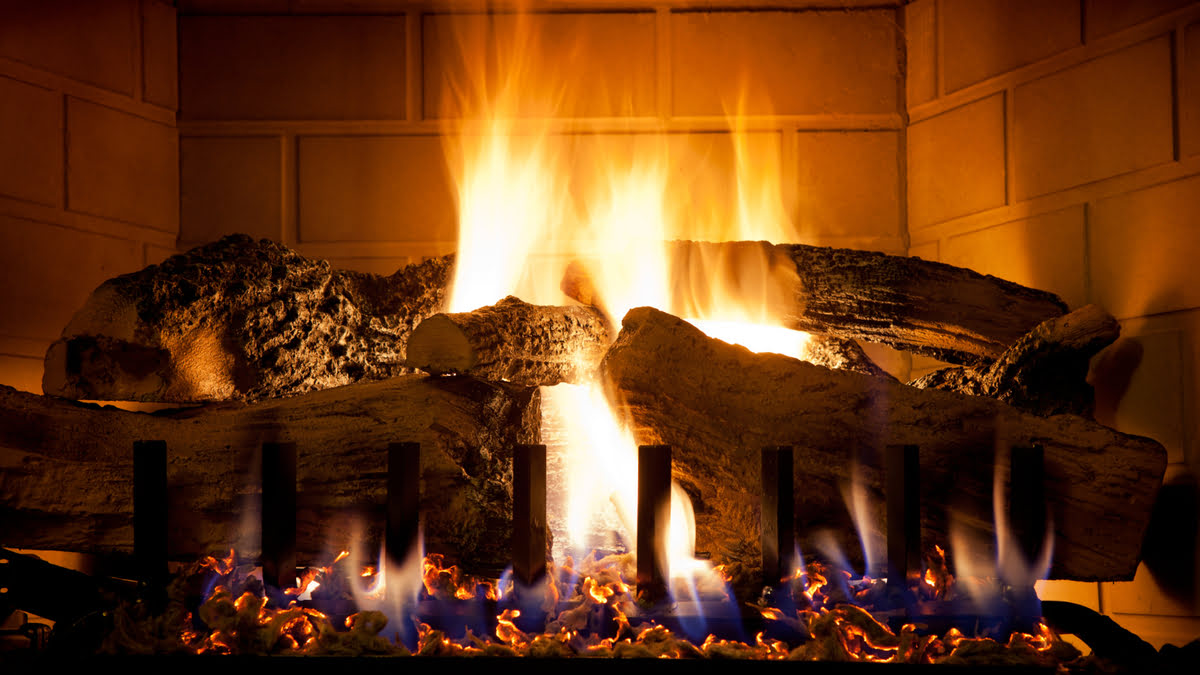
Step 6: Arrange the Rocks in the Firebox
Arranging the rocks in the firebox is a crucial step in creating a visually appealing gas fireplace with rocks. The rocks not only add a decorative element but also help to disperse the heat and create a more natural flame effect. Follow these steps to properly arrange the rocks in the firebox:
- Select the appropriate rocks: Choose rocks that are specifically designed for use in gas fireplaces. Lava rocks and ceramic stones are popular options due to their ability to withstand high temperatures.
- Refer to the manufacturer’s instructions: Familiarize yourself with the manufacturer’s guidelines for arranging the rocks. Some gas fireplaces may have specific recommendations or requirements for the arrangement.
- Start with a base layer: Begin by creating a base layer of rocks at the bottom of the firebox. This layer helps to distribute heat evenly and enhances the visual appeal of the flames.
- Place larger rocks strategically: Position larger rocks strategically to create a natural and aesthetically pleasing arrangement. These rocks can be placed towards the back or sides of the firebox to give the appearance of a more robust flame source.
- Add smaller rocks and fill in gaps: Fill in gaps and spaces between the larger rocks with smaller rocks or ceramic stones. This helps to create a more uniform and realistic look.
- Experiment with different arrangements: Don’t be afraid to experiment with different rock arrangements to achieve the desired effect. Play around with the positioning and density of the rocks until you find the arrangement that you find most appealing.
- Keep proper ventilation: Ensure that the rocks do not obstruct the airflow within the firebox. Allow space for proper ventilation to maintain the efficiency of the gas fireplace.
- Regularly clean and maintain the rocks: Over time, the rocks may accumulate dust or debris. Regularly clean and maintenance them according to the manufacturer’s instructions to keep them looking fresh and vibrant.
By following these steps, you will be able to create an attractive and visually captivating arrangement of rocks in the firebox of your gas fireplace. Once you have arranged the rocks, it’s time to connect the gas supply and test the fireplace, which we will cover in the next steps.
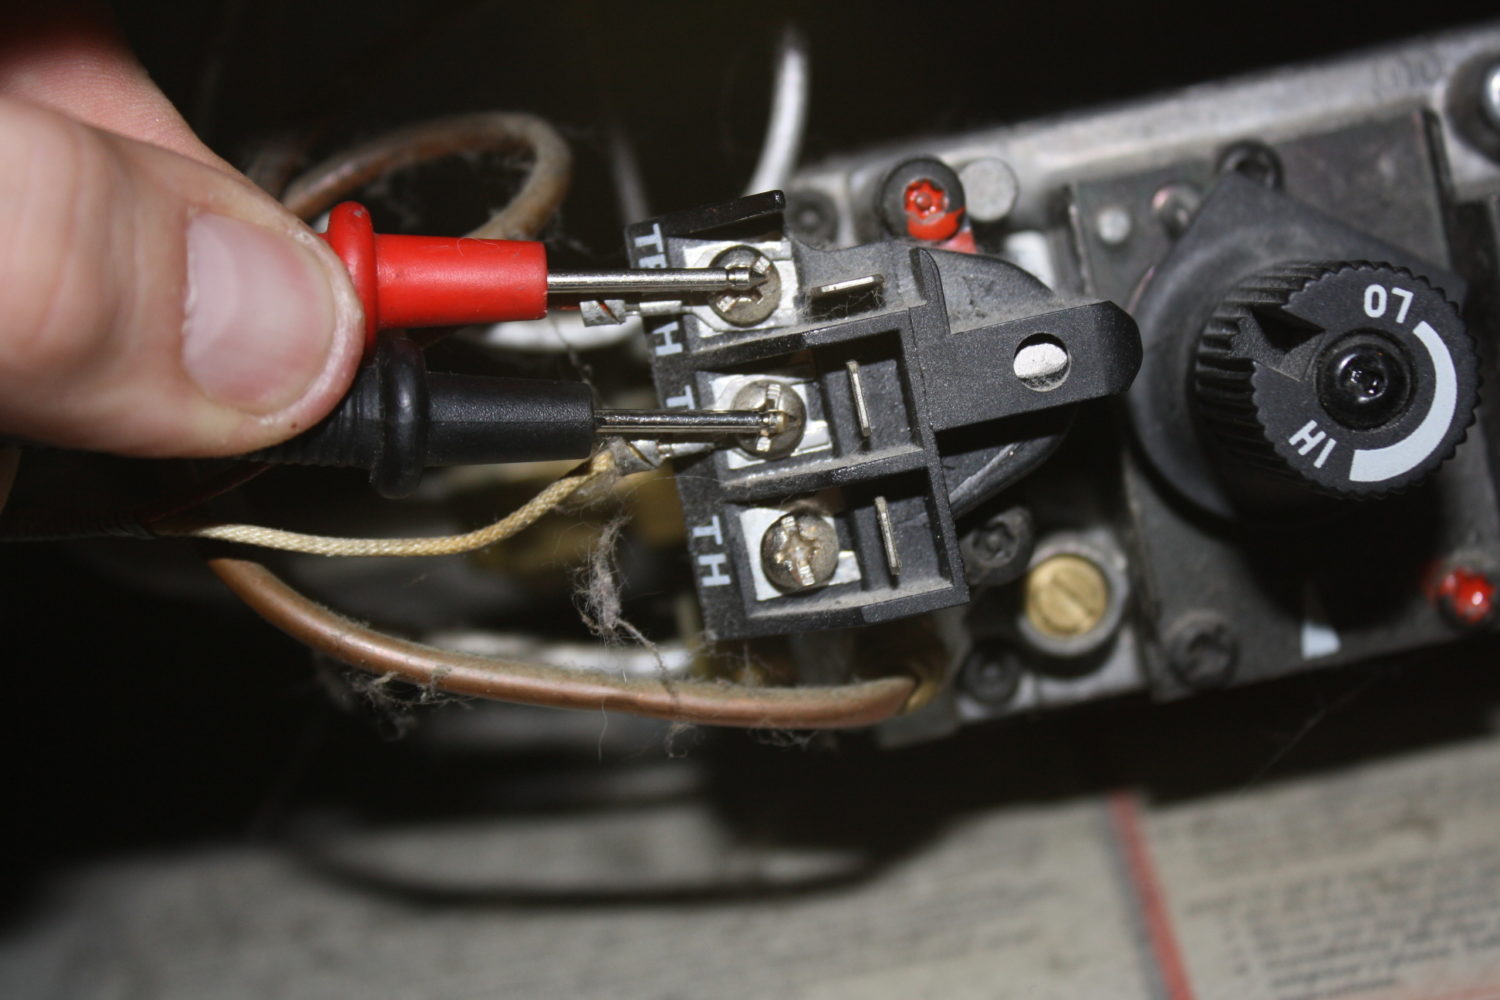
Step 7: Connect the Gas Supply
Connecting the gas supply is a crucial step in finalizing the installation of your gas fireplace with rocks. This step ensures the proper flow of gas to fuel the flames. Follow these steps to connect the gas supply:
- Turn off the gas supply: Before connecting the gas supply, ensure that the gas valve is turned off.
- Inspect the gas line: Examine the gas line for any visible damage or leaks. If you notice any issues, consult a professional gas technician for inspection and repair before proceeding.
- Attach the flexible gas line: Connect the flexible gas line to the gas line connection point on the firebox. Use the appropriate fittings and follow the manufacturer’s instructions for a secure connection.
- Use Teflon tape: Apply Teflon tape to the threaded connections to create a tight seal. This will help prevent gas leaks.
- Check for tightness: Once the gas line is connected, ensure that all connections are tight and secure. Double-check that there are no visible leaks.
- Turn on the gas supply: Slowly turn on the gas supply and check for any gas leaks around the connections. Use a solution of soapy water to detect any leaks. If bubbles appear, immediately turn off the gas supply and consult a professional gas technician.
- Follow the manufacturer’s instructions: Consult the manufacturer’s instructions for any specific steps or safety precautions required for your gas fireplace model.
Connecting the gas supply is a critical step that should be done carefully and accurately. It is highly recommended to consult a professional gas technician for assistance, especially if you are not familiar with gas line connections or if you have any concerns about safety.
With the gas supply successfully connected, you’re almost ready to enjoy the warmth and beauty of your gas fireplace. The next step involves testing the fireplace to ensure everything is functioning correctly.
Step 8: Test the Fireplace
Once you have completed the installation and connected the gas supply, it is crucial to test the fireplace to ensure it is functioning safely and efficiently. Follow these steps to properly test your gas fireplace:
- Turn on the gas supply: Ensure the gas valve is turned on to supply gas to the fireplace.
- Ignite the pilot light: Follow the manufacturer’s instructions to ignite the pilot light. This step may involve pressing a button or turning a knob to start the ignition process.
- Verify the flame: Check that the pilot light is lit and a steady flame is present. The flame should be blue and stable. If the flame appears yellow or erratic, there may be an issue with the gas supply or burner. In this case, turn off the gas supply and consult a professional gas technician.
- Test the burner: Once the pilot light is lit, turn on the burner to verify that the flame ignites and spreads evenly across the firebox. Ensure there are no unusual sounds or smells during this process.
- Inspect for proper ventilation: During the testing process, observe the flame to ensure proper ventilation. The flame should be steady and not flutter or flicker excessively.
- Check for heat output: Assess the heat output of the fireplace to ensure it is functioning as expected. Feel the area around the fireplace to gauge the amount of heat being produced. If the heat output seems insufficient, consult a professional to assess and optimize the performance.
- Monitor for any issues: Watch the fireplace for an extended period to ensure there are no unusual behaviors or problems. Look for any signs of gas leaks, strange odors, or excessive heat generation. If you notice anything out of the ordinary, turn off the gas supply and arrange for a professional inspection.
By thoroughly testing your gas fireplace, you can identify and address any issues early on, ensuring safe and efficient operation in the long run. If everything is in good working order, you can proceed to the final step: completing the final touches to enhance the aesthetics of your fireplace.
Read more: How To Update Gas Fireplace
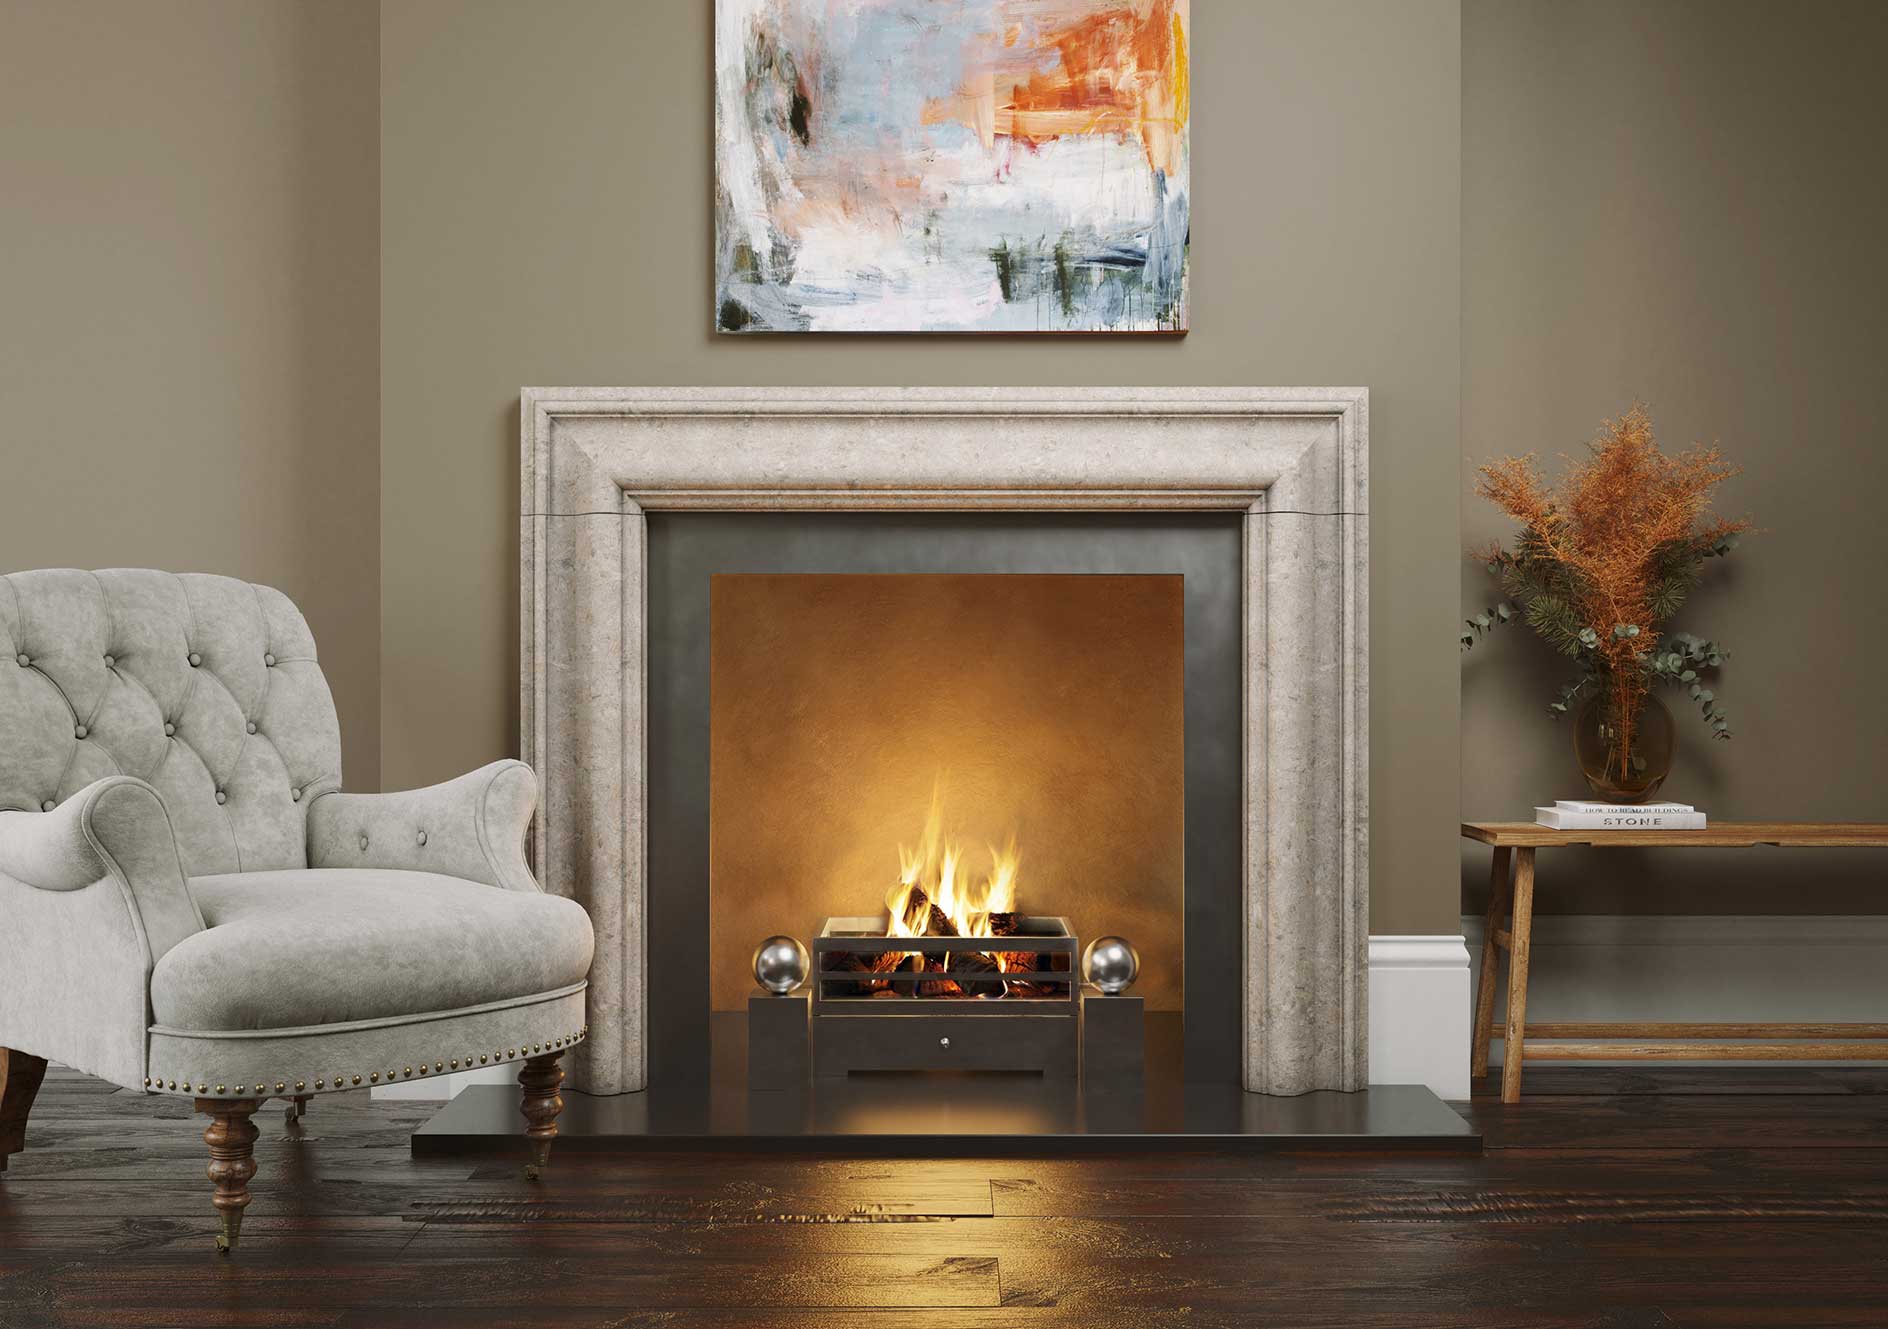
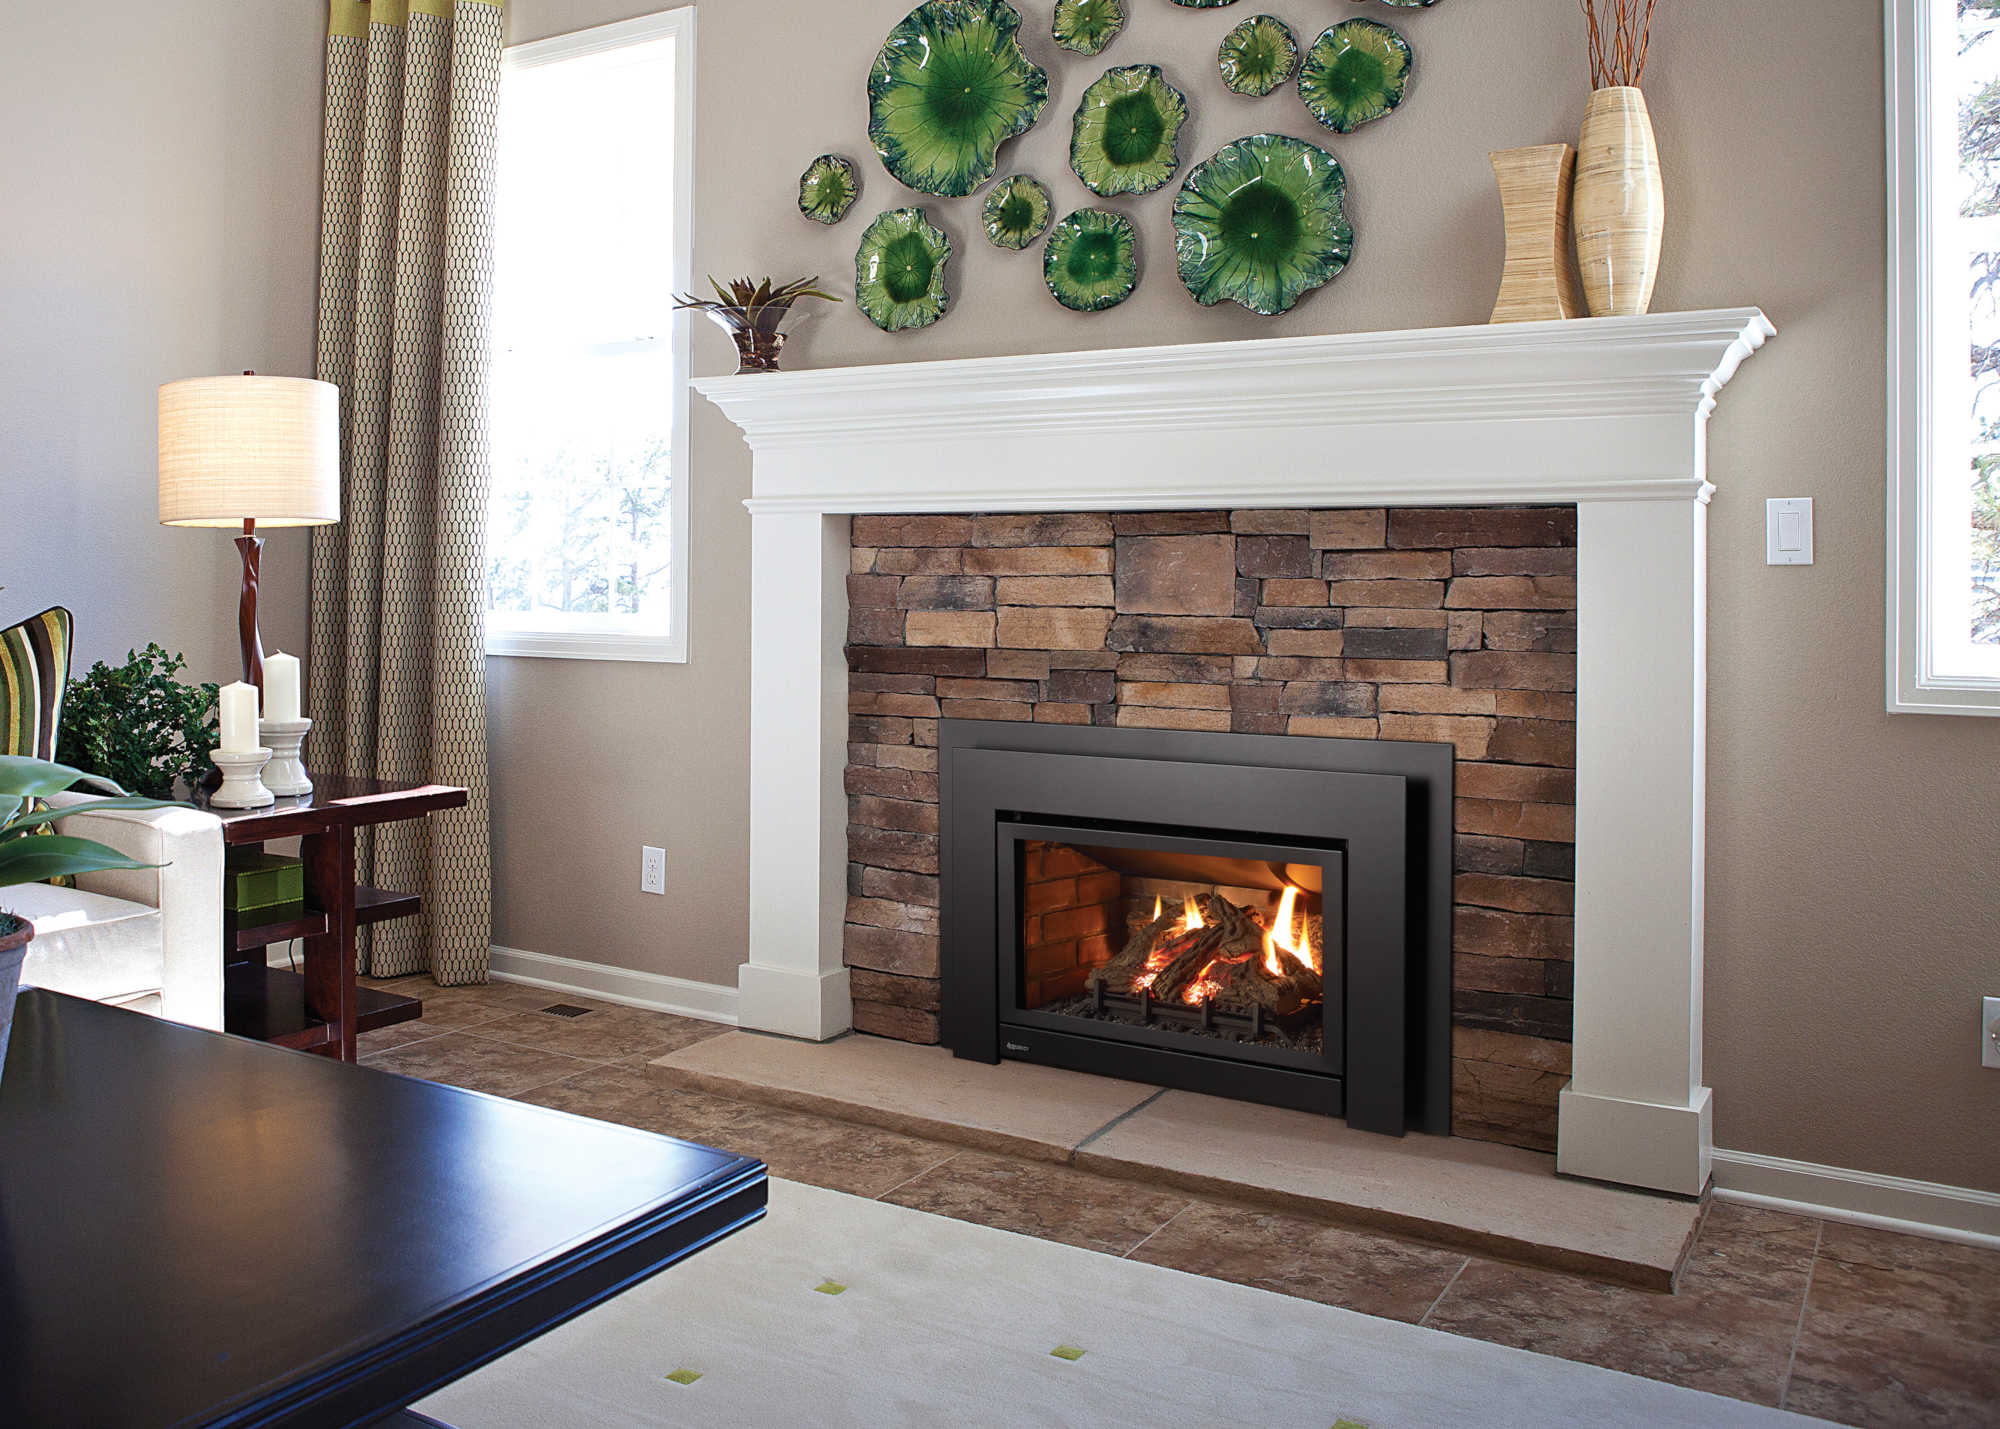
Step 9: Complete the Final Touches
After testing your gas fireplace and ensuring its proper functionality, it’s time to add the final touches to enhance the overall appearance and aesthetics. These finishing touches will help transform your gas fireplace into a beautiful centerpiece in your home. Follow these steps to complete the final touches:
- Install a fireplace surround: Consider adding a fireplace surround to complement the style and decor of your space. A fireplace surround can be made from various materials such as wood, stone, or metal. Ensure that it is properly installed and securely mounted around the firebox.
- Add a mantel: A mantel can provide a focal point and add character to your gas fireplace. Choose a mantel that suits your style and complements the surrounding decor. Install the mantel securely, ensuring it is level and properly anchored.
- Accessorize the fireplace: Enhance the aesthetic appeal of your gas fireplace by adding decorative accessories such as artwork, mirrors, or candles on the mantel or adjacent walls. Be mindful of safety and avoid placing any flammable objects too close to the flames.
- Clean the glass: If your gas fireplace has glass doors or a viewing window, ensure it is clean and free of any smudges or residue. Use a specially formulated fireplace glass cleaner or a mild solution of vinegar and water to clean the glass surface.
- Arrange furniture: Consider arranging furniture around the fireplace to create a cozy and inviting space. Position seating areas to maximize comfort and provide a clear view of the fireplace.
- Add decorative elements: To enhance the ambiance, consider adding decorative elements such as indoor plants, decorative stones, or vases near the fireplace. These elements can complement the natural feel of the rocks and create a visually pleasing atmosphere.
- Maintain regular cleaning and maintenance: Keep your gas fireplace in optimal condition by regularly cleaning and maintaining it. Follow the manufacturer’s guidelines for proper maintenance and schedule professional servicing as recommended.
Completing these final touches will help elevate the overall look and feel of your gas fireplace with rocks. It will transform it into a stylish and inviting focal point in your home. Regularly assess the appearance and functionality, and make adjustments or repairs as needed to ensure long-lasting enjoyment of your gas fireplace.
Congratulations! With these final touches, you have successfully set up your gas fireplace with rocks. Sit back, relax, and enjoy the warmth and ambiance it brings to your living space.
Conclusion
Setting up a gas fireplace with rocks is a rewarding and enjoyable process that can enhance the comfort and ambiance of your home. With careful planning, proper installation, and attention to detail, you can create a stunning focal point that will be cherished for years to come.
Throughout this step-by-step guide, we have covered the essential aspects of setting up a gas fireplace with rocks. From choosing the right type of gas fireplace to completing the final touches, each step plays a crucial role in creating a safe, functional, and visually pleasing fireplace.
Remember, safety should always be a top priority when working with gas appliances. If you are unsure or uncomfortable with any step of the installation process, it is best to consult a professional gas technician. They have the expertise and knowledge to ensure a safe and proper installation.
By following the steps outlined in this guide, you can confidently install a gas fireplace with rocks and enjoy the charm and warmth it brings to your home. From gathering the necessary tools and materials to arranging the rocks in the firebox, each step contributes to the overall aesthetics and functionality of your gas fireplace.
Once your gas fireplace is set up, regularly inspect and maintain it according to the manufacturer’s recommendations. Regular cleaning and servicing will help ensure optimal performance and longevity of your fireplace.
Now, sit back, relax, and enjoy the comforting flames dancing over the rocks in your gas fireplace. Whether it’s a cozy night in or a gathering with loved ones, your gas fireplace with rocks will create a warm and inviting atmosphere for all to enjoy.
Now that you've mastered setting up your gas fireplace with rocks, ensuring safety is crucial. If you're unsure about the security of your existing setup, our detailed guide on fireplace safety will walk you through all necessary checks and precautions. Whether you're a seasoned homeowner or just starting, understanding how to assess fireplace hazards is essential for a safe, warm home. Don't miss out on these vital insights that could safeguard your living space.
Frequently Asked Questions about How To Set Up Gas Fireplace With Rocks
Was this page helpful?
At Storables.com, we guarantee accurate and reliable information. Our content, validated by Expert Board Contributors, is crafted following stringent Editorial Policies. We're committed to providing you with well-researched, expert-backed insights for all your informational needs.


0 thoughts on “How To Set Up Gas Fireplace With Rocks”