Articles
How To Arrange Circular Mirrors On A Wall
Modified: May 6, 2024
Learn how to arrange circular mirrors on a wall with our helpful articles. Transform your space with these simple tips and create a stunning focal point.
(Many of the links in this article redirect to a specific reviewed product. Your purchase of these products through affiliate links helps to generate commission for Storables.com, at no extra cost. Learn more)
Introduction
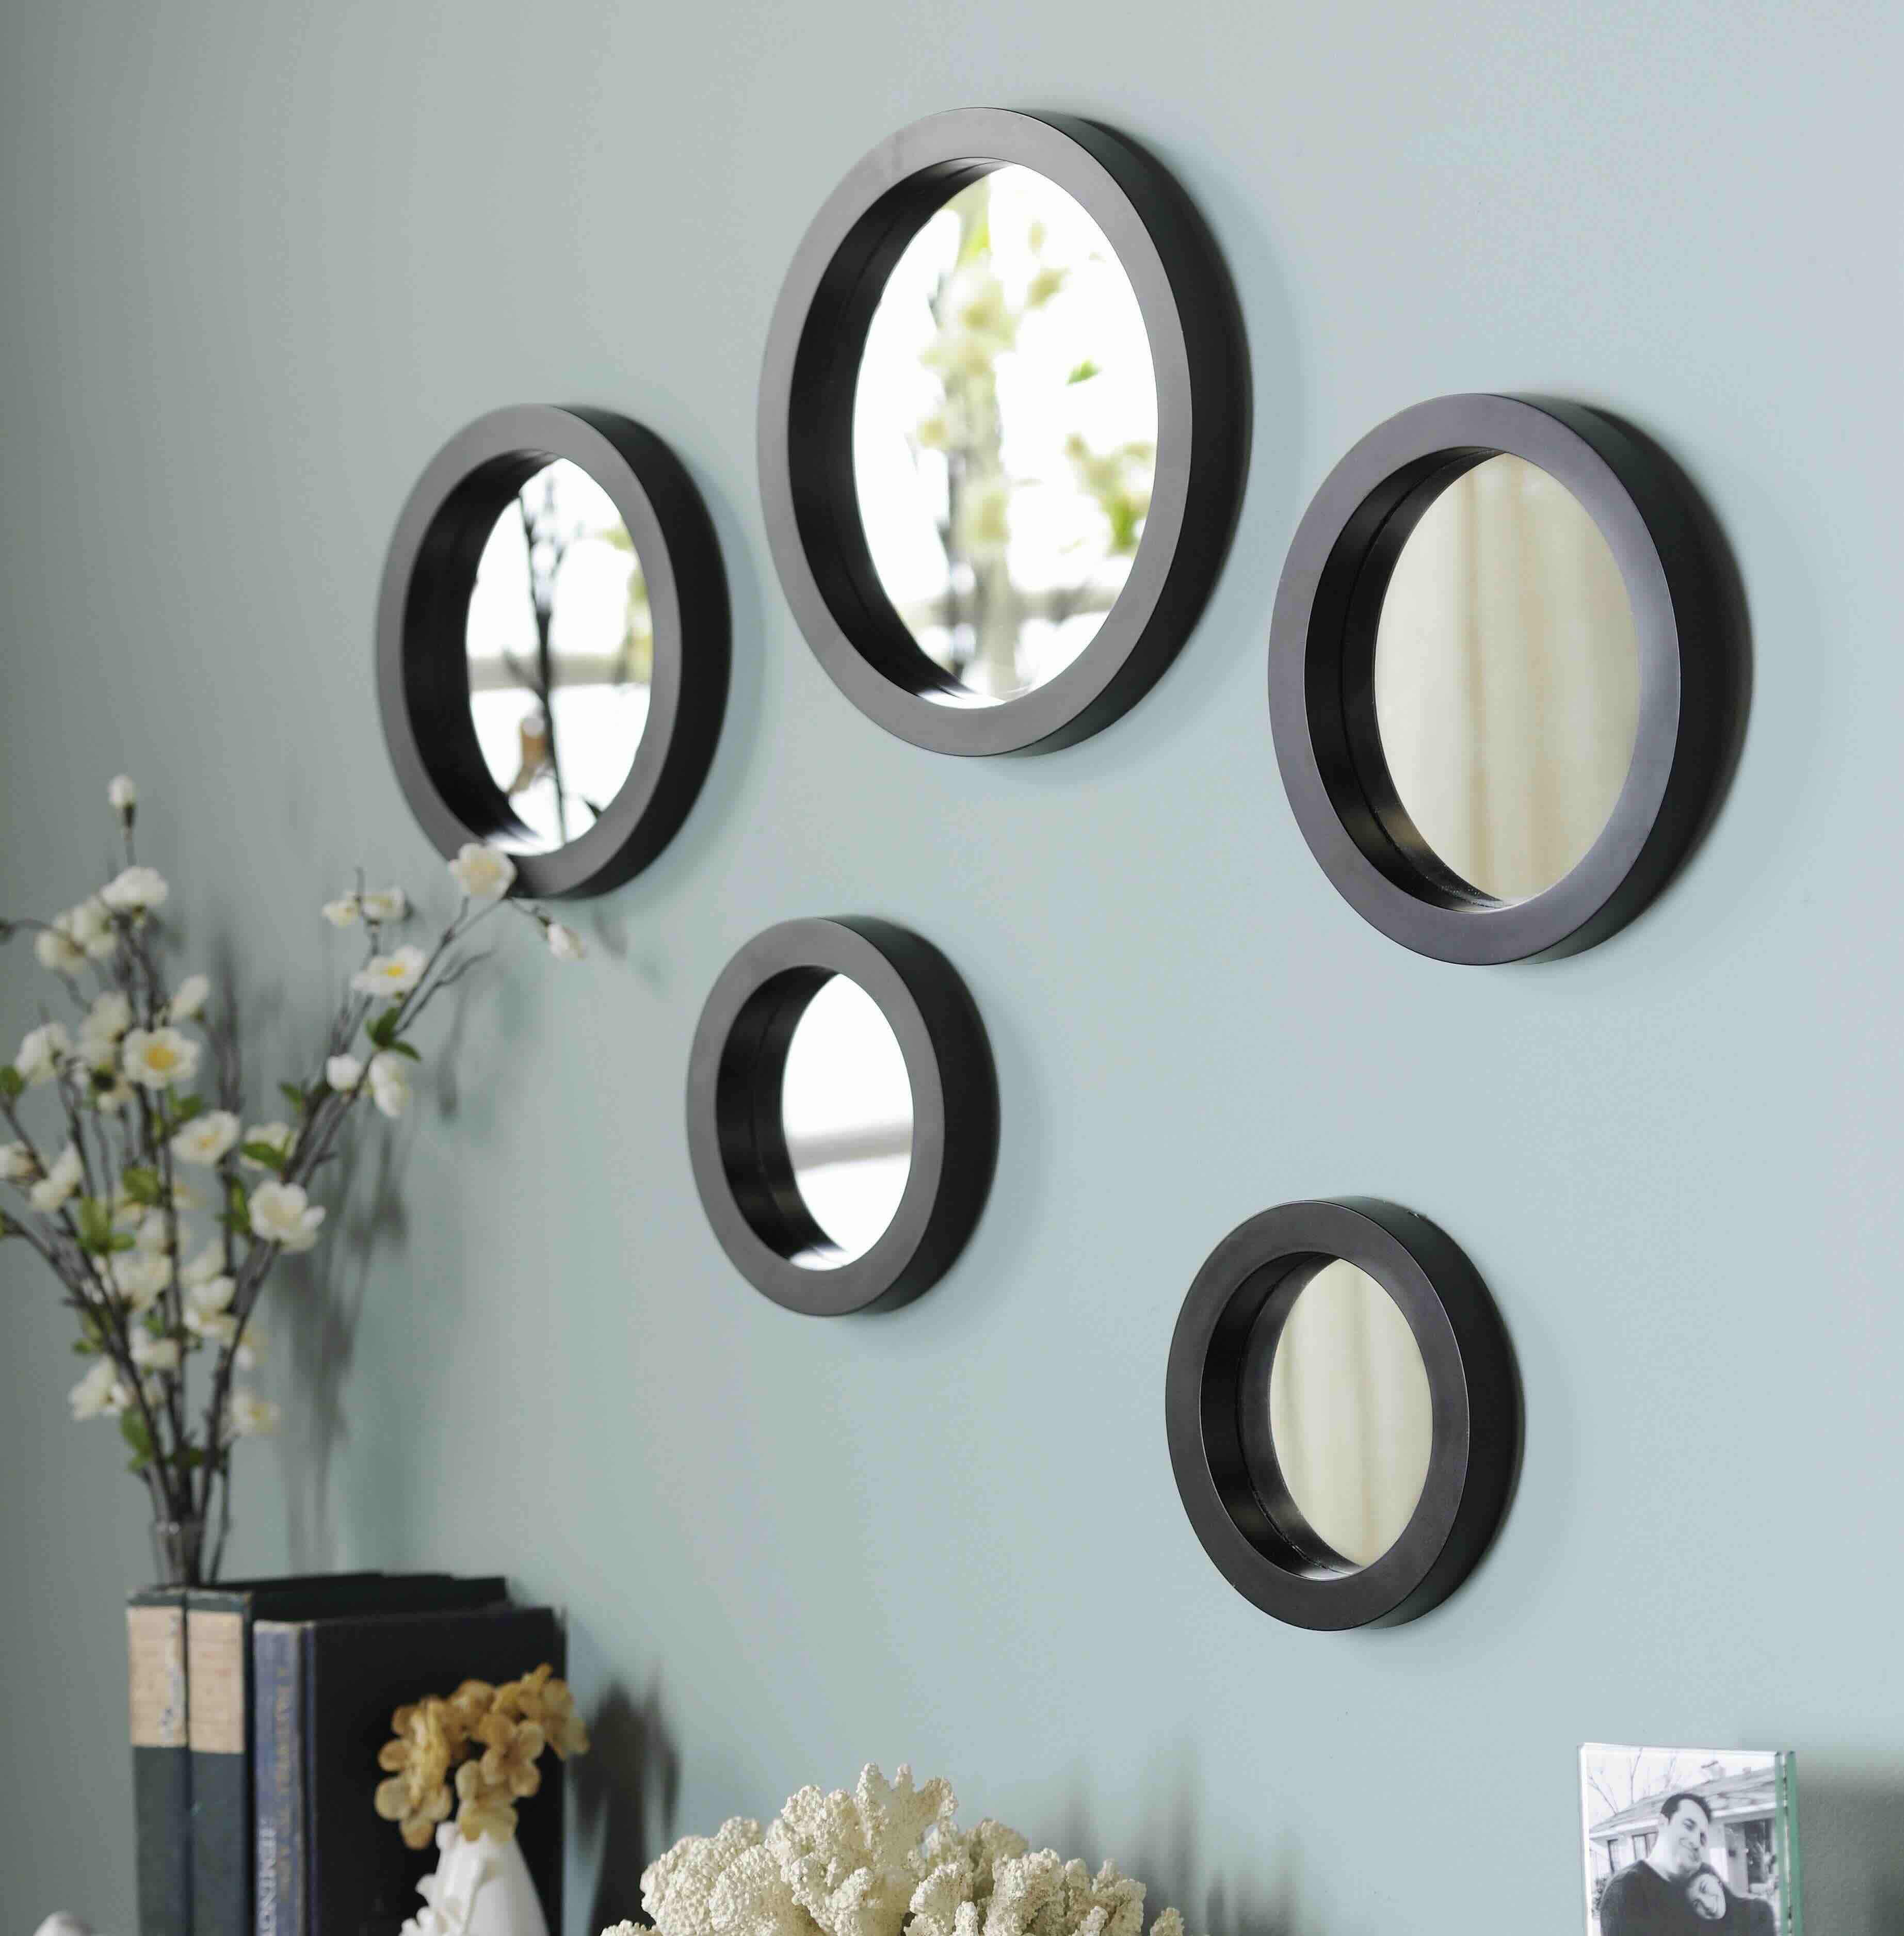
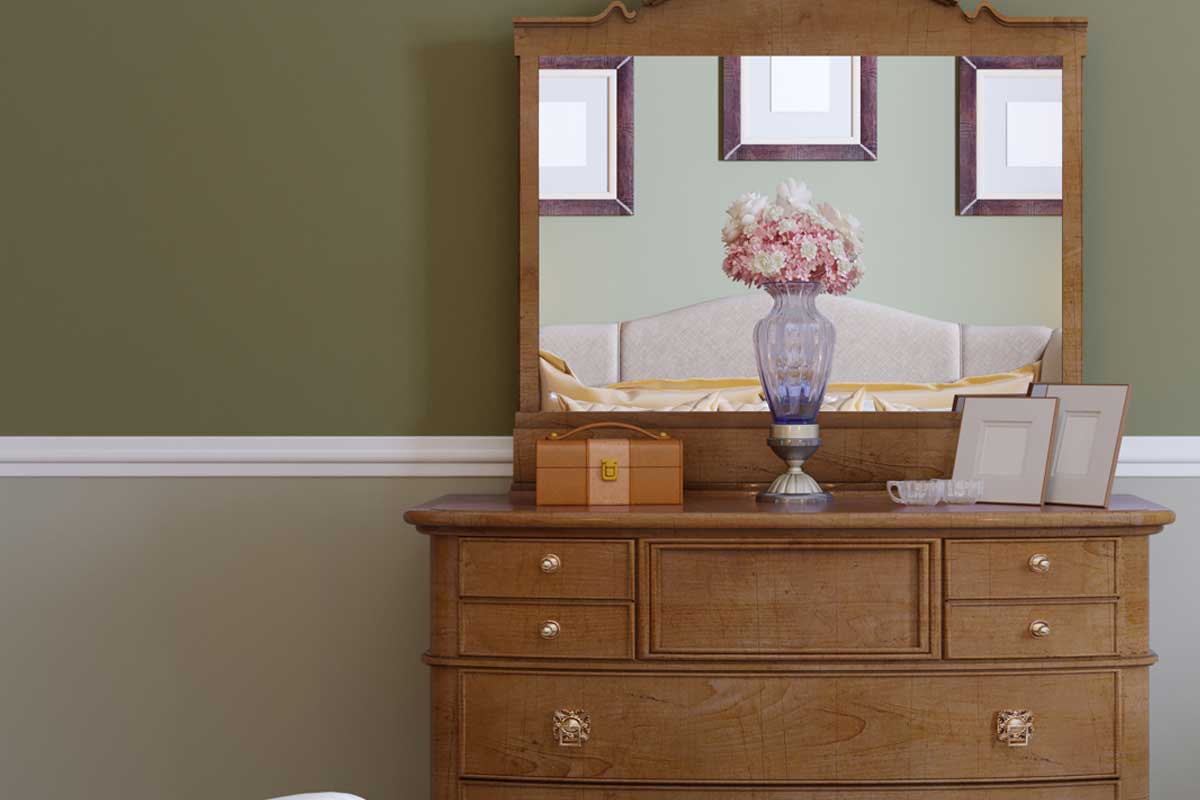
Decorating your walls with mirrors not only adds a touch of elegance to your space but also helps create the illusion of a larger and more open room. Circular mirrors, in particular, can bring a unique and stylish element to any wall. Whether you want to create a focal point or simply add some dimension to your space, arranging circular mirrors on a wall can be a fun and creative project.
In this article, we will guide you through the process of arranging circular mirrors on a wall. From choosing the right mirrors to determining the ideal wall location and creating the perfect layout, we will cover all the essential steps to help you achieve a visually appealing result.
Before you begin, it’s important to consider the overall style and theme of the room you’ll be decorating. Think about the existing color palette, furniture, and decor to ensure that the mirrors you choose harmonize with the overall aesthetic. Additionally, consider the size of the wall and the space you want to cover. This will help you determine how many mirrors you’ll need and their appropriate sizes.
Now, let’s delve into the step-by-step process of arranging circular mirrors on a wall and transform your space into a stunning visual masterpiece.
Key Takeaways:
- Elevate your space with visually appealing circular mirrors on the wall. Consider size, frame style, and functionality to create a cohesive and stylish arrangement that complements your room’s aesthetic.
- Transform your wall into a captivating focal point with carefully arranged circular mirrors. Select the perfect wall location, prepare for installation, and add finishing touches to create a visually stunning display that reflects your unique style.
Read more: How To Arrange Wall Art
Choosing the Right Circular Mirrors
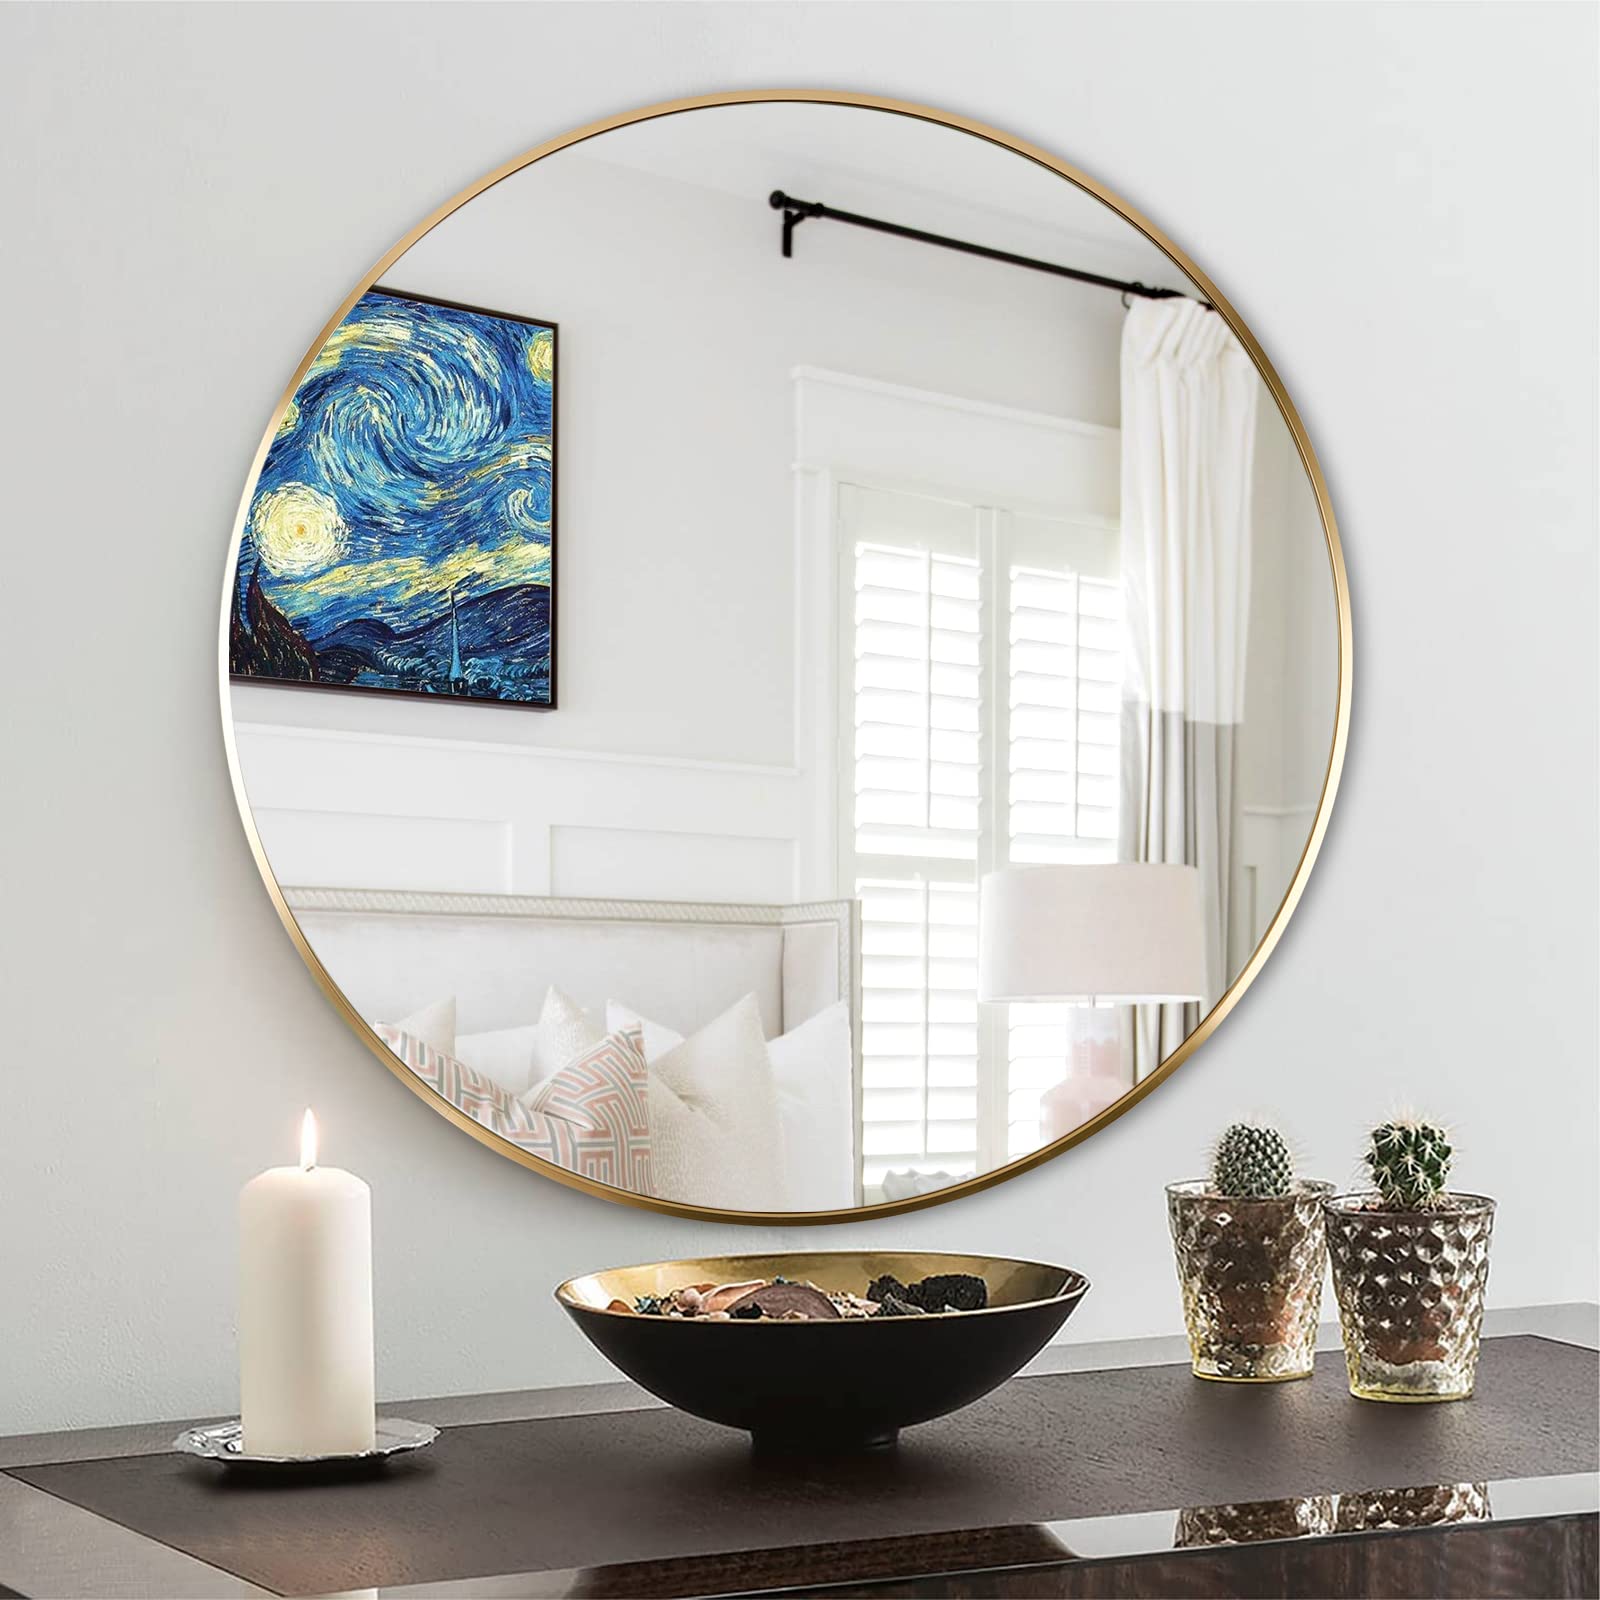
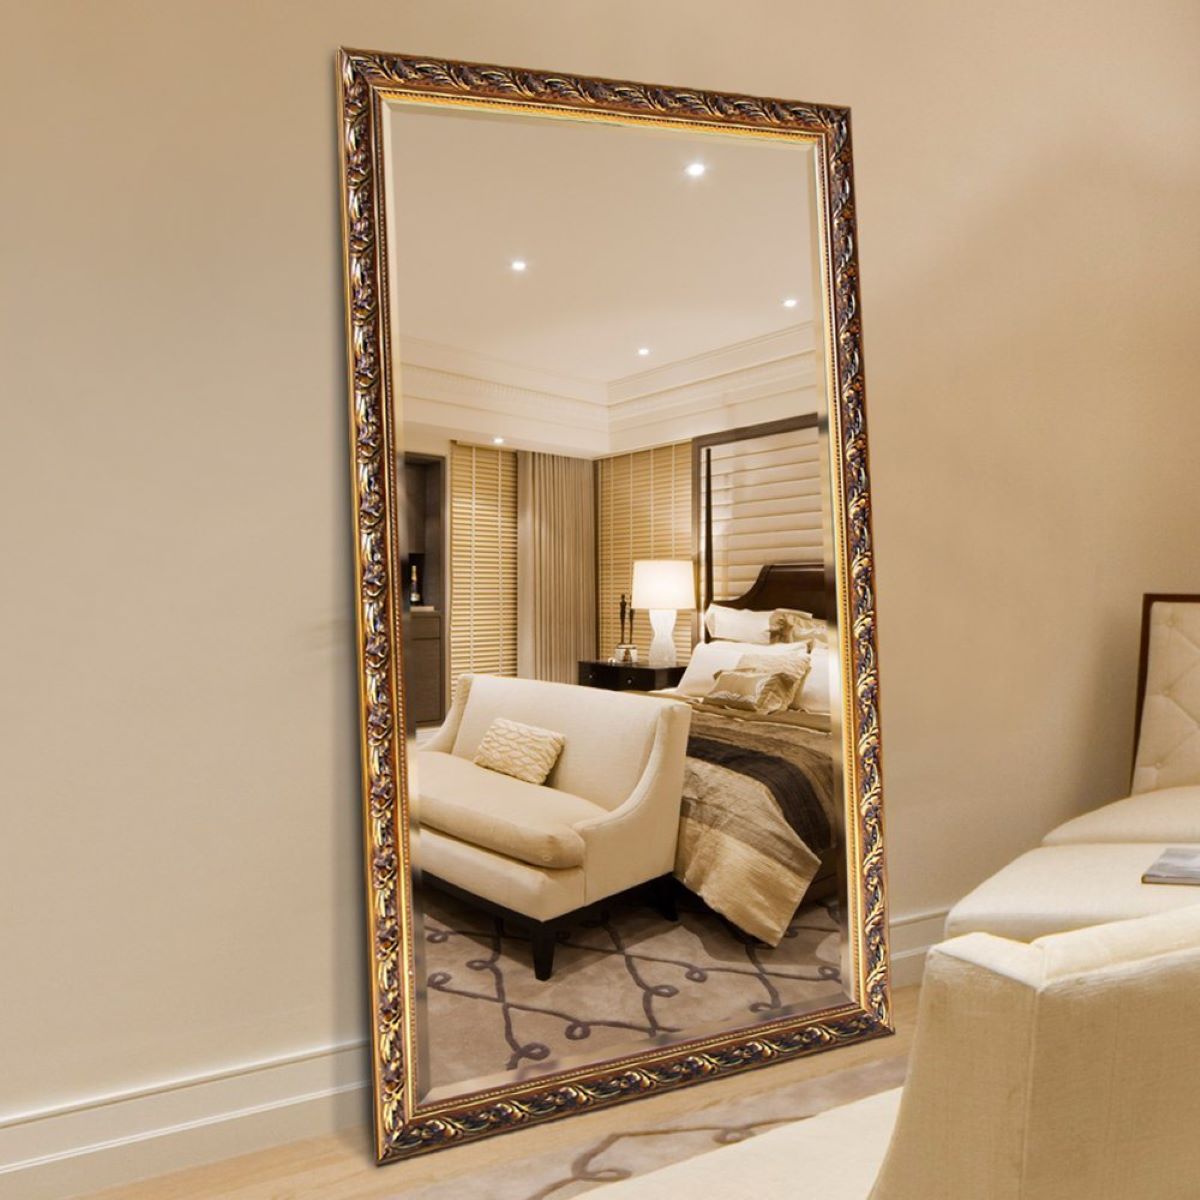
When it comes to selecting the perfect circular mirrors for your wall, there are a few factors to keep in mind. First, consider the size of the mirrors. You want them to be proportionate to the wall and the space you’re working with. If you have a larger wall, you can opt for larger mirrors to create a bold statement. On the other hand, if you have a smaller wall or want a more subtle look, smaller mirrors may be the better choice.
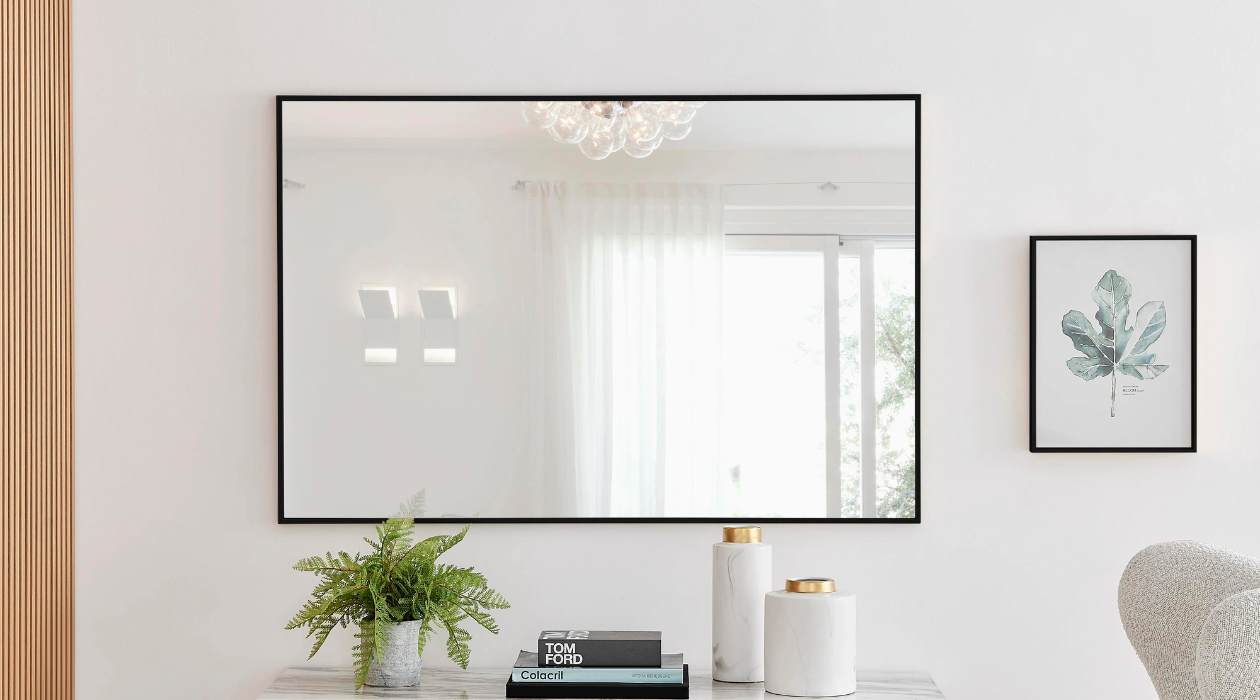
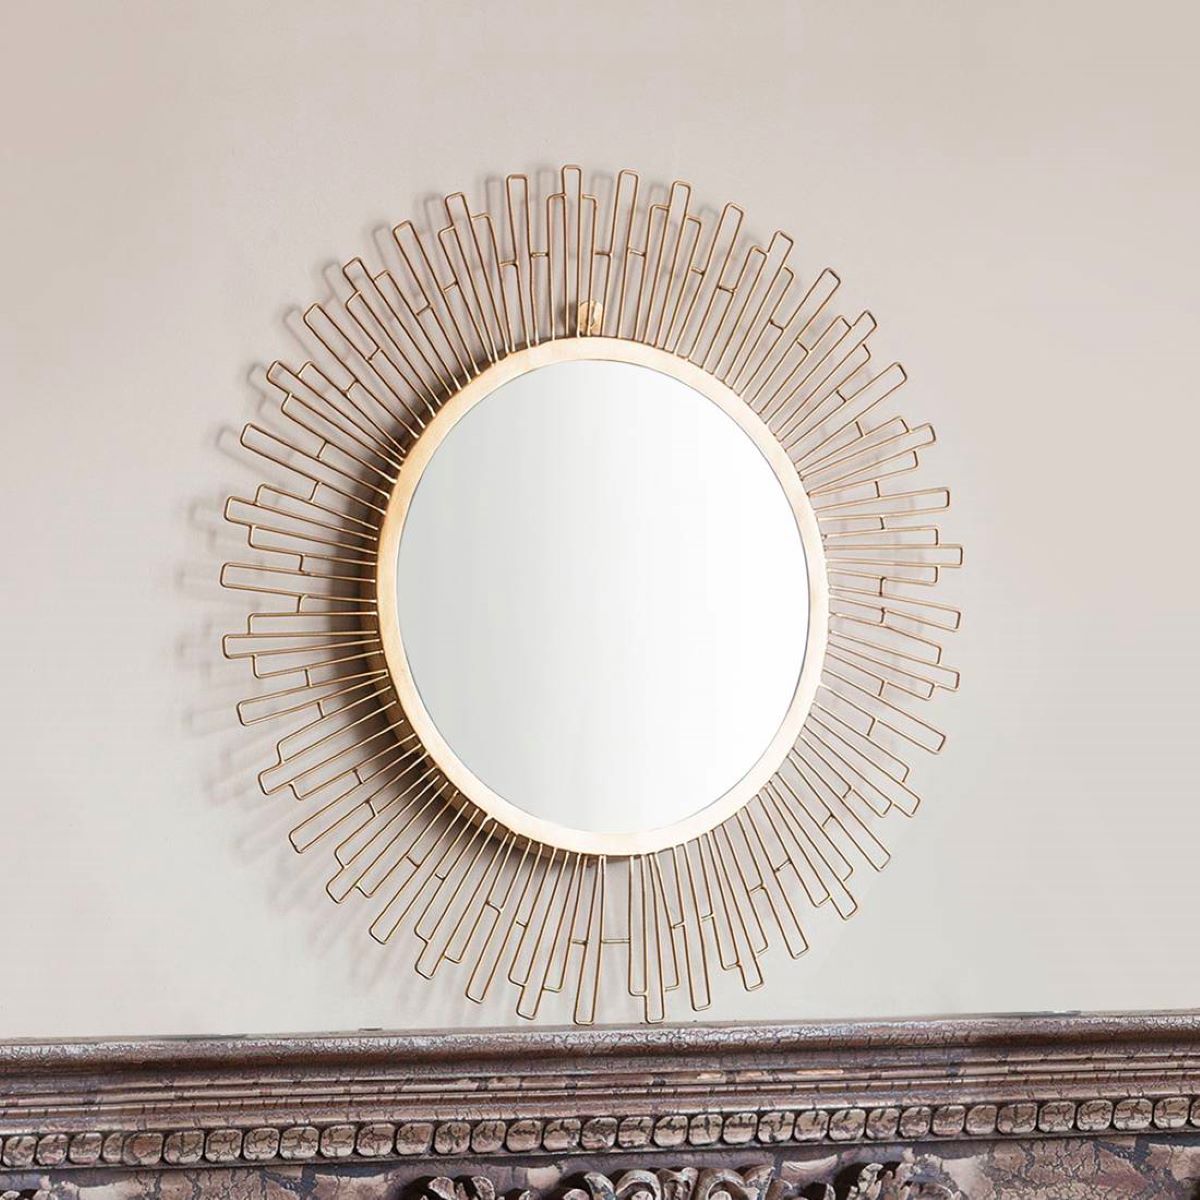
Next, think about the frame of the mirrors. Circular mirrors come in a variety of frame styles, such as metal, wood, or even frameless designs. Consider the existing decor in the room and choose a frame that complements the overall style. For a modern and sleek look, a frameless mirror can be a great option. If you prefer a more rustic or traditional feel, a wooden frame can add warmth and character.
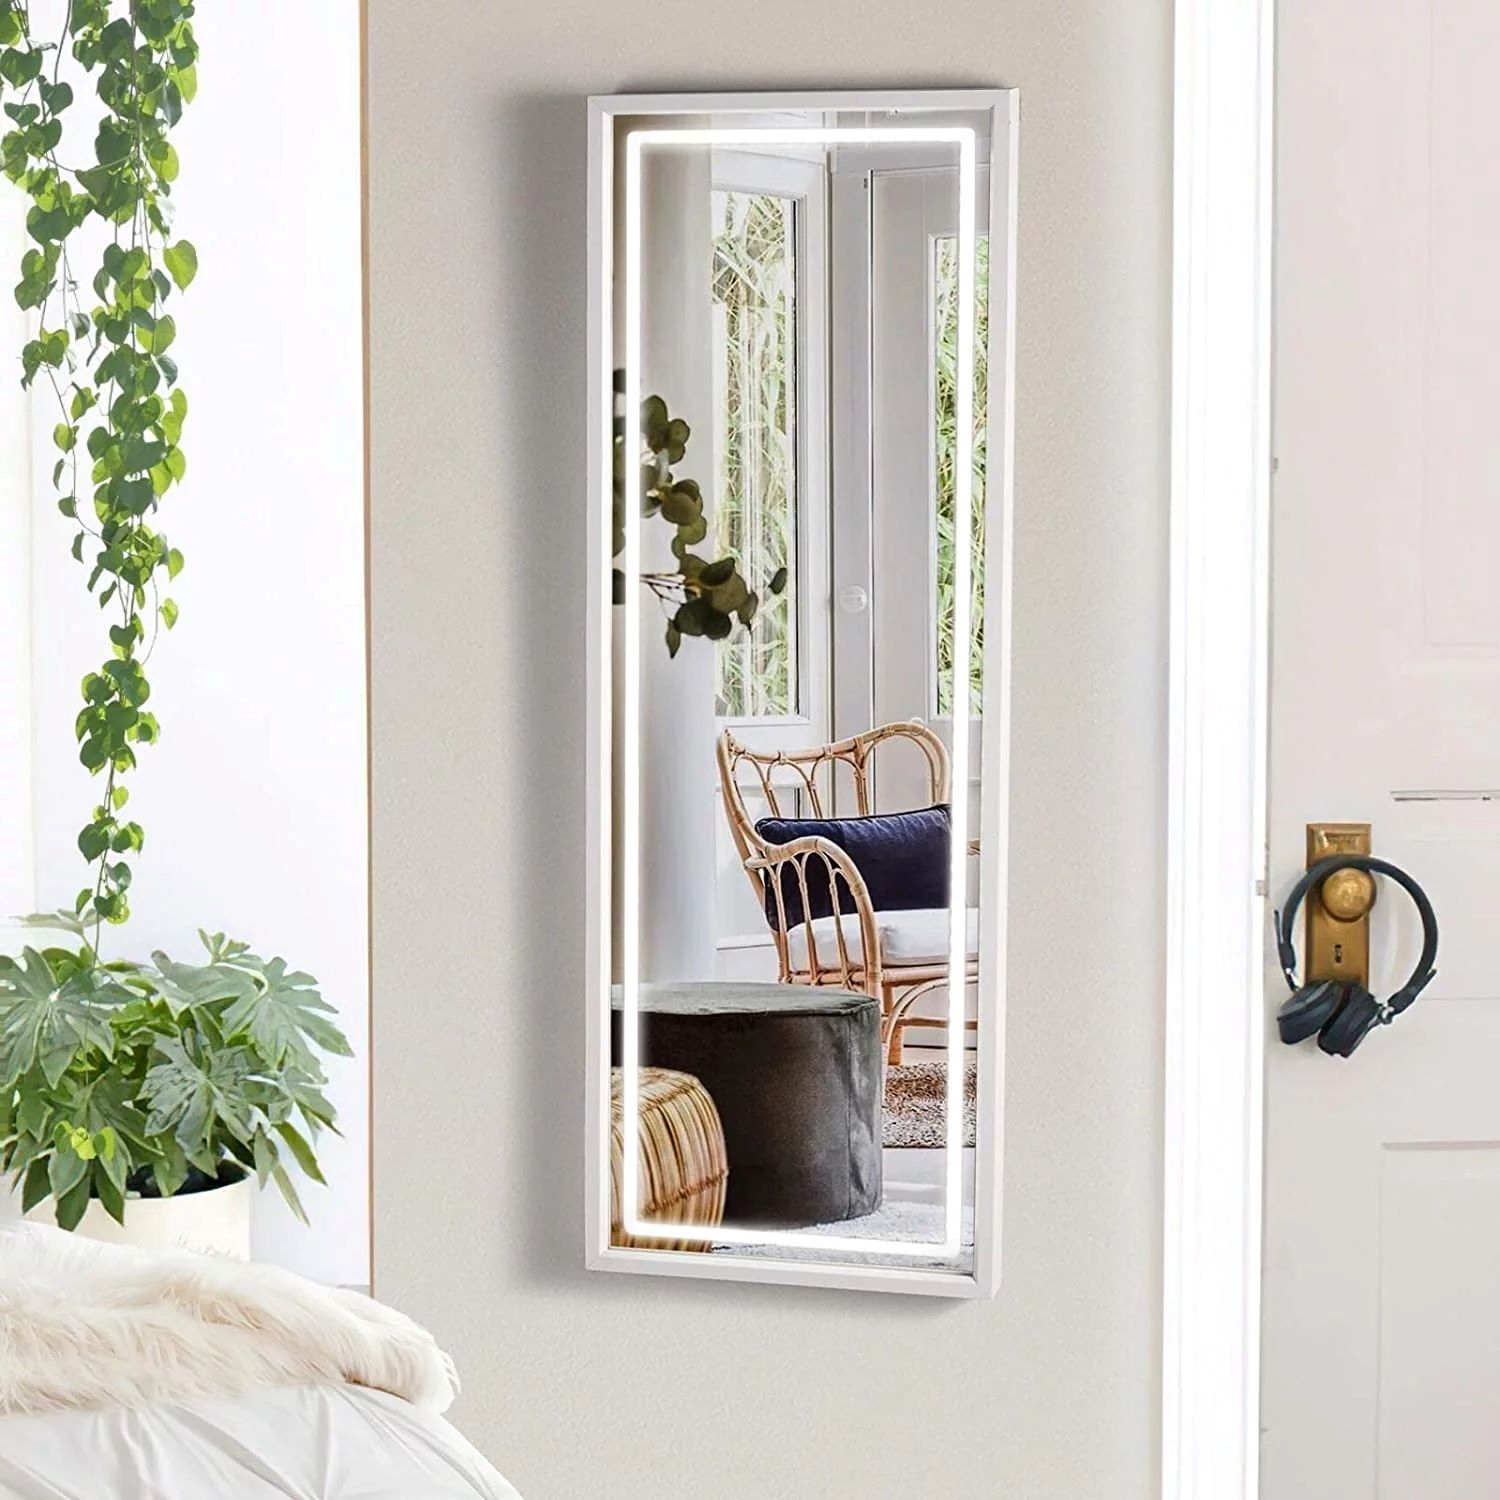
Another important consideration is the mirror’s functionality. Determine whether you want the mirrors to be purely decorative or if you would like them to serve a practical purpose, such as a vanity mirror or an entryway mirror. This will help you decide on features like magnification, pivot functionality, or integrated lighting.
Lastly, take into account the quality and durability of the mirrors. Opt for mirrors made with high-quality materials and a reputable brand to ensure they will withstand the test of time. This is especially important if you live in a household with children or pets.
By considering these factors and selecting the right circular mirrors, you can lay the foundation for a visually striking arrangement on your wall. With the mirrors in hand, let’s move on to the next step: choosing the perfect wall location.
Selecting the Perfect Wall Location
Choosing the right wall location for your circular mirrors is crucial to create an impactful and visually pleasing arrangement. Consider the following factors when selecting the ideal spot:
1. Focal Point: Determine if you want the circular mirrors to be the focal point of the room or if you want them to complement existing focal points. If you want the mirrors to be the center of attention, choose a wall that is directly visible when entering the room.
2. Lighting: Take into account the natural and artificial lighting in the room. Mirrors reflect light, so placing them strategically can enhance the overall brightness and sense of space. Consider positioning the mirrors opposite windows or light sources to create a more illuminated atmosphere.
3. Balance and Symmetry: If you’re hanging multiple circular mirrors, consider creating a sense of balance and symmetry. This can be achieved by spacing the mirrors evenly and aligning them with other elements in the room, such as furniture or architectural features.
4. Functional Considerations: Think about the purpose of the mirrors. If you’re using them as a vanity mirror in a bathroom, choose a wall near a sink or dressing area. If you want the mirrors to reflect specific views, position them in a way that captures the desired scenery.
Once you’ve identified the perfect wall location, make sure to measure the space accurately. Use a tape measure to determine the height and width of the available area. This will help you determine the placement and ensure that the mirrors fit harmoniously within the space.
By considering these factors and analyzing the layout of your room, you’ll be able to select the perfect wall location for your circular mirrors. With the location finalized, it’s time to move on to the next step: determining the desired layout.
Determining the Desired Layout
Before you start hanging your circular mirrors on the wall, it’s important to have a clear vision of the desired layout. The layout will depend on the number of mirrors you have, their sizes, and your personal preferences. Here are some tips to help you determine the desired layout:
1. Symmetry or Asymmetry: Decide whether you want a symmetrical or asymmetrical arrangement. Symmetry creates a sense of order and balance, while asymmetry adds visual interest and a more eclectic look. Consider the overall style of the room and your personal aesthetic when making this decision.
2. Mirror Size and Placement: Experiment with different mirror sizes and placements to find a layout that best suits your space. You can choose to have all the mirrors of the same size and evenly spaced, or you can mix different sizes for a more dynamic composition. Play around with different arrangements on the floor or using paper cutouts to visualize the layout before hanging the mirrors.
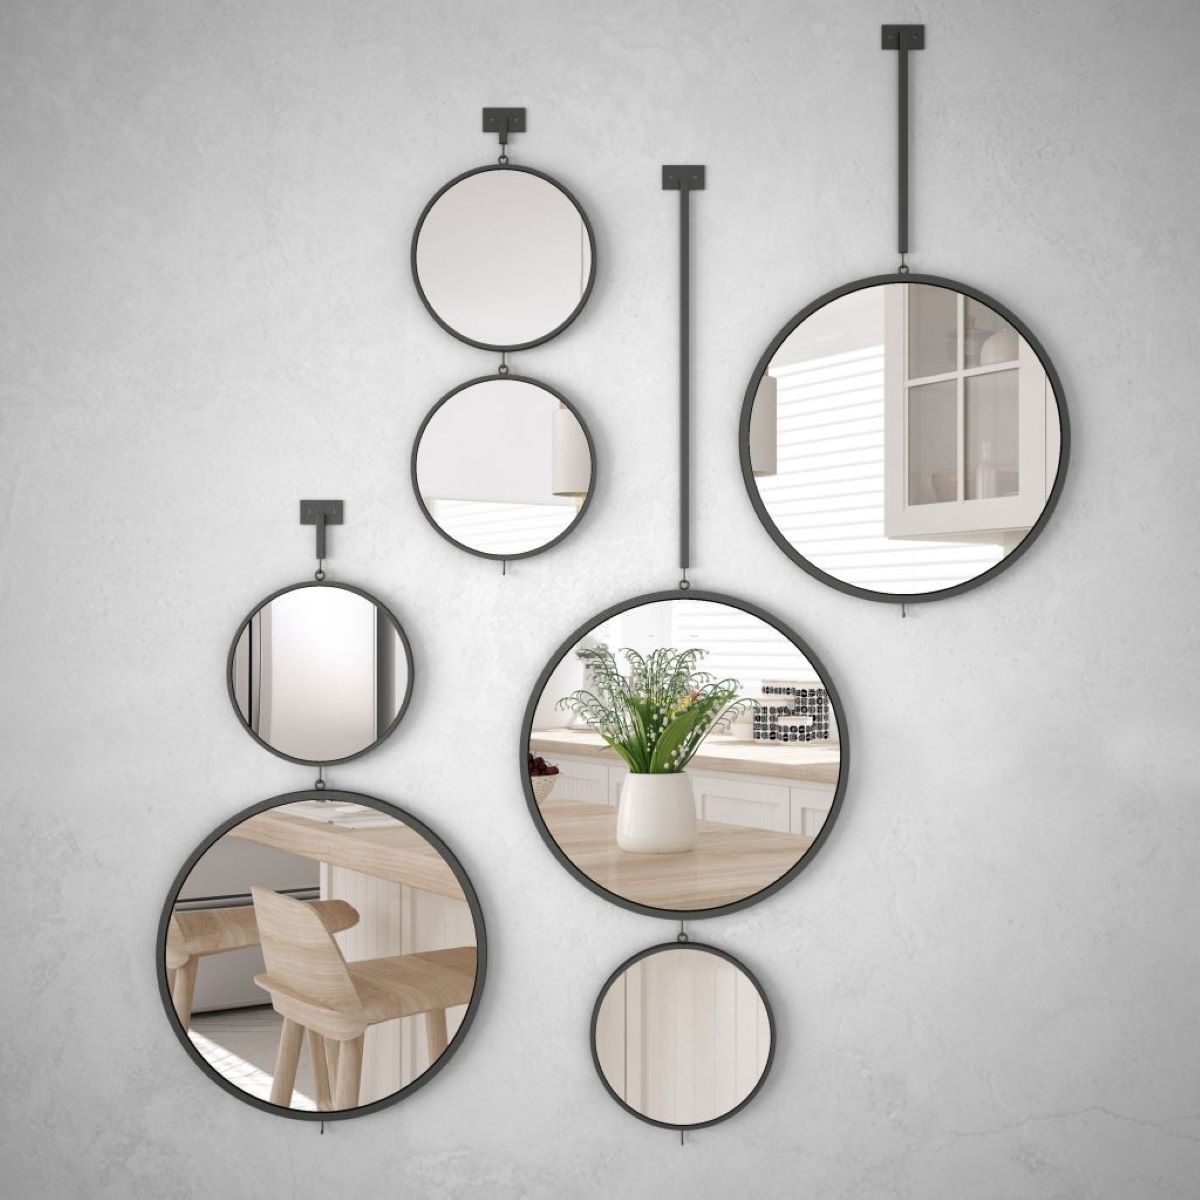
3. Center Point: Determine if you want to create a central focal point with one large mirror or if you prefer a cluster of smaller mirrors. The center point can be a single mirror or a group of mirrors arranged together. If you choose a cluster, consider having a larger mirror in the center and smaller ones around it for balance.
4. Wall Space: Consider the size and shape of the wall space you’re working with. If the wall is narrow and tall, a vertical arrangement of mirrors can create the illusion of height. On the other hand, a wide and horizontal wall can accommodate a longer row of mirrors or a staggered arrangement.
5. Ceilings and Furniture: Take into account the height of the ceiling and the furniture placement in the room. Aim to hang the mirrors at eye level, around 57-60 inches from the ground, to ensure they are easily visible and accessible. Also, consider the relationship between the mirrors and nearby furniture or architectural elements for a cohesive look.
Remember, the layout should enhance the aesthetic of the room and reflect your personal style. Take your time to experiment with different arrangements until you find the perfect layout that suits your vision and complements the overall design of the room.
Now that you have determined the desired layout, it’s time to move on to preparing the wall for installation.
Preparing the Wall for Installation
Before you start hanging the circular mirrors on the wall, it’s essential to properly prepare the area to ensure a secure and stable installation. Follow these steps to prepare the wall:
1. Clear the Area: Remove any furniture, artwork, or decorations from the wall and surrounding area. This will give you a clear workspace and prevent any obstructions during the installation process.
2. Cleaning the Wall: Wipe down the wall with a clean, dry cloth to remove any dust, dirt, or debris. Ensure that the surface is smooth and free from any imperfections that could affect the mirror’s adherence.
3. Marking the Placement: Use a pencil to mark the desired placement of the mirrors on the wall. Measure and mark the center point if you’re creating a focal point or the starting point for a specific layout. These marks will serve as your guide during the hanging process.
4. Stud Finder: Use a stud finder to locate the studs in the wall. Mirrors can be heavy, so it’s important to anchor them securely to the studs for stability. Mark the locations of the studs with a pencil so you can avoid them when drilling or screwing into the wall.
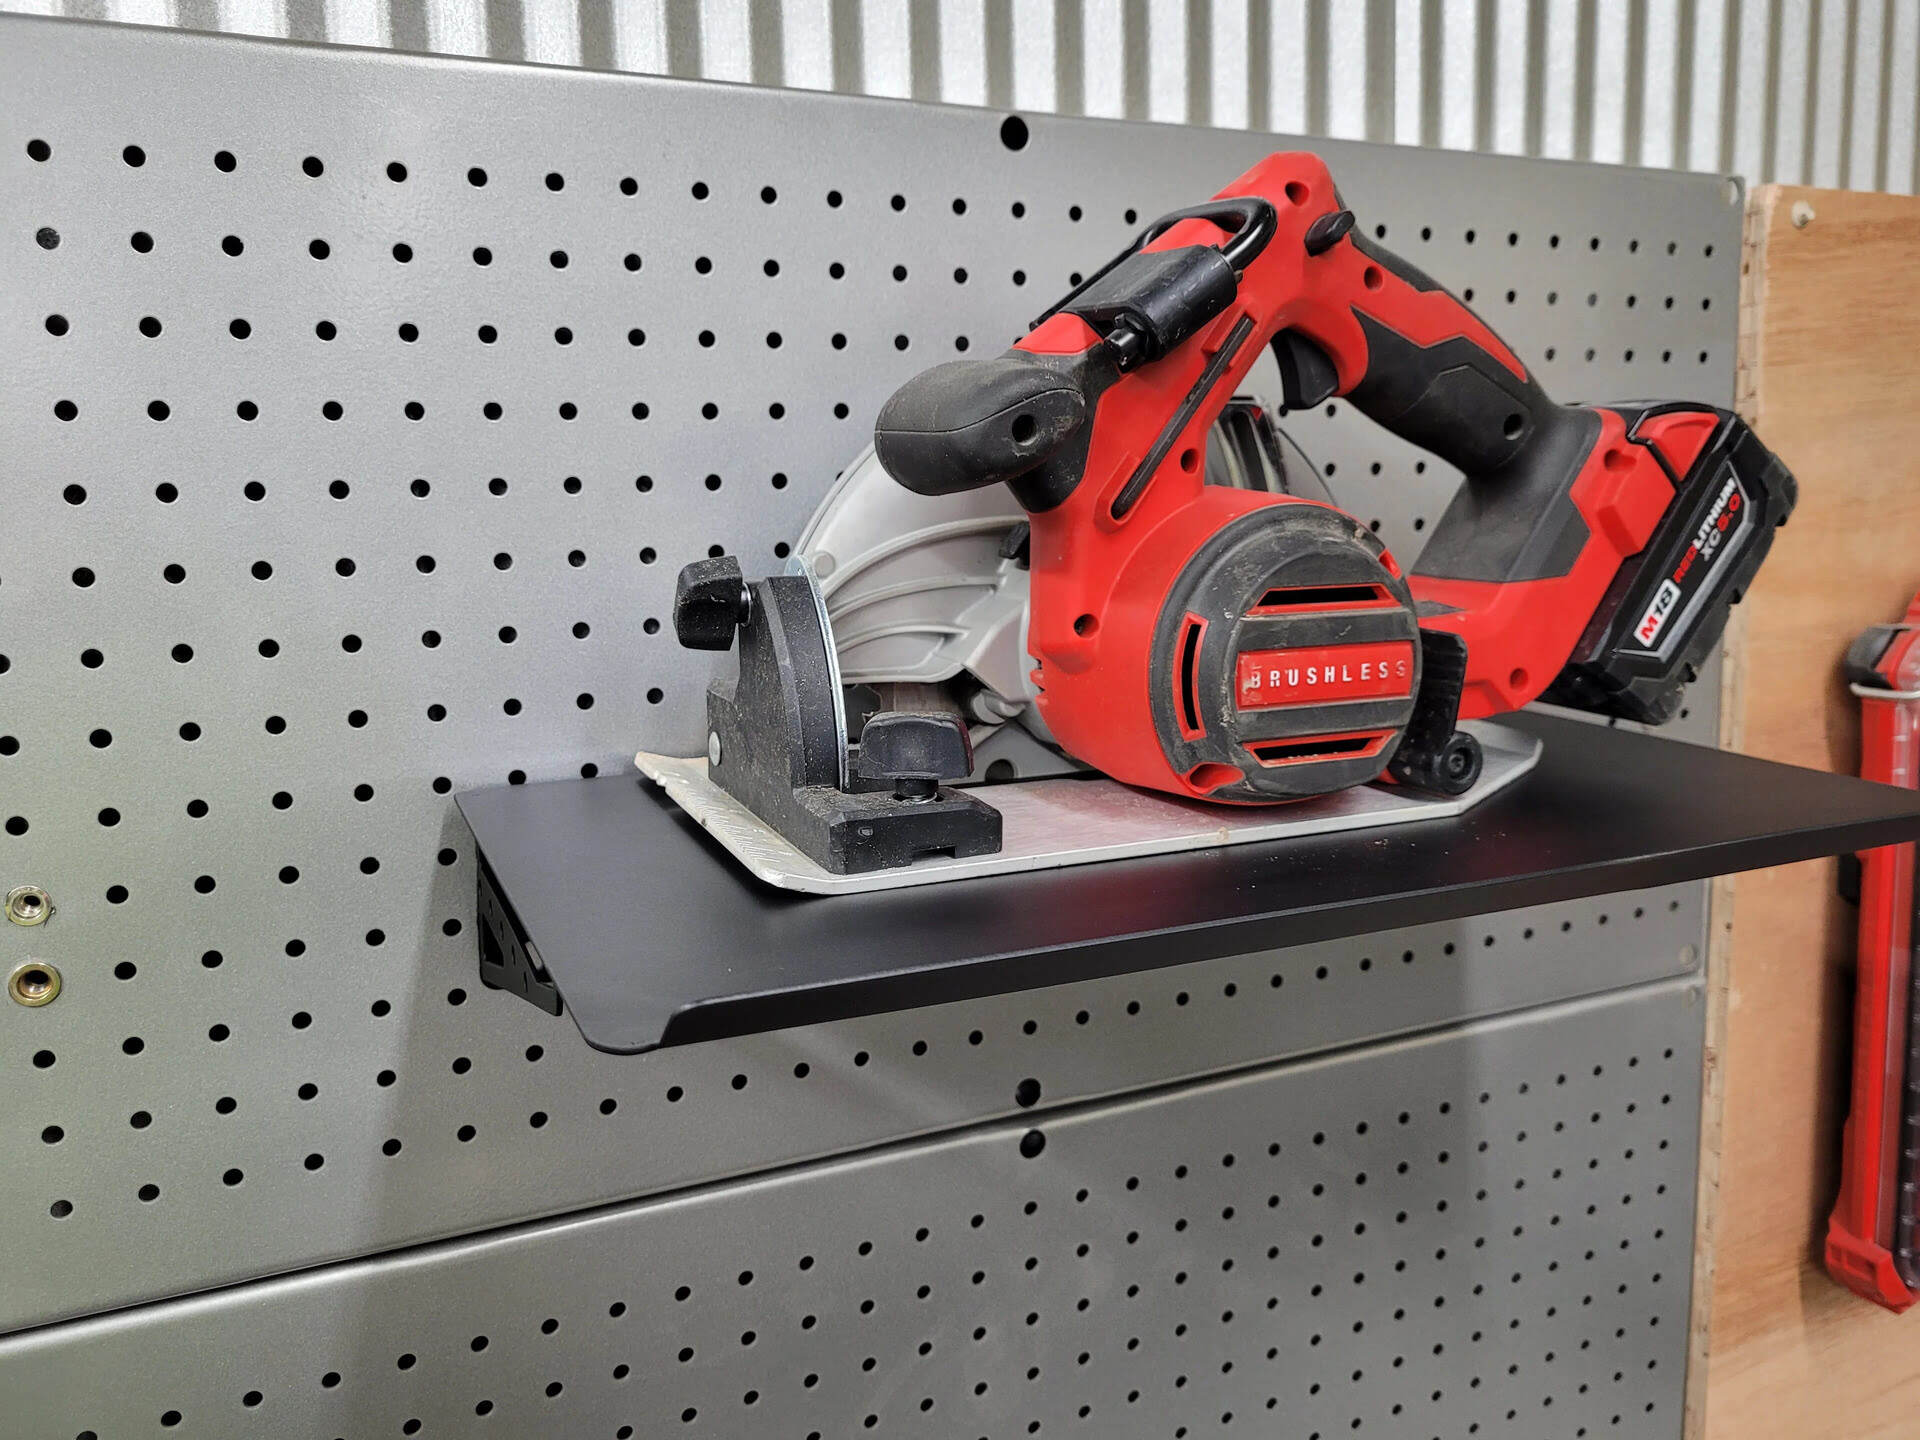
5. Gather Tools: Ensure you have all the necessary tools for the installation, including a drill, screws or mirror mounting hardware, a level, and a measuring tape. Having everything prepared in advance will make the process smoother and more efficient.
By taking the time to properly prepare the wall, you will create a stable foundation for hanging the circular mirrors. This will help prevent any accidents or damage, and ensure that your mirrors stay securely in place for years to come.
Now that you have prepared the wall, it’s time to proceed with hanging the mirrors.
When arranging circular mirrors on a wall, consider creating a visually appealing pattern by varying the sizes and spacing between the mirrors. This will add interest and depth to the display.
Read more: How To Make A Wall Of Mirrors
Hanging the Mirrors
Now that you have prepared the wall, it’s time to hang your circular mirrors. Follow these steps for a successful installation:
1. Gather the Necessary Tools: Make sure you have all the tools required for hanging the mirrors. This typically includes a drill, screws or mirror mounting hardware, a level, a measuring tape, and a screwdriver.
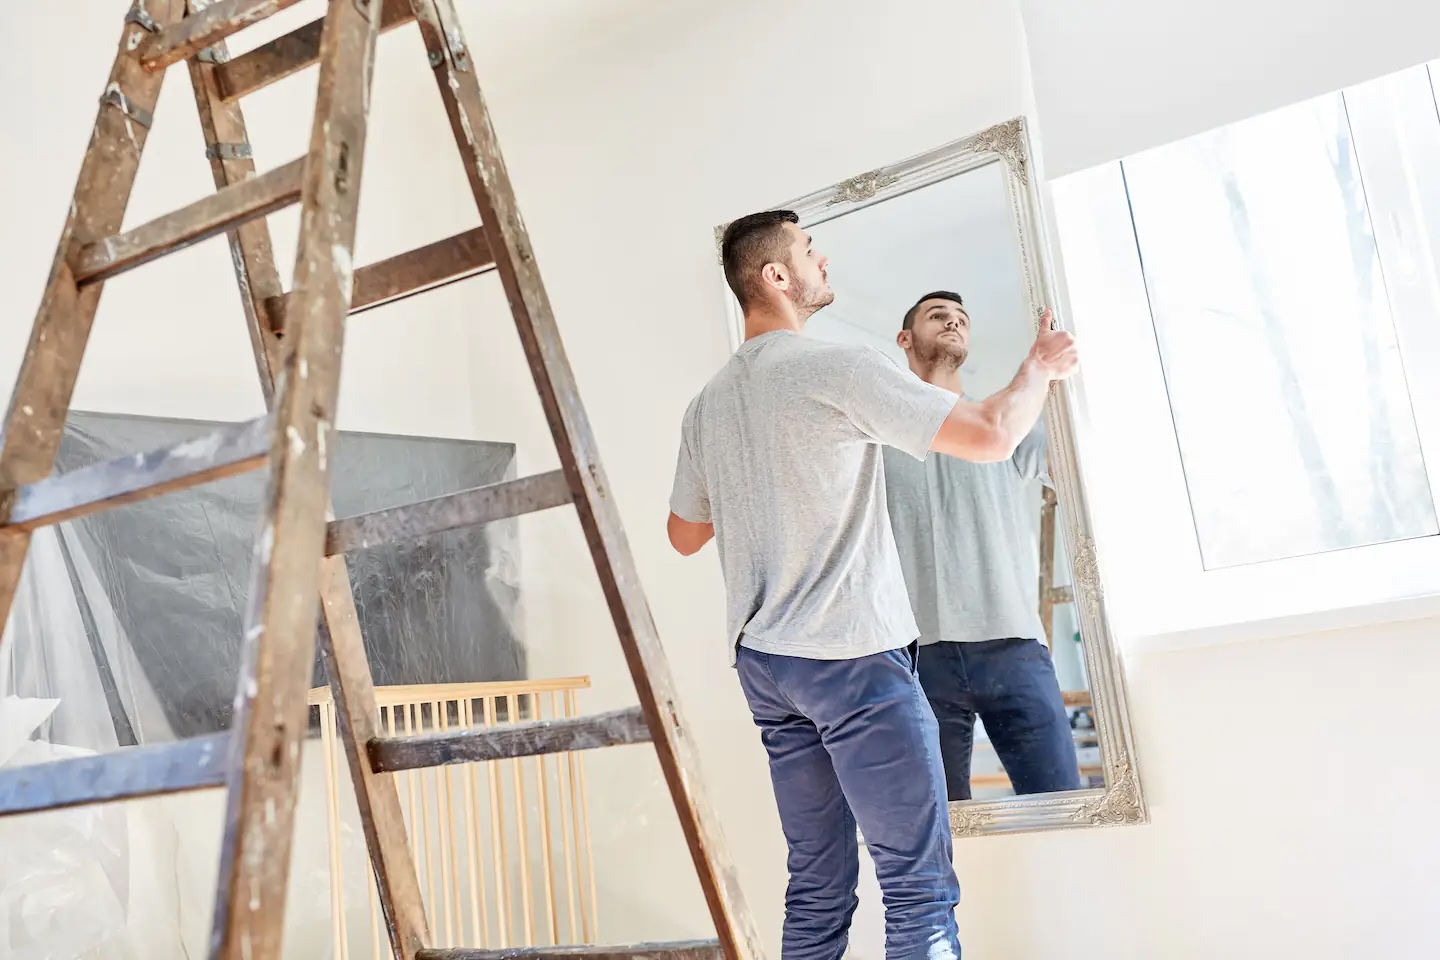
2. Positioning the First Mirror: Start by aligning the first mirror with the marked placement on the wall. Use a level to ensure it is straight. If the mirror has mounting hardware, follow the manufacturer’s instructions. If not, pre-drill holes into the wall at the marked spots.
3. Anchoring the Mirror: If there are studs behind the wall, secure the mirror by drilling screws directly into the studs. For areas without studs, use appropriate wall anchors and screws to ensure a secure hold. Tighten the screws until the mirror is firmly in place, but be careful not to overtighten and damage the mirror or wall.
4. Hanging Additional Mirrors: Repeat the same process for hanging any additional mirrors, ensuring they are evenly spaced and leveled with the first mirror. Use a measuring tape for precise measurement and a level to check for straightness.
5. Adjusting the Placement: Step back and evaluate the arrangement once all the mirrors are hung. Make any necessary adjustments to ensure the mirrors are evenly spaced and aligned with the desired layout. Take your time to achieve the desired visual effect.
6. Safety Precautions: Always prioritize safety when hanging mirrors. Avoid placing them in high-traffic areas where they could potentially be knocked or damaged. Additionally, use caution when handling and mounting the mirrors to prevent injury.
With careful positioning, anchoring, and adjustment, you can successfully hang your circular mirrors on the wall. Once the mirrors are securely in place, it’s time for the final step: adjusting and leveling the mirrors.
Adjusting and Leveling the Mirrors
After hanging the circular mirrors on the wall, it’s important to adjust and level them to ensure a cohesive and polished look. Follow these steps to achieve perfect alignment:
1. Double-Check Alignment: Step back and evaluate the placement of each mirror. Ensure they are evenly spaced and aligned with the desired layout. Use a level to check if they are straight horizontally and vertically.
2. Making Adjustments: If any mirrors appear uneven or misaligned, make necessary adjustments. Gently loosen the screws or mounting hardware and reposition the mirror accordingly. Use the level to ensure it is straight. Once in the correct position, tighten the screws or hardware.
3. Using Shims: If you encounter any gaps between the mirror and the wall, you can use shims to fill them. Insert the shims behind the mirror to provide additional support and eliminate any tilting or wobbling.
4. Checking Reflections: Stand in various positions within the room and check the reflections in the mirrors. Make sure the mirrors are angled in a way that reflects the desired view and captures the desired elements in the room.
5. Fine-Tuning Spacing: If you’re not completely satisfied with the spacing between the mirrors, make slight adjustments. You can use a measuring tape to ensure equal spacing, or eyeball it for a more organic and artistic arrangement.
By taking the time to adjust and level the mirrors, you will achieve a professional and visually pleasing display. A carefully aligned arrangement will enhance the overall aesthetic and ensure that each mirror is showcased in its best light.
Now that you have adjusted and leveled the mirrors, it’s time to add the finishing touches and complete the project.
Adding Finishing Touches
With the circular mirrors now hung and adjusted on the wall, it’s time to add the finishing touches to enhance the overall look and feel of the arrangement. Consider the following steps to complete your mirror display:
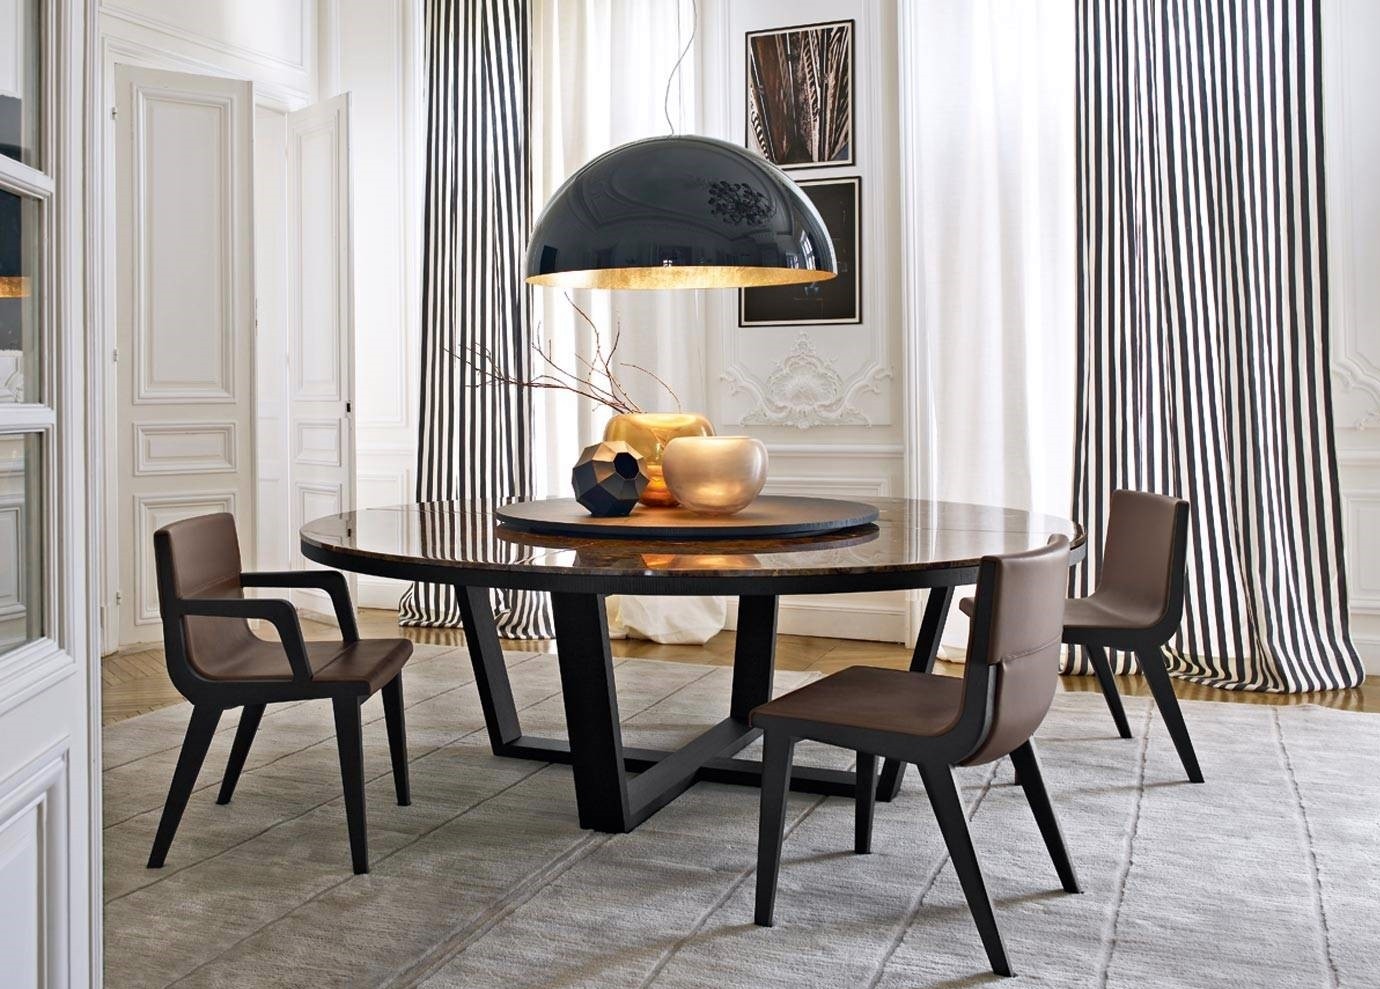
1. Decorative Elements: Incorporate decorative elements around the mirror arrangement to create a cohesive and visually appealing display. These can include wall art, plants, or other decorative items that complement the style and theme of the room.
2. Lighting: Pay attention to the lighting around the mirrors. Install appropriate lighting fixtures, such as sconces or recessed lights, to highlight the mirrors and create a warm and inviting ambiance. Consider using soft, diffused lighting for a more flattering reflection.
3. Frame Enhancements: If your circular mirrors have frames, consider enhancing them further to make a statement. Paint the frames in a contrasting or complementary color to add visual interest. Alternatively, add decorative elements like beads or trim to give the mirrors a unique and personalized touch.
4. Mirror Groupings: If you’ve arranged multiple circular mirrors, consider adding decorative items between them to create a cohesive group. This can include artwork, small shelves, or decorative sculptures. Play around with different arrangements until you achieve a visually pleasing and balanced composition.
5. Clean and Polish: Regularly clean and polish the mirrors to keep them looking their best. Use a soft, lint-free cloth and a mild glass cleaner to remove any smudges or fingerprints. Keep them shining bright to enhance the reflection and overall aesthetic of your space.
Remember, the finishing touches are what bring your mirror arrangement together and can transform it into a stunning focal point in the room. Take the time to carefully consider each element and create a display that reflects your personal style and enhances the overall ambiance of your space.
Now that you have added the finishing touches, step back and admire your beautifully arranged circular mirrors on the wall. They will not only enhance the visual appeal of your space but also create a sense of depth and openness. Enjoy the transformative power of mirrors in your home!
Conclusion
Arranging circular mirrors on a wall is a creative and rewarding project that can elevate the aesthetic of any space. By following the steps outlined in this article, you can achieve a visually appealing and harmonious display that enhances the overall ambiance of the room.
Start by selecting the right circular mirrors that complement your style and the size of the wall. Consider factors such as mirror size, frame style, and functionality to ensure a cohesive look. Then, choose the perfect wall location by considering focal points, lighting, balance, and the overall layout of the room.
Prepare the wall by clearing the area, cleaning the wall surface, and marking the placement of the mirrors. Ensure a secure and stable installation by locating studs, gathering the necessary tools, and anchoring the mirrors properly.
Once the mirrors are hung, take the time to adjust and level them for perfect alignment. Use shims if needed and check for reflections to ensure the desired view is captured. Finally, add the finishing touches by incorporating decorative elements, enhancing the lighting, and keeping the mirrors clean and polished.
Arranging circular mirrors on a wall not only creates a visually stunning display but also enhances the sense of space and openness in the room. The reflections from the mirrors can brighten and enlarge the area, creating a more inviting and inviting atmosphere.
So, gather your circular mirrors and embark on this creative project. With careful consideration, planning, and execution, you’ll be able to transform your wall into a captivating focal point that reflects your personal style and adds a touch of elegance to your space.
Remember, the arrangement of circular mirrors on a wall is a journey of self-expression and creativity. Enjoy the process, experiment with different layouts, and let your imagination guide you as you create a visually stunning display that truly reflects your unique personality and style.
Now that you're equipped with tips on organizing circular mirrors, why not tackle more creations around your home? Our guide on DIY home projects offers practical advice for personalizing your living space further. From simple tweaks to more ambitious undertakings, this resource will guide you through each step, ensuring you create a home that truly reflects your style and personality.
Frequently Asked Questions about How To Arrange Circular Mirrors On A Wall
Was this page helpful?
At Storables.com, we guarantee accurate and reliable information. Our content, validated by Expert Board Contributors, is crafted following stringent Editorial Policies. We're committed to providing you with well-researched, expert-backed insights for all your informational needs.

0 thoughts on “How To Arrange Circular Mirrors On A Wall”