
Articles
How To Remove Wall Mirrors
Modified: August 26, 2024
Learn how to efficiently remove wall mirrors with this collection of informative articles.
(Many of the links in this article redirect to a specific reviewed product. Your purchase of these products through affiliate links helps to generate commission for Storables.com, at no extra cost. Learn more)
Introduction
Wall mirrors can add a touch of elegance and functionality to any space. Whether you’re looking to update the decor of a room or simply need to replace a damaged mirror, knowing how to properly remove a wall mirror is essential. However, this task can be a bit daunting if you’ve never done it before. But fear not! In this article, we’ll guide you through the step-by-step process of removing wall mirrors.
Before we dive into the details, it’s important to note that removing a wall mirror requires caution and careful handling. Mirrors can be heavy and delicate, so it’s essential to take the necessary precautions to protect yourself and prevent damage to the mirror or surrounding area.
In this guide, we’ll cover the necessary tools and materials you’ll need, as well as the steps to safely remove a wall mirror. We’ll also provide tips and tricks to ensure a smooth process from start to finish.
So, if you’re ready to take on the challenge of removing a wall mirror and want to learn the proper techniques, let’s get started!
Key Takeaways:
- Prioritize safety and preparation when removing a wall mirror. Gather the necessary tools, assess the installation method, and protect yourself and the surroundings to ensure a smooth and risk-free removal process.
- Handle the mirror with care and dispose of it properly. Enlist assistance, clean up the workspace, and follow disposal guidelines to create a renewed space while maintaining safety and organization.
Read more: How To Remove Vanity Mirror
Step 1: Gather the necessary tools and materials
Before you begin removing a wall mirror, it’s essential to gather all the necessary tools and materials. Having everything ready in advance will ensure a smooth and efficient process. Here are the tools and materials you’ll need:
- Protective Gear: Safety should always be your top priority. Wear gloves to protect your hands from any sharp edges and shards of glass. Safety goggles and a face mask are also recommended to protect your eyes and lungs from potential debris.
- Utility Knife: A utility knife will come in handy for cutting through any adhesive or caulk around the edges of the mirror.
- Pry Bar or Putty Knife: You’ll need a pry bar or putty knife to help loosen the mirror from the wall. These tools can be used to gently pry the mirror away without causing damage to the wall surface.
- Duct Tape or Masking Tape: Use duct tape or masking tape to create a barrier around the mirror. This will help prevent any loose glass from falling and protect the surrounding area from scratches or damage.
- Drop Cloth or Plastic Sheets: Place a drop cloth or plastic sheets on the floor beneath the mirror to catch any glass shards or debris that may fall during the removal process.
- Trash Bags or Cardboard Boxes: Prepare some trash bags or cardboard boxes to properly dispose of the broken mirror. Make sure they are sturdy enough to hold the glass safely.
- Cleaning Supplies: Lastly, have some cleaning supplies on hand to clean up any dust, adhesive residue, or smudges that may be left behind after removing the mirror.
By having all these tools and materials ready, you’ll be well-prepared to tackle the task of removing a wall mirror. It’s always better to be over-prepared than to realize you’re missing something in the middle of the process.
Now that you have everything you need, let’s move on to the next step: assessing the mirror installation method.
Step 2: Assess the mirror installation method
Before you proceed with removing a wall mirror, it’s important to assess the mirror’s installation method. Understanding how the mirror is secured to the wall will help you determine the appropriate steps to safely remove it without causing damage. Here are a few common mirror installation methods and how to assess them:
- Adhesive: Many mirrors are installed using adhesive, such as mirror mastic or construction adhesive. To check if your mirror is adhesive-mounted, examine the edges and corners. If you see a thick layer of adhesive or caulk, it’s likely that the mirror is adhered directly to the wall.
- Brackets or Clips: Some mirrors are held in place by brackets or clips. These brackets are typically attached to the wall and secured onto the back of the mirror. Look for any visible brackets or clips around the edges of the mirror.
- Frame or Mounting Hardware: Mirrors with frames or mounting hardware may require a slightly different approach. These mirrors are often screwed or bolted onto the wall. Check for any visible screws, bolts, or mounting brackets.
Once you’ve identified the mirror’s installation method, you’ll have a better idea of what steps to take next. Adhesive-mounted mirrors require a different removal process compared to those held in place by brackets or framing. It’s important to follow the appropriate technique to avoid damaging the mirror or the wall.
If you’re unsure about the installation method or have any doubts, it’s always a good idea to consult a professional or seek guidance from an expert. They can provide valuable advice and assistance based on their expertise.
Now that you have assessed the mirror’s installation method, let’s move on to the next step: preparing the workspace.
Step 3: Prepare the workspace
Preparing the workspace before removing a wall mirror is essential to ensure a safe and organized removal process. By taking the time to properly set up the area, you can minimize the risk of accidents and protect the surrounding surfaces. Here are the key steps to prepare the workspace:
- Clear the area: Start by clearing the area around the mirror. Remove any furniture, decorations, or objects that are in close proximity to the mirror. This will provide you with enough space to work comfortably and reduce the chances of accidentally knocking something over during the removal process.
- Protect nearby surfaces: Use drop cloths or plastic sheets to cover any furniture or other surfaces that are within the vicinity of the mirror. This will protect them from any potential damage or debris that may result from the removal process.
- Cover the floor: Lay down a drop cloth or additional plastic sheets on the floor beneath the mirror. This will catch any glass shards or debris that may fall during the removal. Securing the drop cloth or plastic sheets with tape will help keep it in place and avoid any movement while you work.
- Secure the mirror: If the mirror is particularly large or heavy, consider using a support system to ensure its stability during the removal process. This can involve using sturdy straps or ropes to secure the mirror to prevent it from shifting or falling unexpectedly.
- Turn off the power: If there are any electrical outlets or switches near the mirror, it’s a good idea to turn off the power in that area. This extra precaution can help prevent any accidents or electrical hazards while you’re working on the removal.
Taking these steps to prepare the workspace will help create a safe and efficient environment for removing the wall mirror. It’s important to prioritize safety and protect both yourself and the surroundings throughout the entire process.
Now that you have the workspace prepared, let’s move on to the next step: protecting yourself and the surroundings.
Step 4: Protect yourself and the surroundings
When removing a wall mirror, it’s crucial to prioritize safety and take the necessary precautions to protect yourself and the surrounding area. Glass can be sharp and fragile, so it’s essential to minimize the risk of accidents and injuries. Here are some important steps to protect yourself and the surroundings:
- Wear protective gear: Put on thick gloves to protect your hands from potential cuts and abrasions. Safety goggles or glasses should also be worn to shield your eyes from any flying glass shards or debris. Additionally, consider wearing a face mask to avoid inhaling any dust or particles while working.
- Create a barrier: Use duct tape or masking tape to create a barrier around the mirror. This will help contain any loose glass shards and prevent them from scattering around the area. Place a drop cloth or plastic sheets beneath the mirror to catch any falling debris.
- Secure the surrounding area: If there are any nearby fixtures or furniture that could be at risk of damage during the removal process, take steps to protect them. Cover nearby furniture with drop cloths or plastic sheets and tape them securely in place.
- Establish a clear work zone: Clearly mark the work zone and keep it clear of unnecessary clutter or obstacles. This will help ensure that you have enough space to safely maneuver and remove the mirror without any hindrances.
- Inform others: If you have other people in the vicinity, inform them about the removal process and ask them to keep a safe distance. It’s important to prevent any accidental bumps or distractions that could lead to accidents.
By taking these precautions, you can greatly reduce the risk of injuries and protect the surrounding area from damage. It’s crucial to prioritize safety throughout the entire removal process.
Now that you’ve protected yourself and the surroundings, it’s time to move on to the next step: removing any adhesive or caulk around the mirror.
Read more: How To Make A Wall Of Mirrors
Step 5: Remove any adhesive or caulk around the mirror
Before you can safely remove a wall mirror, it’s important to remove any adhesive or caulk that is holding it in place. Most mirrors are secured to the wall using adhesive, such as mirror mastic or construction adhesive. Here’s how you can remove the adhesive or caulk around the mirror:
- Start by scoring the adhesive: Use a utility knife to score the adhesive or caulk along the edges of the mirror. This will help break the seal and make it easier to remove.
- Apply heat (if necessary): If the adhesive is particularly stubborn, you can use a hairdryer or heat gun to soften it. Apply heat to the adhesive for a few minutes to make it more pliable.
- Gently pry the mirror: With the adhesive scored or softened, use a pry bar or putty knife to gently pry the mirror away from the wall. Start at one corner and slowly work your way along the edges, applying light pressure to separate the mirror from the adhesive.
- Continue removing the adhesive: As you move along the edges, continue scoring or heating the adhesive, if needed, and gently pry the mirror away from the wall. Take your time and be careful not to exert too much force to avoid damaging the mirror or the wall surface.
- Remove any leftover adhesive: After the mirror is detached from the wall, there may still be some adhesive or caulk residue. Use a scraper or the flat edge of your putty knife to carefully remove any remaining adhesive.
It’s important to proceed with caution and take your time during this step. Rushing or applying too much force can lead to accidents and damage. If you’re unsure about how to safely remove the adhesive or caulk, consider seeking professional assistance.
Once you’ve successfully removed the adhesive or caulk, you’re ready to move on to the next step: loosening the mirror from the wall.
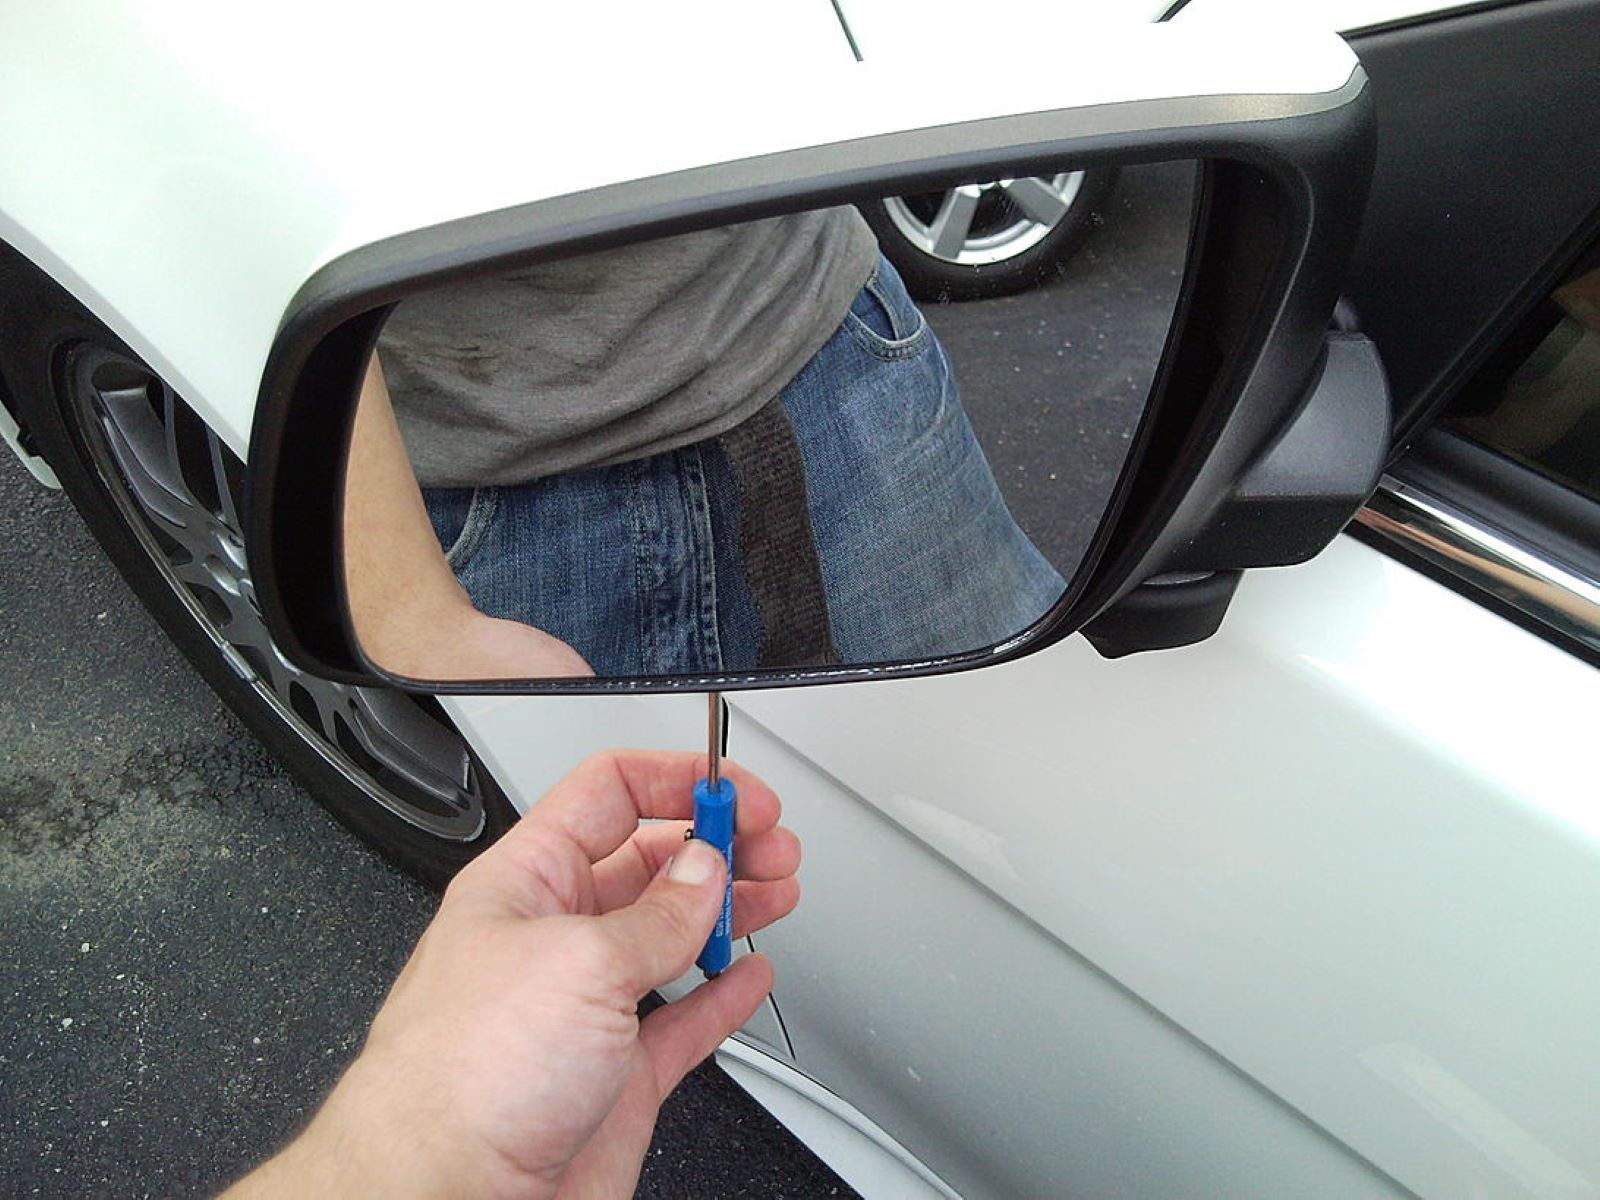
Step 6: Loosen the mirror from the wall
Now that you have removed the adhesive or caulk around the mirror, it’s time to loosen the mirror from the wall. The method for loosening will depend on the mirror’s installation type. Here are the steps to follow:
If the mirror is adhesive-mounted:
- Place a putty knife or pry bar behind the mirror: Gently insert the putty knife or pry bar behind the mirror, starting at one corner. Slowly and carefully begin to pry the mirror away from the wall. Apply even pressure to prevent the mirror from breaking.
- Work your way around the mirror: Move along the edges of the mirror, gradually loosening it from the wall using the putty knife or pry bar. Take your time and be patient, making sure not to exert excessive force.
- Safety first: If the mirror feels unstable or you encounter any resistance, stop and assess the situation. It may be necessary to seek professional help to avoid any accidents or damage.
If the mirror is held by brackets or clips:
- Find and remove the attaching hardware: Locate the brackets or clips holding the mirror to the wall. Unscrew or unclip the hardware to detach the mirror.
- Secure the mirror: Once the hardware is removed, hold on to the mirror to prevent it from falling. Enlist the help of another person if necessary to keep the mirror steady.
Read more: How To Install Mirrors On Wall
If the mirror has a frame or mounting hardware:
- Identify the mounting points: Look for screws or bolts securing the mirror to the wall. Determine the number and location of the mounting points.
- Remove the mounting hardware: Carefully unscrew or unbolt the mounting hardware to release the mirror from the wall.
- Secure the mirror: Just like with bracket-mounted mirrors, ensure the mirror remains well-supported when it is no longer attached to the wall.
Remember to work slowly and steadily during this step. It’s crucial to handle the mirror with care to prevent any accidents or damage to the mirror or the wall. If you encounter any difficulties or uncertainties, consider seeking professional assistance.
Now that the mirror is loosened from the wall, let’s move on to the next step: handling the mirror with care.
When removing wall mirrors, use a putty knife to carefully pry the mirror away from the wall. Wear gloves and eye protection to prevent injury from broken glass.
Step 7: Handle the mirror with care
Once the mirror is loosened from the wall, it’s essential to handle it with utmost care to avoid any breakage or injuries. Mirrors can be fragile and heavy, so following these steps will ensure safe handling:
- Enlist assistance: If the mirror is large or heavy, it’s recommended to have someone assist you in carrying and maneuvering it. This will help distribute the weight evenly and reduce the risk of dropping or mishandling the mirror.
- Use gloves and a firm grip: Wear protective gloves and grab the mirror firmly on the edges or in a way that feels secure. Avoid placing your hands or fingers on the glass surface, as it can be delicate and prone to breakage.
- Lift the mirror vertically: Lift the mirror in a vertical position to provide better control and balance. Avoid tilting or angling the mirror excessively, as this can put unnecessary stress on the glass and increase the risk of damage.
- Clear the path: Ensure that the path you’ll be taking to move the mirror is clear of any obstacles or tripping hazards. Communicate with your assistant to coordinate movements and avoid accidents.
- Place the mirror in a safe location: Once the mirror is removed from the wall, carefully place it in a designated safe area. Choose a sturdy and flat surface where it will be protected from accidental bumps or falls.
Remember, even small mirrors can be heavy and potentially dangerous if mishandled. Taking the necessary precautions and handling the mirror with care will help you avoid injuries and prevent damage to the mirror.
Now that the mirror is safely handled, let’s proceed to the final step: cleaning up and disposing of the mirror.
Step 8: Clean up and dispose of the mirror
After successfully removing the wall mirror, it’s important to properly clean up and dispose of the mirror to ensure a safe and tidy space. Here’s what you need to do:
- Inspect the area: Begin by inspecting the workspace for any glass shards, adhesive residue, or debris. Use caution when navigating the area and be thorough in your examination.
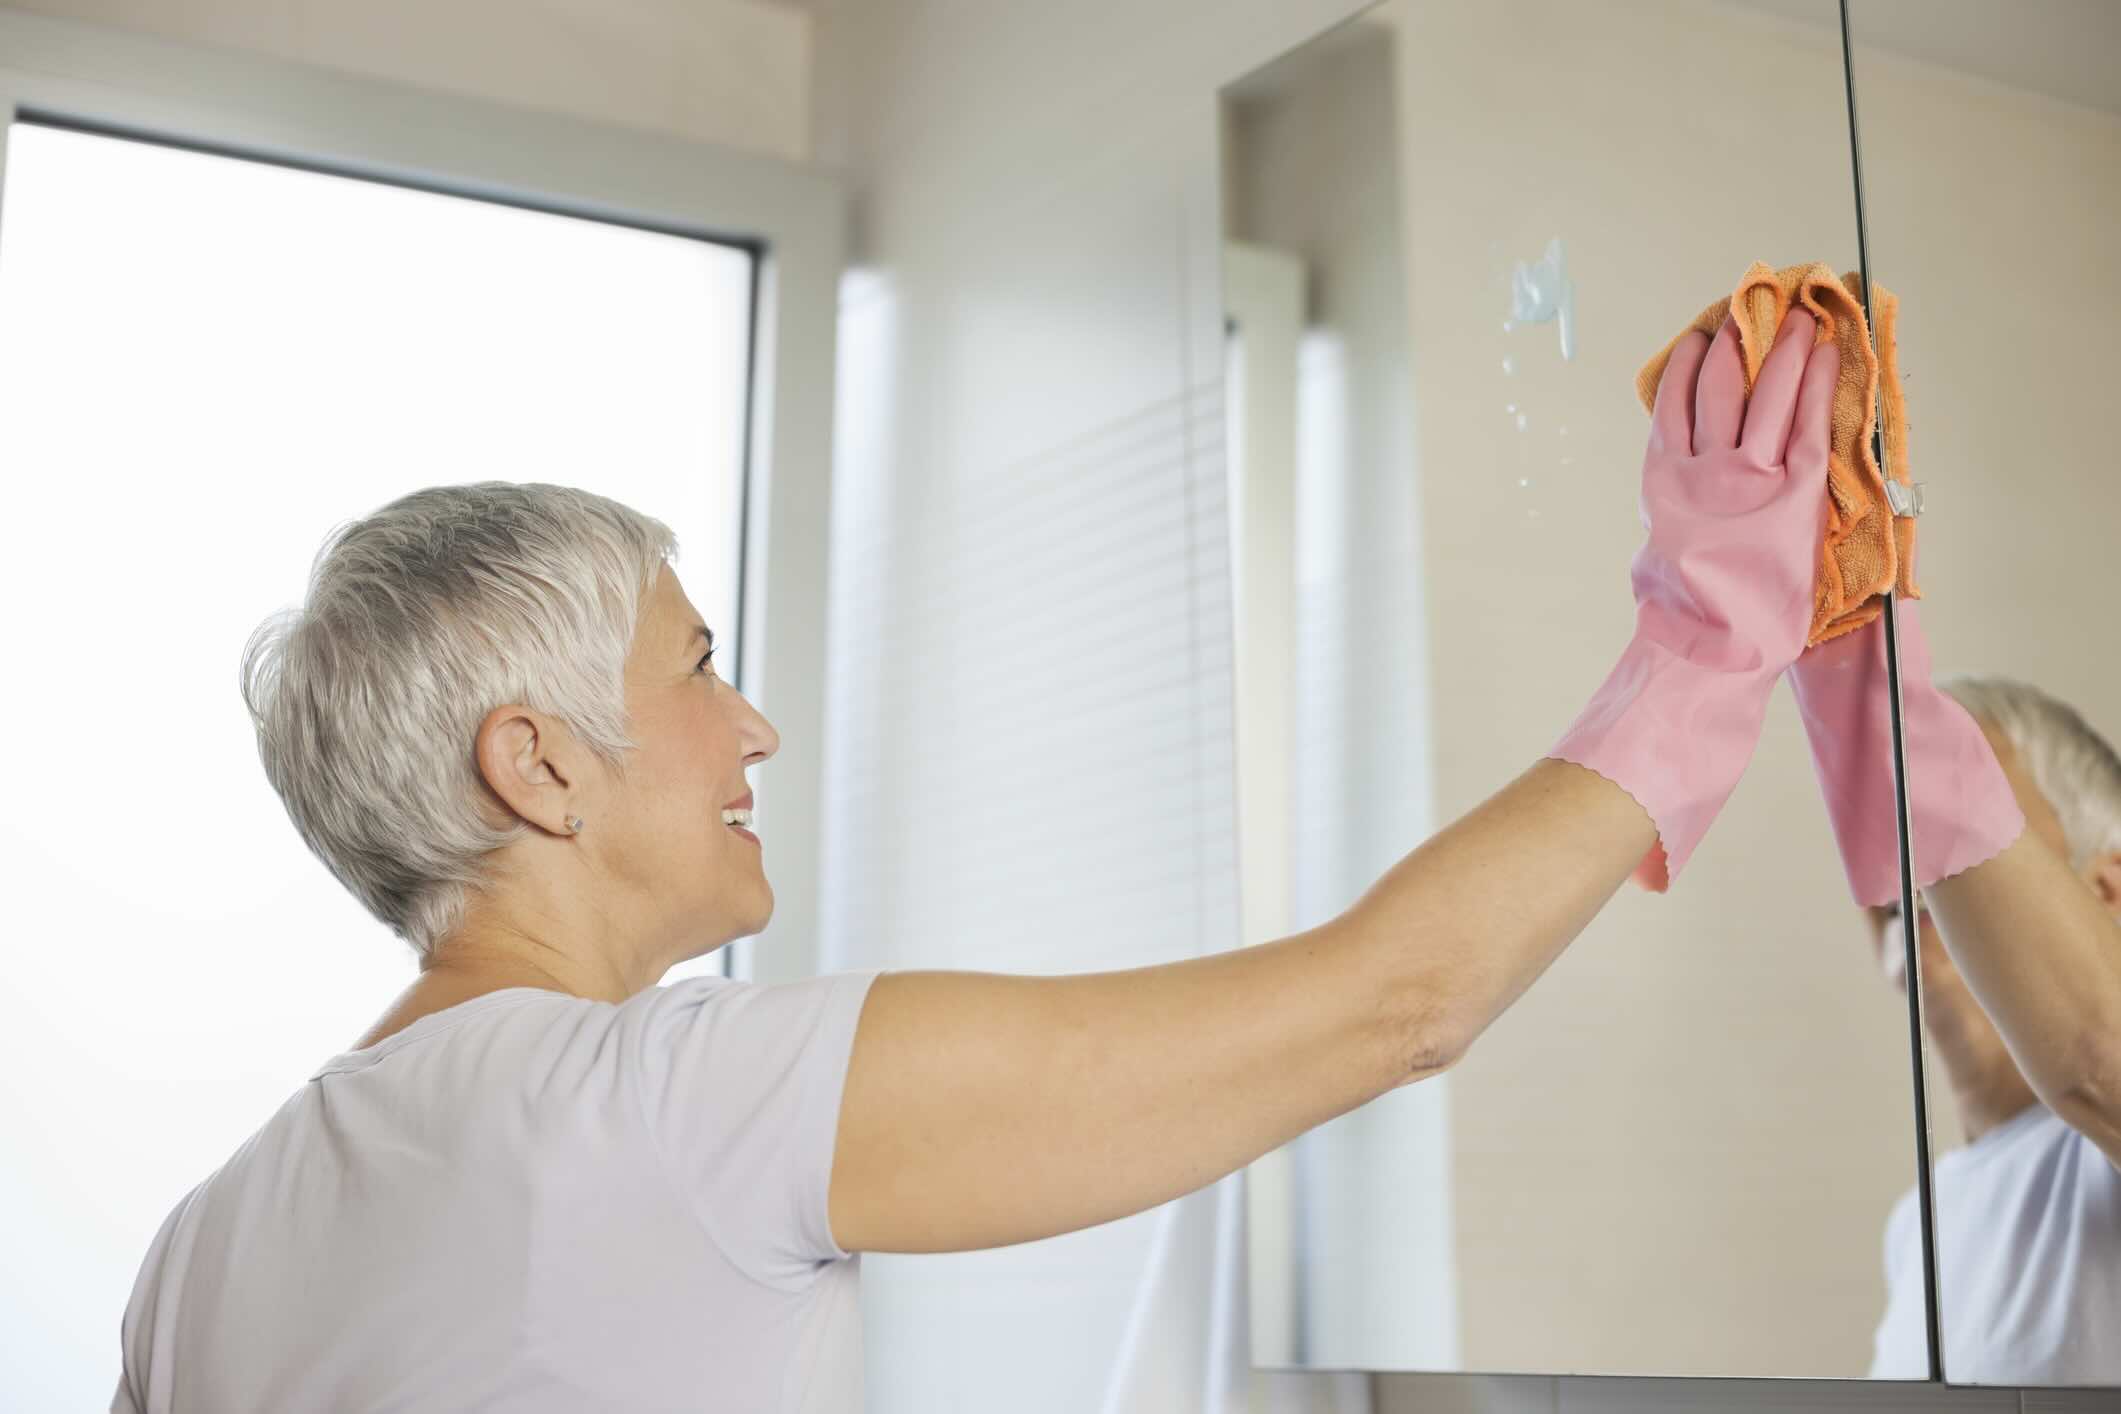
- Clean the wall: Clean the wall where the mirror was mounted. Use a mild cleaning solution and a soft cloth to remove any remaining adhesive or caulk residue. Be gentle to avoid damaging the wall surface.
- Dispose of the mirror safely: To dispose of the broken mirror, take the following steps:
- If the mirror is intact, consider donating it or offering it for free on local classifieds. Someone may be interested in reusing it for art projects or to repurpose it.
- If the mirror is broken, carefully collect all the shards and place them in a sturdy trash bag. Make sure there are no sharp edges protruding from the bag.
- Seal the bag tightly and label it as “broken glass” or “fragile”. This will alert waste management personnel to handle it with caution.
- Check with your local waste management facility to find out their specific guidelines for disposing of glass. Some may require you to take it to a designated drop-off location.
- Clean the surrounding area: Thoroughly clean the entire workspace, including the floor, furniture, and any other surfaces that may have been exposed during the removal process. Use a vacuum cleaner or broom to sweep up any glass shards or debris.
- Dispose of cleaning materials: Properly dispose of any rags, gloves, or cleaning materials that have come into contact with the broken mirror. Place them in a bag and seal it before putting it in the regular trash or following any specific disposal instructions.
By following these steps, you can ensure that the workspace is clean, safe, and free from any potential hazards. Properly disposing of the mirror and cleaning up the area will help maintain a neat and organized space.
Congratulations! You have successfully removed the wall mirror and completed all the necessary steps. Take a moment to admire your work and enjoy the transformed space.
Remember, if at any point you feel uncertain or uncomfortable with the removal process, it’s always best to seek professional assistance. Safety should always be the top priority when handling fragile materials like mirrors.
Conclusion
Removing a wall mirror may seem like a daunting task, but with the right tools, techniques, and precautions, it can be accomplished safely and efficiently. Throughout this guide, we’ve outlined the step-by-step process to help you successfully remove a wall mirror and provided tips for protecting yourself and the surrounding area.
Remember to gather all the necessary tools and materials before you begin. Assess the mirror’s installation method to determine the appropriate removal technique. Prepare the workspace by clearing the area, protecting nearby surfaces, and securing the mirror. Make sure to use the proper safety gear, create a barrier around the mirror, and inform others in the vicinity of the removal process.
Remove any adhesive or caulk around the mirror using a utility knife, and then gently loosen the mirror from the wall using a putty knife or pry bar. Handle the mirror with care, enlisting assistance if needed, and place it in a safe location once it’s removed. Clean up the workspace, dispose of the mirror shards properly, and dispose of any cleaning materials used during the process.
By following these steps, you can safely remove a wall mirror and create a renewed space. However, if you have any doubts or concerns, it’s always best to seek professional assistance to ensure a smooth and risk-free removal.
We hope this guide has equipped you with the knowledge and confidence to take on the task of removing a wall mirror. Remember to prioritize safety at every step of the process. Enjoy your transformed space!
Frequently Asked Questions about How To Remove Wall Mirrors
Was this page helpful?
At Storables.com, we guarantee accurate and reliable information. Our content, validated by Expert Board Contributors, is crafted following stringent Editorial Policies. We're committed to providing you with well-researched, expert-backed insights for all your informational needs.


0 thoughts on “How To Remove Wall Mirrors”