Articles
How To Install Mirrors On Wall
Modified: September 1, 2024
Looking for articles on how to install mirrors on the wall? Check out our step-by-step guide for expert tips and techniques. Transform your space with beautiful mirrors today!
(Many of the links in this article redirect to a specific reviewed product. Your purchase of these products through affiliate links helps to generate commission for Storables.com, at no extra cost. Learn more)
Introduction
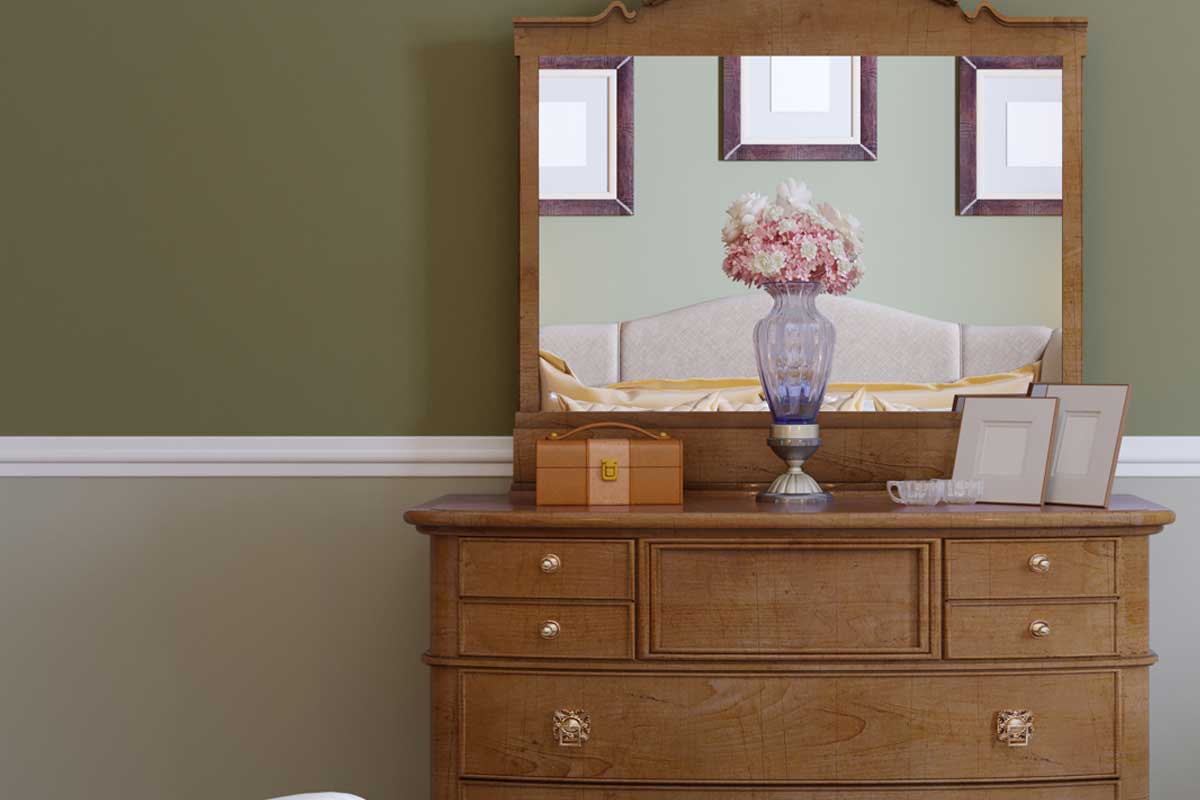
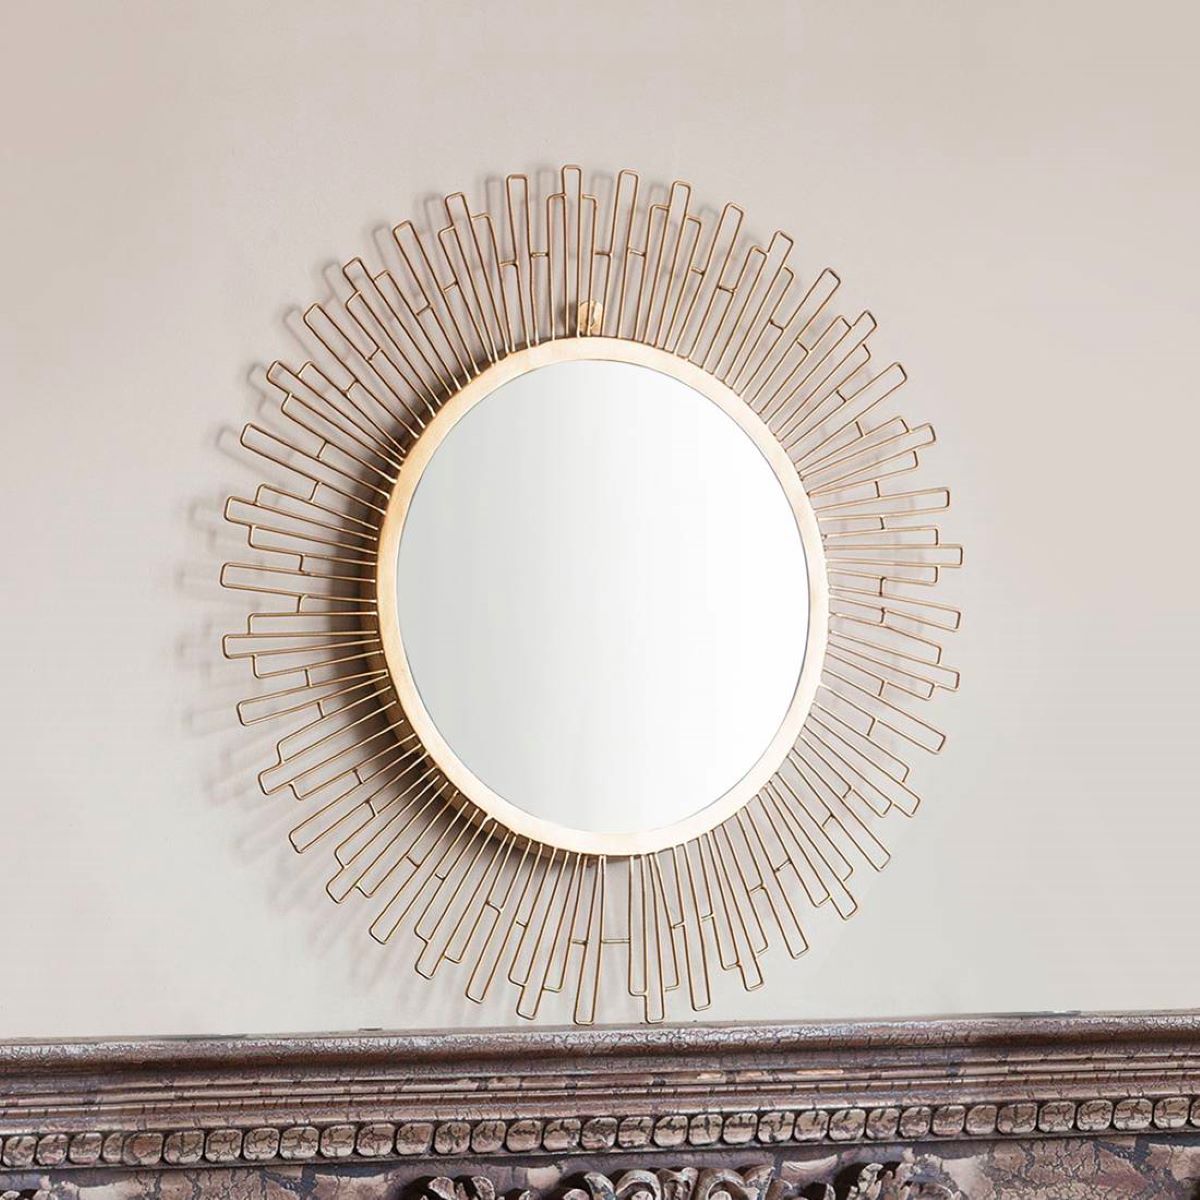
Installing mirrors on a wall is a great way to enhance the aesthetics of any room. Not only do mirrors add depth and brightness to a space, but they can also serve functional purposes such as checking your outfit or reflecting light to make a small room appear larger. Whether you’re a seasoned DIY enthusiast or a beginner, installing mirrors on a wall can be an enjoyable project that adds both style and functionality to your home.
In this article, we will go through a step-by-step guide on how to install mirrors on a wall. We will discuss the tools and materials you’ll need, as well as the techniques involved in achieving a secure and visually pleasing installation. So let’s dive in and transform your walls with stylish mirrors!
Key Takeaways:
- Transform your space with stylish mirrors by following a step-by-step guide for a secure and visually pleasing installation. Enjoy the enhanced aesthetics and functionality mirrors bring to any room!
- Elevate the beauty and functionality of your space with stunning wall mirrors. From preparation to positioning and securing, achieve a rewarding and transformative installation process.
Read more: How To Install Fender Mirrors
Tools and Materials Needed
Before you start installing mirrors on your wall, it’s important to gather all the necessary tools and materials. Here’s a list of what you’ll need:
- Measuring tape
- Pencil or marker
- Level
- Adhesive or mirror mounting hardware
- Drill (if using mounting hardware)
- Screwdriver (if using mounting hardware)
- Clean cloth
- Optional: Stud finder
The measuring tape will help you determine the appropriate height and placement for your mirrors. A pencil or marker will be used to mark the spots on the wall where the mirrors will be installed. The level is essential for ensuring that the mirrors are straight and aligned correctly.
Depending on the weight and size of your mirrors, you can choose between adhesive or mirror mounting hardware. Adhesive is an easy and quick option for smaller mirrors, while mounting hardware provides a more secure and permanent installation for larger or heavier mirrors. If you opt for mounting hardware, you’ll need a drill and screwdriver to attach the hardware to the wall.
A clean cloth is handy to have for wiping down the mirrors and removing any fingerprints or smudges. Lastly, a stud finder can be useful if you want to locate the studs behind the wall for extra stability when using mounting hardware.
Once you have gathered all the necessary tools and materials, you’re ready to move on to the next steps of installing mirrors on your wall.
Step 1: Measure and Mark
The first step in installing mirrors on a wall is to measure and mark the desired location. Start by determining where you want to place the mirrors and take measurements to ensure they will fit properly.
Using a measuring tape, measure the height and width of the mirror. Take note of these measurements and make sure to account for any additional spacing or clearance you want between the mirrors or other objects on the wall.
Next, using a pencil or marker, mark the desired location for the top edge of the mirror on the wall. Use a level to ensure that the mark is straight and level. This will serve as a reference point for positioning the mirror during the installation process.
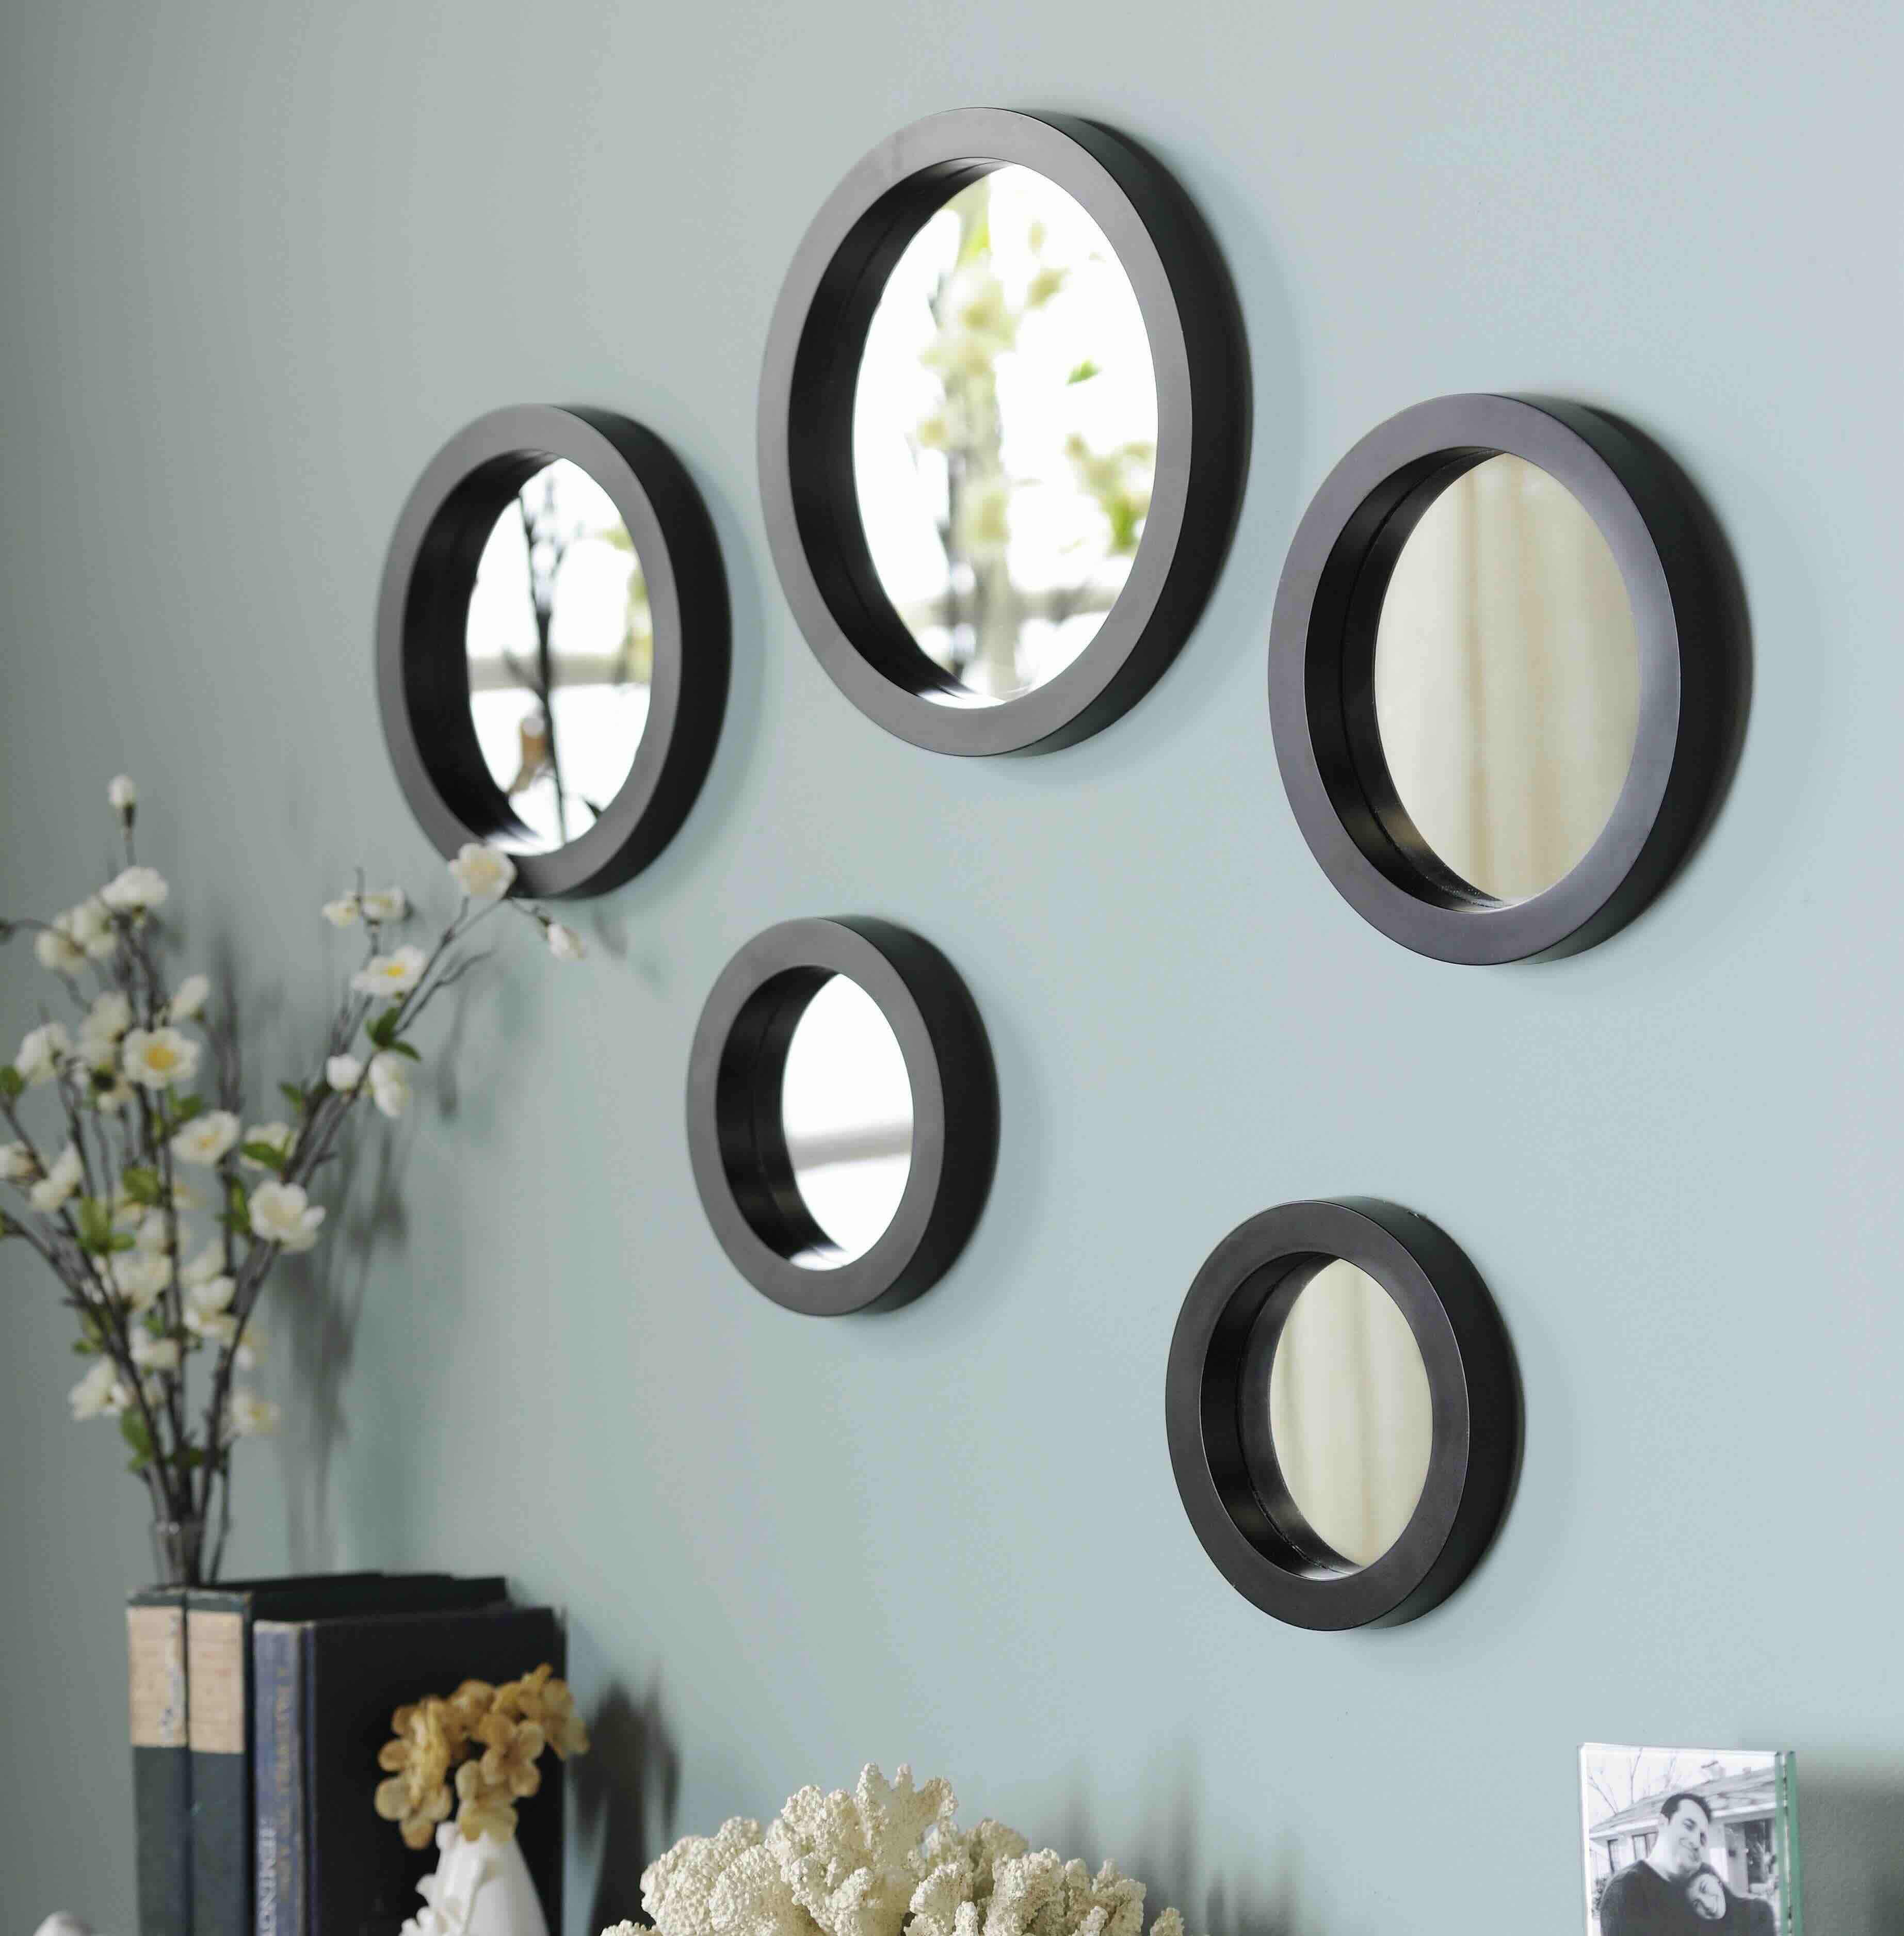
If you plan to install multiple mirrors next to each other or create a pattern, use the measuring tape and a pencil to mark the additional spots accordingly. Remember to measure and mark the appropriate spacing between the mirrors to achieve a balanced and visually appealing arrangement.
If you are unsure about the stability of the wall or want to ensure a secure installation, you can use a stud finder to locate the studs behind the wall. Marking the stud locations can help you determine the best spots to install the mounting hardware for added stability and support.
Once you have measured and marked the desired locations for your mirrors, you’re now ready to prepare the wall for installation in the next step.
Step 2: Prepare the Wall
Before you can install the mirrors on the wall, it’s important to prepare the surface to ensure a smooth and secure installation. Follow these steps to properly prepare the wall:
- Start by cleaning the wall surface with a clean cloth or sponge to remove any dirt, dust, or grease. This will provide a clean and smooth surface for the adhesive or mounting hardware to adhere to.
- If there are any existing nails, screws, or hooks on the wall that need to be removed, do so using a screwdriver or pliers. Patch up any holes or imperfections on the wall with a suitable wall filler or spackle. Allow the filler to dry, and then sand it down to create a smooth surface.
- If you’re using adhesive to install the mirrors, make sure the wall is dry and free from any moisture or humidity that could affect the adhesive’s effectiveness. If necessary, use a dehumidifier or allow the wall to dry completely before proceeding.
- If you’ve decided to use mounting hardware to secure the mirrors, grab a drill and the appropriate drill bit. Carefully drill pilot holes at the marked locations on the wall, taking care not to drill too deep or damage any electrical or plumbing components behind the wall.
After preparing the wall, it’s a good idea to double-check the cleanliness and smoothness of the wall surface. Inspect it for any remaining imperfections or debris that could affect the mirror installation.
By properly preparing the wall, you’ll create an ideal surface for the adhesive or mounting hardware to adhere to, ensuring a secure and long-lasting installation. Now that the wall is ready, you’re ready to move on to the next step of applying the adhesive or mounting hardware.
Step 3: Apply Adhesive or Mounting Hardware
Depending on the size and weight of your mirrors, you have two options for installation – adhesive or mounting hardware. Follow the instructions below based on which method you choose:
Read more: How To Make A Wall Of Mirrors
Option 1: Adhesive
- Read and follow the instructions provided by the adhesive manufacturer. Different adhesives may have specific application instructions and curing times.
- Apply the adhesive to the back of the mirror in a zigzag or dot pattern. Be sure to apply enough adhesive to ensure a secure bond, but avoid applying too much that it oozes out from the sides of the mirror.
- Hold the mirror firmly against the wall, aligning it with the marked position. Press and hold the mirror against the wall for the recommended curing time specified by the adhesive manufacturer.
- Use a level to check if the mirror is straight and adjust if necessary. Once you’re satisfied with the position, let the adhesive cure completely before releasing your grip on the mirror.
Option 2: Mounting Hardware
- Take the mounting hardware and place it on the wall at the marked position. Make sure it is level and aligned correctly.
- Using a drill and appropriate screws, secure the mounting hardware to the wall. Take care not to over-tighten the screws, as it may damage the hardware or the wall.
- If the mounting hardware comes with a bracket or hooks, attach them securely to the back of the mirror according to the manufacturer’s instructions.
- Hang the mirror onto the mounted hardware, ensuring that it is properly aligned and level. Adjust if needed.
- Double-check the stability and security of the mirror by gently pushing and pulling on it. If it feels loose or unstable, tighten the screws or consult a professional for additional support.
Remember, proper installation is crucial for the safety and longevity of your mirrors. Always follow the manufacturer’s instructions for adhesives and mounting hardware to ensure a secure and stable installation.
With the adhesive applied or mounting hardware securely in place, your mirrors are now ready to be positioned on the wall. Let’s move on to the next step to learn how to position the mirror for the best aesthetic appeal.
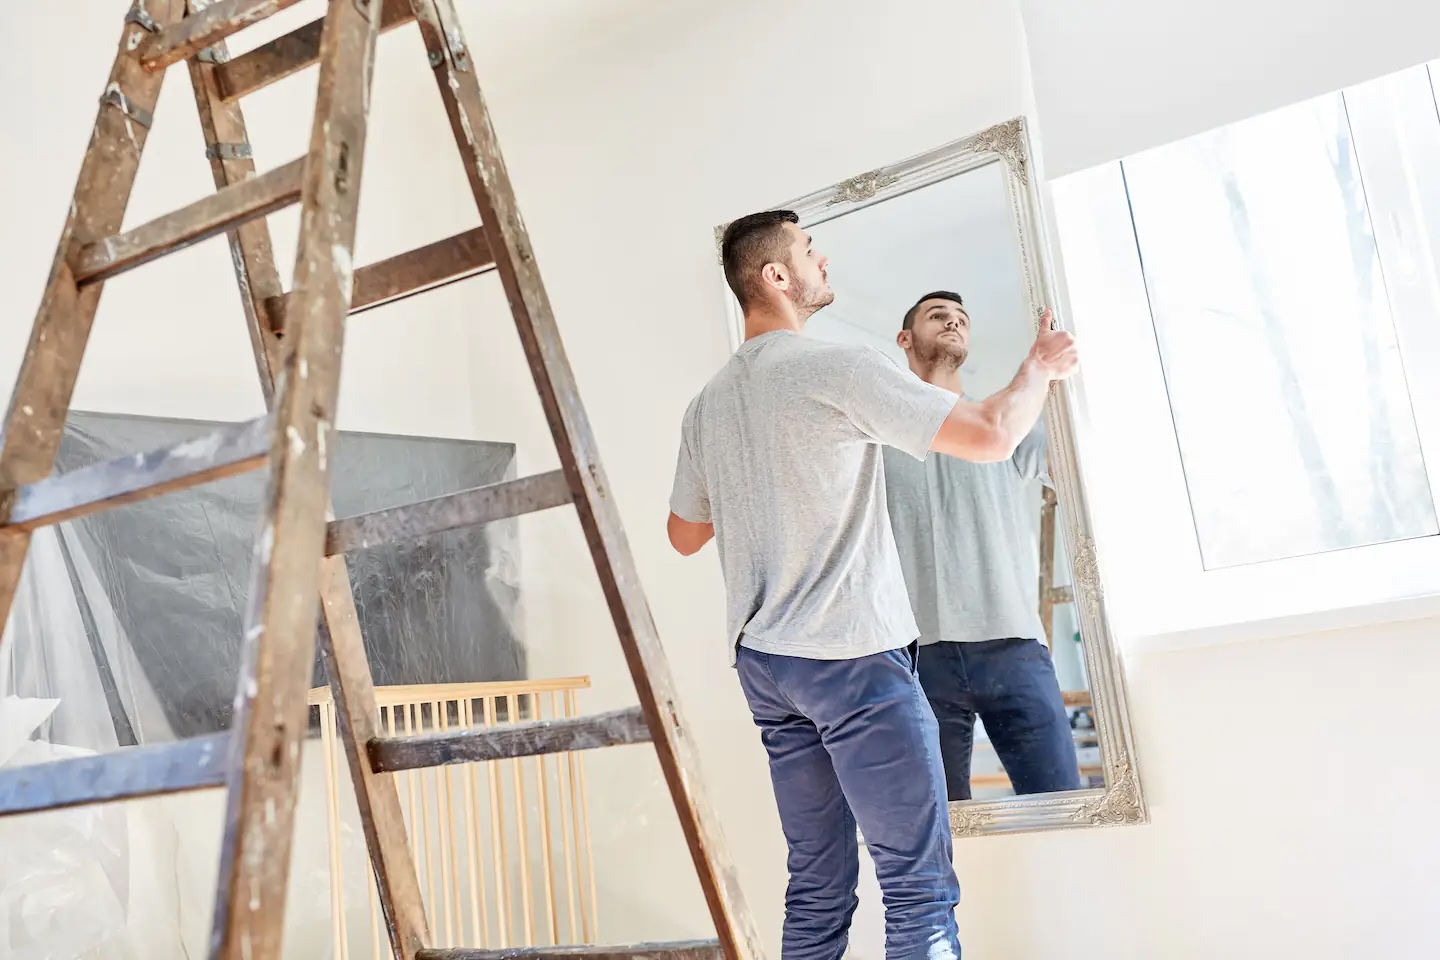
Step 4: Position the Mirror
Now that the adhesive is applied or the mounting hardware is securely in place, it’s time to position the mirror on the wall. Follow these steps to achieve the best aesthetic appeal:
- If you’re installing multiple mirrors, start by positioning the first mirror at the marked location on the wall. Use a level to ensure that it is straight and aligned correctly. This will serve as a reference point for the rest of the mirrors.
- For a single mirror installation, hold the mirror against the wall, aligning it with the marked position. Ensure that the top edge of the mirror is perfectly level using a level.
- If you’re installing mirrors in a pattern or a specific arrangement, refer to your design plan and position each mirror accordingly.
- Step back and take a look at the mirrors from different angles to ensure that they are evenly spaced and visually balanced. Adjust their positions if needed.
- Consider the overall aesthetics of the room. If the mirrors are reflecting any unwanted elements or distractions, adjust their angles or positions accordingly.
- Keep in mind the functionality of the mirrors. If you’re using them for practical purposes like checking your appearance, make sure they are positioned at a convenient height.
Take your time during this step to ensure that the mirrors are positioned exactly as you desire. It’s important to achieve a balanced and visually appealing arrangement that complements the overall design of the room.
Once you’re satisfied with the position of the mirrors, it’s time to move on to the next step of securing them in place for a long-lasting installation.
When installing mirrors on a wall, use a stud finder to locate the wall studs for secure mounting. Use appropriate anchors or screws to support the weight of the mirror. Always double check the levelness before tightening the screws.
Step 5: Secure the Mirror
Now that you have positioned the mirrors on the wall, it’s time to secure them in place to ensure they stay put. Properly securing the mirrors will prevent any accidental movement or falling. Follow these steps to effectively secure your mirrors:
- If you installed the mirrors using adhesive, wait for the recommended curing time specified by the adhesive manufacturer. This will ensure that the bond is strong and stable before proceeding.
- If you used mounting hardware, double-check that all screws are tightened securely. Give each mirror a gentle tug to make sure it feels stable and secure on the wall. If any mirror feels loose, tighten the screws or consult a professional for further assistance.
- For added security, consider using mirror clips or brackets around the edges of the mirrors. These can help to hold the mirrors in place and provide extra stability.
- If you’re installing large or heavy mirrors, it may be necessary to use additional support. Consult with a professional or consider using anchor screws to securely attach the mirrors to the wall.
- Inspect the mirrors and their surroundings to ensure there are no gaps or visible spaces between the mirror and the wall. If necessary, adjust the positioning or tighten the hardware to eliminate any gaps.
It’s important to take the time to properly secure the mirrors to ensure their safety and longevity. Regularly check the stability of the mirrors over time to ensure they remain secure on the wall.
With the mirrors securely in place, it’s time to move on to the final step of cleaning and adding finishing touches to complete the installation process.
Read more: How To Remove Wall Mirrors
Step 6: Clean and Finishing Touches
After securing the mirrors on the wall, the final step is to give them a thorough cleaning and add some finishing touches to enhance their appearance. Follow these steps to complete the installation process:
- Use a clean cloth or glass cleaner to wipe down the mirrors, removing any fingerprints, smudges, or dust accumulated during the installation process.
- Inspect the mirrors for any remaining adhesive residue or dirt. If needed, gently clean the edges of the mirrors with a mild adhesive remover or glass cleaner, being careful not to damage the mirror surface.
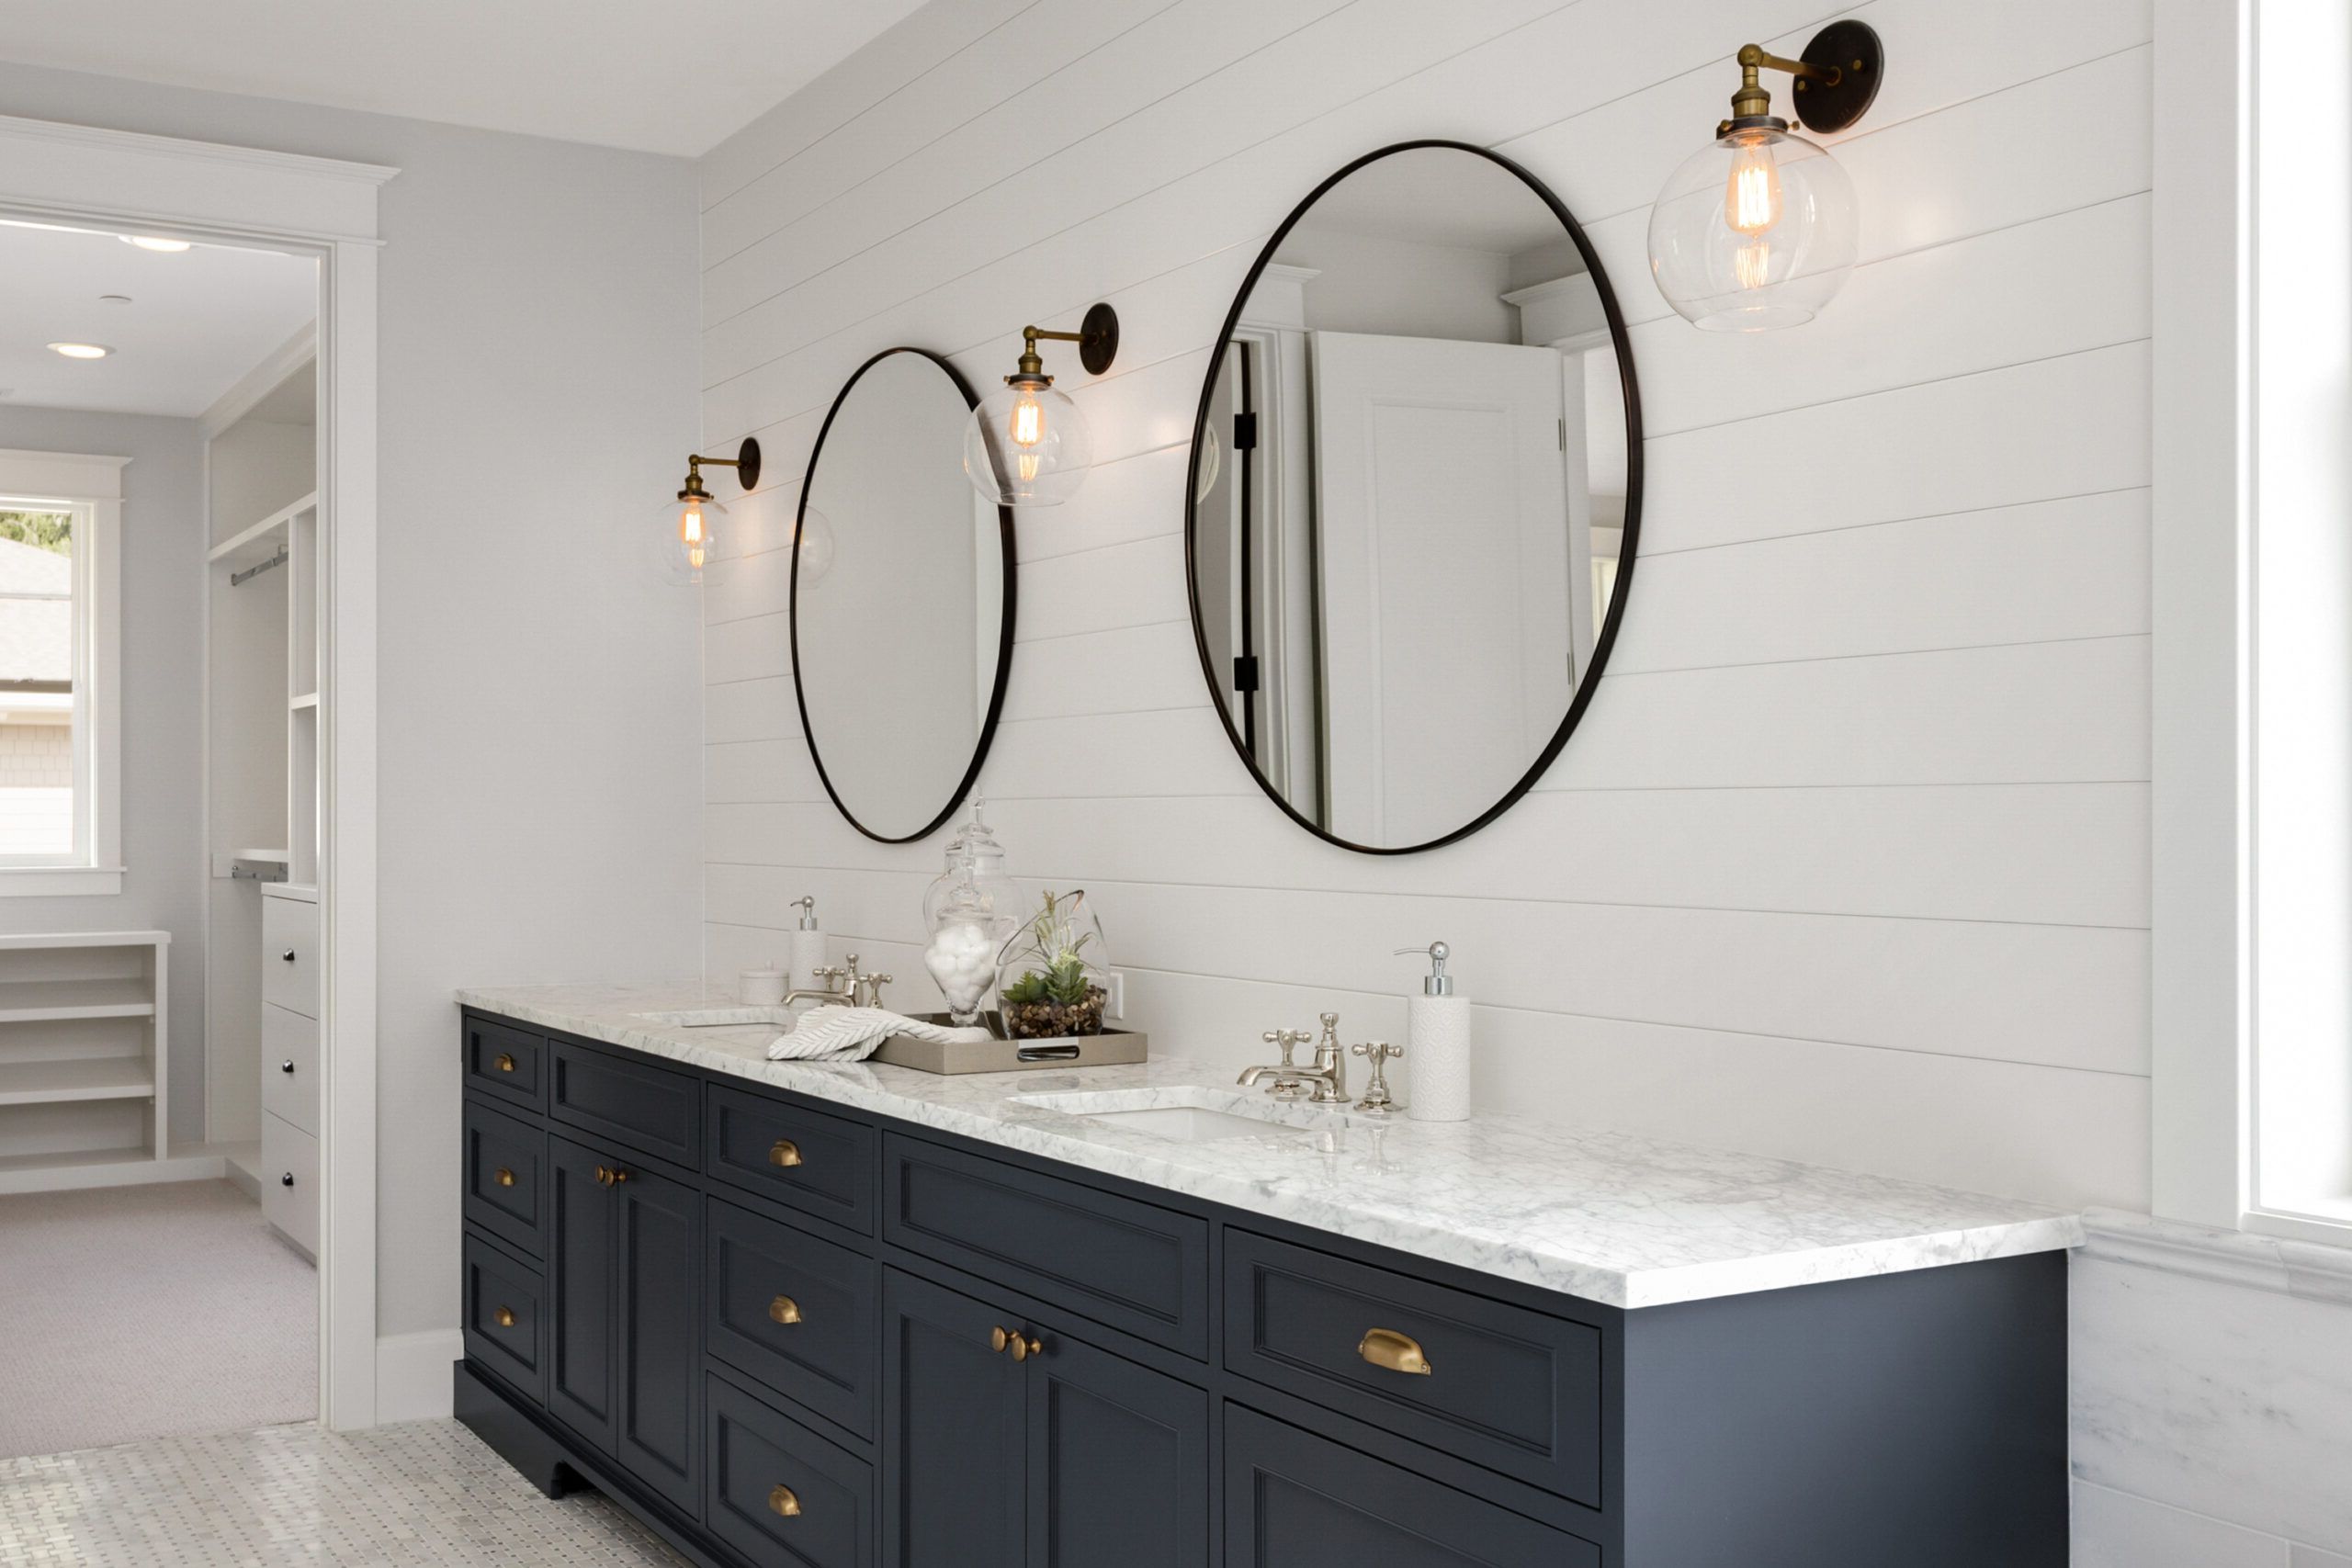
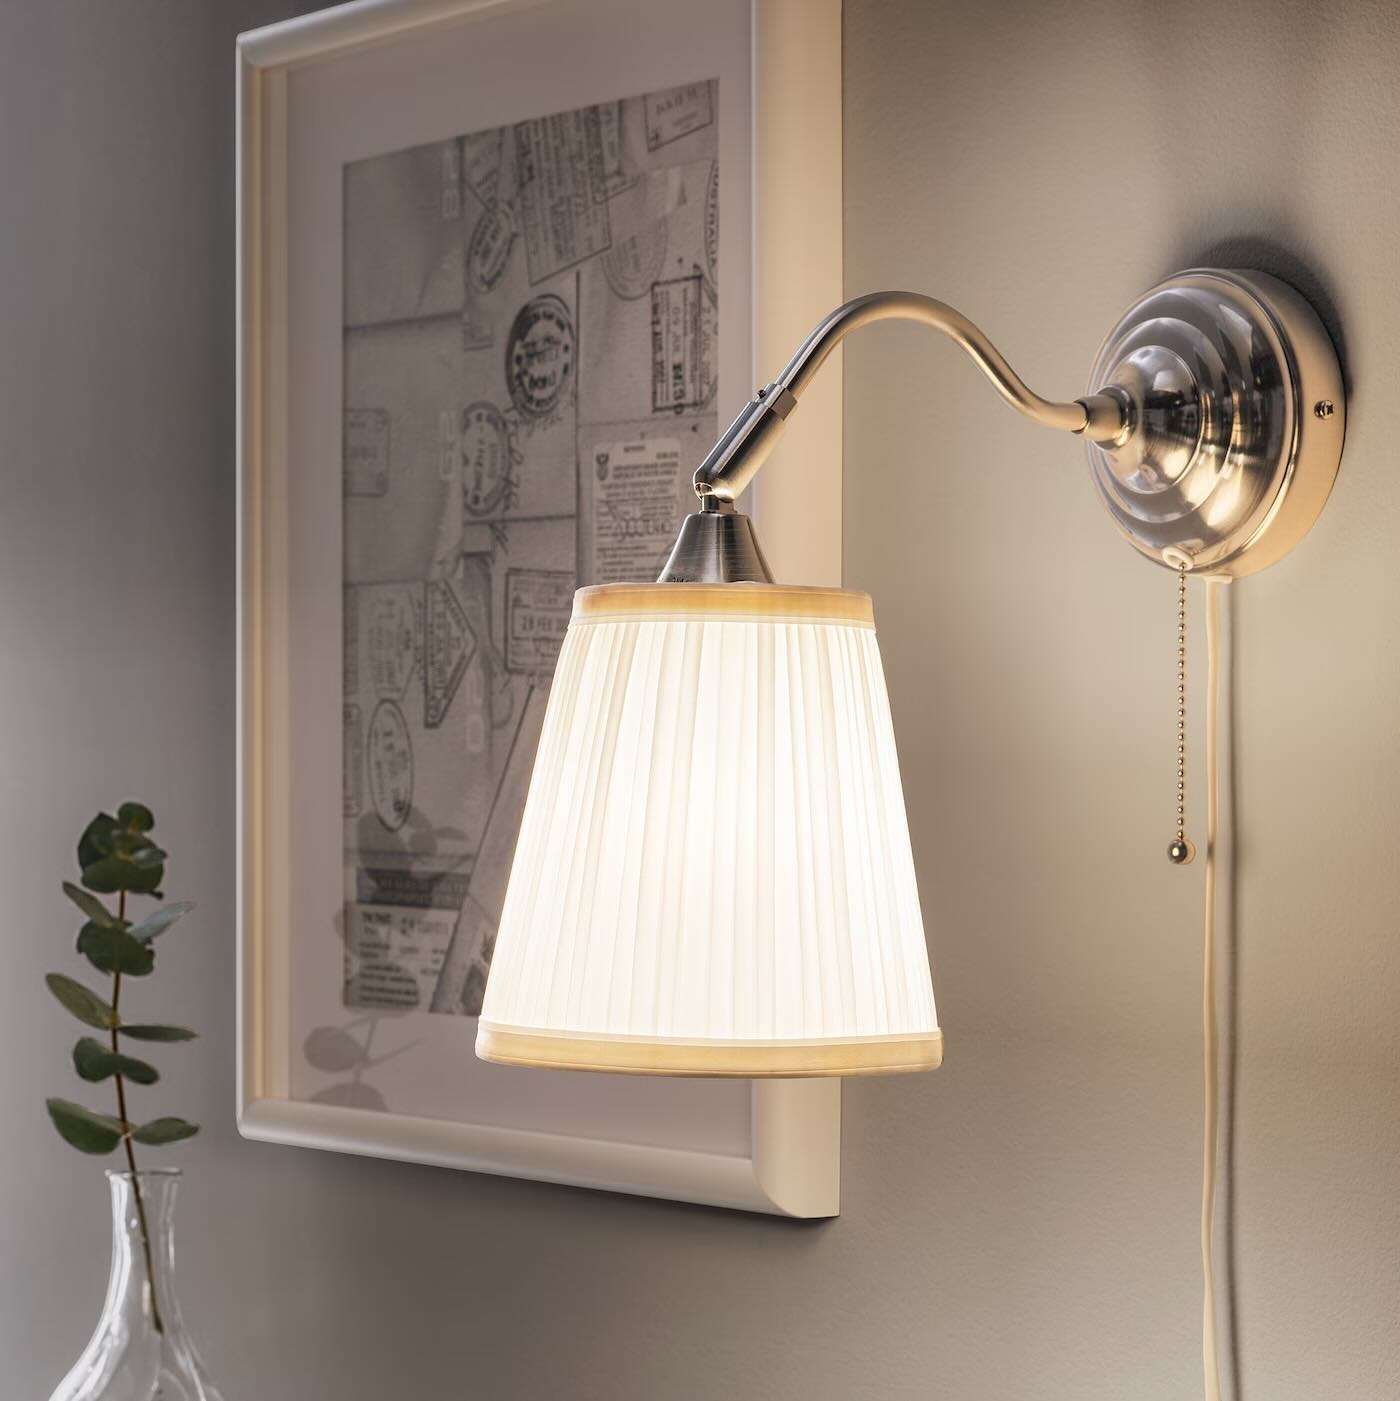
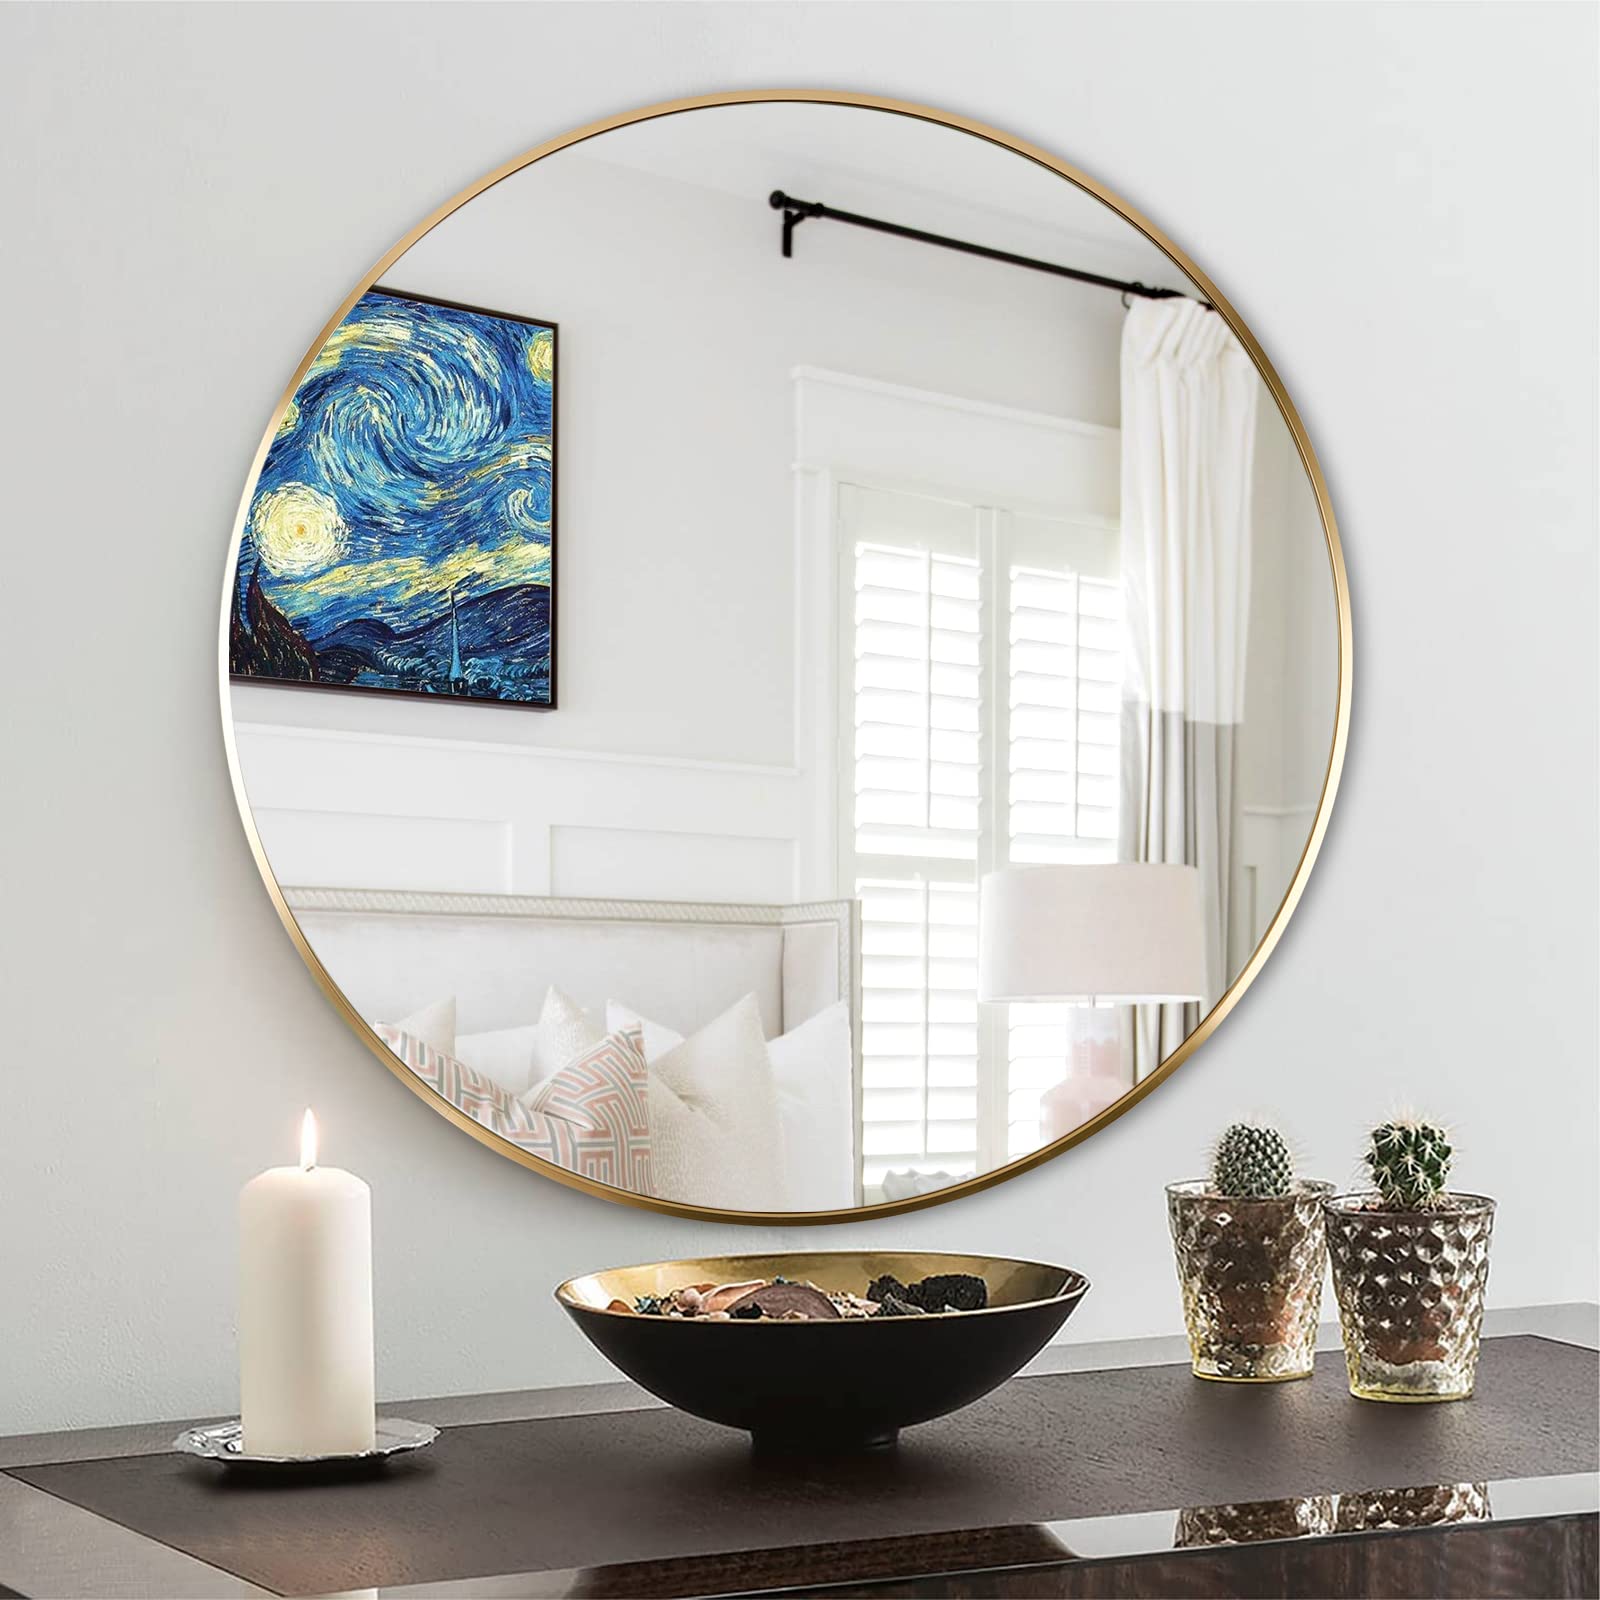
- Take a step back and assess the overall look of the mirrors on the wall. Consider adding decorative elements around the mirrors such as frames, artwork, or wall sconces to enhance the visual appeal.
- Consider the lighting in the room. Strategically placing lamps or installing backlighting behind the mirrors can create a beautiful and dramatic effect.
- Ensure that the mirrors are not reflecting any unsightly or unappealing views. Adjust their angles or add curtains or blinds if necessary.
- Take a moment to appreciate your newly installed mirrors and enjoy the enhanced beauty and functionality they bring to your space!
Keeping the mirrors clean and free of smudges and dirt will help maintain their shine and clarity. Regularly clean them using a non-abrasive glass cleaner or a mixture of water and vinegar. Avoid using harsh chemicals or abrasive materials that could damage the mirror surface.
With the mirrors cleaned and any finishing touches in place, step back and admire your work. The installation process is complete, and you can now enjoy the visual impact and practicality that mirrors bring to your room.
Congratulations on successfully installing mirrors on your wall! With proper care and maintenance, your mirrors will continue to enhance the aesthetics of your space for years to come.
Disclaimer: Always follow the manufacturer’s instructions for your specific mirrors and adhere to any safety guidelines provided.
Conclusion
Installing mirrors on a wall is a rewarding project that can transform the look and feel of any room. Not only do mirrors add depth, brightness, and visual appeal, but they also serve functional purposes such as checking your reflection and reflecting light to make a space appear larger. By following the step-by-step guide outlined in this article, you can confidently install mirrors on your wall and achieve a secure and visually pleasing result.
Throughout the installation process, we discussed the tools and materials needed, including measuring tape, level, adhesive or mounting hardware, and cleaning cloth. We also covered the essential steps of measuring and marking the wall, preparing the wall surface, applying adhesive or mounting hardware, positioning the mirrors, securing them in place, and cleaning and adding finishing touches.
Remember, proper preparation, positioning, and securing are critical to ensure the longevity and stability of your mirrors. Take the time to measure and mark accurately, prepare the surface meticulously, and use the appropriate adhesive or mounting hardware for your mirrors’ size and weight. Always double-check the stability of the mirrors and make any necessary adjustments to ensure they are secure and level on the wall.
With your mirrors installed, don’t forget to clean them regularly to maintain their shine and clarity. Additionally, consider adding decorative elements around the mirrors and optimizing the lighting in the room to enhance their visual impact.
By following these steps and putting a little bit of creativity into the process, you can enjoy the many benefits that mirrors bring to your space. Whether you’re using them to add style, functionality, or both, the installation of mirrors on your wall is sure to enhance the overall aesthetics of your room.
Now that you have the knowledge and confidence to install mirrors yourself, it’s time to get started. Gather your tools, choose the perfect location, and embark on this exciting project to elevate the beauty and functionality of your space with stunning wall mirrors!
Frequently Asked Questions about How To Install Mirrors On Wall
Was this page helpful?
At Storables.com, we guarantee accurate and reliable information. Our content, validated by Expert Board Contributors, is crafted following stringent Editorial Policies. We're committed to providing you with well-researched, expert-backed insights for all your informational needs.


0 thoughts on “How To Install Mirrors On Wall”