Home>Articles>How To Waterproof An Extension Cord Connection
Articles
How To Waterproof An Extension Cord Connection
Modified: January 6, 2024
Learn how to waterproof an extension cord connection in this informative article. Protect your electrical connections from moisture and prevent costly damage.
(Many of the links in this article redirect to a specific reviewed product. Your purchase of these products through affiliate links helps to generate commission for Storables.com, at no extra cost. Learn more)
Introduction
Welcome to this comprehensive guide on how to waterproof an extension cord connection. Whether you have outdoor electrical appliances or are planning to use extension cords in damp or wet conditions, it’s crucial to ensure that the connections are adequately protected from moisture. Water exposure can not only damage the extension cord but also pose serious safety risks.
Waterproofing an extension cord connection is a relatively simple and cost-effective process that can prevent potential hazards and increase the durability of your outdoor electrical setup. By following the steps outlined in this guide, you’ll be able to create a secure and water-resistant connection that will provide consistent power delivery even in damp or wet environments.
Understanding the importance of waterproofing extension cord connections is vital before diving into the step-by-step process. Moisture can corrode the copper wires inside the cord, leading to short circuits, electrical shocks, or even fires. Additionally, if water comes into contact with the electrical outlets, it can cause serious damage to the connected devices, as well as increase the risk of electric shock.
By taking the time to waterproof your extension cord connections, you are not only protecting your equipment and reducing the risk of accidents, but also ensuring the longevity of your electrical setup, saving you time and money in the long run.
Before we get started, let’s take a look at the tools and materials you’ll need for this project.
Key Takeaways:
- Properly waterproofing extension cord connections is crucial for preventing electrical hazards and protecting equipment in outdoor or damp environments. Follow the step-by-step process using high-quality materials for a secure and long-lasting seal.
- Regularly inspect and test waterproofed connections to ensure their effectiveness and safety. Adhere to additional tips and safety precautions, and consult a professional electrician if needed. Prioritize safety and peace of mind when working with electricity.
Understanding the Importance of Waterproofing Extension Cord Connections
When it comes to using electrical appliances or tools outdoors or in damp environments, ensuring that your extension cord connections are waterproof is of utmost importance. Water and electricity are a dangerous combination, and failure to properly protect your extension cords can result in electrical shocks, short circuits, or even fires.
Moisture can seep into the electrical connections of your extension cord, causing the copper wires inside to corrode. This corrosion weakens the wires, leading to potential hazards. In addition, if water comes into contact with the electrical outlets, it can cause damage to both the connected devices and the outlet itself.
One common misconception is that the rubber or plastic covering of the extension cord provides sufficient protection against moisture. While these coverings provide some level of insulation, they are not entirely waterproof. Over time, exposure to moisture can degrade the covering, compromising its ability to keep water out.
Waterproofing your extension cord connections is essential for outdoor activities such as garden work, lighting setups, or using power tools on construction sites. It’s also crucial for events or gatherings where temporary power connections are required, like outdoor parties or camping trips.
By taking the necessary steps to waterproof your extension cord connections, you are safeguarding against potential accidents and ensuring the longevity of your electrical equipment. Investing a little time and effort now can save you from costly repairs or replacements in the future.
Additionally, waterproofing your extension cord connections provides peace of mind, knowing that you are taking the necessary precautions to protect yourself, your loved ones, and your property. It allows you to use your electrical appliances and tools outdoors with confidence, even in wet or damp conditions.
Now that you understand the importance of waterproofing your extension cord connections, let’s move on to the tools and materials you’ll need for this project.
Tools and Materials Required
Before you begin waterproofing your extension cord connection, gather the following tools and materials:
- Extension Cord: Ensure that you have a suitable outdoor extension cord that meets your power requirements. Make sure it is in good condition without any frayed wires or exposed conductors.
- Electrical Tape: High-quality electrical tape is an essential component for waterproofing your extension cord connection. Choose a tape that is weather-resistant and provides a strong seal.
- Silicone Tape: Silicone tape is a self-fusing tape that provides excellent waterproofing capabilities. It adheres to itself and creates a tight, moisture-resistant barrier around the connection.
- Heat Shrink Tubing: Heat shrink tubing is a protective sleeve that shrinks when heat is applied, creating a tight and secure waterproof seal around the connection. Make sure to choose the appropriate size to fit your extension cord.
- Heat Gun or Hair Dryer: A heat gun or hair dryer is required to shrink the heat shrink tubing and create a tight seal. Ensure that you have one of these tools available before starting the project.
- Scissors or Wire Cutter: You’ll need a pair of scissors or wire cutters to trim the electrical tape, silicone tape, and heat shrink tubing.
- Isopropyl Alcohol: Isopropyl alcohol is used to clean the connection area before applying the electrical tape. It helps remove any dirt or grease that could affect the effectiveness of the seal.
It’s important to have all these tools and materials readily available before you begin the waterproofing process. This will ensure a smooth and efficient workflow, allowing you to complete the project successfully.
Now that you have everything you need, let’s move on to the step-by-step process of waterproofing an extension cord connection.
Step 1: Prepare the Extension Cord
Before you can begin waterproofing the connection, you need to prepare the extension cord for the process. Follow these steps:
- Ensure that the extension cord is unplugged from any power source.
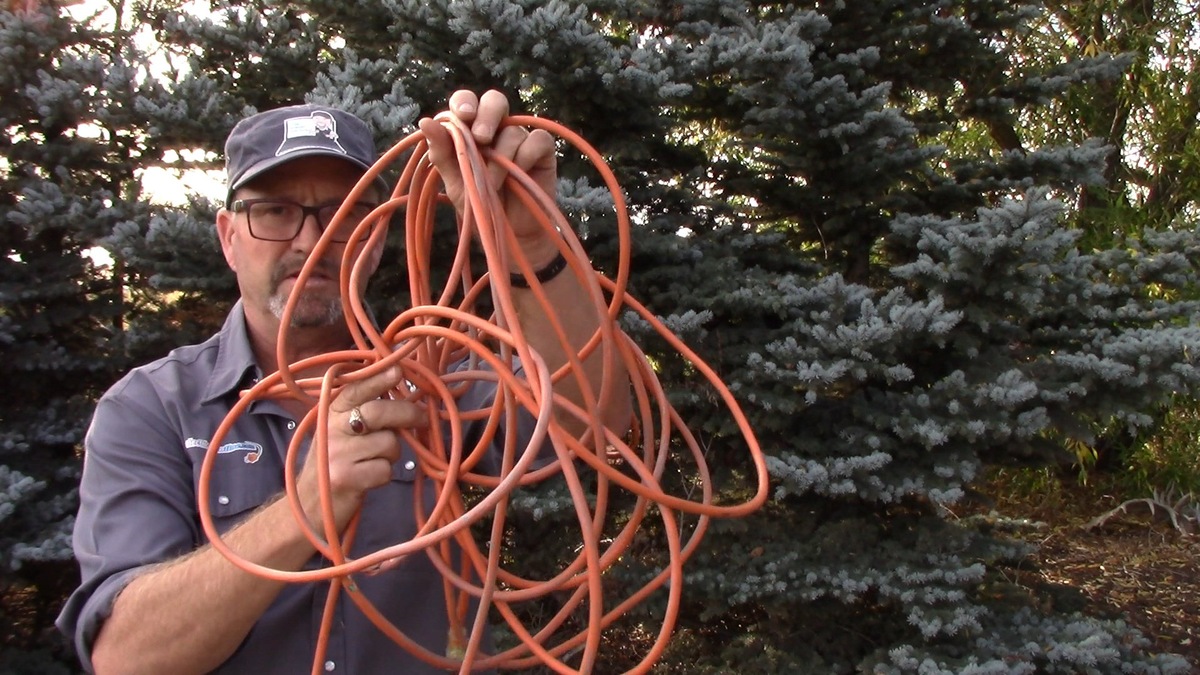
- Inspect the entire length of the extension cord for any signs of damage, such as frayed wires or exposed conductors. If you notice any issues, it’s important to replace the cord before proceeding.
- Clean the area around the connection point with isopropyl alcohol. This will remove any dirt, grease, or debris that may prevent the seal from adhering properly.
- Gently wipe the area dry with a clean cloth or paper towel. It’s essential to have a completely dry surface before proceeding to the next steps.
By properly preparing the extension cord, you are ensuring that the connection area is clean and free from any potential contaminants that could interfere with the waterproofing process. This step is essential for creating a secure and long-lasting waterproof seal.
Once you have completed the preparation, you’re ready to move on to the next step: applying electrical tape to the extension cord connection.
Step 2: Apply Electrical Tape
After preparing the extension cord, the next step in waterproofing the connection is to apply electrical tape. Electrical tape provides insulation and helps create a barrier against moisture. Follow these steps:
- Starting from the base of the connection, tightly wrap a layer of electrical tape around the exposed wires. Make sure to overlap each layer by about half of the tape’s width.
- Continue wrapping the tape around the exposed wires, extending the wrap at least 2-3 inches beyond the connection point on both sides.
- Pull the tape firmly as you wrap to ensure a tight and secure seal. Be careful not to stretch the tape too much, as it may lose its elasticity.
- Ensure that the entire connection area is covered with several layers of electrical tape, providing a complete and uniform seal.
- After wrapping the connection with electrical tape, press the tape firmly with your fingers to ensure proper adhesion.
By applying electrical tape to the connection, you are providing an initial layer of insulation and protection against moisture. This layer will help prevent water from reaching the exposed wires, reducing the risk of corrosion and electrical hazards.
With the electrical tape securely in place, it’s time to move on to the next step: wrapping the connection with silicone tape.
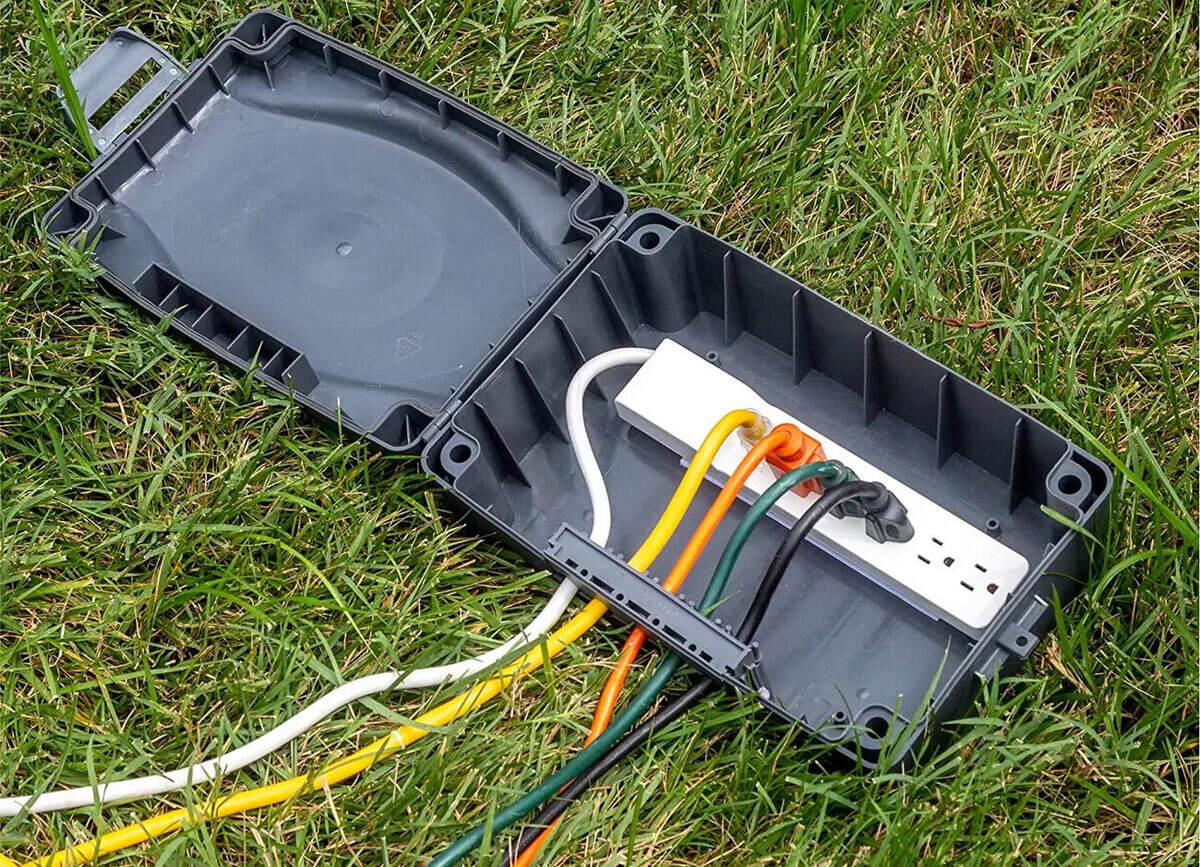
When waterproofing an extension cord connection, use a waterproof electrical box and seal the connection with silicone caulk to prevent water damage and ensure safety.
Read more: How To Splice Extension Cord
Step 3: Wrap with Silicone Tape
Once you have applied the electrical tape to the extension cord connection, the next step in waterproofing the connection is to wrap it with silicone tape. Silicone tape provides excellent waterproofing capabilities and creates a tight seal around the connection. Follow these steps:
- Start at the base of the electrical tape wrap and wrap the silicone tape tightly around the connection. Ensure that you overlap each layer by about half of the tape’s width.
- Continue wrapping the silicone tape around the connection, extending the wrap at least 2-3 inches beyond the electrical tape on both sides.
- Pull the tape firmly as you wrap to create a tight and secure seal. The silicone tape will adhere to itself, creating a seamless and water-resistant layer around the connection.
- Continue wrapping until the entire connection area is covered with multiple layers of silicone tape. Make sure to leave no exposed areas.
- Press the silicone tape firmly with your fingers to ensure proper adhesion and create a tight seal.
By using silicone tape, you are adding an extra layer of protection to the connection. The silicone tape acts as a barrier against moisture, preventing water from seeping into the connection and causing potential damage.
With the silicone tape wrapped securely around the connection, it’s time to move on to the final step: sealing the connection with heat shrink tubing.
Step 4: Seal with Heat Shrink Tubing
After wrapping the connection with both electrical tape and silicone tape, the next step in waterproofing the connection is to seal it with heat shrink tubing. Heat shrink tubing provides a secure and tight seal when exposed to heat, ensuring maximum protection against moisture. Follow these steps:
- Cut a suitable length of heat shrink tubing that can cover the entire connection area with a little bit of overlap on each side.
- Slide the heat shrink tubing over the wrapped connection, ensuring that it covers the electrical tape and silicone tape layers.
- Using a heat gun or hair dryer, apply heat evenly to the heat shrink tubing. Move the heat source around the tubing, maintaining a safe distance to prevent overheating or melting the tubing.
- As the heat is applied, the tubing will shrink, creating a tight and sealed barrier around the connection. Ensure that the tubing shrinks evenly and adheres to the underlying tape layers.
- Allow the heat shrink tubing to cool and set, ensuring a secure and water-resistant seal.
By sealing the connection with heat shrink tubing, you are providing an additional layer of protection against moisture and ensuring a long-lasting and durable waterproof seal. The heat shrink tubing creates an airtight environment, preventing water from entering the connection and causing any damage or hazards.
With the heat shrink tubing securely in place, it’s time to move on to the final step: testing the waterproof connection.
Step 5: Test the Waterproof Connection
Once you have completed the process of waterproofing the extension cord connection, it is essential to test its effectiveness before using it in wet or damp conditions. This step will help ensure that your connection is properly sealed and protected against moisture. Follow these steps:
- Plug in the extension cord into a power source.
- Ensure that the connected device or appliances are turned off.
- Lightly spray the wrapped connection with water, simulating wet conditions.
- Observe the connection for any signs of water seepage or moisture infiltration.
- If you notice any water penetration or signs of moisture, power off the extension cord immediately and reevaluate the waterproofing process. Determine if any layers of tape or tubing need reinforcement or replacement.
- If the connection remains dry and secure, you can proceed to use the extension cord confidently in wet or damp environments.
Testing the waterproof connection is a crucial step to ensure its effectiveness. By simulating wet conditions, you can identify any potential weaknesses in the seal and make any necessary adjustments or improvements before putting the connection to real-world use.
With step 5 completed successfully, you have now waterproofed and tested your extension cord connection. Enjoy the peace of mind knowing that your electrical setup is protected against moisture and ready to handle outdoor or damp conditions.
Before we conclude, here are some additional tips and safety precautions to keep in mind:
Conclusion
Waterproofing your extension cord connections is a vital step in ensuring the safety and longevity of your electrical equipment, especially when using them in outdoor or damp environments. By following the step-by-step process outlined in this guide, you can create a secure and water-resistant connection that will protect against moisture and potential hazards.
Throughout the process, we discussed the importance of waterproofing extension cord connections to prevent electrical shocks, short circuits, and potential fires. We highlighted the tools and materials needed, including electrical tape, silicone tape, heat shrink tubing, and more.
The step-by-step instructions covered preparing the extension cord, applying electrical tape, wrapping with silicone tape, sealing with heat shrink tubing, and testing the waterproof connection. Each step serves to reinforce the seal and ensure maximum protection against moisture infiltration.
Remember to always test the waterproof connection before using it in wet or damp conditions. By simulating wet conditions and checking for any signs of water seepage, you can rest assured that your connection is properly sealed and ready for use.
Additionally, it’s important to adhere to the following tips and safety precautions:
- Regularly inspect your extension cord for any signs of damage or wear, and replace it if necessary.
- Never operate electrical equipment or appliances near water or in wet conditions.
- Ensure that your extension cord is rated for outdoor use and can withstand the expected load.
- Store your extension cord indoors when not in use to protect it from rain or extreme weather conditions.
- Always unplug your extension cord before attempting any repairs or modifications.
- If you are unsure about the process or encounter any difficulties, consult a professional electrician for assistance.
By taking the time to properly waterproof your extension cord connections, you are prioritizing safety and protecting your equipment from potential damage. With a securely sealed connection, you can confidently use electrical appliances and tools in outdoor or damp environments, knowing that you have taken the necessary precautions.
Remember, safety should always be the top priority when working with electricity. By following the guidelines in this guide, you are on your way to creating a waterproof extension cord connection that will provide reliable performance for years to come.
Read more: How To Test Extension Cord With Multimeter
Additional Tips and Safety Precautions
When it comes to waterproofing extension cord connections, it’s important to keep a few additional tips and safety precautions in mind. These will further ensure the effectiveness and safety of your electrical setup:
- Choose high-quality electrical tape, silicone tape, and heat shrink tubing for the best results. Investing in reliable and durable materials will provide a stronger and longer-lasting waterproof seal.
- Ensure that the extension cord you are using is rated for the intended outdoor or damp environment. Different cords have different levels of resistance to moisture and can handle various weather conditions.
- When applying electrical tape, make sure to stretch it slightly as you wrap to create a tight and secure seal. However, avoid stretching it excessively as it may lose its effectiveness and flexibility.
- When wrapping with silicone tape, ensure that it covers the entire connection area, leaving no exposed areas. The seal should be tight and uniform to prevent water ingress.
- Be cautious when using a heat gun or hair dryer to shrink the heat shrink tubing. Keep a safe distance to avoid overheating or melting the tubing. Apply heat evenly to achieve a consistent seal.
- Regularly inspect your waterproofed connections for any signs of wear or damage. If you notice any degradation, re-tape or reseal the connections using the same process outlined in this guide.
- Never leave your extension cord or connected electrical appliances unattended, especially in wet or damp conditions. Monitor the area and ensure that there is no water pooling or excessive moisture around the connections.
- If you notice any electrical malfunctions, such as flickering lights or a buzzing sound, immediately disconnect the power and inspect the connections. Contact a professional electrician to assist with repairs if needed.
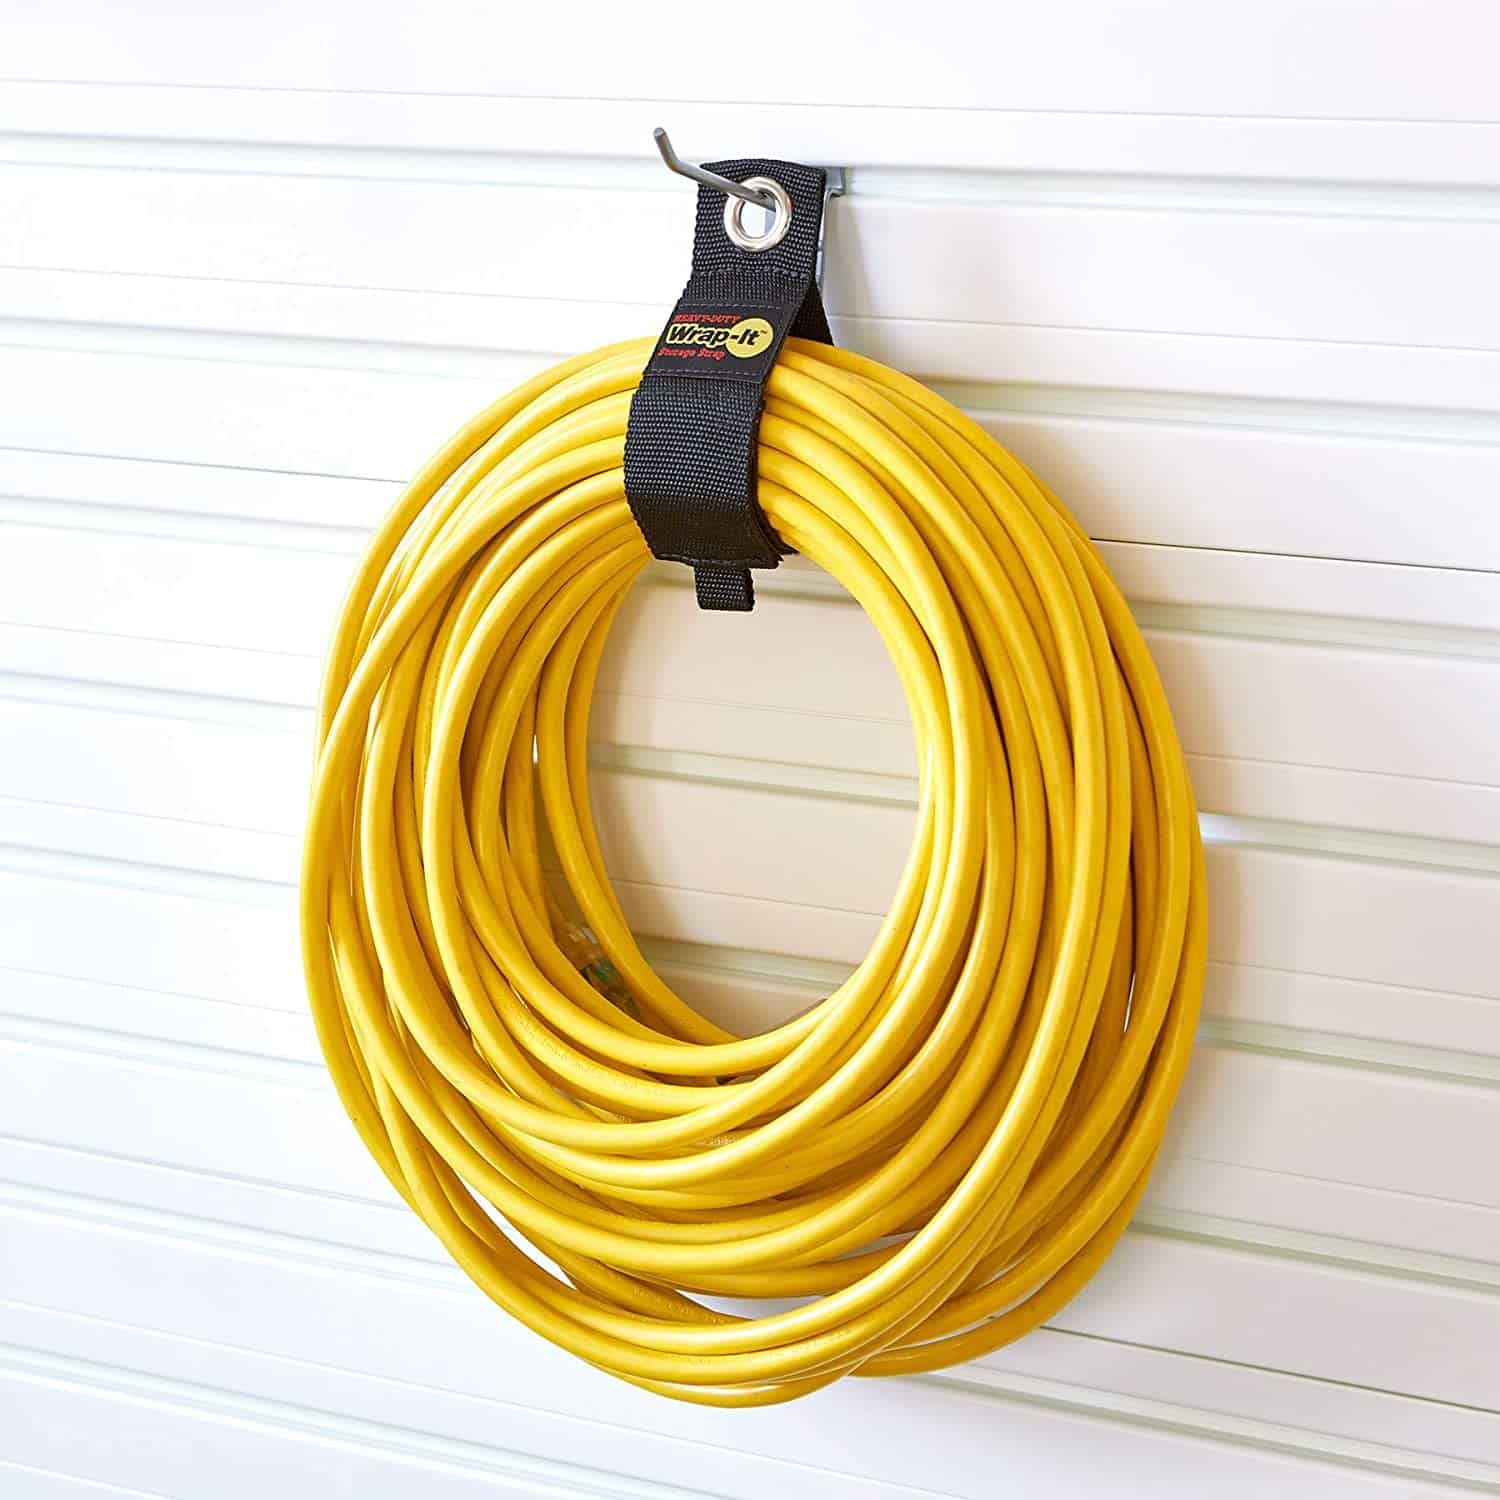
- Store your extension cords properly when not in use. Coil them loosely to avoid bending or damaging the insulation, and store them indoors in a dry and protected area.
- If you are uncertain about the waterproofing process or have complex electrical needs, it is always best to consult with a qualified electrician. They can provide guidance and ensure that your connections meet the necessary safety standards.
By following these additional tips and safety precautions, you can further enhance the effectiveness and longevity of your waterproofed extension cord connections. Safety should always be prioritized when working with electricity, and taking the necessary precautions will provide peace of mind and protect against potential hazards.
Remember, when it comes to waterproofing extension cord connections, it is better to be safe than sorry. Take the time to properly seal your connections and regularly inspect them to ensure their integrity. With a well-maintained electrical setup, you can confidently use your extension cords in various outdoor or damp situations while minimizing the risk of electrical accidents or damage to your equipment.
Frequently Asked Questions about How To Waterproof An Extension Cord Connection
Was this page helpful?
At Storables.com, we guarantee accurate and reliable information. Our content, validated by Expert Board Contributors, is crafted following stringent Editorial Policies. We're committed to providing you with well-researched, expert-backed insights for all your informational needs.


0 thoughts on “How To Waterproof An Extension Cord Connection”