Articles
How To Put A Swiffer Duster On
Modified: August 22, 2024
Learn how to put a Swiffer duster on with our insightful articles. Discover tips and techniques for easy and effective cleaning.
(Many of the links in this article redirect to a specific reviewed product. Your purchase of these products through affiliate links helps to generate commission for Storables.com, at no extra cost. Learn more)
Introduction
Welcome to this guide on how to put a Swiffer duster on! Swiffer dusters are a popular and convenient cleaning tool that make dusting your home a breeze. Whether you are a first-time user or just need a refresher, this article will walk you through the simple steps of assembling and using a Swiffer duster effectively. With the proper technique, you can quickly and efficiently remove dust from any surface in your home.
A Swiffer duster consists of two main components: the handle and the duster pad. The handle provides a sturdy grip and allows you to reach high or hard-to-reach areas, while the duster pad attracts and traps dust particles. By following these step-by-step instructions, you’ll be able to assemble the Swiffer duster correctly and start dusting in no time.
So let’s jump right into it and learn how to properly put a Swiffer duster on!
Key Takeaways:
- Assembling and using a Swiffer duster is a breeze with these simple steps. From unpackaging to proper disposal, this guide ensures you’ll efficiently tackle dusting tasks and maintain a clean, healthy home environment.
- Remember to prepare the duster pad, use light, sweeping motions, and dispose of used pads properly. With these tips, you’ll confidently and effectively use the Swiffer duster for a sparkling clean home.
Read more: How To Clean A Swiffer Duster
Step 1: Unpackaging the Swiffer Duster
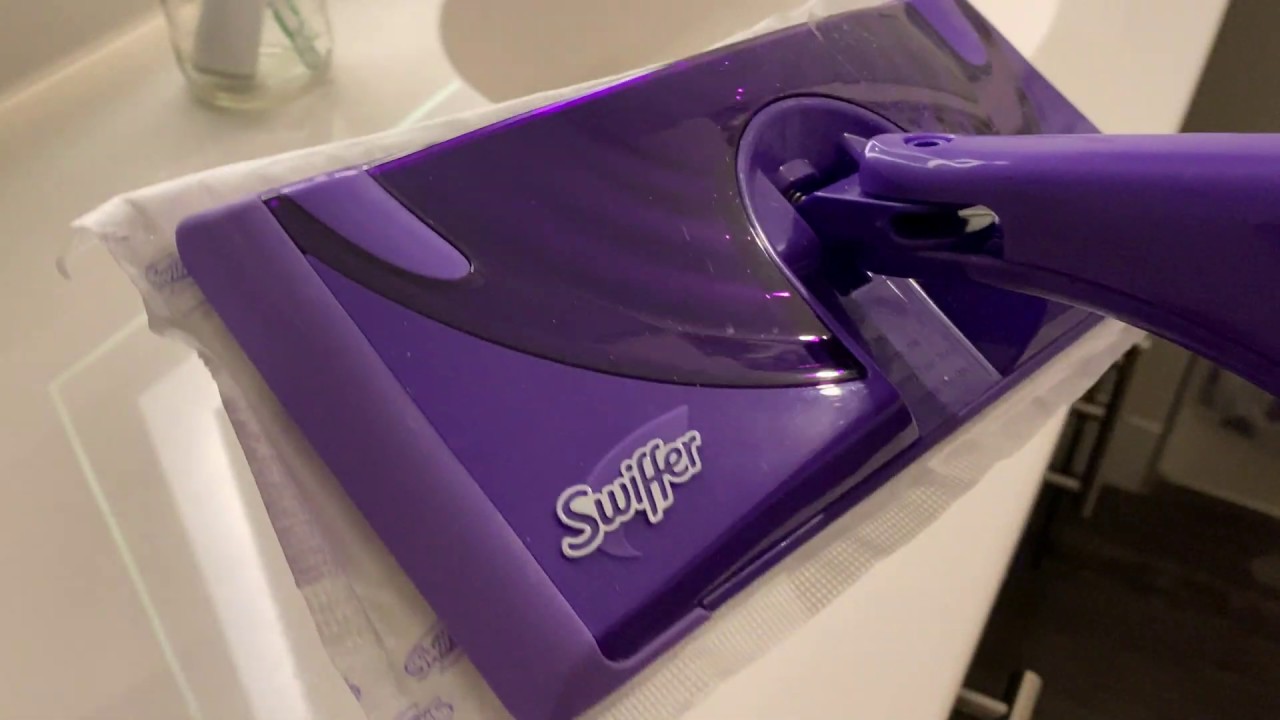
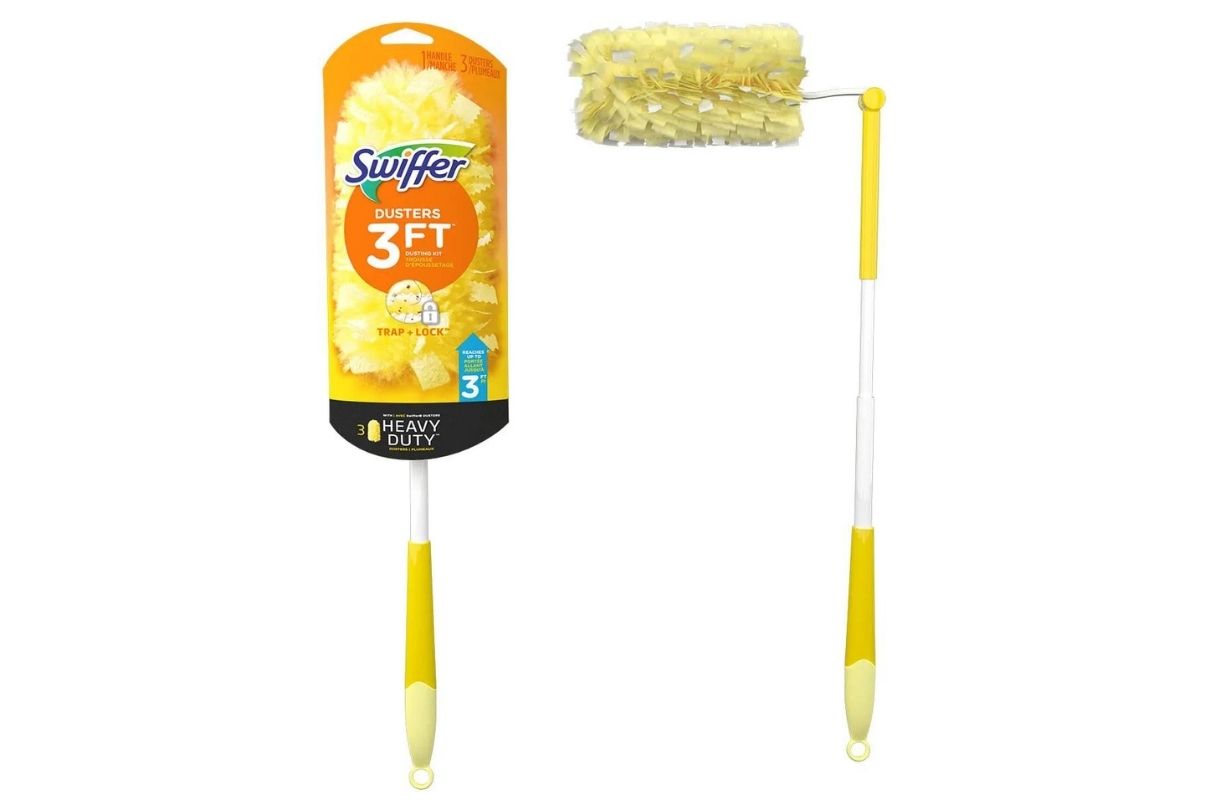
The first step in using a Swiffer duster is to unpack it from its packaging. Most Swiffer dusters come in a sealed plastic bag or a box, depending on the packaging design. Look for the perforated seal or tear strip to easily open the packaging.
Once you’ve opened the packaging, you will find the Swiffer duster handle and the duster pads. The number of duster pads included may vary depending on the package you purchased. Typically, Swiffer dusters come with several disposable duster pads that can be easily replaced once they get dirty or worn out.
To ensure that you have a clean and fresh start, inspect the duster pads for any visible damage or defects. If you notice any issues with the duster pads, it’s best to contact the Swiffer customer service or exchange the product at the point of purchase.
Now that you have unpackaged your Swiffer duster and checked the duster pads, you are ready to move on to the next step of assembling the handle.
Step 2: Assembling the Swiffer Duster Handle
Now that you have unpackaged your Swiffer duster, it’s time to assemble the handle. The handle is the long, sturdy part of the Swiffer duster that allows you to hold and control the duster pad during use.
Start by locating the handle and inspect it for any loose parts or damage. The handle should be complete and free from any defects. If you notice any issues, it’s best to contact Swiffer customer service or seek a replacement.
Once you have ensured that the handle is in good condition, locate the connector at the top end of the handle. The connector is a small plastic piece that allows you to attach and detach the duster pad to the handle.
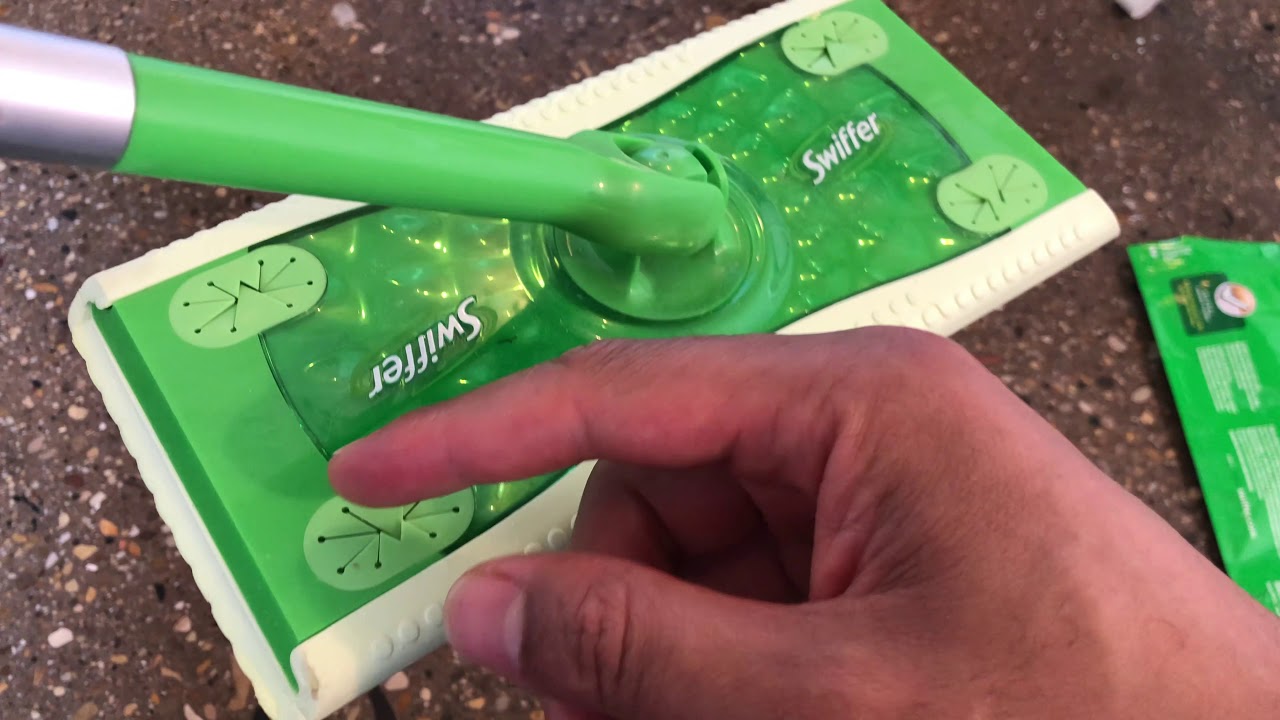
To assemble the handle, simply align the connector on the handle with the corresponding slot on the duster pad. Firmly press down until you hear a click, indicating that the duster pad is securely attached to the handle. Make sure the connection is tight to prevent the duster pad from detaching during use.
With the handle and duster pad now assembled, you’re almost ready to start dusting. However, before you begin, it’s important to prepare the duster pad for optimal performance. Let’s move on to the next step to learn how to prepare the Swiffer duster pad.
Step 3: Preparing the Swiffer Duster Pad
Before you start using the Swiffer duster, it’s important to prepare the duster pad to ensure optimal performance and dust-trapping capability. The duster pad is the soft, fluffy part of the Swiffer duster that attracts and locks in dust particles.
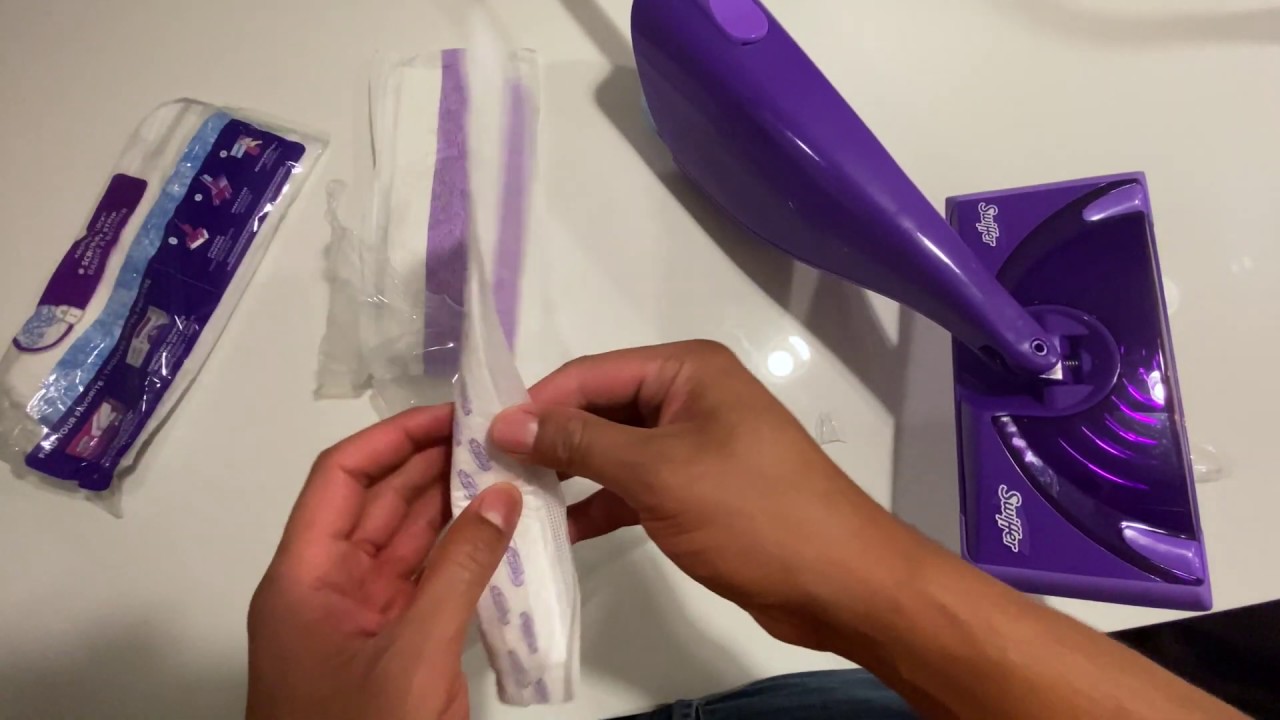
To prepare the duster pad, begin by fluffing it up. Gently shake the duster pad to loosen the fibers and give it a few light taps to ensure it is fully expanded. Fluffing the duster pad will help increase its surface area and enhance its ability to trap dust effectively.
Next, inspect the duster pad for any loose threads or debris. If you notice any loose threads, simply trim them off with a pair of scissors to prevent them from becoming entangled or affecting the duster’s performance.
If the duster pad appears dirty, consider using a vacuum cleaner or giving it a gentle shake outdoors to remove any loose dust particles. Avoid washing or wetting the duster pad, as this can affect its electrostatic properties and reduce its effectiveness in attracting dust.
Now that the Swiffer duster pad is prepared, let’s move on to the next step of attaching it to the handle to complete the assembly process.
When putting a Swiffer duster on, make sure to slide the duster onto the handle until it clicks into place. This will ensure a secure fit for effective dusting.
Step 4: Attaching the Swiffer Duster Pad to the Handle
With the Swiffer duster pad prepared, it’s time to attach it to the handle. The handle and duster pad should already be partially assembled from the previous steps, but we will now secure them together to ensure a tight connection.
Hold the handle in one hand and the duster pad in the other hand. Align the connector at the top of the handle with the slot on the duster pad. Insert the connector into the slot and push down firmly until you hear a click. This click indicates that the duster pad is securely attached to the handle.
Once the duster pad is attached, give it a gentle tug to ensure it is firmly connected to the handle. The duster pad should not come loose or detach easily during use.
It’s important to note that Swiffer duster pads are designed for one-time use and should be replaced once they become dirty or worn out. When using the duster, if you notice the pad no longer effectively trapping dust or becoming excessively dirty, it’s time to replace it with a fresh one.
Now that the handle and duster pad are securely attached, you are ready to use the Swiffer duster. Let’s move on to the next step to learn how to properly use it for effective dusting.
Step 5: Using the Swiffer Duster Properly
Now that you have the Swiffer duster assembled, it’s time to put it to use and properly dust your home. Follow these guidelines to ensure effective and efficient dusting:
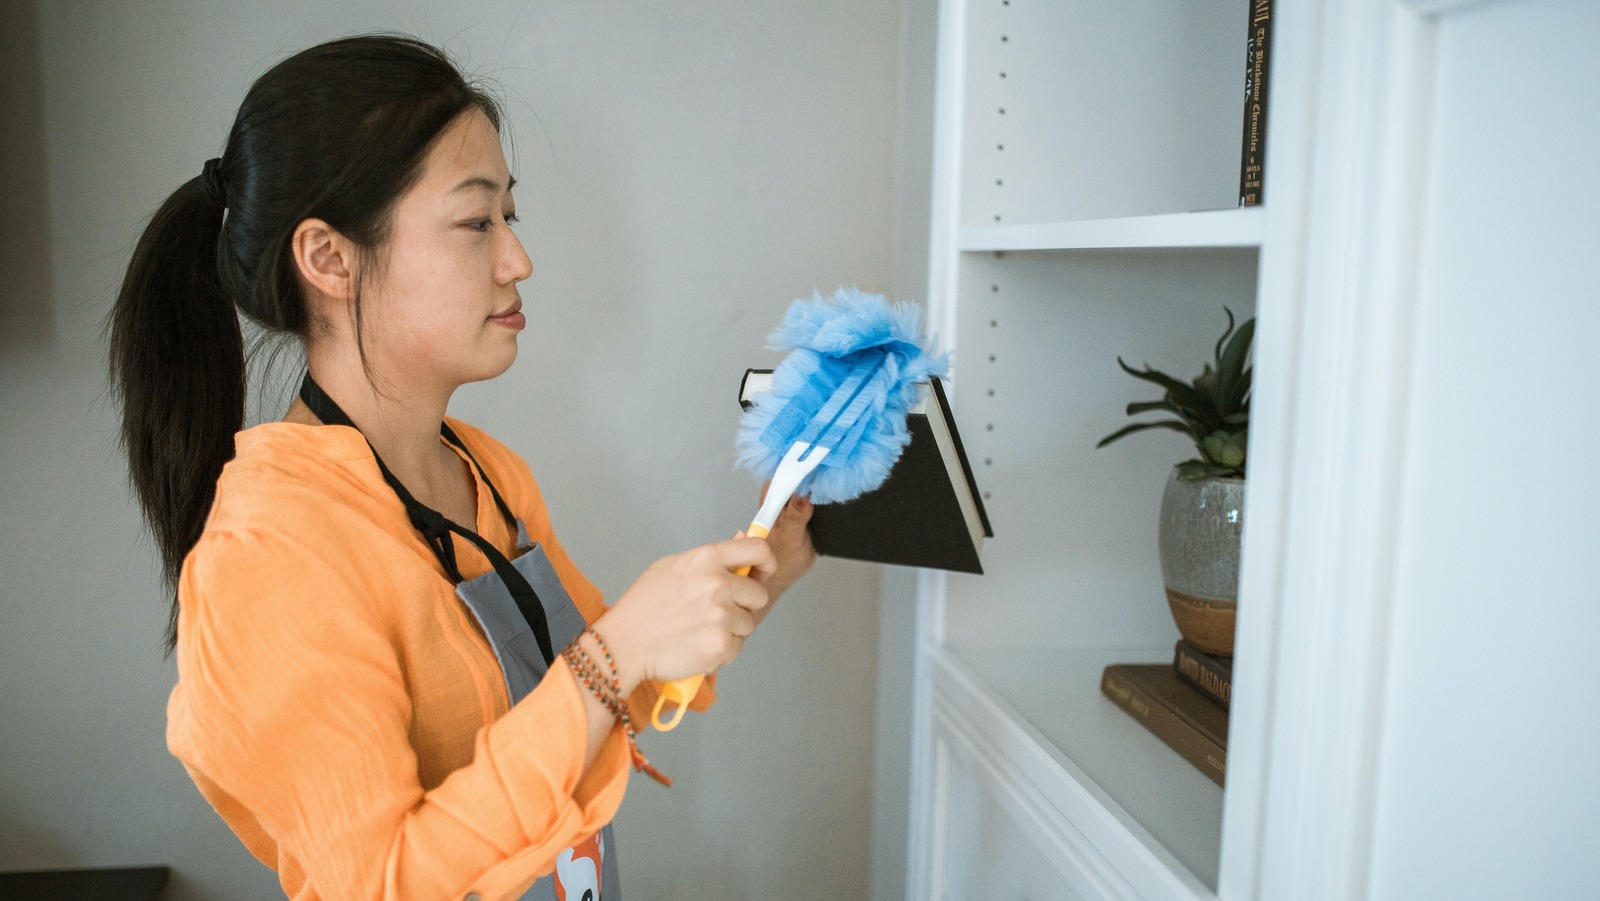
- Hold the Swiffer duster by the handle, gripping it firmly but comfortably.
- Start with one corner of the room and work your way around in a systematic manner, moving clockwise or counterclockwise.
- Gently glide the duster pad over surfaces, making light contact to pick up dust. Avoid pressing too hard, as that may reduce the duster’s effectiveness.
- Use long, sweeping motions to cover larger areas, and use short, precise strokes for smaller or more detailed surfaces.
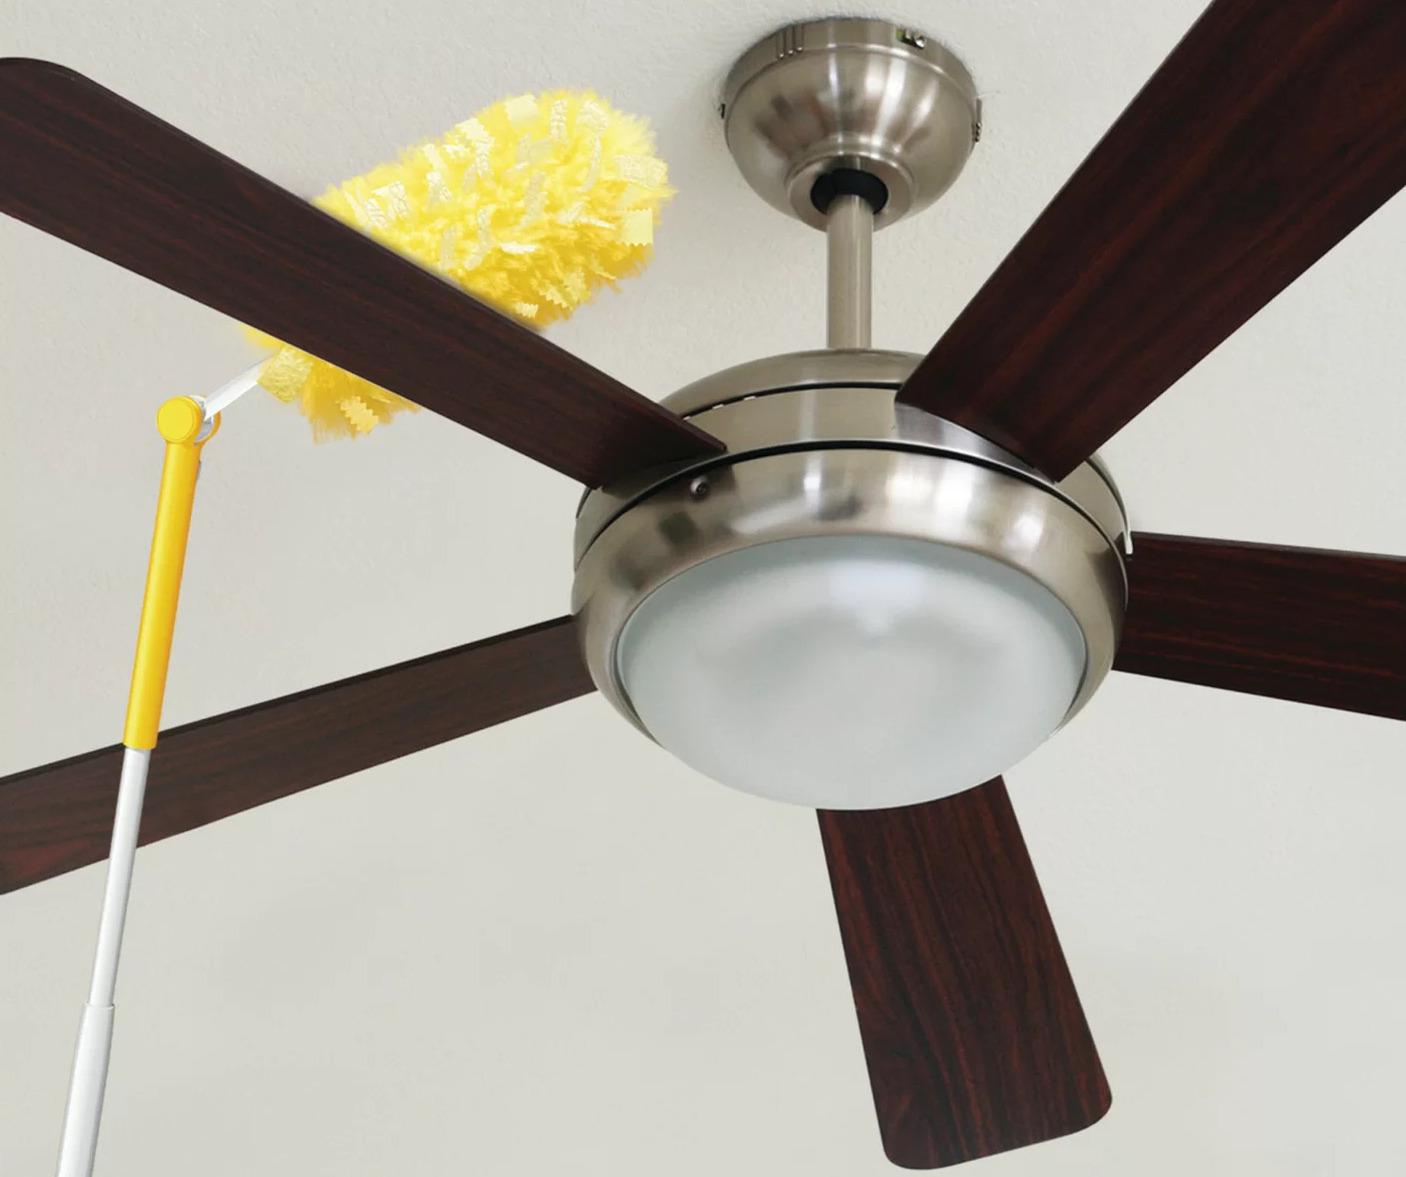
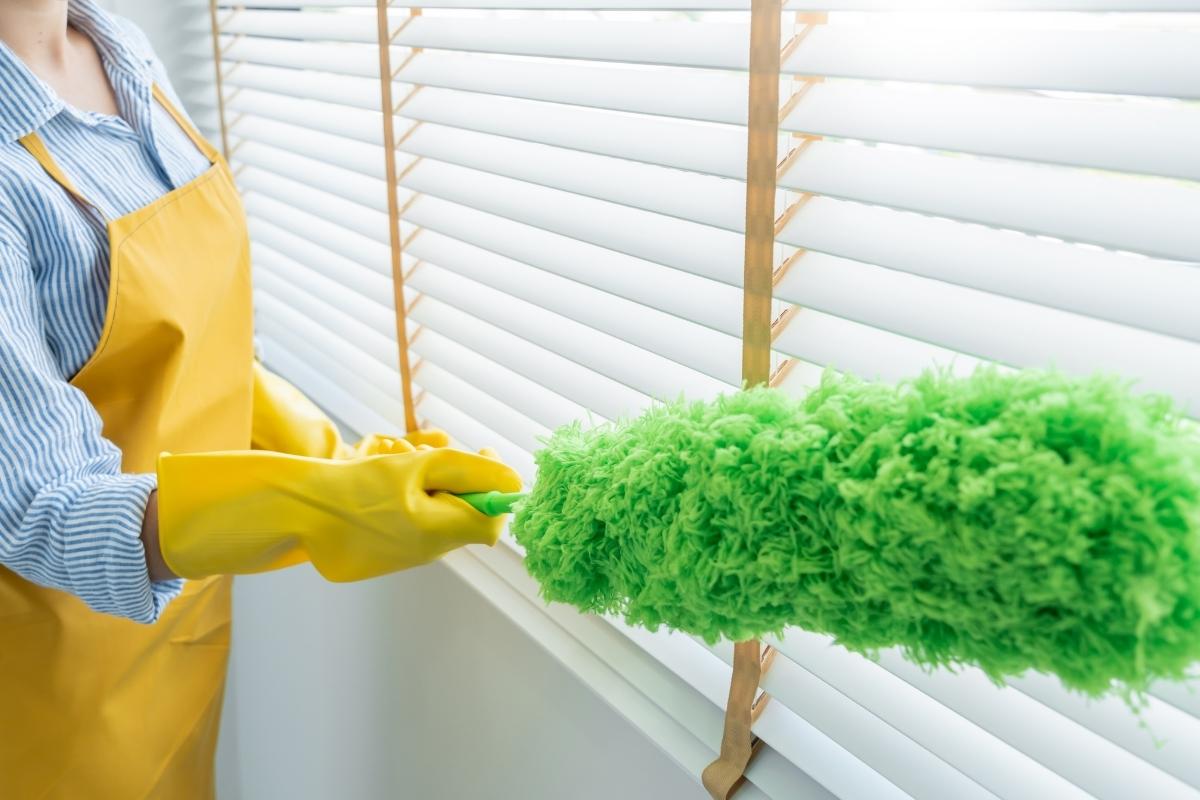
- Pay special attention to areas prone to collecting dust, such as bookshelves, blinds, electronics, and baseboards. Glide the duster pad over these surfaces thoroughly.
- Rotate or fold the duster pad as needed to expose a clean section when the current section becomes dirty or saturated with dust.
- Continue dusting until you’ve covered all desired surfaces. If necessary, you can use an extension pole to reach high or difficult-to-access areas.
Remember, the Swiffer duster is designed for dry dusting and should not be used with any liquid cleaning solutions. Also, avoid using the Swiffer duster on wet or sticky surfaces to maintain its dust-trapping capabilities.
After each use, inspect the duster pad for excessive dust accumulation. If necessary, replace the duster pad with a fresh one to ensure optimal dusting performance in future uses.
Congratulations! You now know how to properly use the Swiffer duster for effective dusting. Let’s move on to the final step, which is the proper disposal of used Swiffer duster pads.
Step 6: Disposing of Used Swiffer Duster Pads
Once you have finished using the Swiffer duster and the duster pad is dirty or worn out, it’s important to dispose of it properly. Proper disposal ensures that any trapped dust and debris are contained and does not spread back into your living space.
Here are some guidelines for disposing of used Swiffer duster pads:
- Carefully remove the used duster pad from the handle by pressing the buttons or levers located on the handle, depending on the specific model.
- Seal the used duster pad in a plastic bag or wrap it in a newspaper to minimize dust scattering during transportation and disposal.
- Dispose of the used duster pad in your household trash. Be sure to follow your local regulations and guidelines for disposing of household waste.
- If you prefer an environmentally-friendly option, consider using reusable microfiber duster pads that can be washed and reused. This reduces waste and promotes sustainability.
Remember, never attempt to wash or reuse a disposable Swiffer duster pad, as it is designed for one-time use only. Always use a fresh, clean duster pad for optimal dusting performance.
By properly disposing of used Swiffer duster pads, you maintain a clean and dust-free home while also being mindful of the environment.
Congratulations! You have now completed all the steps to effectively use and assemble a Swiffer duster. With these tips in mind, you can confidently and efficiently tackle dusting tasks in your home.
Thank you for reading this comprehensive guide on how to put a Swiffer duster on. Happy dusting!
Conclusion
In conclusion, learning how to put a Swiffer duster on is a simple process that can significantly simplify your dusting routine. Swiffer dusters are a popular and convenient cleaning tool that can effectively remove dust from various surfaces in your home.
By following the step-by-step instructions in this guide, you can easily assemble the Swiffer duster handle, prepare the duster pad, attach the pad to the handle, and use the duster properly. Remember to use light, sweeping motions when dusting and pay attention to detail in areas prone to dust buildup.
Properly disposing of used Swiffer duster pads is also important to maintain cleanliness and prevent dust from spreading. Follow local regulations for waste disposal or consider using reusable microfiber duster pads as a sustainable alternative.
With the Swiffer duster, you can efficiently and effectively keep your home dust-free, providing a cleaner and healthier living environment for you and your family. So, grab your Swiffer duster, assemble it correctly, and enjoy the ease and satisfaction of a sparkling clean home.
Thank you for reading this comprehensive guide on how to put a Swiffer duster on. Happy dusting!
Frequently Asked Questions about How To Put A Swiffer Duster On
Was this page helpful?
At Storables.com, we guarantee accurate and reliable information. Our content, validated by Expert Board Contributors, is crafted following stringent Editorial Policies. We're committed to providing you with well-researched, expert-backed insights for all your informational needs.


0 thoughts on “How To Put A Swiffer Duster On”