Articles
How To Blend Food Without A Blender
Modified: September 2, 2024
Learn how to blend food without a blender with these helpful articles. Discover new methods and techniques for achieving smooth and delicious results.
(Many of the links in this article redirect to a specific reviewed product. Your purchase of these products through affiliate links helps to generate commission for Storables.com, at no extra cost. Learn more)
Introduction
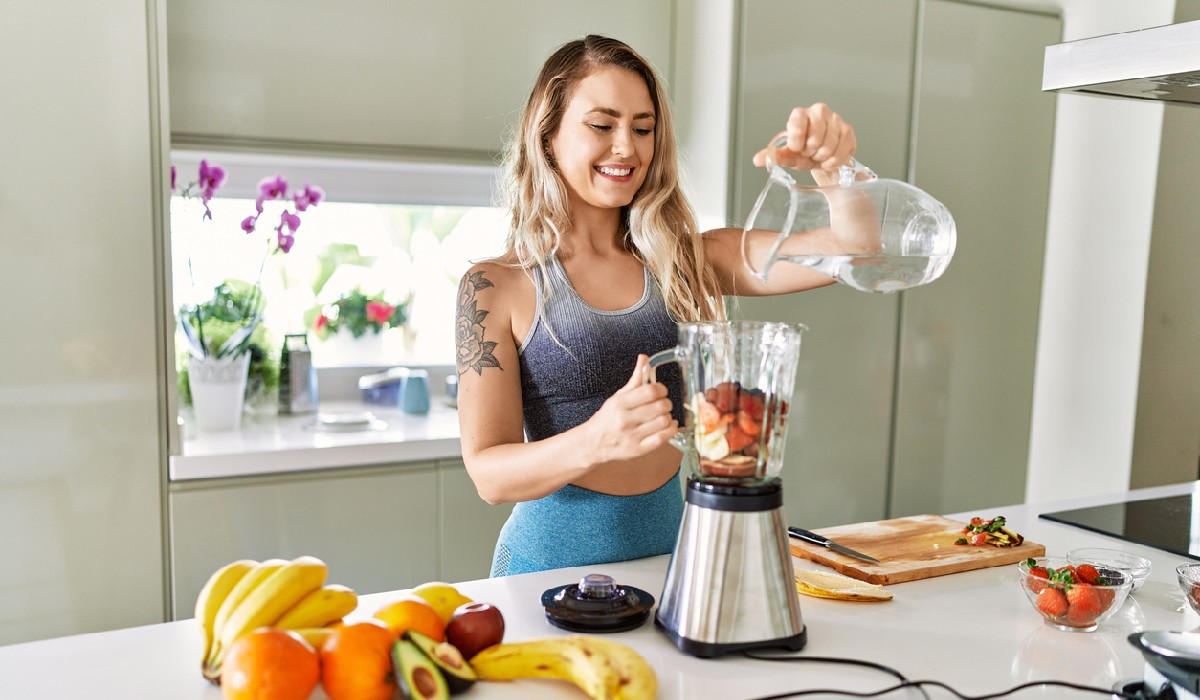
Blenders have become an essential kitchen appliance, allowing us to easily create smoothies, purees, and other blended recipes with just a push of a button. However, what if you find yourself in a situation where you don’t have access to a blender? Perhaps you’re traveling or your blender is broken. Fear not, because there are several alternative methods you can use to blend food without a blender.
Blending food without a blender may require a bit more effort and manual labor, but the end result can be just as satisfying. Not only does it allow you to explore creative possibilities in the kitchen, but it also opens up a world of culinary experimentation. In this article, we will delve into the various techniques you can use to blend food without a blender, as well as share some tips and tricks to help you achieve the desired consistency and texture.
So, whether your blender is out of commission or you simply want to try a different approach, let’s dive into the world of blending without a blender!
Key Takeaways:
- Blending food without a blender allows for portability, cost-effectiveness, and texture control, while also providing an opportunity to explore traditional culinary techniques and experiment with unique flavor combinations.
- Techniques such as mashing and mixing, whisking or beating, chopping and grinding, and crushing and pressing offer versatile methods for achieving blended results without a traditional blender, encouraging hands-on culinary exploration and creativity.
Read more: How To Blend Tomatoes Without A Blender
Why Blend Food Without a Blender
While blenders are incredibly convenient for creating smooth and well-blended recipes, there are several reasons why you might want to consider blending food without a blender. Here are a few advantages:
- Portability: Blenders can be bulky and impractical to take on the go. When traveling or camping, blending food without a blender allows you to still enjoy blended recipes without the need for electricity or a large appliance.
- Cost-effective: Blenders can sometimes be expensive, and if you don’t use it frequently, you may not want to invest in one. Blending food without a blender can be a budget-friendly alternative that saves you money.
- Texture control: Blending food by alternative methods allows you to have more control over the texture of your recipes. You can achieve a chunkier consistency or blend ingredients to a specific texture that suits your preference.
- Variety of techniques: Blending without a blender opens up a variety of techniques that can add uniqueness and creativity to your dishes. You can try different methods like mashing, whisking, chopping, and grinding to achieve the desired texture.
- Exploration of traditional methods: Blending without a blender allows you to explore traditional techniques that have been used for centuries. It’s an opportunity to reconnect with culinary traditions and experiment with methods that have stood the test of time.
Blending food without a blender gives you the freedom to adapt and adjust your recipes based on your specific needs and preferences. It allows for versatility in the kitchen and encourages a hands-on approach to cooking, which can be rewarding and enjoyable.
Now that we understand the benefits of blending food without a blender, let’s explore the various techniques you can use to achieve smooth and well-blended results.
Blending Methods
When it comes to blending food without a blender, there are several techniques you can utilize to achieve the desired texture and consistency. Each method offers its own unique advantages and is suitable for different types of ingredients. Here are four common blending methods:
- Technique 1: Mashing and Mixing
- Technique 2: Whisking or Beating
- Technique 3: Chopping and Grinding
- Technique 4: Crushing and Pressing
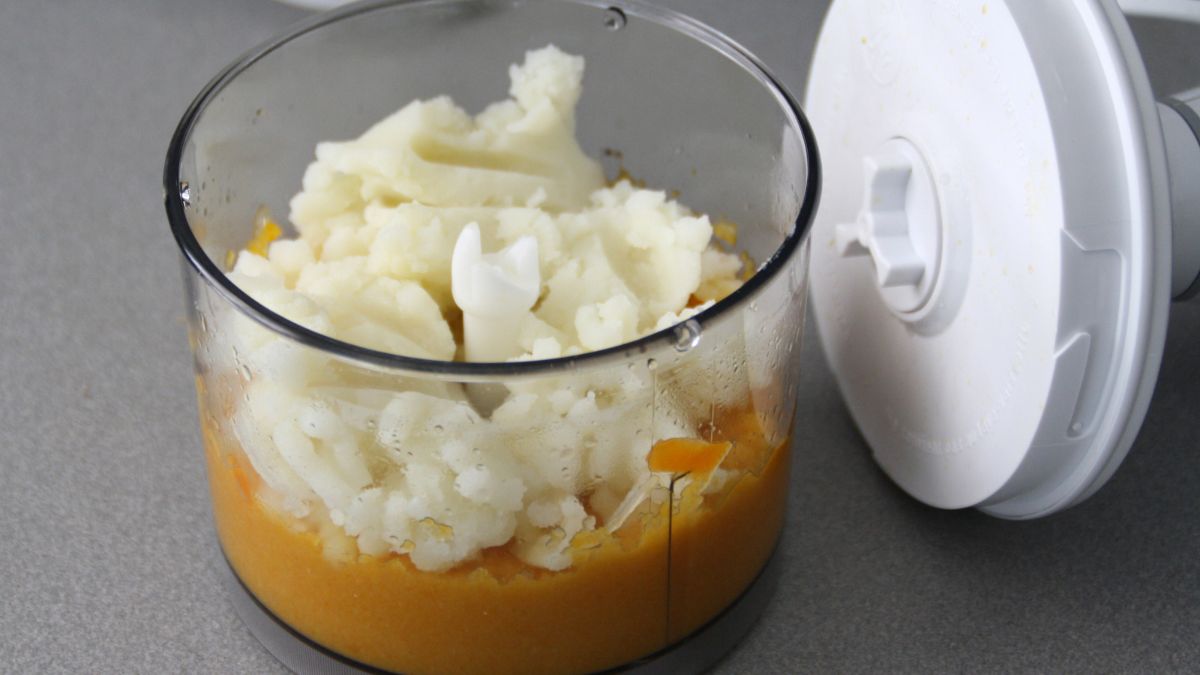
This technique is ideal for blending ingredients such as avocados, bananas, or soft fruits. Using a fork or a potato masher, you can mash the ingredients together to create a smooth and creamy texture. This method works best for producing chunkier blends or incorporating ingredients into recipes like guacamole or banana bread.
Whisking or beating is an effective method for blending liquid-based ingredients like eggs, creams, or sauces. Using a whisk or an electric beater, vigorously mix the ingredients in a circular motion until they are well combined and smooth. This technique helps to incorporate air into the mixture, resulting in a lighter and fluffier texture.
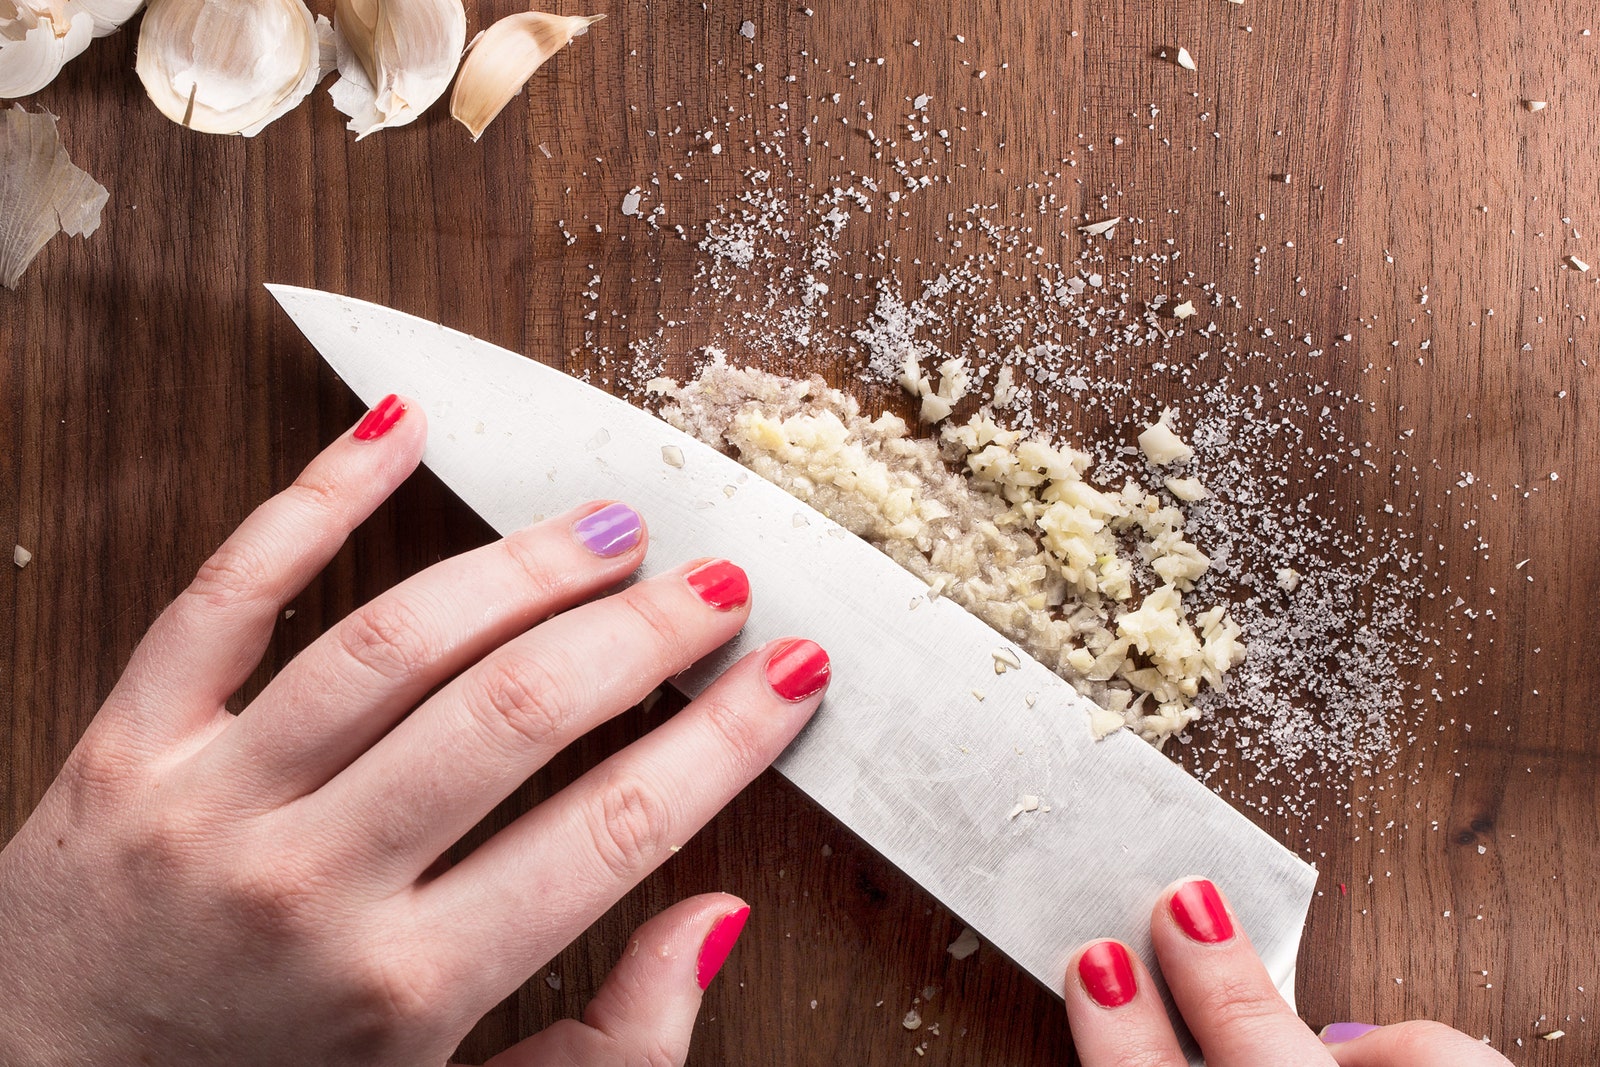
Chopping and grinding is suitable for blending solid ingredients like nuts, seeds, vegetables, or herbs. You can use a knife or a mortar and pestle to finely chop or grind the ingredients until they form a paste or a powder. This technique allows you to control the texture and intensity of flavors, making it perfect for pestos, hummus, or spice blends.
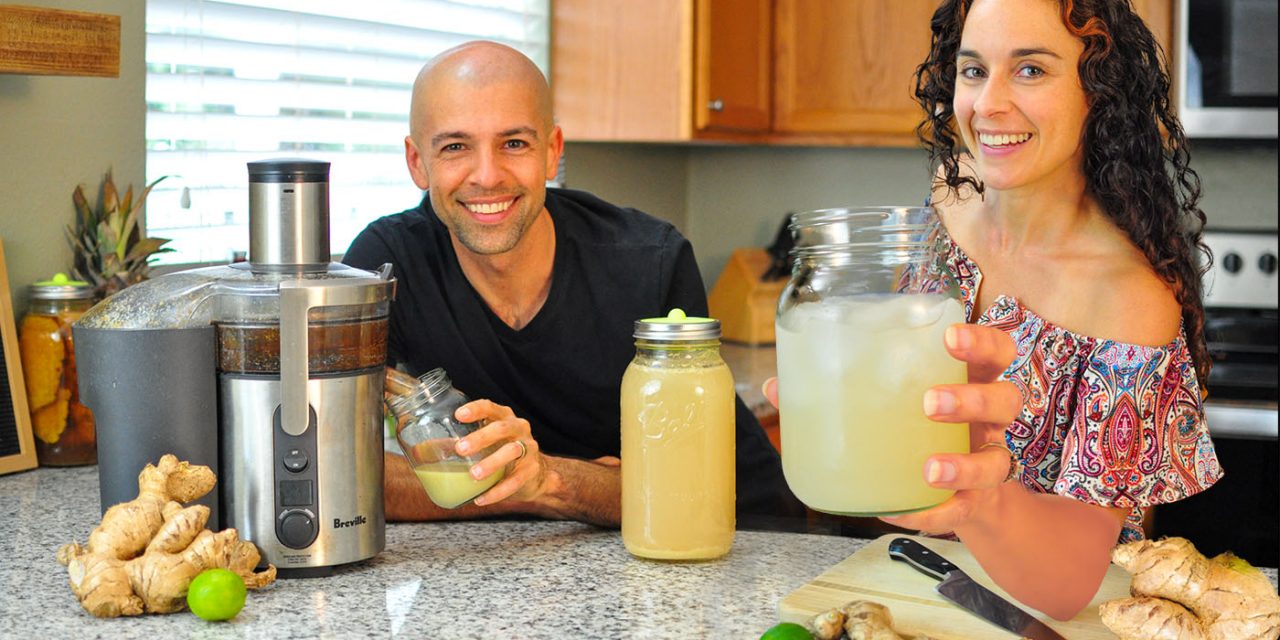
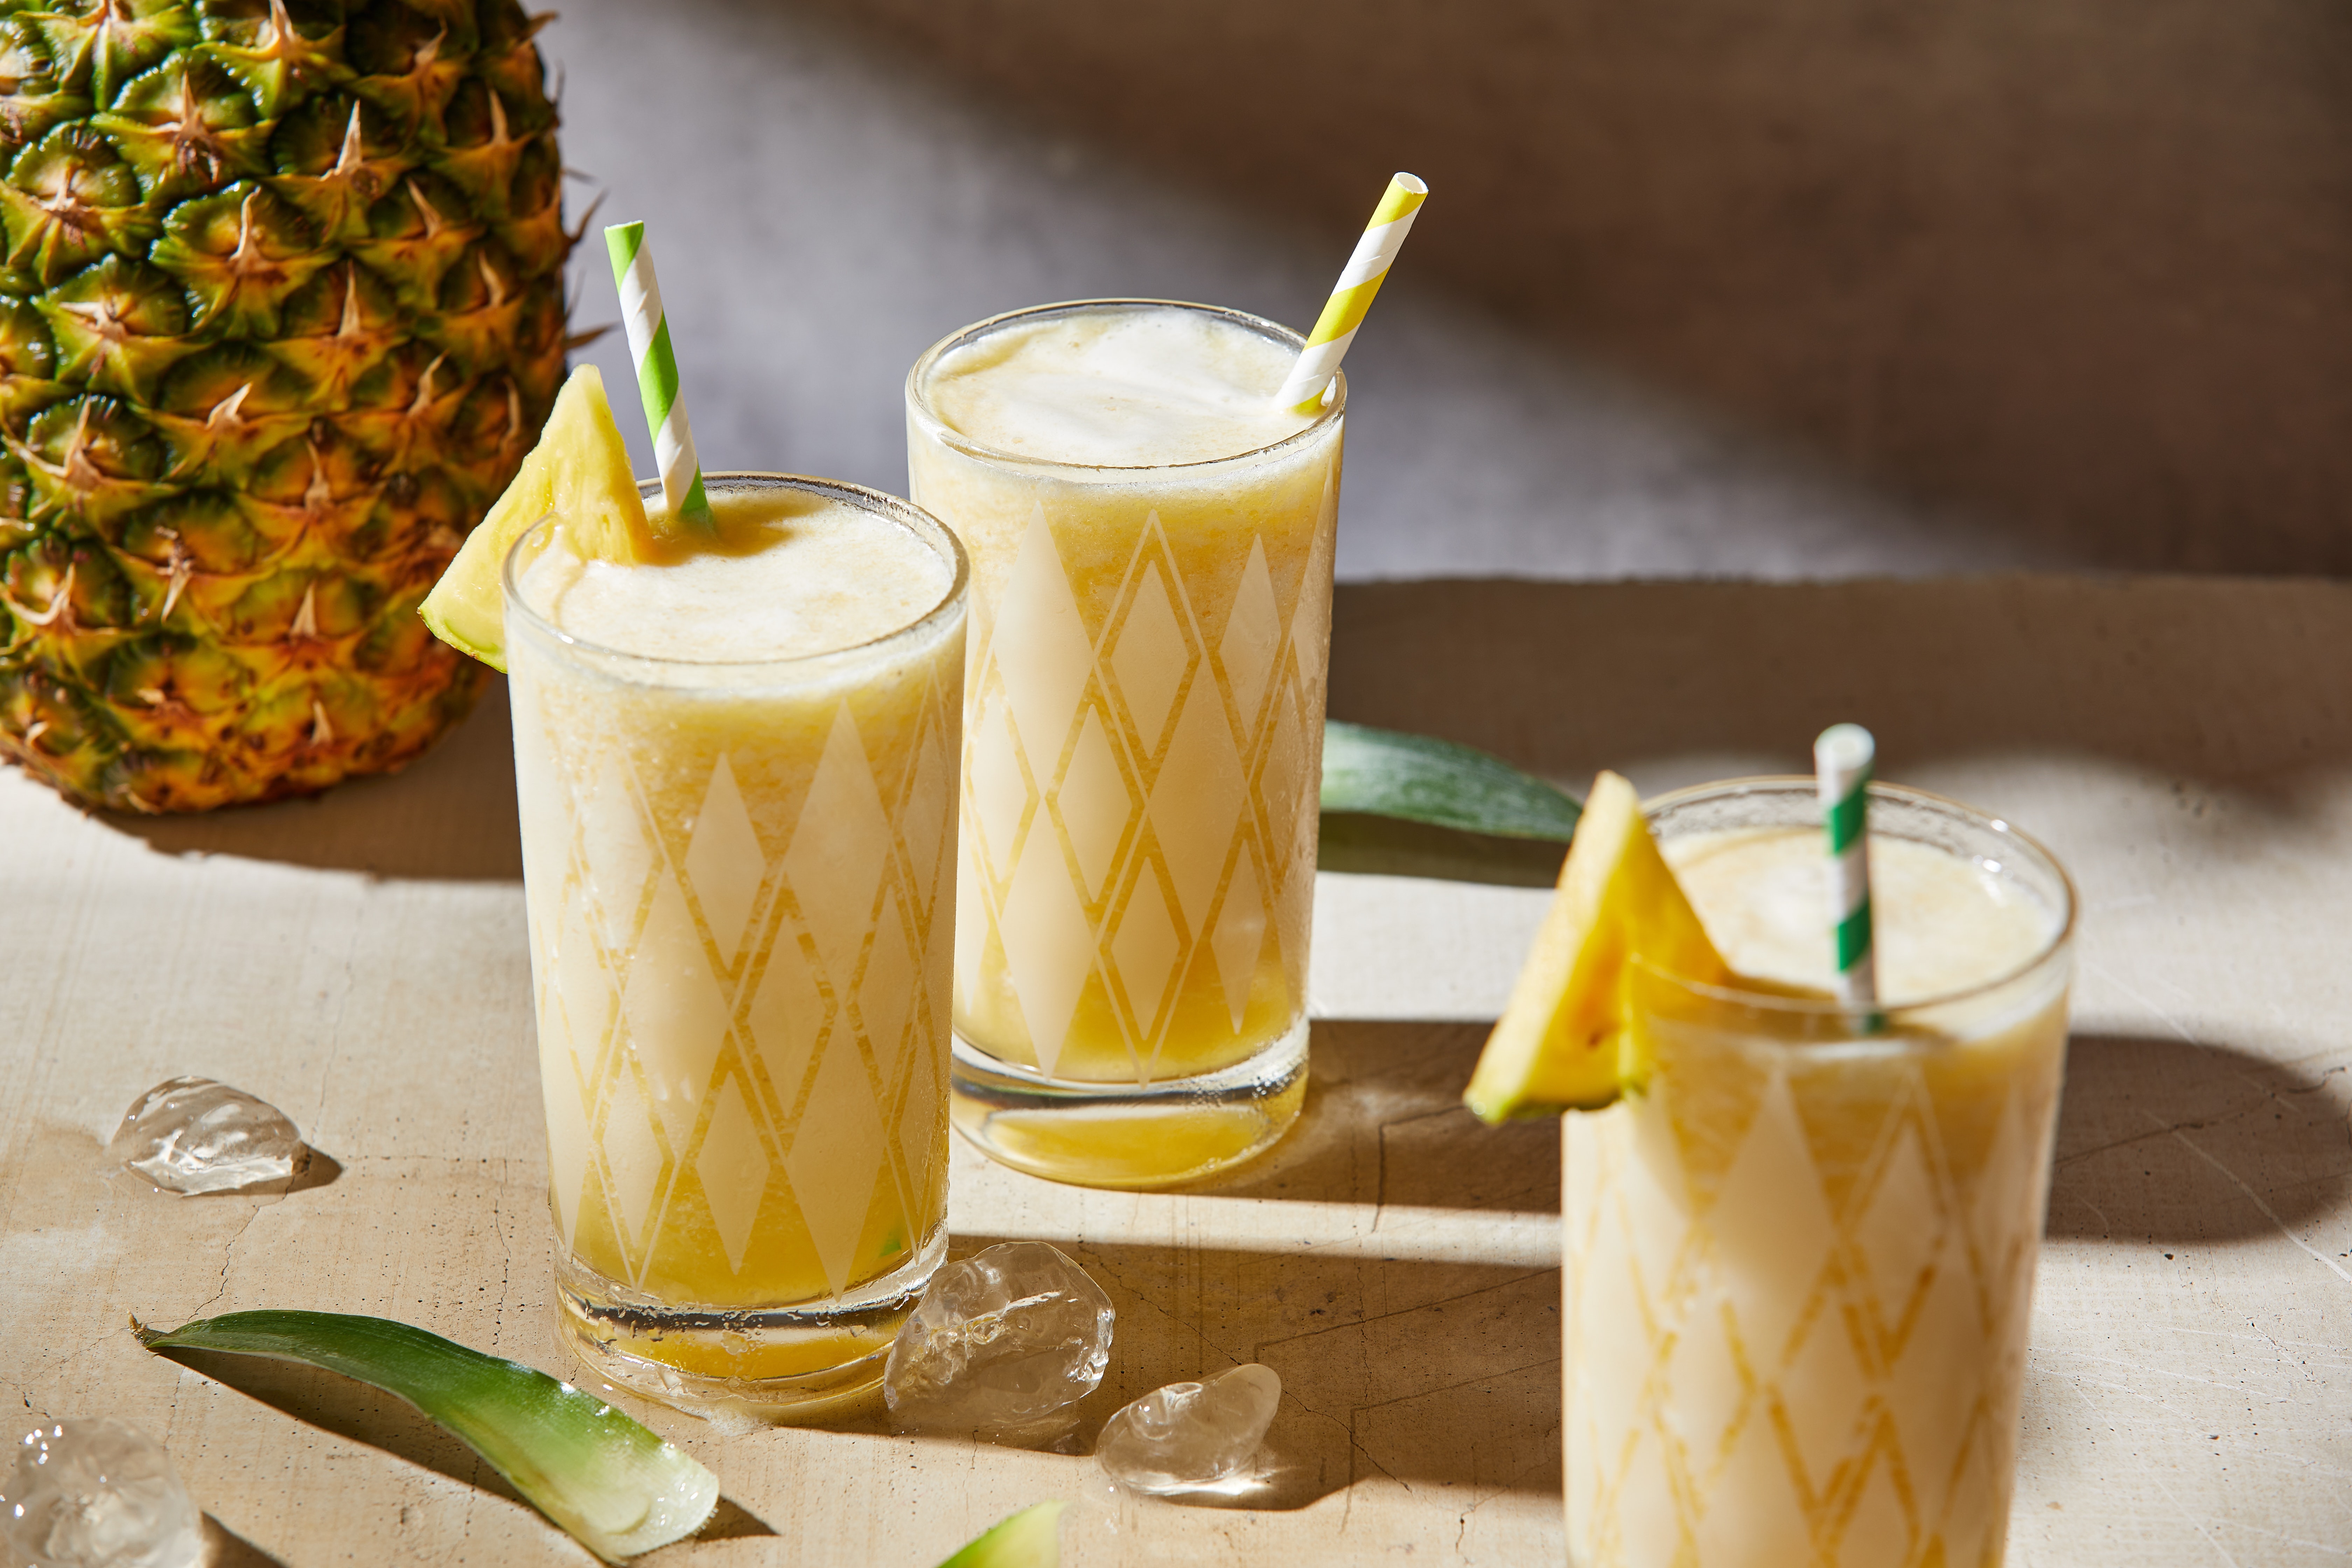
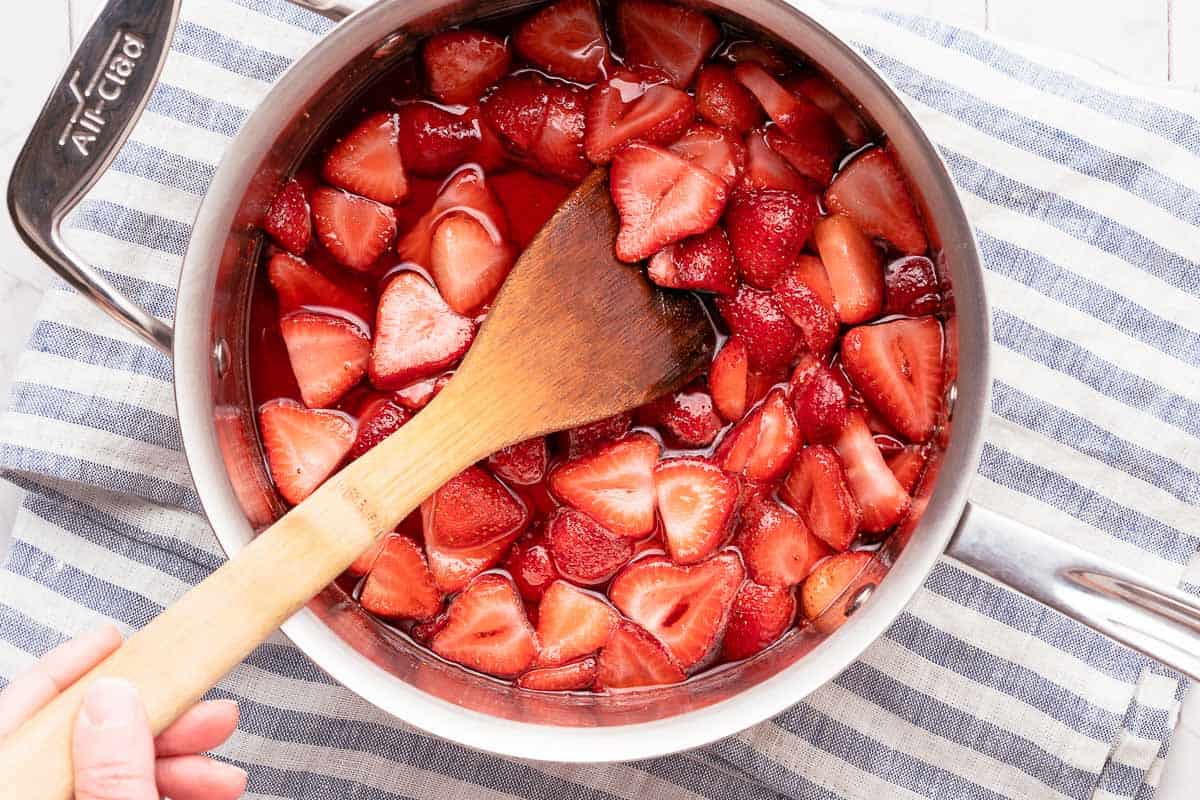
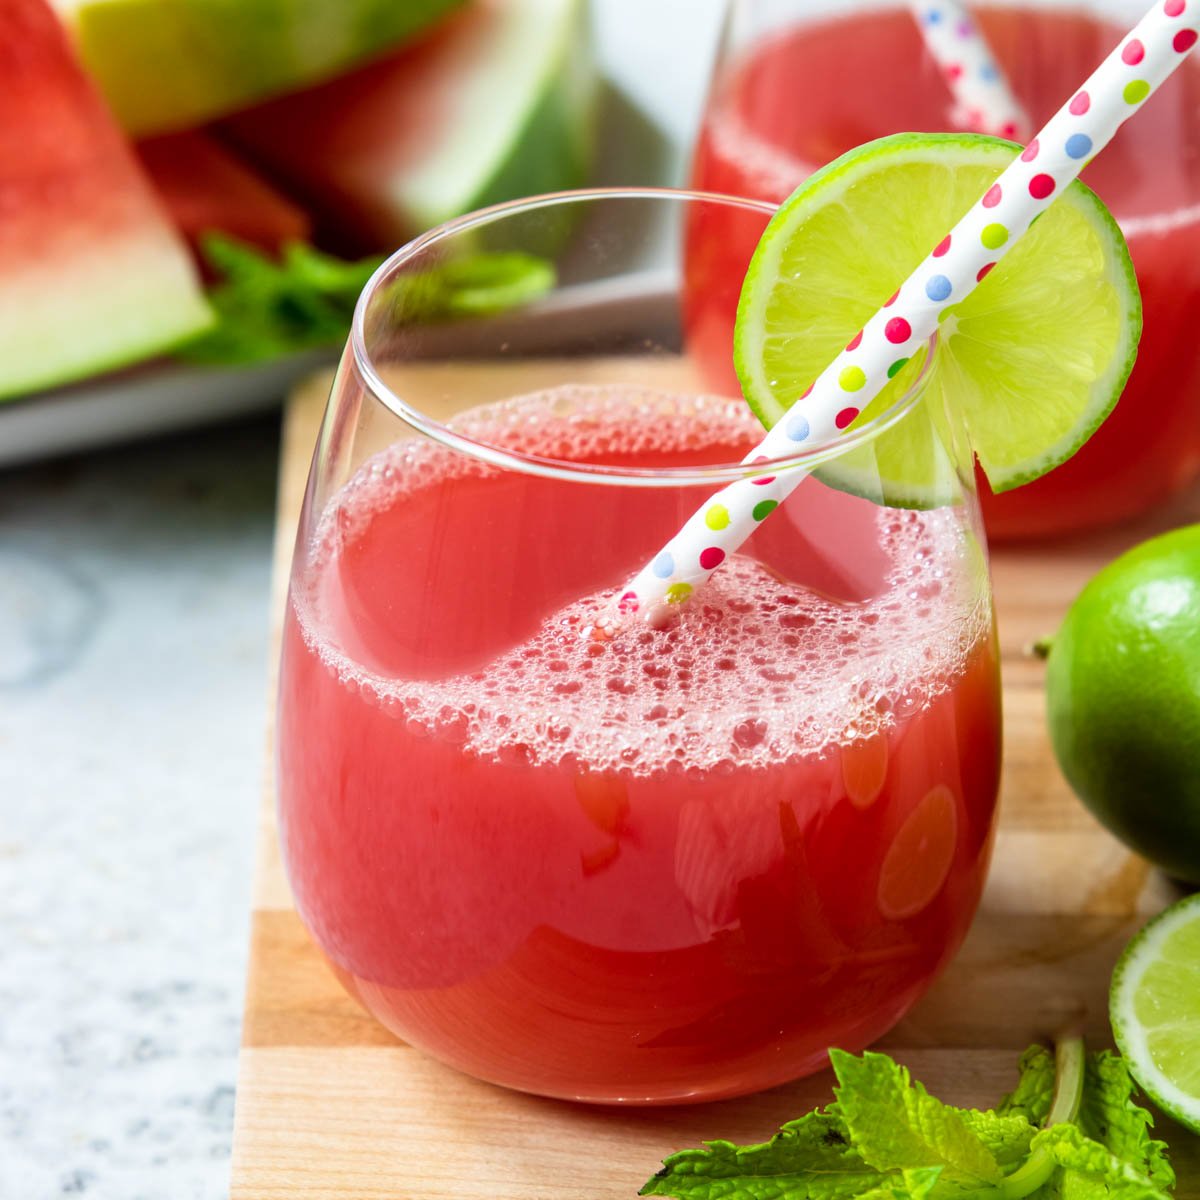
This technique involves crushing and pressing ingredients to release their juices and flavors. For example, you can crush fruits like berries or citrus fruits using a spoon or a muddler to extract their juices. This method is great for incorporating fresh flavors into beverages, dressings, or marinades.
These blending methods offer flexibility in achieving your desired results, whether you’re aiming for a smooth puree, a chunky texture, or a well-mixed blend of flavors. However, it’s important to note that the effectiveness of these techniques may vary depending on the ingredients you’re working with.
Now that we have explored the different blending methods, let’s delve into each technique in more detail and discover how to implement them effectively.
Technique 1: Mashing and Mixing
Mashing and mixing is a simple yet effective technique for blending food without a blender. It is particularly useful for ingredients that are soft and easily mashed, such as avocados, bananas, or soft fruits. Here’s how you can utilize this technique:
- Select your ingredients: Choose the ingredients you want to blend. These can be fruits, vegetables, or even cooked foods like potatoes or beans.
- Prepare your tools: You will need a fork or a potato masher to mash the ingredients. Make sure your utensils are clean and ready for use.
- Mash the ingredients: Place your selected ingredients in a bowl or on a cutting board. Using a fork or a potato masher, start mashing the ingredients. Apply gentle pressure and mash until the desired consistency is achieved. For a smoother texture, continue mashing until there are no lumps remaining. For a chunkier texture, leave some small pieces intact.
- Combine and mix: If you’re blending multiple ingredients together, combine them in a bowl and mix well. Use a spoon or spatula to ensure that all the ingredients are evenly distributed.
By mashing and mixing, you can create delicious recipes like guacamole, banana bread, or fruit salad without the need for a blender. This technique allows you to control the texture of your blend and create compositions that suit your taste preferences.
Remember to experiment and adjust the mashing time to achieve the desired consistency. If you prefer a smoother blend, you can always pass the mashed ingredients through a sieve to remove any remaining lumps.
Now that you’re familiar with the mashing and mixing technique, let’s move on to the next method: whisking or beating.
Technique 2: Whisking or Beating
Whisking or beating is a versatile technique that allows you to blend liquid-based ingredients without the use of a blender. This method is especially effective for incorporating air into mixtures and creating light and fluffy textures. Here’s how you can utilize this technique:
- Gather your ingredients: Choose the liquid-based ingredients you want to blend, such as eggs, creams, or sauces.
- Prepare your tools: You will need a whisk or an electric beater to vigorously mix the ingredients. Ensure that your utensil is clean and ready for use.
- Start whisking or beating: In a bowl, pour the ingredients you want to blend. Begin whisking or beating the mixture vigorously in a circular motion. Keep going until the ingredients are well combined and have a smooth consistency. The whisking action helps to incorporate air into the mixture, resulting in a lighter and fluffier texture.
- Continue until desired texture is achieved: Depending on the recipe and desired texture, you may need to whisk for a longer period of time. For a smooth blend, whisk until there are no visible lumps or bubbles. For a slightly chunkier texture, you can stop whisking sooner to retain some texture.
The whisking or beating method is perfect for creating creamy sauces, fluffy omelettes, or whipped creams. It gives you control over the texture and consistency of your blend, allowing you to customize your recipes according to your preferences.
If you’re using an electric beater, make sure to follow the manufacturer’s instructions and use the appropriate speed and attachments for the ingredients you’re blending.
Now that you’re familiar with the whisking or beating technique, let’s explore another method: chopping and grinding.
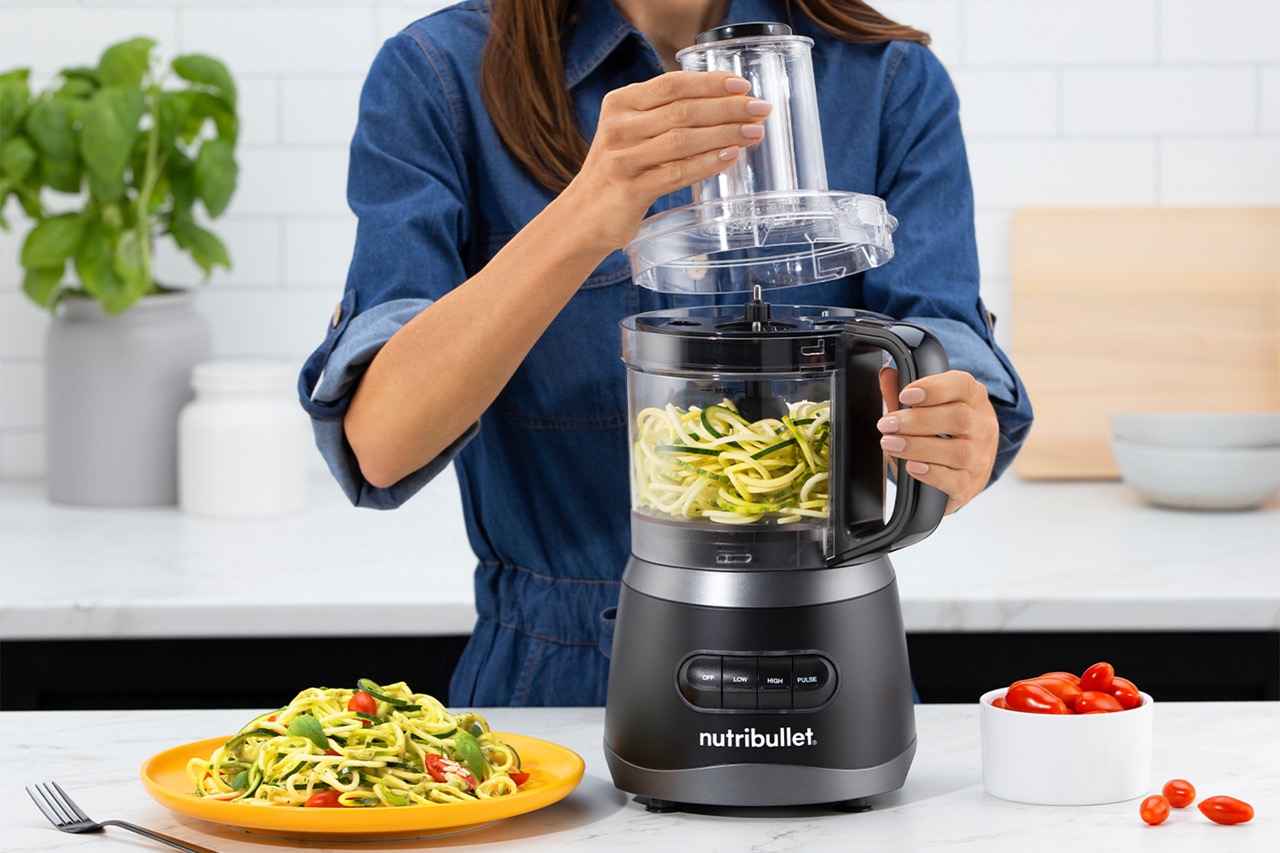
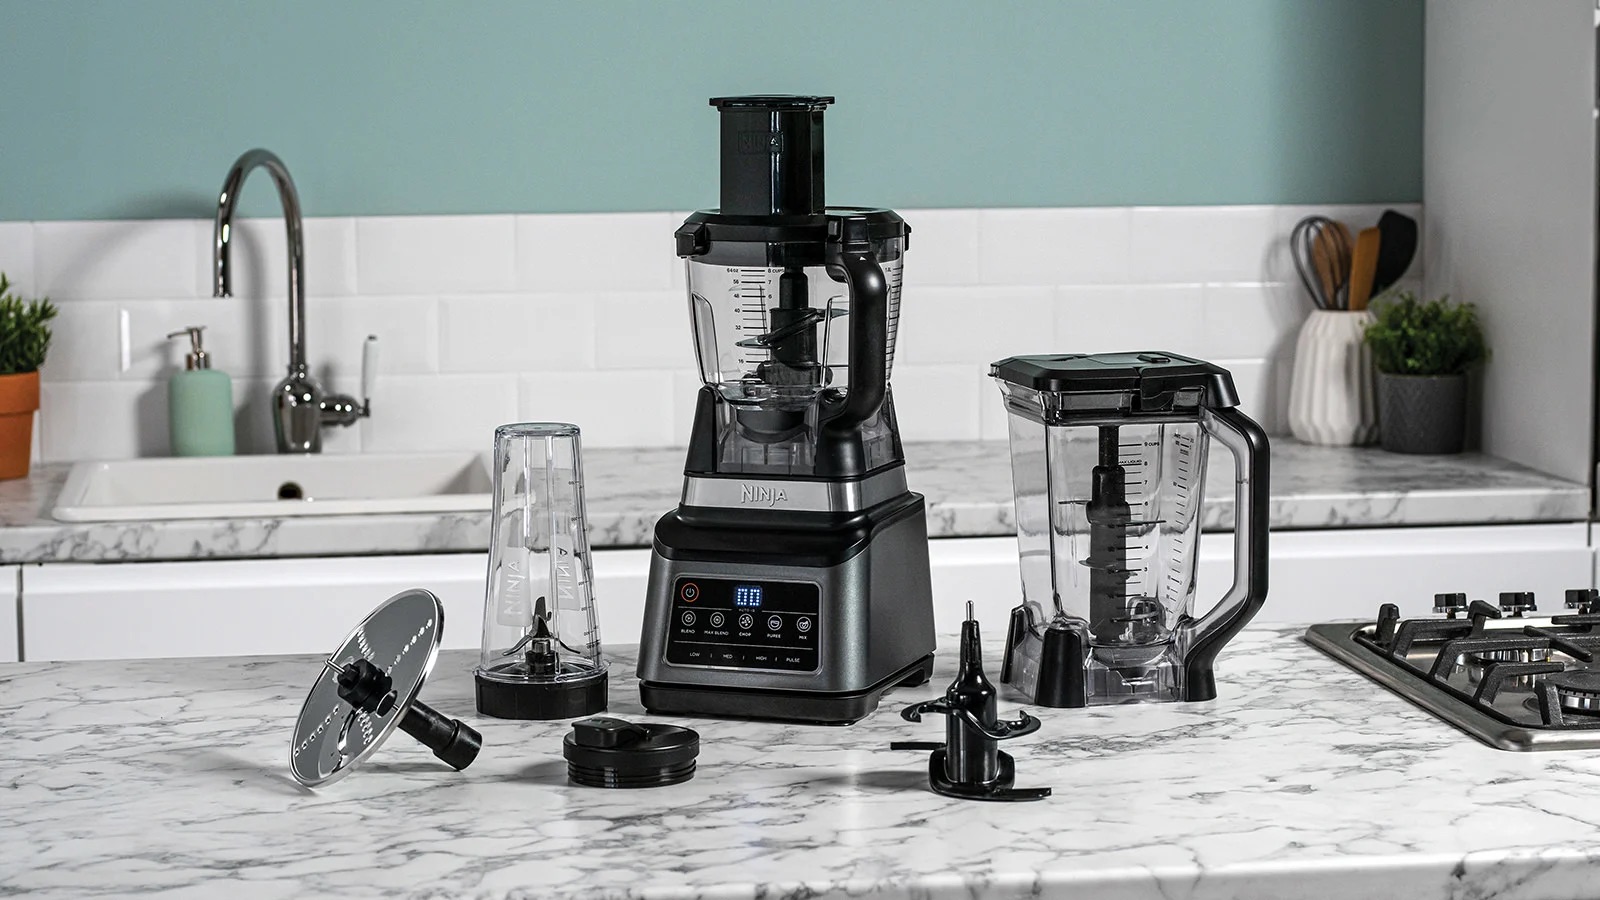
If you don’t have a blender, you can use a food processor, mortar and pestle, or even a potato masher to blend food. Just be patient and work in small batches for best results.
Read more: How To Blend Dates Without A Food Processor
Technique 3: Chopping and Grinding
Chopping and grinding is a method that allows you to blend solid ingredients without a blender. It is particularly useful for ingredients like nuts, seeds, vegetables, or herbs, where you want to achieve a finely chopped or ground texture. Here’s how you can utilize this technique:
- Select your ingredients: Choose the solid ingredients you want to blend, such as nuts, seeds, vegetables, or herbs.
- Prepare your tools: You will need a knife or a mortar and pestle to chop or grind your ingredients. Ensure that your utensils are clean and ready for use.
- Chop or grind the ingredients: Depending on the desired texture, chop your ingredients into small pieces or place them in a mortar. Using a knife or a pestle, apply pressure and begin chopping or grinding the ingredients. Continue until you achieve the desired consistency – whether it’s a paste-like texture or a fine powder.
- Combine and mix: If you’re blending multiple ingredients together, combine them in a bowl and mix well. Use a spoon or spatula to ensure that all the ingredients are evenly distributed.
Chopping and grinding is a versatile technique that allows you to create flavorful recipes like spice blends, herb rubs, or nut-based sauces. By manually chopping or grinding the ingredients, you can control the texture and intensity of flavors, resulting in unique and customized blends.
Remember to use a sharp knife for efficient chopping and apply firm and consistent pressure when using a mortar and pestle. Experiment with different combinations of ingredients to find the perfect blend for your recipes.
Now that you’re familiar with the chopping and grinding technique, let’s move on to the final method: crushing and pressing.
Technique 4: Crushing and Pressing
Technique 4: Crushing and Pressing
Crushing and pressing is a technique that allows you to extract flavors and juices from ingredients without a blender. This method is particularly useful for ingredients like berries, citrus fruits, or herbs, where you want to incorporate fresh and vibrant flavors into your recipes. Here’s how you can utilize this technique:
- Gather your ingredients: Choose the ingredients you want to extract flavors or juices from, such as berries, citrus fruits, or herbs.
- Prepare your tools: You will need a spoon or a muddler to crush the ingredients and extract the flavors. Make sure your utensils are clean and ready for use.
- Crush the ingredients: Place your selected ingredients in a bowl or on a cutting board. Using a spoon or a muddler, apply pressure and crush the ingredients to release their flavors or juices. For berries, gently press and roll them to release their juices. For citrus fruits, roll them on a hard surface to soften the fruit before cutting and squeezing out the juice.
- Combine and mix: If you’re blending multiple ingredients together, combine them in a bowl and mix well. Use a spoon or spatula to ensure that all the ingredients are evenly distributed.
Crushing and pressing is a fantastic technique for incorporating natural flavors into your recipes, such as fruit juices for beverages, dressings, or marinades. By manually extracting the juices from fresh ingredients, you can achieve a burst of freshness and enhance the overall taste of your dishes.
Experiment with different combinations of ingredients and adjust the amount of pressure to achieve the desired intensity of flavors. Remember to strain the crushed ingredients if necessary, to remove any seeds or pulp.
Now that you’re familiar with the crushing and pressing technique, let’s move on to some tips and tricks to make your blending without a blender experience even more successful.
Tips and Tricks for Blending Without a Blender
Blending food without a blender requires a bit of creativity and resourcefulness. Here are some tips and tricks to help you achieve successful results:
- Use the right tools: Make sure you have the appropriate tools for the blending method you’re using. This could include forks, potato mashers, whisks, knives, mortars and pestles, spoons, or muddlers. Using the right tools will make the blending process easier and more effective.
- Prepare ingredients properly: Before blending, ensure that your ingredients are properly prepared. This may involve slicing, chopping, or peeling, depending on the recipe. Uniformly cut ingredients will blend more easily and result in a consistent texture.
- Adjust ingredients and proportions: Blending without a blender may require some adjustments to ingredient quantities and proportions. Keep in mind that different blending methods may affect the texture and consistency of your final blend. Be prepared to experiment and adjust as needed.
- Take your time: Blending without a blender may take longer than using a machine. Be patient and take your time to ensure that all ingredients are properly blended and mixed together. Don’t rush the process and be thorough in your blending technique.
- Clean as you go: Since you won’t have the convenience of a blender, it’s important to clean your tools and work area as you go. This will prevent cross-contamination of flavors and make the cleaning process much easier after you’re finished blending.
- Experiment with flavors: Blending without a blender opens up a world of culinary creativity. Take this opportunity to experiment with different flavor combinations and ingredient variations. Don’t be afraid to try new things and discover unique blended recipes.
- Adjust consistency with additional ingredients: If you find that your blend is too thick or too thin, you can adjust the consistency by adding additional ingredients. For a thicker blend, try incorporating ingredients like breadcrumbs, oats, or yogurt. For a thinner blend, consider adding liquids like water, broth, or citrus juice.
- Taste and adjust: As you blend, taste your mixture along the way and adjust the seasoning as needed. This will ensure that your final blend is properly seasoned and balanced in flavor.
Blending without a blender can be a fun and rewarding culinary experience. Embrace the process and enjoy the hands-on approach to creating delicious blends in the kitchen.
Now that we have covered the tips and tricks, it’s time to wrap up our discussion on blending without a blender.
Conclusion
Blending food without a blender opens up a world of possibilities in the kitchen. Although blenders are convenient, not having access to one shouldn’t limit your culinary creativity. By utilizing techniques such as mashing and mixing, whisking or beating, chopping and grinding, and crushing and pressing, you can achieve delicious and blended results without the need for a traditional blender.
Each blending method offers its own advantages and is suitable for different types of ingredients. Whether you’re looking to create a smooth puree, a chunky texture, or a well-mixed blend of flavors, there is a technique that will suit your needs.
As you explore blending without a blender, remember these tips and tricks to enhance your blends:
- Use the right tools for the blending method you’re using.
- Properly prepare your ingredients to ensure easier blending.
- Adjust ingredient quantities and proportions to achieve the desired outcome.
- Be patient and take your time to ensure thorough blending.
- Clean your tools and work area as you go for convenience.
- Get creative and experiment with different flavors and ingredient combinations.
- Adjust the consistency of your blend with additional ingredients, if needed.
- Taste your mixture along the way to ensure proper seasoning.
Blending food without a blender allows you to have more control over the texture, flavors, and overall outcome of your recipes. It encourages a hands-on approach to cooking and opens up a world of culinary exploration.
So, whether you’re traveling, have a broken blender, or simply want to try a different approach in the kitchen, don’t be afraid to blend without a blender. Embrace the adventure and enjoy the process of blending food by hand.
Now, it’s time to roll up your sleeves, gather your ingredients, and embark on the journey of blending without a blender!
Frequently Asked Questions about How To Blend Food Without A Blender
Was this page helpful?
At Storables.com, we guarantee accurate and reliable information. Our content, validated by Expert Board Contributors, is crafted following stringent Editorial Policies. We're committed to providing you with well-researched, expert-backed insights for all your informational needs.


0 thoughts on “How To Blend Food Without A Blender”