Home>Renovation & DIY>Tools & Equipment>How To Sharpen A Blending Stump Without Sandpaper
Tools & Equipment
How To Sharpen A Blending Stump Without Sandpaper
Published: December 20, 2023
Learn how to sharpen a blending stump without sandpaper using simple tools and equipment. Keep your blending stumps in top condition with this easy technique.
(Many of the links in this article redirect to a specific reviewed product. Your purchase of these products through affiliate links helps to generate commission for Storables.com, at no extra cost. Learn more)
Introduction
Blending stumps are essential tools for artists and hobbyists who work with graphite, charcoal, or pastel drawings. These cylindrical tools, often made of compressed paper or felt, are used to blend and smudge the medium on the paper, creating smooth and subtle gradients. Over time, the tip of a blending stump can become dull or dirty, affecting its ability to create the desired effects.
While sandpaper is commonly used to sharpen blending stumps, it’s not always readily available, especially when working on location or in a hurry. Fortunately, there are alternative methods for sharpening blending stumps without using sandpaper. In this article, we will explore three effective methods for sharpening blending stumps using everyday tools that you may already have in your art kit or household.
Whether you’re a seasoned artist or just starting your artistic journey, learning these techniques can help you maintain your blending stumps and achieve the desired results in your artwork without the need for specialized equipment.
Key Takeaways:
- Keep your blending stumps sharp with everyday tools like a pencil sharpener, knife, or nail file. No need for sandpaper, just a little creativity and resourcefulness to maintain your artistic tools!
- Whether you’re in the studio or on the go, you can easily sharpen your blending stumps without specialized equipment. Embrace alternative methods like using a pencil sharpener or a small knife to keep your tools in top shape for your artistic endeavors.
Read more: How To Sharpen Scissors With Sandpaper
Materials Needed
Before you begin sharpening your blending stump using any of the methods described below, it’s important to gather the necessary materials. The good news is that these materials are likely already in your possession, making the sharpening process convenient and accessible.
Here’s what you’ll need:
- A blending stump: The blending stump you intend to sharpen
- A pencil sharpener: If you choose to use the pencil sharpener method
- A small knife: If you opt for the knife method
- A nail file: If you decide to use the nail file method
- A clean cloth or tissue: To wipe off any debris from the blending stump
With these materials at hand, you’ll be ready to employ the method of your choice to sharpen your blending stump, ensuring that it remains a reliable tool for your artistic endeavors.
Method 1: Using a Pencil Sharpener
If you have a standard pencil sharpener in your art supplies, you can use it to effectively sharpen your blending stump. Follow these simple steps to achieve a sharp point on your blending stump:
- Select a Sharpener: Choose a pencil sharpener with a large opening that can accommodate the diameter of your blending stump.
- Insert the Stump: Gently insert the blending stump into the sharpener’s opening. Be cautious to avoid applying excessive force, as this could damage the stump or the sharpener.
- Rotate and Sharpen: Rotate the blending stump within the sharpener, applying gentle pressure. Continue rotating until the desired sharpness is achieved.
- Check the Tip: Carefully remove the blending stump from the sharpener and inspect the tip. If necessary, repeat the sharpening process to refine the point further.
- Remove Residue: After sharpening, use a clean cloth or tissue to wipe off any residual graphite or charcoal dust from the blending stump.
Using a pencil sharpener offers a quick and convenient method for sharpening blending stumps, especially when you need a precise point for detailed work. However, it’s important to exercise caution to avoid over-sharpening, which could weaken the stump or lead to breakage during use.
By following these steps, you can maintain the sharpness of your blending stump using a common household tool, ensuring that it remains an effective instrument for blending and smudging in your artwork.
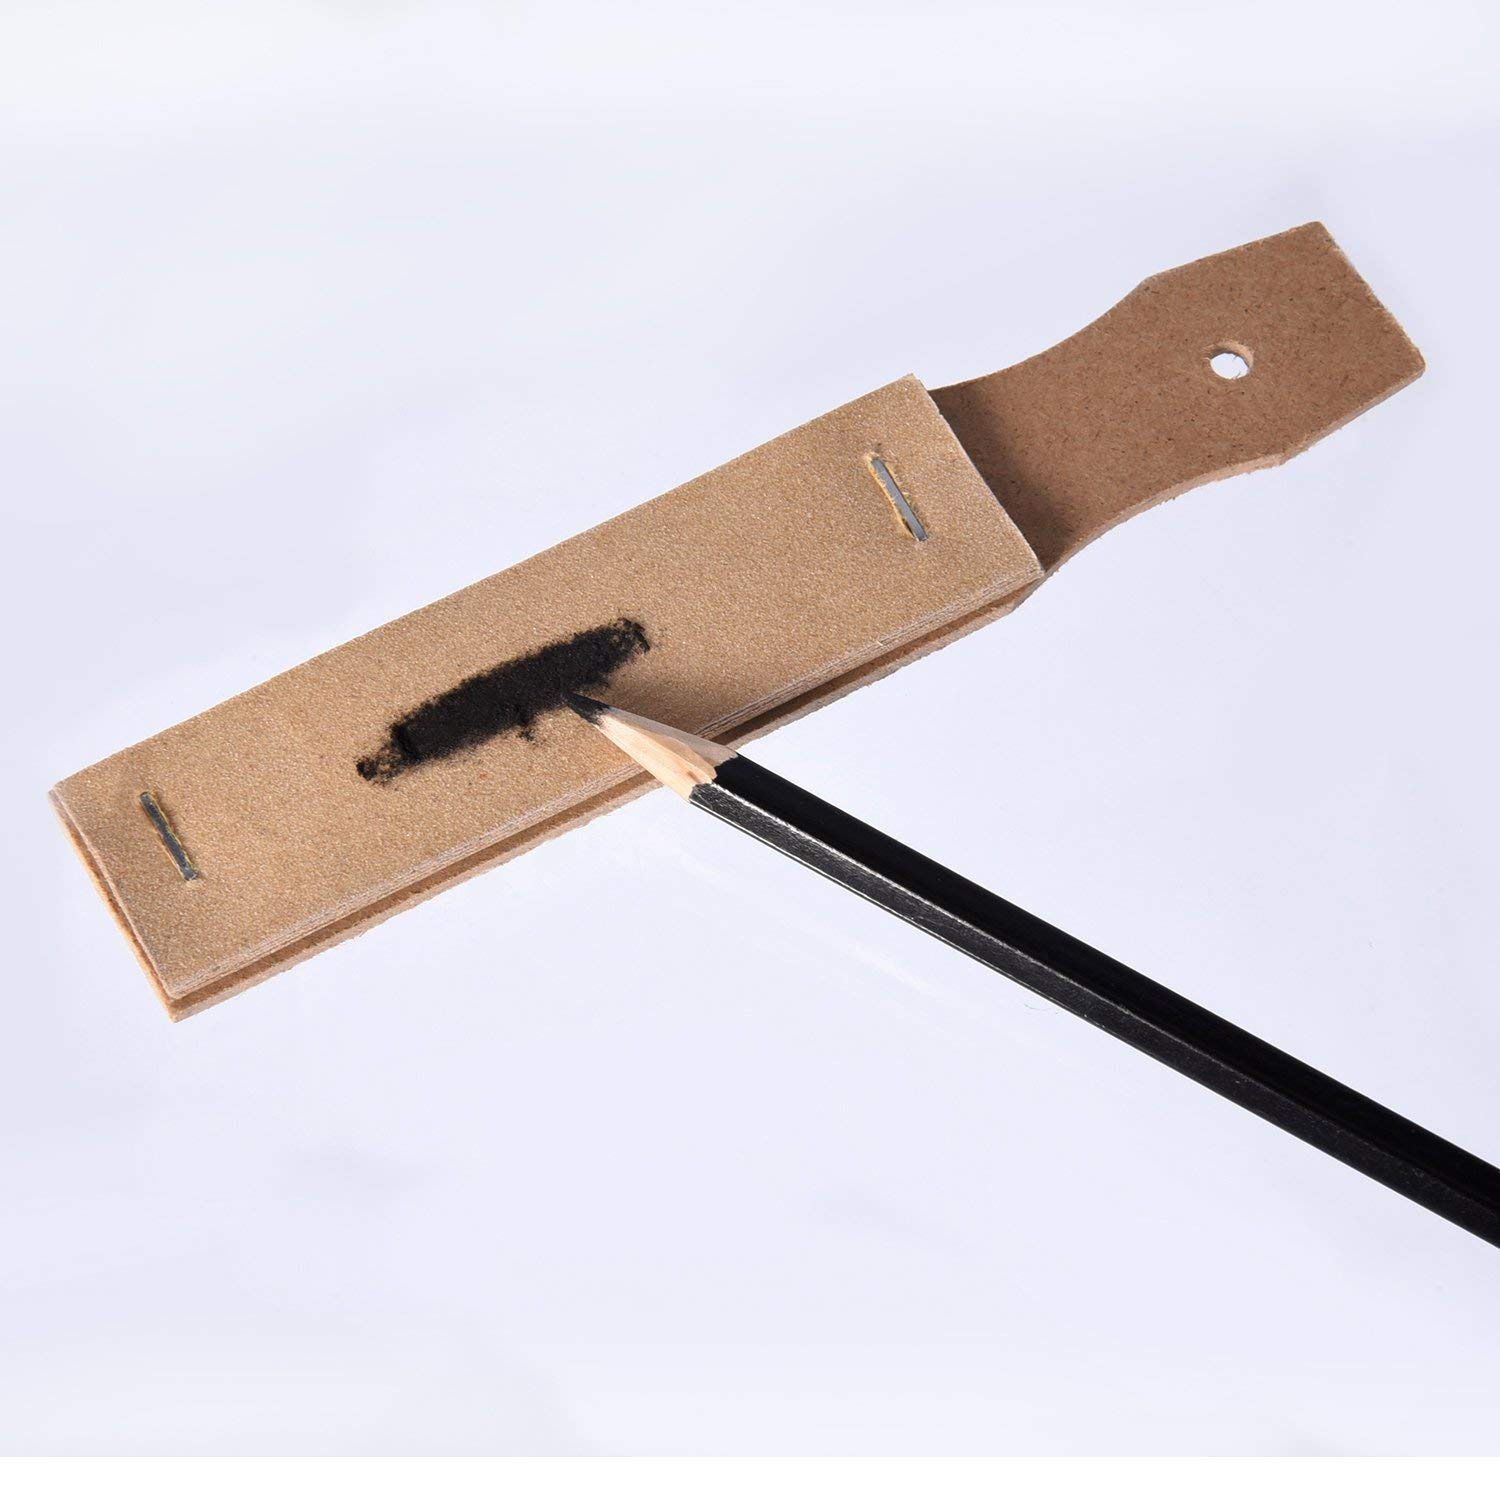
You can sharpen a blending stump without sandpaper by using a pencil sharpener. Simply insert the blending stump into the sharpener and twist it to create a fine point for detailed blending.
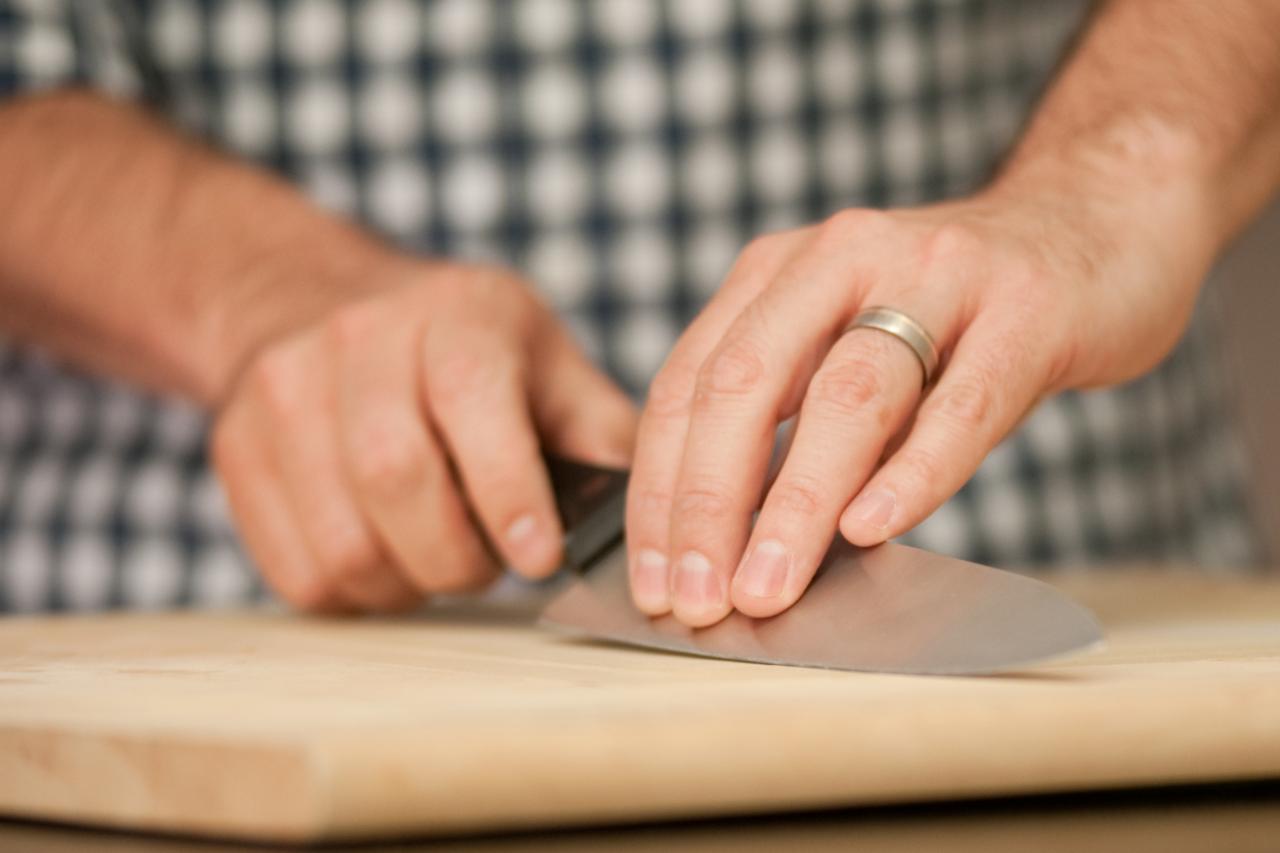
Method 2: Using a Knife
When a pencil sharpener is not available, or if you prefer a more hands-on approach, using a small knife can be an effective alternative for sharpening your blending stump. Follow these steps to achieve a sharp point using this method:
- Select a Suitable Knife: Choose a small, sharp knife with a pointed tip. A craft knife or a small utility knife can work well for this purpose.
- Secure the Stump: Hold the blending stump firmly in one hand, ensuring a stable grip to prevent slippage during the sharpening process.
- Trim the Tip: With the knife held at a slight angle, carefully trim and shape the tip of the blending stump. Rotate the stump as needed to achieve an even and pointed tip.
- Check the Sharpness: Periodically check the sharpness of the tip by gently smudging a small area on a spare piece of paper. Continue refining the point until the desired sharpness is attained.
- Remove Any Debris: After sharpening, use a clean cloth or tissue to wipe off any debris or wood shavings from the blending stump.
Using a knife to sharpen your blending stump provides you with precise control over the sharpening process, allowing you to tailor the tip to your specific requirements. However, it’s important to handle the knife with care to prevent accidents and to ensure the longevity of your blending stump.
By following these steps, you can effectively sharpen your blending stump using a knife, providing a practical solution when traditional sharpening tools are not available.
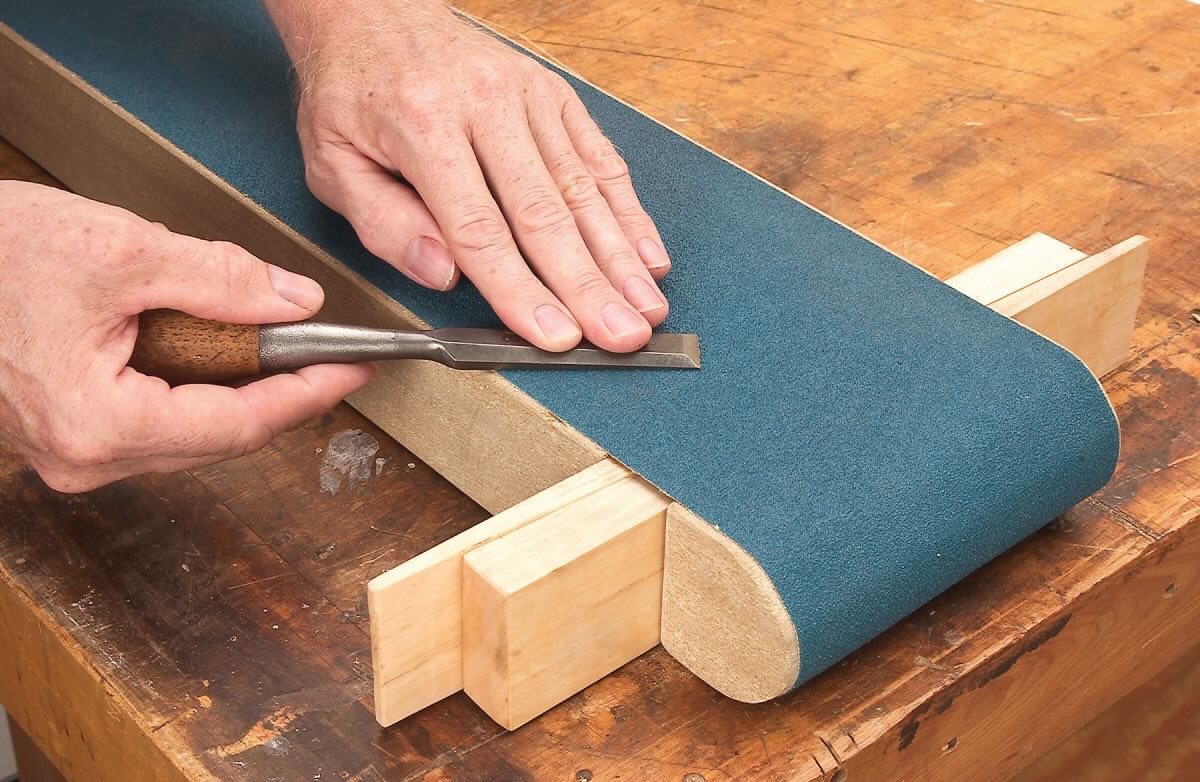
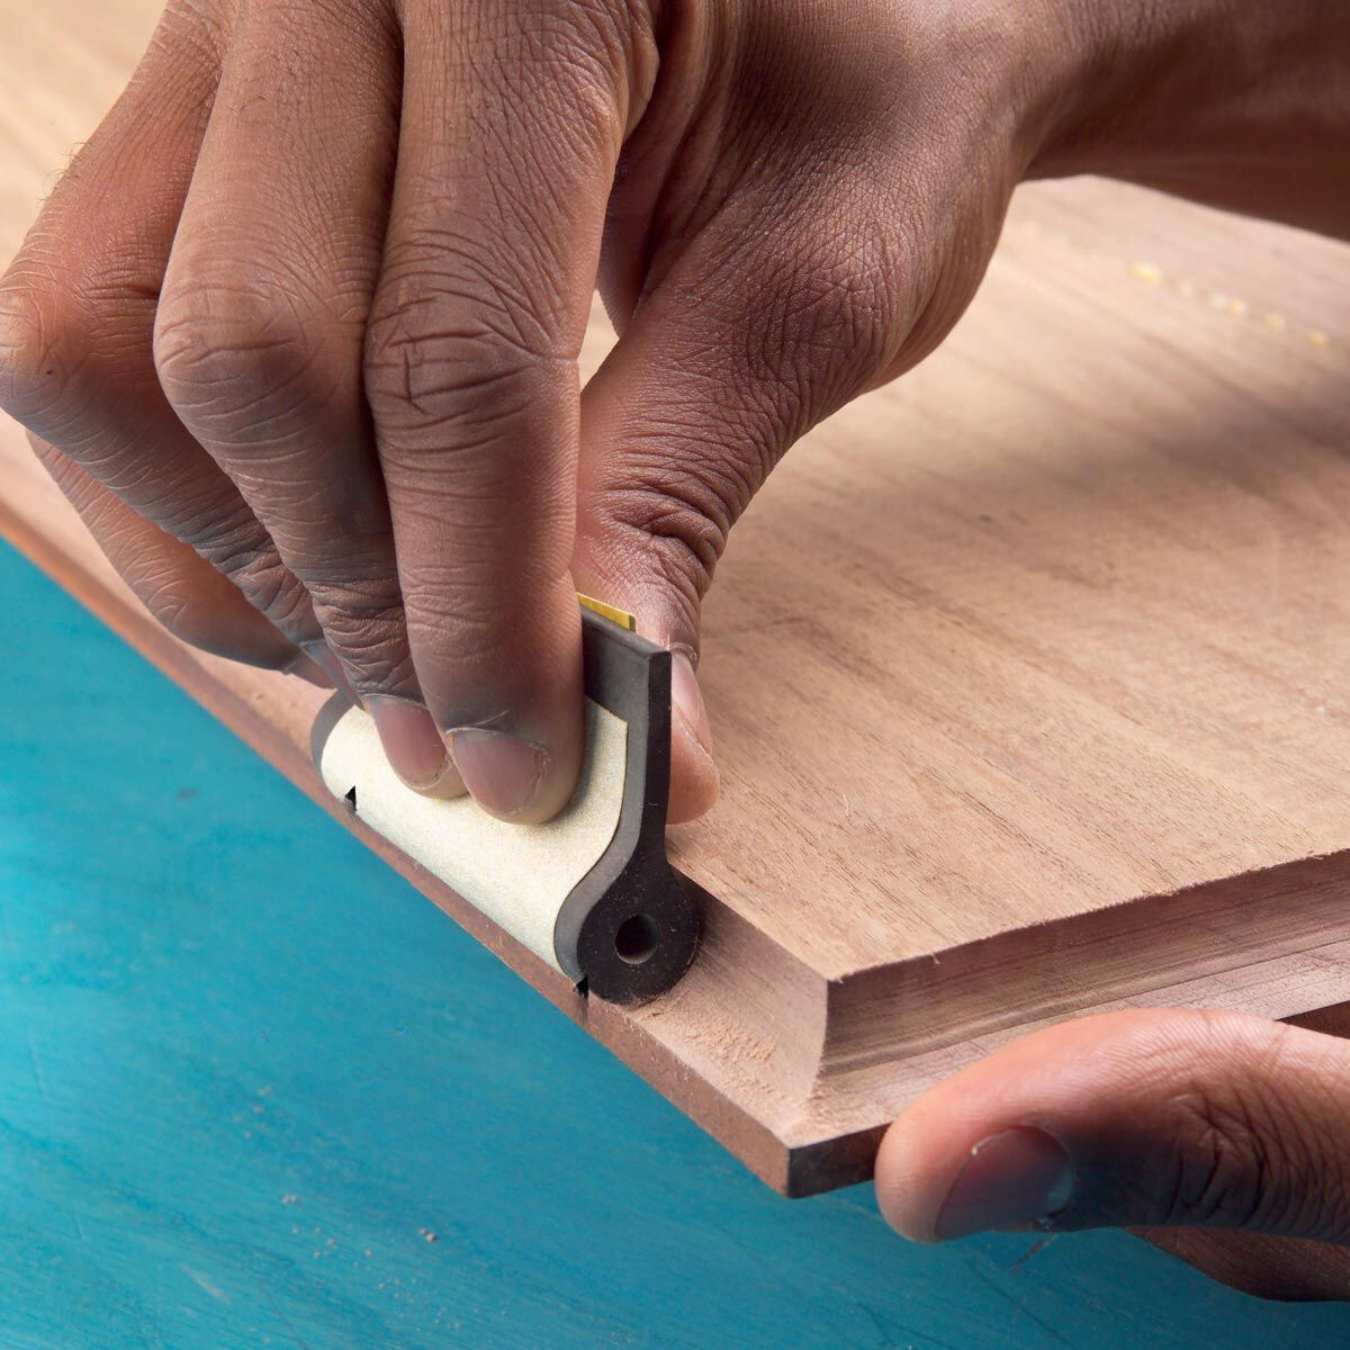
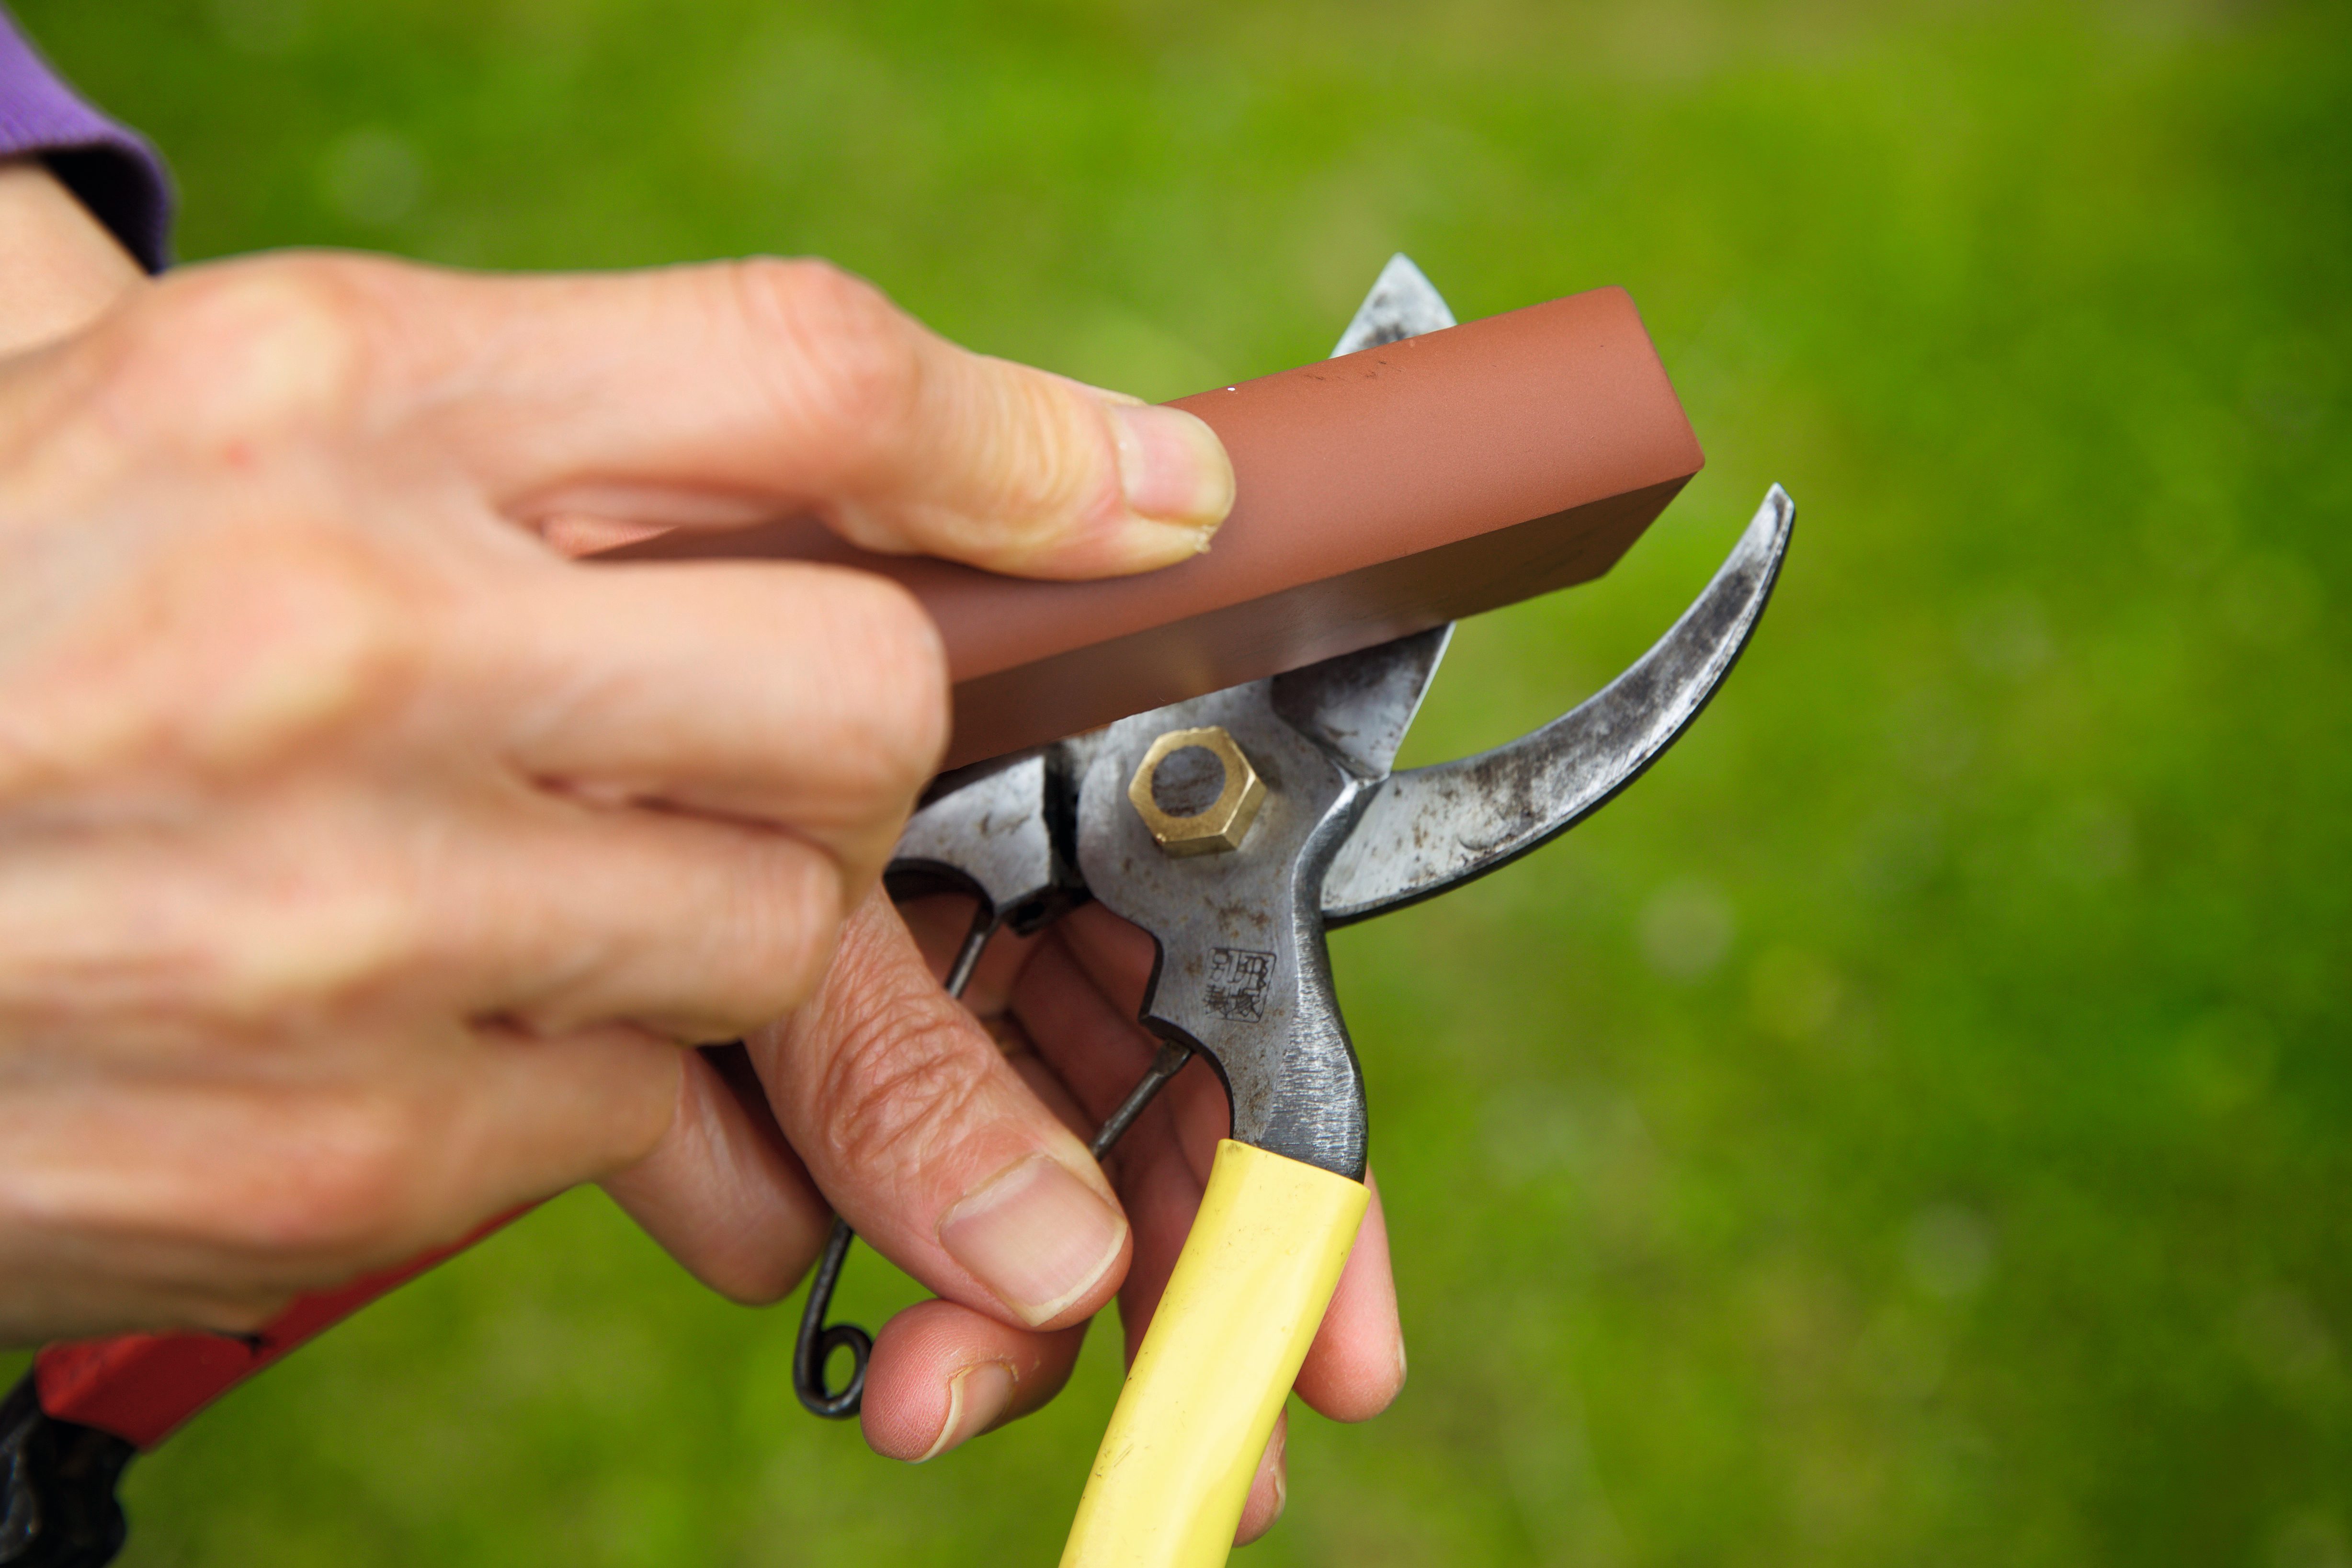
Method 3: Using a Nail File
For those seeking an alternative method to sharpen a blending stump, a nail file can serve as a versatile tool to achieve a fine point. Follow these steps to sharpen your blending stump using a nail file:
- Select a Nail File: Choose a fine-grit nail file, preferably one with a narrow end or a pointed tip to facilitate precise sharpening.
- Secure the Stump: Hold the blending stump firmly in one hand, ensuring a stable grip to maintain control during the sharpening process.
- File the Tip: Gently and carefully file the tip of the blending stump using the nail file. Apply light pressure and rotate the stump as needed to achieve an even and pointed tip.
- Check the Sharpness: Periodically check the sharpness of the tip by gently smudging a small area on a spare piece of paper. Continue filing the tip until the desired sharpness is achieved.
- Remove Any Residue: After sharpening, use a clean cloth or tissue to wipe off any residual debris from the blending stump.
Using a nail file to sharpen your blending stump provides a precise and controlled method for achieving the desired point, ensuring that the stump remains a reliable tool for blending and smudging in your artwork. This method is particularly useful when traditional sharpening tools are not readily available.
By following these steps, you can effectively sharpen your blending stump using a nail file, offering a practical and accessible solution for maintaining the sharpness of your blending stump.
Conclusion
Sharpening a blending stump without sandpaper is not only feasible but also offers a range of accessible methods using everyday tools. Whether you opt for a pencil sharpener, a knife, or a nail file, each method provides a practical solution for maintaining the sharpness of your blending stump, ensuring that it remains a reliable tool for your artistic endeavors.
By employing these alternative sharpening techniques, you can adapt to various situations, whether you’re working in a studio, outdoors, or on the go. The versatility of these methods allows you to maintain your blending stumps with minimal effort and without the need for specialized equipment.
As you explore these methods, consider the convenience and accessibility they offer, allowing you to focus on your artistic expression without being hindered by a dull blending stump. Additionally, the ability to sharpen your blending stump using common household tools underscores the resourcefulness and adaptability inherent in the artistic process.
Embracing these alternative sharpening methods empowers you to seamlessly integrate the maintenance of your blending stumps into your artistic routine, ensuring that you can consistently achieve the desired blending and smudging effects in your drawings and sketches.
With these techniques at your disposal, you can confidently sharpen your blending stumps, enhancing your artistic workflow and enabling you to fully realize your creative vision without limitations.
Frequently Asked Questions about How To Sharpen A Blending Stump Without Sandpaper
Was this page helpful?
At Storables.com, we guarantee accurate and reliable information. Our content, validated by Expert Board Contributors, is crafted following stringent Editorial Policies. We're committed to providing you with well-researched, expert-backed insights for all your informational needs.


0 thoughts on “How To Sharpen A Blending Stump Without Sandpaper”