Articles
How To Grate Carrots In A Blender
Modified: August 28, 2024
Learn how to grate carrots in a blender and create delicious recipes with this helpful guide. Read our articles for useful tips and techniques!
(Many of the links in this article redirect to a specific reviewed product. Your purchase of these products through affiliate links helps to generate commission for Storables.com, at no extra cost. Learn more)
Introduction
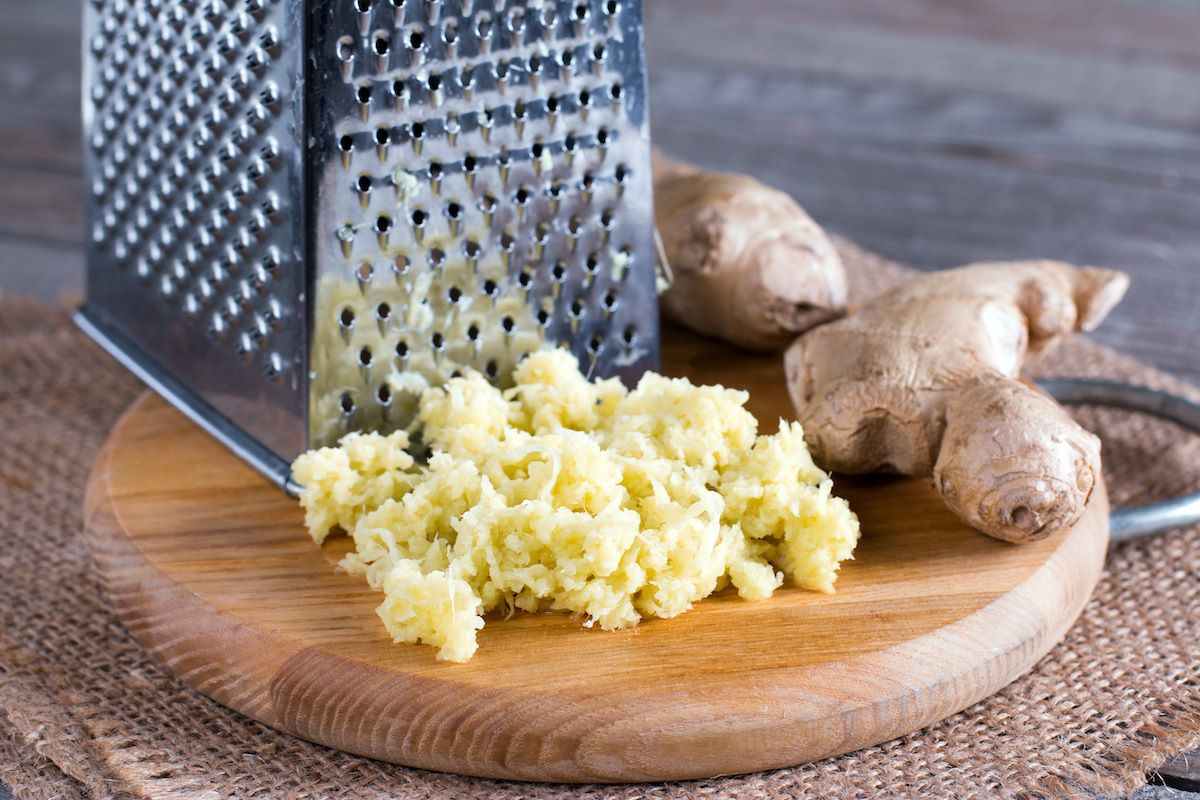
Grating carrots is a useful technique in the kitchen that can greatly enhance the texture and flavor of your dishes. Whether you want to prepare a carrot cake, a salad, or a stir-fry, having finely grated carrots can add a delightful touch. While traditional methods like using a box grater or a hand grater may take time and effort, a blender can be a convenient alternative.
In this article, we will walk you through the process of grating carrots in a blender. By following these simple steps, you can achieve perfectly grated carrots without any hassle. So let’s get started!
Key Takeaways:
- Grating carrots in a blender offers a convenient and efficient alternative to traditional methods, saving time and effort in the kitchen while still achieving perfectly grated carrots for a variety of culinary creations.
- By following simple steps such as preparing, cutting, blending, and storing or using the grated carrots, you can easily incorporate this versatile ingredient into a wide range of recipes, adding nutrition and flavor to your dishes.
Step 1: Prepare the Carrots
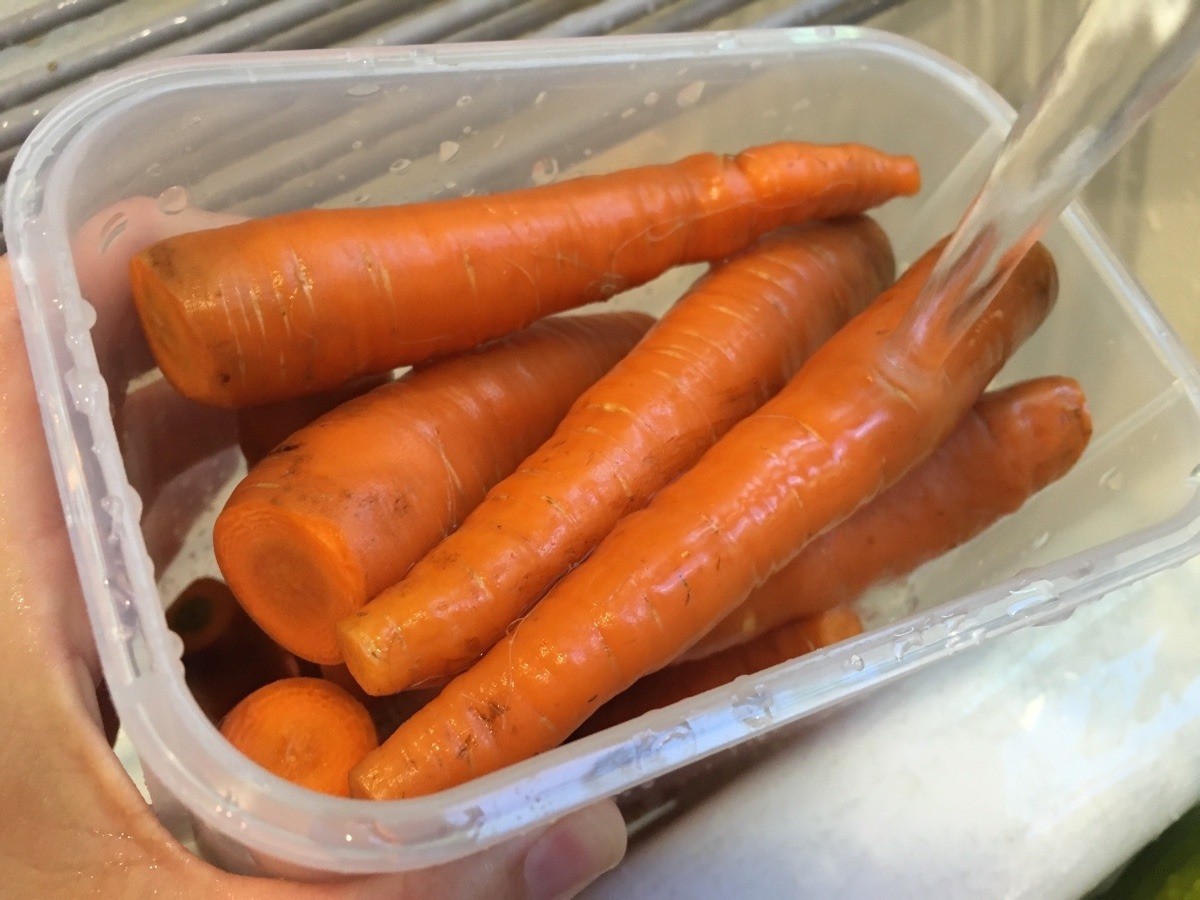
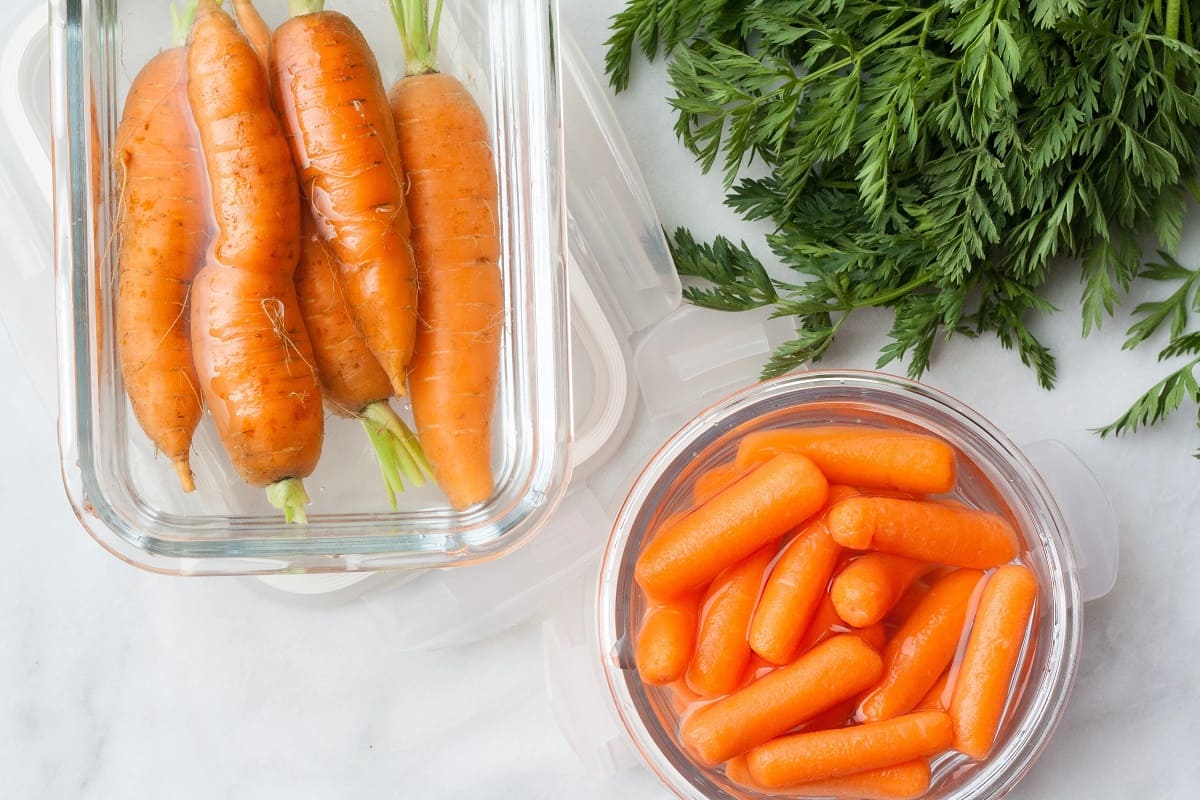
The first step in grating carrots in a blender is to properly prepare the carrots. Start by selecting fresh carrots that are firm and free from any blemishes. It’s best to choose medium-sized carrots that are easy to handle.
Begin by washing the carrots under running water to remove any dirt or impurities. Use a vegetable brush to scrub the carrots gently, especially if they have a thin layer of skin. Once the carrots are clean, pat them dry with a clean kitchen towel.
Next, you have the option to peel the carrots or leave the skin intact, depending on your preference. If you prefer a smoother texture, consider peeling the carrots with a vegetable peeler. However, keep in mind that the skin of the carrots contains valuable nutrients, so leaving it on can provide additional health benefits.
After peeling (or choosing not to peel) the carrots, trim both ends using a sharp knife. This will remove any woody or unwanted portions of the carrot. Now that your carrots are properly prepped, it’s time to move on to the next step of the process.
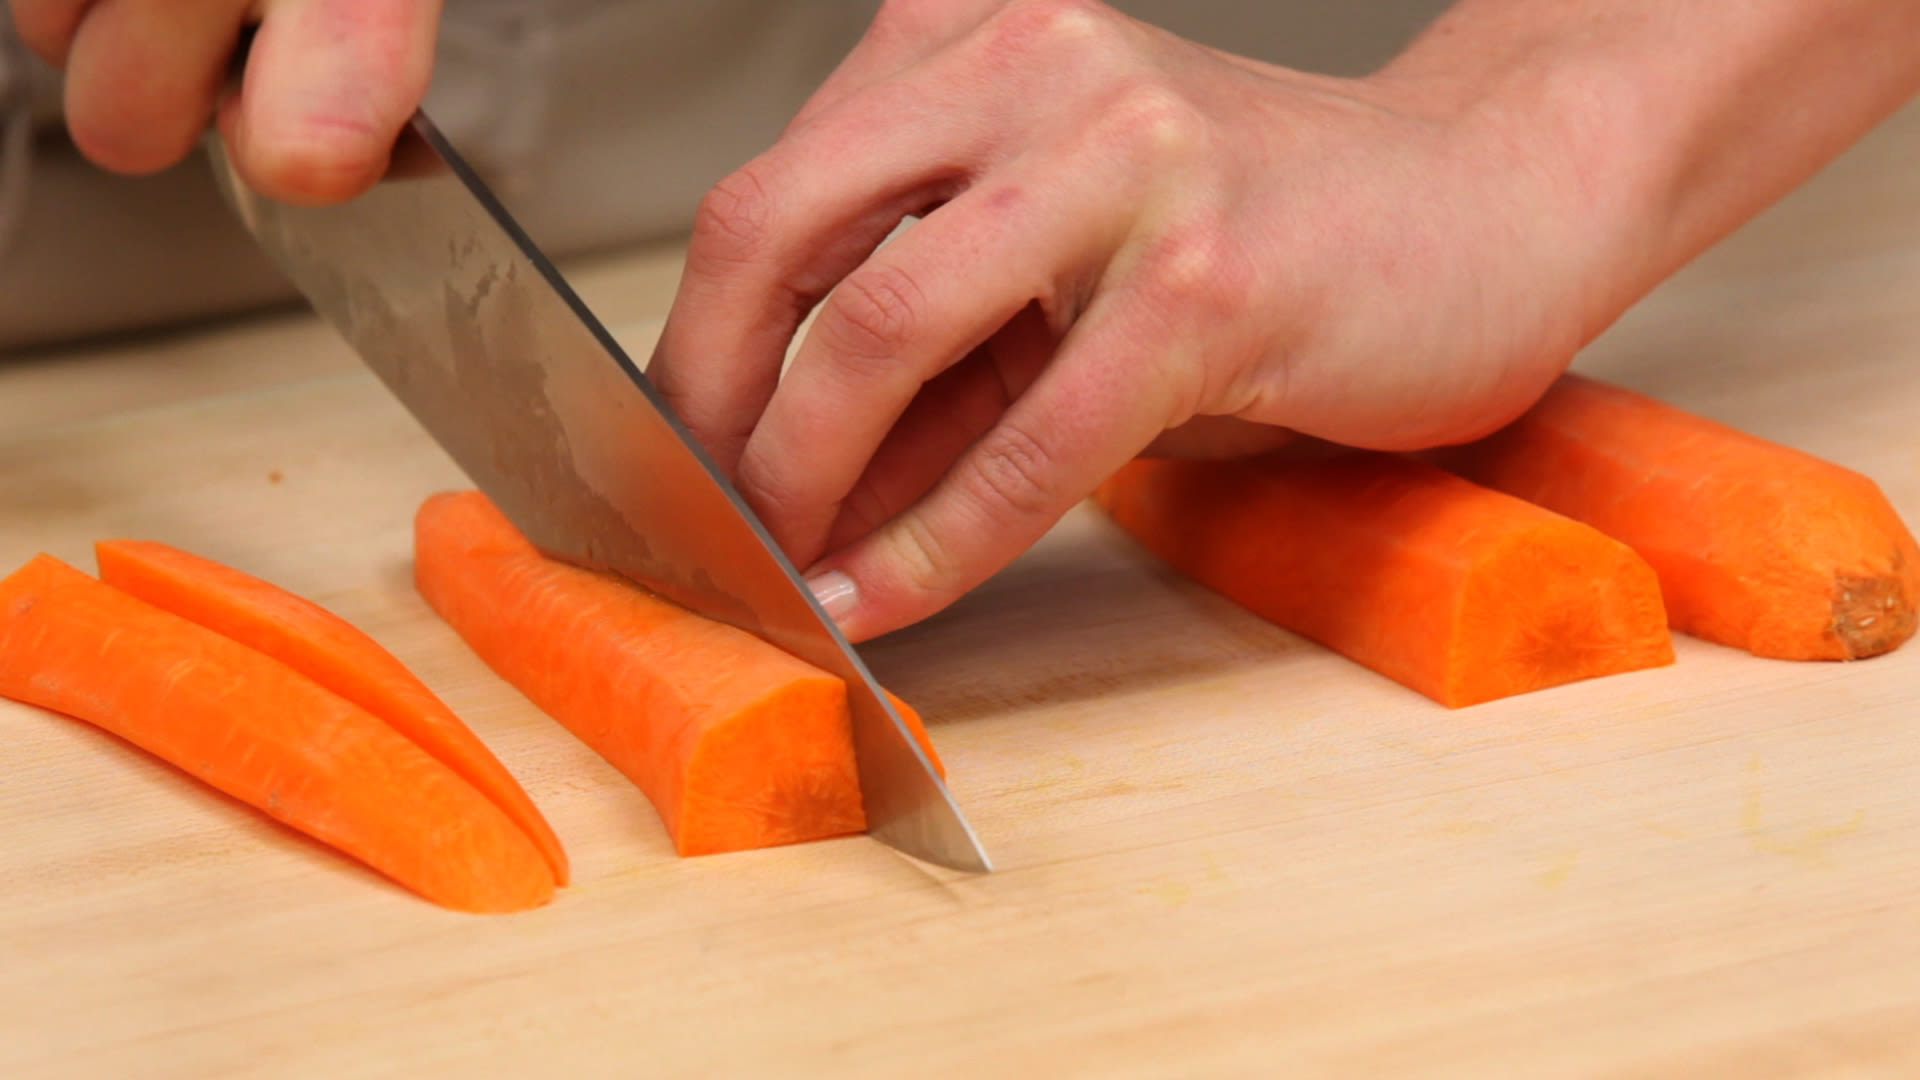
Step 2: Cut the Carrots into Smaller Pieces
Once your carrots are prepared, the next step is to cut them into smaller, manageable pieces. This will make it easier for the blender to process them into grated form.
Start by placing one carrot on a cutting board and hold it steady with one hand. With a sharp knife, carefully slice the carrot into thin rounds. Aim for uniform thickness to ensure even blending.
After cutting the carrot into rounds, stack a few rounds together and slice them into thin matchsticks. Again, try to maintain consistent thickness for even results. Repeat this process with the rest of the carrots.
If you prefer a finer texture for your grated carrots, you can further chop the matchsticks into smaller pieces. However, if you want more texture in your grated carrots, you can leave them slightly thicker.
Remember to exercise caution and keep your fingers away from the blade while cutting the carrots. It’s always better to go slow and be careful to avoid any accidents. Once all the carrots are cut into smaller pieces, it’s time to move on to the next step.
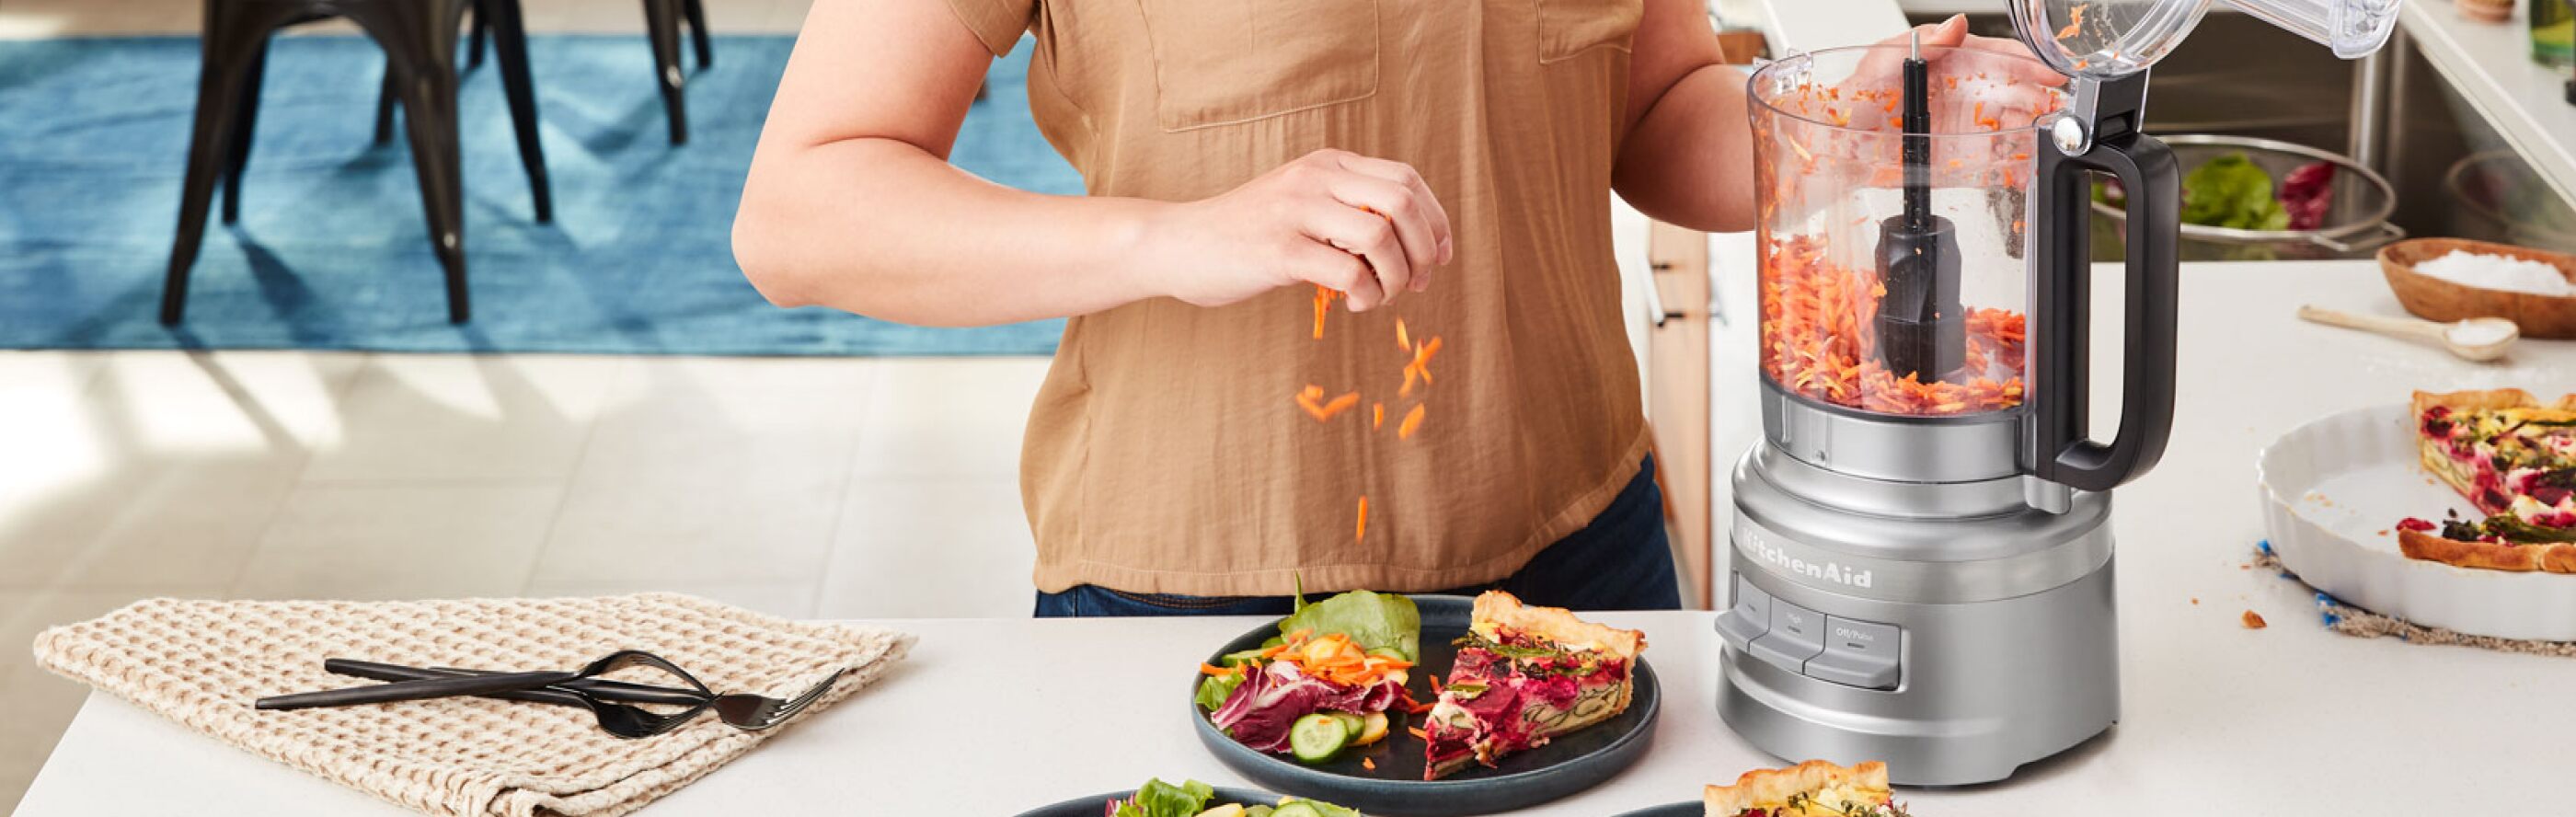
Step 3: Add the Carrots to the Blender
Now that your carrots are cut into smaller pieces, it’s time to add them to the blender. Choose a blender that is suitable for processing solid ingredients and has a sharp blade. A high-powered blender works best for grating carrots efficiently.
Open the lid of the blender and carefully place the cut carrots into the blender jar. It’s important not to overcrowd the blender, as this can affect the blending process and result in uneven grated carrots. If you have a large quantity of carrots, it may be best to work in batches to maintain optimal blending results.
Once the carrots are in the blender, secure the lid tightly to prevent any accidents or spills. Make sure the lid is properly locked in place, as blending can create a lot of movement and vibrations.
Before moving on to the next step, check to ensure that there are no other objects or ingredients in the blender, as this can affect the texture and flavor of the grated carrots.
Now that the carrots are added to the blender, it’s time to move on to the next step and start the blending process.
To grate carrots in a blender, start by cutting the carrots into smaller pieces. Then, add the carrot pieces to the blender and pulse until they reach the desired consistency. Be sure not to overfill the blender to ensure even grating.
Step 4: Blend the Carrots
With the carrots securely placed in the blender, it’s time to blend them into grated form. Start by selecting the appropriate blending setting on your blender. Many blenders come with a “grate” or “pulse” function, which is ideal for achieving the desired texture for grated carrots.
Begin by pulsing the blender a few times to break down the carrots into smaller pieces. This will help the blades to effectively process the carrots and transform them into grated form. Avoid over-blending, as this can result in a puree instead of grated carrots.
If your blender does not have a specific “grate” or “pulse” function, you can use the manual blending setting. Start at a low speed and gradually increase the speed to ensure thorough blending without turning the carrots into a paste.
While blending, periodically check the progress of the carrots. You may need to stop the blender and scrape down the sides with a spatula to ensure that all the carrots are evenly grated. Continue blending until the desired consistency is achieved.
Remember to exercise caution while blending. Always follow the manufacturer’s instructions and keep your fingers away from the blades to avoid any accidents.
Once the carrots are blended to your satisfaction, it’s time to move on to the next step and check the consistency of the grated carrots.
Read more: How To Make Carrot Juice In Blender
Step 5: Check the Consistency
After blending the carrots, it’s important to check the consistency of the grated carrots. The texture should be fine and uniform, resembling the traditional grated carrot texture. To assess the consistency, open the blender and take a look at the grated carrots.
If the carrots have been blended to the desired level, with a fine and even texture, congratulations! You can proceed to the next step. However, if the carrots are still too chunky or not finely grated, you can continue blending for a little longer.
If necessary, you can also adjust the consistency of the grated carrots by blending in shorter intervals or increasing the blending speed. Avoid blending for too long, as this can turn the carrots into a puree.
It’s important to note that the consistency of the grated carrots can also depend on the size and freshness of the carrots. So, make sure to check and adjust accordingly until you achieve the desired results.
Once you are satisfied with the consistency of the grated carrots, it’s time to move on to the final step and either store or use the grated carrots.
Step 6: Store or Use the Grated Carrots
Now that you have successfully grated the carrots in the blender, you have two options – you can either store the grated carrots for future use or use them immediately in your favorite recipes.
If you plan to store the grated carrots, transfer them into an airtight container or a resealable bag. Make sure to remove any excess moisture from the grated carrots by gently pressing them with a paper towel. This will help prevent them from becoming soggy and extending their shelf life.
Store the grated carrots in the refrigerator for up to 3 to 4 days. This allows you to conveniently incorporate them into various recipes throughout the week. Grated carrots can add a burst of flavor and texture to dishes like salads, coleslaws, stir-fries, or even baked goods like carrot muffins or cakes.
If you prefer to use the grated carrots right away, consider incorporating them into your favorite recipes. Add them to salads for added crunch and color, mix them into vegetable soups or stews for added nutritional value, or use them to create delightful carrot-based dishes like carrot fritters or carrot pancakes.
Remember, the possibilities are endless when it comes to using grated carrots. Get creative and experiment with different recipes to explore the versatility of this ingredient.
By following these steps, you can easily grate carrots in a blender and enjoy the convenience of having finely grated carrots at your fingertips. So, go ahead and give it a try the next time you need grated carrots for your culinary adventures!
Conclusion
Grating carrots is a useful skill that can elevate your culinary creations. While traditional methods like using a box grater or hand grater are common, using a blender can offer convenience and efficiency.
In this article, we explored the step-by-step process of grating carrots in a blender. By preparing the carrots, cutting them into smaller pieces, adding them to the blender, blending to the desired consistency, and either storing or using the grated carrots, you can achieve perfect results in no time.
Remember to choose fresh carrots, wash them, and trim the ends before cutting them into smaller pieces. When using the blender, select the appropriate setting and pulse or blend the carrots until the desired texture is achieved. Check the consistency and adjust as needed.
Whether you plan to store the grated carrots for future use or incorporate them into your recipes immediately, grated carrots can add nutrition and flavor to your dishes. Consider using them in salads, soups, stir-fries, or baked goods to enjoy their vibrant taste and texture.
Now that you have learned the art of grating carrots in a blender, you can save time and effort while still enjoying the benefits of finely grated carrots. So, grab your blender and start creating delicious recipes with the magic of grated carrots!
Frequently Asked Questions about How To Grate Carrots In A Blender
Was this page helpful?
At Storables.com, we guarantee accurate and reliable information. Our content, validated by Expert Board Contributors, is crafted following stringent Editorial Policies. We're committed to providing you with well-researched, expert-backed insights for all your informational needs.


0 thoughts on “How To Grate Carrots In A Blender”