Articles
How To Bolt Safe To Floor
Modified: August 28, 2024
Discover the step-by-step process of securely bolting a safe to the floor in this informative article. Safeguard your valuables with these expert tips.
(Many of the links in this article redirect to a specific reviewed product. Your purchase of these products through affiliate links helps to generate commission for Storables.com, at no extra cost. Learn more)
Introduction
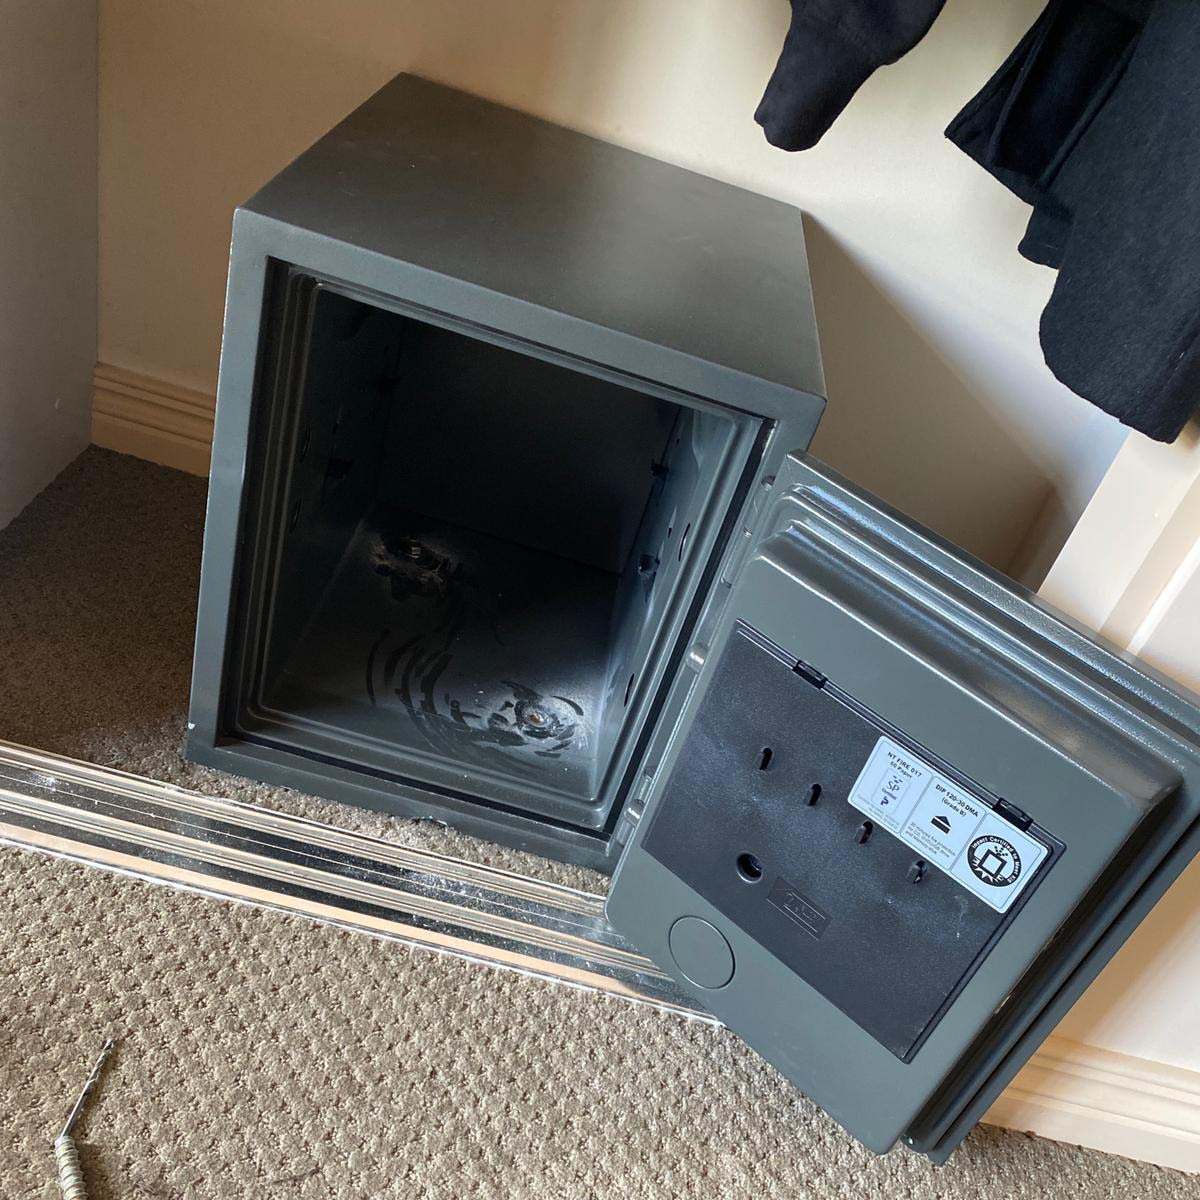
When it comes to protecting your valuable possessions, a bolted safe offers an added level of security. By securely fastening your safe to the floor, you can deter and prevent theft or unauthorized access. Whether you have a home safe or a commercial safe, bolting it to the floor ensures that it remains in place, making it difficult for thieves to carry it away.
In this article, we will guide you through the step-by-step process of bolting a safe to the floor. We will discuss the materials needed, the tools required, and provide detailed instructions to help you successfully secure your safe.
Before we begin, it’s important to note that proper installation is crucial for maximizing the effectiveness of a bolted safe. It’s recommended to consult the manufacturer’s instructions for your specific safe model, as they may provide additional guidance or unique requirements.
Ready to increase the security of your safe? Let’s dive in!
Key Takeaways:
- Bolting your safe to the floor enhances security by deterring theft and unauthorized access. Proper installation and testing ensure a strong and stable attachment, providing peace of mind for protecting your valuables.
- Choosing the right location, gathering necessary tools, and following a step-by-step process are crucial for securely bolting your safe to the floor. Thorough testing confirms the effectiveness of the installation, ensuring your valuables are well-protected.
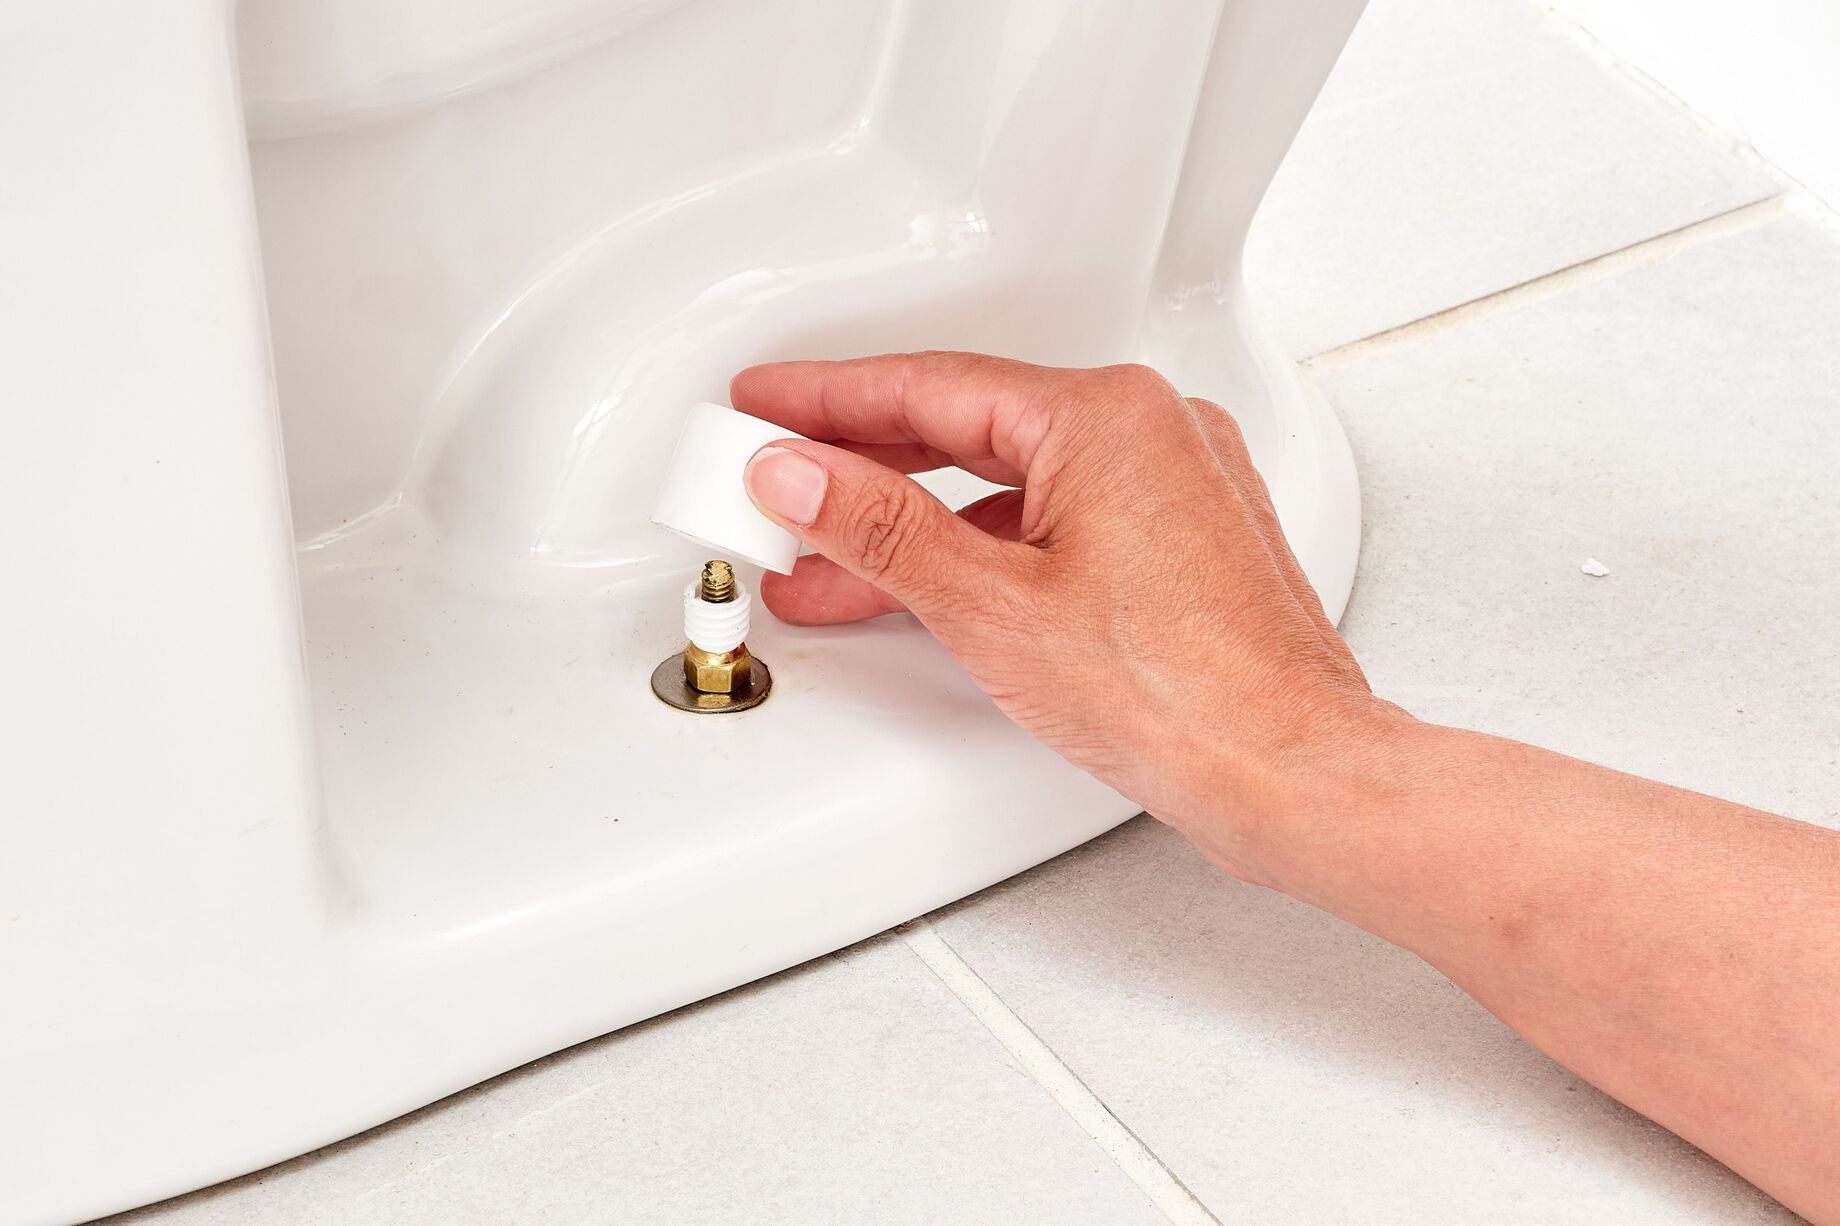
Read more: How To Bolt A Toilet To The Floor
Materials Needed
Before you start the process of bolting your safe to the floor, it’s essential to gather the necessary materials. Here’s a list of items you’ll need:
- Safe – Choose a high-quality safe that meets your security requirements. Make sure it has pre-drilled anchor holes on the bottom.
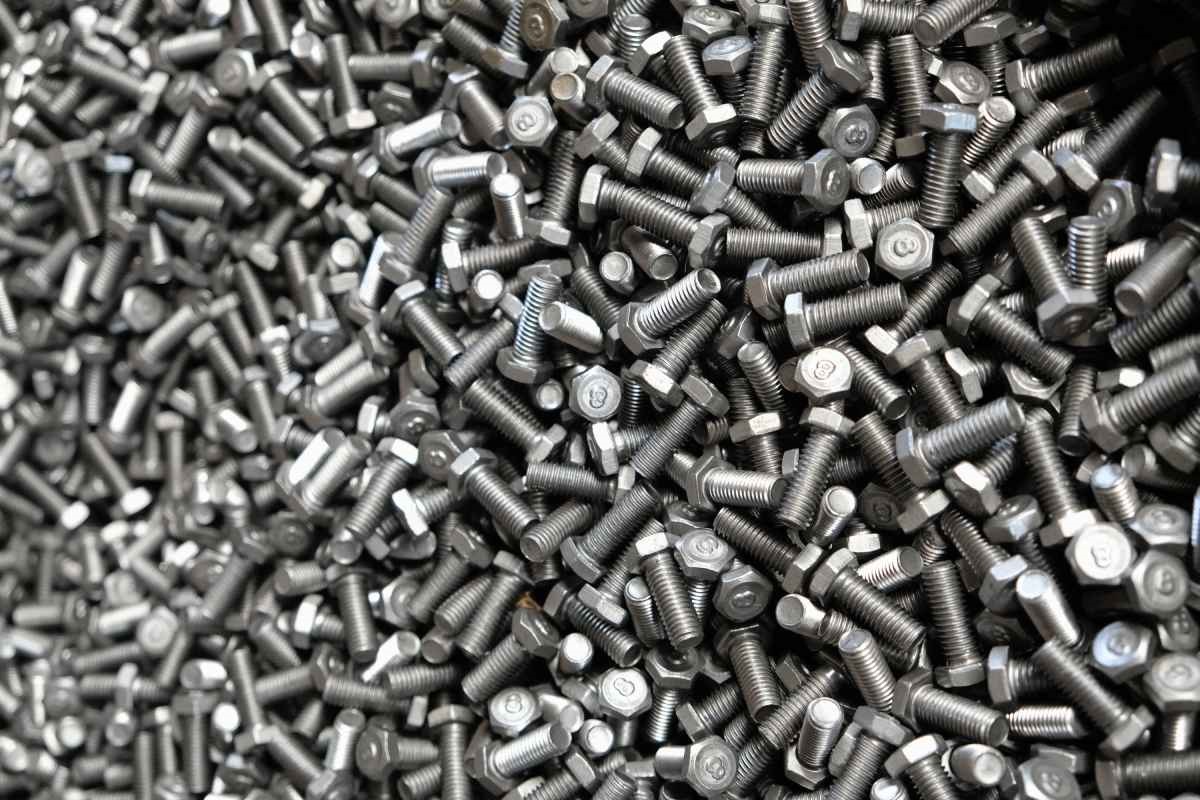
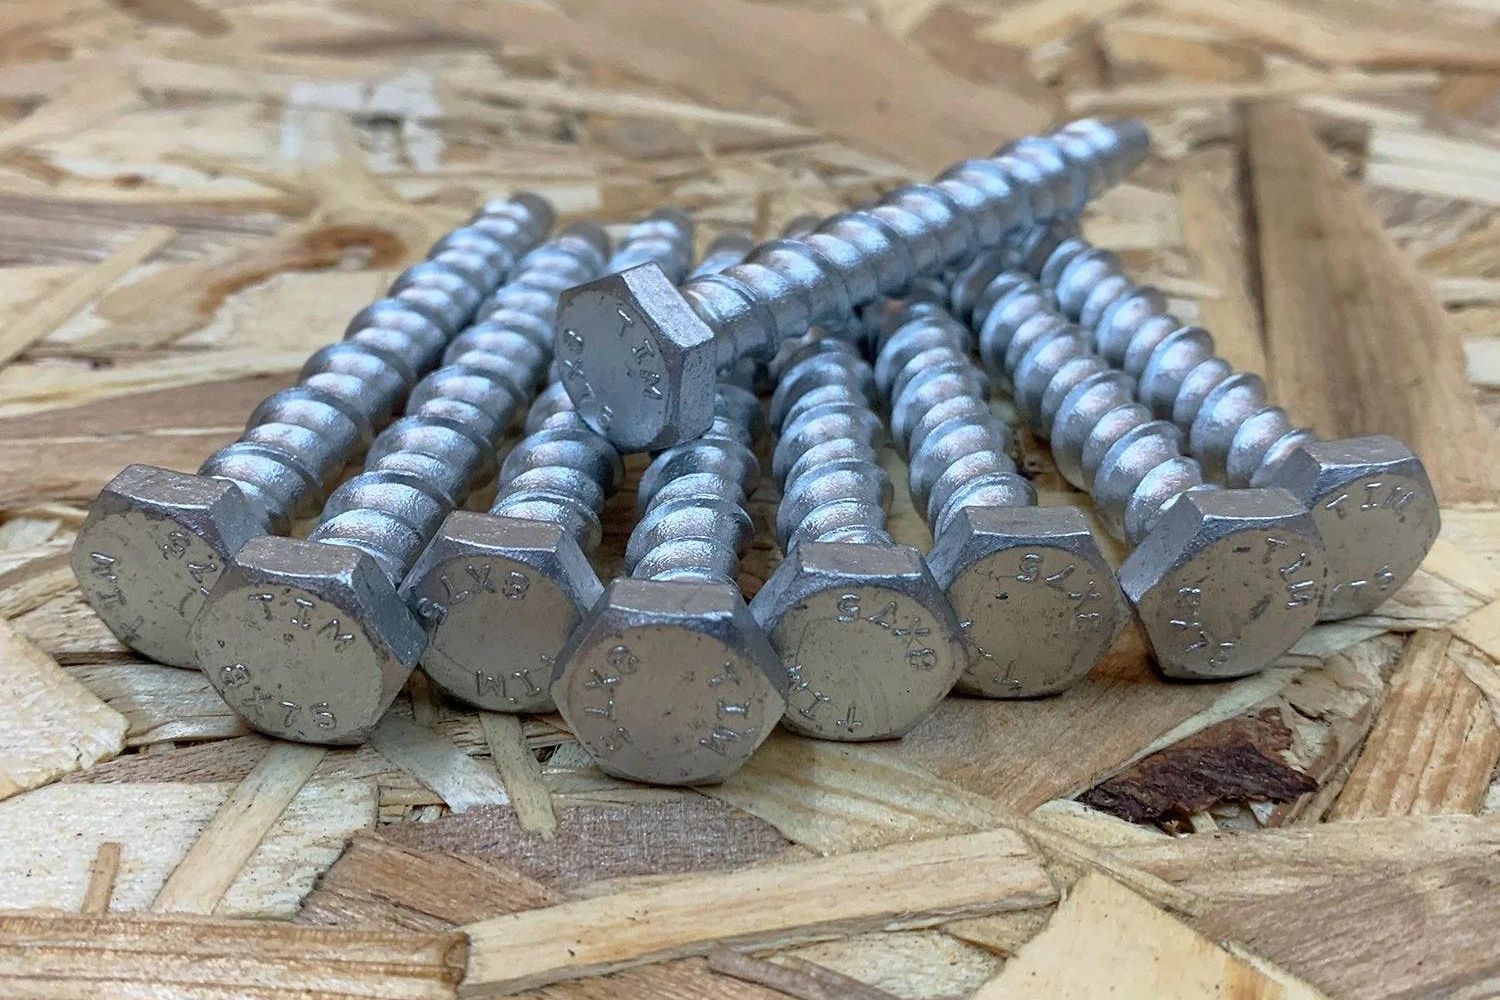
- Anchor Bolts – These are heavy-duty bolts specifically designed for securing safes. Make sure they are long enough to penetrate the floor and suitable for the material of your floor (such as concrete or wood).
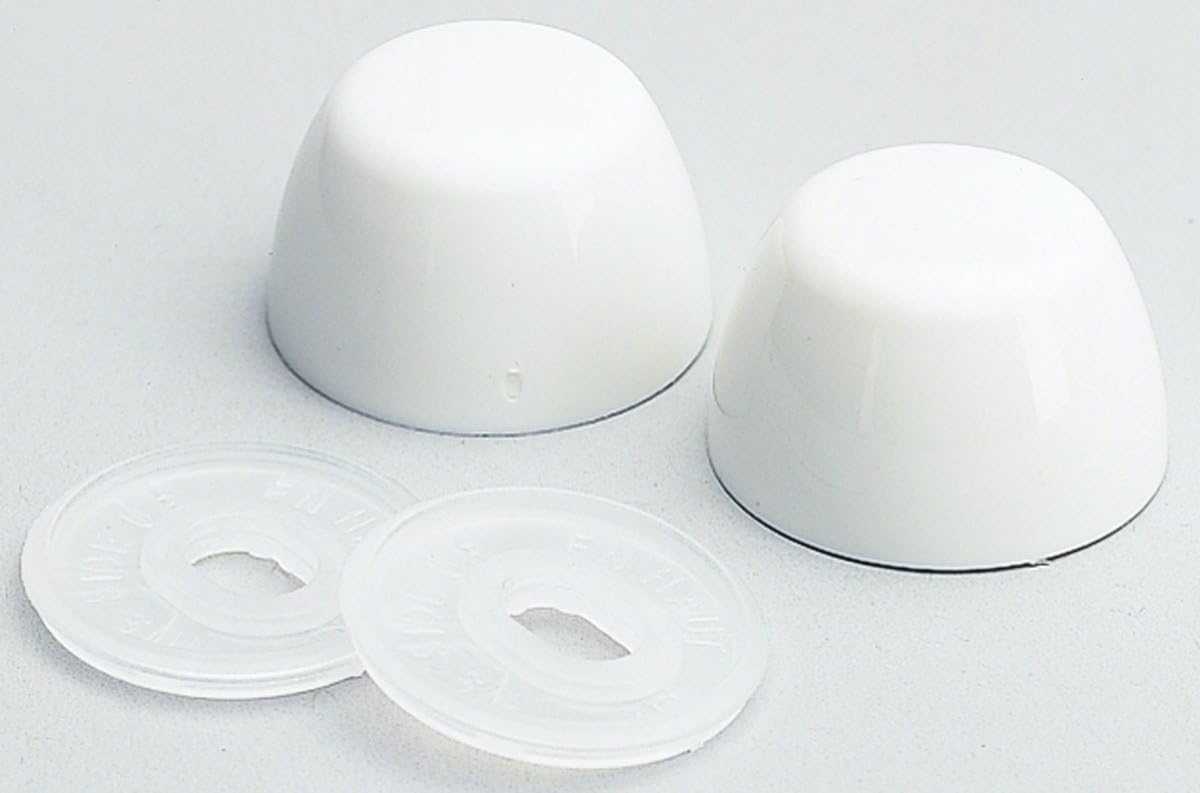
- Washers – These small flat discs are placed between the head of the bolt and the floor to distribute the load evenly.
- Nuts – These are used to secure the anchor bolts to the safe.
- Drill – You will need a drill with the appropriate drill bit to create holes in the floor for the anchor bolts.
- Wrench or Socket Set – This is necessary to tighten the nuts onto the anchor bolts.
- Level – A level will help ensure that your safe is positioned properly and straight.
- Marker or Pencil – You’ll need this to mark the spots where you’ll be drilling the holes.
- Safety Equipment – Don’t forget to wear safety goggles and gloves when drilling and handling equipment.
Having all the necessary materials in advance will streamline the installation process and prevent any unnecessary delays. Now that you have your materials ready, let’s move on to the next step.
Step 1: Choose the Safe Location
Before you can bolt your safe to the floor, you need to determine the best location for it. Consider the following factors when selecting the placement:
- Accessibility – Choose a location that allows easy access to the safe. It should be easily reachable for regular use and maintenance.
- Visibility – Opt for a spot that is not easily visible from outside the room or building. This helps maintain the secrecy of your safe’s existence and adds an extra layer of security.
- Weight Distribution – Ensure that the location you choose can support the weight of the safe. Consider the load-bearing capacity of the floor and make sure it can withstand the weight of both the safe and any contents inside.
- Convenience – Select a location that fits seamlessly into your space and doesn’t disrupt the flow of the room. Avoid areas with high foot traffic or that could potentially cause obstructions.
- Anchoring Points – Check for pre-designated anchoring points on the bottom of the safe. These will typically be small holes designed for securing the safe to the floor.
Once you’ve chosen the ideal location, take measurements to ensure that the safe fits comfortably and allows for easy access. Use a level to ensure that the floor is level and flat, as this will affect the stability and security of the safe once it’s bolted down.
With the location selected and the measurements taken, you’re now ready to move on to the next step of the installation process.
Step 2: Gather the Necessary Tools
Before you begin the process of bolting your safe to the floor, it’s important to gather all the necessary tools. Here’s a list of tools you’ll need:
- Drill – You will need a power drill to create holes in the floor for the anchor bolts. Make sure you have a drill bit that is appropriate for the material of your floor.
- Wrench or Socket Set – This will be used to tighten the nuts onto the anchor bolts. Choose a wrench or socket set that fits the size of the nuts you’re using.
- Marker or Pencil – You’ll need this to mark the spots on the floor where you’ll be drilling the holes for the anchor bolts.
- Level – A level will help ensure that your safe is positioned straight and level.
- Tape Measure – Use a tape measure to take accurate measurements when positioning the safe and marking the anchor bolt holes.
- Safety Equipment – Don’t forget to wear safety goggles and gloves to protect yourself while using the drill.
Having these tools readily available will make the installation process smoother and more efficient. It’s important to ensure that all the tools are in proper working condition before you begin. Check that the drill is charged or has fresh batteries and that the wrench or socket set is of suitable size.
Once you have gathered all the necessary tools, you’re ready to move on to the next step: preparing the safe and the floor for installation.
Step 3: Prepare the Safe and Floor
Before proceeding with the installation, it’s crucial to properly prepare both the safe and the floor. Follow these steps to ensure a smooth and secure installation:
- Clean the Floor – Start by clearing the area where you plan to install the safe. Remove any furniture, rugs, or debris that may obstruct the process. Make sure the floor is clean and free of dust, dirt, or moisture that could affect the integrity of the installation.
- Inspect the Safe – Examine the safe thoroughly to ensure there are no damages or defects that could hinder the installation process. Check for any loose parts or missing screws. If you notice any issues, contact the manufacturer for assistance.
- Locate the Anchor Bolt Holes – Carefully examine the bottom of the safe to locate the pre-drilled anchor bolt holes. These holes are specifically designed for securing the safe to the floor. Ensure they are clear of any obstructions or debris.
- Position the Safe – Place the safe in the desired location, aligning it with the marked spot on the floor. Use a level to ensure that the safe is perfectly straight and level. Adjust its position as needed.
By cleaning the floor and thoroughly inspecting the safe, you can ensure a secure installation and prevent any damage or complications. Properly positioning the safe with the help of a level will ensure that it remains stable and securely anchored to the floor.
With the safe and floor prepared, you’re now ready to move on to the next step: positioning the safe for installation.
Read more: How To Install A Floor Safe
Step 4: Position the Safe
Now that you have prepared the safe and the floor, it’s time to position the safe in its designated location. Follow these steps for proper positioning:
- Align the Safe – Carefully align the safe with the marked spot on the floor. Ensure that all sides are evenly spaced from the walls or surrounding objects. Use a level to double-check that the safe is perfectly straight and level.
- Consider Accessibility – Make sure that the safe’s opening is easily accessible and not obstructed by any objects or furniture. Ensure that the hinges or locking mechanism are not hindered in any way.
- Allow Clearance – Leave sufficient clearance around the safe, particularly if it has a door that swings open. This will allow you to easily open and close the safe without any obstacles.
- Check for Stability – Confirm that the safe rests firmly on the floor without any wobbling or movement. If necessary, adjust the placement slightly to achieve stability.
Properly positioning the safe is crucial for both its overall functionality and aesthetic appeal. Ensuring that it is level and aligned correctly will enhance the security and accessibility of the safe.
Once you have accurately positioned the safe, you are ready to mark the locations for the anchor bolt holes in the next step.
When bolting a safe to the floor, use heavy-duty anchor bolts and a drill to secure the safe in place. Make sure to choose a location that is both convenient and secure.
Step 5: Mark the Bolt Holes
In this step, you will mark the spots on the floor where the anchor bolts will be inserted. These markings will serve as a guide when drilling the holes. Follow these steps to mark the bolt holes:
- Remove the Safe – Gently lift the safe and set it aside, ensuring it stays in its designated position.
- Measure the Bolt Hole Locations – Using a tape measure, measure the distance between the pre-drilled anchor bolt holes on the bottom of the safe. Transfer these measurements to the floor by marking the corresponding spots with a marker or pencil.
- Double-Check the Measurements – Before proceeding, double-check your measurements to ensure accuracy. You may want to measure twice to avoid any errors.
When marking the bolt hole locations, it’s important to ensure that they are aligned with the pre-drilled anchor bolt holes on the safe. This will allow for a proper fit and secure attachment.
With the bolt hole locations marked on the floor, you are now ready to move on to the next step: drilling the holes in the floor.
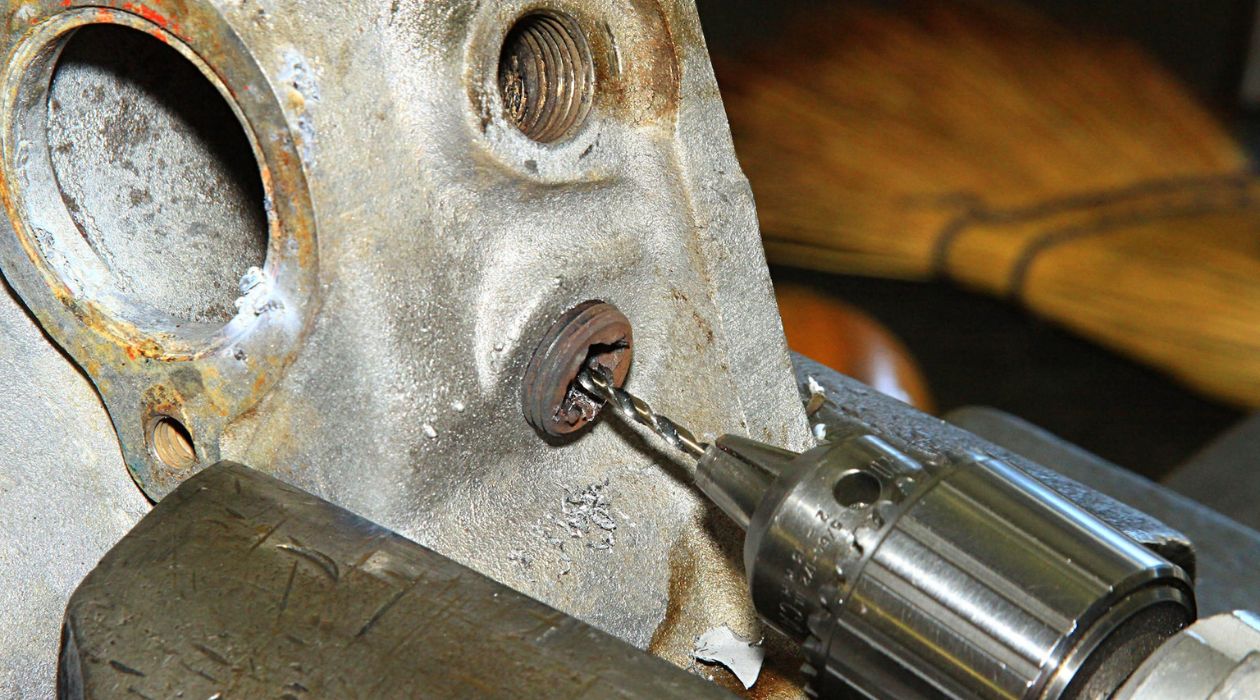
Step 6: Drill Holes in the Floor
With the bolt hole locations marked on the floor, it’s time to drill the holes for the anchor bolts. Follow these steps to drill the holes properly:
- Choose the Right Drill Bit – Select a drill bit that matches the size and type of anchor bolts you are using. A masonry drill bit is typically used for concrete floors, while a wood drill bit is suitable for wooden floors.
- Insert the Drill Bit – Attach the appropriate drill bit to your power drill. Make sure it is securely inserted and properly aligned.
- Position the Drill – Place the drill bit directly on one of the marked bolt hole locations. Hold the drill with a firm grip and position it perpendicular to the floor.
- Start Drilling – Turn on the drill and apply steady pressure as you slowly drill into the floor. Use a controlled motion to ensure a clean and precise hole.
- Repeat for other Bolt Holes – Once the first hole is drilled, move on to the remaining marked bolt hole locations and repeat the drilling process.
- Clear Loose Debris – After drilling each hole, remove any loose debris or dust from the hole using a brush or vacuum. This will ensure a proper fit for the anchor bolts.
During the drilling process, it’s important to exercise caution and maintain control over the drill. Take breaks if needed and avoid applying excessive pressure, as this can cause damage to the floor or the drill itself.
Once all the holes are drilled and cleaned, you are ready to insert the anchor bolts in the next step of the installation process.
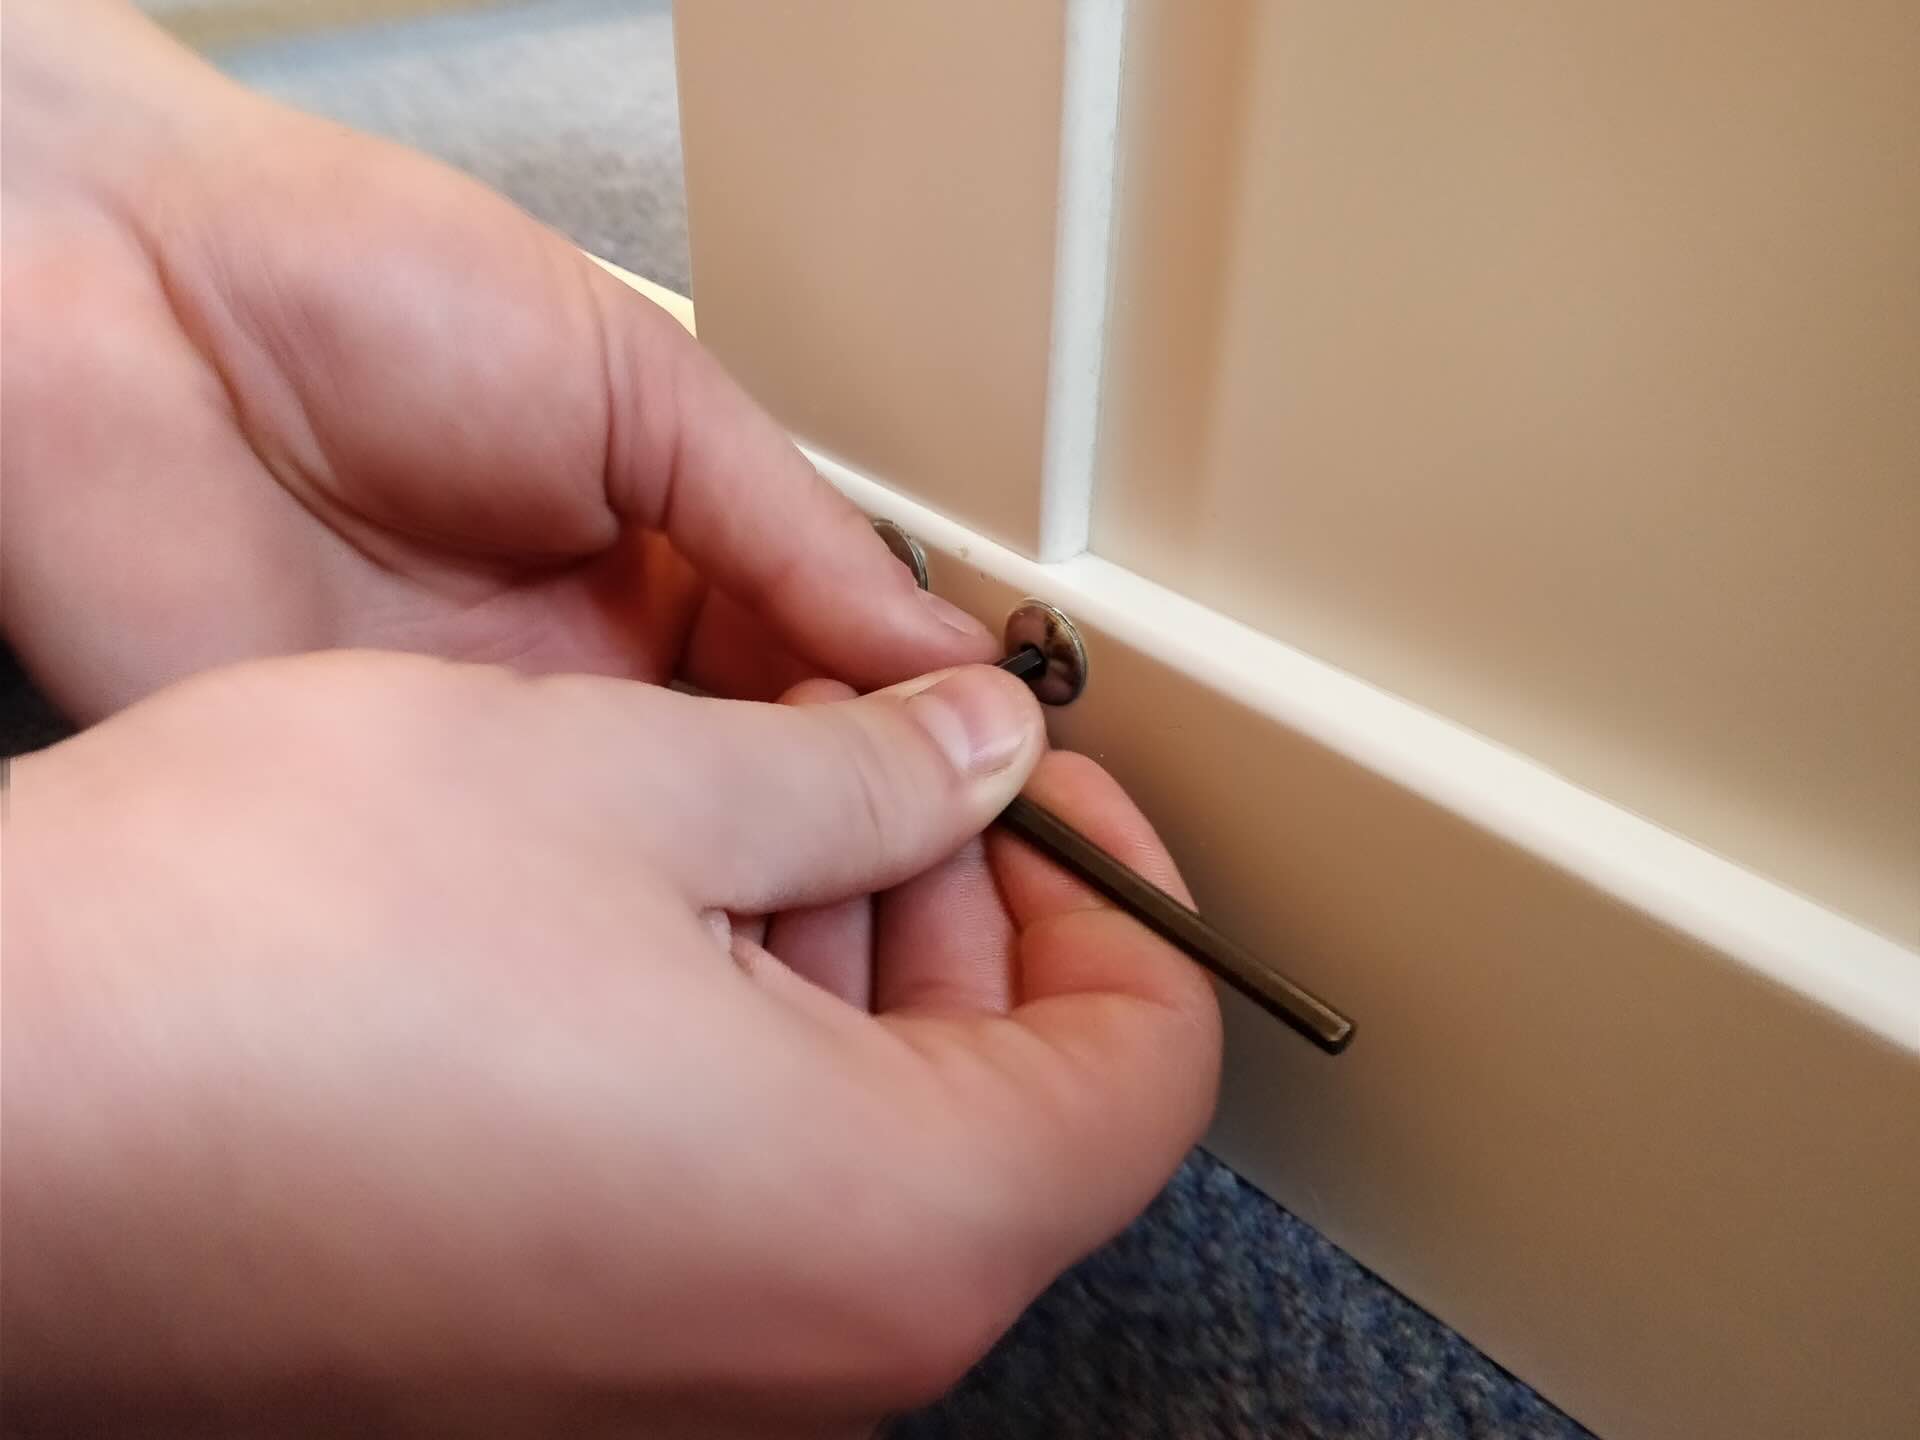
Step 7: Insert Anchor Bolts
With the holes drilled in the floor, it’s time to insert the anchor bolts. Follow these steps to properly insert the anchor bolts:
- Prepare the Anchor Bolts – Take the anchor bolts and ensure they are clean and free of any debris. If necessary, wipe them down with a cloth to remove any dirt or dust.
- Apply Epoxy Resin (Optional) – If you want to further enhance the secure attachment, you can apply epoxy resin to the anchor bolts before inserting them into the holes. This will create a stronger bond between the bolt and the floor.
- Insert the Anchor Bolts – Place one anchor bolt into each drilled hole, ensuring that the threaded end is facing upwards. Insert the bolts as far as they will go into the holes.
- Add Washers – Place a washer onto the threaded end of each anchor bolt, ensuring that it sits flush against the floor.
- Tighten the Nuts – Using a wrench or socket set, tighten the nuts onto the anchor bolts until they are secure. Don’t overtighten, as this could damage the nuts or the anchor bolts.
By properly inserting the anchor bolts, you ensure that the safe will be securely attached to the floor. The use of epoxy resin is optional but can provide an extra level of reinforcement.
Once all the anchor bolts are inserted and tightened with the nuts and washers in place, you are ready to move on to the final step: securing the safe to the floor.
Read more: What Floor Cleaner Is Safe For Pets
Step 8: Secure the Safe to the Floor
Now that the anchor bolts are inserted and secured, it’s time to secure the safe to the floor. Follow these steps to ensure a strong and secure attachment:
- Position the Safe – Carefully lift the safe and align it with the anchor bolts. Gently lower the safe onto the floor, ensuring that each bolt corresponds with its respective hole.
- Tighten the Nuts – Using a wrench or socket set, start tightening the nuts onto the anchor bolts. Alternate between bolts and gradually tighten each nut until they are securely fastened.
- Check for Stability – Once all the nuts are tightened, assess the stability of the safe. Gently try to move the safe to ensure it is firmly secured to the floor. If there is any movement, recheck the anchor bolts and tighten the nuts as necessary.
It’s important to properly secure the nuts to ensure a strong and stable attachment. This will prevent the safe from being easily moved or detached from the floor.
With the safe securely bolted to the floor, you have successfully completed the installation process. However, before considering it complete, it’s essential to test the security of the safe installation, which brings us to the next step.
Step 9: Test the Security of the Safe Installation
Once you have successfully secured the safe to the floor, it’s important to test the installation to ensure its effectiveness in providing the desired level of security. Follow these steps to test the security of the safe installation:
- Attempt to Move the Safe – Apply force and try to move the safe to see if it remains firmly in place. Push and pull the safe from different angles to check if there is any give or movement. A properly installed safe should be solid and immovable.
- Check for Stability – Carefully inspect the bolts, nuts, and washers to ensure they are properly tightened and secure. Look for any signs of loosening or shifting. If any components appear loose, tighten them as necessary.
- Validate Accessibility – Open and close the safe to ensure that the anchoring process has not affected its functionality. Ensure that the locking mechanism operates smoothly and that there are no obstructions that hinder accessibility.
- Consult Manufacturer’s Guidelines – Refer to the manufacturer’s guidelines or instructions to verify that the installation process aligns with their recommended practices. This will ensure that the installation is in accordance with their specifications.
Testing the security of the safe installation is crucial to confirm that it has been properly executed and meets your expectations. By conducting these tests, you can have peace of mind knowing that your safe is securely anchored and provides the desired level of protection for your valuable possessions.
Congratulations! With the successful completion of the testing phase, you have now achieved a strong and secure installation of your bolted safe. Enjoy the added peace of mind that comes with knowing your valuables are well protected.
Conclusion
Bolting your safe to the floor is an essential step in enhancing security and protecting your valuable belongings. By following the step-by-step process outlined in this article, you can ensure a secure and stable installation.
We began by discussing the importance of choosing the right location for your safe, considering factors like accessibility, visibility, weight distribution, convenience, and available anchoring points on the safe itself. With the location chosen, we moved on to gathering the necessary tools and materials, including the safe, anchor bolts, washers, nuts, drill, wrench or socket set, level, marker or pencil, and safety equipment.
We then walked through the step-by-step process of preparing the safe and the floor, including cleaning the area, inspecting the safe, locating the anchor bolt holes, and positioning the safe properly. We then marked the bolt hole locations on the floor and drilled the necessary holes using the appropriate drill bit.
Once the holes were drilled, we inserted the anchor bolts, allowing for the option of applying epoxy resin for added reinforcement. We secured the anchor bolts with washers and tightened the nuts to ensure a strong attachment. Finally, we tested the security of the safe installation by attempting to move the safe, checking for stability, and validating accessibility.
By following these steps and conducting thorough testing, you can have confidence in the effectiveness of your bolted safe installation. Remember to consult the manufacturer’s guidelines for any additional instructions specific to your safe model.
Now that your safe is securely bolted to the floor, you can enjoy peace of mind knowing that your valuable possessions are safely protected. Remember to periodically check the bolts and nuts for tightness, and make any necessary adjustments if needed.
Thank you for taking the time to read this comprehensive guide. Stay safe, and may your bolted safe provide the security you desire!
Frequently Asked Questions about How To Bolt Safe To Floor
Was this page helpful?
At Storables.com, we guarantee accurate and reliable information. Our content, validated by Expert Board Contributors, is crafted following stringent Editorial Policies. We're committed to providing you with well-researched, expert-backed insights for all your informational needs.

0 thoughts on “How To Bolt Safe To Floor”