Home>Furniture & Design>Bathroom Accessories>How To Remove Stripped Toilet Seat Bolt
Bathroom Accessories
How To Remove Stripped Toilet Seat Bolt
Modified: August 30, 2024
Learn how to easily remove a stripped toilet seat bolt with our step-by-step guide. Say goodbye to bathroom-accessories installation headaches!
(Many of the links in this article redirect to a specific reviewed product. Your purchase of these products through affiliate links helps to generate commission for Storables.com, at no extra cost. Learn more)
Introduction
Dealing with a stripped toilet seat bolt can be a frustrating and challenging task. Whether the bolt has become corroded over time or was overtightened during installation, removing it requires patience and the right approach. In this comprehensive guide, we will walk you through the step-by-step process of removing a stripped toilet seat bolt. By following these instructions and using the recommended tools, you can effectively tackle this common bathroom maintenance issue and restore the functionality of your toilet seat.
A stripped toilet seat bolt can make the simple task of replacing a toilet seat feel like a daunting endeavor. However, with the right techniques and tools at your disposal, you can successfully address this issue without the need for professional assistance. By understanding the methods outlined in this guide, you will gain the confidence to tackle this problem head-on and achieve a successful outcome.
Whether you are a DIY enthusiast or simply looking to address a household maintenance issue, learning how to remove a stripped toilet seat bolt is a valuable skill. By following the steps outlined in this guide, you will be equipped with the knowledge and techniques necessary to effectively address this common bathroom accessory challenge. So, let's dive into the step-by-step process and equip ourselves with the necessary skills to tackle this task with confidence.
Key Takeaways:
- Don’t let a stripped toilet seat bolt stress you out! With the right tools and techniques, like applying lubricant and using a wrench, you can tackle this common bathroom maintenance issue with confidence.
- If traditional methods fail, cutting the bolt or applying heat can help. Once removed, replacing the bolt ensures a stable and functional toilet seat. With patience and precision, you can conquer this DIY challenge!
Read more: How To Remove Rusted Toilet Seat Bolt
Step 1: Gather the necessary tools
Before embarking on the task of removing a stripped toilet seat bolt, it is essential to gather the necessary tools to ensure a smooth and efficient process. Having the right tools at your disposal will not only make the task easier but also increase the likelihood of a successful outcome. Here are the essential tools you will need:
-
Adjustable Wrench or Locking Pliers: An adjustable wrench or locking pliers will allow you to grip the stripped bolt securely. Look for a wrench or pliers that provide a firm grip without causing damage to the bolt or surrounding areas.
-
Penetrating Lubricant: A high-quality penetrating lubricant, such as WD-40 or PB Blaster, is crucial for loosening the corroded or stuck bolt. Apply the lubricant generously to the stripped bolt and allow it to penetrate the threads to facilitate easier removal.
-
Heat Source: A heat source, such as a propane torch or heat gun, can be used to apply heat to the stripped bolt. Heat helps to expand the metal, making it easier to break the bond between the bolt and the threads.
-
Hacksaw or Dremel Tool: In some cases, cutting the stripped bolt may be necessary. A hacksaw with a fine-tooth blade or a Dremel tool equipped with a cutting wheel can be used to carefully cut through the bolt if other methods prove ineffective.
-
Safety Gear: When working with penetrating lubricants and heat sources, it is important to prioritize safety. Ensure that you have protective gloves, safety goggles, and a well-ventilated workspace to minimize the risk of injury.
By gathering these essential tools, you will be well-prepared to tackle the task of removing a stripped toilet seat bolt. Each tool plays a crucial role in the removal process, and having them readily available will streamline the overall procedure. With the necessary tools in hand, you can proceed to the next steps with confidence, knowing that you are equipped to address the stripped bolt effectively.
Step 2: Apply lubricant to the stripped bolt
Applying a high-quality penetrating lubricant is a crucial initial step in the process of removing a stripped toilet seat bolt. The lubricant works to penetrate the corroded or stuck threads of the bolt, effectively loosening its grip and facilitating easier removal. Here's a detailed breakdown of how to apply the lubricant and the benefits it offers in addressing the stripped bolt:
Importance of Penetrating Lubricant
When a toilet seat bolt becomes stripped, it often seizes within the threads due to corrosion, rust, or overtightening. This makes it challenging to remove using conventional methods. A penetrating lubricant, such as WD-40 or PB Blaster, is specifically designed to break down rust and corrosion, making it an invaluable ally in the removal process. The lubricant's ability to seep into tight spaces and coat the threads of the bolt is essential for effectively loosening its grip.
Application Process
To apply the penetrating lubricant, start by generously spraying or applying it directly to the stripped bolt. Ensure that the lubricant reaches the base of the bolt and penetrates the surrounding threads. Allow the lubricant to sit for a significant period, typically 15-30 minutes, to maximize its effectiveness. During this time, the lubricant works to dissolve rust and corrosion, gradually weakening the bond between the bolt and the threads.
Read more: How To Replace Toilet Seat With Hidden Bolts
Reapplication and Patience
In some cases, particularly with severely corroded bolts, multiple applications of the penetrating lubricant may be necessary. Reapply the lubricant as needed, ensuring that the bolt remains saturated. Patience is key during this step, as allowing the lubricant an adequate amount of time to work its magic significantly increases the likelihood of a successful outcome.
Benefits of Lubricant Application
The application of penetrating lubricant offers several benefits in the process of removing a stripped toilet seat bolt. It effectively reduces friction between the bolt and the threads, making it easier to turn and loosen the bolt. Additionally, the lubricant's rust-dissolving properties help to break down the corrosion that may be binding the bolt, ultimately facilitating its removal.
By applying the penetrating lubricant as outlined, you set the stage for the subsequent steps in the removal process. The lubricant's ability to weaken the bond between the stripped bolt and the threads is a critical preparatory step that enhances the effectiveness of the overall removal process. With the lubricant in action, you are now ready to proceed to the next steps with the goal of successfully addressing the stripped toilet seat bolt.
Step 3: Use a wrench or pliers to grip the bolt
After allowing the penetrating lubricant to work its magic, the next crucial step in the process of removing a stripped toilet seat bolt is to utilize a wrench or pliers to grip the bolt securely. This step is essential for applying controlled force to the bolt, aiming to break the bond between the bolt and the threads. Here's a detailed breakdown of how to effectively use a wrench or pliers to grip the bolt and the significance of this technique in the removal process.
Importance of a Secure Grip
Gripping the stripped bolt with precision and stability is paramount to the success of the removal process. An adjustable wrench or locking pliers provide the necessary grip to apply controlled force without damaging the surrounding areas. The goal is to firmly grasp the bolt, allowing for rotational force to be applied in an attempt to loosen its grip within the threads.
Read more: How To Remove Bidet Toilet Seat
Selecting the Right Tool
When choosing between a wrench and pliers, consider the accessibility and space around the stripped bolt. An adjustable wrench is ideal for bolts located in relatively open areas, providing a firm grip and the ability to apply rotational force. On the other hand, locking pliers, also known as vice grips, offer a versatile grip that can be adjusted to accommodate various bolt sizes and shapes, making them suitable for confined spaces.
Gripping Technique
Position the adjustable wrench or locking pliers around the stripped bolt, ensuring a snug and secure fit. Apply steady pressure in a counterclockwise direction to attempt to loosen the bolt. It is crucial to maintain a firm grip while avoiding excessive force that could potentially cause damage to the bolt or surrounding components. If the bolt shows signs of movement, continue to apply gradual force while monitoring its response.
Reapplication of Penetrating Lubricant
During the gripping process, periodically reapply the penetrating lubricant to the exposed threads of the bolt. This serves to supplement the lubrication and further weaken the bond between the bolt and the threads. The combination of gripping force and lubrication enhances the likelihood of successfully loosening the stripped bolt.
Significance of Gripping Technique
The use of a wrench or pliers to grip the bolt is a pivotal step in the removal process, as it directly addresses the physical bond between the bolt and the threads. By applying controlled force and maintaining a secure grip, you are actively working to overcome the resistance caused by corrosion or overtightening. This technique sets the stage for subsequent steps in the removal process, positioning you closer to achieving the ultimate goal of removing the stripped toilet seat bolt.
By effectively employing a wrench or pliers to grip the bolt, you are actively engaging with the removal process, leveraging controlled force and precision to address the challenging issue of a stripped toilet seat bolt. With the bolt securely gripped, you are now prepared to proceed to the next steps, building upon the progress made in this critical phase of the removal process.
Read more: How To Remove A Bemis Toilet Seat
Step 4: Apply heat to the bolt
Applying heat to the stripped bolt is a strategic and effective technique in the process of removing a stubborn or corroded toilet seat bolt. The application of heat serves to expand the metal, potentially breaking the bond between the bolt and the threads. Here's a detailed exploration of the significance of applying heat to the bolt and the method for doing so.
Importance of Heat Application
When a toilet seat bolt becomes stripped and resistant to conventional removal methods, the application of heat can be a game-changer. Over time, bolts can become seized within the threads due to corrosion, rust, or overtightening. This makes them incredibly challenging to remove using traditional means. By applying heat to the bolt, the metal expands, potentially loosening the grip and making it easier to break the bond between the bolt and the threads.
Selecting the Heat Source
A propane torch or a heat gun are commonly used heat sources for this method. When using a propane torch, exercise caution and ensure that the flame is directed solely at the bolt to avoid damaging surrounding components. A heat gun provides a controlled and directed stream of hot air, offering a safer alternative for those uncomfortable with using an open flame.
Application Process
Begin by directing the heat source at the stripped bolt, focusing the heat on the bolt itself rather than the surrounding area. Move the heat source in a back-and-forth motion to evenly distribute the heat. The goal is to gradually heat the bolt, allowing the metal to expand and potentially break the bond with the threads. Exercise patience during this process, as the gradual application of heat is key to its effectiveness.
Read more: How To Bolt A Toilet To The Floor
Monitoring and Caution
As the bolt heats up, periodically attempt to apply rotational force using the wrench or pliers. If the bolt shows signs of movement, continue to apply heat while monitoring its response. Exercise caution to avoid overheating the bolt, as excessive heat can potentially cause damage to the toilet seat or surrounding components. Additionally, ensure that the workspace is well-ventilated to disperse any fumes generated during the heating process.
Significance of Heat Application
The application of heat to the stripped bolt represents a strategic approach to overcoming the resistance caused by corrosion or overtightening. By expanding the metal through the application of heat, you are actively working to weaken the bond between the bolt and the threads. This technique, when combined with the previous steps, positions you closer to achieving the ultimate goal of successfully removing the stripped toilet seat bolt.
By effectively applying heat to the bolt, you are leveraging a proven method to address the challenges posed by a stubborn or corroded bolt. With the metal expanding under the influence of heat, you are actively working to break the bond and advance towards the successful removal of the stripped toilet seat bolt.
Step 5: Use a hacksaw or Dremel tool to cut the bolt
In some instances, when traditional methods fail to loosen the stripped toilet seat bolt, resorting to cutting the bolt becomes a viable and effective approach. The use of a hacksaw or Dremel tool allows for precise and controlled cutting, ultimately facilitating the removal of the stubborn bolt. Here's an in-depth exploration of the process and significance of using a hacksaw or Dremel tool to cut the bolt.
Assessing the Need for Cutting
Before proceeding with cutting the bolt, it is essential to assess the severity of the situation. If the bolt remains firmly seized despite previous attempts to loosen it, cutting may be the most practical solution. Additionally, if the bolt is damaged or corroded to the extent that traditional removal methods are no longer viable, cutting becomes a necessary step in the removal process.
Read more: How To Remove Mold From Toilet Seat
Selecting the Cutting Tool
A hacksaw with a fine-tooth blade or a Dremel tool equipped with a cutting wheel are the primary tools for this method. The choice between the two depends on the accessibility and space around the bolt. A hacksaw provides manual control and is suitable for bolts located in relatively open areas. On the other hand, a Dremel tool offers precision and versatility, making it ideal for confined spaces and intricate cutting requirements.
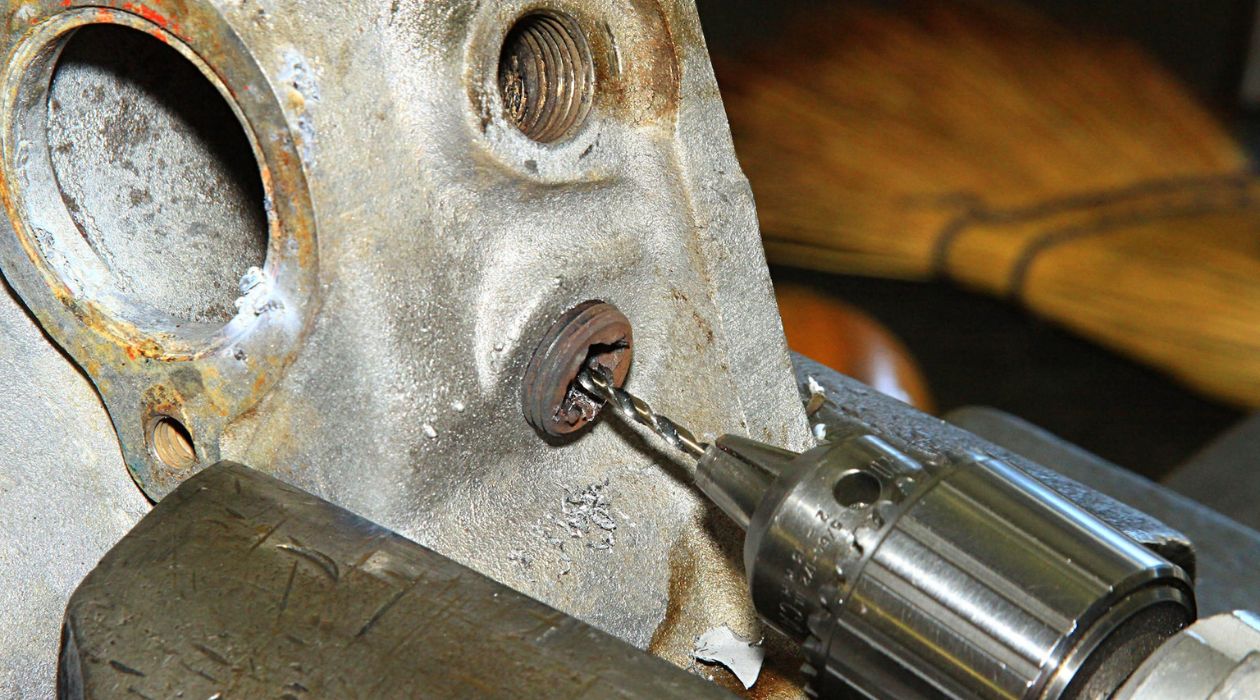
Cutting Process
Position the hacksaw or Dremel tool to make a precise cut across the stripped bolt. Exercise caution to avoid damaging the toilet seat or surrounding components during the cutting process. Apply steady and controlled pressure to the cutting tool, allowing it to gradually penetrate and sever the bolt. Periodically assess the progress and adjust the cutting angle as needed to ensure a clean and effective cut.
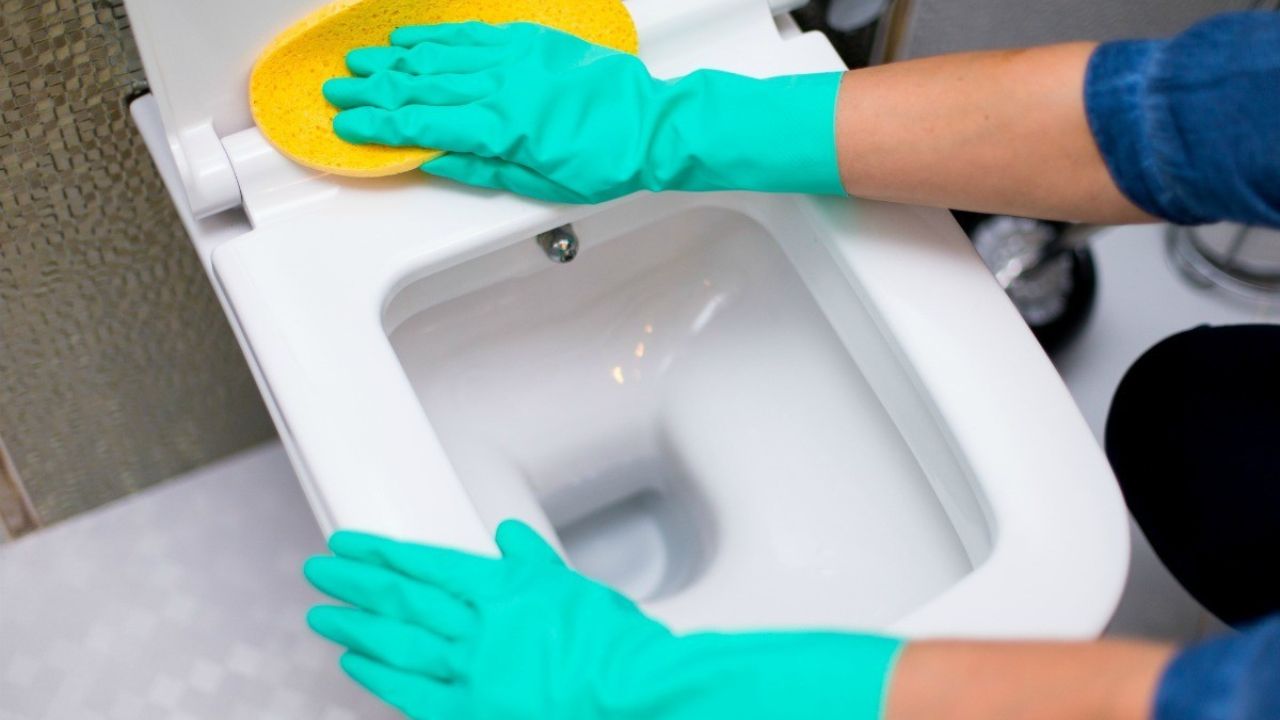
Safety Considerations
When using a cutting tool, prioritize safety by wearing protective gloves and safety goggles. Additionally, ensure that the workspace is well-ventilated to disperse any debris generated during the cutting process. Exercise patience and precision to avoid unnecessary damage to the toilet seat or adjacent components.
Significance of Cutting the Bolt
The decision to cut the bolt represents a strategic and effective approach to address a stubborn or damaged bolt. By carefully and methodically cutting through the bolt, you are actively working towards the successful removal of the stripped toilet seat bolt. This method allows for precise control and customization, making it a valuable technique in situations where traditional removal methods have proven ineffective.
By considering the need for cutting, selecting the appropriate cutting tool, and executing the cutting process with precision and caution, you can effectively overcome the challenges posed by a stripped toilet seat bolt. With the bolt successfully cut, you are now prepared to proceed to the final steps of the removal process, ultimately achieving the goal of resolving this common bathroom maintenance issue.
Read more: How To Remove Scratches From Toilet Seat
Step 6: Replace the toilet seat bolt
After successfully removing the stripped toilet seat bolt, the final step involves replacing it with a new, functional bolt to restore the stability and functionality of the toilet seat. This critical phase ensures that the toilet seat is securely fastened, providing a safe and comfortable experience for users. Here's a detailed guide on how to effectively replace the toilet seat bolt, ensuring a seamless and reliable installation.
Assessing the Replacement Bolt
Before proceeding with the replacement, it is essential to select a suitable replacement bolt that matches the specifications of the toilet seat. Consider the size, threading, and material of the new bolt to ensure compatibility with the toilet seat and the mounting holes. Additionally, assess the condition of the mounting holes to ensure they are free from debris or damage that may hinder the installation of the new bolt.
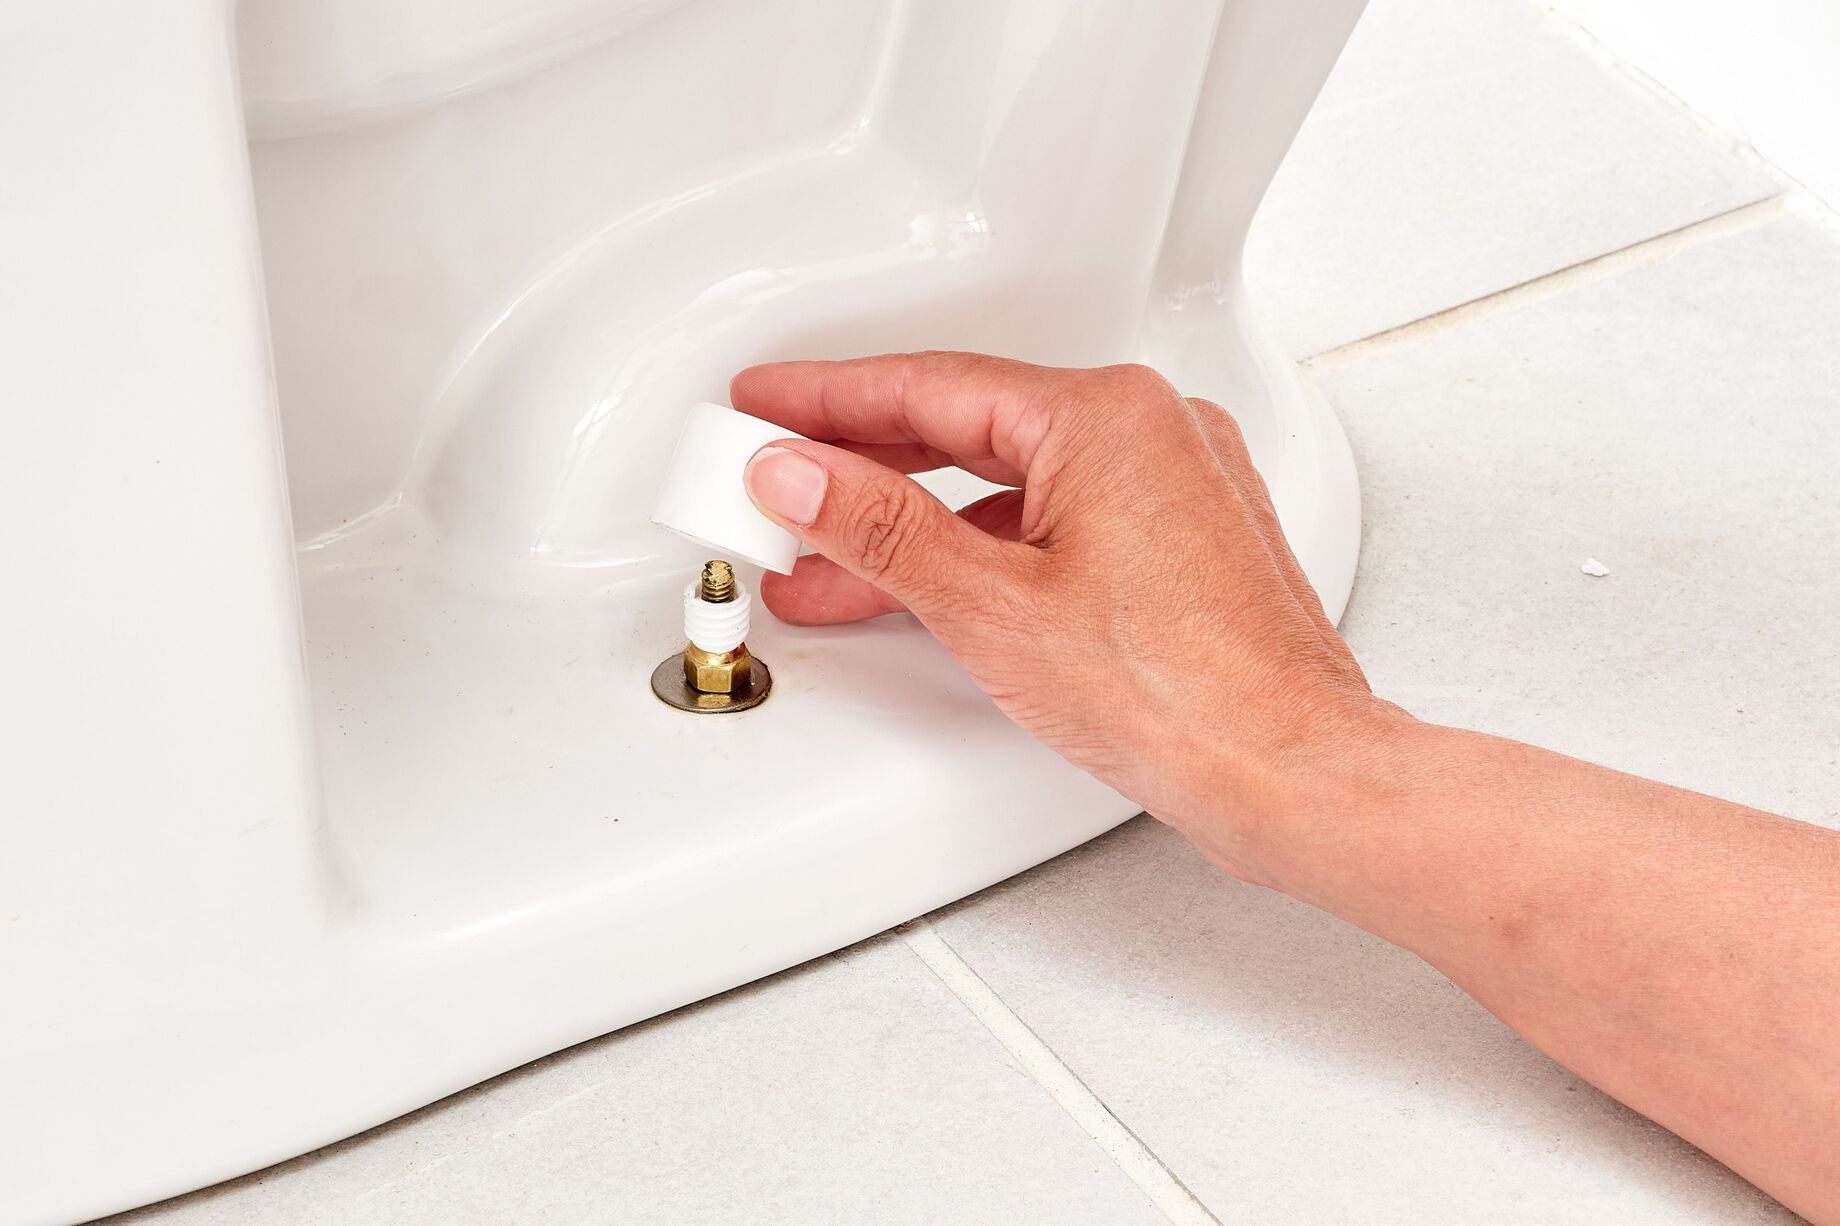
Positioning the New Bolt
Carefully position the new bolt in the mounting hole, ensuring that it aligns with the corresponding hole on the toilet seat. Apply gentle pressure to seat the bolt securely in the hole, verifying that it sits flush and level with the surface of the toilet seat. Proper alignment and positioning are crucial to ensure a stable and secure attachment of the toilet seat.
Securing the Bolt
Once the new bolt is positioned correctly, proceed to secure it in place using the appropriate fastening mechanism. Depending on the type of bolt and toilet seat, this may involve tightening a nut from the underside of the toilet seat or using a specialized fastening system provided with the replacement bolt. Exercise caution to avoid overtightening, as this can potentially damage the toilet seat or the new bolt.
Read more: How To Remove Azo Stains From Toilet Seat
Testing and Adjustment
After securing the new bolt, perform a thorough inspection to ensure that it is firmly in place and provides stable support for the toilet seat. Gently test the toilet seat for stability and adjust the tightness of the bolt if necessary to achieve the desired level of firmness. Proper adjustment ensures that the toilet seat remains securely fastened without any wobbling or instability.
Final Checks
Conduct a final check to verify that the replacement bolt is securely installed and that the toilet seat is stable and functional. Ensure that the toilet seat aligns properly with the bowl and that there are no signs of movement or instability. By completing these final checks, you can be confident in the successful replacement of the toilet seat bolt, effectively addressing the initial issue and restoring the functionality of the toilet seat.
By following these detailed steps, you can confidently navigate the process of replacing the toilet seat bolt, ensuring a seamless and reliable installation that enhances the stability and functionality of the toilet seat. With the new bolt securely in place, you can enjoy the peace of mind that comes with a properly installed and stable toilet seat.
Conclusion
In conclusion, successfully removing a stripped toilet seat bolt requires a strategic and methodical approach, coupled with the right tools and techniques. By following the step-by-step process outlined in this comprehensive guide, you can effectively address this common bathroom maintenance issue and restore the functionality of your toilet seat.
The initial step of gathering the necessary tools sets the stage for a smooth and efficient removal process. Equipped with an adjustable wrench or locking pliers, penetrating lubricant, a heat source, and a cutting tool, you are prepared to tackle the challenges posed by a stripped bolt.
Applying penetrating lubricant to the stripped bolt serves as a crucial preparatory step, effectively weakening the bond between the bolt and the threads. The lubricant's ability to dissolve rust and corrosion plays a pivotal role in facilitating the subsequent removal techniques.
Utilizing a wrench or pliers to grip the bolt allows for controlled force to be applied, aiming to break the resistance caused by corrosion or overtightening. This technique represents a critical phase in the removal process, positioning you closer to achieving the ultimate goal of removing the stripped toilet seat bolt.
The strategic application of heat to the bolt serves as a game-changing method to expand the metal, potentially breaking the bond between the bolt and the threads. By leveraging the benefits of heat, you actively work towards overcoming the challenges posed by a stubborn or corroded bolt.
In instances where traditional methods prove ineffective, the use of a hacksaw or Dremel tool to cut the bolt becomes a viable and effective approach. This method allows for precise and controlled cutting, ultimately facilitating the successful removal of the stubborn bolt.
Finally, replacing the toilet seat bolt with a new, functional bolt ensures the stability and functionality of the toilet seat. Proper alignment, securing, testing, and adjustment are essential steps in completing the removal process and restoring the toilet seat to its optimal condition.
By mastering the techniques and methods outlined in this guide, you gain the confidence and skills necessary to effectively address the challenge of a stripped toilet seat bolt. With patience, precision, and the right tools at your disposal, you can navigate this common maintenance issue with ease and achieve a successful outcome.
Frequently Asked Questions about How To Remove Stripped Toilet Seat Bolt
Was this page helpful?
At Storables.com, we guarantee accurate and reliable information. Our content, validated by Expert Board Contributors, is crafted following stringent Editorial Policies. We're committed to providing you with well-researched, expert-backed insights for all your informational needs.


0 thoughts on “How To Remove Stripped Toilet Seat Bolt”