Articles
How To Insulate A Floor Over A Crawl Space
Modified: October 31, 2024
Learn how to effectively insulate a floor over a crawl space with these informative articles. Enhance energy efficiency and prevent moisture issues.
(Many of the links in this article redirect to a specific reviewed product. Your purchase of these products through affiliate links helps to generate commission for Storables.com, at no extra cost. Learn more)
Introduction
Welcome to our comprehensive guide on how to insulate a floor over a crawl space. Insulating a floor over a crawl space is a crucial step in creating a comfortable and energy-efficient home. A well-insulated floor can help prevent heat loss, reduce energy bills, and improve indoor air quality.
Before we dive into the step-by-step process of insulating your floor, let’s first understand why it’s important to insulate the floor over a crawl space. Crawl spaces are prone to moisture problems, which can lead to mold growth, wood decay, and unhealthy air quality. In addition, uninsulated floors can result in cold drafts, uncomfortable temperatures, and higher energy consumption.
By insulating the floor over a crawl space, you create a thermal barrier that keeps the cold air from penetrating your home in the winter and the hot air from infiltrating in the summer. This helps maintain a consistent indoor temperature, reduces the strain on your heating and cooling systems, and ultimately saves you money on energy costs.
In this article, we will walk you through the step-by-step process of insulating a floor over a crawl space. Whether you’re a seasoned DIY enthusiast or a homeowner looking to improve the comfort and efficiency of your home, this guide will provide you with all the information you need to successfully complete this project.
So, let’s get started with step one: assessing the crawl space.
Key Takeaways:
- Properly insulating a floor over a crawl space involves assessing, cleaning, and preparing the space, installing a vapor barrier, insulating floor joists, sealing air leaks, installing a subfloor, and finishing the floor. Attention to detail is crucial for a successful insulation project.
- By following the step-by-step process outlined in this guide, homeowners can create a comfortable, energy-efficient, and aesthetically pleasing space. Insulating the floor over a crawl space offers benefits such as improved indoor air quality, reduced energy consumption, and increased comfort.
Read more: How To Install Subfloor Over A Crawl Space
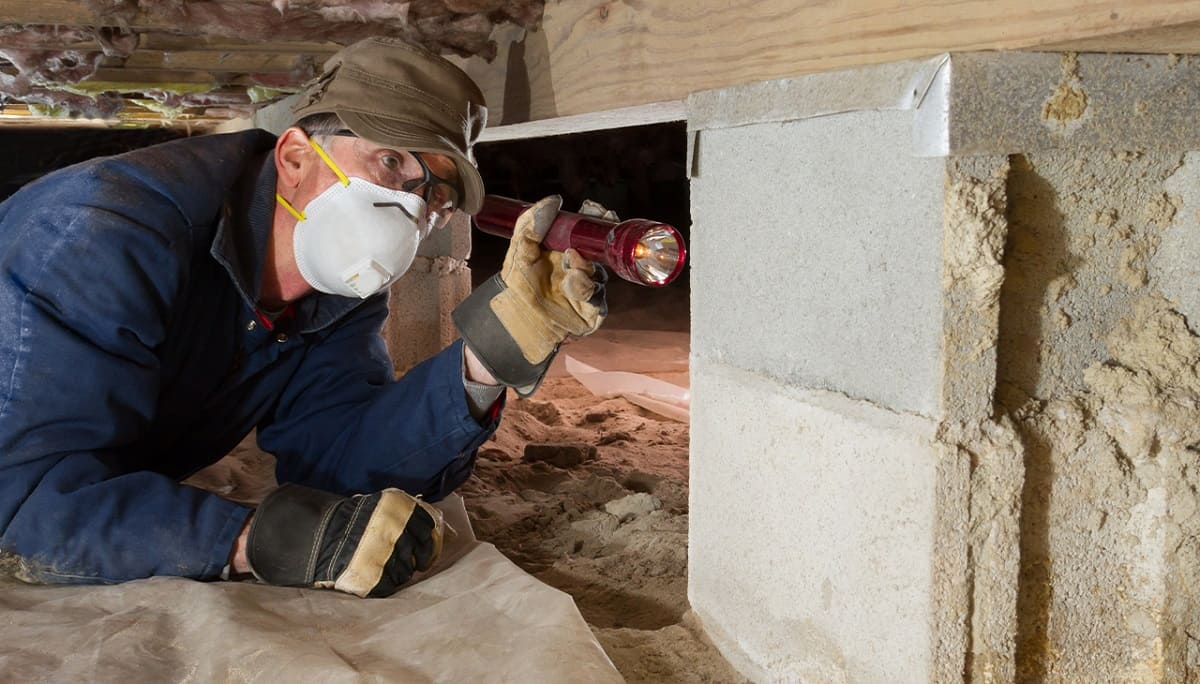
Step 1: Assess the Crawl Space
Before you begin insulating the floor over your crawl space, it’s important to assess the condition of the space to determine the necessary steps and materials needed for the project.
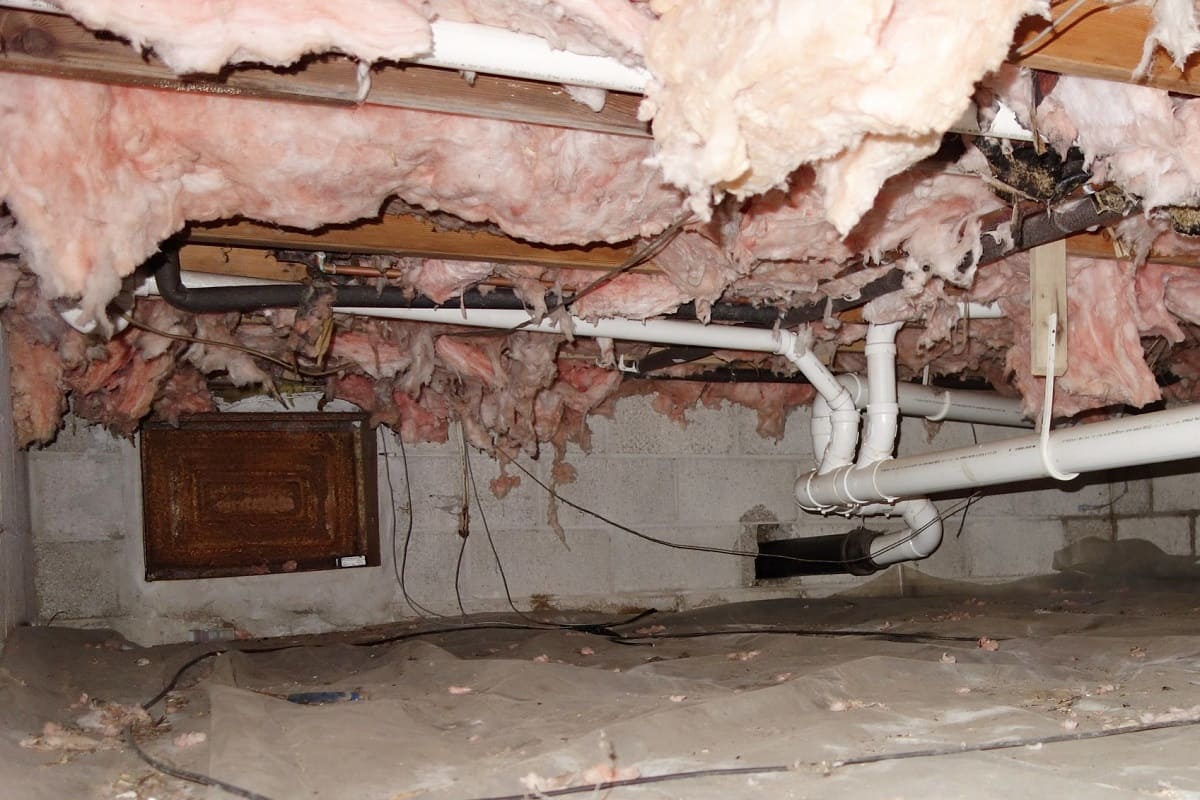
Start by inspecting the crawl space for any signs of moisture, such as water stains, musty odors, or mold growth. These are indications that there may be moisture-related issues that need to be addressed before proceeding with insulation.
Next, check for any existing insulation in the floor joists. If there is insulation present, assess its condition and effectiveness. Over time, insulation can become damaged, displaced, or deteriorated, reducing its ability to provide adequate thermal resistance.
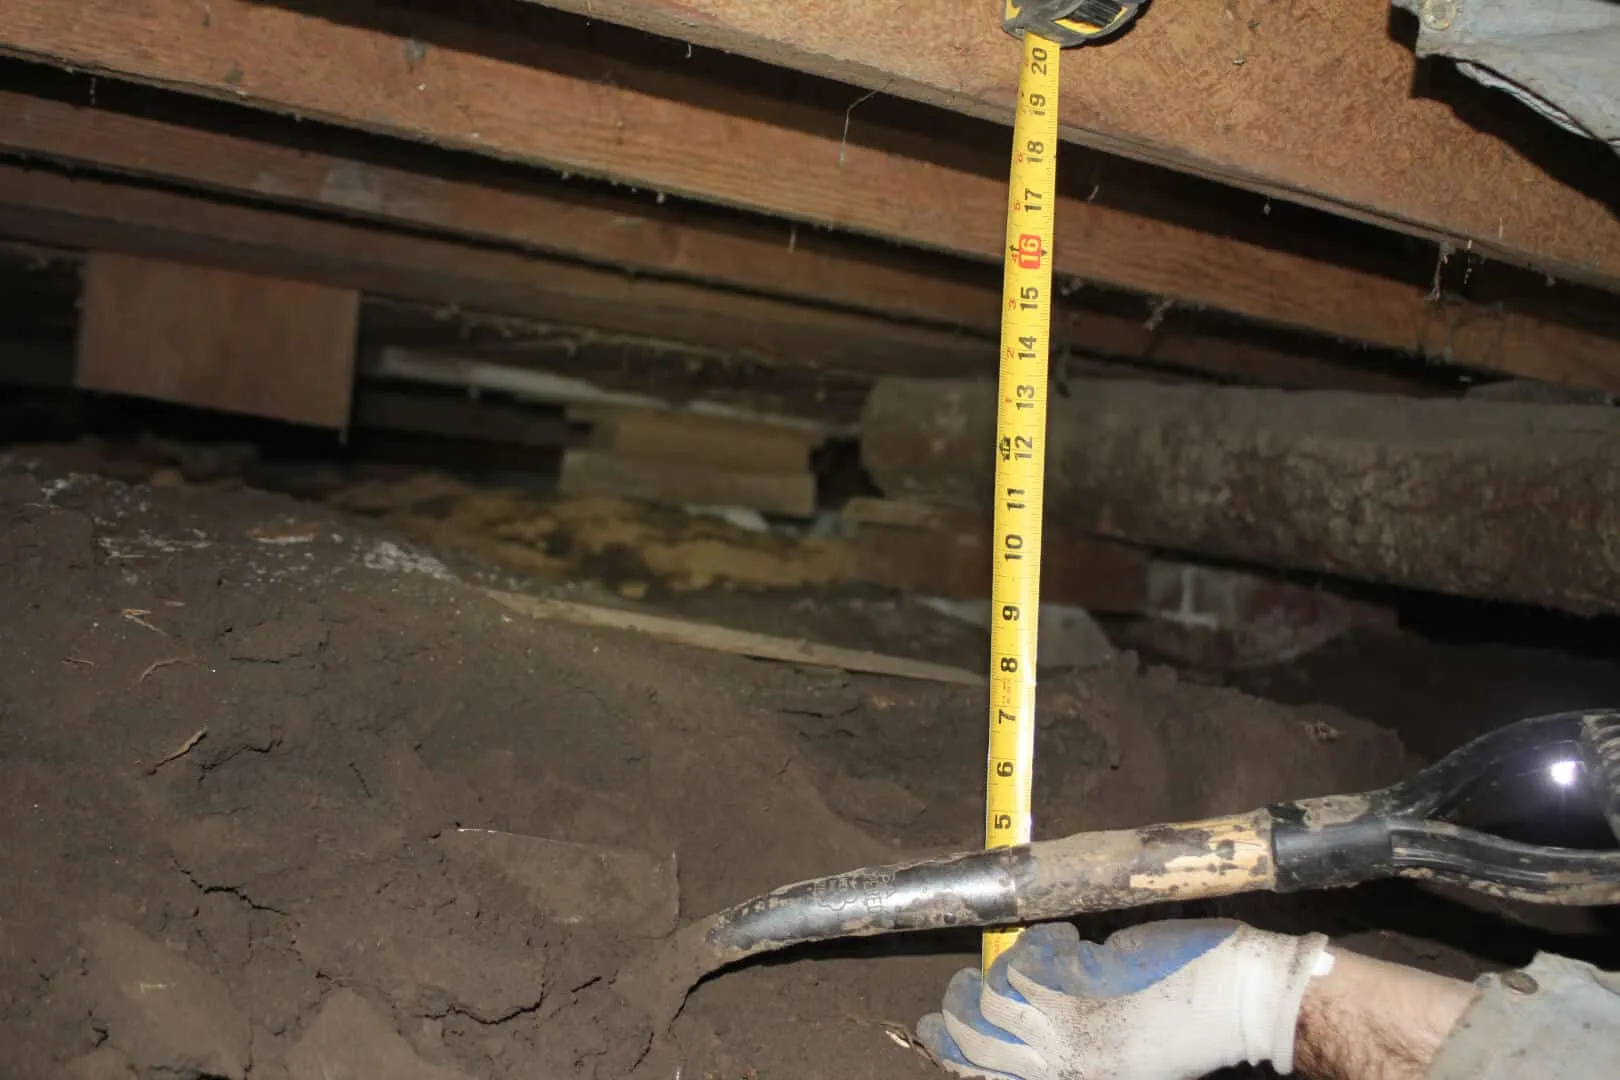
Measure the height and depth of the crawl space to determine the available clearance for insulation. This will help you select the appropriate insulation material and ensure that it fits within the space without causing any obstructions.
During the assessment, it’s also important to check for any air leaks, gaps, or cracks in the crawl space. These can allow outside air to enter and affect the insulation’s performance. Seal any noticeable openings using caulking or spray foam insulation to create an airtight barrier.
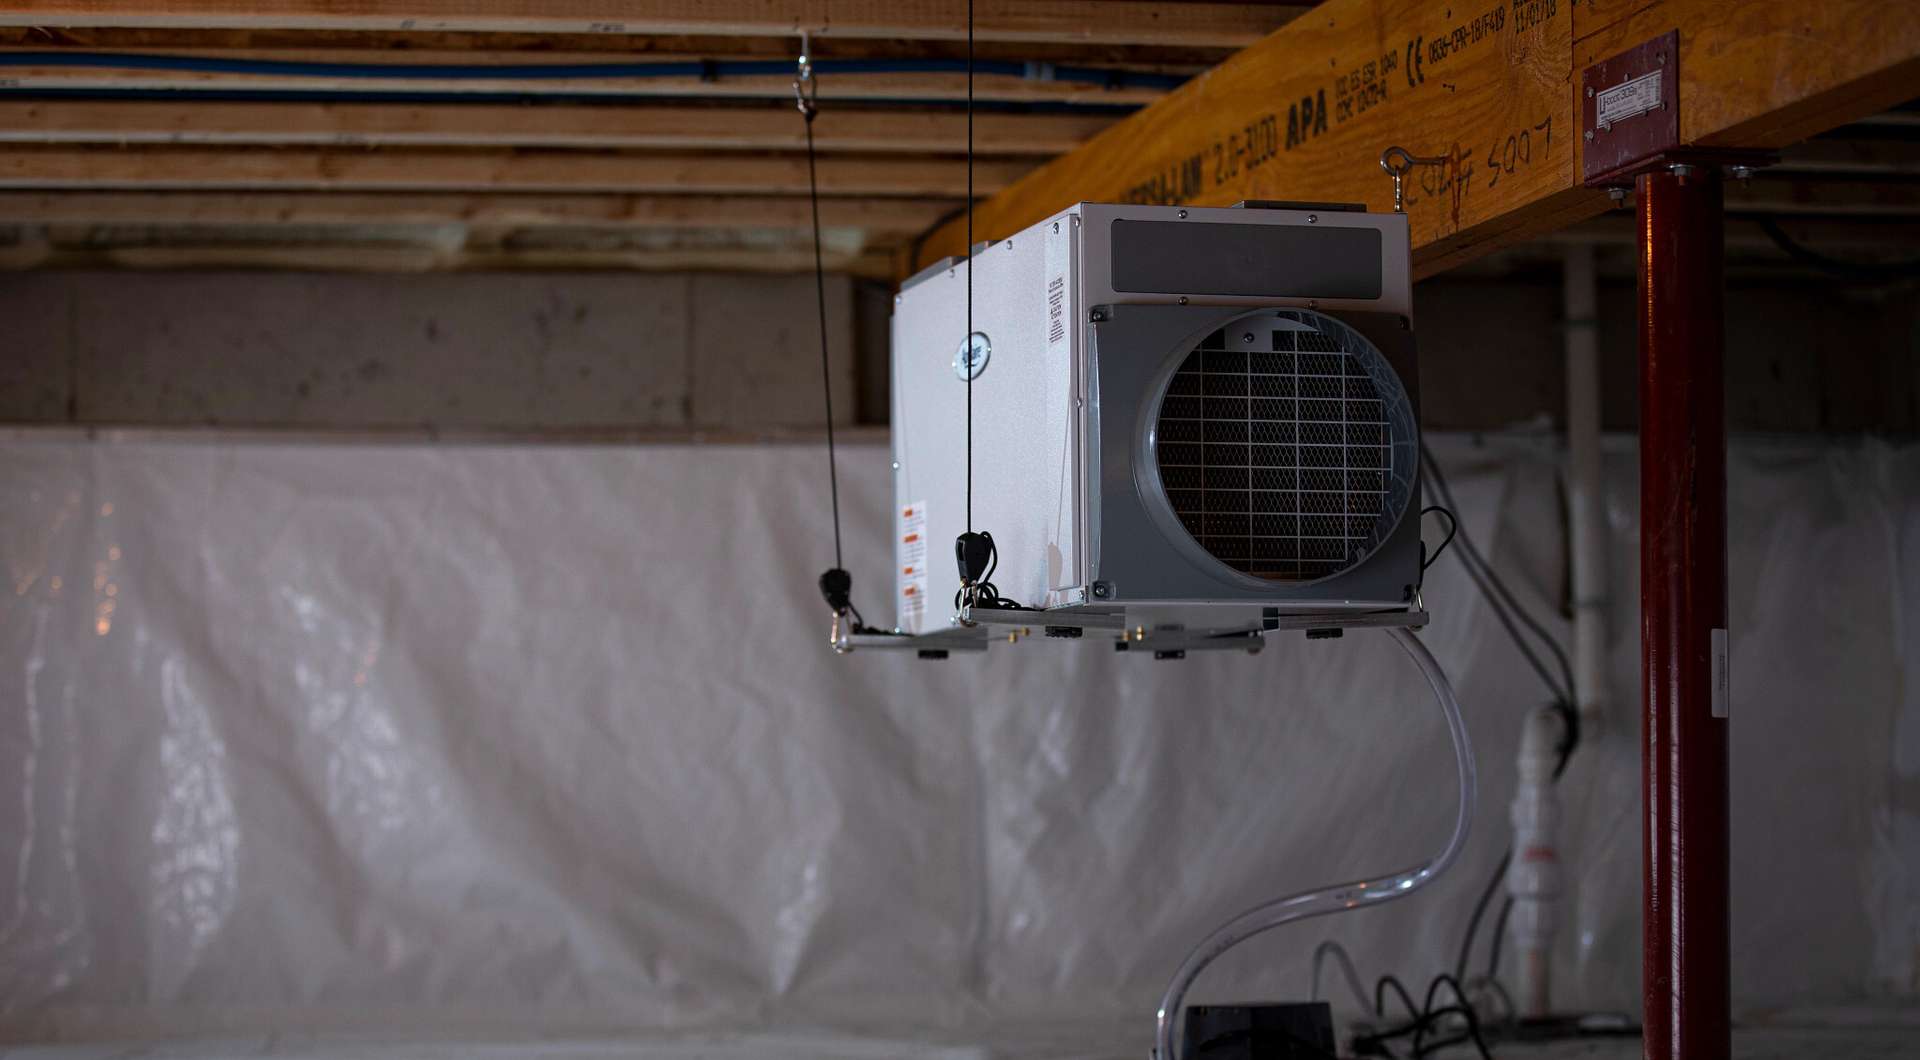
If the crawl space has moisture issues or structural problems, it’s recommended to address those before proceeding with insulation. This may involve repairing any leaks, installing a sump pump or dehumidifier, or reinforcing weak or damaged supports.
By thoroughly assessing the crawl space, you’ll have a clear understanding of its current condition and any necessary repairs or improvements that should be made prior to insulating the floor. This preparation will help ensure the success and longevity of the insulation.
Once you’ve completed the assessment, you’re ready to move on to step two: cleaning and preparing the crawl space.
Step 2: Clean and Prepare the Crawl Space
Now that you’ve assessed the condition of the crawl space, it’s time to clean and prepare the area before installing the insulation. A clean and well-prepared crawl space sets the foundation for a successful insulation project.
Start by removing any debris or objects that may be present in the crawl space. This includes old insulation, loose dirt, rocks, and any other items that might obstruct the installation process. Use a broom, dustpan, or vacuum cleaner to thoroughly clean the area.
If there is excessive moisture or standing water in the crawl space, address the issue before proceeding. Moisture can lead to mold growth and compromise the effectiveness of the insulation. Consider installing a vapor barrier or improving drainage to keep the crawl space dry.
Inspect the crawl space for any signs of pests or insects. If you notice any infestations, it’s crucial to address them before installing the insulation. Consult with a pest control professional to eliminate any pests and take preventative measures to avoid future problems.
Next, check the condition of the crawl space vents. Make sure they are functioning properly and not obstructed by debris or vegetation. Good ventilation is essential for preventing excessive moisture buildup and maintaining optimal air quality within the crawl space.
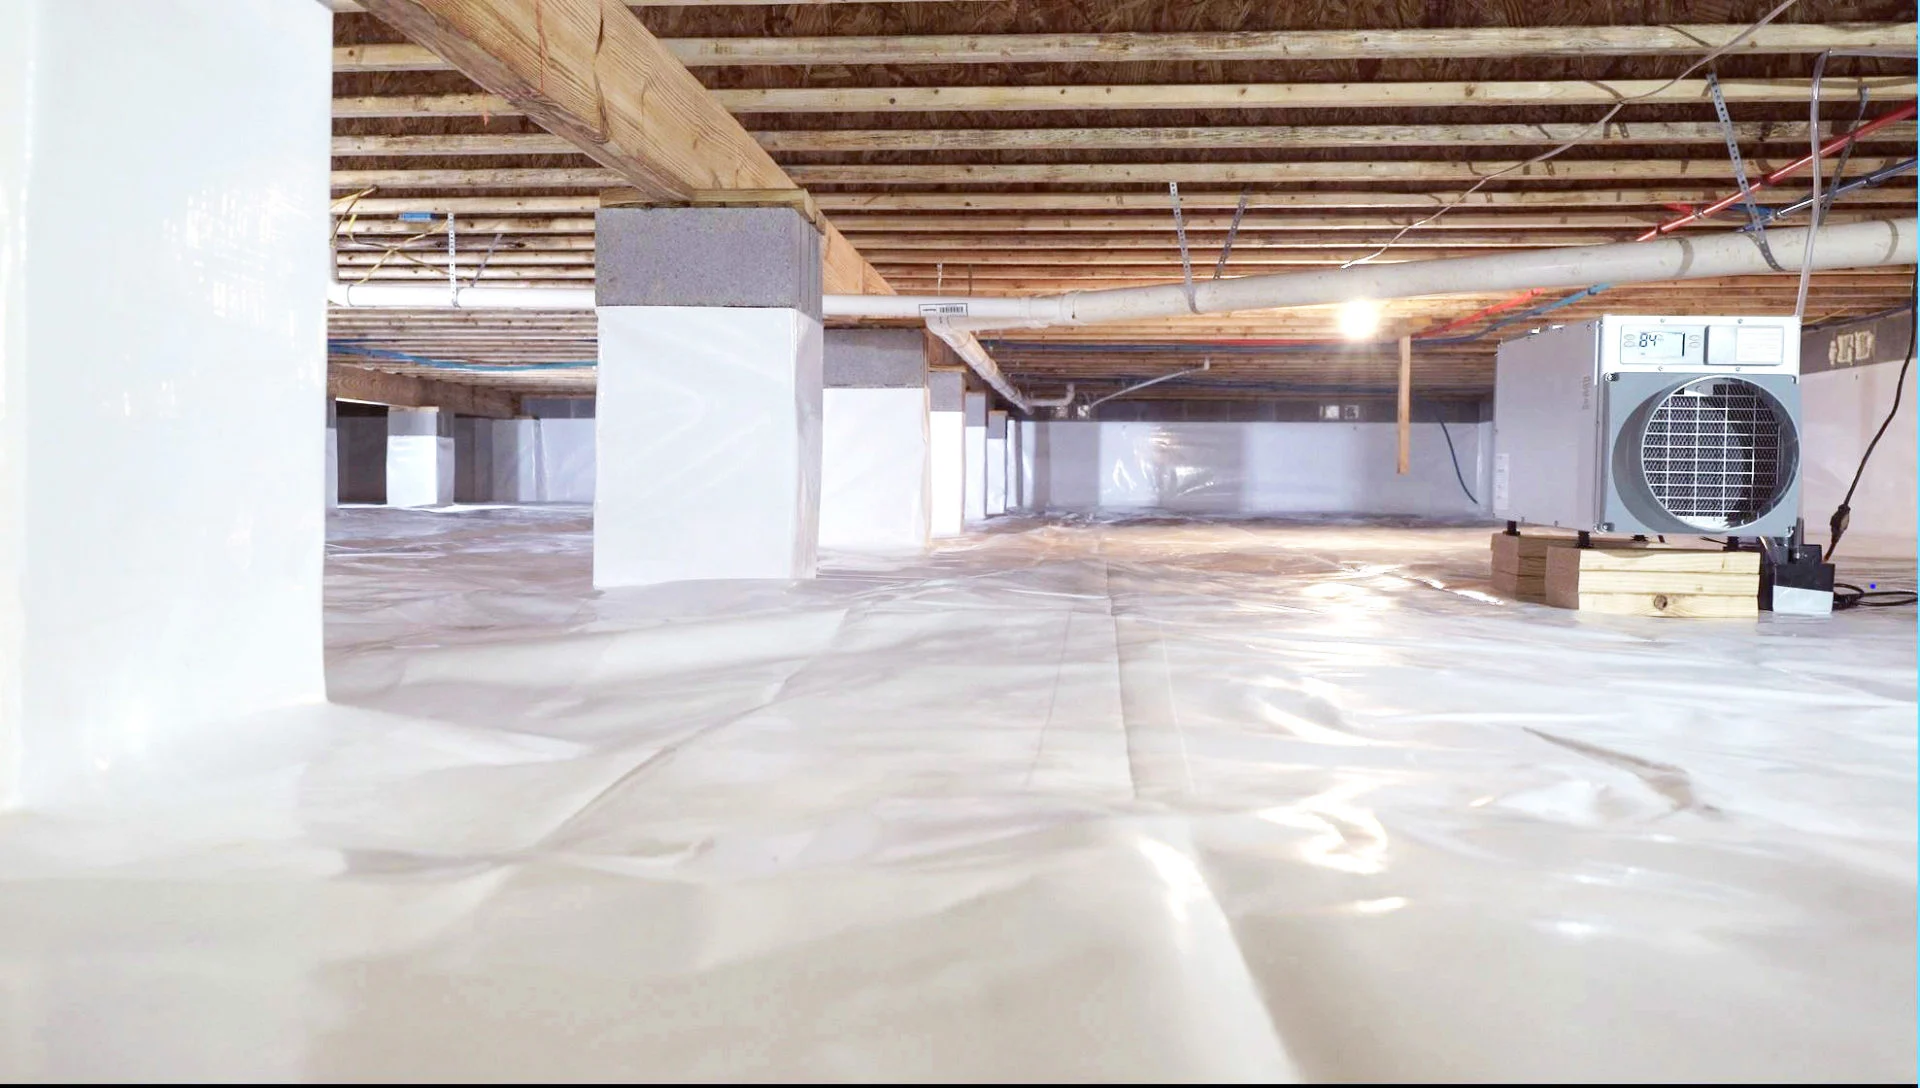
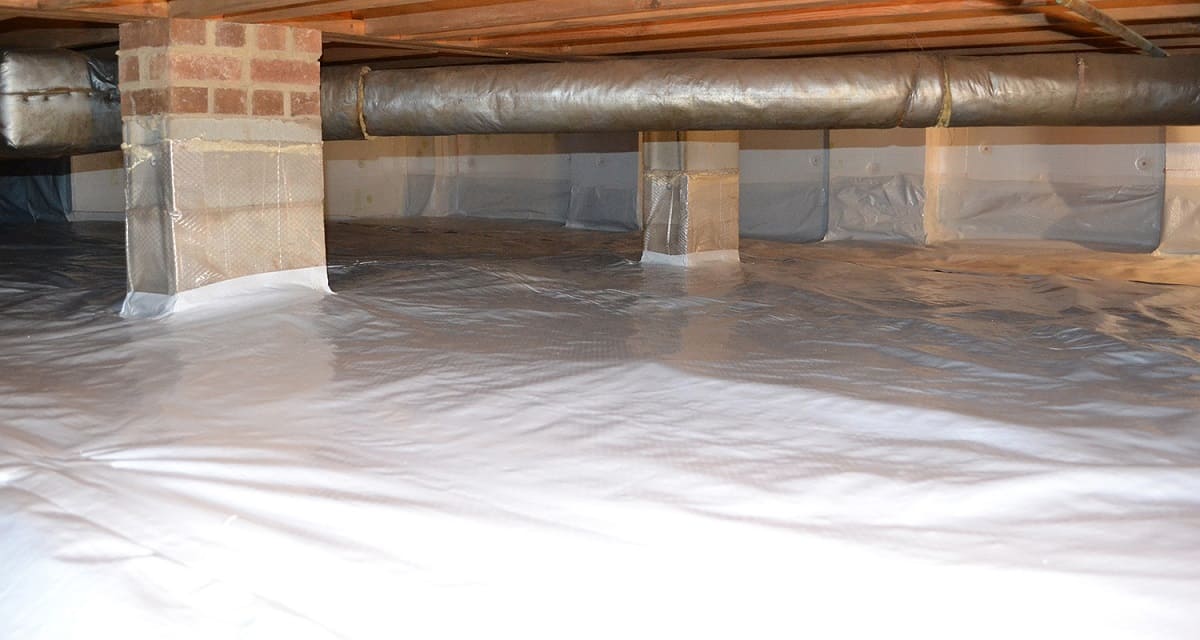
Additionally, consider installing a vapor barrier on the crawl space floor if you haven’t done so already. A vapor barrier helps prevent moisture from seeping through the soil and into the crawl space, protecting the insulation and the structural integrity of the floor above.
Once the crawl space is cleaned and prepared, you’re ready to move on to the next step: installing the vapor barrier. This crucial step will ensure that moisture is effectively controlled and prevented from damaging the insulation and the overall integrity of the floor system.
So let’s proceed to step three: installing the vapor barrier.
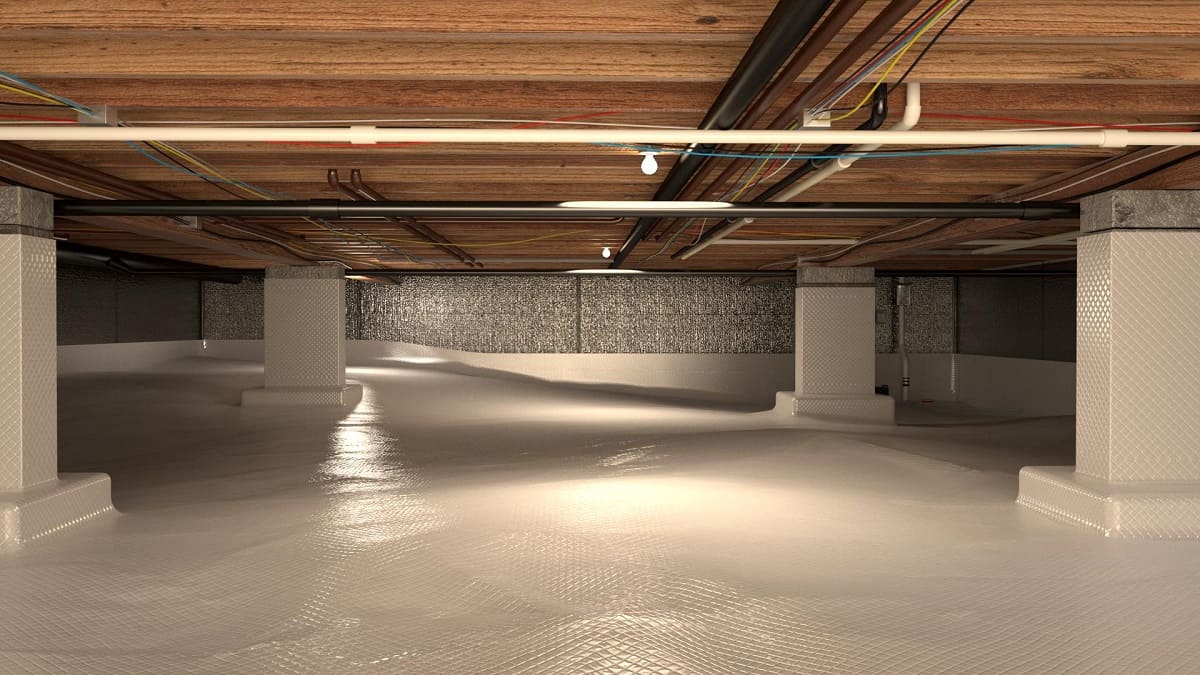
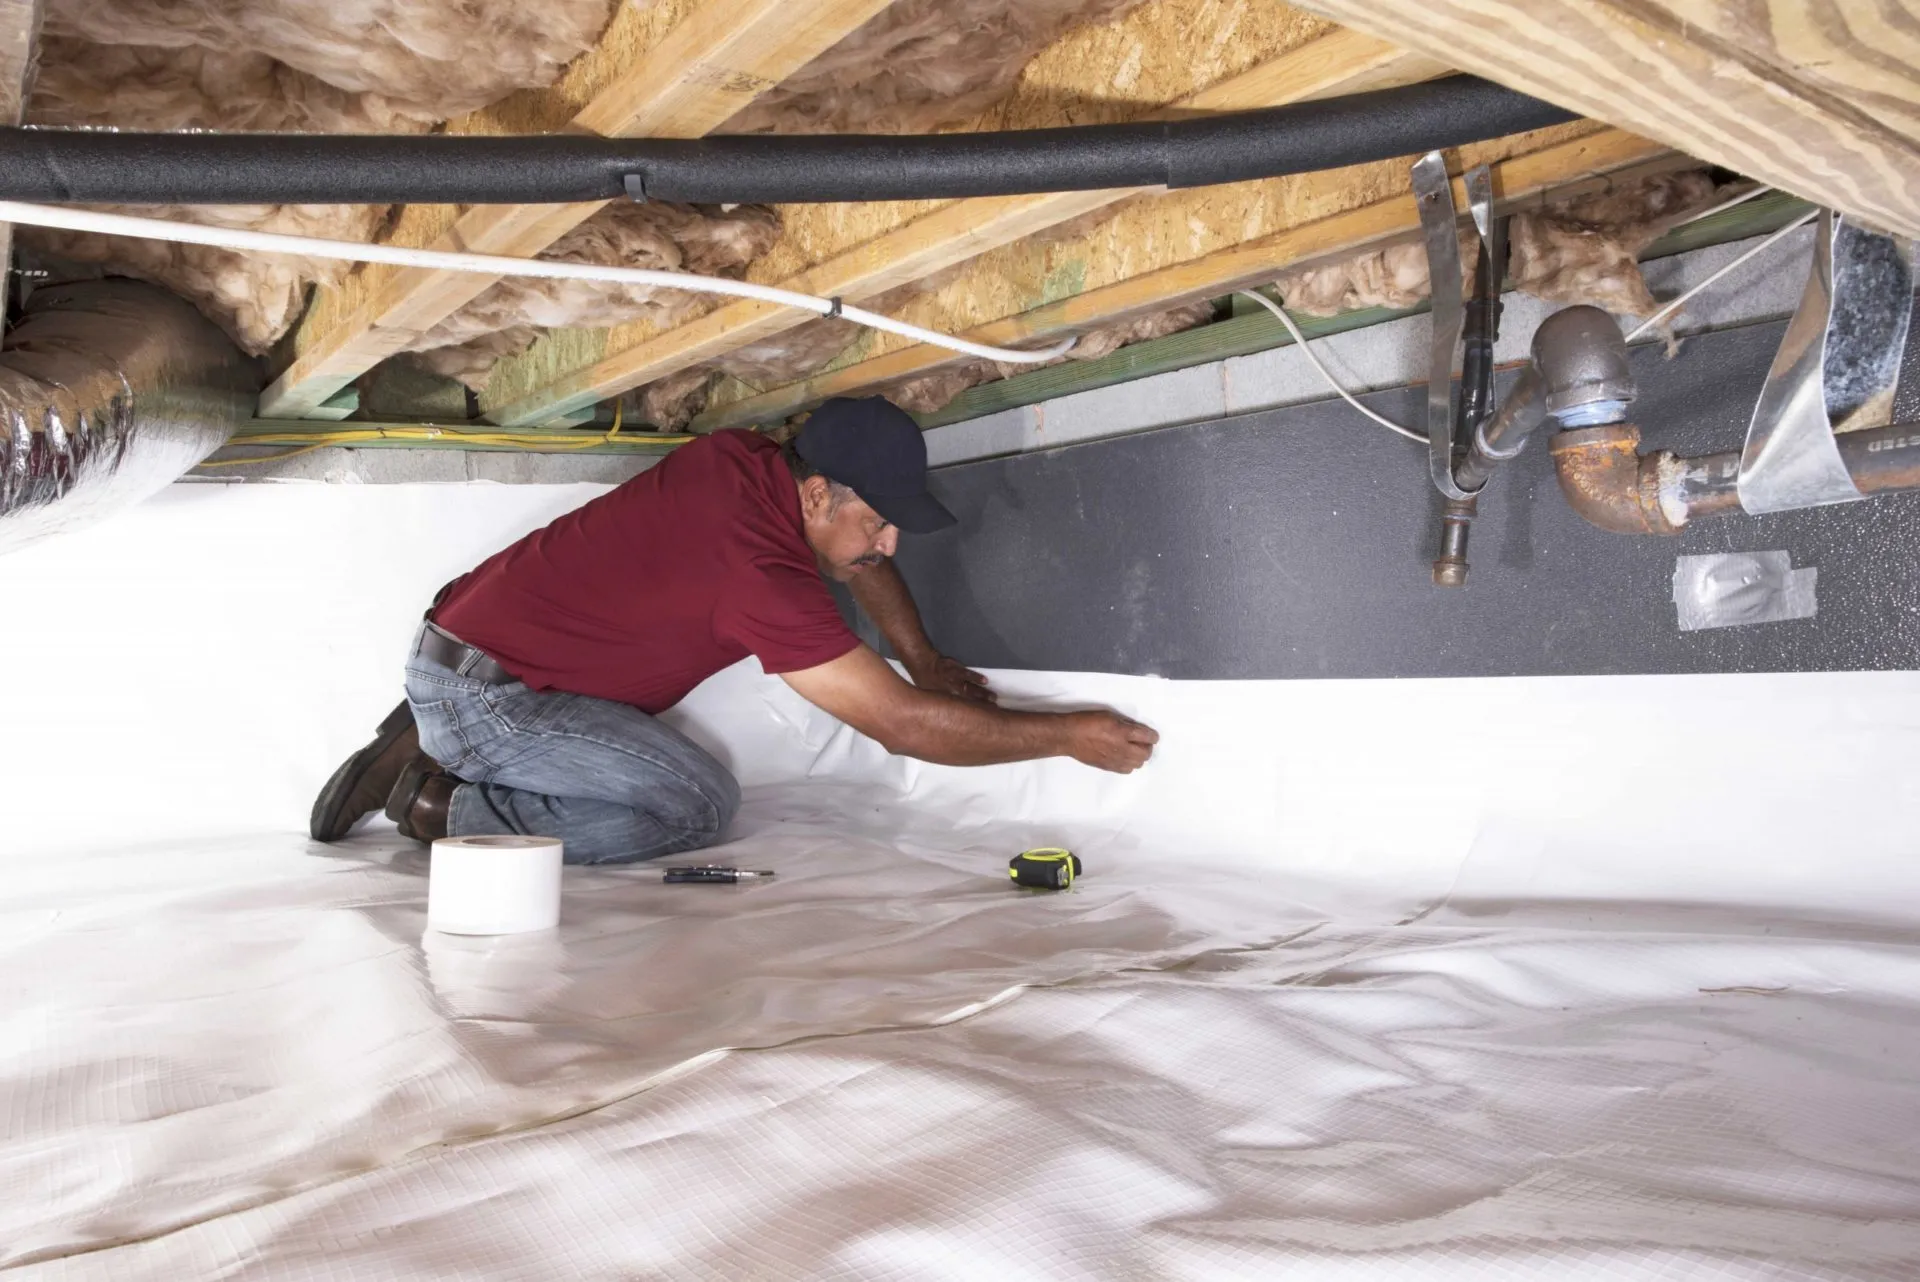
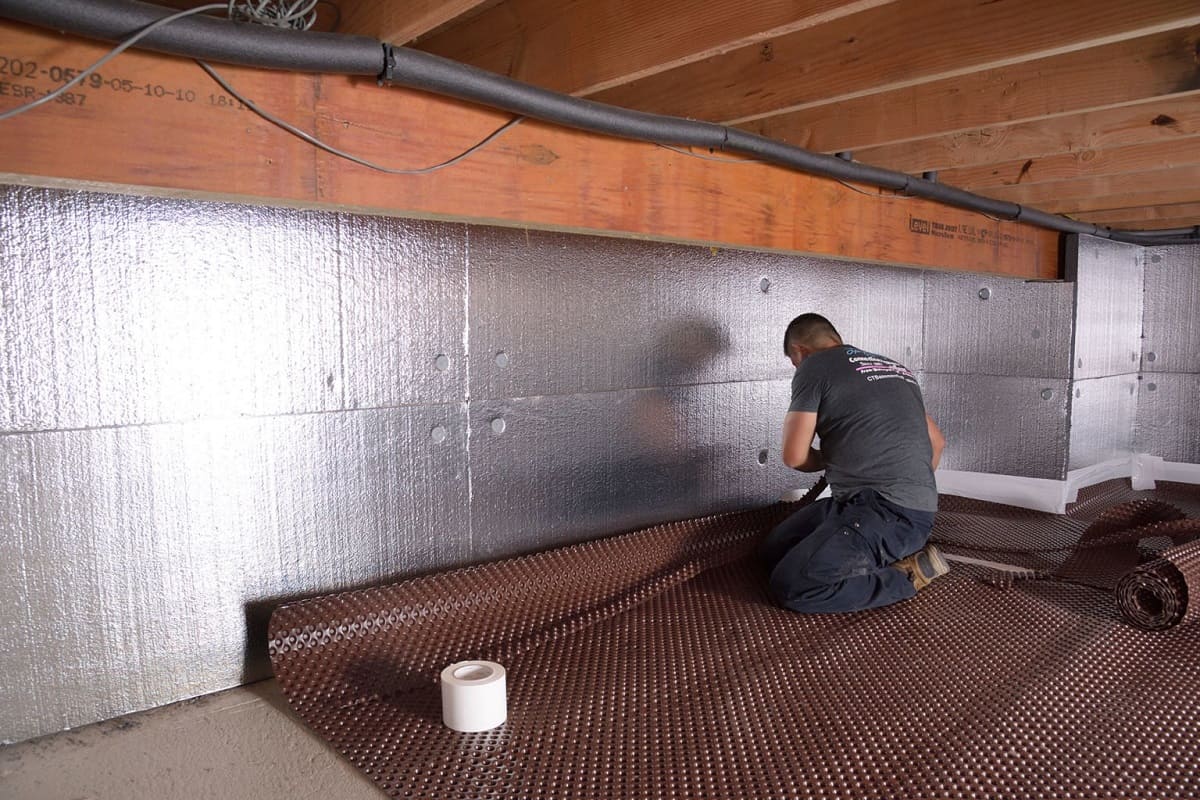
Step 3: Install the Vapor Barrier
Installing a vapor barrier is an essential step in insulating a floor over a crawl space. A vapor barrier acts as a protective layer that prevents moisture from seeping into the crawl space and compromising the effectiveness of the insulation. Here’s how to install a vapor barrier:
- Measure the area: Start by measuring the dimensions of the crawl space floor. This will help you determine the size and amount of vapor barrier material you will need.
- Clean the crawl space floor: Before laying the vapor barrier, ensure that the crawl space floor is clean and free of debris. Sweep or vacuum the area to remove any dirt or dust.
- Choose the vapor barrier material: Select a suitable vapor barrier material for your crawl space. Common options include polyethylene sheets or vapor barrier rolls. Make sure the material is durable, moisture-resistant, and at least 6 mils thick.
- Cut the vapor barrier: Using the measurements you took earlier, cut the vapor barrier material into appropriately sized pieces that will cover the entire crawl space floor. Leave some excess material around the edges to allow for overlapping and securing.
- Lay the vapor barrier: Starting from one end of the crawl space, carefully lay the vapor barrier material on the floor. Ensure that it covers the entire area, overlapping the edges and any seams by at least 6 inches. Use heavy-duty tape or a specialized vapor barrier seaming tape to secure the overlaps and seams.
- Secure the vapor barrier: Prevent the vapor barrier from shifting or moving by securing it to the crawl space walls and supports. You can use fasteners, such as staples or construction adhesive, to attach the vapor barrier to the walls. Make sure it is taut and properly attached.
- Seal the edges: To create an airtight seal, use caulk or spray foam insulation to seal any gaps or openings along the edges of the crawl space floor. This will further prevent moisture from entering the crawl space.
Installing a vapor barrier is a crucial step in preventing moisture-related issues and ensuring the effectiveness of the insulation. Once the vapor barrier is securely in place, you can move on to step four: insulating the floor joists.
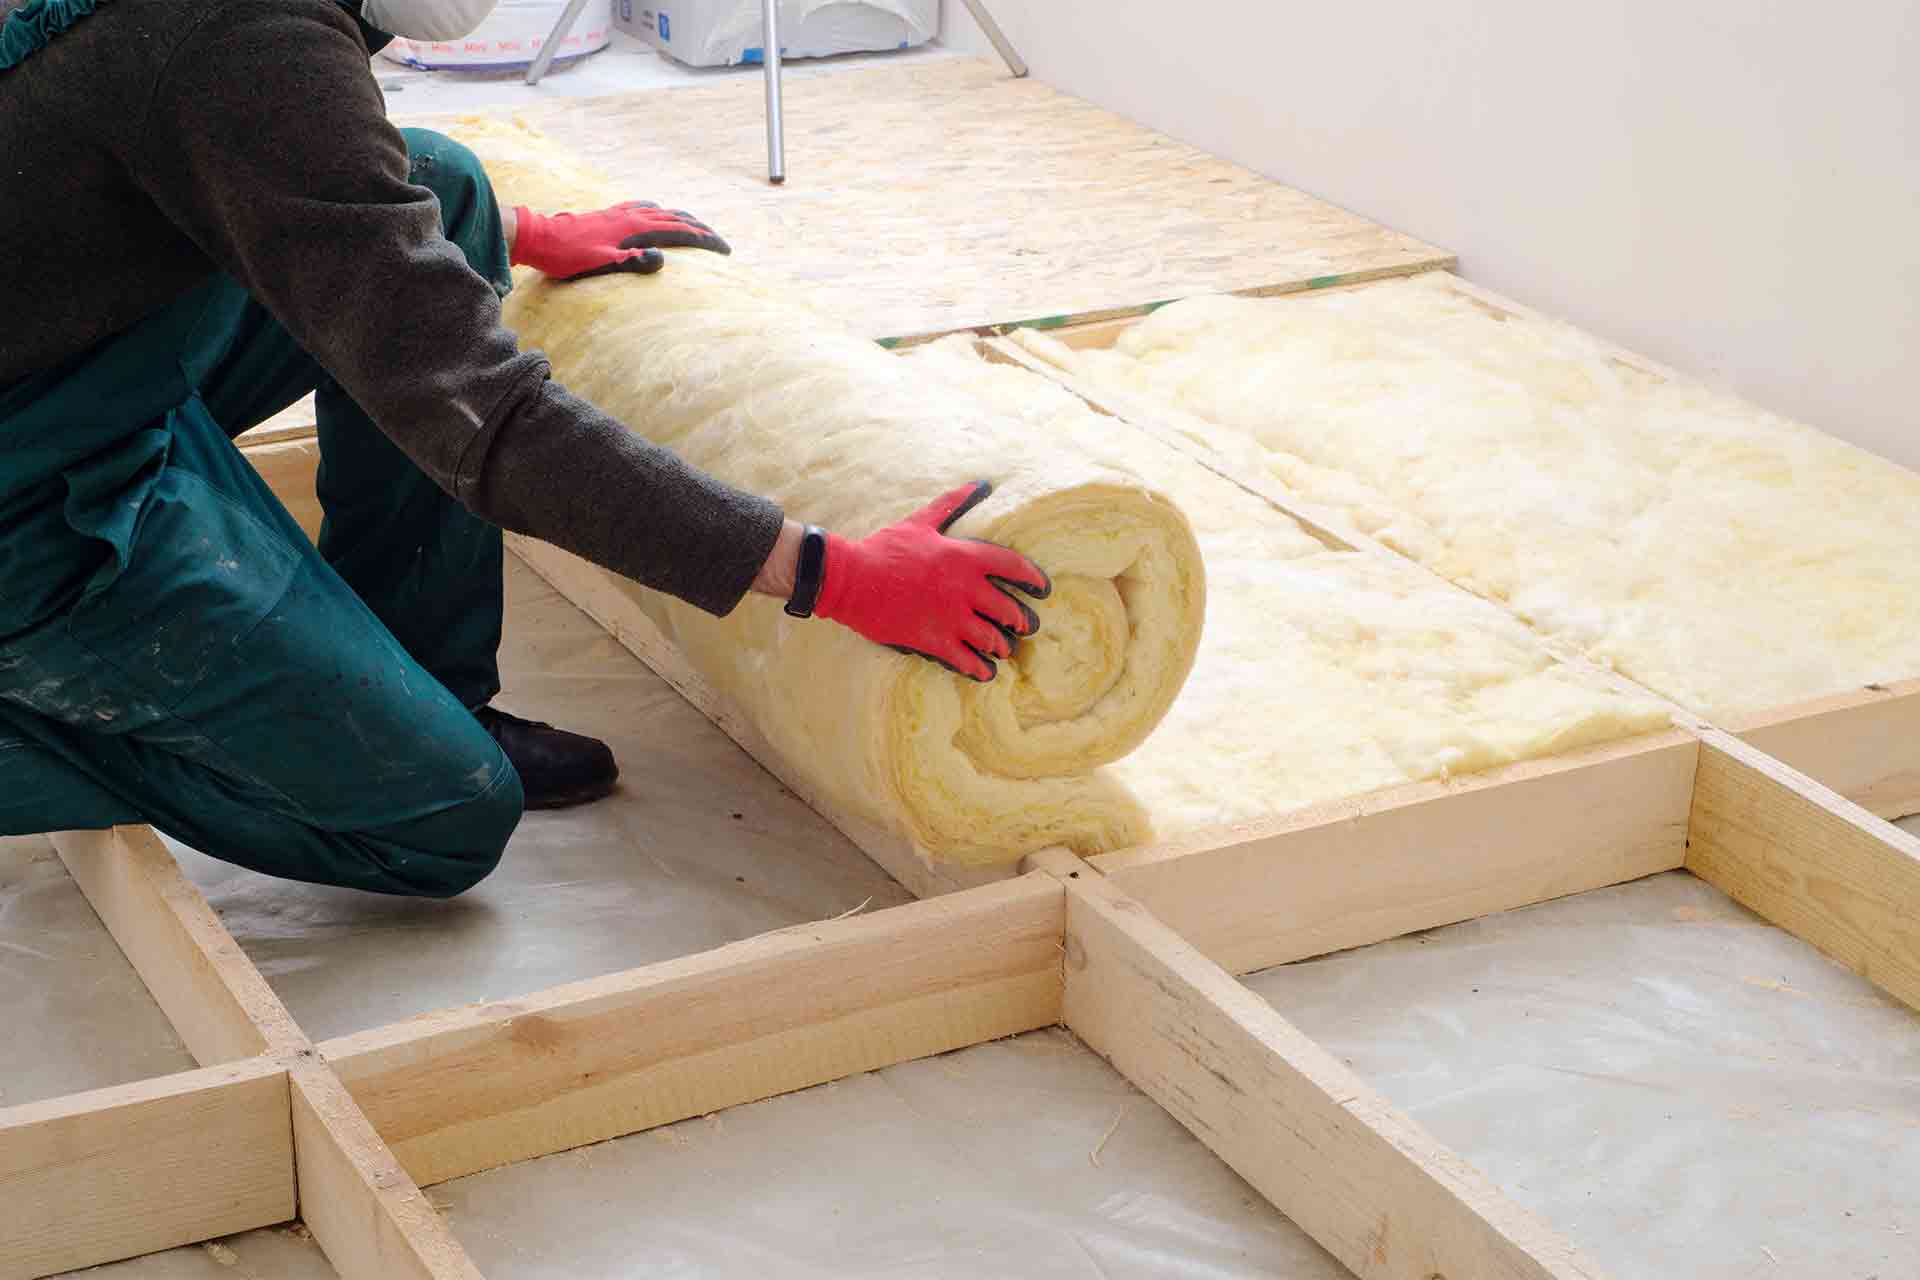
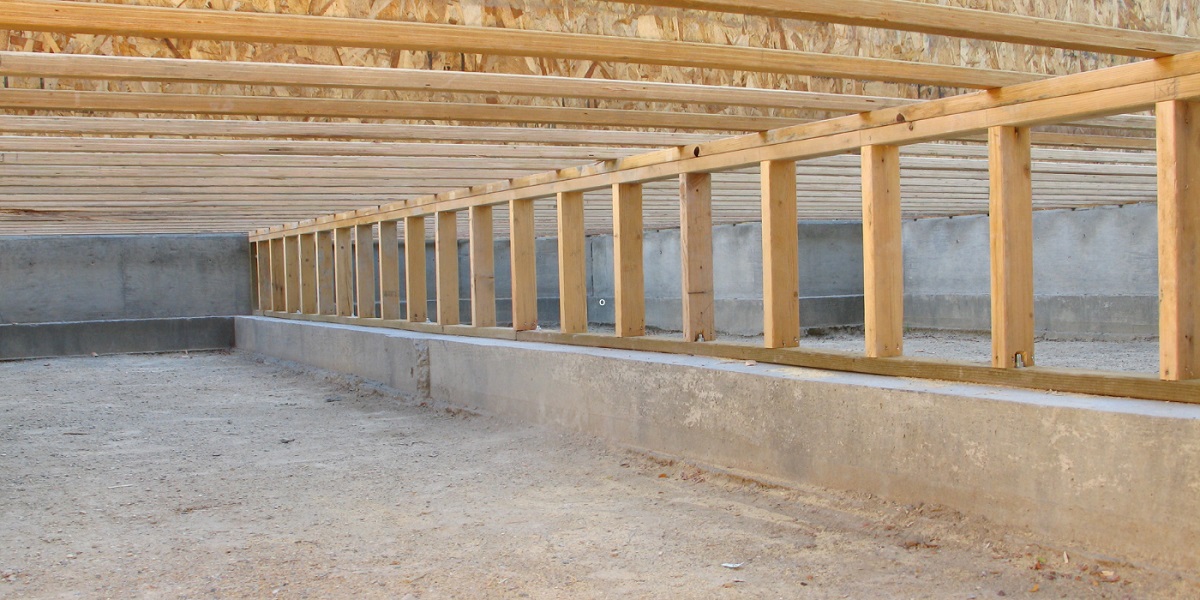
Step 4: Insulate the Floor Joists
Insulating the floor joists is an important step in creating a well-insulated floor over a crawl space. By insulating the floor joists, you create a thermal barrier that helps maintain consistent indoor temperatures and prevents heat loss or gain. Here’s how to insulate the floor joists:
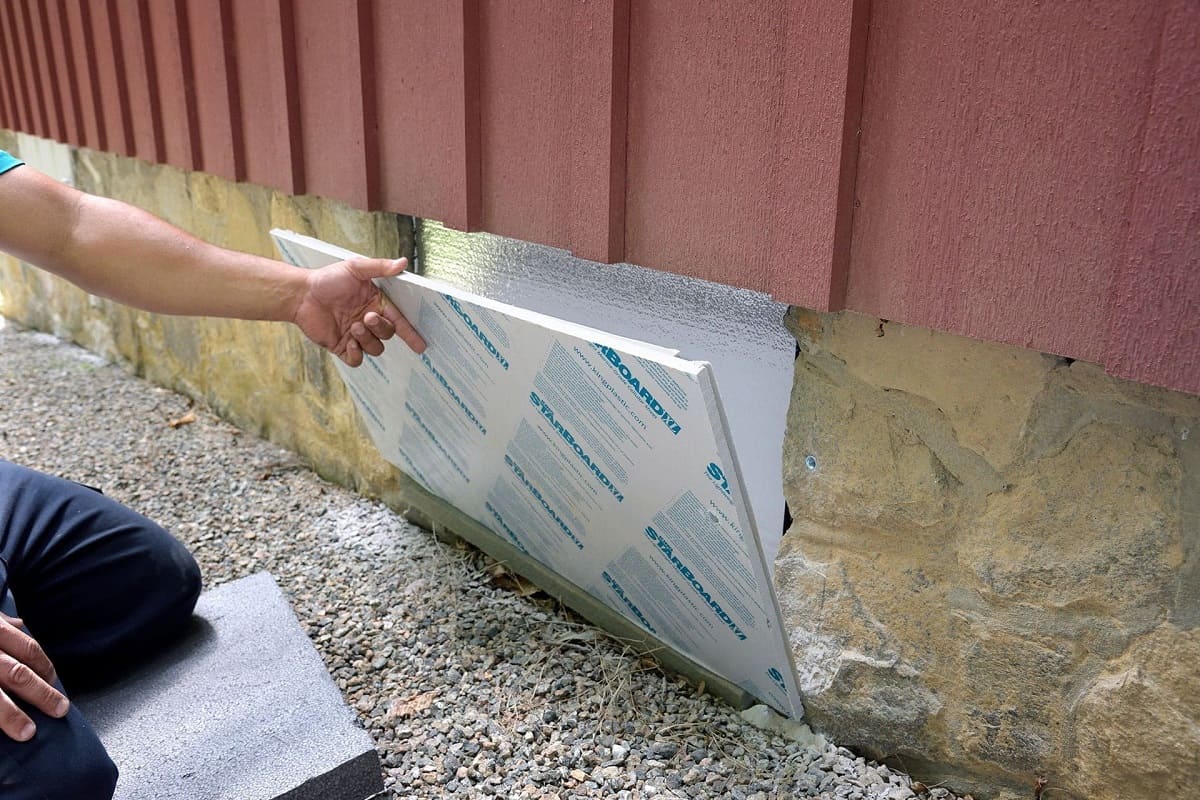
- Choose the insulation material: Select an insulation material suitable for the crawl space environment, such as fiberglass batts, rigid foam boards, or spray foam insulation. Consider factors like moisture resistance, R-value, and ease of installation.
- Measure and cut the insulation: Measure the length between each floor joist bay and cut the insulation material accordingly. It’s important to ensure a snug fit without any gaps or compression.
- Fit the insulation into the joist bays: Place the insulation into each floor joist bay, ensuring it is positioned tightly against the subfloor above. Use insulation supports or wire hangers to hold the insulation in place if needed.
- Seal any gaps or openings: Inspect the insulation installation for any gaps or openings. Use caulk or spray foam insulation to seal around the edges, corners, and any areas where air might leak through.
- Protect the insulation: Depending on the insulation material used, you may need to add a protective layer to prevent damage. For fiberglass batts, you can install a vapor retarder or face the insulation with a suitable material. For spray foam insulation, follow the manufacturer’s instructions for proper protection.
Insulating the floor joists helps prevent heat transfer between the crawl space and the living area. It creates a barrier that keeps your home comfortable and energy-efficient. Once the floor joists are insulated, you can proceed to step five: sealing air leaks and gaps.
Consider using rigid foam insulation board to insulate the floor over a crawl space. It’s easy to install and provides a good barrier against moisture and drafts.
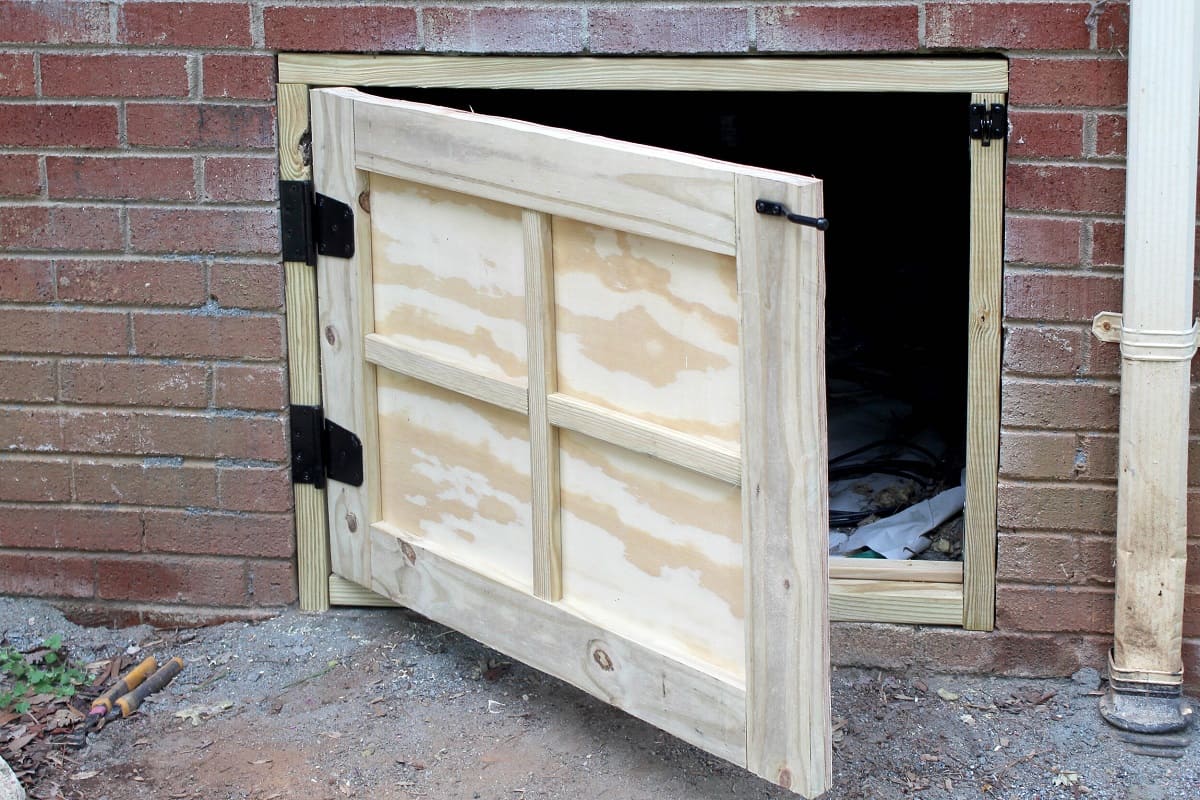
Read more: How To Insulate A Crawl Space Door
Step 5: Seal Air Leaks and Gaps
Sealing air leaks and gaps in the crawl space is a crucial step in ensuring the effectiveness of the insulation and preventing energy loss. Unsealed air leaks can lead to drafts, temperature fluctuations, and increased energy consumption. Here’s how to seal air leaks and gaps in the crawl space:
- Inspect the crawl space: Thoroughly examine the crawl space for any visible cracks, gaps, or openings. Pay close attention to areas where pipes, wires, ducts, or cables enter or exit the crawl space.
- Seal small cracks and gaps: Use an appropriate sealant, such as silicone caulk or expanding spray foam insulation, to seal small cracks and gaps. Apply the sealant along the edges, corners, and seams, ensuring a tight seal and preventing air infiltration.
- Seal larger openings: For larger openings, use rigid foam boards or insulation foam panels to cover and seal the area. Cut the insulation material to fit the opening and secure it in place using adhesive or nails.
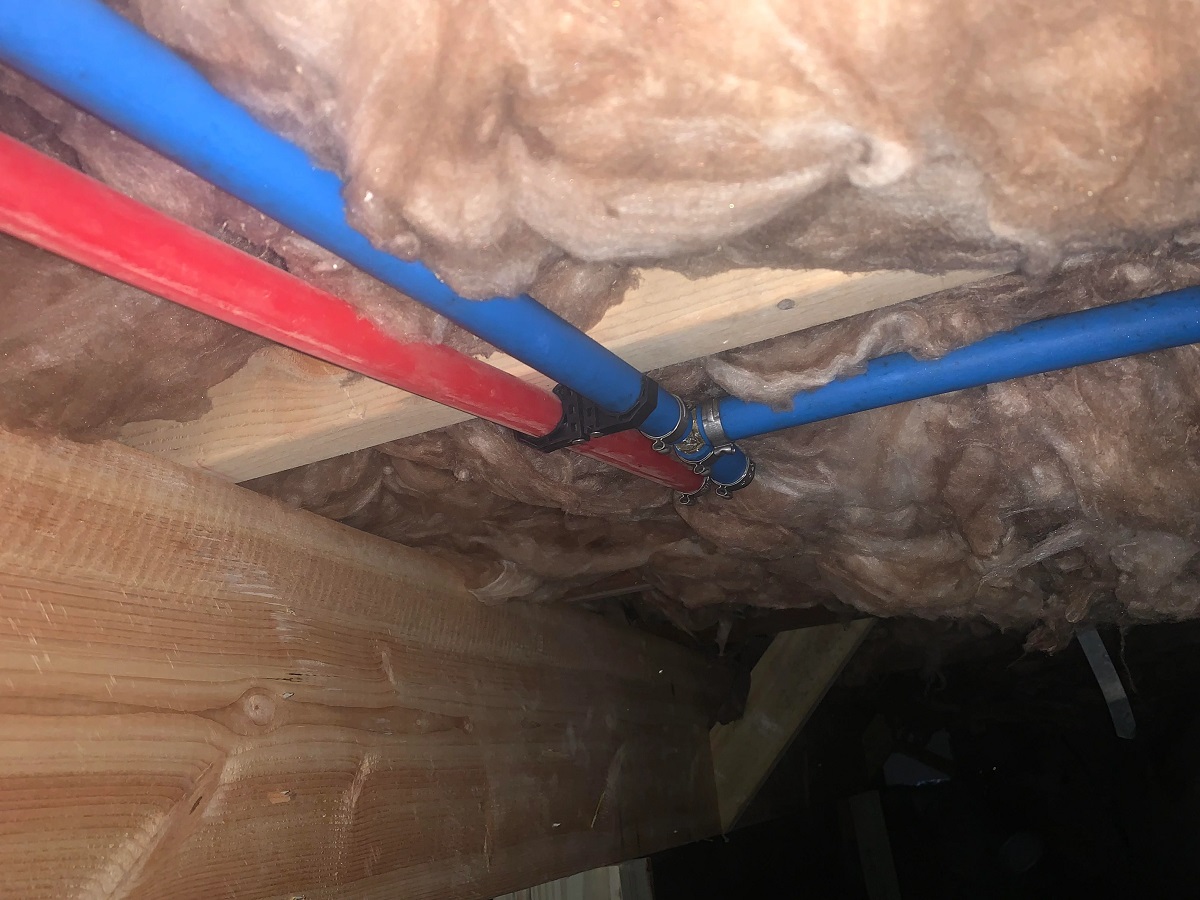
- Insulate and seal ductwork: If there are ducts running through the crawl space, it’s essential to insulate them and seal any leaks. Insulate the ducts using insulation sleeves or wrap, and seal any gaps or joints using metal tape or mastic sealant.
- Inspect and seal crawl space vents: Check the crawl space vents for any gaps or openings. Seal them using foam board cut to fit the vent openings or using weatherstripping foam tape.
- Install door sweeps: If there is an access door to the crawl space, install a door sweep to prevent air leakage under the door. This helps maintain an airtight barrier between the crawl space and the rest of the house.
- Monitor and reseal as needed: Regularly inspect the crawl space for any signs of new air leaks or gaps. Reseal any areas that require attention to ensure an effective and long-lasting seal.
By diligently sealing air leaks and gaps, you can enhance the energy efficiency of your home, improve indoor air quality, and maximize the benefits of insulating the floor over the crawl space. Once the air leaks and gaps are sealed, you can proceed to step six: installing a subfloor.
Step 6: Install a Subfloor
Installing a subfloor over the insulated floor joists in your crawl space helps create a sturdy and even surface for the finished flooring. The subfloor provides additional support, enhances structural integrity, and improves the overall aesthetics of the space. Here’s how to install a subfloor:
- Measure and cut the subfloor panels: Measure the dimensions of the crawl space floor and cut the subfloor panels accordingly. Use a circular saw or a suitable cutting tool to ensure clean and precise cuts.
- Position the subfloor panels: Begin by positioning the first subfloor panel against one corner of the crawl space. Ensure it is aligned straight and flush with the adjacent walls or floor joists.
- Secure the subfloor panels: Use a drill and screws to secure the subfloor panels to the floor joists. Place the screws about every 8 to 10 inches along the edges and approximately 12 inches apart in the field of the panel.
- Leave expansion gaps: To allow for natural expansion and contraction of the subfloor, leave small gaps between each panel. These gaps should be approximately 1/8 inch to 1/4 inch wide.
- Stagger the subfloor panels: For added stability, stagger the subfloor panels so that the seams do not align. This helps distribute weight evenly and prevent weak spots.
- Continue installing subfloor panels: Repeat the process of positioning, securing, and staggering the subfloor panels until the entire crawl space floor is covered.
- Seal the subfloor: Once the subfloor is installed, inspect for any visible gaps or seams between the panels. Use a suitable subfloor adhesive or sealant to fill and seal these gaps, ensuring a smooth and sealed surface.
Installing a subfloor provides a solid foundation for the final flooring materials, such as hardwood, laminate, or tile. It adds durability, improves acoustics, and enhances the overall comfort of the space. Once the subfloor is installed, you can proceed to the final step: finishing the floor.
Step 7: Finish the Floor
Finishing the floor over your newly installed subfloor in the crawl space is the final step in insulating the floor and transforming the space into a comfortable and functional area. The finishing process involves installing the desired flooring materials and adding any necessary finishing touches. Here’s how to finish the floor:
- Select the flooring material: Choose the appropriate flooring material based on your preferences, budget, and the specific requirements of the crawl space. Popular options include hardwood, laminate, vinyl, or tile.
- Prepare the flooring material: Follow the manufacturer’s instructions to prepare the flooring material for installation. This may involve acclimating the materials to the crawl space’s temperature and humidity, cutting them to size, or applying any necessary adhesives or underlayment.
- Install the flooring: Start in one corner of the crawl space and begin installing the flooring material according to the manufacturer’s guidelines. Depending on the type of flooring, this may involve interlocking the pieces, gluing them down, or using a suitable method of installation.
- Ensure proper spacing: Leave a small expansion gap along the edges of the flooring material to allow for seasonal changes in temperature and humidity. The specific gap size will vary depending on the manufacturer’s recommendations.
- Secure the flooring: Use appropriate flooring fasteners, such as nails or staples, to secure the flooring material to the subfloor. Follow the manufacturer’s guidelines for the recommended fastening method.
- Apply finishing touches: Once the flooring is installed, add any necessary finishing touches, such as baseboards or trim, to complete the look of the crawl space floor. This helps conceal the edges and give the space a polished appearance.
- Clean and maintain: After finishing the floor installation, clean the area to remove any debris or dust. Follow the manufacturer’s recommendations for ongoing maintenance, such as regular cleaning or sealing for certain flooring materials.
Completing the floor finishing process allows you to fully enjoy the insulated crawl space, creating a comfortable and inviting space within your home. By following these steps, you can achieve a beautiful and functional floor over your crawl space.
Congratulations! You’ve successfully completed all the necessary steps to insulate a floor over a crawl space. Enjoy the comfort, energy efficiency, and improved indoor environment that this project brings.
Remember, it’s always advisable to consult professional contractors or insulation experts if you’re unsure or need assistance with any step of the process.
Thank you for using our comprehensive guide, and we hope this information has been helpful in your journey to insulate your crawl space floor.
Happy insulating!
ConclusionInsulating the floor over a crawl space is a valuable investment in creating a comfortable, energy-efficient, and healthy home. By following the steps outlined in this guide, you can effectively insulate your crawl space floor and reap the benefits for years to come.
We began by emphasizing the importance of assessing the crawl space to identify any issues or repairs needed before insulation. By taking the time to clean and prepare the crawl space, you set the stage for a successful installation process.
Installing a vapor barrier is a crucial step in preventing moisture from seeping into the crawl space and compromising the insulation. By properly sealing air leaks and gaps, you enhance the effectiveness of the insulation and maintain an airtight barrier.
Insulating the floor joists provides a thermal barrier that helps maintain consistent temperatures and prevents heat loss or gain. And by installing a subfloor, you create a sturdy and even surface ready for your desired flooring material.
Finally, finishing the floor with your chosen flooring material completes the insulation process, creating a comfortable and aesthetically pleasing space.
Throughout this guide, we’ve provided step-by-step instructions and highlighted the importance of attention to detail. However, if you’re unsure or need assistance, it’s always wise to consult with professional contractors or insulation experts.
Remember, insulation is not a one-size-fits-all solution, and the specific requirements may vary depending on your crawl space, climate, and other factors. Therefore, it’s essential to tailor the insulation approach to your specific needs.
By undertaking the task of insulating the floor over your crawl space, you can enjoy benefits such as increased comfort, reduced energy consumption, lower utility bills, improved indoor air quality, and a more sustainable home.
We hope this comprehensive guide has provided you with the knowledge and confidence to successfully insulate your crawl space floor. Implement these steps, take your time, and enjoy the long-term rewards of a well-insulated and comfortable home.
Thank you for choosing our guide, and we wish you success in your insulation project!
Frequently Asked Questions about How To Insulate A Floor Over A Crawl Space
Was this page helpful?
At Storables.com, we guarantee accurate and reliable information. Our content, validated by Expert Board Contributors, is crafted following stringent Editorial Policies. We're committed to providing you with well-researched, expert-backed insights for all your informational needs.
0 thoughts on “How To Insulate A Floor Over A Crawl Space”