

Articles
How To Build Accent Chairs For Living Room
Modified: August 27, 2024
Learn how to build accent chairs for your living room with our comprehensive articles. Get step-by-step instructions and expert tips to create the perfect DIY furniture piece.
(Many of the links in this article redirect to a specific reviewed product. Your purchase of these products through affiliate links helps to generate commission for Storables.com, at no extra cost. Learn more)
Introduction
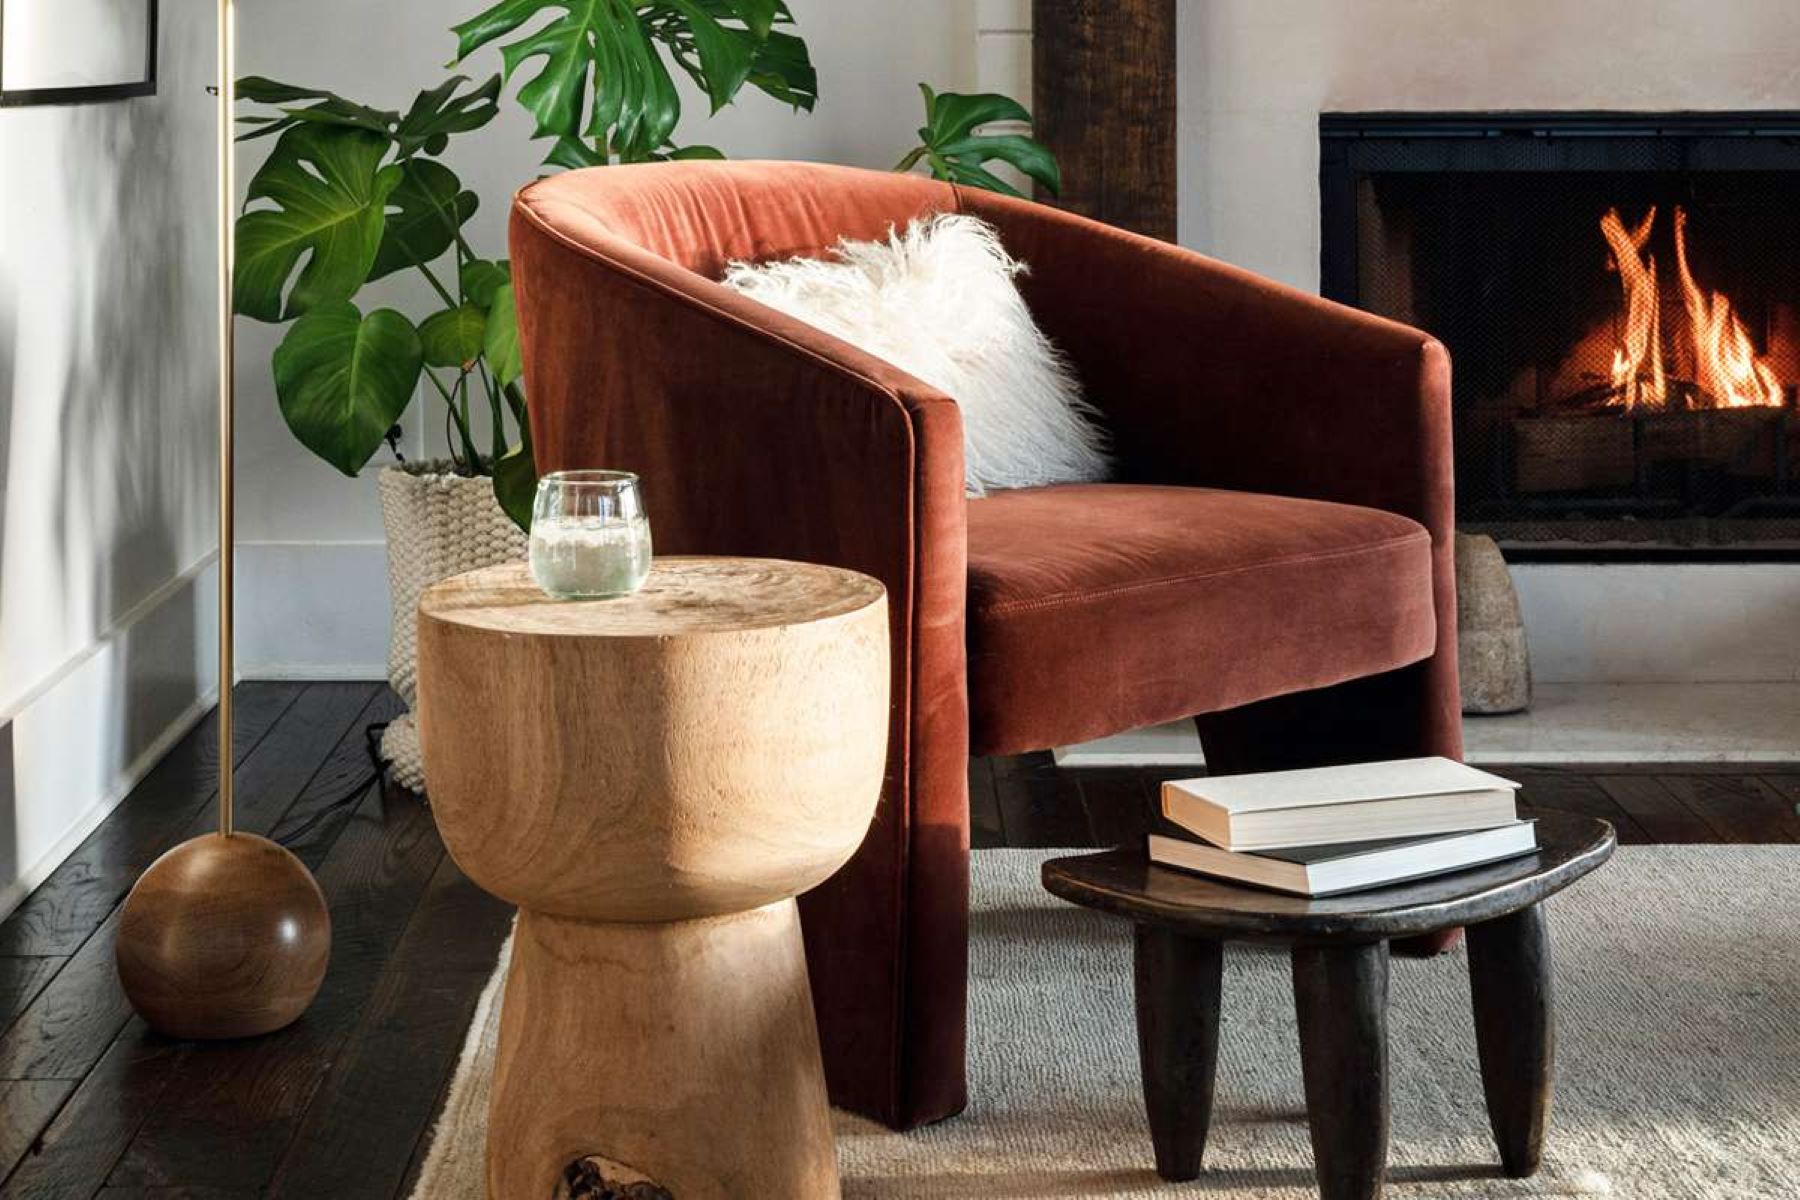
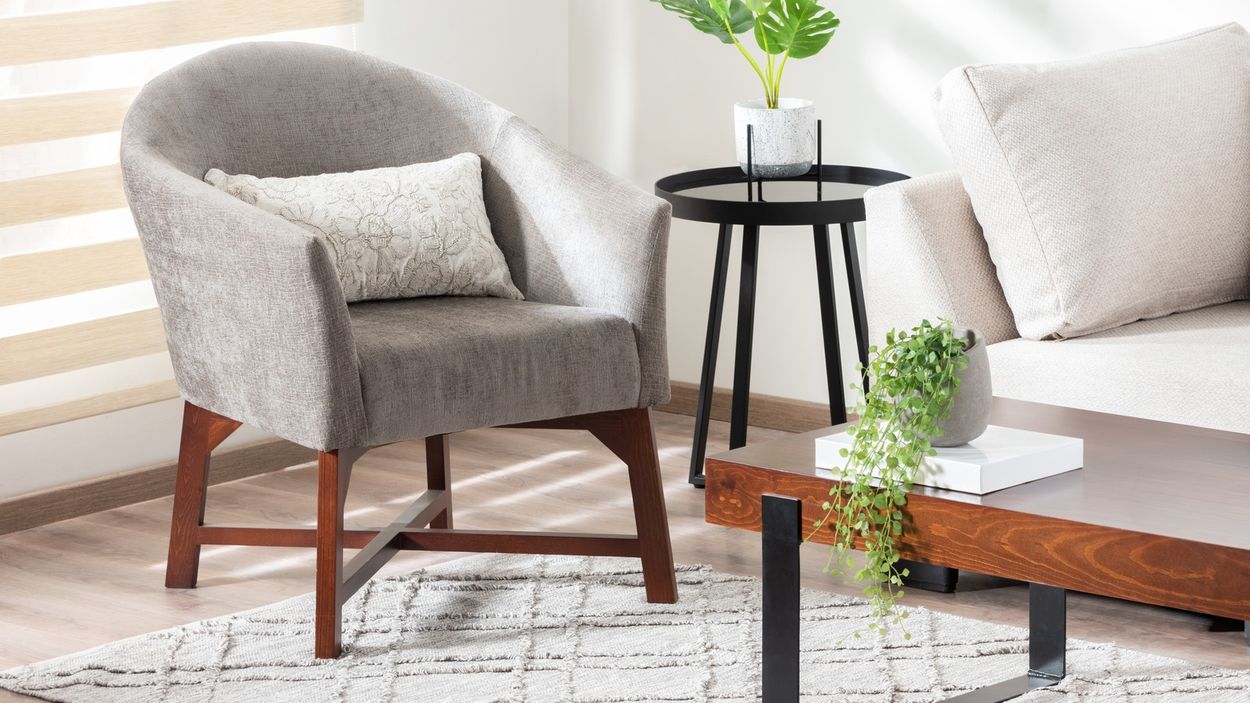
When it comes to creating a cozy and stylish living room, accent chairs are a must-have addition. These versatile pieces of furniture not only provide extra seating but also add an element of design and personality to any space. While purchasing accent chairs from a store is one option, building your own can be a rewarding and cost-effective alternative. In this guide, we will walk you through the step-by-step process of building accent chairs for your living room.
Building accent chairs allows you to customize the design, size, and materials according to your preferences. Whether you prefer a modern, minimalist look or a rustic, vintage vibe, you can create a chair that perfectly complements your existing decor. This DIY project is also a great way to showcase your woodworking skills and unleash your creativity.
Before diving into the construction process, it’s important to gather all the necessary materials and tools. Here’s a list of what you’ll need:
- Wood (preferably hardwood) for the chair frame
- Screws or nails for assembly
- Saw for cutting the wood
- Sandpaper for smoothing the surfaces
- Wood glue for extra stability
- Upholstery fabric or cushions for comfort
- Staple gun or needle and thread for attaching the fabric
- Paint or stain for finishing touches
Once you have all the necessary materials, you’re ready to embark on the journey of building accent chairs that will become the centerpiece of your living room. Follow the steps below to successfully complete your project.
Key Takeaways:
- Building your own accent chair allows for customization, creativity, and a sense of accomplishment. From gathering measurements to adding final touches, this DIY project offers a unique and personalized furniture piece for your living room.
- By following the step-by-step process, you can create a cozy and stylish accent chair that complements your living room decor. Embrace the opportunity to infuse your personal style and woodworking skills into a functional and beautiful piece of furniture.
Read more: Where To Place Accent Chairs In Living Room
Materials Needed
Before you start building accent chairs for your living room, it’s essential to gather all the materials and tools required for the project. Here’s a comprehensive list of what you’ll need:
- Wood: Select hardwood for the chair frame. It should be strong and durable to support the weight of the person sitting on it. Oak, maple, or birch are popular choices.
- Screws or Nails: Depending on your preference and the type of wood you’re using, choose either screws or nails to assemble the chair.
- Saw: You’ll need a saw to cut the wood pieces according to the measurements and design of the chair. A miter saw or circular saw will work well for this purpose.
- Sandpaper: Smooth the surfaces of the wood by using sandpaper. This will ensure a comfortable and splinter-free seating experience.
- Wood Glue: Add extra stability and strength to the chair frame by using wood glue while assembling the pieces.
- Upholstery Fabric or Cushions: If you want to add comfort to the chair, consider using upholstery fabric or cushions for the seat and backrest. Choose materials that match your desired style and complement the overall aesthetic of the room.
- Staple Gun or Needle and Thread: Secure the upholstery fabric to the chair frame by using a staple gun or needle and thread. Make sure to pull the fabric tightly for a professional finish.
- Paint or Stain: Enhance the appearance of the chair by applying paint or stain. Select a color or finish that aligns with your interior design style.
By having all these materials ready before you begin the construction process, you’ll be well-equipped to build beautiful and functional accent chairs for your living room. Make sure to gather high-quality materials to ensure the longevity of your chairs and a satisfactory end result.
Step 1: Gathering Measurements
The first step in building accent chairs for your living room is to gather accurate measurements. These measurements will determine the size and dimensions of the chair, ensuring a comfortable and proportional seating experience. Follow these guidelines to gather the necessary measurements:
- Seat Height: Measure the distance from the floor to the desired height of the chair seat. This measurement will help you determine the length of the chair legs.
- Seat Width and Depth: Measure the width and depth of the seat area. Consider the space available in your living room and the average size of the people who will use the chair.
- Backrest Height: Determine the height of the backrest based on your preference and comfort. Measure from the top edge of the seat to the desired height of the backrest.
- Armrest Height: If you plan to include armrests in your design, measure the desired height of the armrests from the seat. This measurement will ensure proper arm support while sitting.
- Angle of the Backrest: Decide on the angle at which you want the backrest to recline. This angle will contribute to the overall comfort of the chair.
Once you have gathered these measurements, it’s a good idea to sketch out a rough blueprint or create a digital design of the chair. This will help you visualize the final product and make any necessary adjustments before starting the construction process.
Remember to double-check your measurements to ensure accuracy. It’s better to spend a few extra minutes measuring carefully rather than encountering issues later in the construction process. Keep in mind that these measurements can be customized according to your personal preference and the aesthetics of your living room.
With accurate measurements in hand, you’re now ready to move on to the next step: choosing the design of your accent chair.
Step 2: Choosing the Chair Design
After gathering the necessary measurements for your accent chair, the next step is to choose a design that suits your style and complements your living room decor. There are numerous chair designs to choose from, ranging from classic and traditional to modern and contemporary. Here are a few popular options:
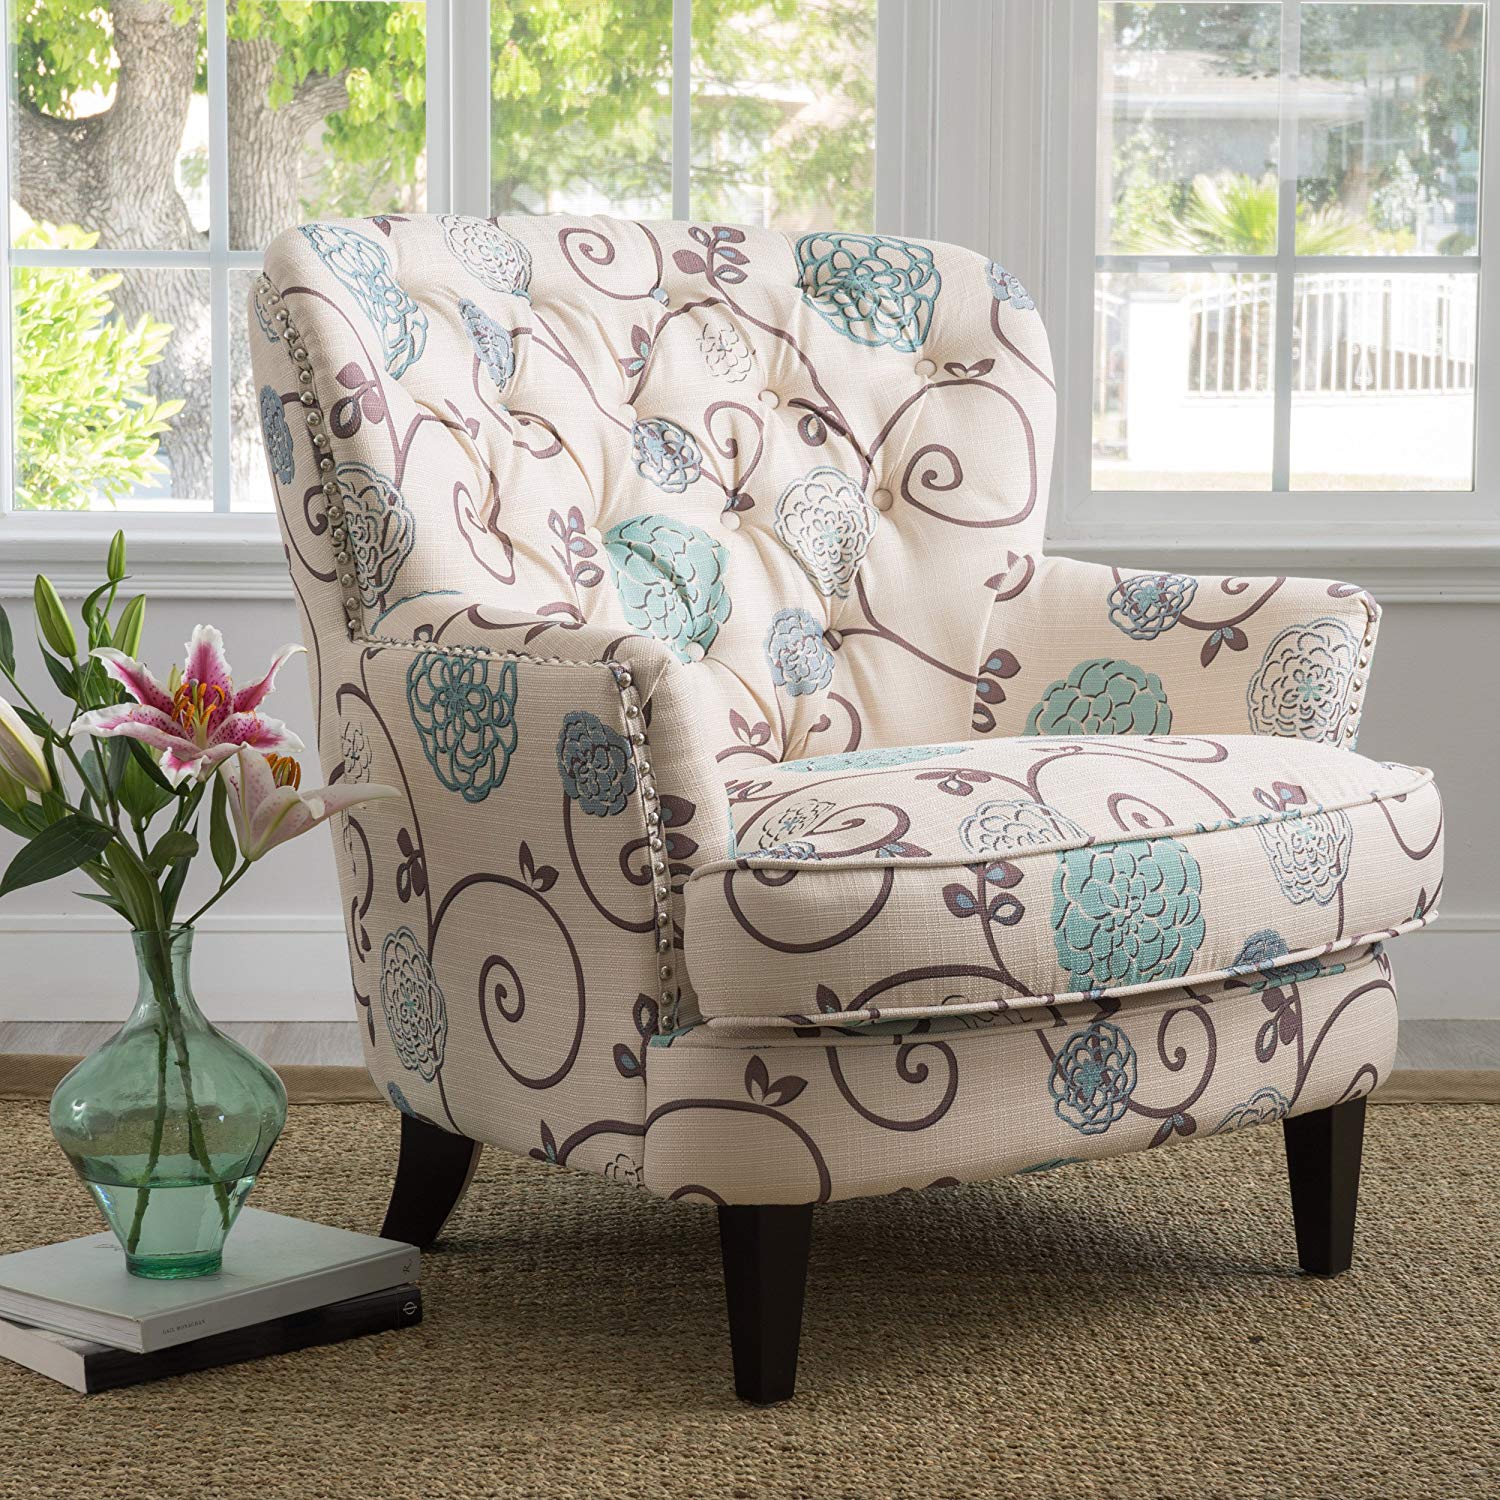
- Traditional Wingback Chair: This design features high backrests and winged sides, providing a classic and timeless look.
- Mid-Century Modern Chair: These chairs often have clean lines, tapered legs, and a sleek silhouette, offering a retro and stylish vibe.
- Armchair with Ottoman: Opt for a chair that comes with a matching ottoman for added comfort and versatility. This design is perfect for lounging and relaxation.
- Accent Chair with Swivel Base: Swivel chairs offer flexibility and convenience, allowing you to easily turn in any direction without having to move the whole chair.
- Sleek and Minimalist Chair: If you prefer a more contemporary look, choose a chair with minimal ornamentation and a simple, streamlined design.
Consider the overall theme and aesthetic of your living room when selecting a chair design. You want the accent chair to complement the existing furniture and decor while making a statement of its own. Take into account factors such as the color scheme, texture, and style of your living room when making your decision.
Additionally, think about the intended use of the chair. Will it be primarily used for reading, lounging, or as a decorative piece? This will influence the design features you should prioritize, such as the height and angle of the backrest or the presence of armrests.
Once you have chosen a chair design, you can move on to the next step: purchasing or preparing the wood for your project.
Step 3: Purchasing or Preparing the Wood
With the chair design selected, it’s time to acquire the wood needed for your accent chair. You have two options: purchasing pre-cut wood or preparing the wood yourself. Below are considerations for each option:
- Purchasing Pre-Cut Wood: Visit your local home improvement store or lumberyard to find pre-cut wood that matches the dimensions needed for your chair. Look for quality hardwood, such as oak or maple, that is strong and durable. Make sure to select boards without knots or cracks to ensure the longevity of your chair.
- Preparing the Wood Yourself: If you have access to woodworking tools and skills, you may choose to prepare the wood yourself. Purchase rough lumber and use a planer and jointer to flatten and square the boards. This option allows for greater control over the wood selection and customization of dimensions.
When purchasing or preparing the wood, keep in mind the measurements gathered in Step 1. Calculate the required lengths, widths, and thicknesses based on your chair design. Add a few extra inches to account for any mistakes or adjustments you may need to make during the construction process.
Remember to choose wood that is appropriately sized and sturdy enough to support the weight and usage of the chair. The density and quality of the wood will impact the durability and stability of the finished product. Take your time to select high-quality wood that will result in a chair that lasts for years.
Once you have acquired the wood, it’s time to move on to the next step: cutting the wood pieces to size.
Read more: Living Room Accent Walls: Which To Paint?
Step 4: Cutting the Wood Pieces
Now that you have obtained the necessary wood for your accent chair, it’s time to cut the wood pieces to the required dimensions. The precision and accuracy of these cuts are crucial to ensure a proper fit and sturdy construction. Follow these steps for successful wood cutting:
- Mark the Measurements: Using a measuring tape, mark the measurements for each wood piece according to your chair design. Double-check the measurements before making any cuts to ensure accuracy.
- Pick the Right Saw: Depending on the thickness and type of wood you are cutting, choose the appropriate saw. A miter saw or circular saw is commonly used for this step. Ensure the saw is set to the correct angle and cutting depth.
- Safety First: Prioritize safety by wearing protective goggles and gloves. Always follow proper safety procedures and guidelines when working with power tools.
- Make the Cuts: Carefully guide the saw along the marked lines, applying gentle pressure and maintaining a steady hand. Take your time and work slowly to ensure clean and precise cuts. If necessary, enlist the help of a friend or family member for added support and stability.
- Label the Wood Pieces: As you cut each piece, label it with a pencil or masking tape to avoid confusion during the assembly process. This will make it easier to identify which pieces go where.
- Double-Check the Cuts: Once all the cuts are made, review them to ensure they match the measurements and angles specified in your chair design. Make any necessary adjustments or recuts if needed.
Remember, accuracy is key during this step. Measure twice, cut once, and take your time to achieve precise cuts. It’s better to spend extra time on this step to avoid complications later in the construction process.
With the wood pieces cut to size, you’re now ready to proceed to the next step: assembling the frame of the accent chair.
When building accent chairs for the living room, consider using high-quality, durable materials such as hardwood for the frame and high-density foam for the cushioning to ensure longevity and comfort.
Step 5: Assembling the Frame
With the wood pieces cut to the proper dimensions, it’s time to assemble the frame of your accent chair. This step will bring all the components together and create the structure that provides stability and support. Follow these steps to successfully assemble the frame:
- Gather the Wood Pieces: Collect all the cut wood pieces that will form the frame of the chair. Ensure that they are labeled accordingly for easy identification.
- Pre-Drill Holes: To prevent splitting and ensure a secure and tight fit, pre-drill pilot holes in the designated spots where screws or nails will be inserted. Use a drill bit slightly smaller than the width of the screws or nails.
- Begin with the Seat: Start by attaching the seat supports to the legs. Align the pieces according to your design and insert the screws or nails into the pre-drilled holes. Repeat this process for all four corners of the chair.
- Connect the Backrest: Attach the backrest support pieces to the back legs, ensuring they are positioned at the desired angle. Secure them in place with screws or nails.
- Strengthen the Joints: Apply wood glue to the joints where the pieces meet for added stability. This will strengthen the connections and create a sturdy frame.
- Check for Alignment: Throughout the assembly process, regularly check for proper alignment of the wood pieces. Adjust as necessary to ensure everything is correctly positioned.
- Secure Additional Supports: Depending on your chair design, you may need to add additional supports or crossbars for extra strength. Attach these supports using screws or nails.
- Remove Excess Glue: Wipe away any excess wood glue using a damp cloth before it dries. This will prevent unwanted glue marks on the wood surface.
Take your time during the assembly process to ensure the frame is properly constructed and all connections are securely fastened. Double-check for any loose or wobbly joints and make adjustments as needed.
Once the frame is assembled and the wood glue has dried, you can move on to the next step: attaching the seat and backrest to the frame.
Step 6: Attaching the Seat and Backrest
With the frame of your accent chair assembled, it’s time to attach the seat and backrest to complete the basic structure. This step will provide a comfortable and supportive seating surface. Follow these steps for successful attachment:
- Prepare the Seat and Backrest: Ensure that the seat and backrest pieces are cut and sanded to the desired shape and size. If you choose to add upholstery or cushions, now is the time to prepare them as well.
- Position the Seat: Place the seat piece on top of the seat supports in the frame. Align it carefully and ensure that it rests securely on the supports.
- Secure the Seat: Use screws or nails to attach the seat to the supports. Insert them through the bottom of the seat into the supports, ensuring a solid connection.
- Attach the Backrest: Position the backrest piece against the backrest supports. Adjust the angle if necessary to ensure a comfortable seating position.
- Secure the Backrest: Similar to the seat, use screws or nails to attach the backrest to the supports. Insert them through the back of the backrest into the supports.
- Reinforce with Glue: Apply wood glue to the joints where the seat and backrest connect to the supports. This will provide additional strength and stability to the structure.
Ensure that the seat and backrest are securely attached to the frame. Test the stability and make any adjustments if needed. Double-check all screws or nails to ensure they are tight and properly inserted.
If you plan to add upholstery or cushions, you can proceed to the next step: sanding and finishing the wood surfaces. Otherwise, you can skip ahead to the step that follows.
Step 7: Sanding and Finishing
After attaching the seat and backrest to the frame of your accent chair, it’s time to move on to the step of sanding and finishing the wood surfaces. This will provide a smooth and polished look while protecting the wood from wear and tear. Follow these steps for a professional finish:
- Sanding Preparation: Before you start sanding, make sure the chair is free of any dust or debris. Use a cloth or brush to remove any loose particles from the wood surfaces.
- Sand the Wood: Begin sanding the entire chair using a medium-grit sandpaper. Sand in the direction of the wood grain, applying even pressure. This will smooth out any rough edges or imperfections.
- Switch to Fine-grit Sandpaper: Once you have sanded the chair with the medium-grit sandpaper, switch to a fine-grit sandpaper. Continue sanding all surfaces, including the corners and curves, until the wood feels smooth and silky to the touch.
- Remove Dust: After sanding, use a clean cloth or vacuum to remove any sanding dust from the chair. This will ensure a clean surface for the finishing process.
- Apply Wood Finish: Choose a wood finish that suits your preference and the overall style of the chair. This could be paint, stain, or varnish. Apply the finish according to the manufacturer’s instructions, using a brush, sponge, or cloth. Allow the finish to dry completely between coats, and apply multiple coats if desired for extra protection.
- Final Sanding (Optional): If desired, you can perform a final sanding with a very fine-grit sandpaper to create an ultra-smooth surface. This step will remove any imperfections or bubbles that may have occurred during the finishing process.
Remember to work in a well-ventilated area when applying wood finishes, and follow proper safety precautions. Take your time during the sanding and finishing process to achieve the desired results.
Once the finish has dried and the chair has been sanded to your satisfaction, you can move on to the next step: adding upholstery or cushions to enhance the comfort and aesthetic appeal of your accent chair.
Read more: What Are Living Room Chairs Called
Step 8: Adding Upholstery or Cushions
Now that the wood surfaces of your accent chair are sanded and finished, it’s time to add upholstery or cushions to enhance the comfort and aesthetics of the chair. This step will provide a cozy seating experience and allow you to customize the look of your chair. Follow these steps to add upholstery or cushions:
- Select Fabric or Cushions: Choose upholstery fabric or cushions that align with your desired style and complement the overall color scheme of your living room. Consider factors such as durability, texture, and pattern.
- Measure and Cut Fabric: Measure the dimensions of the seat and backrest, allowing for extra fabric to wrap around the edges. Use these measurements to cut the fabric pieces accordingly.
- Attach the Fabric: If using upholstery fabric, start by attaching the fabric to the underside of the seat using a staple gun. Pull the fabric taut and secure it along the edges, working your way around the seat. Repeat this process for the backrest.
- Trim Excess Fabric: Once the fabric is securely attached, trim any excess fabric using scissors to ensure a neat and tidy appearance.
- If using cushions, place them on the seat and backrest, adjusting their position until they are comfortable and aesthetically pleasing.
- Attach Cushions (Optional): Depending on the design of the chair and the type of cushions used, you may need to attach them to the seat and backrest for added stability. This can be done using fabric ties, Velcro, or adhesive strips.
Make sure that the fabric or cushions are firmly attached and do not move or slide when the chair is in use. Test the comfort and adjust as necessary.
Adding upholstery or cushions is an opportunity to infuse your personal style into the chair design. Experiment with different fabric patterns, colors, and textures to create a chair that truly reflects your taste and complements the overall decor of your living room.
With the upholstery or cushions in place, you’re almost done with your accent chair. The final step involves adding any last touches and decorative elements.
Step 9: Final Touches and Decorative Elements
Congratulations! You’re in the final step of building your accent chair. Now it’s time to add those finishing touches and decorative elements that will truly make your chair stand out in your living room. Follow these steps to complete your chair:
- Inspect and Make Adjustments: Take a close look at your chair and make any necessary adjustments. Check for loose screws or nails, uneven finishes, or any other imperfections that need attention.
- Paint or Stain Touch-Ups: If there are any areas that require touch-ups or refinishing, now is the time to address them. Use the same paint or stain you used in Step 7 to blend and match the existing finish.
- Add Decorative Elements: Consider adding decorative elements to your chair to enhance its visual appeal. This can include adding nailhead trim, decorative buttons, or carving designs into the wood surface.
- Protective Coating (Optional): Apply a protective coating, such as a clear varnish or sealant, to the wood surfaces. This will protect the chair from spills, stains, and general wear and tear, ensuring its longevity.
- Clean Up: After completing all the final touches, clean up any leftover debris, sawdust, or stray paint. Use a damp cloth or a vacuum to ensure the chair is clean and ready to be placed in your living room.
- Enjoy Your Completed Accent Chair: Finally, sit back, relax, and enjoy your handcrafted accent chair. Revel in the satisfaction of building a unique and functional piece of furniture that adds charm and character to your living space.
Remember, these final touches and decorative elements are optional but can make a significant difference in the overall look and feel of your accent chair. Don’t be afraid to get creative and add your personal touch to make it truly your own.
Now that you’ve completed all the steps, you can proudly showcase your handcrafted accent chair in your living room. It’s not only a beautiful addition to your home but also a testament to your woodworking skills and creativity.
Enjoy many comfortable and relaxing moments in your new accent chair!
Conclusion
Building your own accent chair for your living room is a rewarding and fulfilling DIY project that allows you to showcase your creativity and craftsmanship. By following the step-by-step process outlined in this guide, you can create a unique and personalized piece of furniture that adds both style and functionality to your home.
Starting with gathering accurate measurements and choosing the right design, you then proceed to acquire the necessary materials, cut the wood pieces, and assemble the frame. After attaching the seat and backrest, sanding and finishing the wood surfaces will give your chair a professional look and protect it from daily use.
Adding upholstery or cushions provides the final touch of comfort and customization. Whether you opt for classic upholstery or trendy cushions, it’s an opportunity to infuse your personal style into the chair. Finally, adding any last decorative elements and making the necessary finishing touches brings your accent chair to completion.
Through this DIY project, you not only save money compared to purchasing a ready-made accent chair but also gain a sense of accomplishment and pride when you see the finished product. Your handmade accent chair will become a cherished piece of furniture in your living room and a conversation starter among your guests.
Remember, building furniture requires safety precautions and attention to detail. Follow proper safety guidelines, utilize the right tools, and take your time throughout the construction process.
Now, it’s time to sit back, relax, and enjoy the comfort and beauty of your handcrafted accent chair. Let it serve as a reminder of your creativity, skills, and the joy of bringing your own unique creation to life.
Happy building and may your accent chair bring you many years of comfort and style!
Frequently Asked Questions about How To Build Accent Chairs For Living Room
Was this page helpful?
At Storables.com, we guarantee accurate and reliable information. Our content, validated by Expert Board Contributors, is crafted following stringent Editorial Policies. We're committed to providing you with well-researched, expert-backed insights for all your informational needs.









0 thoughts on “How To Build Accent Chairs For Living Room”