Home>Articles>How Do I Stop My Ice Maker From Leaking Water?
Articles
How Do I Stop My Ice Maker From Leaking Water?
Modified: October 19, 2024
Discover helpful articles on how to effectively stop your ice maker from leaking water. Find solutions and prevent any water damage.
(Many of the links in this article redirect to a specific reviewed product. Your purchase of these products through affiliate links helps to generate commission for Storables.com, at no extra cost. Learn more)
Introduction
Having a functional and efficient ice maker in your home can be a great convenience, providing you with a constant supply of ice for cold beverages or other uses. However, it can turn into a frustrating situation if you notice your ice maker leaking water. Not only can this cause water damage to your flooring or cabinetry, but it can also result in the formation of ice build-up, affecting the ice-making process itself.
It’s important to address the issue promptly to prevent any further damage and ensure your ice maker is in proper working order. In this article, we will explore some common causes of ice maker leaks and discuss steps you can take to troubleshoot and resolve the issue.
Key Takeaways:
- Don’t let a leaking ice maker dampen your day. From checking the water supply line to assessing the ice maker assembly, troubleshooting steps can help you identify and resolve the issue, ensuring a constant supply of ice for your everyday needs.
- Addressing ice maker leaks promptly can prevent water damage and restore your ice maker to full functionality. If troubleshooting steps don’t resolve the issue, consult the manufacturer’s manual or seek professional assistance to accurately diagnose and repair the problem.
Common Causes of Ice Maker Leaks
Ice maker leaks can be caused by various factors, ranging from simple to more complex issues. Identifying the underlying cause is crucial in order to effectively address the problem. Here are some common causes of ice maker leaks:
- Malfunctioning water supply line: One of the most common causes of ice maker leaks is a faulty or damaged water supply line. Over time, the supply line can develop cracks or become loose, resulting in water leakage. Inspect the water supply line for any visible signs of damage and replace it if necessary.
- Blocked or frozen fill tube: The fill tube is responsible for delivering water from the water supply line to the ice maker. If this tube becomes blocked or frozen, it can cause water to overflow and leak. Check the fill tube for any obstructions and use warm water to thaw any ice buildup.
- Defective water inlet valve: The water inlet valve controls the flow of water into the ice maker. If it becomes faulty or worn out, it may fail to shut off completely, causing water to continuously flow and leak. Test the water inlet valve for proper functioning and replace it if necessary.
- Worn-out or damaged ice maker assembly: Over time, the ice maker assembly components, such as the ice mold or the ice maker itself, can wear out or become damaged. This can lead to water leaks during the ice-making process. Inspect the ice maker assembly for any signs of wear, cracks, or damage, and replace any faulty components.
It’s important to note that these are just some of the common causes of ice maker leaks. Other factors, such as a malfunctioning defrost system or a clogged drain line, can also contribute to the issue. If you are unable to identify the cause or resolve the problem on your own, it is recommended to seek professional assistance to ensure proper diagnosis and repair.
Checking the Water Supply Line
One of the first steps in troubleshooting an ice maker leak is to inspect the water supply line. This line delivers water to the ice maker, and if it is damaged or not properly connected, it can cause water leakage. Follow these steps to check the water supply line:
- Turn off the water supply: Before starting any inspection or maintenance work, it’s important to turn off the water supply to the ice maker. This can usually be done by locating the shut-off valve connected to the water supply line.
- Inspect the water supply line: Carefully examine the water supply line for any visible signs of damage such as cracks, kinks, or loose connections. If you notice any issues, it may be necessary to replace the water supply line.
- Tighten connections: If the water supply line appears to be in good condition, ensure that all connections are securely tightened. Loose connections can cause water to leak, so make sure everything is properly fastened.
- Turn on the water supply: Once you have completed the inspection and made any necessary repairs or replacements, turn the water supply back on. Keep an eye on the water supply line while the ice maker is running to ensure that there are no leaks.
If you have checked the water supply line and addressed any issues but the ice maker still leaks, it is recommended to move on to the next troubleshooting step.
Inspecting the Fill Tube
The fill tube is a crucial component in the ice maker that delivers water from the water supply line to the ice mold. If the fill tube is blocked or frozen, it can cause water to overflow and leak. Follow these steps to inspect the fill tube:
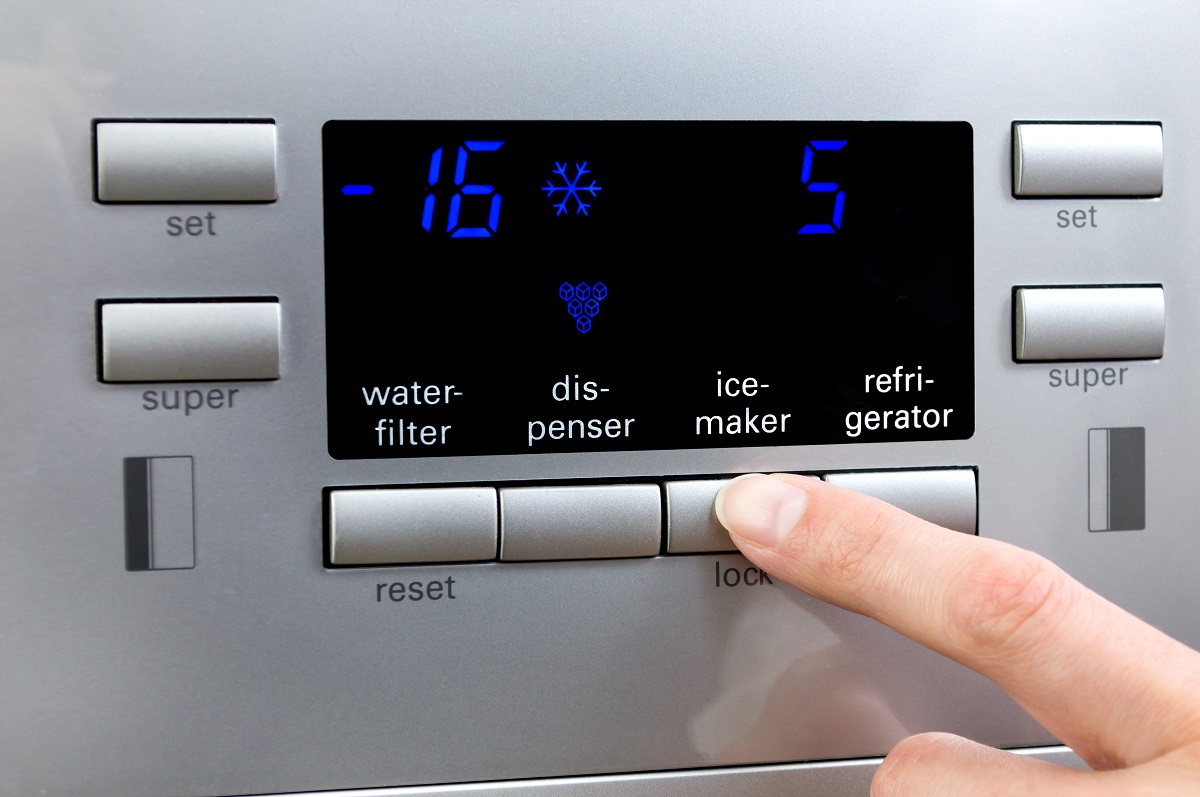
- Turn off the ice maker: Before examining the fill tube, make sure to turn off the ice maker and unplug it from the power source. Safety should always be a priority when working with electrical appliances.
- Locate the fill tube: The fill tube is typically located above the ice maker, guiding the water into the ice mold. It is a small, plastic tube that you can easily identify.
- Check for blockages: Inspect the fill tube for any visible blockages or obstructions. Sometimes, debris or ice can accumulate in the tube, causing water to overflow. Use a flashlight to get a better view and carefully remove any debris.
- Thaw any ice: If you notice that the fill tube is frozen, it is important to thaw it out. This can be done by carefully applying warm water to the affected area until the ice melts. Avoid using excessive heat or sharp objects that may damage the tube.
- Ensure proper alignment: After clearing any blockages or thawing the fill tube, make sure it is properly aligned with the ice maker. Improper alignment can cause water to leak. Adjust the fill tube if necessary.
- Turn on the ice maker: Once you have completed the inspection and made any necessary adjustments or repairs, turn on the ice maker and monitor it for any signs of leakage. If the ice maker no longer leaks, you have successfully resolved the issue. If the problem persists, continue to the next troubleshooting step.
By inspecting and addressing the fill tube, you can often resolve ice maker leaks that are caused by blockages or freezing. However, if this step does not resolve the issue, it’s important to move on to further troubleshooting to identify and fix the underlying problem.
Check the water supply line for any leaks or kinks, and ensure it is properly connected. Also, inspect the ice maker for any cracks or damage that may be causing the leak.
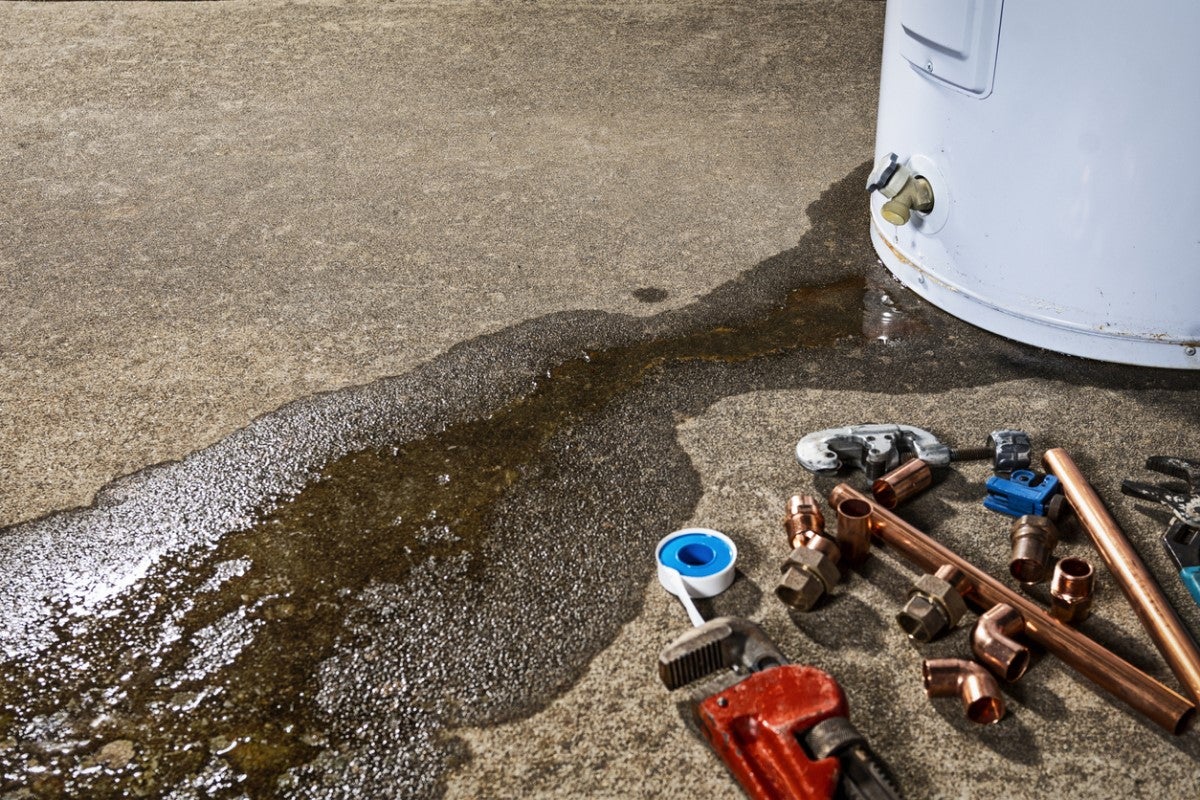
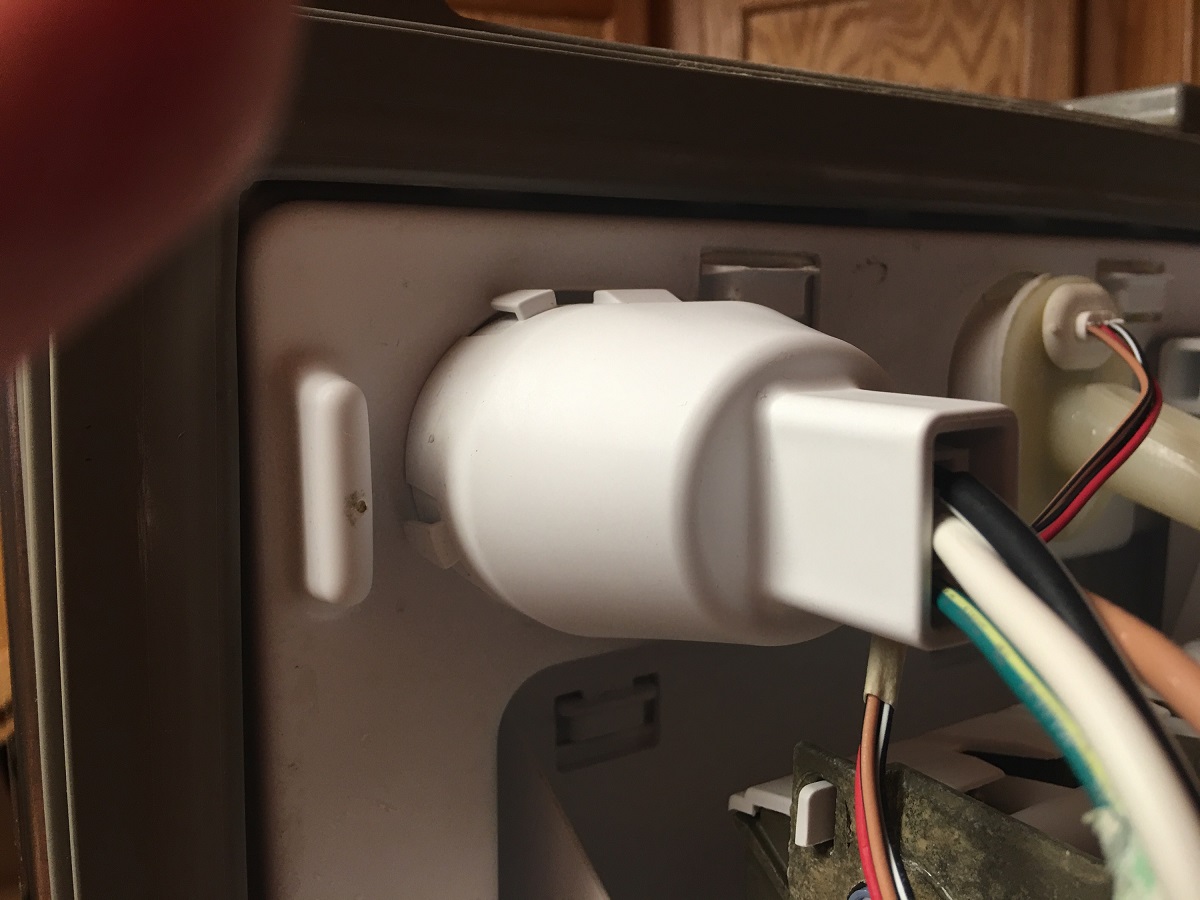
Examining the Water Inlet Valve
The water inlet valve controls the flow of water into the ice maker. If it becomes defective or worn out, it can cause water to continuously flow and leak. Here are the steps to examine and troubleshoot the water inlet valve:
- Turn off the ice maker: Start by turning off the ice maker and unplugging it from the power source. Safety should always be your priority when working with electrical appliances.
- Locate the water inlet valve: The water inlet valve is usually located behind the refrigerator or under the sink, depending on your setup. It is connected to the water supply line.
- Check for leaks: Inspect the water inlet valve for any signs of leakage. Look for water dripping or pooling around the valve. If you notice any leaks, the valve may need to be replaced.
- Test the water inlet valve: If there are no visible leaks, you can proceed to test the water inlet valve for proper functioning. Consult the manufacturer’s manual or look for specific instructions for your model.
- Replace the water inlet valve if necessary: If the water inlet valve is found to be defective or not functioning properly, it will need to be replaced. Consult a professional or refer to the manufacturer’s instructions to ensure a proper and safe replacement.
- Turn on the ice maker: After inspecting, testing, and replacing the water inlet valve if required, turn on the ice maker and monitor it for any signs of leakage. If the leak is resolved, your ice maker should function properly. If the problem persists, move on to the next troubleshooting step.
The water inlet valve plays a crucial role in the proper functioning of the ice maker. By examining and troubleshooting this component, you can often identify and address leaks that are caused by valve defects or malfunctions. If you are uncertain about performing these steps or if the issue persists, it is recommended to seek assistance from a professional technician.
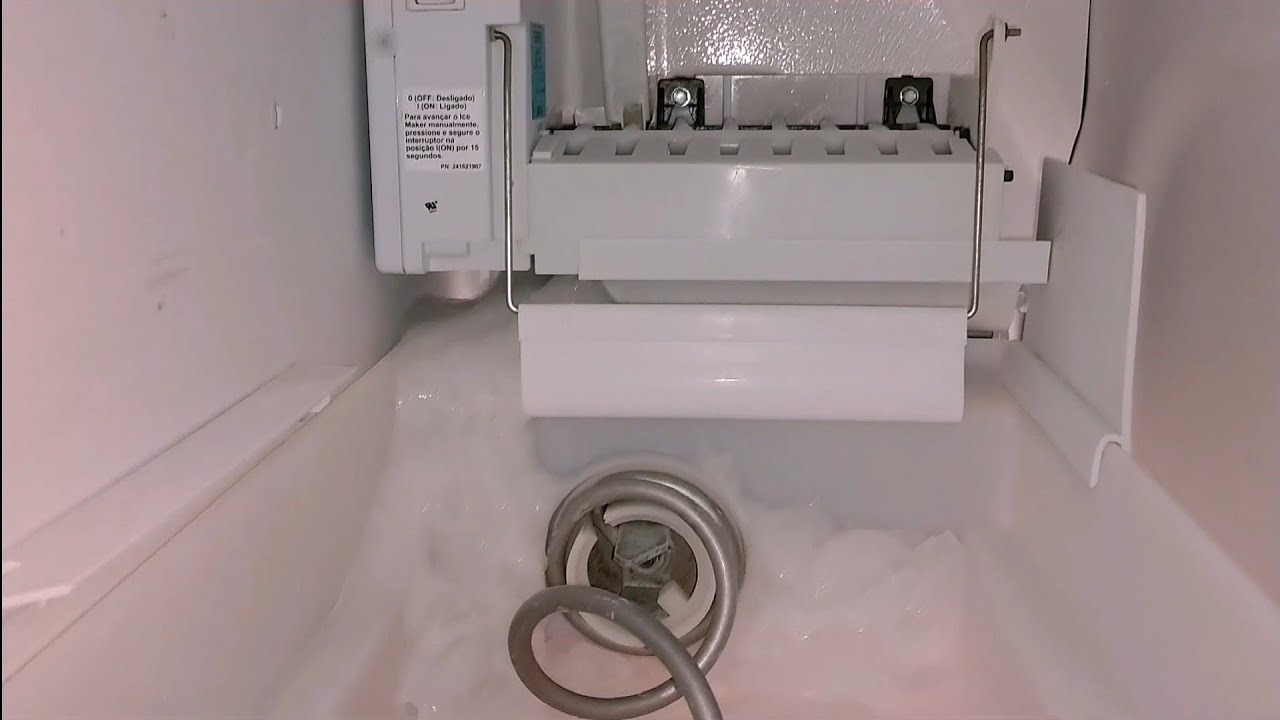
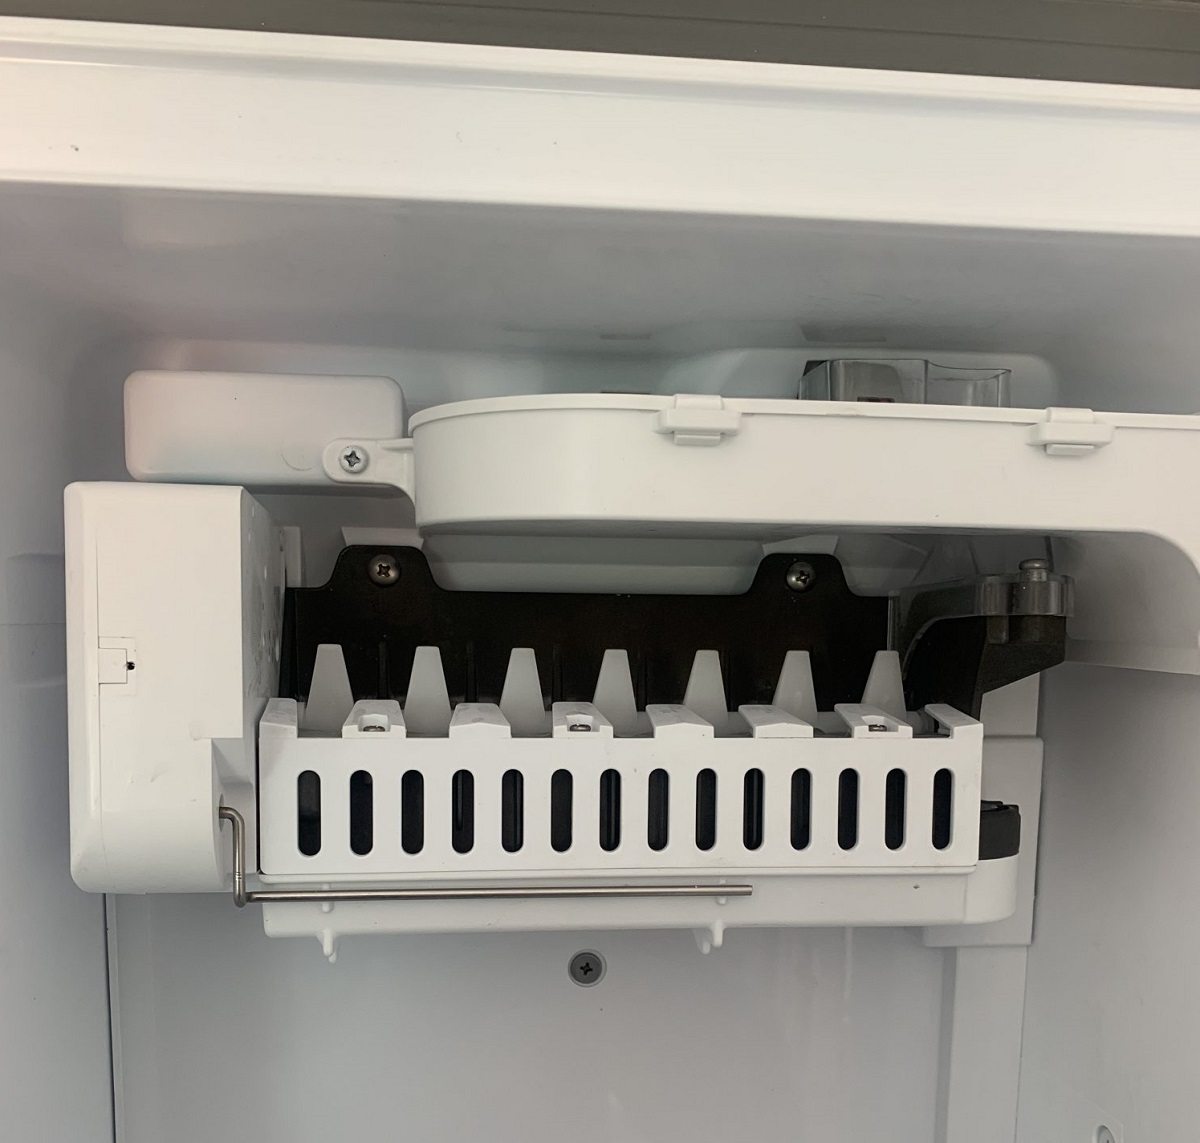
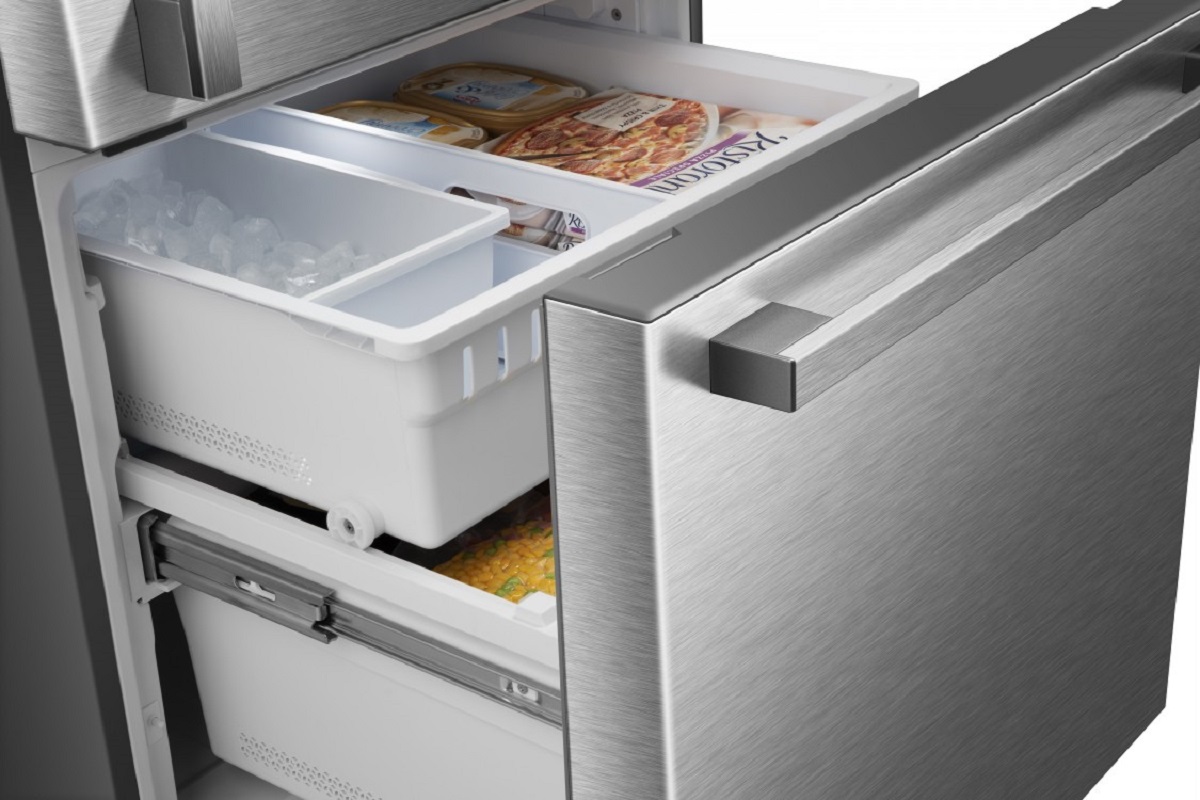
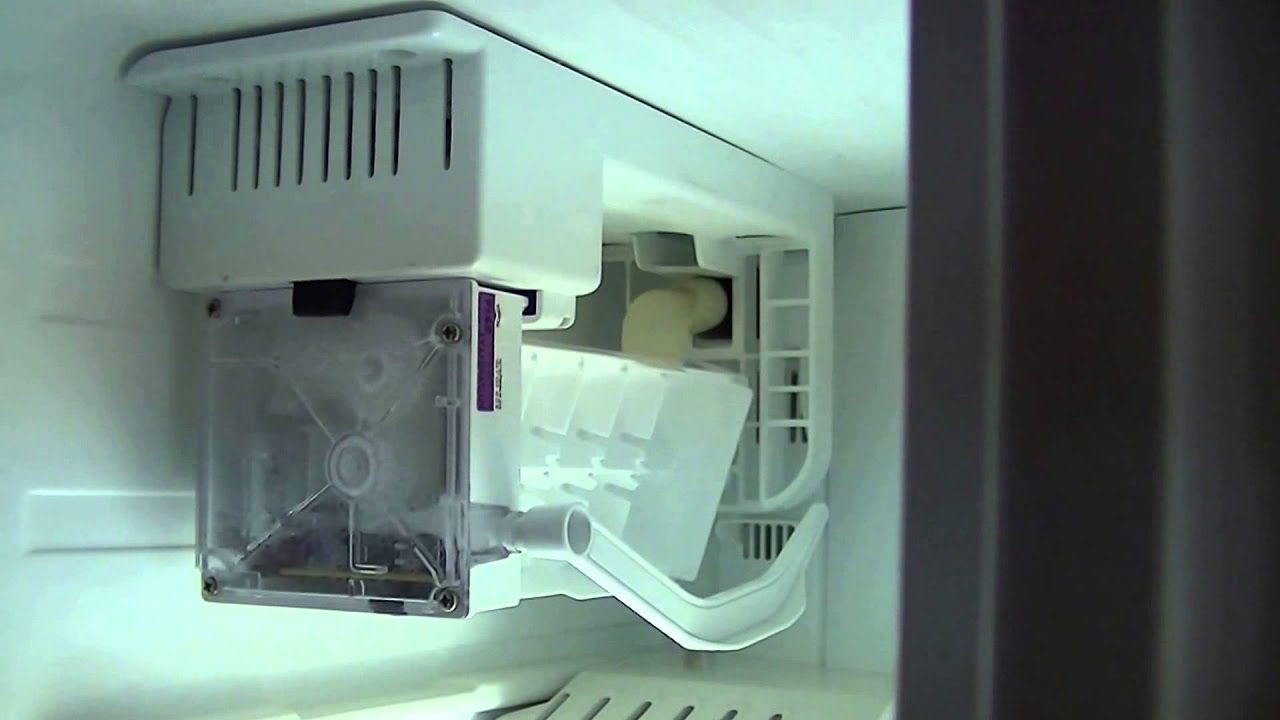
Assessing the Ice Maker Assembly
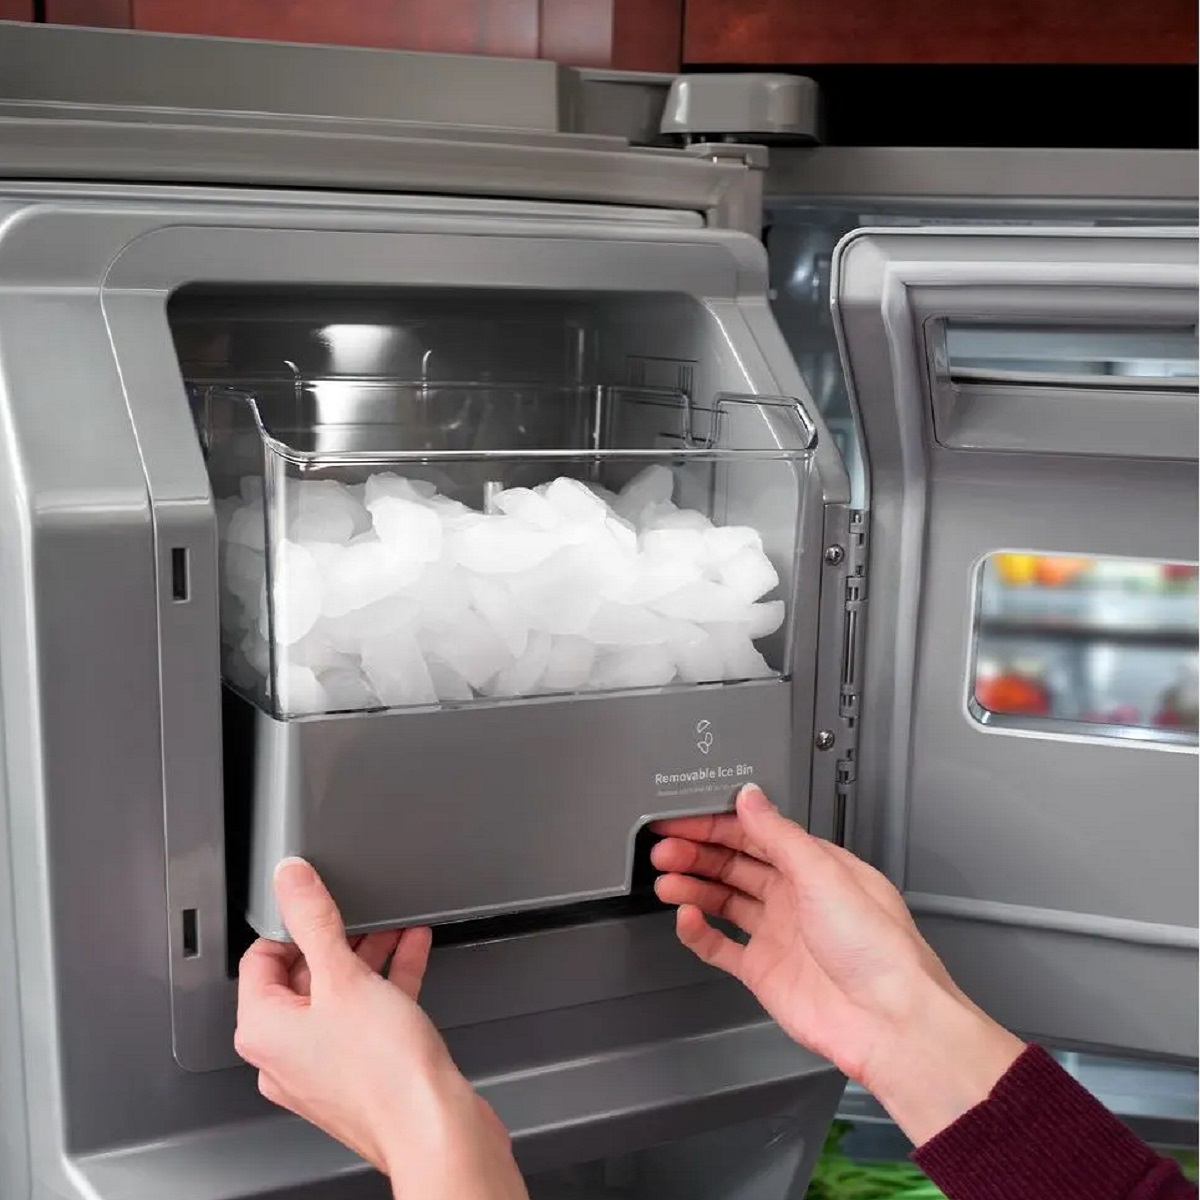
The ice maker assembly consists of various components, including the ice mold, the ice maker itself, and other parts involved in the ice-making process. Over time, these components can wear out or become damaged, leading to water leaks. Here are the steps to assess the ice maker assembly:
- Turn off the ice maker: Before assessing the ice maker assembly, ensure that the ice maker is turned off and unplugged from the power source.
- Inspect the ice maker components: Carefully examine the ice maker assembly for any signs of wear, cracks, or damage. Pay close attention to the ice mold, as cracks or defects in the mold can cause water to leak. Additionally, check other components such as the ice maker itself, the water chute, or any connecting parts.
- Replace any faulty components: If you notice any damaged or worn-out components, it is recommended to replace them. Consult the manufacturer’s instructions or seek professional assistance to ensure proper replacement and installation.
- Ensure proper alignment: After replacing any faulty components, make sure that all parts are properly aligned and securely connected. Misalignment can lead to water leaks. Adjust and tighten the components if necessary.
- Turn on the ice maker: Once you have completed the assessment and made any necessary repairs or replacements, turn on the ice maker and observe it for any signs of leaks. If the ice maker no longer leaks, you have successfully resolved the issue. If the problem persists, continue to the next troubleshooting step.
By assessing the ice maker assembly and addressing any damaged or worn-out components, you can often overcome leaks caused by faulty parts. However, if the issue persists or you are unsure about performing these steps, it is recommended to seek assistance from a professional technician.
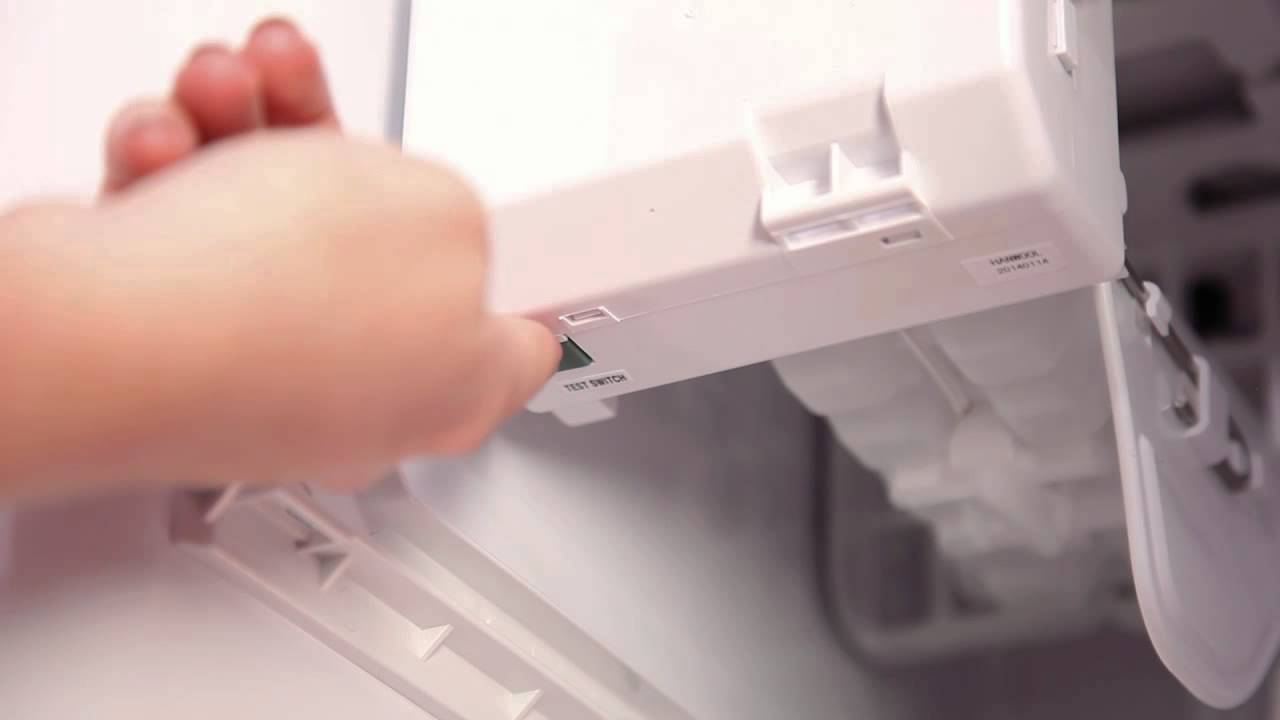
Resetting or Replacing the Ice Maker
If you have gone through the previous troubleshooting steps and your ice maker is still leaking water, it may be necessary to reset or replace the ice maker itself. Here are the steps to reset or replace the ice maker:
- Refer to the manufacturer’s manual: Consult the manufacturer’s manual or documentation specific to your ice maker model. It will provide you with information on how to reset or replace the ice maker.
- Resetting the ice maker: Many ice makers have a reset button or a resetting process that can help resolve any internal issues. Follow the instructions provided in the manual to reset the ice maker, which can sometimes fix minor malfunctions causing water leaks.
- Replacing the ice maker: If resetting the ice maker does not resolve the issue, you may need to replace it. This step typically involves disconnecting the old ice maker and installing a new one. Refer to the manufacturer’s documentation or seek professional assistance to ensure proper replacement.
- Monitor for leaks: After resetting or replacing the ice maker, turn it on and monitor it closely for any signs of water leaks. Observe the ice-making process to ensure that water is properly flowing and being used to create ice without any leakage.
Resetting or replacing the ice maker is generally a last resort when all other troubleshooting steps have been exhausted. It is important to follow the manufacturer’s instructions and ensure proper installation to avoid any further complications. If you are uncertain about performing these steps or if the issue persists, it is recommended to seek assistance from a professional technician.
Conclusion
Dealing with a leaking ice maker can be frustrating, but by following the troubleshooting steps outlined in this article, you can identify and resolve the issue. From checking the water supply line to inspecting the fill tube, examining the water inlet valve, assessing the ice maker assembly, and even resetting or replacing the ice maker itself, each step offers a potential solution to address the problem.
Remember, the key to successfully troubleshooting an ice maker leak is to identify the underlying cause and take appropriate action. It may take some trial and error, but with patience and careful examination, you can prevent water damage and restore your ice maker to full functionality.
If you are unsure about performing the troubleshooting steps or if the issue persists despite your efforts, it is recommended to consult the manufacturer’s manual, seek professional assistance, or contact a certified technician who can accurately diagnose and repair the problem.
By taking proactive measures and addressing ice maker leaks promptly, you can enjoy a reliable and leak-free ice-making experience, ensuring a constant supply of ice for your everyday needs.
Frequently Asked Questions about How Do I Stop My Ice Maker From Leaking Water?
Was this page helpful?
At Storables.com, we guarantee accurate and reliable information. Our content, validated by Expert Board Contributors, is crafted following stringent Editorial Policies. We're committed to providing you with well-researched, expert-backed insights for all your informational needs.

0 thoughts on “How Do I Stop My Ice Maker From Leaking Water?”