Home>Dining>Table Decor>How To Make Vintage Pair Of Early American Colonial Style Table Lamps With Ruffled Fabric Shade
Table Decor
How To Make Vintage Pair Of Early American Colonial Style Table Lamps With Ruffled Fabric Shade
Modified: January 18, 2024
Learn how to create a charming vintage table decor with our step-by-step guide. Make your own Early American Colonial style table lamps adorned with a beautiful ruffled fabric shade.
(Many of the links in this article redirect to a specific reviewed product. Your purchase of these products through affiliate links helps to generate commission for Storables.com, at no extra cost. Learn more)
Introduction
Welcome to the world of vintage table decor! If you’re looking to add a touch of early American colonial style to your home, creating a pair of vintage table lamps with ruffled fabric shades is an excellent project to take on. These lamps not only provide a warm and cozy ambiance, but they also serve as stunning focal points in any room. In this article, we’ll guide you through the step-by-step process of making these charming table lamps from scratch.
To get started, let’s gather all the materials you’ll need for this project.
Key Takeaways:
- Create charming vintage table lamps with ruffled fabric shades to infuse your space with early American colonial style, warmth, and sophistication. Enjoy the cozy ambiance and timeless appeal they bring to any room.
- Transform ordinary lamp bases into stunning focal points with a touch of nostalgia. Craft custom vintage table lamps with ruffled fabric shades to add elegance and warmth to your home decor.
Read more: How To Set An American Style Dinner Table
Materials Needed
Before embarking on this DIY project, make sure you have the following materials ready:
- Lamp bases (preferably with a vintage or antique look)
- Ruffled fabric for the lamp shades (choose a pattern or color that complements your decor)
- Lamp wiring kit
- Lampshade frame
- Scissors
- Hot glue gun and glue sticks
- Measuring tape
- Pencil or fabric marker
- Needle and thread
- Decorative trim or ribbon (optional)
Once you have all these materials on hand, you’re ready to begin the lamp-making process. Read on for a detailed step-by-step guide.
Step 1: Preparing the Lamp Base
The first step in creating your vintage table lamps is to prepare the lamp bases. If you have chosen new lamp bases, you can skip this step. However, if you have chosen vintage or antique lamp bases, they may require some cleaning or restoration before being used in this project.
Start by gently cleaning the lamp bases with a soft cloth and a mild cleaning solution. This will help remove any dirt, dust, or grime that may have accumulated over time. If the bases have any rust or tarnish, you can use a metal cleaner or a mixture of vinegar and salt to gently remove the stains.
If the lamp bases are made of wood, you may need to sand them lightly to remove any rough spots or imperfections. Once sanded, you can apply a coat of stain or paint to enhance their appearance and give them a fresh look. Allow the bases to dry completely before moving on to the next step.
If the lamp bases have any decorative elements, such as brass or porcelain accents, make sure to clean and polish them as well. These details add to the vintage charm of the lamps, so it’s important to highlight their beauty.
Once the lamp bases are cleaned and restored, you’re ready to move on to the next step: creating the ruffled fabric shades.
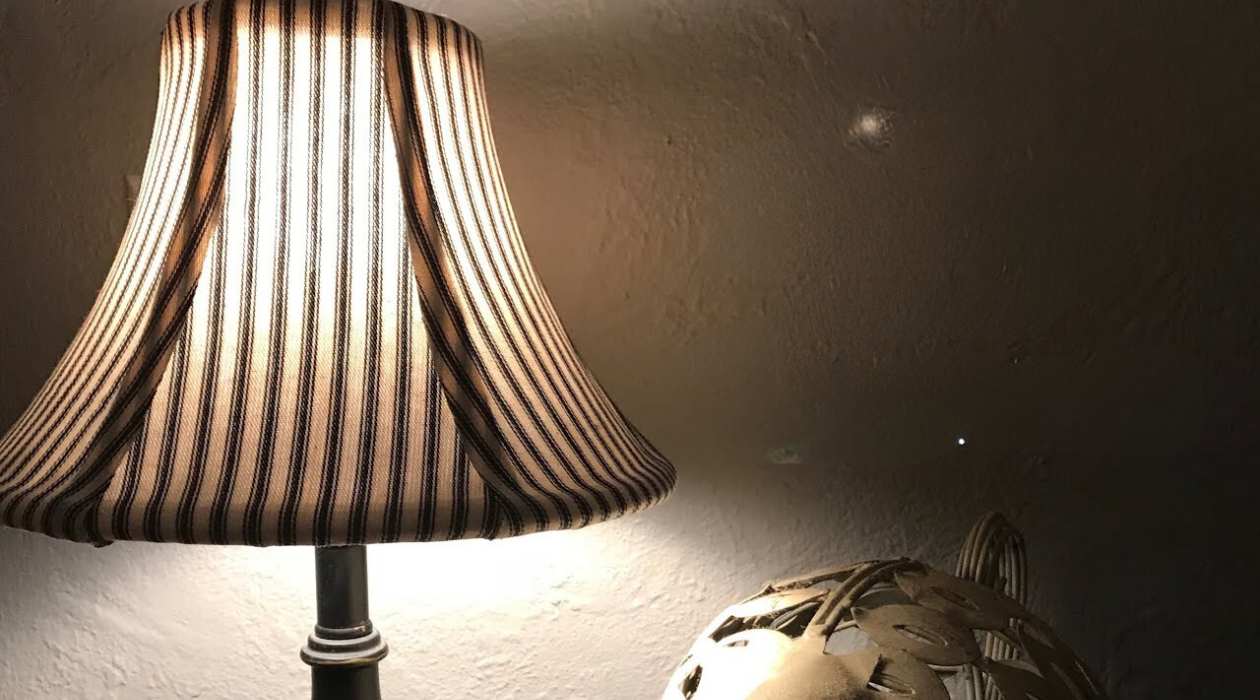
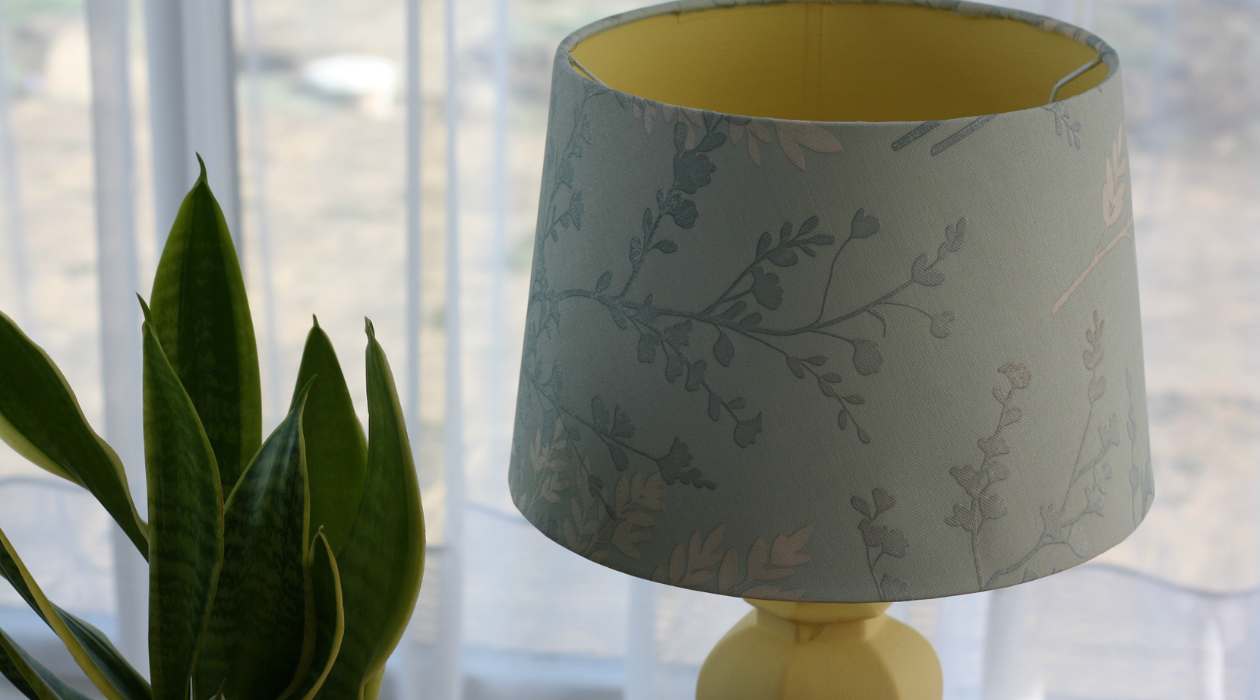
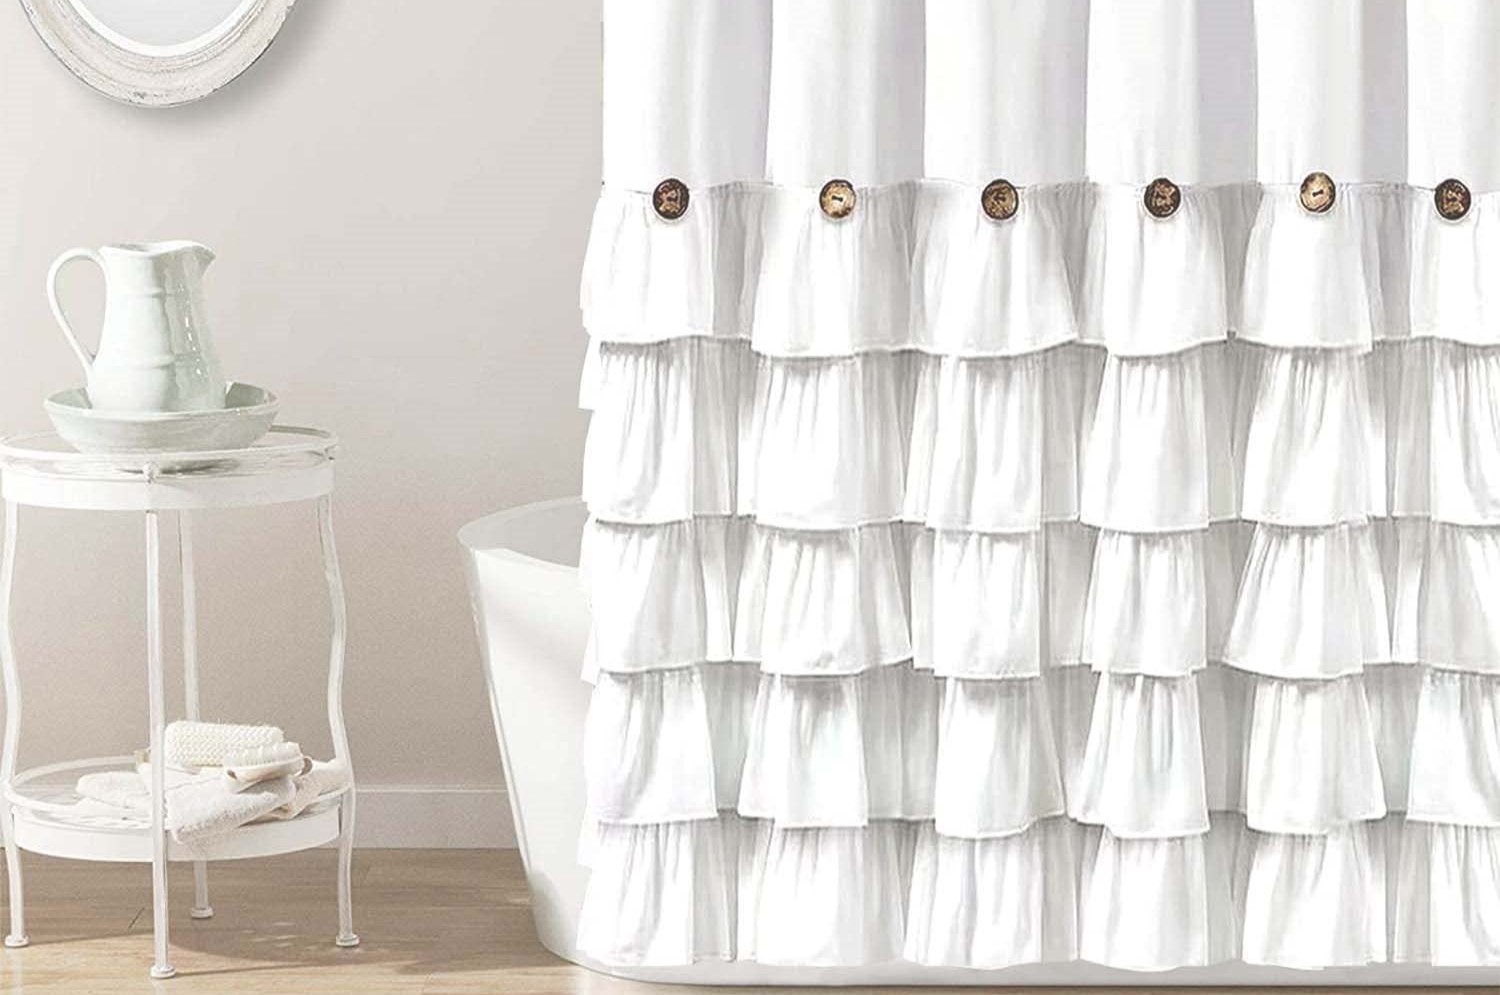
Step 2: Creating the Ruffled Fabric Shade
Now that your lamp bases are prepared, it’s time to focus on creating the ruffled fabric shades. This step will add a touch of elegance and vintage charm to your table lamps.
Start by measuring the circumference of the lampshade frame using a measuring tape. Add a couple of inches to this measurement to allow for overlapping and sewing. Use a pencil or fabric marker to mark this measurement on your chosen ruffled fabric.
Next, cut the fabric along the marked line using a pair of sharp scissors. Ensure that the fabric strip is wide enough to cover the lampshade frame and have some excess for attaching it to the lamp base. The length of the fabric strip will depend on the height of your lampshade frame and your desired level of ruffle.
Once the fabric strip is cut, it’s time to create the ruffle effect. To do this, sew a loose running stitch along one of the longer edges of the fabric strip. Leave a long tail of thread at the beginning and end of your stitching. With the ends of the thread in hand, gently gather the fabric along the stitching line, creating even ruffles along the length of the strip.
To secure the ruffles in place, tie off the ends of the thread, gently adjusting the gathers as needed to maintain an even distribution of ruffles. Trim any excess thread.
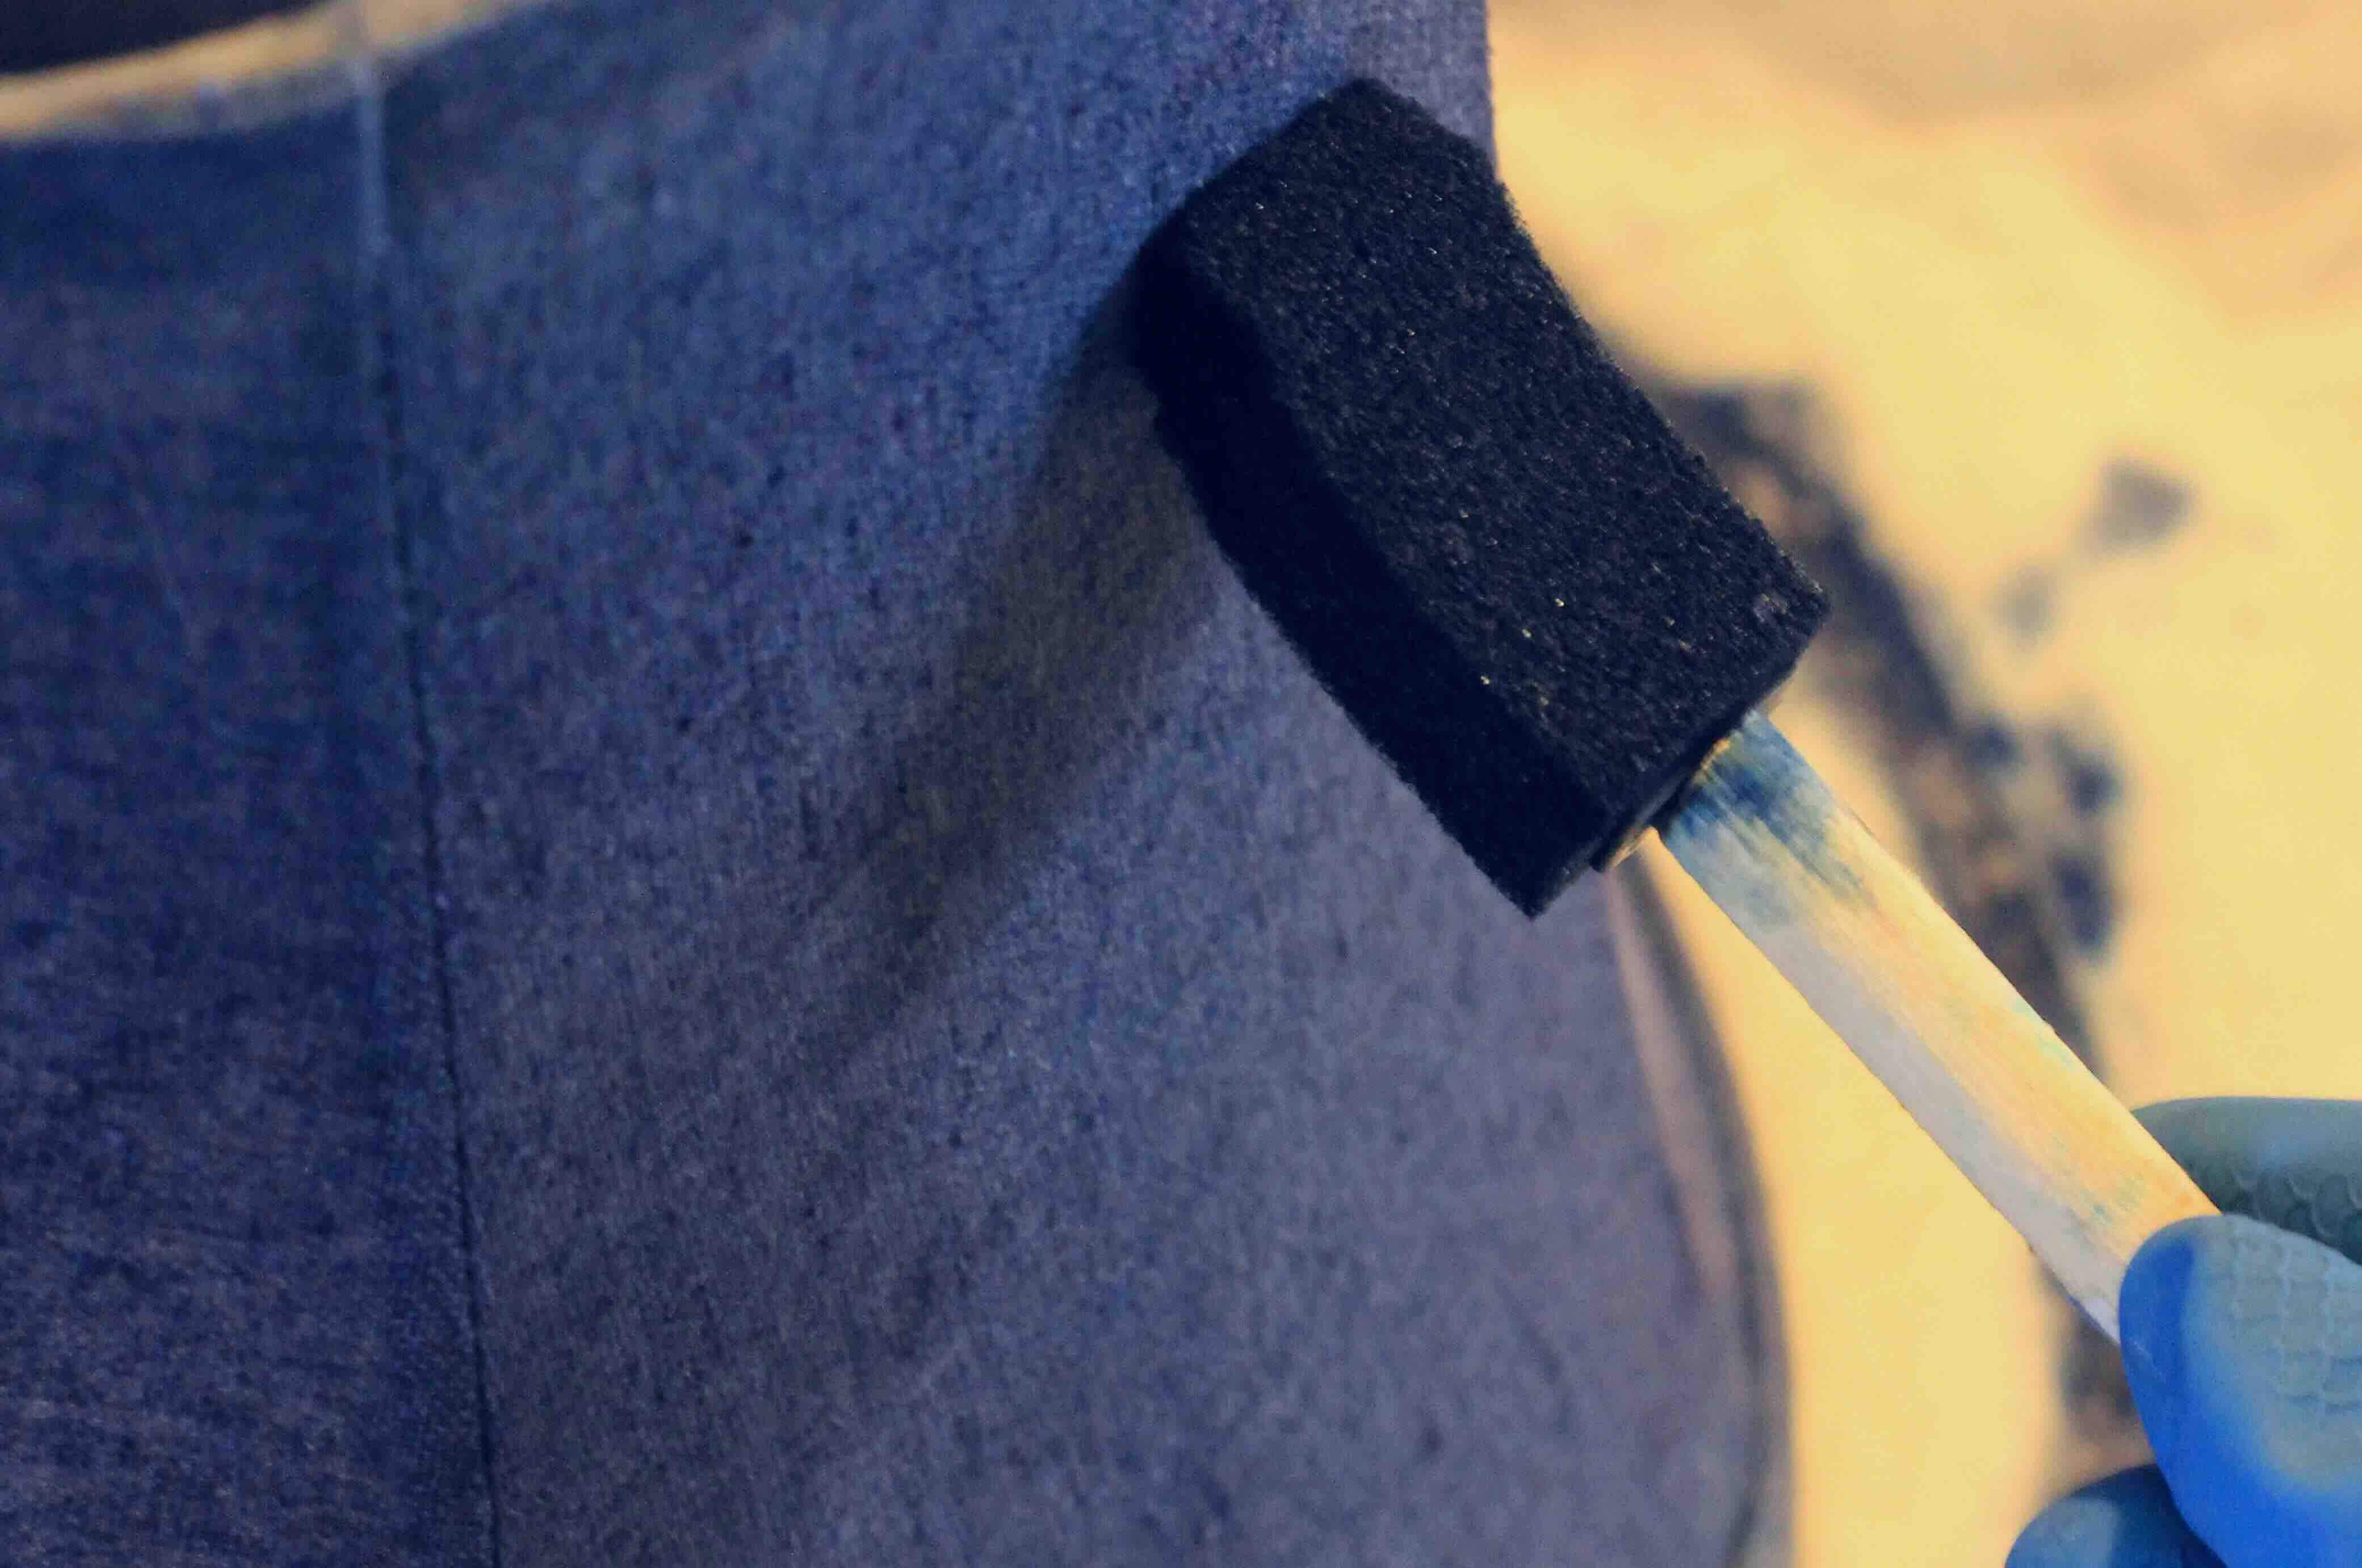
Now, wrap the ruffled fabric strip around the lampshade frame and adjust it to achieve the desired fit and ruffle distribution. Use a hot glue gun to secure the fabric to the frame, starting with a small amount of glue at the beginning and periodically adding more glue as you go along.
Make sure to smooth out any wrinkles or folds in the fabric as you attach it to the frame. Take your time and work carefully to create a neat and uniform ruffled effect.
Once you have attached the fabric to the entire lampshade frame, allow the glue to dry completely before moving on to the next step: attaching the fabric shade to the lamp base.
When making vintage pair of early American colonial style table lamps with ruffled fabric shade, consider using antique brass or bronze finishes for an authentic look.
Step 3: Attaching the Fabric Shade to the Lamp Base
With your ruffled fabric shade created, it’s time to attach it to the lamp base. This step will bring your vintage table lamps one step closer to completion.
Start by carefully lifting the ruffled fabric shade and placing it over the lamp base. Adjust the shade as needed to ensure it is centered and straight. Take a moment to step back and admire the overall look and alignment before proceeding.
Once you are satisfied with the positioning, use a hot glue gun to secure the fabric shade to the lamp base. Apply a small amount of glue along the top rim of the lamp base and press the fabric firmly against it, making sure it adheres evenly.
Continue applying glue along the backside of the fabric shade and pressing it against the lamp base in small sections at a time. Work your way around the base, ensuring that the fabric is securely attached and there are no loose or sagging areas.
If your lamp base has a flat surface at the top, you can also apply glue to the underside of the fabric and press it down on the surface for additional stability.
Take your time during this step to ensure that the fabric shade is firmly attached and that the ruffles are well-distributed and evenly displayed. Smooth out any wrinkles or folds as you go along for a polished and professional look.
Once the fabric shade is securely attached to the lamp base, allow the glue to dry completely before moving on to the final step: adding the finishing touches and assembling your vintage table lamps.
Read more: How To Make A Macrame Lamp Shade
Step 4: Finishing Touches and Final Assembly
Now that you have successfully attached the fabric shade to the lamp base, it’s time to add the finishing touches and assemble your vintage table lamps. This step will bring your project to completion and allow you to enjoy the beauty of your handcrafted creations.
Start by checking the overall appearance of your lamp to ensure that the fabric shade is secure and evenly attached. Adjust any areas that may require additional glue or smoothing.
Next, consider adding some decorative trim or ribbon along the top and bottom edges of the fabric shade. This will provide an extra touch of elegance and enhance the vintage appeal of the lamp. Use a hot glue gun to carefully attach the trim or ribbon, making sure it is aligned and straight.
Allow the glue to dry completely before moving on to the final assembly. This will ensure that the decorative elements are securely attached and won’t come loose during use.
Finally, it’s time to assemble your vintage table lamps. If your lamp wiring kit includes instructions, please follow them carefully to connect the wiring components and install the lamp sockets. Make sure to refer to the manufacturer’s guidelines for safety precautions and recommendations.
Once your wiring is complete, carefully attach the lampshade frame to the lamp socket, making sure it fits securely. Double-check that all connections are tight and secure.
Plug in your newly created vintage table lamps and bask in the warm glow they emit. Step back and admire the beauty and charm that your handmade lamps bring to your space. You have successfully created beautiful pieces of early American colonial style table decor!
Remember to exercise caution when handling and operating your table lamps. Ensure that they are placed on stable and fire-resistant surfaces, and never leave them unattended when lit.
Congratulations on completing your DIY project! Your vintage table lamps are sure to be a conversation piece and a stunning addition to your home decor.
Enjoy the cozy ambiance and nostalgic charm they bring to any room in your home.
Conclusion
Crafting a pair of vintage table lamps with ruffled fabric shades is a rewarding and creative project that allows you to infuse your space with the charm of early American colonial style. With a few simple steps and some basic materials, you can transform ordinary lamp bases into beautiful pieces of functional decor.
By preparing the lamp bases, creating ruffled fabric shades, and attaching them to the lamp bases, you can achieve a customized and unique look that adds warmth and sophistication to any room.
Throughout the process, remember to pay attention to the details and take your time to ensure a polished and professional outcome. Whether you choose vintage or new lamp bases, the ruffled fabric shades will lend an inviting and timeless appeal to the overall design.
As you complete the final steps, applying finishing touches and assembling the lamps, take pride in the craftsmanship and effort you’ve put into this project. The result is a pair of vintage table lamps that exude elegance and bring a touch of nostalgia to your home.
Remember to always exercise caution when using your table lamps, keeping safety in mind at all times. Position them on stable surfaces and never leave them unattended when lit, especially if using incandescent bulbs or candles.
Now that you’ve learned how to make custom vintage table lamps with ruffled fabric shades, you can let your creativity and imagination run wild. Experiment with different fabrics, colors, and patterns to match your personal style and existing decor. These lamps can serve as statement pieces in your living room, bedroom, or even in your home office.
Enjoy the cozy ambiance and the warm glow these lamps bring to your space. Delight in the compliments and admiration they receive from your guests. Most importantly, relish in the satisfaction of knowing that you created something beautiful and unique with your own hands.
So gather your materials, unleash your creativity, and embark on this exciting DIY journey to create your very own pair of vintage table lamps with ruffled fabric shades. Let the charm of early American colonial style illuminate your life.
Frequently Asked Questions about How To Make Vintage Pair Of Early American Colonial Style Table Lamps With Ruffled Fabric Shade
Was this page helpful?
At Storables.com, we guarantee accurate and reliable information. Our content, validated by Expert Board Contributors, is crafted following stringent Editorial Policies. We're committed to providing you with well-researched, expert-backed insights for all your informational needs.

0 thoughts on “How To Make Vintage Pair Of Early American Colonial Style Table Lamps With Ruffled Fabric Shade”