Home>Furniture>Living Room Furniture>How To Build Chair Cushions
Living Room Furniture
How To Build Chair Cushions
Modified: August 27, 2024
Learn how to build comfortable chair cushions for your living room furniture. Enhance your seating experience with our easy-to-follow instructions and create a cozy atmosphere in your home.
(Many of the links in this article redirect to a specific reviewed product. Your purchase of these products through affiliate links helps to generate commission for Storables.com, at no extra cost. Learn more)
Introduction
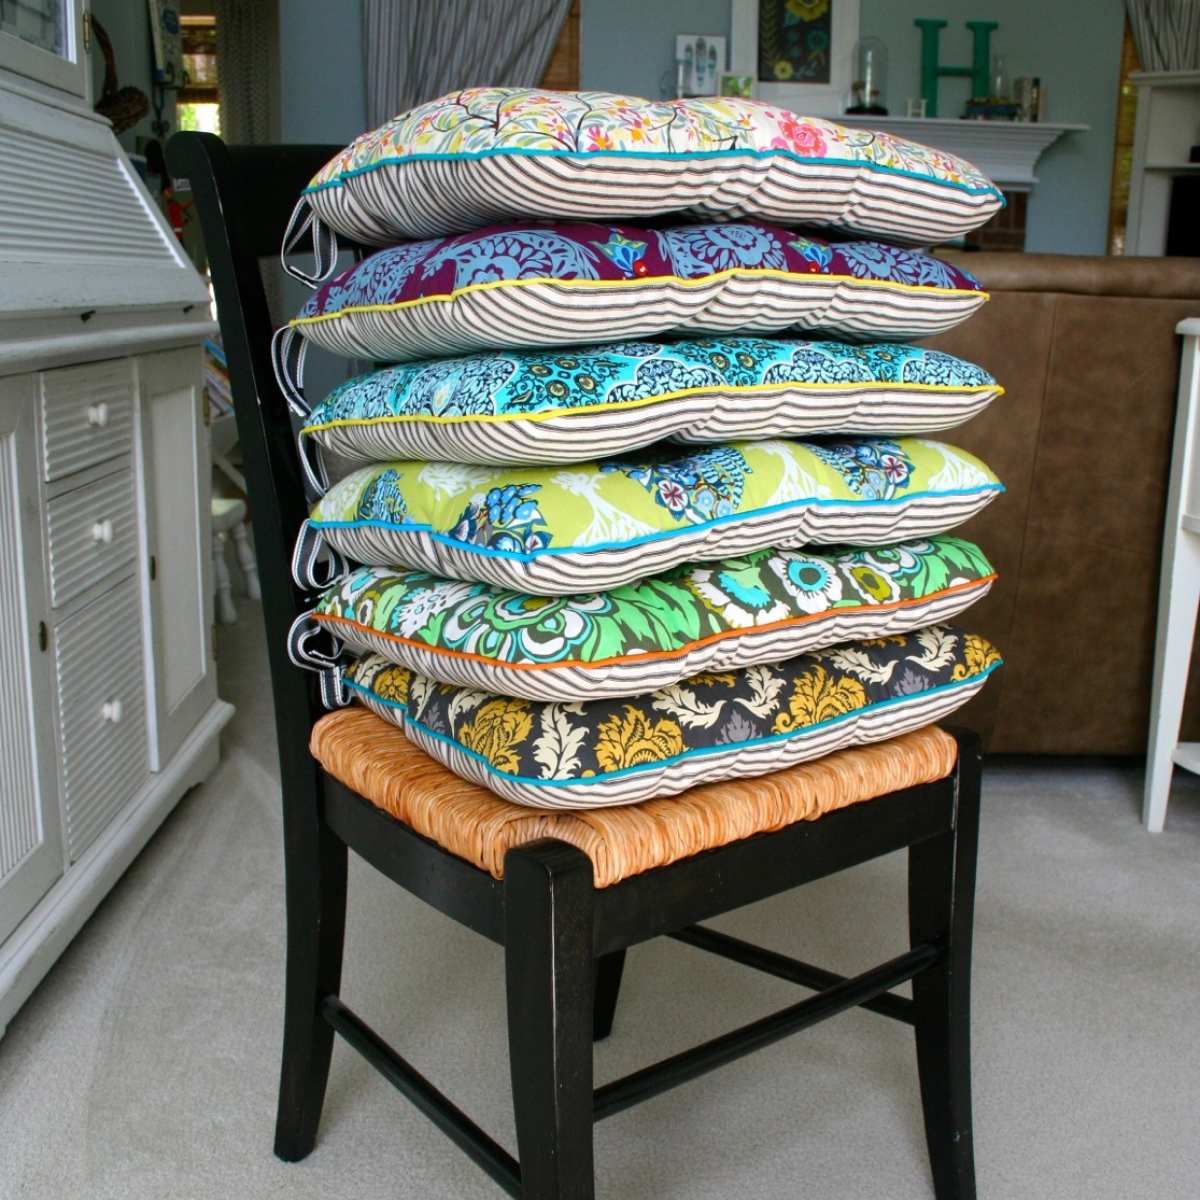
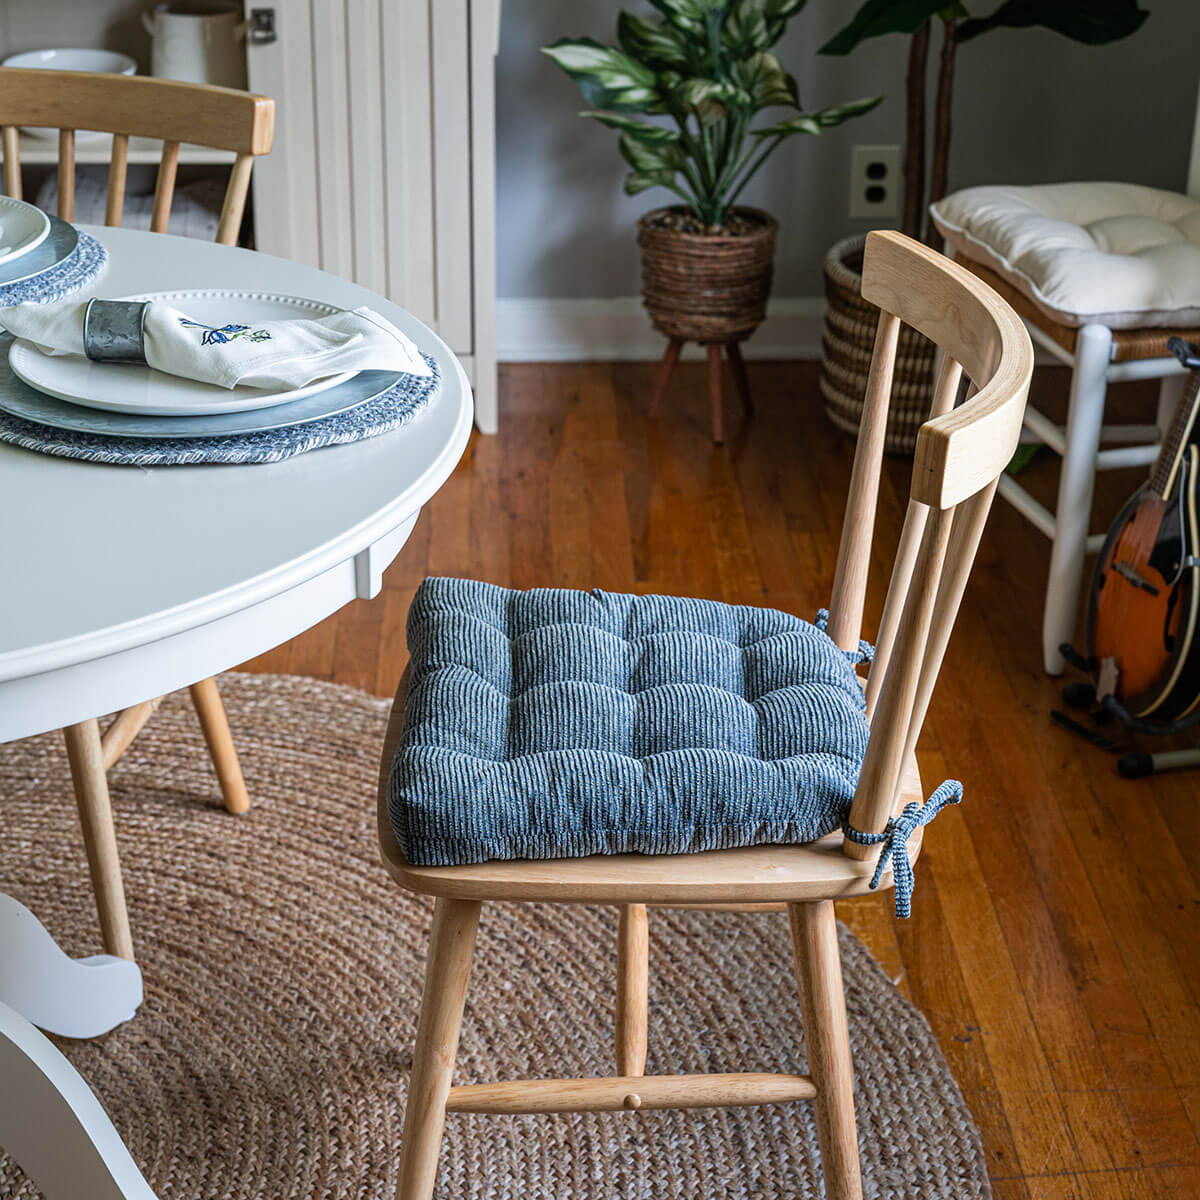
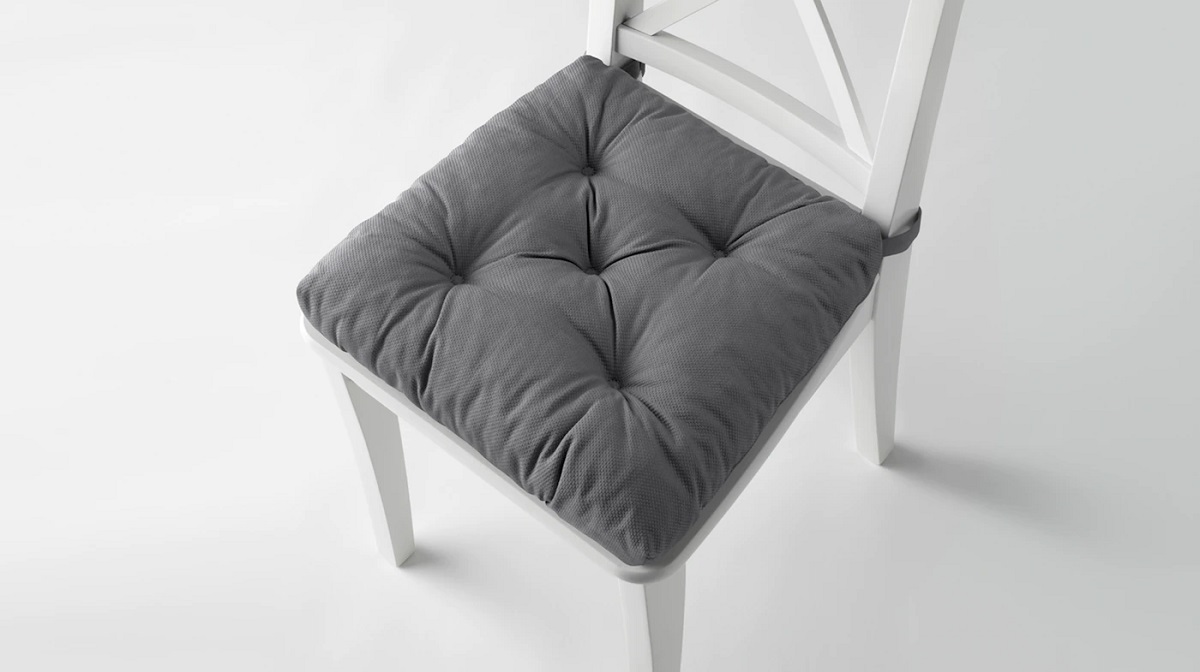
When it comes to furnishing your living room, one of the essential elements is the chair cushions. The right cushions can not only provide comfort but also enhance the overall aesthetic appeal of your furniture. While you can purchase pre-made chair cushions, there’s nothing quite like customizing them to fit your style and preferences.
In this article, we will guide you through the process of building your own chair cushions. Whether you’re looking to replace existing cushions or want to try your hand at DIY home decor, this step-by-step guide will help you create cushions that are both functional and visually appealing.
Before you get started, it’s important to gather all the necessary materials. Having everything you need on hand will make the process smoother and more efficient. In the next section, we will outline the materials required for this project.
Key Takeaways:
- Customizing chair cushions with high-density foam and durable fabric can enhance comfort and style in your living room. Follow the step-by-step guide to create personalized cushions that showcase your creativity.
- Adding ties or Velcro to your DIY chair cushions not only ensures a secure fit but also allows for easy removal and rearrangement, providing convenience and versatility for changing up your living room’s look.
Read more: How To Measure Chair Cushions
Materials Needed
Before diving into the project, gather the following materials:
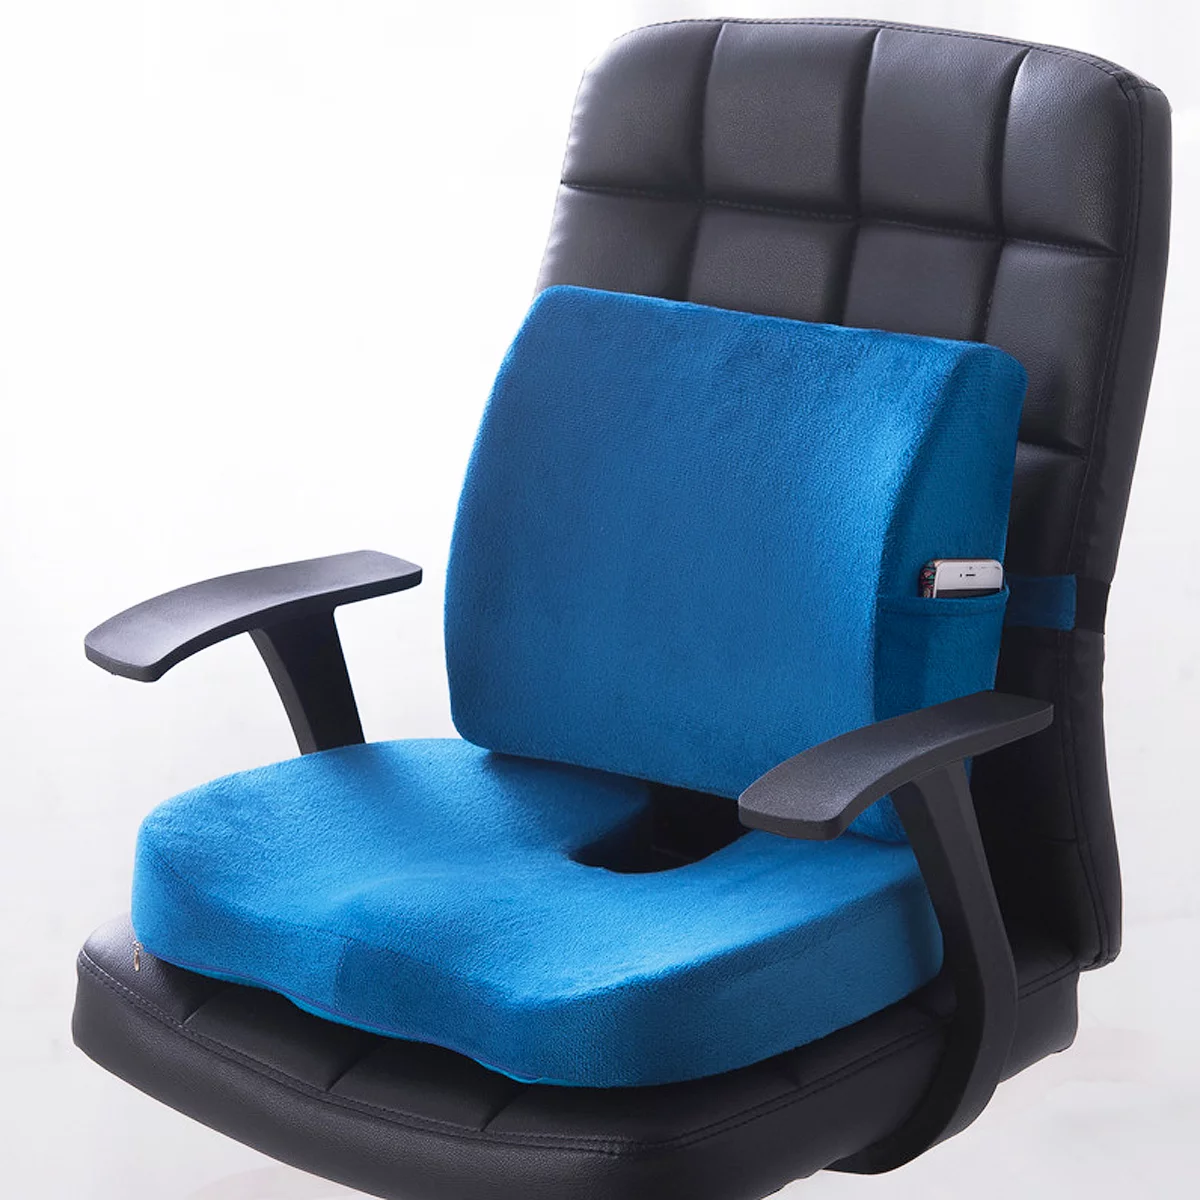
- Foam – Choose high-density foam in the desired thickness and size to provide comfort and support.
- Fabric – Select a durable fabric that suits the style of your living room and complements your existing furniture.
- Thread – Use a strong, coordinating thread for sewing the cushion covers.
- Measuring Tape – This tool is essential for accurate measurements.
- Scissors – Invest in a quality pair of fabric scissors for precise cutting.
- Sewing Machine – If you have access to a sewing machine, it will make the process faster and more efficient, but hand-sewing is also an option.
- Straight Pins – These will help hold fabric pieces together during sewing.
- Needles – Have a variety of needles available for sewing by hand.
- Iron and Ironing Board – These will come in handy for fabric preparation and pressing.
Ensure that you have all these materials ready before starting the project. Having everything in place will streamline the process and make it easier to complete the task at hand. With the materials at your disposal, we can move on to the next stage: measurements and planning.
Measurements and Planning
Before cutting your foam and fabric, it’s crucial to take accurate measurements of your chair. Start by measuring the seat width, seat depth, and the height of the backrest. Note down these measurements as they will be the basis for cutting the foam and fabric pieces.
Next, consider the thickness of the foam you have chosen and account for any additional cushioning you prefer. Take into account the seam allowances and the desired thickness for the finished cushion. This will help you determine the final dimensions for cutting the foam.
Once you have the measurements for the foam, transfer those dimensions to the foam itself. Use a marker or pen to draw the outlines of the foam pieces based on your measurements. Double-check the measurements before cutting to avoid any costly errors.
Now, it’s time to plan the fabric cuts. Measure and calculate the necessary fabric dimensions based on the foam measurements. Add seam allowances on all sides to allow for sewing. Keep in mind any additional design elements, such as piping or decorative trim, which may require extra fabric.
You may want to create paper or cardboard templates based on your fabric dimensions to visualize how the cushions will look once completed. This step will help you plan the fabric cuts more accurately and ensure a proper fit.
With the measurements and planning complete, you’re ready to move on to the next step: cutting the foam. Ensure you have a clean, flat workspace and the necessary tools before proceeding.
Cutting the Foam
Now that you have the measurements and a clear plan, it’s time to cut the foam to the desired dimensions. Follow these steps to ensure accurate cutting:
- Place the foam on a clean, flat surface. Make sure it is secure and doesn’t shift during the cutting process.
- Using a sharp utility knife or an electric foam cutter, carefully cut along the marked lines. Take your time and apply even pressure to ensure clean and straight edges.
- If your foam is thick, you may need to make multiple passes with the knife or cutter to cut through completely. Take it slow and be patient.
- Double-check the cut foam pieces against the original measurements to ensure accuracy. Trim any uneven edges if necessary.
- Once all the foam pieces are cut, place them on the chair seat or backrest to check the fit. Make any adjustments if needed before moving on to the next step. The foam should fit snugly within the chair frame, providing optimal comfort and support.
Now that your foam pieces are accurately cut and fitted, it’s time to move on to the next phase: sewing the cushion covers. This step will give your chair cushions a professional and polished look while also protecting the foam from wear and tear.
Sewing the Cushion Covers
Sewing the cushion covers is where you can get creative and add your personal touch to the project. Follow these steps to sew the cushion covers:
- Prepare your fabric by washing and ironing it to remove any wrinkles and ensure a smooth surface.
- Based on your fabric measurements and plan, cut out the fabric pieces for each cushion cover. Remember to include seam allowances on all sides.
- If you’re using a sewing machine, set it up with the appropriate thread and choose a suitable stitch for sewing the fabric. If you’re hand-sewing, thread your needle and knot the end of the thread.
- Start sewing the fabric pieces together, right sides facing each other. Use a ½ inch seam allowance and backstitch at the beginning and end of each seam for added durability.
- Continue sewing the sides of the cushion cover, leaving one side open for inserting the foam. Be sure to reinforce the corners by pivoting the fabric and sewing across the corner at a diagonal.
- Clip the corners of the cushion cover to reduce bulk and help the corners lie flat when turned right side out.
- Turn the cover right side out through the open side. Use a pointed object, such as a chopstick or blunt knitting needle, to gently push out the corners for a crisp finish.
- Insert the cut foam into the cushion cover through the open side. Ensure the foam fits snugly and aligns with the edges of the cover.
- Finally, sew the open side closed either by hand or using the sewing machine with a blind stitch. This will give the cushion cover a neat and seamless look.
With all the cushion covers sewn and the foam inserts securely in place, your chair cushions are nearly complete. The next step will show you how to attach ties or Velcro to keep the cushions in place on the chairs.
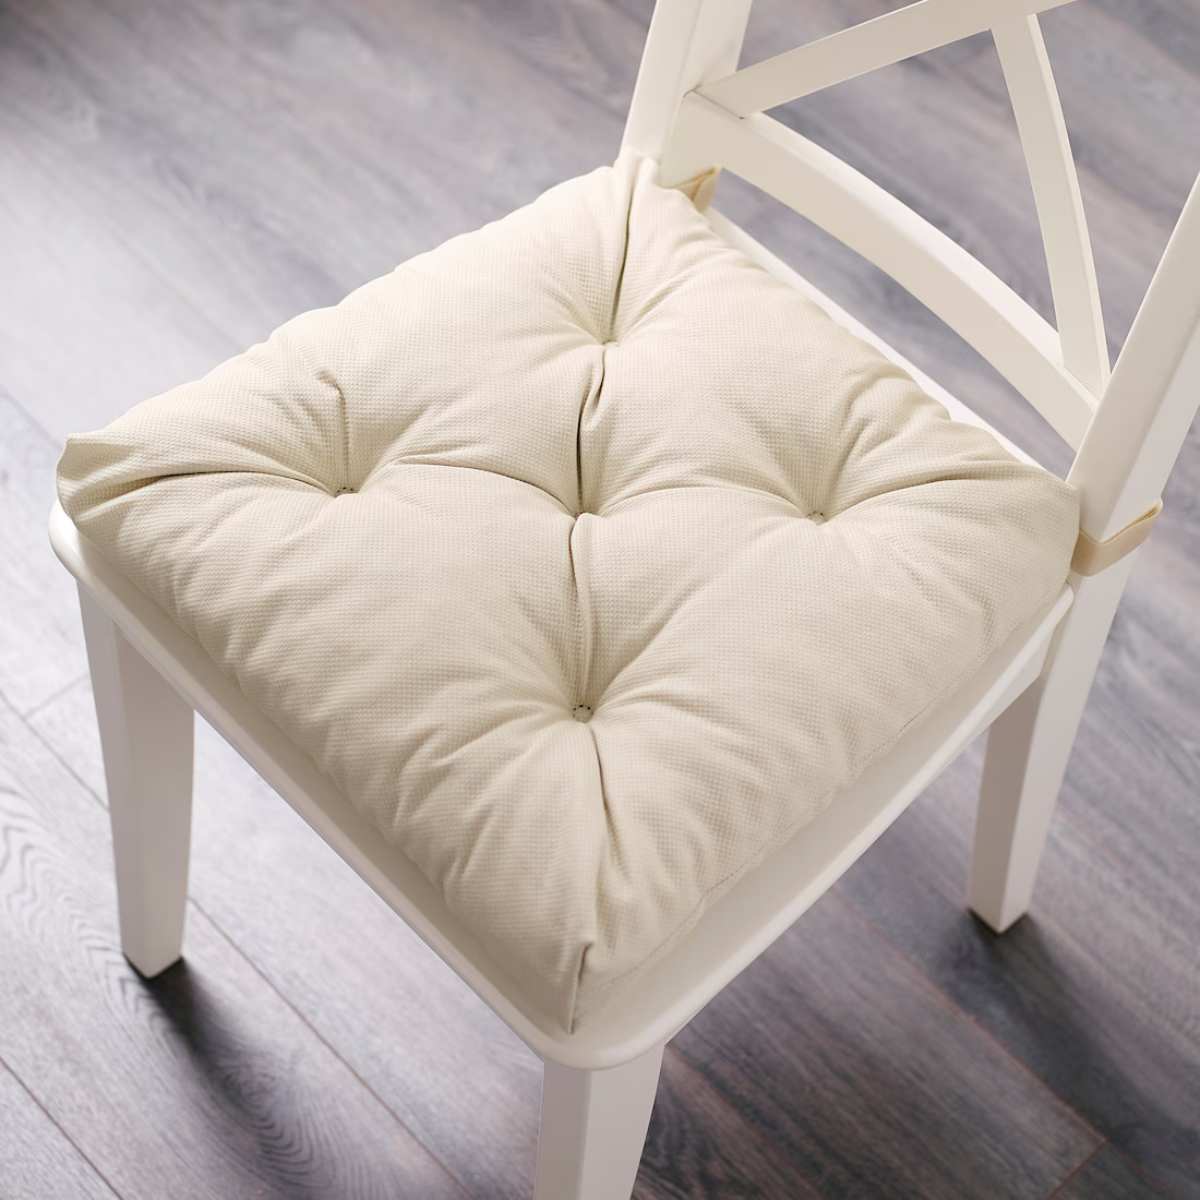
When building chair cushions, make sure to use high-density foam for durability and comfort. Measure the chair seat carefully to ensure a perfect fit for the cushion.
Read more: How To Make Dining Chair Cushions
Attaching the Cushion Covers
Attaching the cushion covers to the chairs will ensure that they stay in place and provide a cohesive look. Here’s how you can do it:
- Decide whether you want to attach the cushion covers directly to the chair frame or use separate ties or Velcro straps.
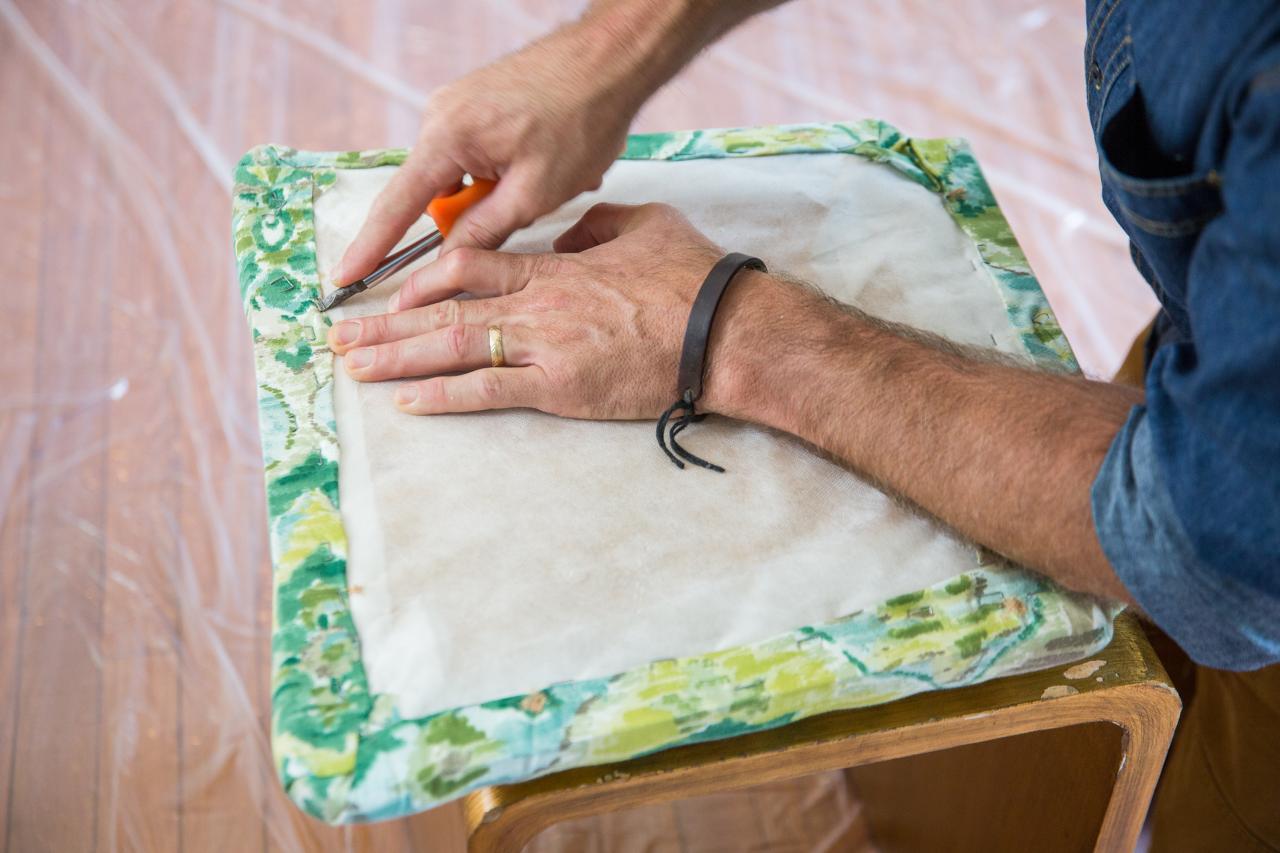
- If you choose to attach the covers directly, use a staple gun or upholstery tacks to secure the fabric to the underside of the chair. Make sure the fabric is taut and smooth before securing it in place.
- If you prefer using ties or Velcro, measure and cut strips of fabric or Velcro that are long enough to reach from the back of the cushion cover to the chair backrest or seat bottom.
- Sew or attach the ties or Velcro to the cushion covers, ensuring they are evenly spaced and well-secured.
- Place the cushion on the chair seat or backrest, and tie the fabric strips or attach the Velcro to the chair frame. Make any adjustments to ensure a snug fit and proper positioning.
- Double-check that the cushion covers are securely attached and won’t easily come loose during use.
Attaching the cushion covers will give your chair cushions a finished look while keeping them in place. The next step will guide you through adding ties or Velcro for added convenience and functionality.
Adding Ties or Velcro
Adding ties or Velcro to your chair cushion covers can provide additional stability and convenience. Here’s how you can do it:
- If you choose to add ties, cut fabric strips that are approximately 12-15 inches long and 1 inch wide. Fold each strip in half lengthwise and press it flat.
- Position the ties on the cushion cover, evenly spaced along the back edge or corners. Sew them securely in place, ensuring they are fully attached and can withstand regular use.
- If you prefer using Velcro, cut Velcro strips into smaller pieces. Attach one side of the Velcro to the cushion cover and the corresponding side to the chair frame. Ensure they align properly and securely fasten together.
- Test the ties or Velcro attachments to make sure they are secure and can withstand movement and use. Adjust or reinforce the attachments as needed.
- Once the ties or Velcro are in place, you can easily remove and reattach the cushion covers for cleaning or swapping out different style options.
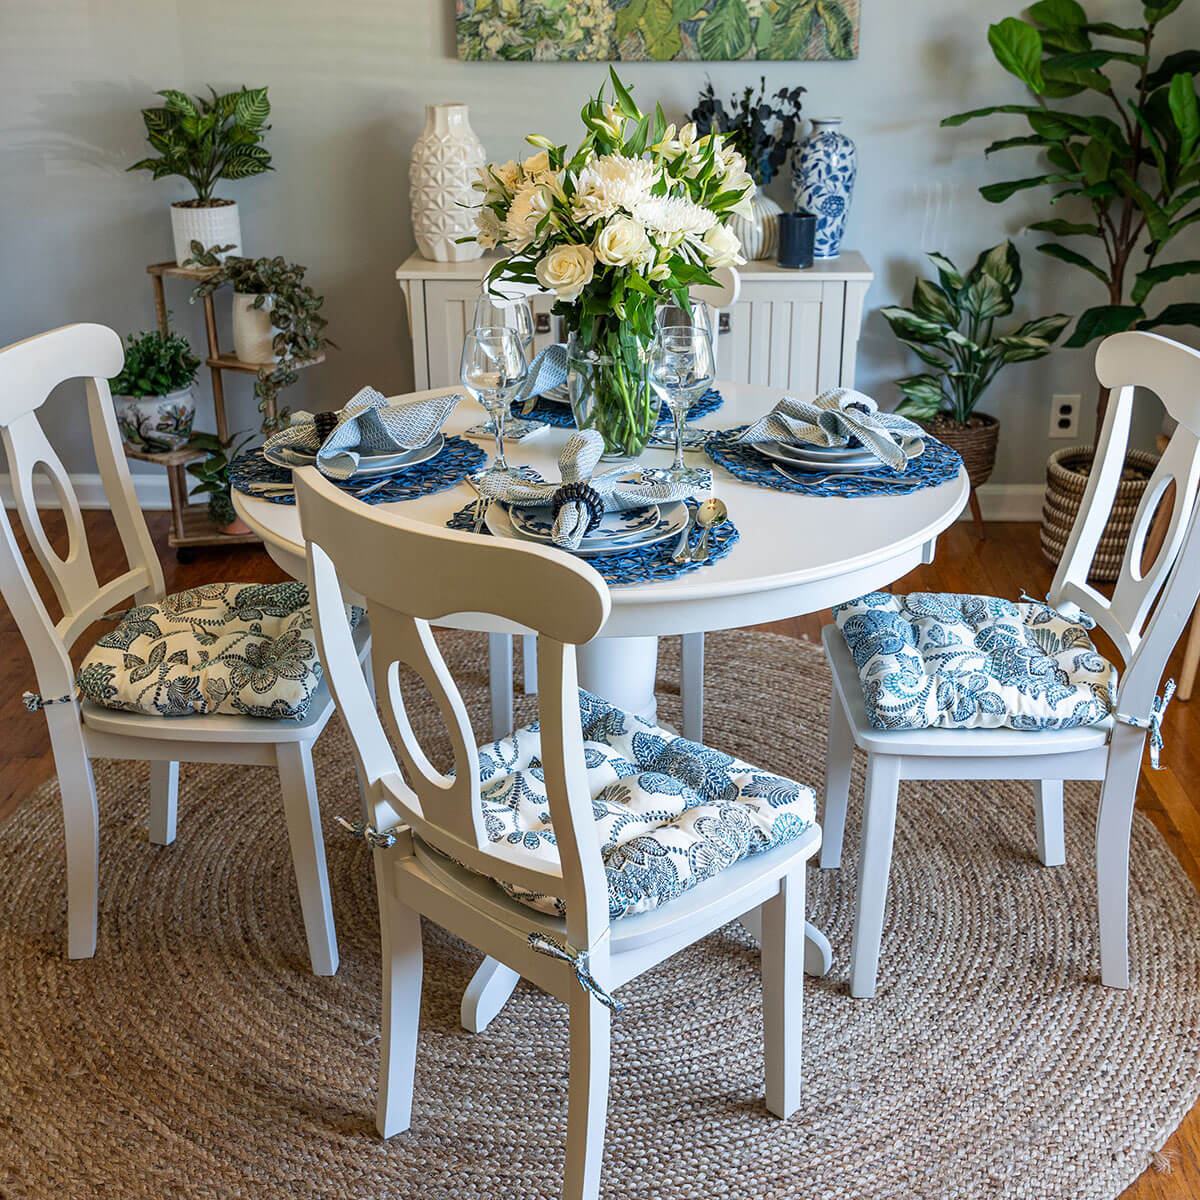
Adding ties or Velcro to your chair cushions not only adds functionality but also allows for customization and versatility. You can easily change the look of your living room by switching out different cushion covers without the hassle of permanent attachments.
Now that you have added ties or Velcro to your chair cushions, it’s time to add the finishing touches and make any necessary adjustments for a polished final result.
Finishing Touches
As you near the completion of your chair cushions, it’s essential to pay attention to the finishing touches to ensure a professional and polished look. Here are some final steps you can take:
- Inspect each cushion cover for any loose threads or uneven stitching. Trim any excess threads and reinforce any areas that may need it.
- If desired, you can add decorative elements such as piping or trim to the edges of the cushion covers. Sew them along the seams for an extra touch of style.
- Give each cushion cover a final press with an iron to smooth out any wrinkles and creases. Be sure to follow the fabric’s care instructions to avoid damaging it.
- Place the finished cushions back onto their respective chairs and step back to admire your handiwork. Take the time to adjust their position and fluff up the foam inserts to ensure they look their best.
- Consider adding accent pillows or throws to complement the chair cushions and tie the overall look of the room together. This will enhance the comfort and style of your living space.
By paying attention to these finishing touches, you’ll elevate the overall appearance and functionality of your chair cushions. The final result will be a set of cushions that not only provide comfort but also add a personal touch to your living room.
With all the steps completed, you can now enjoy your newly crafted chair cushions and bask in the satisfaction of a DIY project well done!
Conclusion
Building your own chair cushions allows you to customize your living room furniture and showcase your creativity. By following the step-by-step guide outlined in this article, you can create cushions that are both comfortable and visually appealing.
Starting with gathering the necessary materials, taking precise measurements, and cutting the foam to fit your chairs, you’ll have a solid foundation for your cushions. Sewing the cushion covers not only protects the foam but also lets you showcase your personal style by choosing the fabric and adding decorative elements.
Once the cushion covers are sewn and the foam inserts are in place, attaching ties or Velcro ensures that the cushions stay securely in place. These ties or Velcro attachments allow for easy removal and rearrangement, making it convenient to change up the look of your living room.
Finishing touches such as trimming loose threads, adding decorative elements, and giving the cushions a final press make a significant difference in the final presentation. These small details contribute to the overall polished and professional appearance of your chair cushions.
By taking the time to build your own chair cushions, you not only create a personalized and stylish addition to your living room but also gain the satisfaction of a DIY project completed with care and attention to detail.
Now, it’s time to sit back, relax, and enjoy the comfort and beauty of your newly crafted chair cushions. Whether you’re hosting guests or simply lounging with a book, your custom cushions will enhance the ambiance of your living room and provide you with a cozy space to unwind.
So, embrace your creativity, gather your materials, and embark on the journey of building your own chair cushions. It’s a rewarding project that will leave you with long-lasting comfort and a sense of accomplishment.
Frequently Asked Questions about How To Build Chair Cushions
Was this page helpful?
At Storables.com, we guarantee accurate and reliable information. Our content, validated by Expert Board Contributors, is crafted following stringent Editorial Policies. We're committed to providing you with well-researched, expert-backed insights for all your informational needs.

0 thoughts on “How To Build Chair Cushions”