
Articles
How To Measure Kitchen Countertops
Modified: August 28, 2024
Learn how to measure kitchen countertops with these helpful articles. Discover the best tips and techniques for accurate measurements.
(Many of the links in this article redirect to a specific reviewed product. Your purchase of these products through affiliate links helps to generate commission for Storables.com, at no extra cost. Learn more)
Introduction
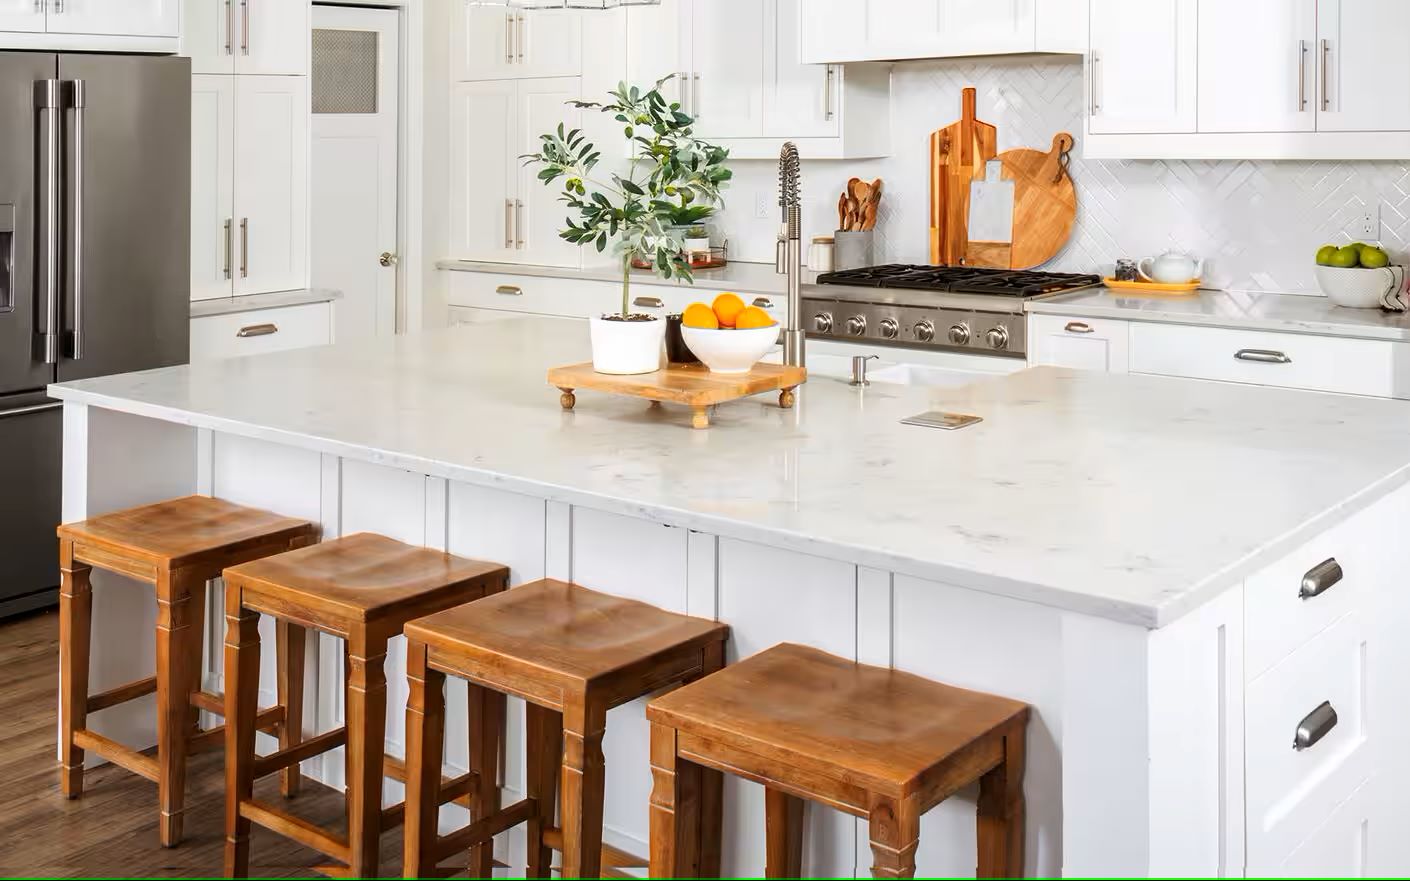
When it comes to renovating your kitchen, one of the first things you need to consider is the measurement of your kitchen countertops. Accurate measurements are essential to ensure that you purchase the right amount of material and avoid any costly mistakes. Whether you’re opting for granite, quartz, or any other type of countertop material, this guide will walk you through the step-by-step process of measuring your kitchen countertops.
Before you begin, it’s important to gather the necessary tools and supplies to make the measurement process smoother. You will need a tape measure, a pencil or marker, paper or a notebook, and a calculator. With these tools in hand, you’ll be ready to measure your kitchen countertops like a pro.
Key Takeaways:
- Accurate measurements are crucial for a successful kitchen renovation. Gather the right tools, measure length and width, calculate square footage, and consider additional dimensions for a seamless countertop installation.
- Calculating the total cost is essential for budgeting and decision-making. Research material costs, factor in additional expenses, obtain quotes, and make informed choices for a smooth and successful countertop installation.
Read more: How To Cover Kitchen Tile Countertops
Tools and Supplies Needed
Before you start measuring your kitchen countertops, gather the following tools and supplies:
- Tape measure: Make sure you have a reliable tape measure that can accurately measure both length and width.
- Pencil or marker: You’ll need a writing utensil to mark down your measurements.
- Paper or notebook: Use this to record your measurements and calculations.
- Calculator: It’s helpful to have a calculator on hand for any necessary calculations.
Having these tools and supplies ready will ensure that you can measure your kitchen countertops accurately and efficiently.
Step 1: Measure the Length of the Countertop
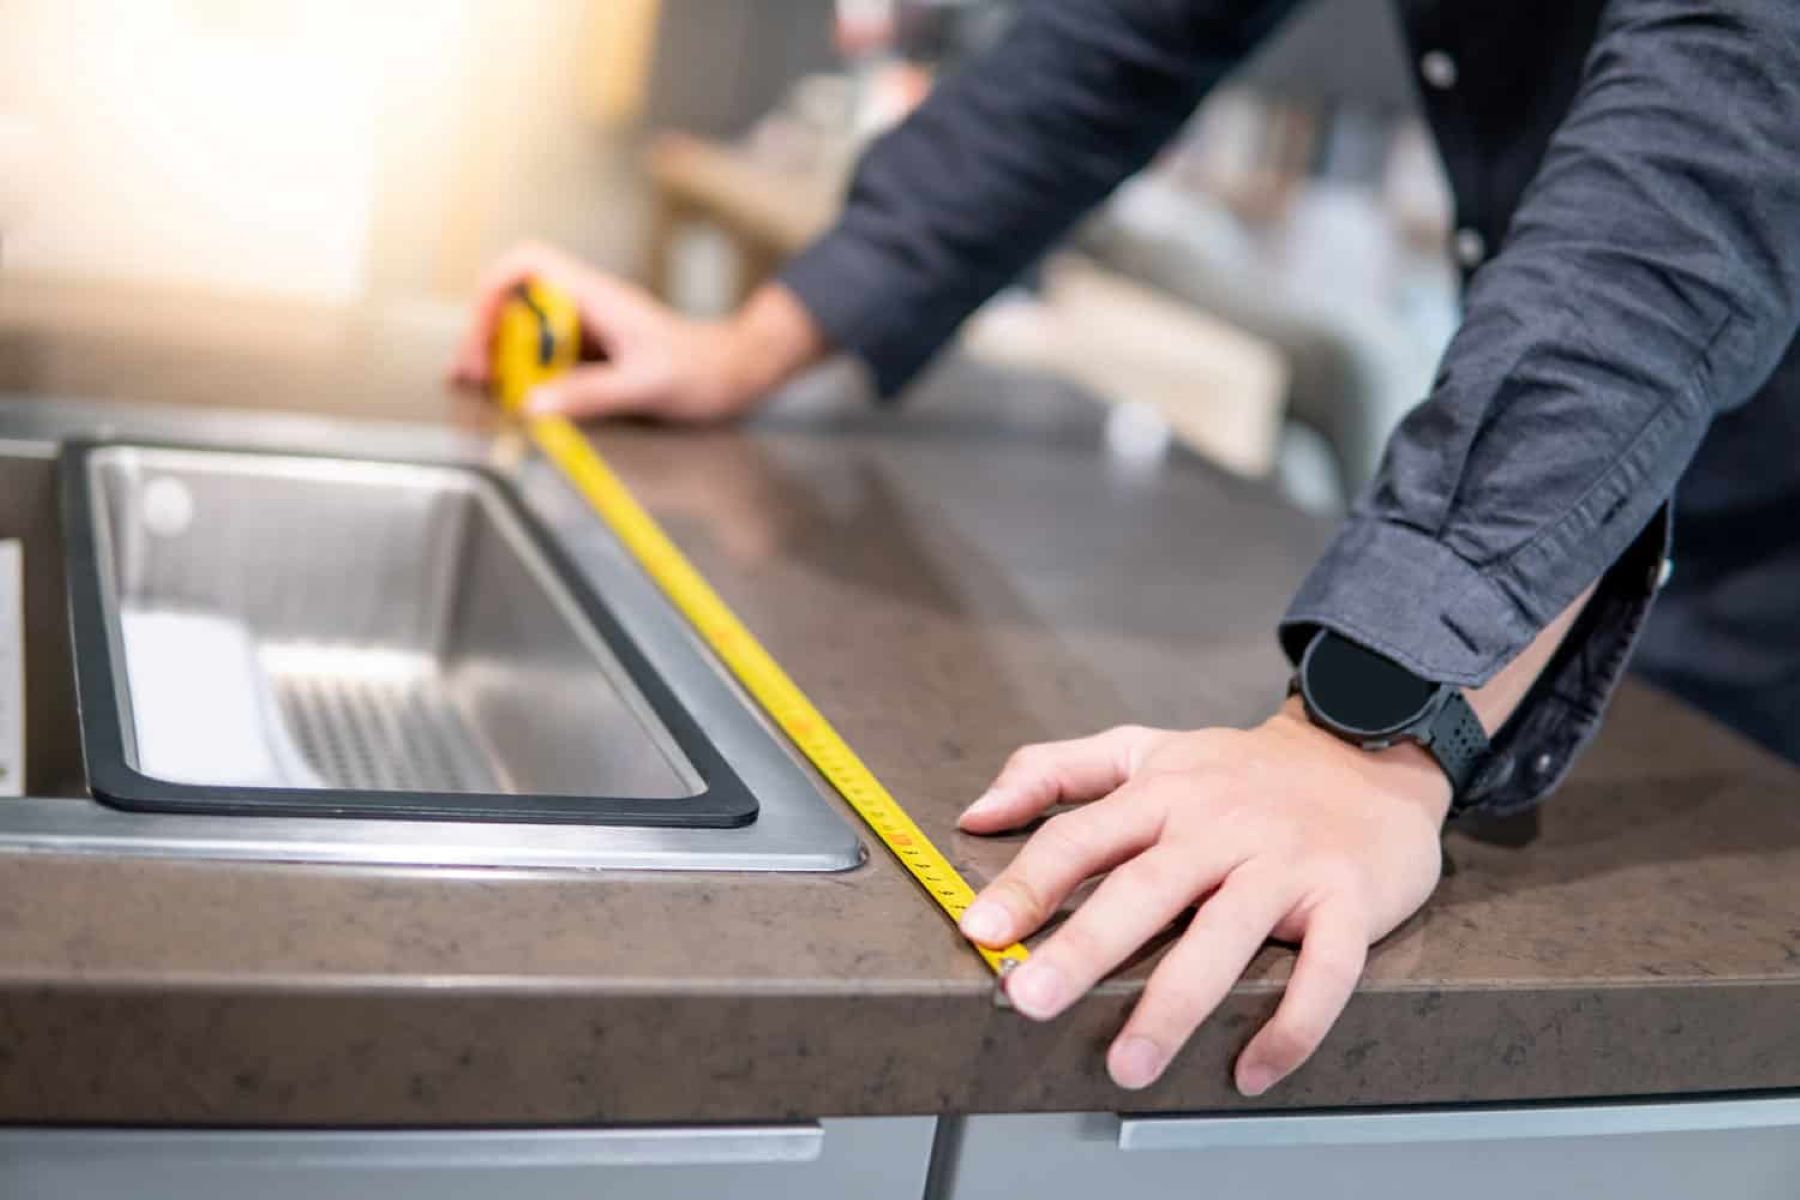
The first step in measuring your kitchen countertop is to determine the length. To do this, follow these simple steps:
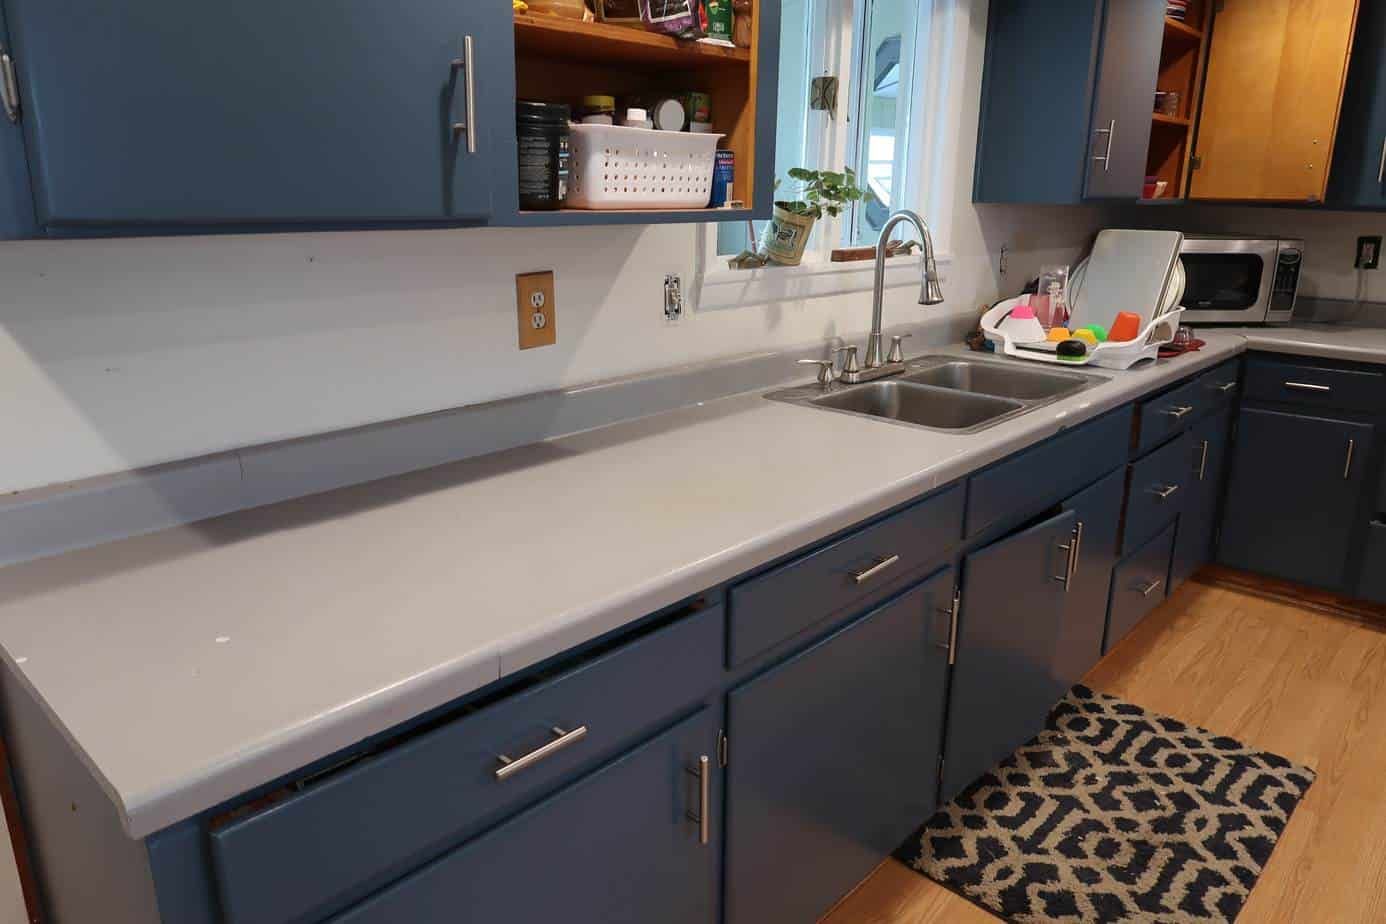
- Clear the countertop: Remove any items or clutter from the countertop to get an accurate measurement.
- Start at one end: Begin at one end of the countertop and extend your tape measure along the entire length.
- Read the measurement: Note down the measurement in inches or feet. If your countertop is longer than your tape measure, you may need to measure in sections and add the measurements together.
- Round up: If the measurement falls between inches, round up to the nearest whole number.
By measuring the length of your countertop accurately, you’ll have the foundation for determining the overall size and materials needed for your kitchen renovation.
Step 2: Measure the Width of the Countertop
After measuring the length, the next step is to determine the width of your kitchen countertop. Follow these steps to get an accurate measurement:
- Clear the countertop: Remove any items or obstructions to ensure an unobstructed measurement.
- Start at one side: Begin at one side of the countertop and extend your tape measure across the width.
- Read the measurement: Note down the measurement in inches or feet. If your countertop is wider than your tape measure, measure in sections and add the measurements together.
- Round up: If the measurement falls between inches, round up to the nearest whole number.
Measuring the width of your countertop accurately is crucial for determining the amount of material you’ll need and ensuring a perfect fit during the renovation process.
Step 3: Calculate the Total Square Footage
Now that you have measured the length and width of your kitchen countertop, it’s time to calculate the total square footage. This measurement is essential for determining the amount of material required and estimating the cost of your countertop installation. Follow these steps to calculate the total square footage:
- Multiply the length and width: Take the measurement of the length and multiply it by the measurement of the width. This will give you the square footage of one section of your countertop.
- Repeat for all sections: If your countertop consists of multiple sections, repeat this calculation for each section and write down the individual square footage.
- Add up the square footage: Add all the individual square footage measurements together to get the total square footage for your entire countertop.
By calculating the total square footage, you’ll have a clear understanding of how much material is required, which is crucial for budgeting and purchasing the right amount of countertop material.
Step 4: Consider Additional Measurements (if applicable)
In addition to the length, width, and square footage, there are a few other measurements you may need to consider depending on the design and layout of your kitchen. These additional measurements will help ensure that your countertop fits perfectly and accommodates any unique features of your kitchen. Here are some of the additional measurements you may need to take:
- Backsplash height: If you are planning to install a backsplash, measure the height from the countertop to the desired height of the backsplash. This will ensure a seamless transition between the countertop and backsplash.
- Overhang depth: Depending on your design preference, you may want to have an overhang on your countertop. Measure the desired depth of the overhang to ensure it is accommodated in your measurements.
- Corner radius: If your countertop has rounded corners, measure the radius of the curve. This measurement is important for fabricating and installing curved countertop edges.
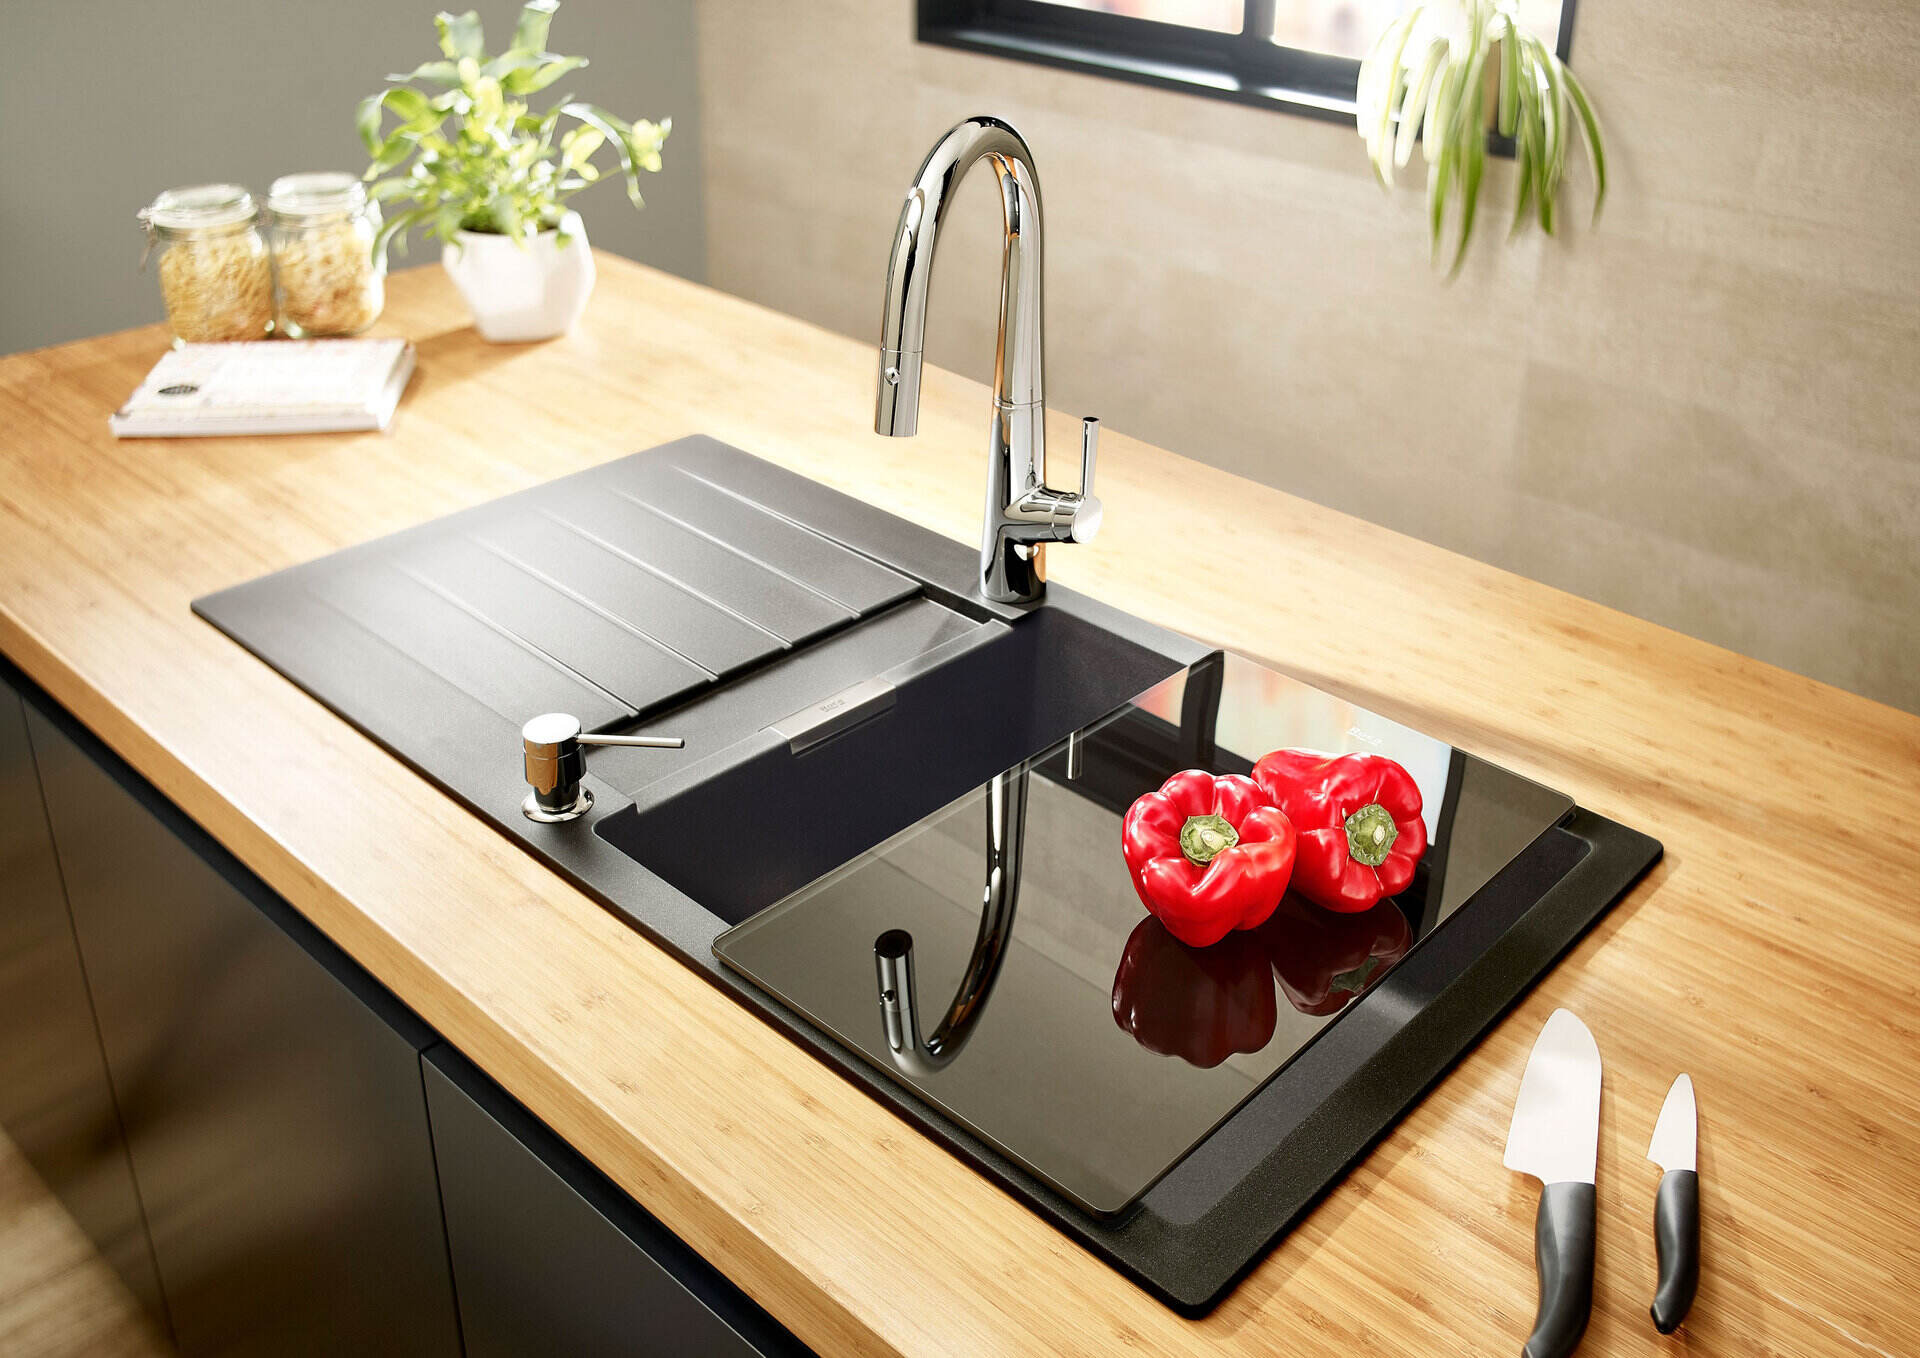
- Sink cutout dimensions: If you are installing an undermount or drop-in sink, measure the dimensions of the sink cutout to ensure a proper fit.
- Appliance measurements: If your countertop will be adjacent to appliances like a stove or refrigerator, consider the space required for a seamless fit.
By taking these additional measurements into account, you can ensure that your countertop installation is precise and tailored to your specific kitchen layout.
When measuring kitchen countertops, always measure the length and width of the area, including any protrusions or angles. Be sure to measure in multiple places to account for any irregularities in the space.
Step 5: Determine the Thickness of the Countertop
Once you have measured the length, width, and additional dimensions of your kitchen countertop, it is important to determine the thickness of the countertop material. The thickness not only affects the look and feel of the countertop but also impacts the structural support and installation process. Follow these steps to determine the thickness of your countertop:
- Research countertop materials: Different countertop materials come in various thickness options. Research the recommended thickness for the specific material you have chosen.
- Consider the design and aesthetic: The thickness of the countertop can impact the overall aesthetic of your kitchen. Choose a thickness that complements the style and design of your space.
- Evaluate the structural requirements: Consider the support and weight-bearing capabilities of your cabinets and countertop base. Thicker countertops may require additional support to prevent sagging.
- Consult with professionals: If you are unsure about the appropriate thickness for your countertop, consult with a professional contractor or countertop supplier who can provide guidance based on your specific circumstances.
Determining the thickness of your countertop is a crucial step to ensure both functionality and visual appeal. Take the time to evaluate the options available and make an informed decision that suits your needs and preferences.
Step 6: Calculate the Linear Footage (if applicable)
In some cases, it may be necessary to calculate the linear footage of your countertop. This is particularly relevant if you’re planning to install a tile backsplash, as tile is typically sold by the linear foot. Here’s how you can calculate the linear footage:
- Measure the length of each section: Start by measuring the length of each section of your countertop separately.
- Add up the lengths: Add together the lengths of each section to get the total combined length.
- Convert into linear footage: If your measurements are in inches, divide the total combined length by 12 to convert it into linear footage.
Calculating the linear footage is important for accurately estimating the amount of tile or other materials needed for your backsplash installation. It ensures that you purchase the right quantity and avoid any last-minute surprises during the installation process.
Step 7: Account for Cutouts and Appliances
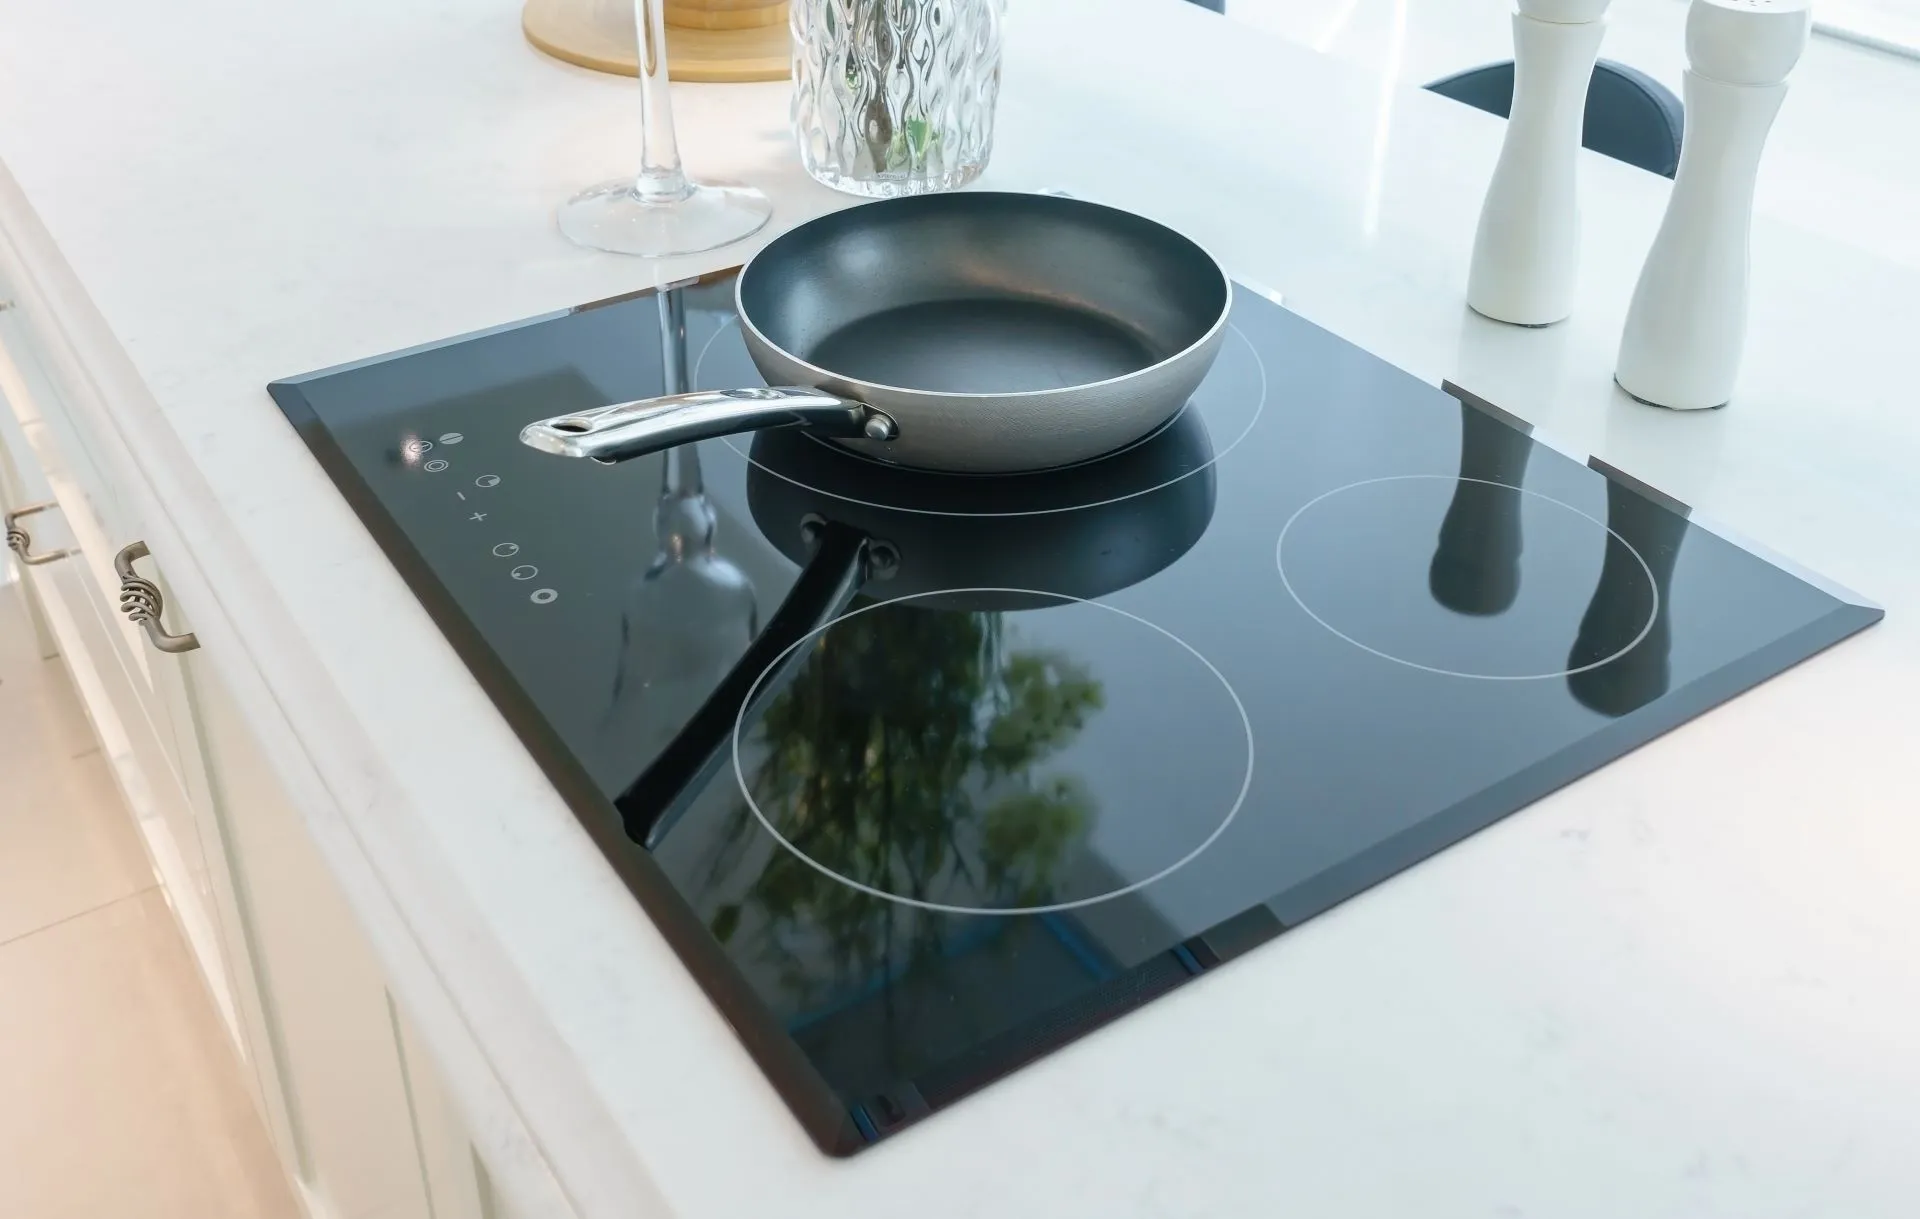
When measuring your kitchen countertop, it’s essential to account for any cutouts and appliances that will be integrated into the countertop surface. Cutouts are necessary for sinks, faucets, stovetops, and other fixtures, while appliances such as cooktops and wall ovens may also require specific measurements. Follow these steps to ensure accurate measurements for cutouts and appliances:
- Identify the location of each cutout: Determine where each fixture or appliance will be placed on the countertop.
- Measure the dimensions of each cutout: For each cutout, measure the length, width, and depth to ensure a precise fit.
- Account for any installation requirements: Depending on the type of fixture or appliance, there may be installation requirements such as clearance space or ventilation that must be considered.
- Factor in the additional space: When measuring for the cutout, make sure to add extra space around the fixture for a proper fit and installation.
By accurately measuring and accounting for cutouts and appliances, you can ensure that your countertop will perfectly accommodate all necessary fixtures and appliances, resulting in a seamless and functional kitchen workspace.
Step 8: Calculate the Total Cost
Once you have gathered all the necessary measurements for your kitchen countertop, it’s time to calculate the total cost. This step is essential for budgeting and understanding the financial aspect of your countertop installation. Here’s how you can calculate the total cost:
- Research material costs: Determine the cost per square foot or linear foot of the countertop material you have chosen. This information can be obtained from suppliers or online resources.
- Calculate the material cost: Multiply the total square footage or linear footage of your countertop by the cost per square foot or linear foot. This will give you the material cost.
- Consider additional expenses: In addition to the material cost, there may be additional expenses to factor in, such as installation fees, edge treatments, backsplash materials, and any customization or special requests.
- Get quotes from suppliers or contractors: Reach out to different suppliers or contractors to obtain quotes for the overall cost of your countertop installation. Consider factors such as labor, delivery, and any additional services offered.
- Compare quotes and make a decision: Review the quotes you receive and consider the overall value for money, reputation, and experience of the suppliers or contractors. Choose the option that aligns with your budget and requirements.
Calculating the total cost of your kitchen countertop will give you a clear understanding of the financial aspect of your renovation project. It will help you make informed decisions, stay within your budget, and ensure a smooth and successful countertop installation.
Conclusion
Measuring your kitchen countertops accurately is crucial for a successful kitchen renovation. By following the step-by-step process outlined in this guide, you can ensure that you have the right measurements to purchase the correct amount of material, estimate costs, and achieve a seamless and functional countertop installation.
Remember to gather the necessary tools and supplies before you begin, including a tape measure, pencil or marker, paper or notebook, and a calculator. Take precise measurements for the length and width of your countertops, and calculate the total square footage to determine the material needed. Consider any additional measurements, such as backsplash height and appliance dimensions, to ensure a perfect fit.
Once you have all the measurements, take into account the thickness of the countertop, calculate the linear footage if applicable, and consider any cutouts and appliances that need to be accommodated. Finally, calculate the total cost by researching material costs, factoring in additional expenses, and obtaining quotes from suppliers or contractors.
With accurate measurements and a clear understanding of the total cost, you’ll be well-prepared to make informed decisions, stay within your budget, and create a beautiful and functional kitchen countertop that meets your needs and style preferences.
So grab your tools, start measuring, and get ready to transform your kitchen with a stunning new countertop!
Frequently Asked Questions about How To Measure Kitchen Countertops
Was this page helpful?
At Storables.com, we guarantee accurate and reliable information. Our content, validated by Expert Board Contributors, is crafted following stringent Editorial Policies. We're committed to providing you with well-researched, expert-backed insights for all your informational needs.



0 thoughts on “How To Measure Kitchen Countertops”