Articles
How To Cover Kitchen Tile Countertops
Modified: August 16, 2024
Learn how to cover your kitchen tile countertops with these informative articles. Transform the look of your kitchen today with these helpful tips and ideas.
(Many of the links in this article redirect to a specific reviewed product. Your purchase of these products through affiliate links helps to generate commission for Storables.com, at no extra cost. Learn more)
Introduction
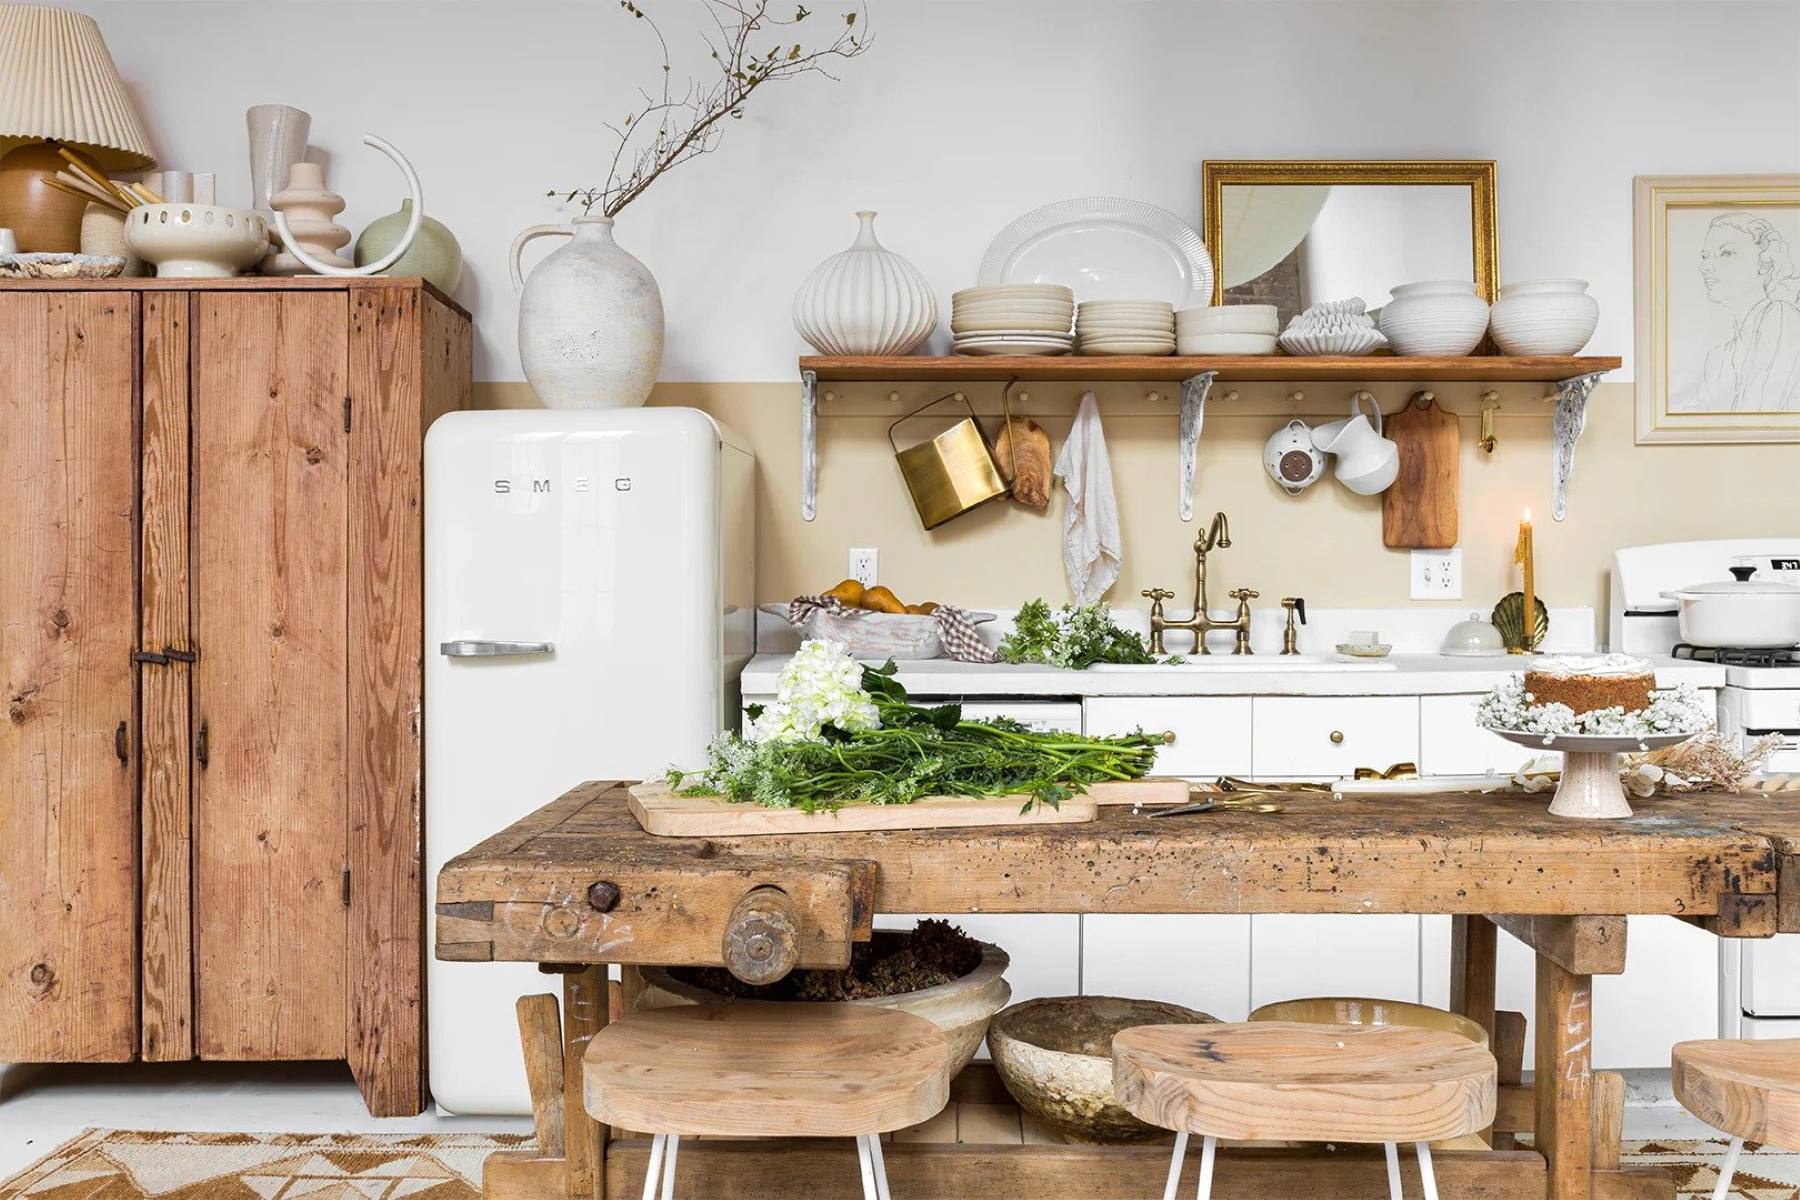
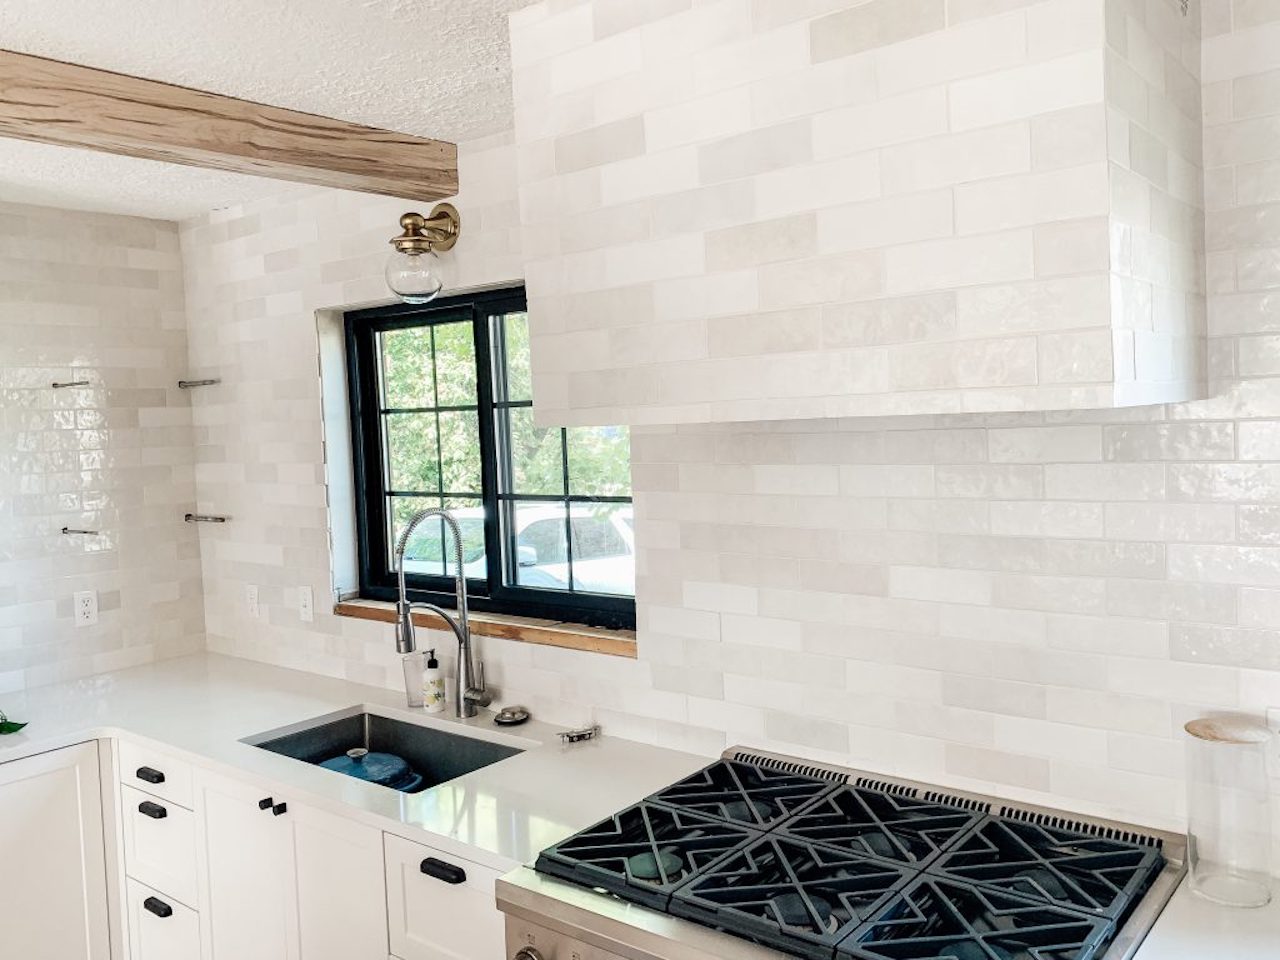
When it comes to kitchen renovations, one of the most effective ways to give your space a fresh and updated look is by covering your tile countertops. Whether you’re tired of the outdated design or simply want to add a personal touch to your kitchen, covering your tile countertops can be a cost-effective and transformative solution.
By opting for a new covering material, you can completely change the appearance and style of your countertops, making them more visually appealing and easier to maintain. In this article, we will guide you through the process of covering your kitchen tile countertops, from preparation to finishing touches.
Before embarking on this project, it’s important to take the time to plan and gather all the necessary supplies. This will ensure a smoother and more successful installation process. Additionally, it’s crucial to choose the right covering material that suits your design preferences and lifestyle needs. Whether you prefer the classic elegance of marble or the durability of laminate, there are various options available to suit every taste and budget.
Once you have selected the covering material, you will need to measure and cut it to fit your existing countertops. Precision is key in this step to ensure a seamless and professional-looking installation. Applying adhesive to the countertops and carefully installing the new covering material will be the next steps, followed by trimming and finishing the edges for a polished and clean appearance.
After the covering has been installed, it’s important to seal and protect it to ensure its longevity. This step will not only enhance the durability of the covering but also make it easier to clean and maintain in the long run.
In this article, we will provide you with step-by-step instructions and handy tips to successfully cover your kitchen tile countertops. We will also share maintenance and care tips to help you keep your new countertops looking their best for years to come. So, without further ado, let’s dive into the world of kitchen countertop coverings and start transforming your kitchen!
Key Takeaways:
- Transform your kitchen with a fresh and updated look by covering your tile countertops with materials like laminate, quartz, granite, marble, or even new tiles for a cost-effective and visually appealing solution.
- Achieve a professional and long-lasting result by carefully planning, measuring, cutting, and installing the covering material, and then sealing and protecting it to maintain its beauty over time.
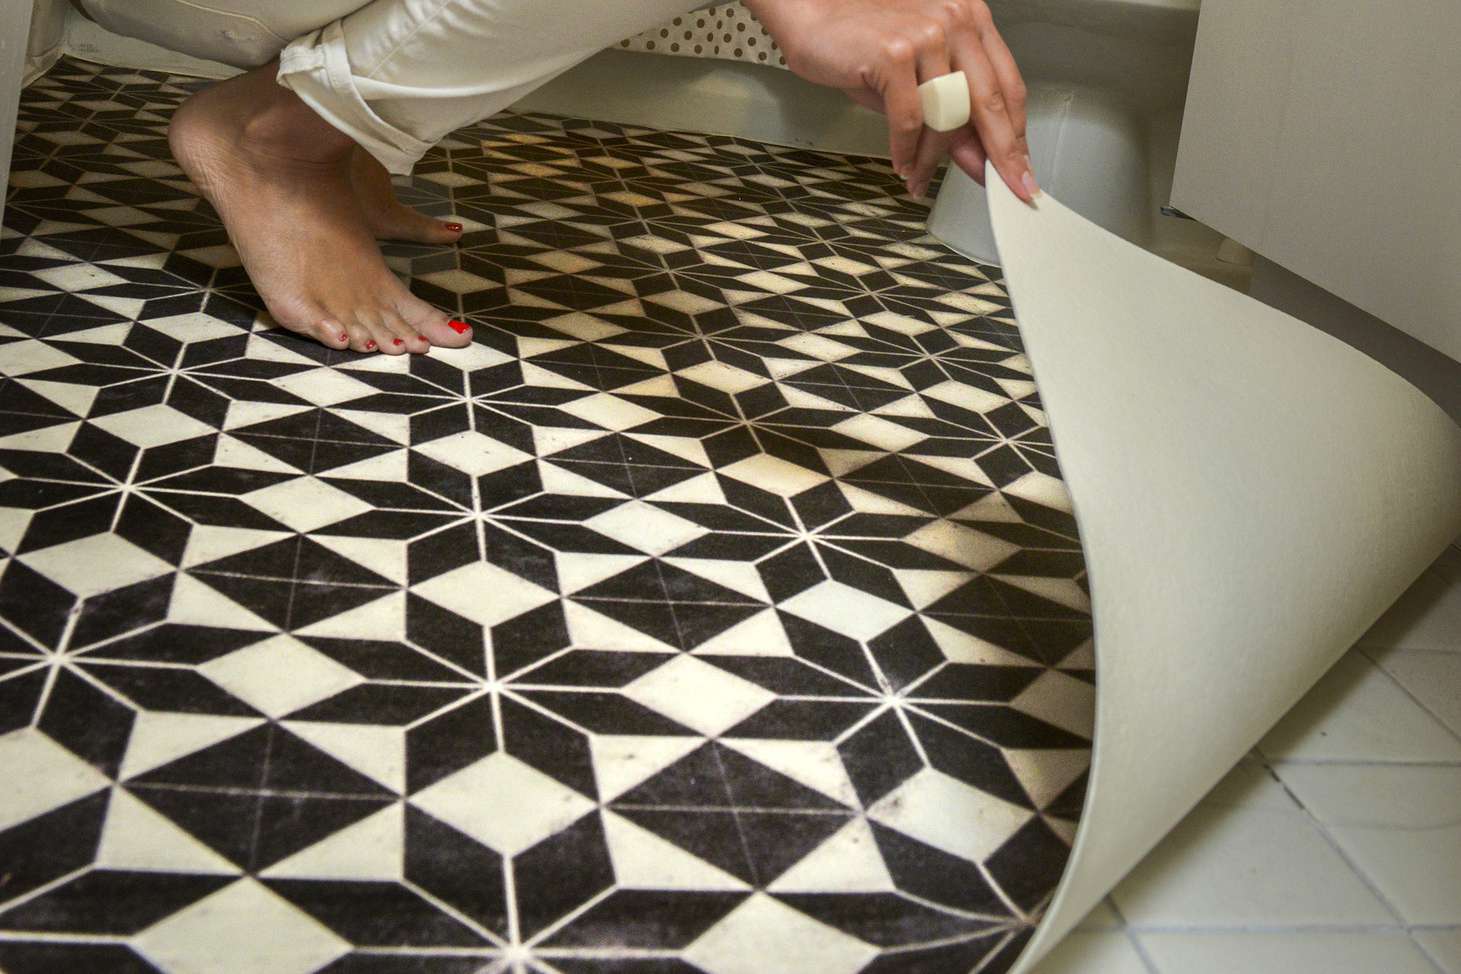
Preparing the Countertops for Covering
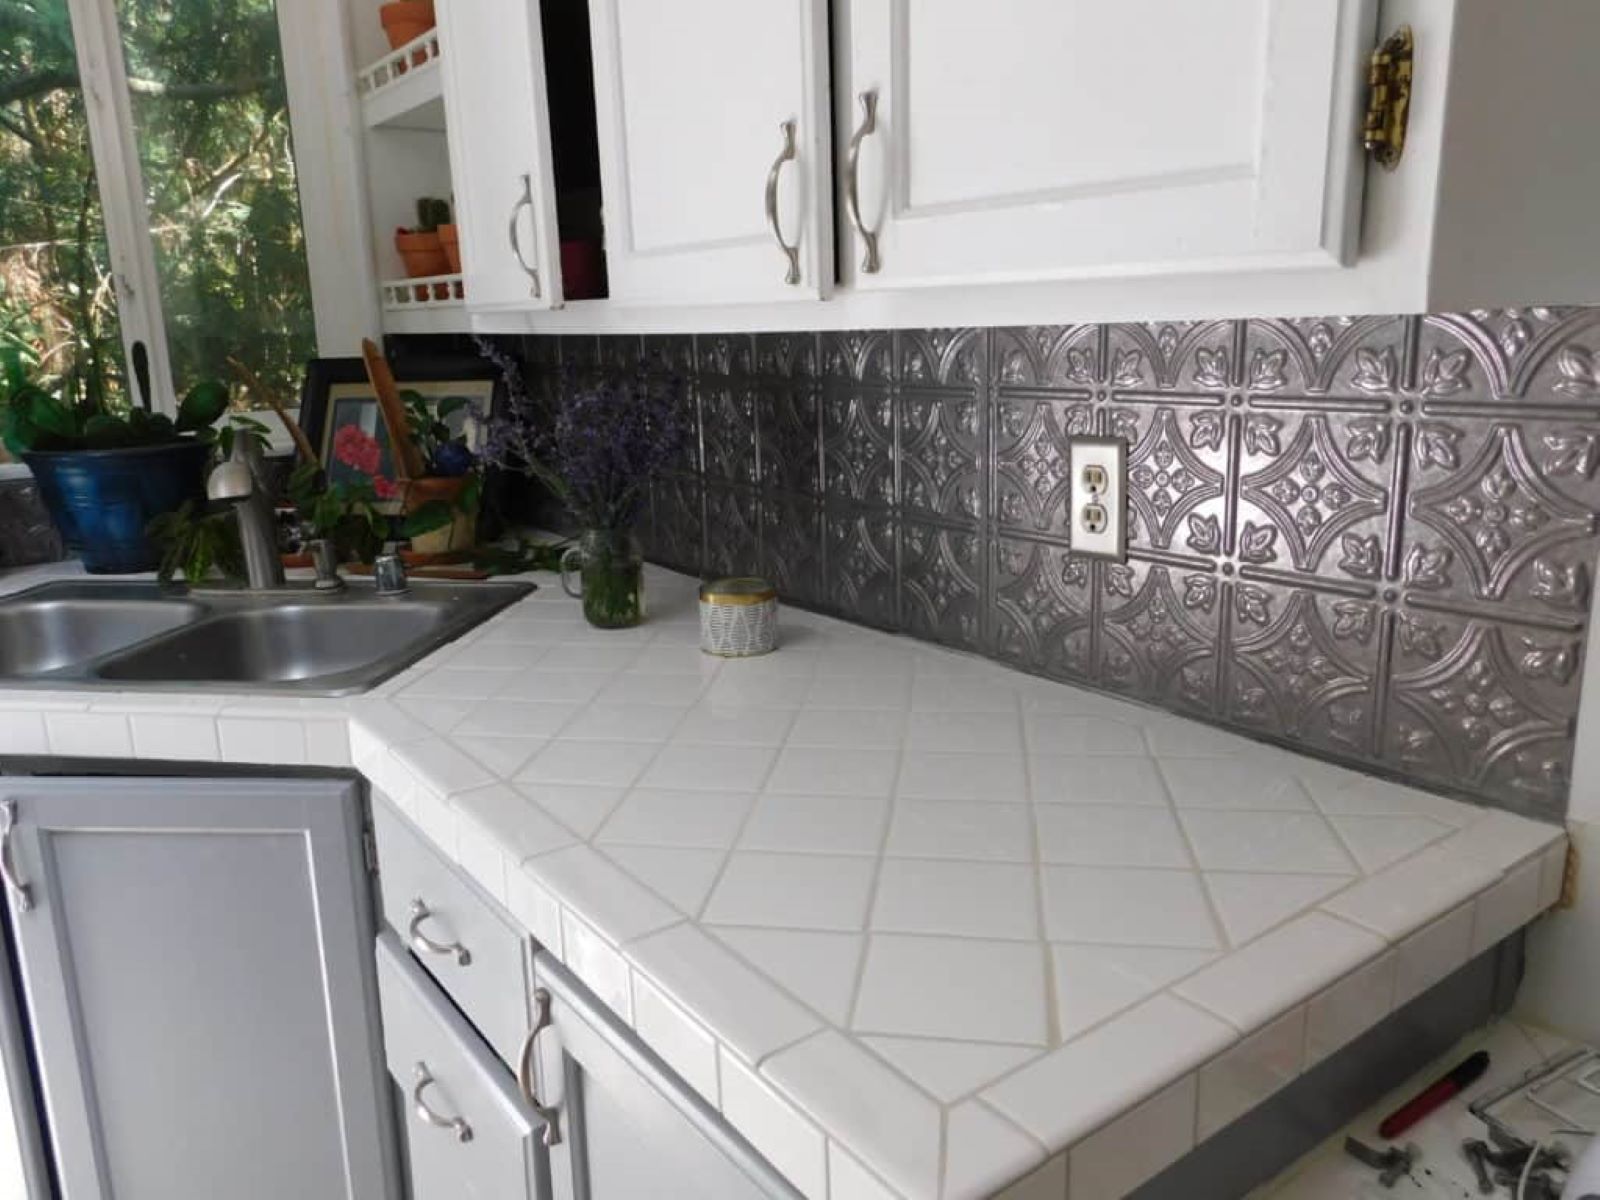
Before you begin the process of covering your kitchen tile countertops, it’s important to properly prepare the surface. This step will ensure optimal adhesion of the covering material and a smooth and flawless finish. Follow these steps to prepare your countertops:
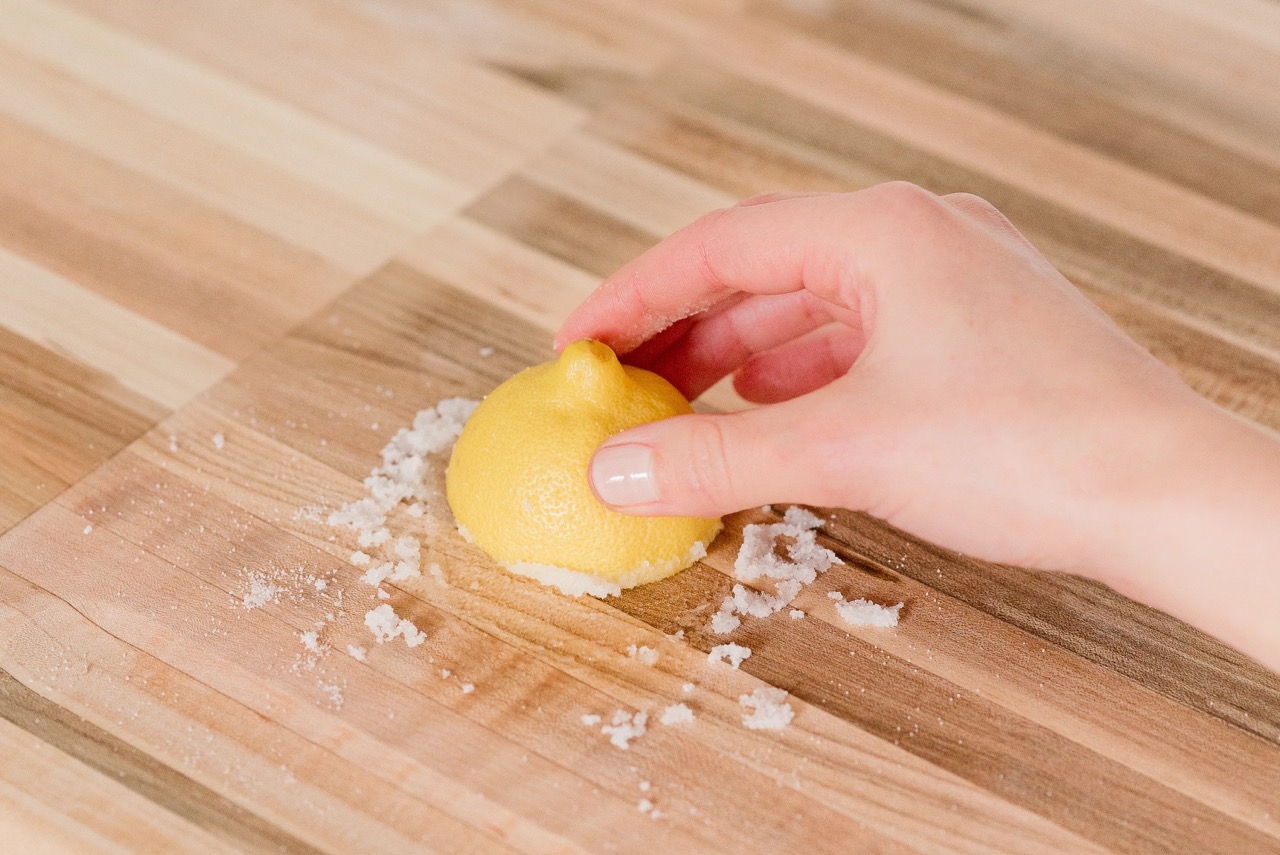
- Clean the countertops: Start by thoroughly cleaning the tile countertops to remove any dirt, grease, or residue. Use a mild detergent and warm water to scrub the surface, and rinse it well. Allow the countertops to dry completely before proceeding.
- Repair any damages: Inspect the tile countertops for any cracks, chips, or loose tiles. If you find any damages, it’s important to repair them before covering the countertops. Use a quality tile adhesive to fix loose tiles or reattach any broken pieces. Allow the adhesive to dry completely according to the manufacturer’s instructions.
- Sand the surface: If your tile countertops have a glossy or uneven finish, it’s recommended to lightly sand the surface to create a better bonding surface for the covering material. Use fine-grit sandpaper and gently sand the tiles in a circular motion. Be careful not to apply too much pressure or damage the tiles. After sanding, wipe away any dust with a damp cloth.
- Smooth out uneven edges: If the edges of your tile countertops are uneven or rough, consider using a sander or a file to smoothen them out. This will provide a seamless transition between the countertops and the new covering material.
By properly preparing your countertops, you are setting the stage for a successful installation of the covering material. Taking the time to clean, repair, sand, and smoothen the surface will ensure a strong bond and a professional-looking result. Now that your countertops are prepped and ready, it’s time to move on to the next step – choosing the right covering material.
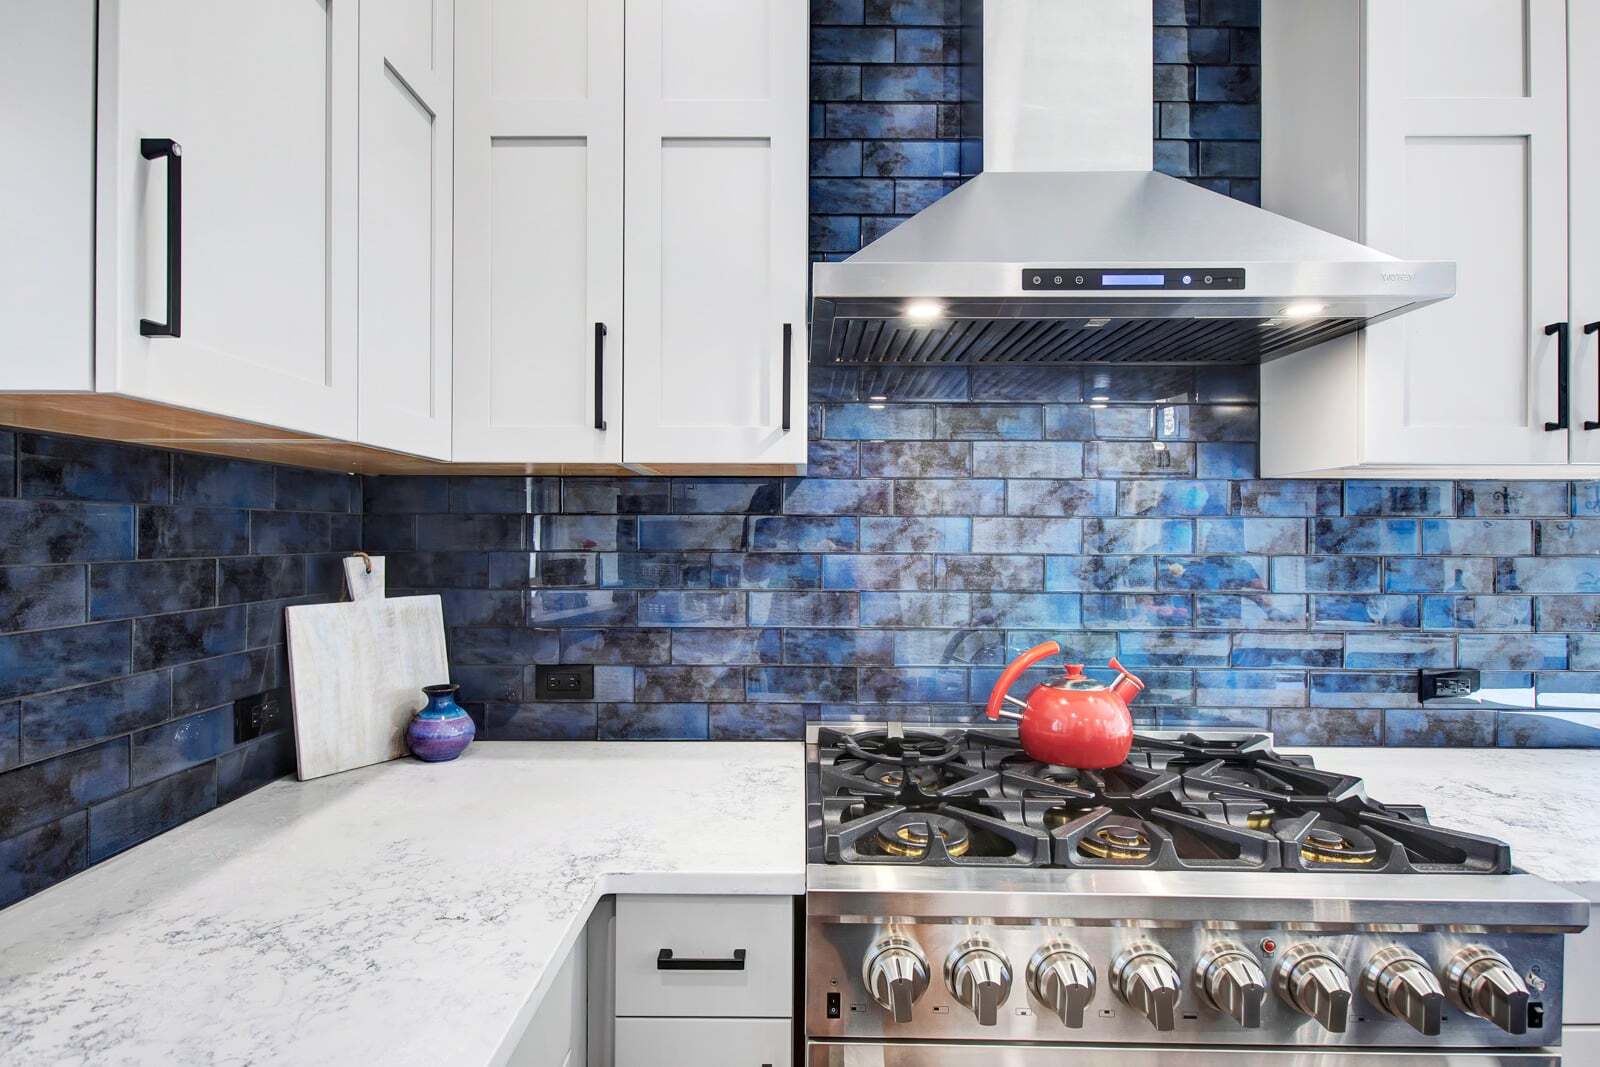
Choosing the Right Covering Material
When it comes to selecting the covering material for your kitchen tile countertops, there are a variety of options available to suit different styles, budgets, and preferences. Each material has its own unique characteristics and benefits. Here are some popular options to consider:
- Laminate: Laminate is a versatile and affordable option that comes in a wide range of colors and patterns. It is durable, easy to clean, and resistant to stains and scratches. Laminate countertops are also relatively easy to install, making them a popular choice for DIY projects.
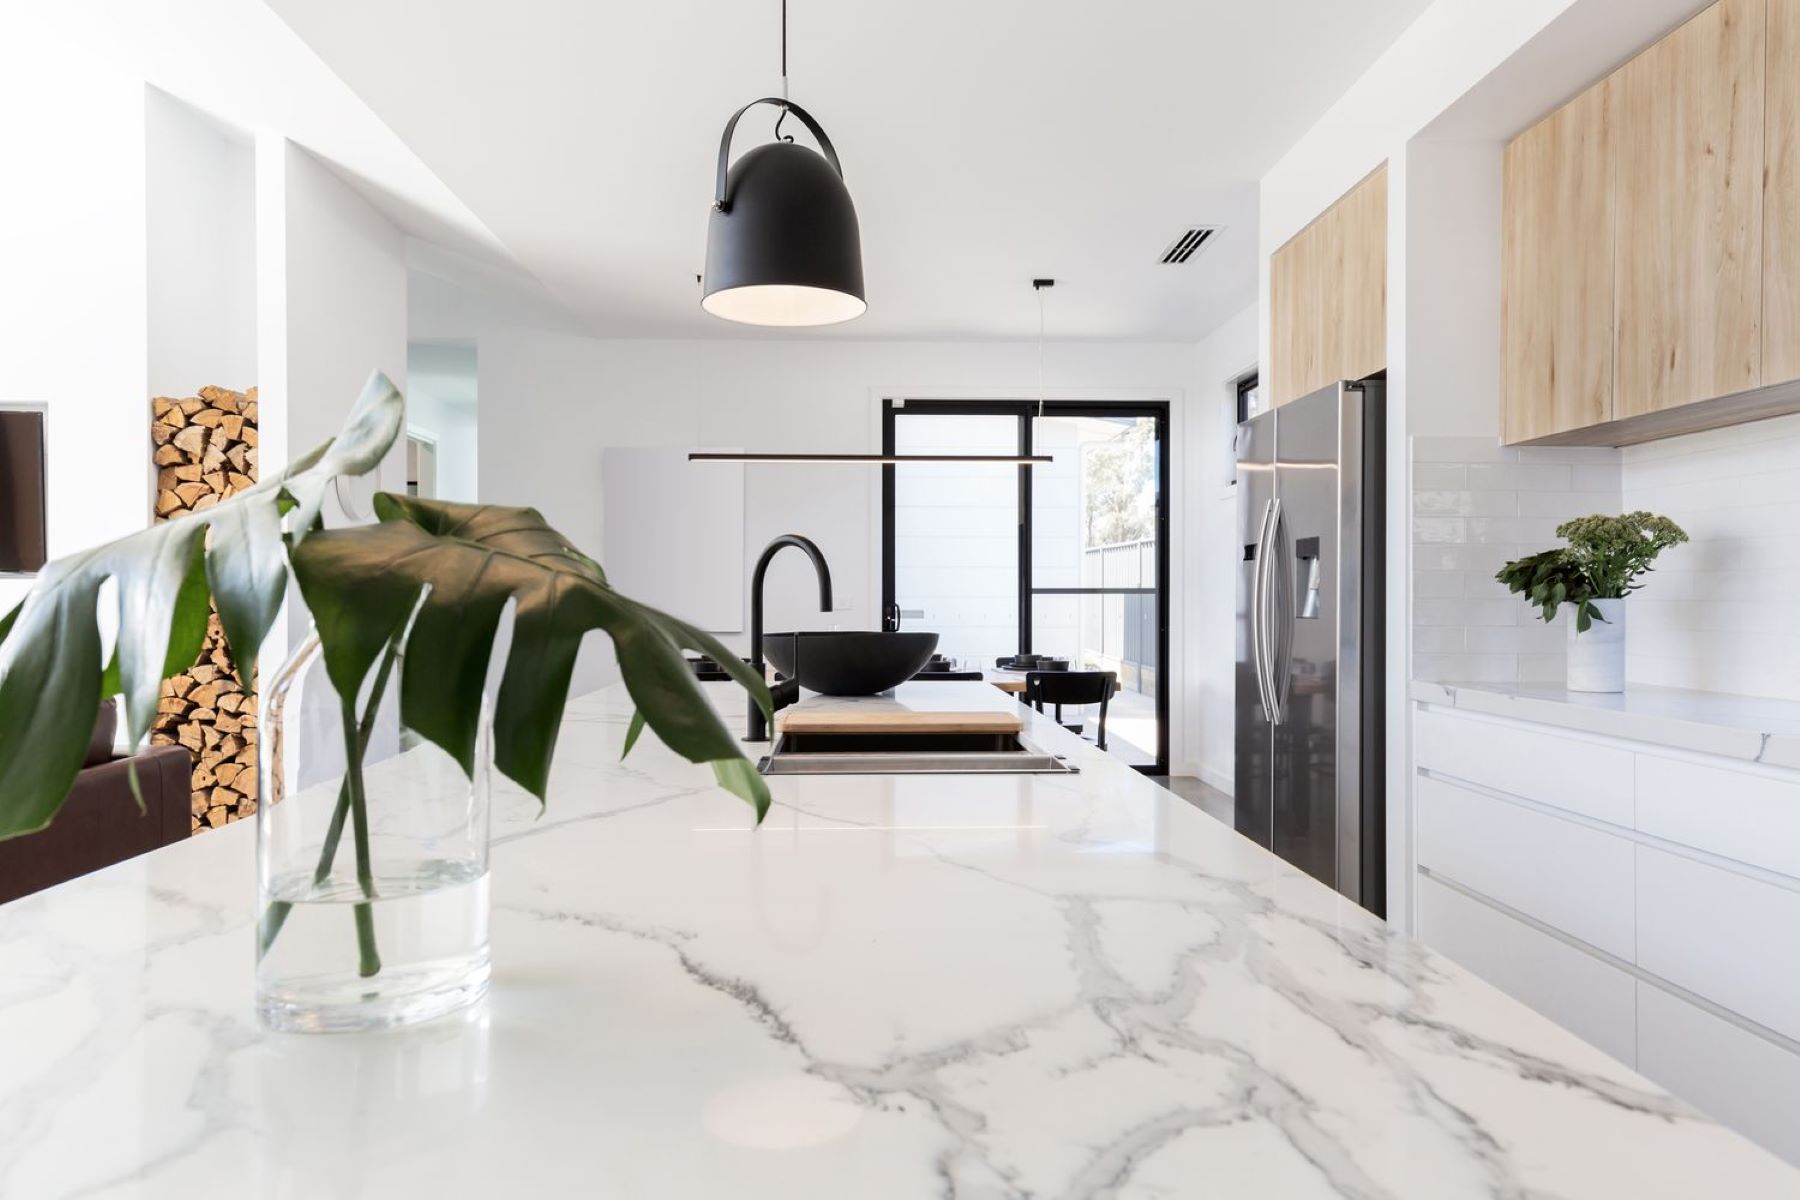
- Quartz: Quartz countertops are engineered stone surfaces made from natural quartz mixed with resins and pigments. They offer durability, heat resistance, and a wide array of color and pattern options. Quartz countertops are non-porous, making them hygienic and easy to maintain.
- Granite: Granite is a natural stone that adds elegance and sophistication to any kitchen. It is heat and scratch resistant, making it a durable choice for countertops. Granite countertops come in a variety of colors and patterns, with each slab being unique. They do require periodic sealing to maintain their longevity.
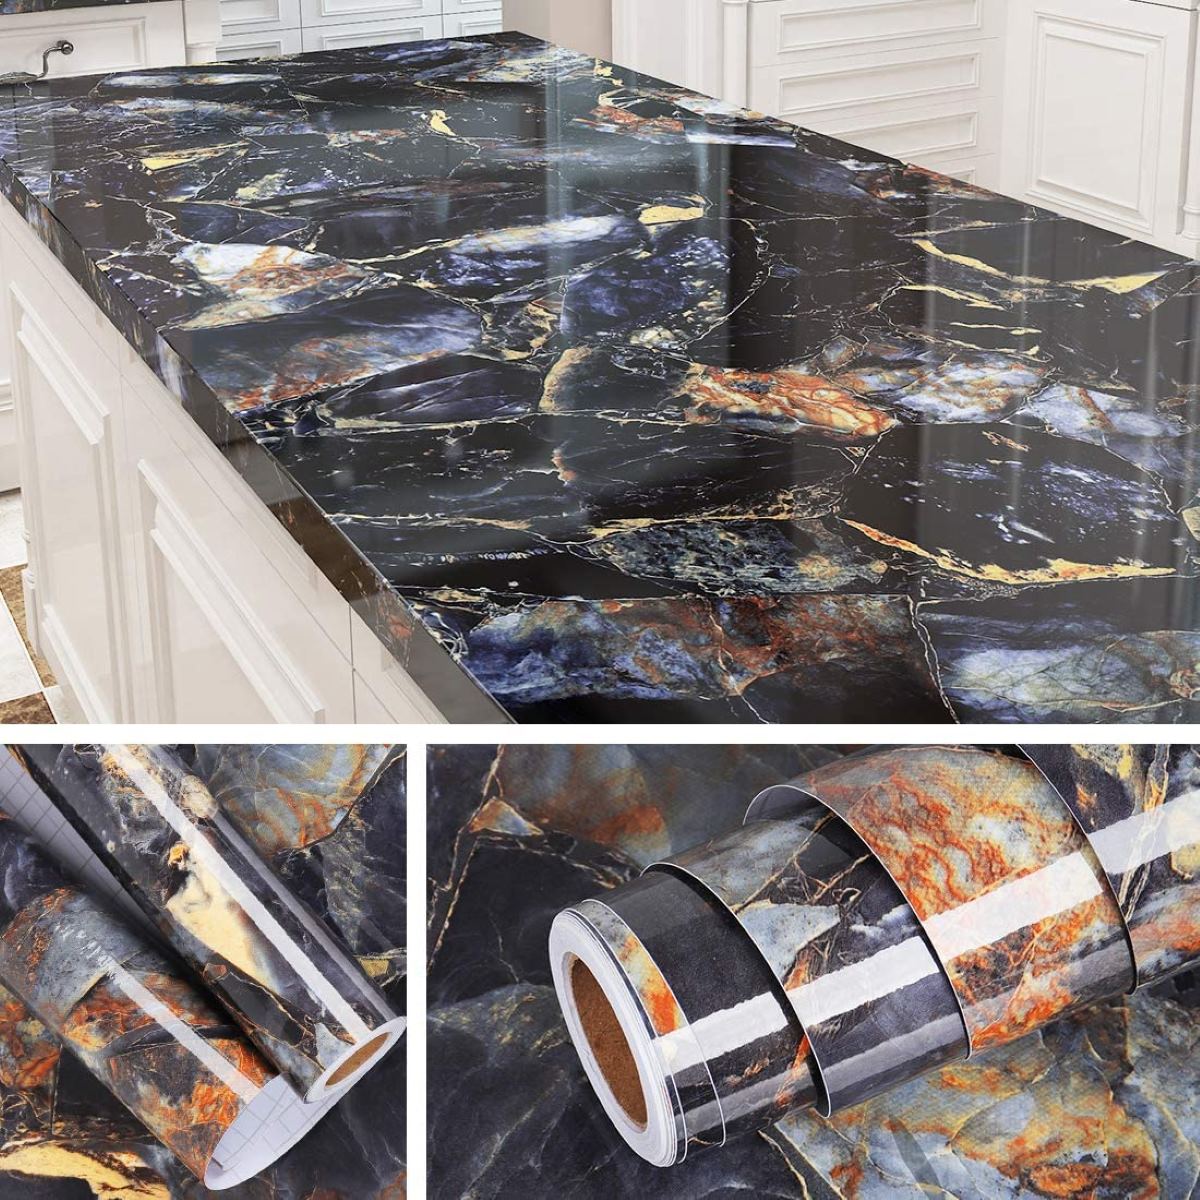
- Marble: Marble countertops exude a luxurious and timeless appeal. They offer a unique veining pattern and are available in various shades. However, marble is porous and susceptible to staining, so it requires regular sealing and careful maintenance.
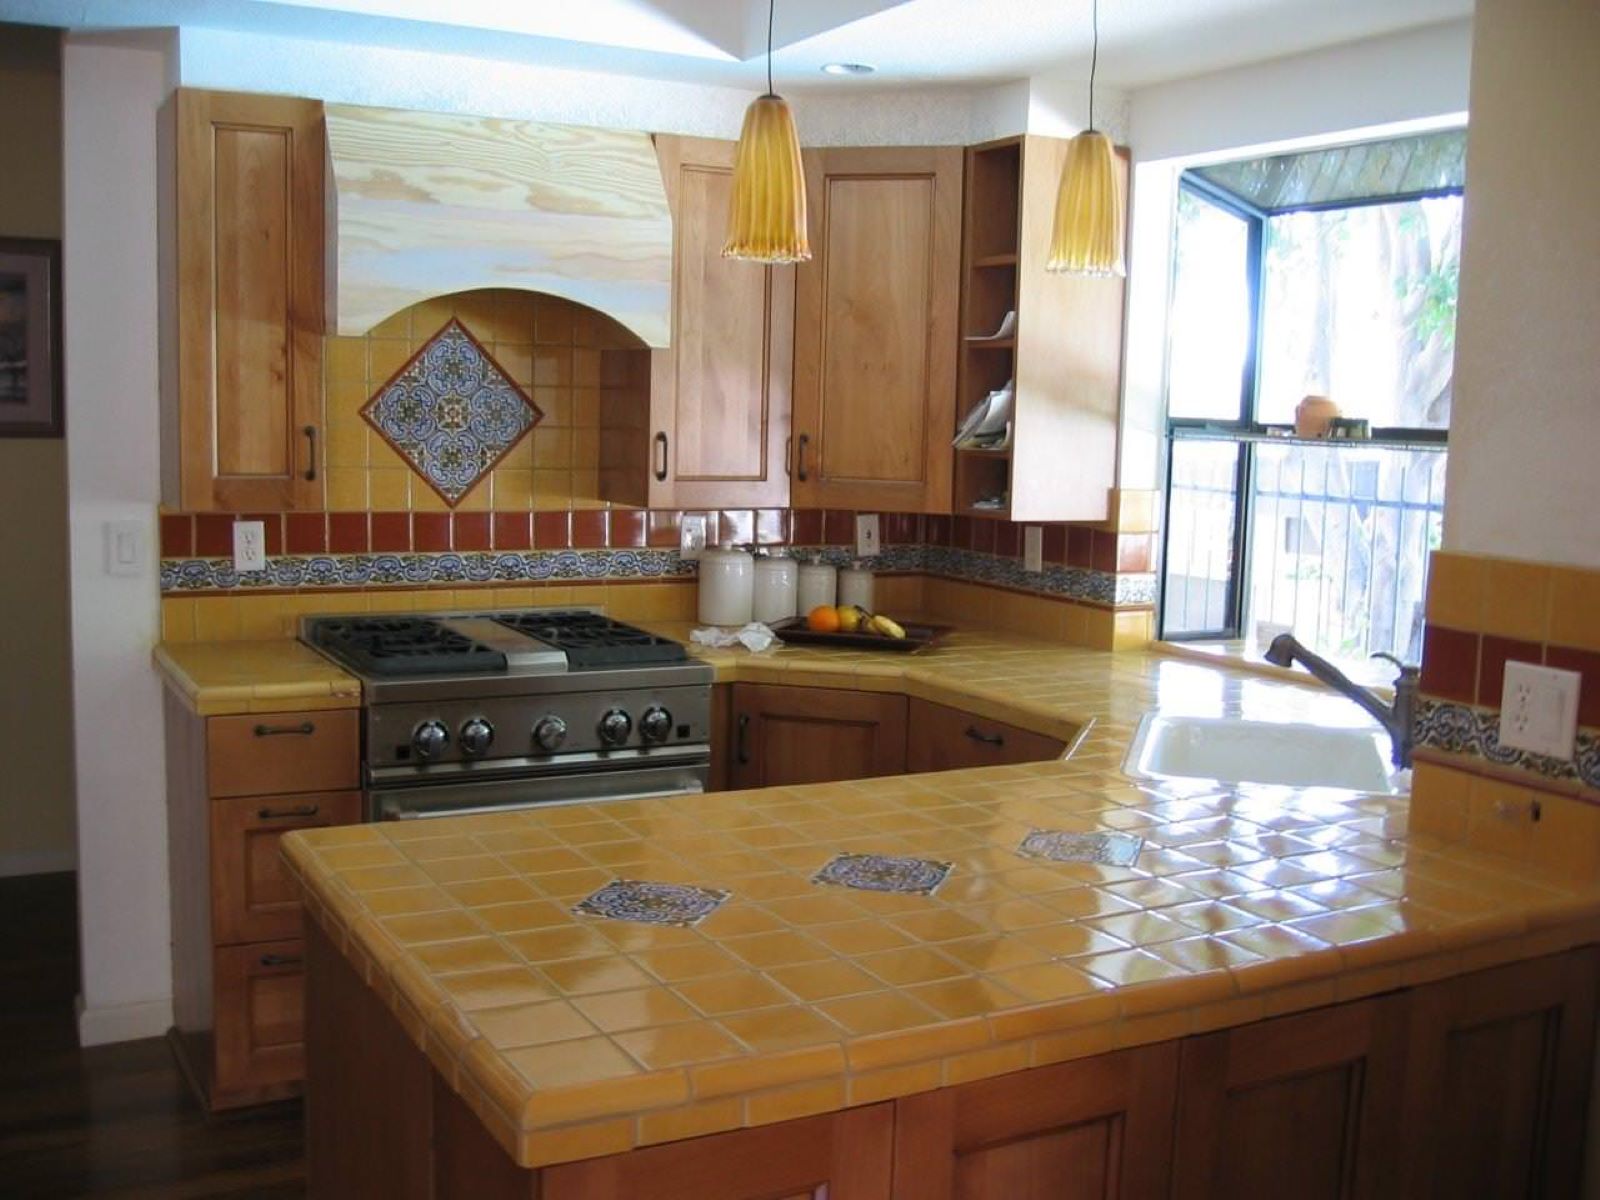
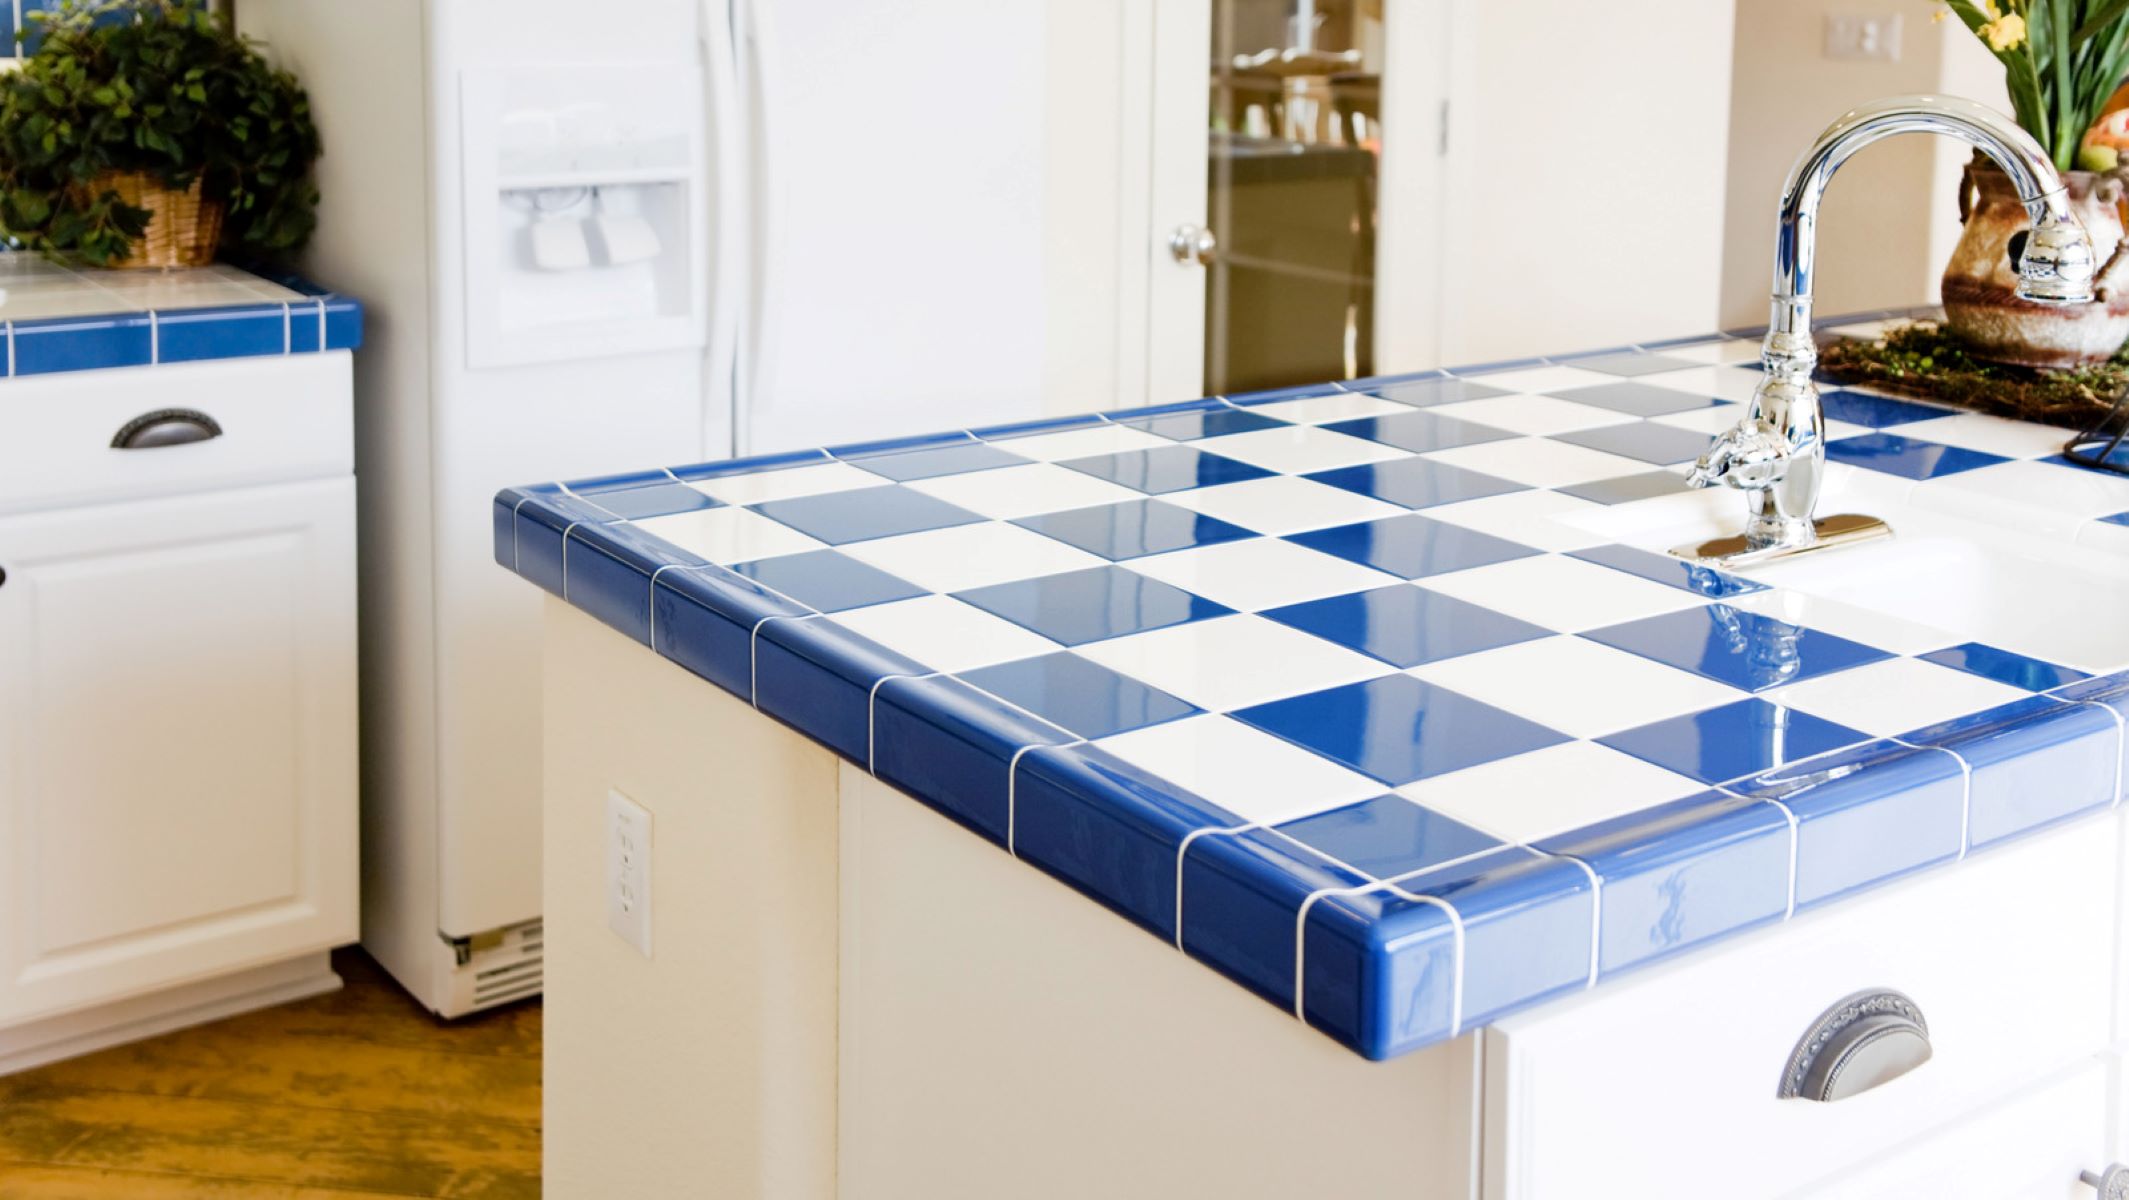
- Tile: If you still prefer the look of tiles but want to refresh your countertops, you can opt for tiling over your existing tile countertops. This allows you to choose different tile sizes, colors, and patterns to create a customized look. It’s important to ensure that the new tiles are properly installed and leveled to achieve a smooth and even surface.
When selecting the right covering material, consider factors such as your budget, the desired aesthetic, durability, maintenance requirements, and how well it will complement the overall design of your kitchen. It’s a good idea to visit showrooms, consult with professionals, and gather samples to help you choose the perfect covering material for your kitchen tile countertops.
Once you have decided on the covering material, you can proceed to the next step – measuring and cutting the covering to fit your countertops perfectly.
Measuring and Cutting the Covering
Accurate measurements are crucial when it comes to covering your kitchen tile countertops. Taking precise measurements will ensure that the covering material fits perfectly and looks seamless. Follow these steps to measure and cut the covering:
- Measure the length and width: Use a measuring tape to measure the length and width of your countertops. Start from one edge and measure all the way to the other edge, ensuring that you measure any protrusions or irregularities accurately. Write down the measurements for reference.
- Add an extra allowance: To account for any discrepancies or errors, add an extra allowance to the measurements. It’s recommended to add around 1/4 inch to 1/2 inch to each side as an overhang.
- Transfer the measurements to the covering material: Lay the covering material on a flat surface, such as a workbench or the floor, with the desired side facing down. Use a straight edge and a pencil or a marker to mark the measurements on the backside of the covering material. Double-check the measurements before proceeding.
- Cut the covering material: Using a utility knife or a circular saw with a fine-tooth blade, carefully cut along the marked lines to trim the covering material to the correct size. Follow the manufacturer’s instructions for cutting the specific type of covering material you have chosen. For larger pieces, it may be helpful to have an extra set of hands to assist in holding the material steady.
When cutting the covering material, remember to take safety precautions, such as wearing safety goggles and gloves. Take your time and make slow, precise cuts to ensure accurate results. If you are unsure about cutting the material, it’s best to consult with a professional or a knowledgeable expert.
Once the covering material has been cut to the correct size, you are ready to move on to the next step – applying adhesive to the countertops.
Applying Adhesive to the Countertops
Applying adhesive to your kitchen tile countertops is a crucial step in the process of covering them. The adhesive will bond the covering material to the surface, ensuring a secure and long-lasting installation. Follow these steps to apply adhesive to your countertops:
- Choose the right adhesive: The type of adhesive you use will depend on the covering material you have selected. It’s important to choose an adhesive that is specifically designed for the material you are working with. Consult the manufacturer’s instructions or seek guidance from a professional to ensure you select the correct adhesive.
- Prepare the adhesive: Follow the manufacturer’s instructions to prepare the adhesive. This may involve mixing components or activating the adhesive in a specific way. Be sure to read and understand the instructions thoroughly before proceeding.
- Apply the adhesive: Using a trowel or a putty knife, apply a thin, even layer of adhesive to the entire surface of the countertops. Start from one end and work your way towards the other, ensuring complete coverage. Be careful not to apply too much adhesive, as this can result in an uneven surface or excess seepage.
- Spread the adhesive: Once the adhesive is applied, use the flat side of the trowel or putty knife to spread and smooth it out. This will help create a uniform layer and ensure optimal adhesion. Work in small sections, and remove any excess adhesive as you go.
It’s important to work efficiently and quickly during the adhesive application process, as some adhesives have a limited working time before they start to set. Avoid applying adhesive to more surface area than you can cover within the recommended timeframe.
After applying the adhesive, allow it to set according to the manufacturer’s instructions. This can range from a few minutes to several hours, depending on the adhesive used. Make sure to follow the recommended curing time to ensure a strong bond.
With the adhesive applied and cured, you are now ready to move on to the next step – installing the covering material onto the countertops.
Consider using a high-quality epoxy paint to cover kitchen tile countertops. This can provide a durable and attractive finish, transforming the look of your countertops at a fraction of the cost of replacement.
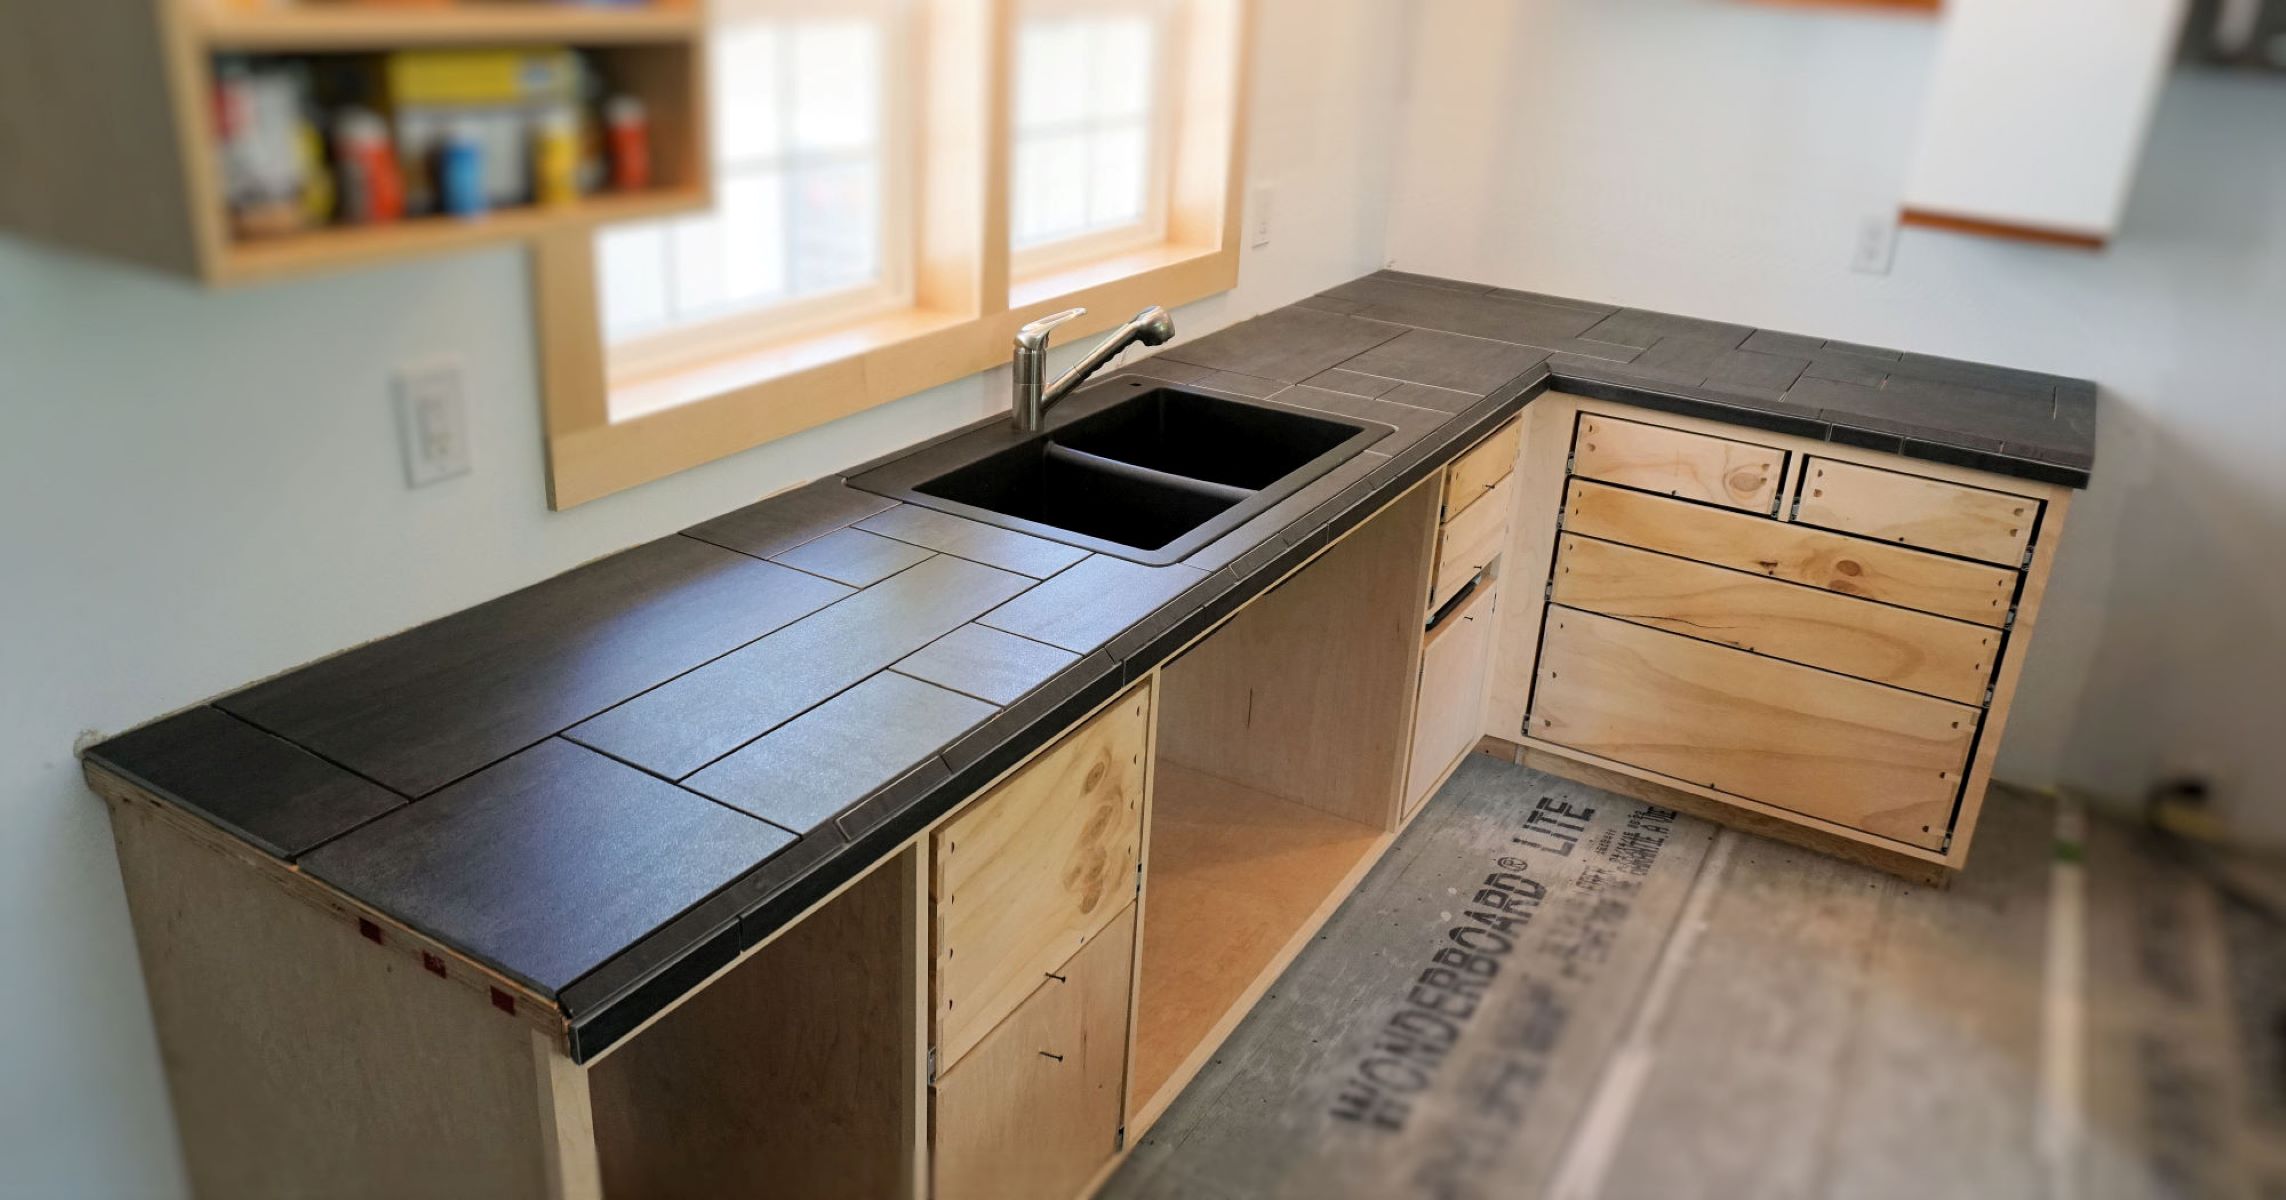
Installing the Covering Material
Now that you have prepared the surface and applied the adhesive to your kitchen tile countertops, it is time to install the covering material. This step will finally bring your new countertops to life. Follow these steps to install the covering material:
- Carefully position the covering material: Starting from one end, carefully position the covering material onto the adhesive. Ensure that it is aligned properly with the edges and corners of the countertops. Take your time to make any necessary adjustments before pressing the covering material firmly onto the surface.
- Smooth out the covering material: Use a soft cloth or a roller to smooth out any air bubbles or wrinkles that may have formed during the installation. Start from the center and work outward, applying even pressure to ensure a smooth and flat surface. This step is crucial in achieving a professional-looking finish.
- Secure the covering material: If needed, use clamps or heavy objects to temporarily hold the covering material in place while the adhesive sets. This will ensure that it stays in position and does not shift or move during the curing process.
- Wipe away excess adhesive: Use a damp cloth or sponge to carefully wipe away any excess adhesive that may have seeped out from the edges of the covering material. It is important to do this while the adhesive is still wet, as it can be difficult to remove once it has dried.
Take your time during the installation process to ensure precision and accuracy. Do not rush, as mistakes made at this stage can be difficult to rectify later. If you encounter any issues or need assistance, do not hesitate to seek guidance from a professional or an experienced individual.
After successfully installing the covering material, allow it to fully cure and bond with the countertops according to the manufacturer’s instructions. This will ensure a strong and durable surface. Once the covering material is securely in place, you can move on to the next step – trimming and finishing the edges.
Trimming and Finishing the Edges
Trimming and finishing the edges of your covered kitchen tile countertops is an essential step to achieve a polished and professional look. It will create a smooth transition between the covering material and the surrounding surfaces. Follow these steps to trim and finish the edges:
- Assess the edges: Take a closer look at the edges of your countertops to determine if they need any trimming or adjustments. Depending on the covering material used, you may need to trim excess material or make adjustments to ensure a seamless fit.
- Measure and mark: Use a measuring tape and a pencil to measure and mark the areas that require trimming. Take precise measurements and make accurate marks on the covering material.
- Cut the edges: Depending on the material used for covering, you may need different tools to trim the edges. For example, a straight-edge guide and a utility knife may be suitable for laminate or solid surface materials, while a wet saw or diamond blade may be needed for natural stone or quartz. Follow the manufacturer’s instructions and use appropriate safety precautions when cutting the material.
- Smooth the edges: After trimming, use sandpaper or a file to smooth and refine the edges. This will create a clean and professional finish. Be careful not to apply too much pressure or damage the covering material.
- Apply edge banding (optional): If desired, you can apply edge banding to further enhance the appearance of the edges. Edge banding comes in various materials, such as PVC or wood veneer, and is available in different colors and finishes. Follow the manufacturer’s instructions to apply the edge banding neatly and securely.
Pay close attention to detail during the trimming and finishing process to ensure precise and clean results. Take your time and make small adjustments as needed. Remember, it’s better to trim and file gradually rather than removing too much material at once.
Once you have trimmed and finished the edges, step back and admire your newly transformed countertops. The next step is to seal and protect the covering material to ensure its longevity and maintain its beauty.
Sealing and Protecting the Covering
Sealing and protecting your newly covered kitchen tile countertops is a crucial step to maintain their beauty, durability, and longevity. The sealing process will help prevent stains, moisture damage, and other potential issues. Follow these steps to seal and protect the covering material:
- Select the appropriate sealer: The type of sealer you choose will depend on the material used for the covering. Some materials, like natural stone and concrete, are more porous and may require a penetrating sealer. Others, such as laminate or solid surface materials, may not need sealing. Consult the manufacturer’s recommendations or seek advice from professionals to select the right sealer for your specific covering material.
- Prepare the surface: Before applying the sealer, ensure that the covering material is clean and free of any dust or debris. Wipe it down with a damp cloth or follow the manufacturer’s recommended cleaning instructions.
- Apply the sealer: Using a brush or a sponge, apply the sealer in even, thin coats. Follow the manufacturer’s instructions for application guidelines, including the recommended drying or curing time between coats. Take care not to overapply the sealer, as it can result in an uneven or tacky surface.
- Allow proper drying and curing: After applying the sealer, allow it to dry and cure according to the manufacturer’s instructions. This may take a few hours or even a day, depending on the sealer used. During this time, it’s important to avoid using the countertops or placing any objects on the surface.
Sealing the covering material creates a protective barrier that helps guard against stains, spills, and other potential damages. Regular maintenance and reapplication of the sealer, as recommended by the manufacturer, will keep your countertops looking their best for years to come.
It’s worth noting that some covering materials, like laminate or solid surface materials, may not require sealing. In such cases, follow the manufacturer’s recommendations for routine cleaning and maintenance to preserve the appearance and integrity of the countertops.
With the covering material properly sealed and protected, your newly covered kitchen tile countertops are ready to grace your kitchen with their beauty. However, to keep them in pristine condition, it is important to follow some maintenance and care tips, which we will explore in the next section.
Maintenance and Care Tips
Proper maintenance and care are essential to keep your newly covered kitchen tile countertops looking their best and ensure their longevity. Follow these tips to maintain and care for your countertops:
- Wipe up spills immediately: Clean up any spills or stains as soon as they occur. Use a soft cloth or sponge and a gentle cleaning agent suitable for your specific covering material. Avoid using harsh chemicals or abrasive cleaners, as they may damage the surface.
- Avoid cutting directly on the countertop: While some covering materials are more resistant to scratches than others, it’s best to use cutting boards or other protective surfaces when chopping or slicing food. This will help prevent any potential damage or scratches to the surface.
- Use trivets or heat-resistant pads: Protect your countertops from heat damage by using trivets or heat-resistant pads under hot pots, pans, or other heated objects. This will prevent any discoloration or warping of the covering material.
- Regularly clean and maintain the surface: Depending on the covering material, follow the recommended cleaning and maintenance guidelines provided by the manufacturer. Use mild, non-abrasive cleaners and avoid using scrub brushes or harsh scouring pads that can scratch the surface.
- Avoid harsh chemicals: Avoid using abrasive or acidic cleaners that can damage or dull the surface of the countertops. Instead, opt for gentle, pH-neutral cleaning solutions that are safe for your specific covering material.
- Prevent and remove stains: For more porous materials like natural stone, it’s important to promptly clean up any spills that may cause staining. Use a stain remover specifically formulated for your covering material if necessary.
- Reapply sealer as recommended: If your covering material requires periodic sealing, be sure to follow the manufacturer’s guidelines for reapplication. Regularly sealing the surface will help maintain its resistance to stains and protect it from daily wear and tear.
By following these maintenance and care tips, you can preserve the beauty and appearance of your newly covered kitchen tile countertops. Remember, each covering material may have specific maintenance requirements, so it’s important to refer to the manufacturer’s instructions or consult a professional for guidance.
With the right maintenance and care, your covered countertops will continue to impress and add value to your kitchen for years to come.
Read more: How To Clean Tile Countertops
Conclusion
Covering your kitchen tile countertops can revitalize the look and feel of your kitchen, giving it a fresh and updated appearance. Whether you choose laminate, quartz, granite, marble, or even tiling over your existing tiles, the process of covering countertops requires careful planning, preparation, and installation.
By following the steps outlined in this article, from preparing the countertops to sealing and protecting the covering material, you can achieve a professional and long-lasting result. Remember to choose the right covering material that suits your design preferences and lifestyle needs. Take accurate measurements, cut the covering material precisely, and apply the adhesive with care to ensure a secure and flawless installation.
Trimming and finishing the edges will provide a polished and cohesive look, while sealing the covering material will protect it and maintain its beauty over time. Lastly, implementing proper maintenance and care practices, such as promptly cleaning spills and avoiding harsh chemicals, will keep your covered countertops looking their best for years to come.
Transforming your kitchen tile countertops is a rewarding project that can significantly enhance the overall aesthetics and functionality of your kitchen. Whether you are a seasoned DIY enthusiast or prefer to seek professional assistance, the end result will be a stunning and personalized kitchen space that you can enjoy for years to come.
So, gather your tools, select your desired covering material, and let the transformation of your kitchen countertops begin!
Now that you've mastered covering kitchen tile countertops, why not dive deeper into enhancing your home? If you're considering a new tiling project, discover Tile Countertop Ideas for fresh inspirations that can transform any space. For those upgrading other areas, understanding Countertop Materials in bathrooms will guide you in selecting the best options for durability and style. And don't forget, effective kitchen storage solutions are crucial; get professional Kitchen Design tips to maximize efficiency and aesthetics in your culinary space.
Frequently Asked Questions about How To Cover Kitchen Tile Countertops
Was this page helpful?
At Storables.com, we guarantee accurate and reliable information. Our content, validated by Expert Board Contributors, is crafted following stringent Editorial Policies. We're committed to providing you with well-researched, expert-backed insights for all your informational needs.


0 thoughts on “How To Cover Kitchen Tile Countertops”