Articles
How To Regrout Countertops
Modified: January 19, 2024
Learn the step-by-step process of how to regrout your countertops with our informative articles. Rejuvenate your kitchen or bathroom surfaces with ease.
(Many of the links in this article redirect to a specific reviewed product. Your purchase of these products through affiliate links helps to generate commission for Storables.com, at no extra cost. Learn more)
Introduction
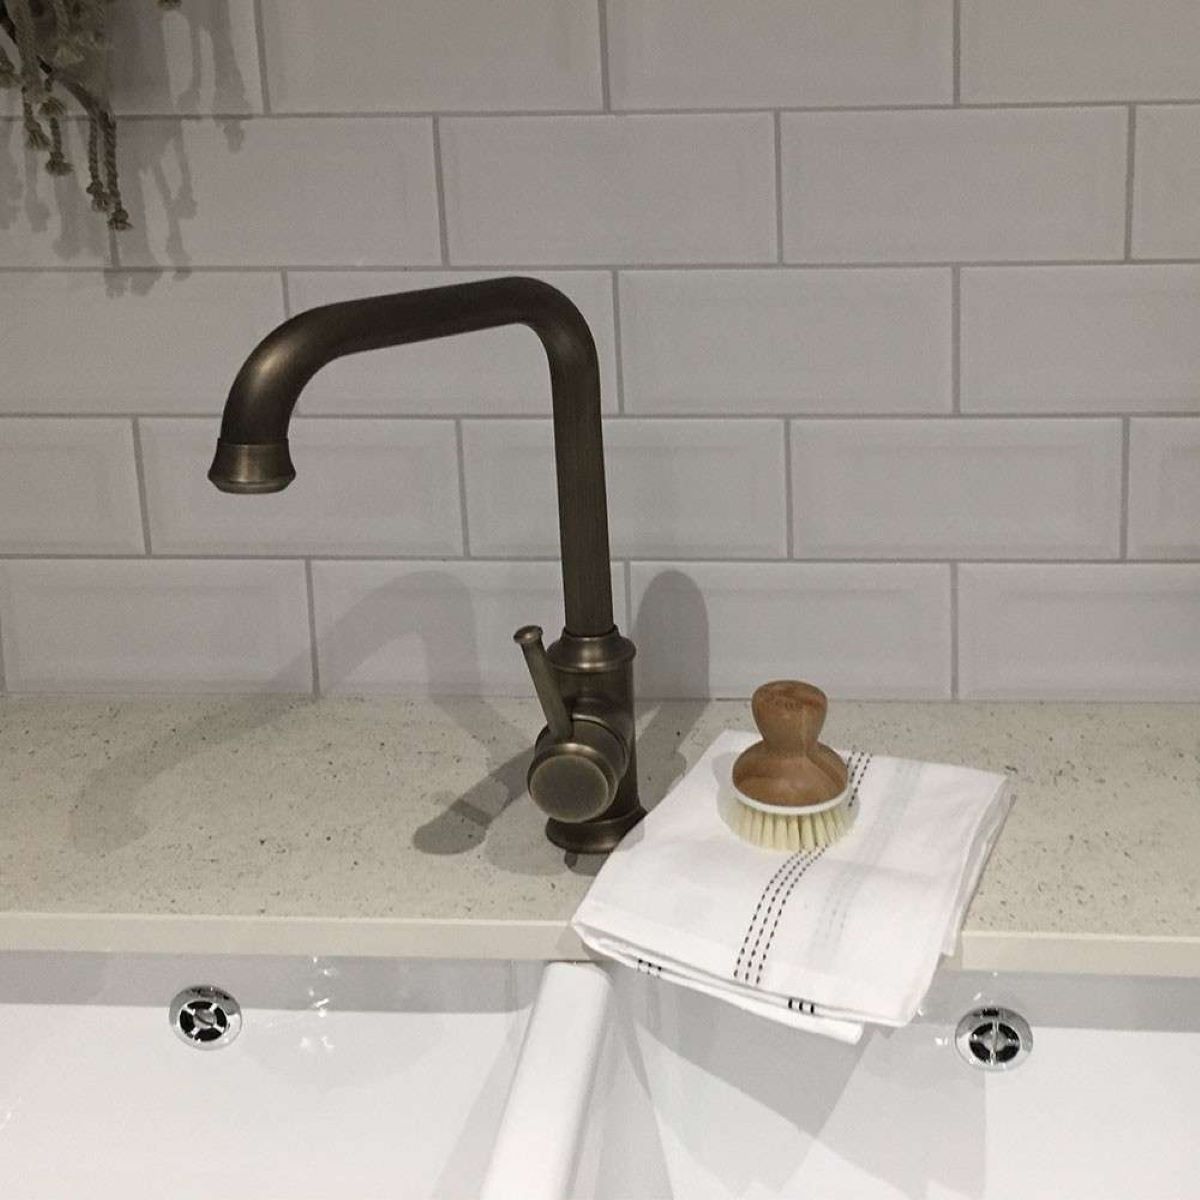
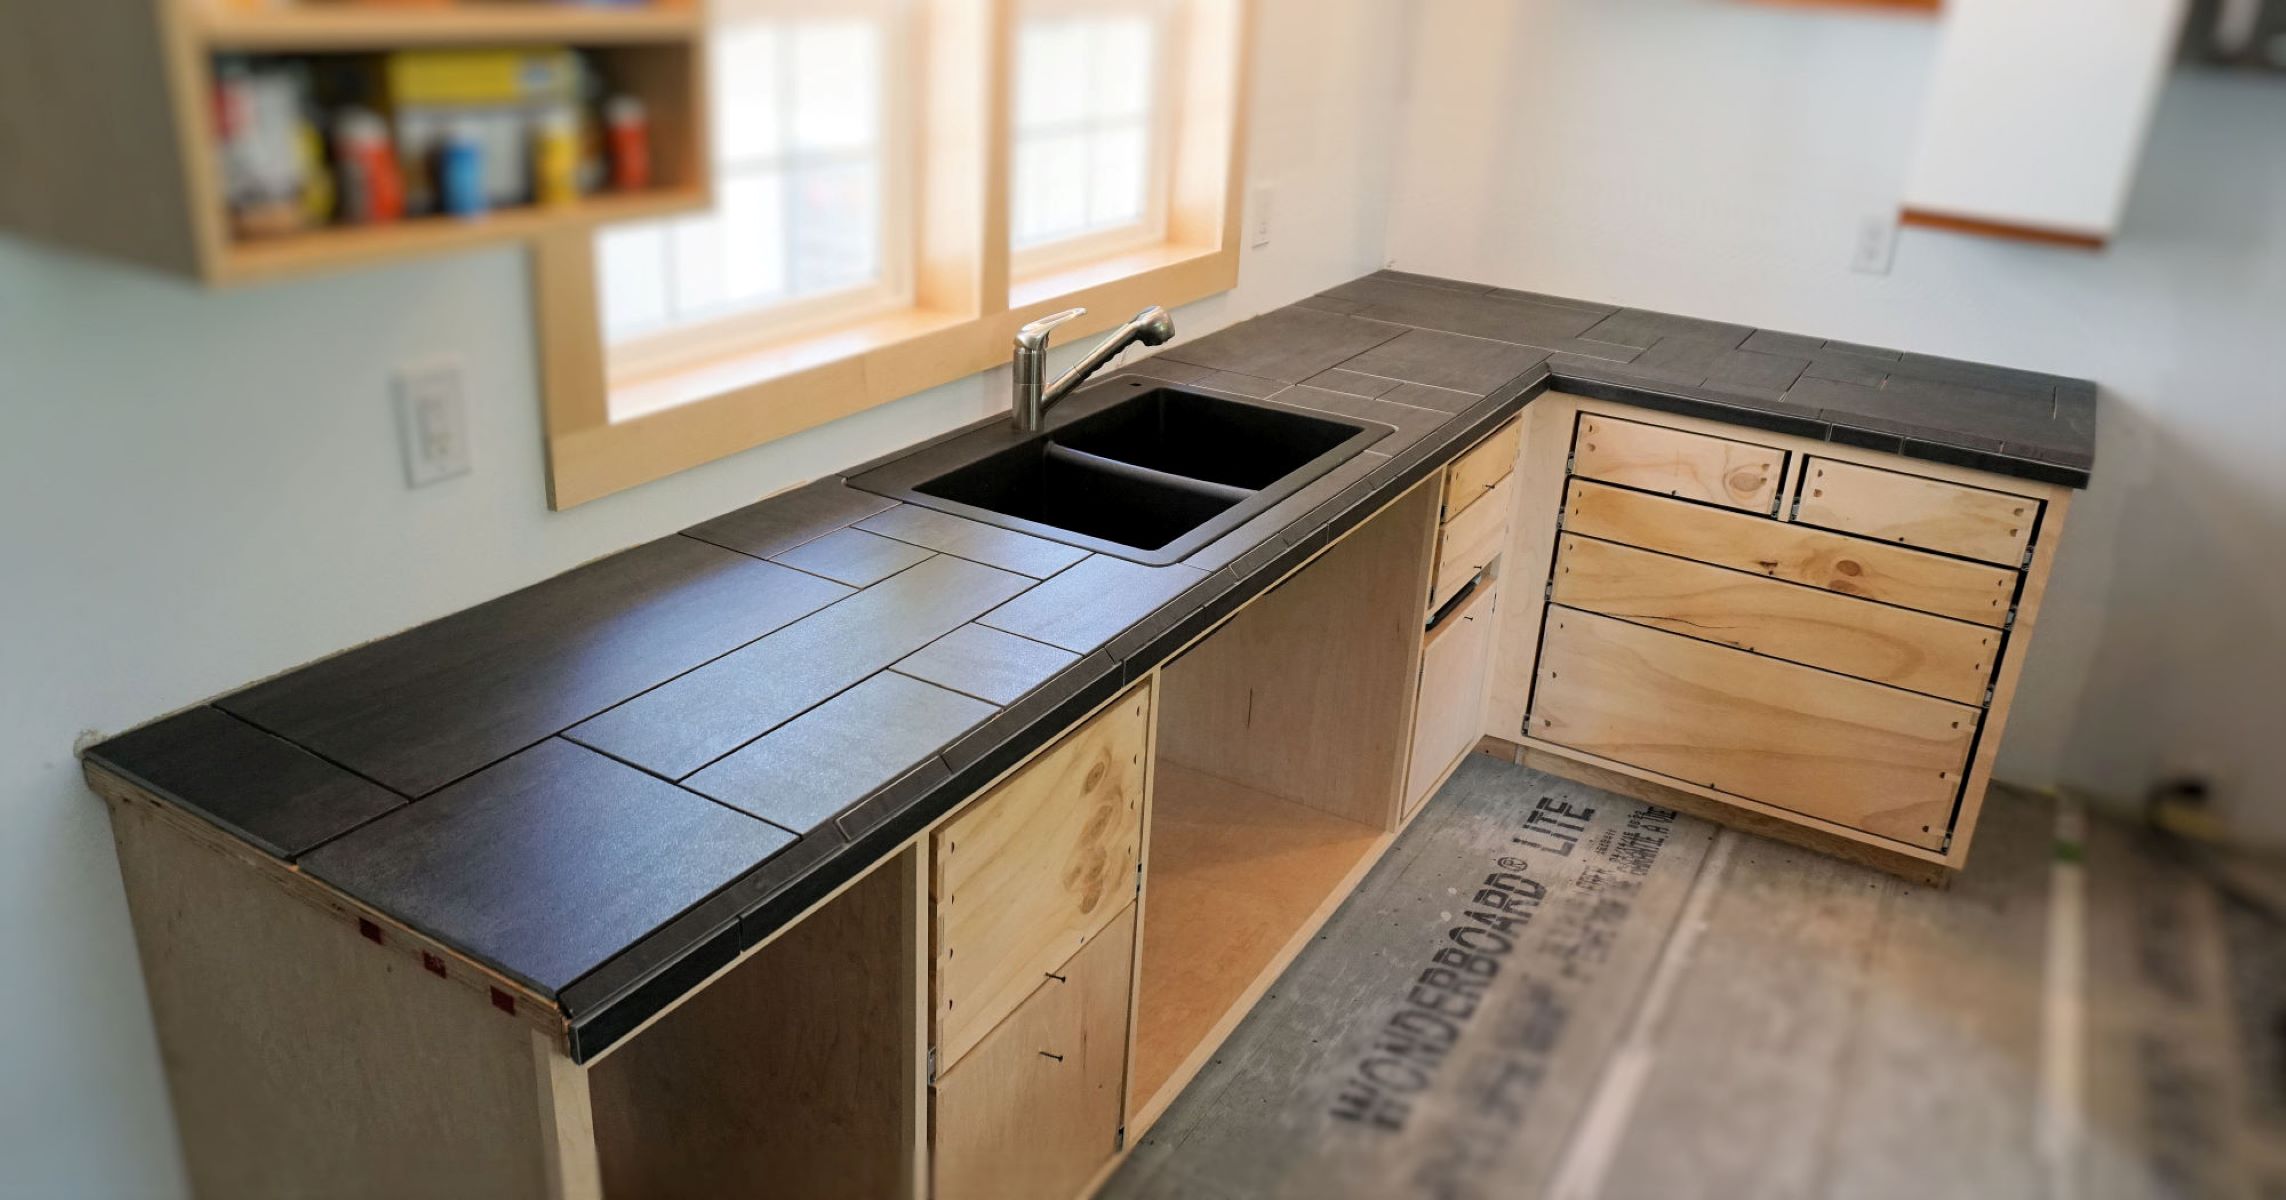
Countertops are one of the most important features in any kitchen or bathroom, providing both functionality and aesthetic appeal. Over time, the grout between the tiles on your countertops can become worn, cracked, or discolored, detracting from the overall appearance of your space. Regrouting your countertops is a cost-effective and relatively simple way to restore their beauty and extend their lifespan.
In this article, we will guide you through the process of regrouting countertops, providing step-by-step instructions and tips to help you achieve professional-looking results. From preparing the surface to applying new grout and sealing it, we will cover all the necessary steps to ensure a successful regrouting project.
Before we dive into the details, let’s explore some of the reasons why regrouting countertops is important.
Key Takeaways:
- Regrouting countertops is a cost-effective way to renew appearance, prevent water damage, improve hygiene, and enhance structural integrity, providing a fresh, updated look without the expense of replacement.
- Proper maintenance, including prompt cleaning, gentle cleaners, and periodic sealing, is essential to preserve the beauty and longevity of regrouted countertops, ensuring they remain stunning and functional for years to come.
Read more: How To Regrout Tile Floor
Reasons to Regrout Countertops
There are several reasons why regrouting countertops is a worthwhile endeavor. Let’s take a look at some of the main reasons to consider this project:
- Renew Appearance: Over time, the grout between tiles can become stained, discolored, or cracked, affecting the overall look of your countertops. Regrouting allows you to refresh and restore the appearance of your countertops, giving them a clean and updated look.
- Prevent Water Damage: Cracked or deteriorating grout can allow moisture to seep through and reach the underlying surface or structure. This can lead to water damage, such as mold growth or the deterioration of the countertop material itself. By regrouting, you can seal any gaps or cracks, preventing water infiltration and potential damage.
- Improve Hygiene: Grout is porous and can easily trap dirt, bacteria, and other contaminants. Over time, this can create an unsanitary environment, especially in areas like the kitchen where food is prepared. Regrouting your countertops will remove built-up grime, making them easier to clean and maintain a hygienic surface.
- Enhance Structural Integrity: Worn or cracked grout can compromise the structural integrity of your countertops. When the grout deteriorates, the tiles can become loose or uneven, posing a potential safety hazard. By regrouting, you reinforce the strength and stability of your countertop surface.
- Cost-Effective Alternative: If your countertops are still in good condition but the grout is in need of attention, regrouting is a cost-effective alternative to replacing the entire countertop. It allows you to achieve a fresh, new look without the expense and hassle of a complete replacement.
These are just a few of the compelling reasons to consider regrouting your countertops. Now that you understand the benefits, let’s move on to the tools and materials you’ll need for the project.
Tools and Materials Needed
Before you begin regrouting your countertops, gather the following tools and materials to ensure a smooth and successful project:
Tools:
- Trowel or grout float
- Grout saw or grout removal tool
- Utility knife
- Grout sponge or clean cloth
- Bucket for water
- Grout sealer and applicator
- Protective gloves and goggles
- Dust mask
Materials:
- New grout (make sure it matches the existing color or choose a new color for a fresh look)
- Grout additive (optional, to increase durability and flexibility)
- Grout cleaner
- Tile and grout adhesive
- Drop cloths or plastic sheeting
- Painter’s tape
Having the right tools and materials will make the regrouting process more efficient and ensure a high-quality finish. Make sure to gather everything before you start to avoid any interruptions.
Next, let’s move on to the preparations needed before regrouting your countertops.
Read more: How To Regrout A Shower Tile
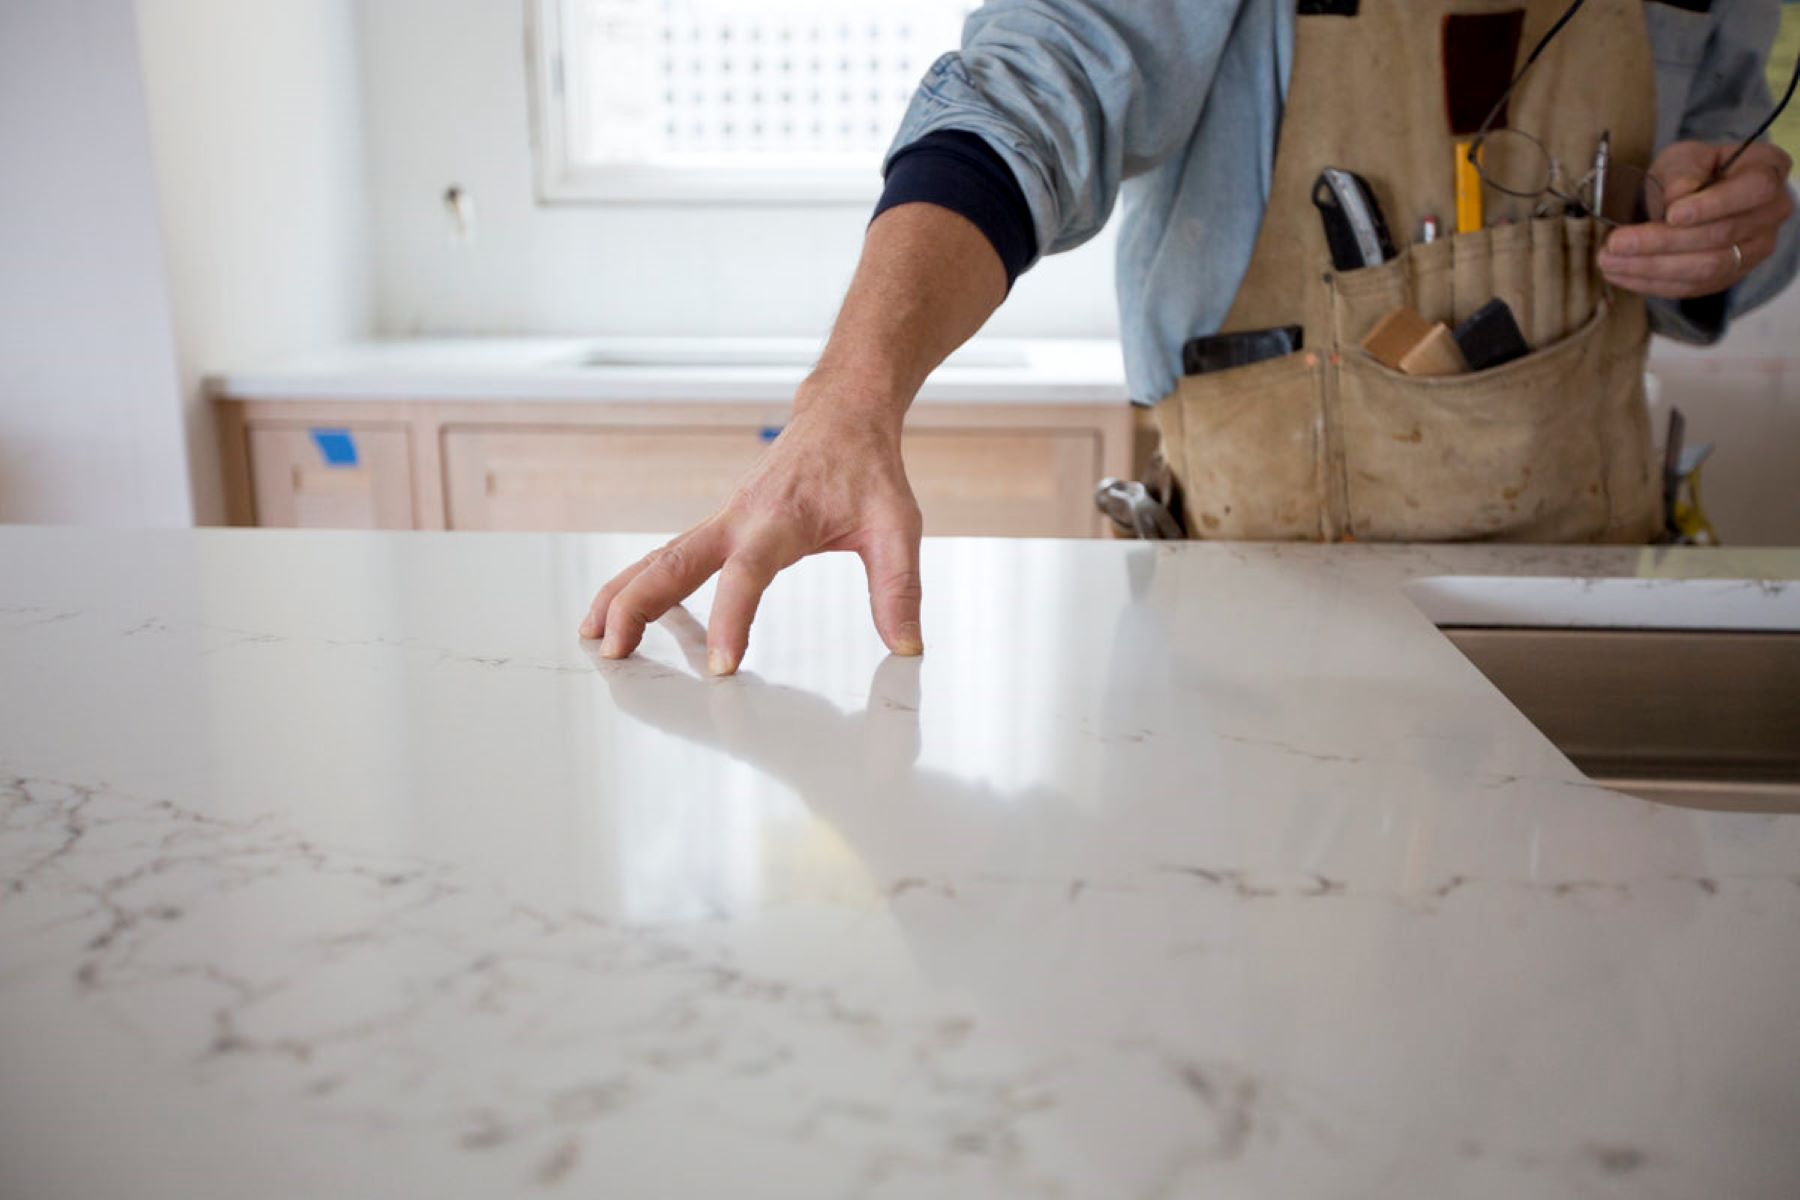
Preparing the Countertop
Before you can begin regrouting your countertops, it’s important to properly prepare the surface to ensure optimal results. Follow these steps to prepare the countertop:
- Clean the countertop: Start by thoroughly cleaning the surface of your countertops. Use a mild cleanser or a specially formulated grout cleaner to remove any dirt, grease, or stains. Make sure the surface is completely dry before moving on to the next step.
- Protect surrounding areas: To prevent any accidental damage or mess, cover the surrounding areas with drop cloths or plastic sheeting. Use painter’s tape to secure the protective covering in place, ensuring that it stays in position throughout the regrouting process.
- Remove objects from the countertop: Clear the countertop of any objects, such as appliances, utensils, or decorative items. This will provide you with a clean and clutter-free workspace, making the regrouting process easier and more efficient.
- Apply tile and grout adhesive (if necessary): If any tiles are loose or have lifted, you may need to reattach them using tile and grout adhesive. Follow the manufacturer’s instructions for applying the adhesive and allow it to dry completely before proceeding to the next step.
- Inspect the existing grout: Take a close look at the existing grout lines. If they are severely deteriorated or extensively cracked, it may be necessary to remove all the old grout and regrout the entire countertop. However, if only minor repairs are needed, you can proceed to the next step.
By properly preparing the countertop, you ensure a clean and stable surface for the regrouting process. With the surface ready, you can now move on to the next step – removing the old grout.
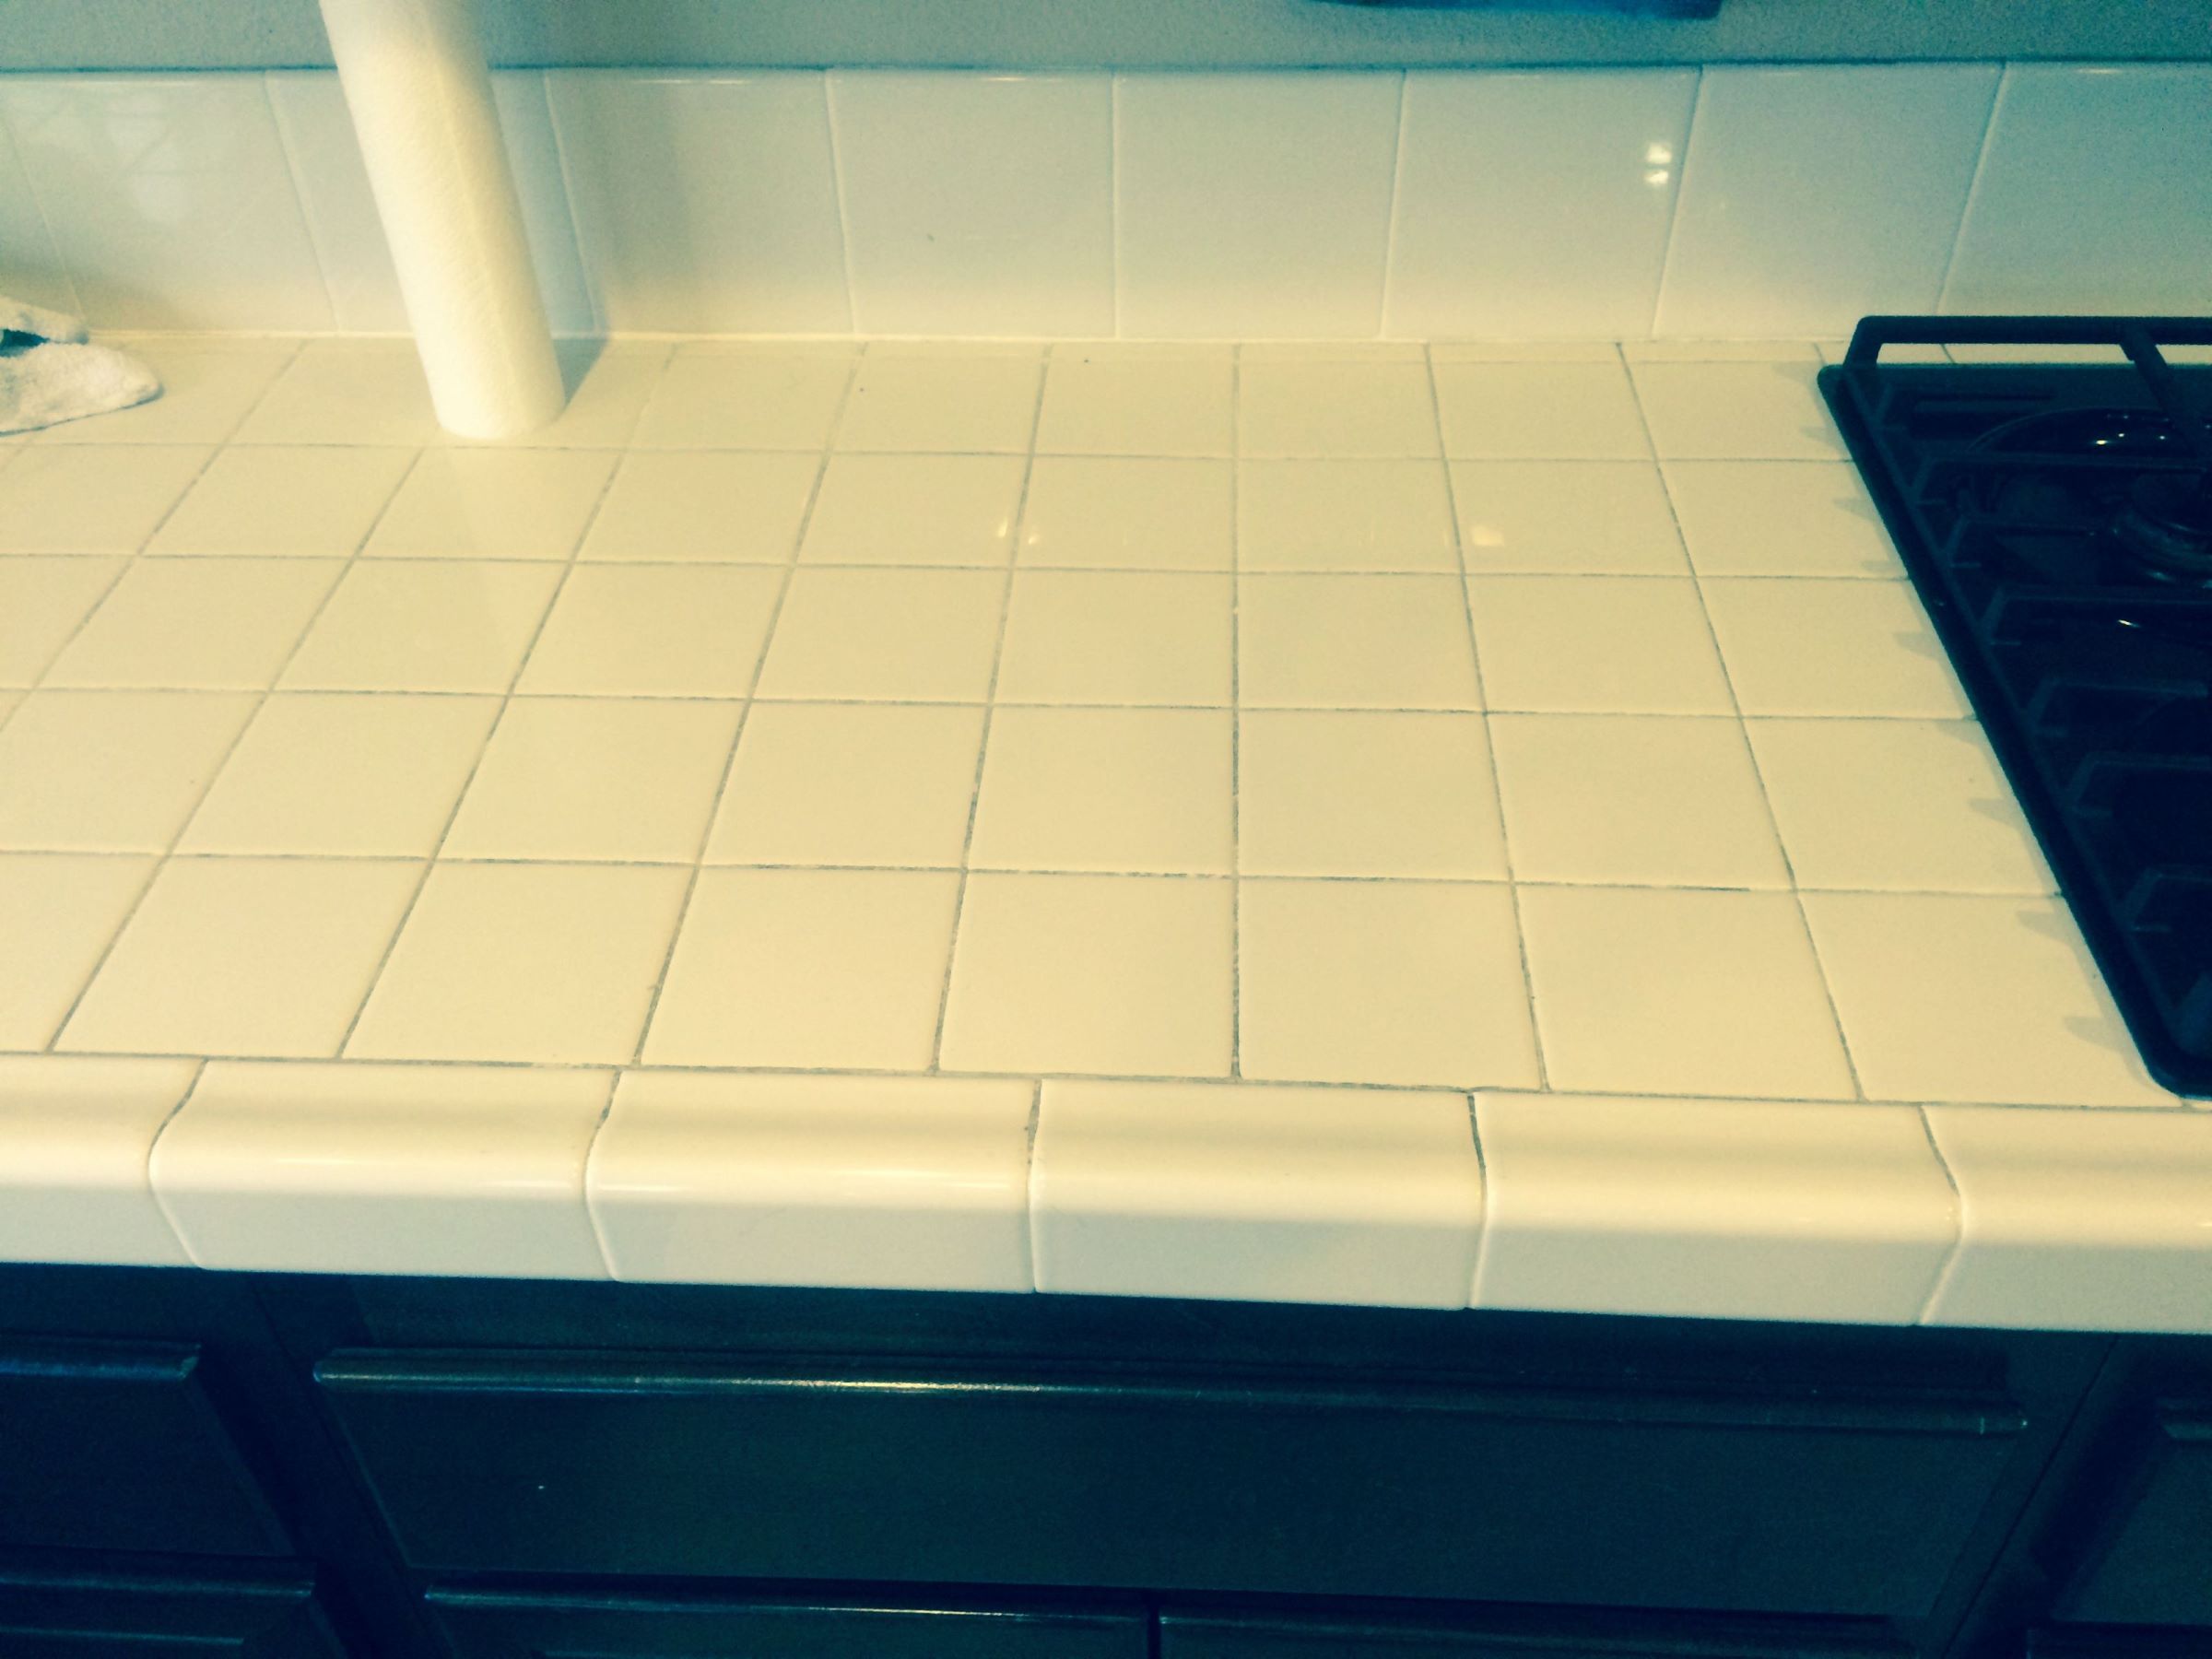
Removing Old Grout
Once you have prepared the countertop, the next step in the regrouting process is to remove the old grout. This step is crucial to create a clean and stable foundation for the new grout. Follow these steps to remove the old grout:
- Choose the right tool: Depending on the size and depth of the grout lines, you can choose between a grout saw or a grout removal tool. A grout saw is ideal for narrow grout lines, while a grout removal tool can be more efficient for larger grout lines.
- Protect yourself: Before you begin, put on protective gloves, goggles, and a dust mask to ensure your safety.
- Start at an angle: Hold the grout saw or grout removal tool at a 45-degree angle and carefully scrape along the grout lines. Apply gentle pressure to avoid damaging the surrounding tiles.
- Work in sections: Divide the countertop into manageable sections and focus on one section at a time. This will make the process more organized and prevent you from getting overwhelmed.
- Remove the old grout: Use the grout saw or grout removal tool to scrape out the old grout from between the tiles. Be thorough and make sure to remove all the old grout from each grout line.
- Clean up the debris: As you remove the old grout, use a vacuum cleaner or a soft brush to clean up the debris. This will prevent it from spreading and ensure a clean working area.
- Inspect the grout lines: After removing the old grout, inspect the grout lines to ensure they are clean and free of any remaining grout particles. Use a utility knife or a thin brush to remove any stubborn remnants.
Removing the old grout can be a time-consuming task, but it is essential to create a clean surface for the new grout. Once the old grout has been completely removed, it’s time to move on to the next step – cleaning the surface.
Cleaning the Surface
After removing the old grout, it’s important to thoroughly clean the surface of your countertops before applying the new grout. This ensures that there is no residue or debris that could affect the adhesion and appearance of the new grout. Follow these steps to clean the surface:
- Dampen a grout sponge or clean cloth: Moisten a grout sponge or a clean cloth with water. Make sure it is damp, but not overly wet, to avoid saturating the tiles or creating excess moisture.
- Gently wipe the surface: Wipe the surface of the countertops in a circular motion to remove any dust, dirt, or debris. Pay special attention to the grout lines, ensuring that they are clean and free of any residue.
- Rinse the sponge or cloth frequently: As you clean, rinse the grout sponge or cloth frequently to remove any buildup of grime or dirt. This will prevent you from spreading debris around while cleaning.
- Inspect the surface: After cleaning, inspect the surface of the countertops to ensure that it is clean and free of any remaining residue. If necessary, repeat the cleaning process until the surface is thoroughly clean.
- Allow the surface to dry: Once you have completed the cleaning process, allow the surface to dry completely before proceeding to the next step. This will ensure that the new grout adheres properly without any excess moisture.
By taking the time to clean the surface, you create the ideal conditions for applying the new grout. With the surface clean and dry, you are now ready to move on to the next step – applying the new grout.
Applying New Grout
Now that you have prepared the surface and cleaned it thoroughly, it’s time to apply the new grout. This step requires careful attention to detail to ensure a smooth and professional finish. Follow these steps to apply the new grout:
- Mix the grout: Follow the manufacturer’s instructions to mix the grout to the desired consistency. Use a clean bucket and a grout paddle or a trowel to achieve a smooth and even mixture.
- Apply the grout: Use a grout float or a trowel to apply the new grout to the grout lines. Hold the float at a 45-degree angle and press the grout into the lines, ensuring that it fills the gaps completely and evenly.
- Work in small sections: Apply the grout to a small section of the countertop at a time, rather than trying to grout the entire surface at once. This allows you to focus on each area and prevents the grout from drying too quickly.
- Remove excess grout: After applying the grout, use the edge of the grout float or a clean damp sponge to remove the excess grout from the surface of the tiles. Hold the float or sponge at a 45-degree angle and gently swipe across the tiles to remove the excess grout.
- Fill in any gaps: Use the edge of the grout float or a small pointed tool to fill in any gaps or low spots in the grout lines. Ensure that the grout is level and evenly distributed throughout the entire countertop.
- Clean the surface: After completing the grouting process, use a damp sponge or a clean cloth to gently wipe away any haze or residue on the surface of the tiles. Rinse and wring out the sponge or cloth frequently to maintain cleanliness.
Applying the new grout requires precision and attention to detail. Take your time and work methodically to achieve a clean and professional finish. With the new grout applied, it’s time to move on to the next step – smoothing and finishing.
When regrouting countertops, make sure to thoroughly clean the existing grout lines and remove any old grout before applying the new grout. This will ensure a strong and long-lasting bond.
Read more: How To Regrout Patio Slabs
Smoothing and Finishing
Once you have applied the new grout, it’s important to smooth and finish the surface to create a polished and attractive look. This step ensures that the grout lines are uniform and that the countertop has a professional finish. Follow these steps to smooth and finish the grout:
- Wait for the grout to set: Allow the grout to set according to the manufacturer’s instructions. This usually takes about 15-30 minutes, but may vary depending on the type of grout used.
- Use a damp sponge: Once the grout has set, lightly dampen a clean grout sponge and gently wipe it along the grout lines. Use a circular motion to smooth and shape the grout, ensuring that all lines are uniform and level.
- Keep the sponge clean: Rinse and wring out the sponge frequently to remove any excess grout and prevent it from smearing on the tiles. A clean sponge ensures a neat and polished finish.
- Inspect the grout lines: After smoothing, inspect the grout lines to ensure they are even and free of any excess grout or inconsistencies. Use a utility knife or a small pointed tool to correct any imperfections or fill in low spots, if necessary.
- Clean the surface again: Once you have finished smoothing the grout lines, use a damp sponge or cloth to wipe away any remaining grout haze from the tile surfaces. Be gentle and avoid disturbing the freshly set grout.
- Allow the grout to cure: After completing the smoothing and finishing process, allow the grout to cure fully. The curing time can vary depending on the grout type, so refer to the manufacturer’s instructions for specific guidelines.
Smoothing and finishing the grout is a critical step in achieving a professional-looking countertop. The attention to detail in this step will ensure that your countertops look polished and well-maintained. With the grout smoothed and finished, it’s time to move on to the next step – sealing the grout.
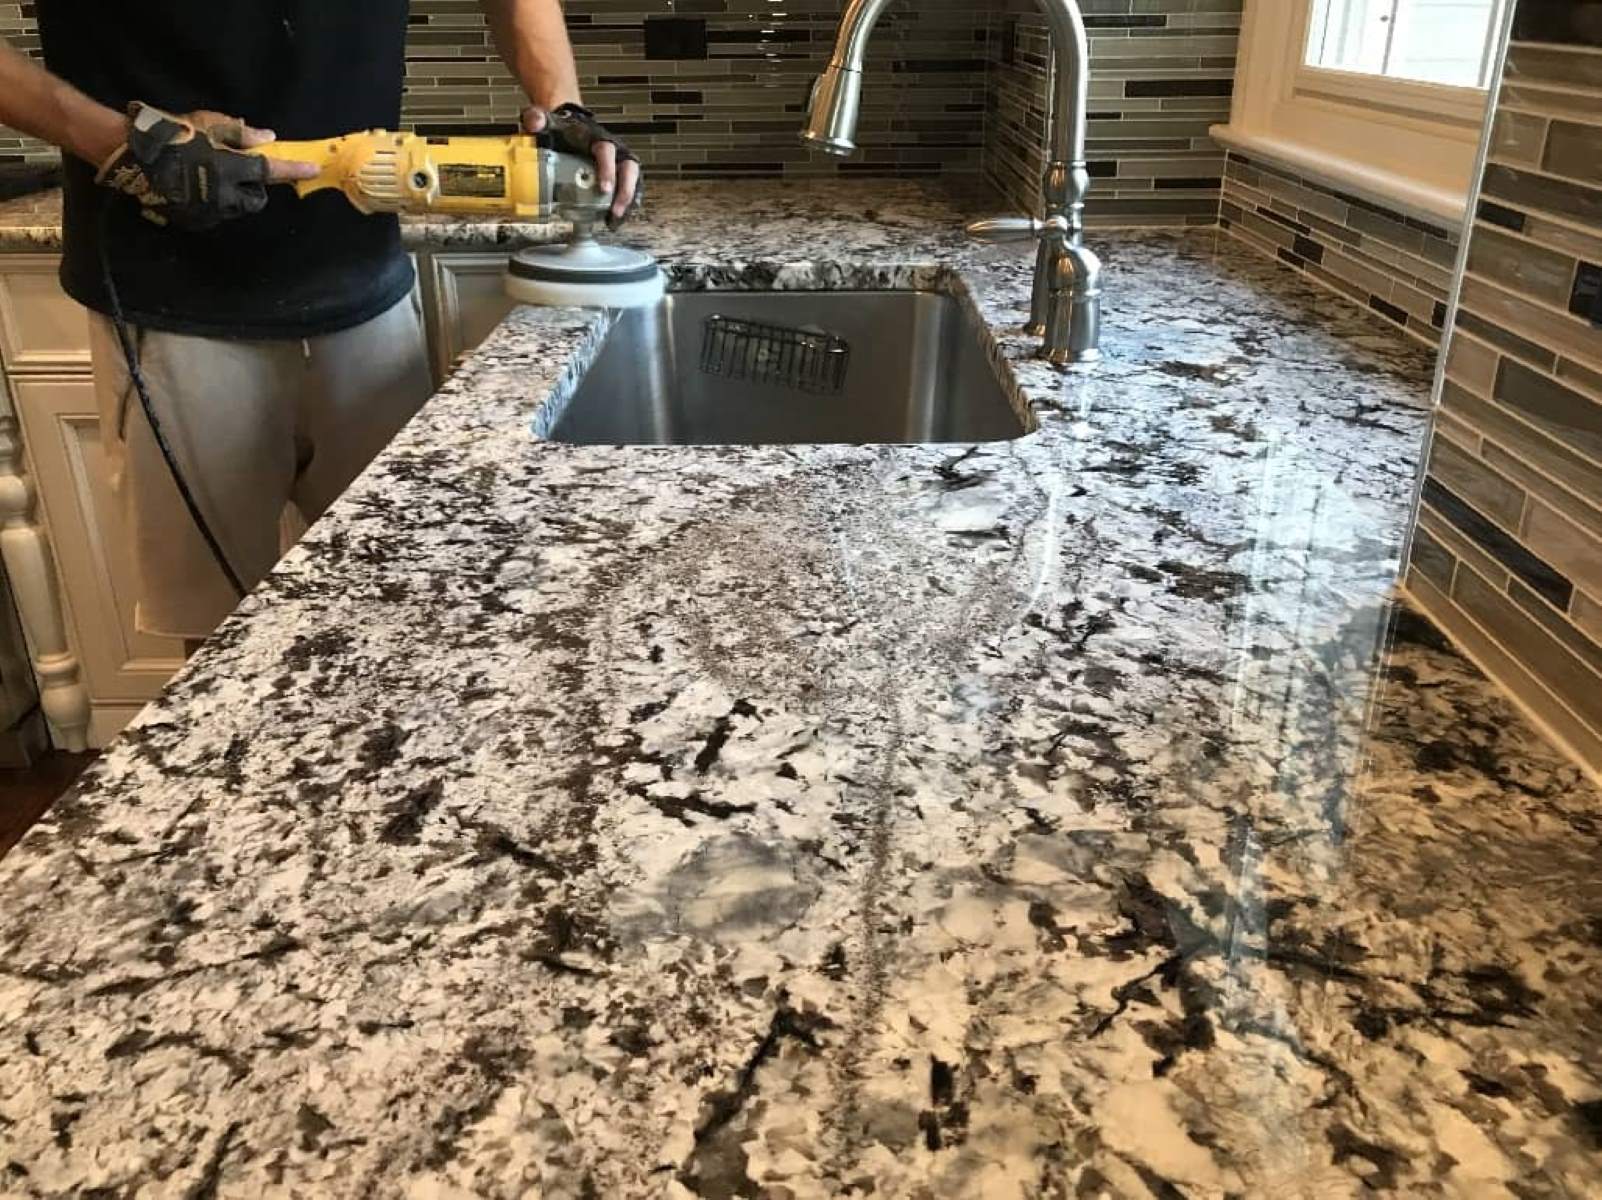
Sealing the Grout
After regrouting your countertops, it is important to seal the grout to protect it from stains, moisture, and daily wear and tear. Sealing the grout creates a barrier that helps maintain its appearance and extend its lifespan. Follow these steps to seal the grout:
- Ensure the grout is dry: Before sealing, make sure the grout is completely dry. Refer to the manufacturer’s instructions for the recommended drying time.
- Choose the right sealer: Select a high-quality grout sealer that is suitable for your specific type of grout and countertop material. There are several types of sealers available, including penetrating sealers and topical sealers. Read the instructions on the sealer packaging to determine the appropriate application method.
- Protect surrounding surfaces: Use painter’s tape or plastic sheeting to protect the surrounding areas, such as the tiles and the countertop surface, from accidental sealer application.
- Apply the sealer: Follow the manufacturer’s instructions to apply the grout sealer to the grout lines. Some sealers may require multiple coats, so make sure to follow the recommended application and drying times between coats.
- Wipe off excess sealer: After applying the sealer, use a clean cloth or sponge to immediately wipe off any excess sealer that may have gotten on the tile surfaces. This prevents the sealer from drying and leaving a visible film on the tiles.
- Allow the sealer to dry: Let the sealer dry according to the manufacturer’s instructions before using the countertop. This drying time can vary depending on the type of sealer used.
Sealing the grout is an important step in protecting your newly regrouted countertops. It helps keep the grout looking clean and prevents staining and moisture damage. With the grout properly sealed, your countertops are now ready to be admired and enjoyed for years to come.
Maintaining and Caring for Regrouted Countertops
After regrouting your countertops, it is essential to implement a regular maintenance routine to keep them looking their best and ensure their longevity. Proper care and maintenance will help protect the grout and preserve the overall appearance of your countertops. Here are some tips for maintaining and caring for your regrouted countertops:
- Clean spills promptly: Wipe up any spills on the countertops as soon as they occur to prevent stains and discoloration. Use a mild cleanser or warm water and a soft cloth to clean the surface. Avoid abrasive cleaners or scrub brushes that can damage the grout.
- Avoid harsh chemicals: When cleaning the countertops, avoid using harsh chemicals and abrasive cleaners that can erode the grout. Opt for mild, non-abrasive cleaners or a mixture of vinegar and water for everyday cleaning.
- Remove stains carefully: If you notice stubborn stains on the grout, create a paste using baking soda and water and apply it to the stained area. Let it sit for a while and then gently scrub the stain with a soft brush or toothbrush. Rinse thoroughly with water.
- Keep the grout dry: Moisture can deteriorate grout over time. After cleaning the countertops, make sure to dry the grout lines thoroughly to prevent water damage. Use a dry cloth or towel to remove any excess moisture.
- Apply grout sealer periodically: Regularly reapply a grout sealer to maintain the protective barrier and prevent staining. The frequency of resealing will depend on the type of sealer used, so refer to the manufacturer’s instructions for specific guidelines.
- Avoid heavy impact: Protect your countertops from heavy objects or impacts that can chip or crack the tiles or grout. Use cutting boards, trivets, and coasters to prevent damage from hot objects or sharp utensils.
- Regularly inspect and repair: Periodically inspect the grout lines for any signs of wear, cracking, or damage. If you notice any issues, promptly repair the grout to prevent further damage and ensure the integrity of your countertops.
- Keep up with routine maintenance: Establish a regular cleaning and maintenance routine for your countertops. Regularly wipe down the surface, clean the grout, and address any repairs or issues promptly to keep your countertops in optimal condition.
By following these guidelines and implementing a consistent maintenance routine, you can keep your regrouted countertops looking beautiful and extend their lifespan. With proper care, you can enjoy your countertops for many years to come.
Now that you’re equipped with the knowledge to maintain your regrouted countertops, it’s time to put it into practice and enjoy the refreshed and rejuvenated appearance of your kitchen or bathroom space.
Conclusion
Regrouting your countertops can breathe new life into your kitchen or bathroom, enhancing both the functionality and aesthetic appeal of these essential spaces. By following the step-by-step guide and tips outlined in this article, you can successfully regrout your countertops and achieve professional-looking results.
We explored the reasons why regrouting is important, such as renewing the appearance, preventing water damage, improving hygiene, enhancing structural integrity, and providing a cost-effective alternative to replacement. We also discussed the tools and materials needed for the project, as well as the crucial steps of preparing the countertop, removing old grout, cleaning the surface, applying new grout, smoothing and finishing, and sealing the grout.
We emphasized the significance of regular maintenance and care for your regrouted countertops. By promptly cleaning up spills, using gentle cleaners, protecting the grout from moisture, periodically applying grout sealer, avoiding heavy impact, and maintaining a routine maintenance schedule, you can preserve the beauty and longevity of your countertops.
Regrouting countertops is a rewarding DIY project that can transform the look and feel of your kitchen or bathroom. Not only does it give your countertops a fresh, revitalized appearance, but it also helps protect them and extend their lifespan. With the proper tools, materials, and techniques, you can achieve professional-level results and enjoy the benefits of a well-maintained, stunning countertop surface.
So, don’t hesitate to embark on this exciting project and give your countertops a much-needed facelift. Follow the steps outlined in this article, take your time, and enjoy the process. You’ll be rewarded with beautiful, regrouted countertops that will bring joy and functionality to your space for years to come.
Frequently Asked Questions about How To Regrout Countertops
Was this page helpful?
At Storables.com, we guarantee accurate and reliable information. Our content, validated by Expert Board Contributors, is crafted following stringent Editorial Policies. We're committed to providing you with well-researched, expert-backed insights for all your informational needs.


0 thoughts on “How To Regrout Countertops”