Home>Renovation & DIY>Home Renovation Guides>How To Measure For A Backsplash

Home Renovation Guides
How To Measure For A Backsplash
Modified: March 25, 2024
Learn how to measure for a backsplash in your home renovation project with our comprehensive guide. Get expert tips and advice for accurate measurements. Ideal for DIY enthusiasts and professional contractors.
(Many of the links in this article redirect to a specific reviewed product. Your purchase of these products through affiliate links helps to generate commission for Storables.com, at no extra cost. Learn more)
Introduction
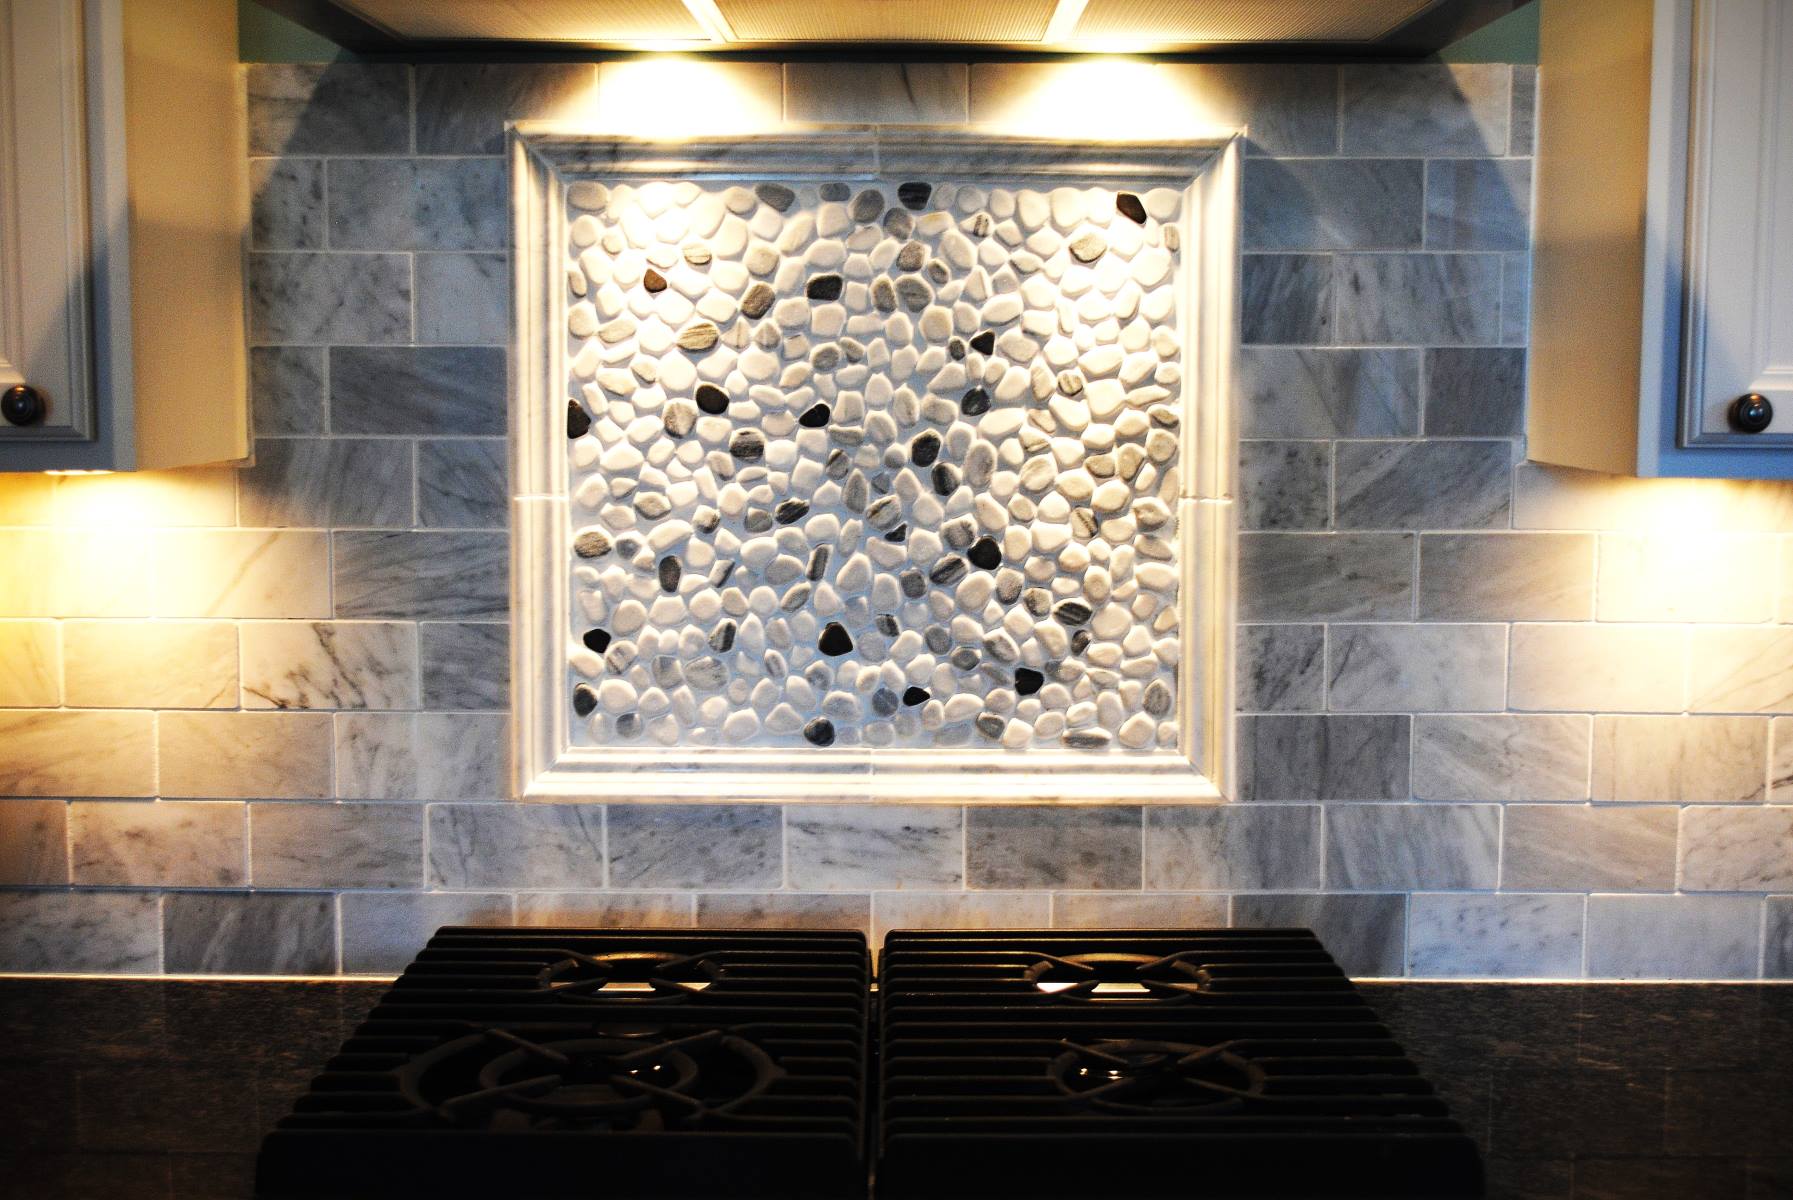
When it comes to renovating your kitchen or bathroom, adding a backsplash can be a game-changer. Not only does it protect your walls from splashes and spills, but it also serves as a focal point, adding personality and style to the space. However, before you can dive into the exciting world of backsplash design, it's crucial to start with the basics: accurate measurements.
Measuring for a backsplash may seem like a straightforward task, but it requires precision and attention to detail. By taking the time to measure your walls properly, you can ensure that your backsplash installation will be seamless and visually stunning. Whether you're a seasoned DIY enthusiast or a first-time renovator, mastering the art of measuring for a backsplash is a fundamental skill that will set the stage for a successful home improvement project.
In this comprehensive guide, we will walk you through the step-by-step process of measuring for a backsplash. From gathering the necessary tools to factoring in outlets and fixtures, we'll cover everything you need to know to achieve accurate measurements. By the end of this guide, you'll be equipped with the knowledge and confidence to tackle your backsplash project with precision and finesse. So, grab your measuring tape and let's dive into the world of backsplash measurement!
Key Takeaways:
- Mastering the art of measuring for a backsplash is crucial for a successful renovation project. Accurate measurements ensure a seamless and visually stunning installation, setting the stage for a transformed space.
- Gathering the right tools, measuring meticulously, and factoring in outlets and fixtures are essential steps in achieving precise measurements for a flawless backsplash. This foundational phase paves the way for a smooth and visually appealing installation.
Read more: How To Prep For Backsplash
Step 1: Gather Your Tools
Before embarking on the task of measuring for a backsplash, it's essential to gather the necessary tools to ensure accuracy and efficiency. Here's a list of tools you'll need:
-
Measuring Tape: A reliable measuring tape is the cornerstone of any successful backsplash measurement. Opt for a tape measure that is at least 25 feet long, allowing you to measure large areas without the need for frequent repositioning.
-
Pencil or Marker: Having a pencil or marker on hand is crucial for marking the measurements directly on the wall. This will help you keep track of the dimensions as you move along the measuring process.
-
Level: A level is indispensable for ensuring that your measurements are straight and aligned. It will help you avoid inaccuracies that can arise from uneven surfaces.
-
Notebook or Sketchpad: Keeping a notebook or sketchpad handy allows you to jot down measurements, make sketches, and note any specific details or obstacles that may impact the backsplash installation.
-
Calculator: While not a physical tool, a calculator or a smartphone with a calculator app is essential for accurately calculating the total square footage of the backsplash area.
-
Ladder or Step Stool: If you're measuring a backsplash in a kitchen or bathroom with tall walls, a sturdy ladder or step stool will enable you to reach the upper areas comfortably and safely.
By ensuring that you have these tools at your disposal, you'll be well-prepared to tackle the task of measuring for your backsplash. With the right tools in hand, you can proceed to the next steps with confidence, knowing that you have everything you need to obtain precise measurements for a flawless backsplash installation.
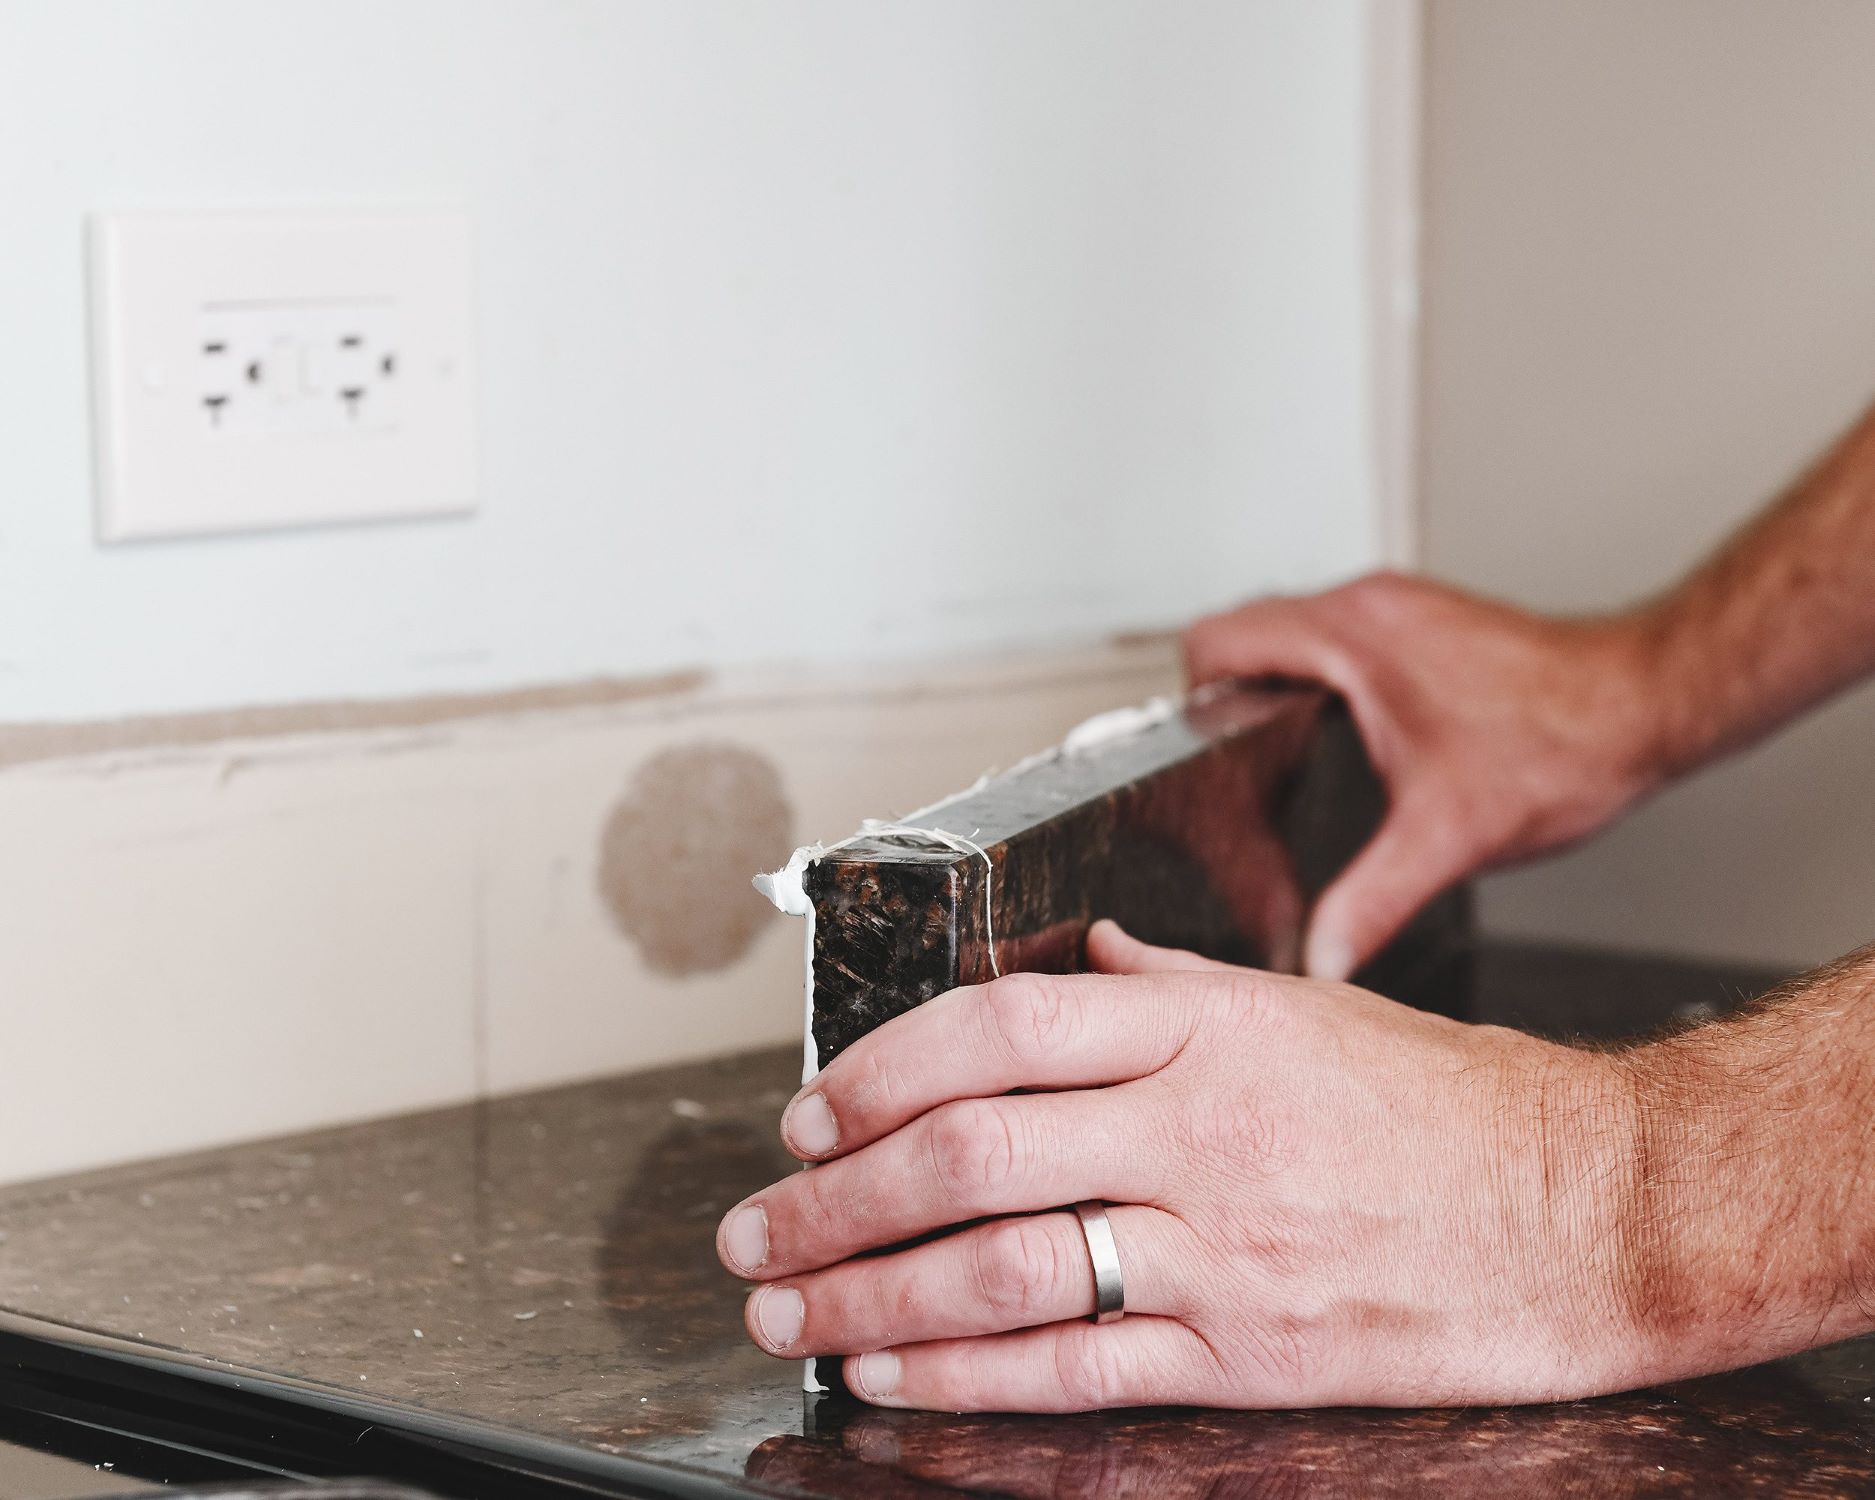
Step 2: Measure the Length of the Wall
Measuring the length of the wall is a critical step in accurately determining the amount of backsplash material needed for your project. To begin, start at one end of the wall where the backsplash will be installed. Using your measuring tape, carefully extend it along the entire length of the wall, ensuring it follows the exact path where the backsplash will be placed. As you do this, it's important to keep the tape measure straight and taut to obtain precise measurements.
While measuring, take note of any obstacles such as cabinets, windows, or corners that may interrupt the backsplash installation. If the wall features multiple sections due to these obstacles, measure each section separately to account for any variations in length.
Once you have obtained the length of the wall, it's advisable to double-check your measurement to ensure accuracy. Using a level, confirm that the measuring tape is straight and not sagging, as this can lead to inaccurate readings. Additionally, mark the measurement on the wall using a pencil or marker, clearly indicating the starting and ending points.
If the wall has irregularities such as protruding baseboards or trim, it's essential to measure from the highest point where the backsplash will reach. This ensures that the backsplash will cover the entire visible area, creating a seamless and polished look.
Throughout the measuring process, it's beneficial to have a notebook or sketchpad on hand to record the measurements and any specific details about the wall. This documentation will serve as a valuable reference when planning the backsplash installation and selecting the appropriate materials.
By meticulously measuring the length of the wall and taking into account any unique features, you set the foundation for a successful backsplash project. Accurate measurements at this stage will streamline the subsequent steps, allowing for a smooth and visually appealing installation process. With the length of the wall accurately determined, you are now ready to proceed to the next crucial step in measuring for your backsplash.
Step 3: Measure the Height of the Wall
Measuring the height of the wall is a pivotal step in accurately determining the surface area that will be covered by the backsplash. To begin, position your ladder or step stool securely to reach the uppermost point of the wall. Starting from one end of the wall, extend your measuring tape vertically from the base to the top, ensuring it aligns with the area where the backsplash will be installed.
As you measure the height, it's crucial to account for any interruptions such as cabinets, range hoods, or windows that may affect the backsplash installation. If the wall features multiple sections due to these interruptions, measure each section separately to capture the precise height of the backsplash area.
When measuring, ensure that the tape measure is held taut and straight to obtain accurate readings. It's beneficial to have a second person assist you in holding the tape measure steady, especially when dealing with tall walls. This collaborative approach can enhance the precision of your measurements and minimize the margin for error.
In scenarios where the wall exhibits irregularities, such as sloping ceilings or uneven surfaces, it's essential to measure the maximum height where the backsplash will be applied. This comprehensive approach ensures that the backsplash will cover the entire visible area, creating a cohesive and visually appealing result.
As you measure the height of the wall, take note of any specific details or obstacles that may impact the backsplash installation. Mark the measurement on the wall using a pencil or marker, clearly indicating the starting and ending points to maintain a visual record of the height.
By meticulously measuring the height of the wall and factoring in any unique features, you lay the groundwork for a successful backsplash project. Accurate measurements at this stage are instrumental in facilitating the subsequent calculations and material selection, setting the stage for a seamless and aesthetically pleasing installation process. With the height of the wall accurately determined, you are now prepared to progress to the next critical phase in measuring for your backsplash.
When measuring for a backsplash, be sure to measure the length and height of the area you want to cover. Add a little extra for cutting and mistakes. Always double-check your measurements before making any cuts or purchases.
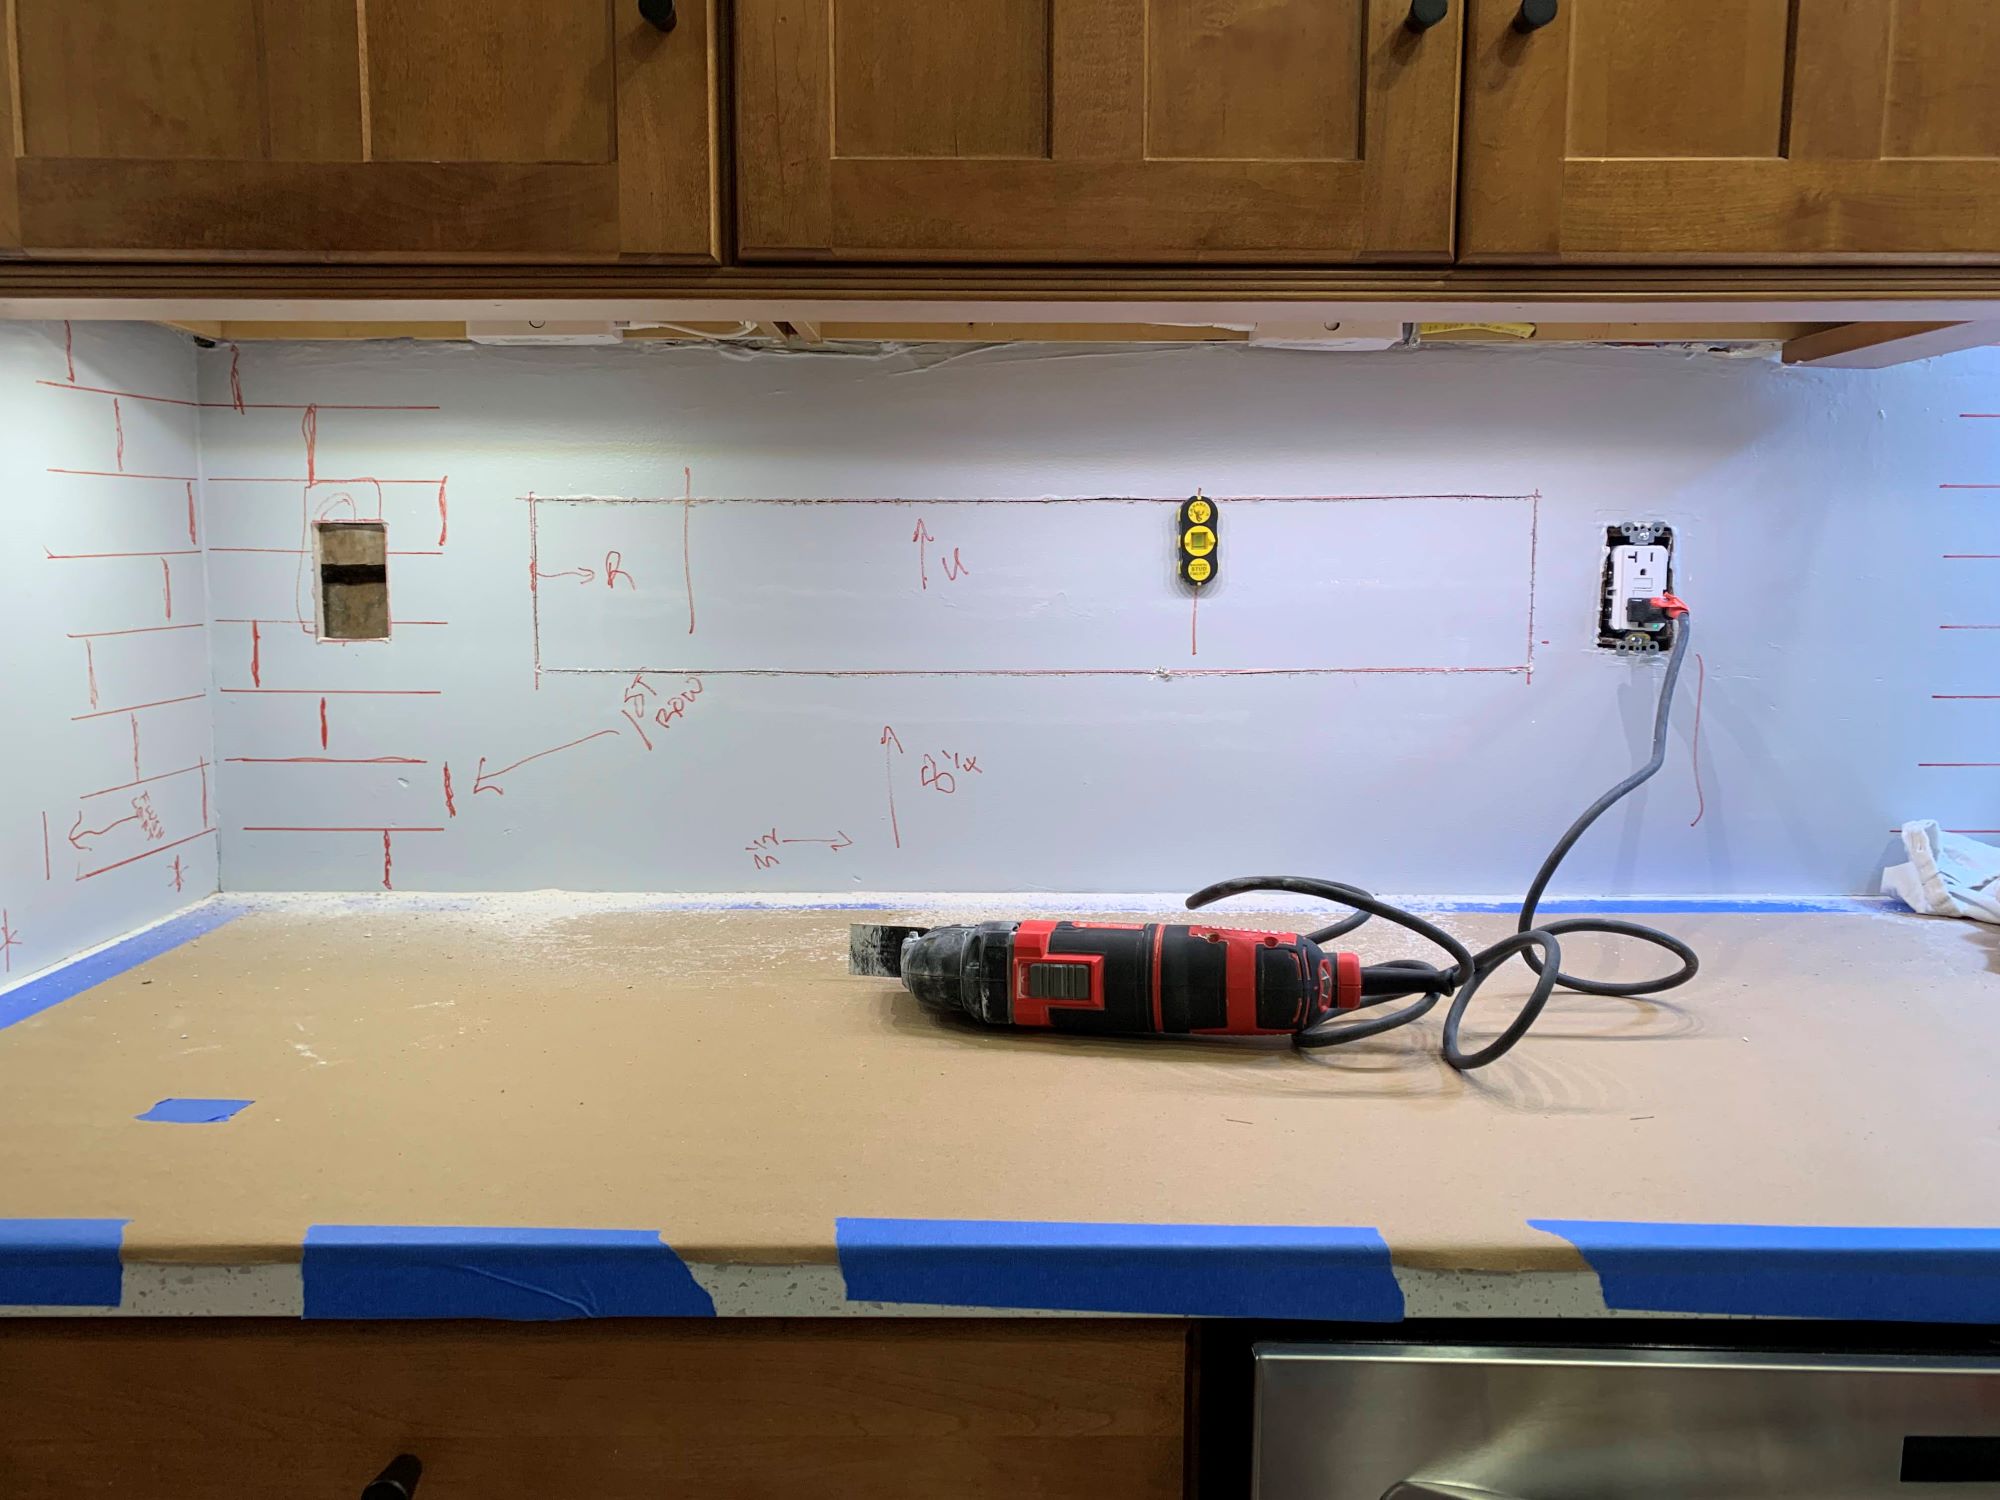
Step 4: Account for Outlets and Fixtures
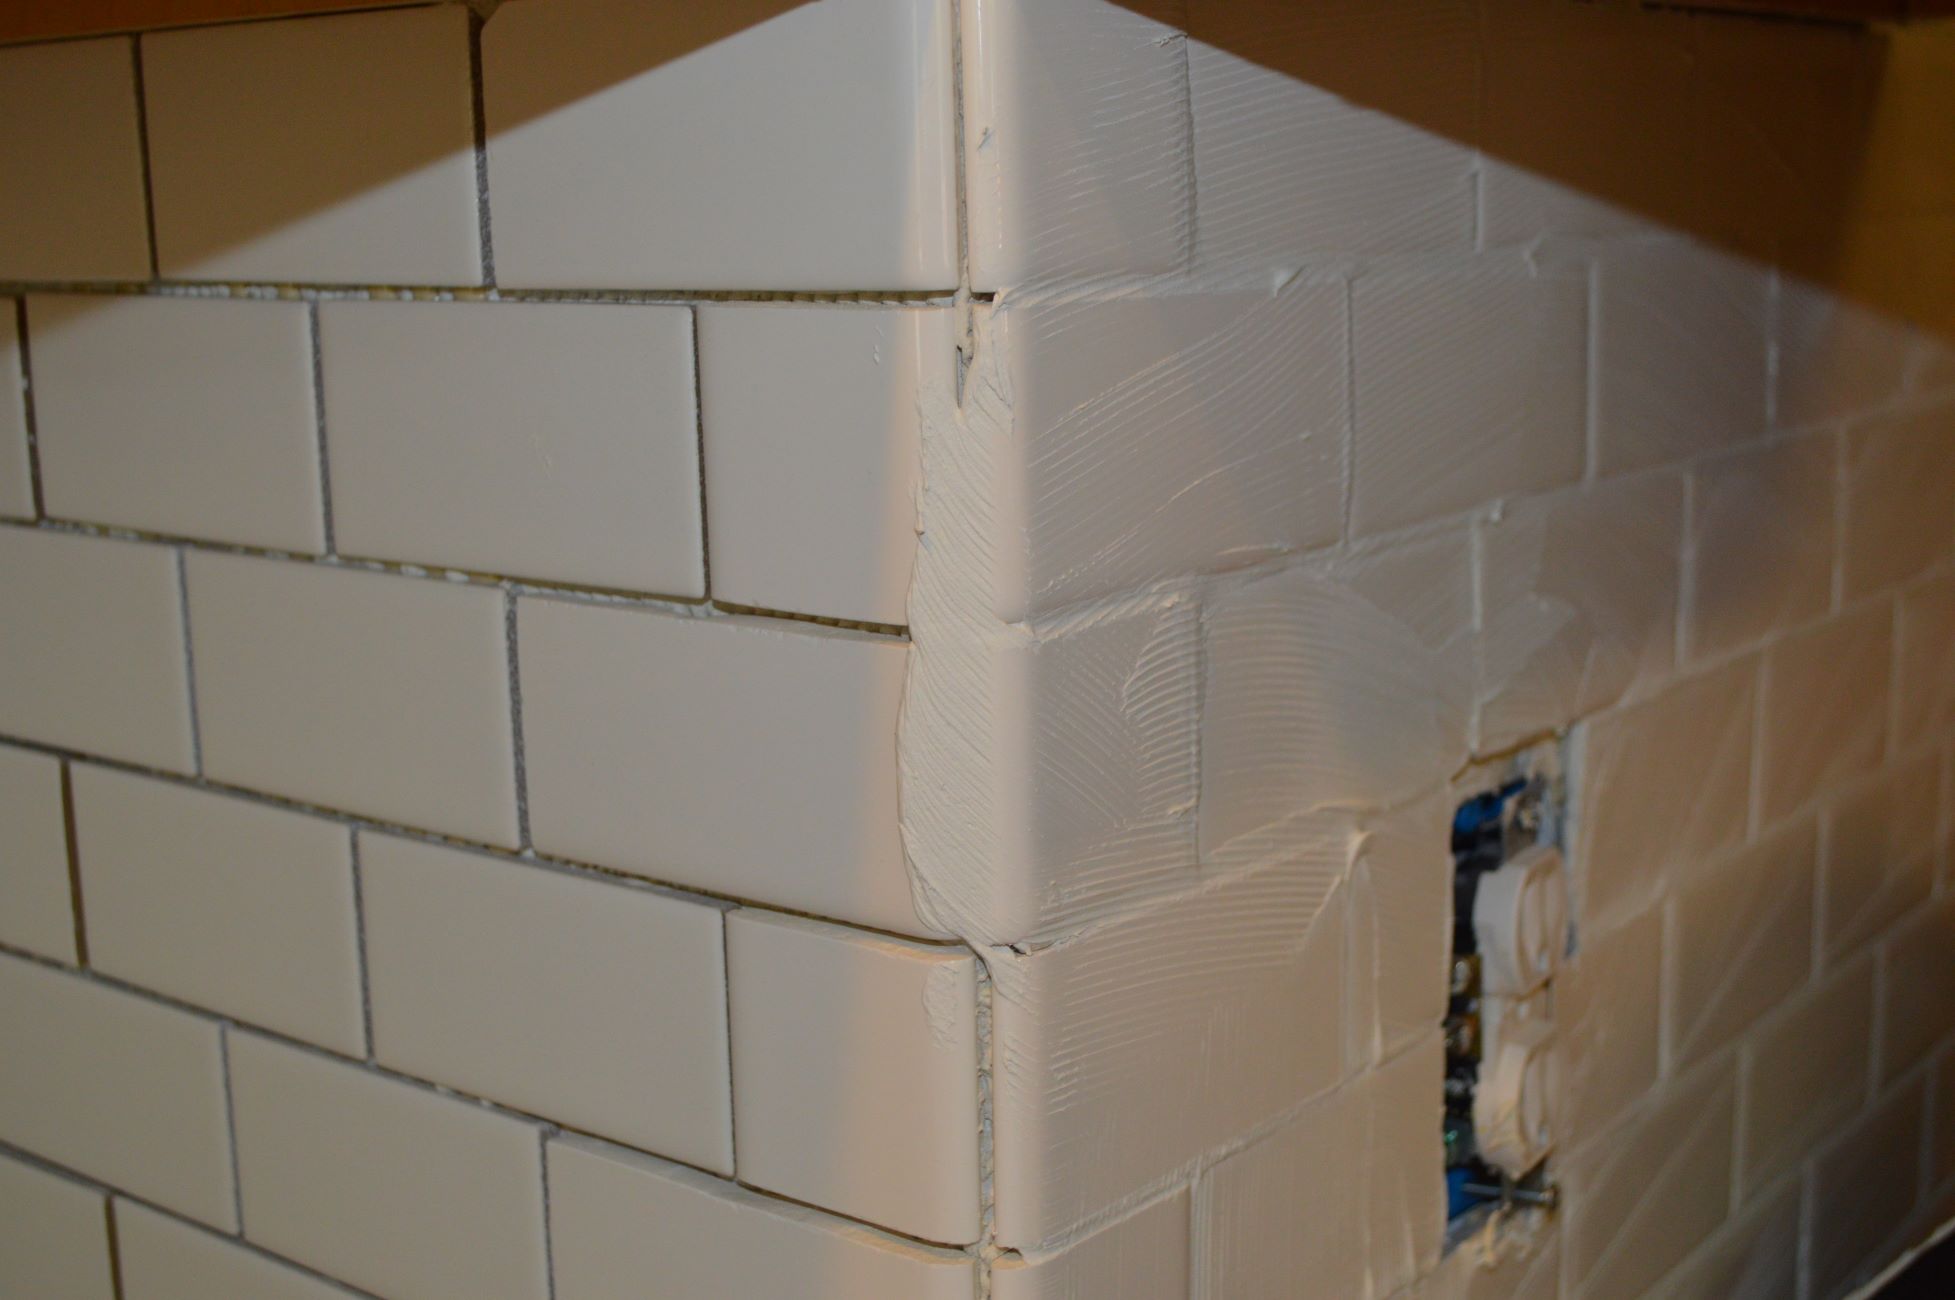
As you delve into the process of measuring for a backsplash, it's essential to account for outlets, switches, and fixtures that punctuate the walls in your kitchen or bathroom. These elements not only add functionality to the space but also present unique considerations when it comes to backsplash installation. By factoring in these outlets and fixtures during the measurement phase, you can ensure that your backsplash will seamlessly integrate with these essential components, creating a polished and functional end result.
Start by identifying all the outlets, switches, and fixtures that intersect with the area where the backsplash will be installed. Carefully measure the distance from the edge of the wall to the center of each outlet or fixture, noting these measurements down for reference. It's crucial to be precise in these measurements, as even a slight discrepancy can impact the accuracy of your backsplash dimensions.
When measuring around outlets and switches, it's important to account for the cover plates as well. These cover plates add an additional width to the outlet or switch, and failing to accommodate for them can result in an ill-fitting backsplash. Measure the dimensions of the cover plates and factor them into your overall measurements to ensure a precise fit around these elements.
Incorporating outlets and fixtures into your measurements is not only about accommodating their physical dimensions but also about ensuring that the backsplash design aligns harmoniously with these features. Consider how the backsplash pattern or tile layout will interact with the outlets and fixtures. For example, if you're using tile sheets, plan the layout so that full tiles align neatly with the outlets and switches, creating a cohesive and visually appealing arrangement.
Additionally, take note of any special considerations related to electrical codes and safety regulations when installing a backsplash near outlets and fixtures. Ensure that the materials and installation methods comply with these guidelines to guarantee a safe and functional backsplash design.
By meticulously accounting for outlets and fixtures during the measurement process, you set the stage for a seamless and visually striking backsplash installation. These careful considerations ensure that your backsplash not only fits snugly around these essential elements but also enhances the overall aesthetic and functionality of the space. With outlets and fixtures factored into your measurements, you are now ready to proceed to the next pivotal step in the backsplash measurement process.
Read more: How To Seal Backsplash
Step 5: Calculate the Total Square Footage
With the precise measurements of the wall's length, height, and the necessary adjustments for outlets and fixtures in hand, the next crucial step is to calculate the total square footage of the backsplash area. This calculation is essential for determining the quantity of materials required, such as tiles or sheets, as well as estimating the overall cost of the project.
To calculate the total square footage, start by multiplying the length of the wall by the height. For example, if the length of the wall is 10 feet and the height is 2.5 feet, the total square footage would be 25 square feet (10 feet x 2.5 feet = 25 square feet). If the wall consists of multiple sections due to interruptions such as cabinets or windows, calculate the square footage for each section separately and then sum them up to obtain the total square footage for the entire backsplash area.
Once the total square footage is determined, it's advisable to add a 10% overage to account for cuts, waste, and any unforeseen adjustments during the installation process. This additional allowance serves as a buffer, ensuring that you have a sufficient quantity of materials to complete the project without the risk of running short.
If your backsplash design incorporates intricate patterns or requires specific tile sizes, the total square footage calculation will guide you in selecting the appropriate quantity and sizes of tiles or sheets. It also provides a basis for estimating the cost of materials, allowing you to budget effectively for the project.
In scenarios where the backsplash area features irregularities, such as angled walls or non-standard shapes, breaking down the area into smaller, more manageable sections for measurement can facilitate a more accurate total square footage calculation. By approaching these irregularities methodically and calculating the square footage for each section individually, you can ensure that no area is overlooked, and the overall measurement remains precise.
By meticulously calculating the total square footage of the backsplash area and factoring in the necessary overage, you establish a solid foundation for the subsequent stages of the project. This comprehensive approach not only guides the material selection and budgeting process but also minimizes the likelihood of delays or shortages during the installation. With the total square footage accurately calculated, you are now equipped with the essential information to proceed confidently to the next phase of your backsplash project.
Conclusion
Congratulations! You have successfully navigated the intricate process of measuring for a backsplash, laying the groundwork for a seamless and visually stunning installation. By meticulously following the steps outlined in this guide, you have equipped yourself with the essential knowledge and precision to embark on your backsplash project with confidence and finesse.
As you conclude the measurement phase, it's important to reflect on the significance of accurate measurements in the context of your overall backsplash endeavor. The measurements you have obtained serve as the blueprint for your project, guiding the selection of materials, informing the budgeting process, and ultimately shaping the visual impact of your backsplash design.
The attention to detail demonstrated in measuring the length and height of the wall, accounting for outlets and fixtures, and calculating the total square footage reflects your commitment to achieving a flawless and tailored backsplash installation. These measurements are not merely numbers on a tape measure; they represent the foundation upon which your vision for a transformed kitchen or bathroom will come to life.
As you move forward with your backsplash project, armed with precise measurements and a clear understanding of the space, take a moment to appreciate the significance of this foundational phase. Your meticulous approach to measurement sets the stage for a smooth and efficient installation, minimizing the likelihood of setbacks and ensuring that the end result aligns with your vision.
Remember, the journey doesn't end with measurements. The next steps will involve selecting the perfect materials, coordinating the installation, and witnessing your vision materialize into a tangible and captivating backsplash. Your attention to detail and precision in measurement will continue to serve as a guiding light throughout these subsequent phases, ensuring that your backsplash project unfolds seamlessly and exceeds your expectations.
As you embark on the exciting journey of bringing your backsplash vision to life, carry forward the same dedication and precision that you applied to the measurement process. Embrace the creative possibilities that lie ahead, knowing that your meticulous measurements have laid a solid foundation for a transformative and visually striking backsplash installation.
With your measurements as the compass, you are now poised to embark on the next phase of your backsplash project, armed with the confidence and clarity that come from mastering the art of measurement. Embrace the journey ahead, and revel in the anticipation of witnessing your space undergo a remarkable metamorphosis, all stemming from the precision and care you invested in the foundational act of measuring for a backsplash.
Frequently Asked Questions about How To Measure For A Backsplash
Was this page helpful?
At Storables.com, we guarantee accurate and reliable information. Our content, validated by Expert Board Contributors, is crafted following stringent Editorial Policies. We're committed to providing you with well-researched, expert-backed insights for all your informational needs.

0 thoughts on “How To Measure For A Backsplash”