Articles
How To Set Countertops
Modified: January 18, 2024
Learn how to set countertops with our informative articles. Discover step-by-step guides, tips, and expert advice for a successful countertop installation.
(Many of the links in this article redirect to a specific reviewed product. Your purchase of these products through affiliate links helps to generate commission for Storables.com, at no extra cost. Learn more)
Introduction
Welcome to our comprehensive guide on how to set countertops! Choosing the right countertops for your space can make a significant impact on the overall look and functionality of your kitchen or bathroom. Whether you are renovating your existing space or building a new one, installing countertops requires careful planning and precise execution.
In this article, we will take you through the step-by-step process of setting countertops. From selecting the right material to measuring and planning, as well as installing and maintaining the countertops, we will cover everything you need to know to ensure a successful installation.
Before we dive into the details, it’s important to note that countertops come in a wide range of materials, each with its own unique characteristics and advantages. Whether you prefer the timeless elegance of granite, the durability of quartz, or the versatility of laminate, there is a countertop material that will suit your taste and budget.
So, let’s get started and learn how to set countertops that will not only enhance the aesthetic appeal of your space but also provide you with a functional and durable surface for years to come.
Key Takeaways:
- Choose the right countertop material based on aesthetics, durability, and maintenance needs. Consider granite for durability, quartz for low maintenance, and laminate for affordability and versatility.
- Accurate measurements, careful planning, and proper surface preparation are essential for a successful countertop installation. Take your time to ensure precise placement and follow specific care guidelines for your chosen material.
Read more: How To Regrout Countertops
Choosing the Right Countertop Material
When it comes to choosing the right countertop material, there are several factors to consider, including aesthetics, durability, maintenance, and budget. Here are some popular countertop materials to help you make an informed decision:
1. Granite
Granite countertops offer a natural stone look with unique patterns and colors. They are known for their durability and heat resistance. However, granite requires regular sealing to protect it from staining.
2. Quartz
Quartz countertops are engineered stones made from a combination of natural quartz and resins. They are highly durable, non-porous, and come in a wide variety of colors and patterns. Quartz is low-maintenance and doesn’t require sealing.
3. Marble
Marble countertops are luxurious and elegant, with unique veining patterns. However, they are softer and more porous than granite, making them prone to staining and etching. Regular sealing and careful maintenance are necessary.
Read more: How To Organize Countertops
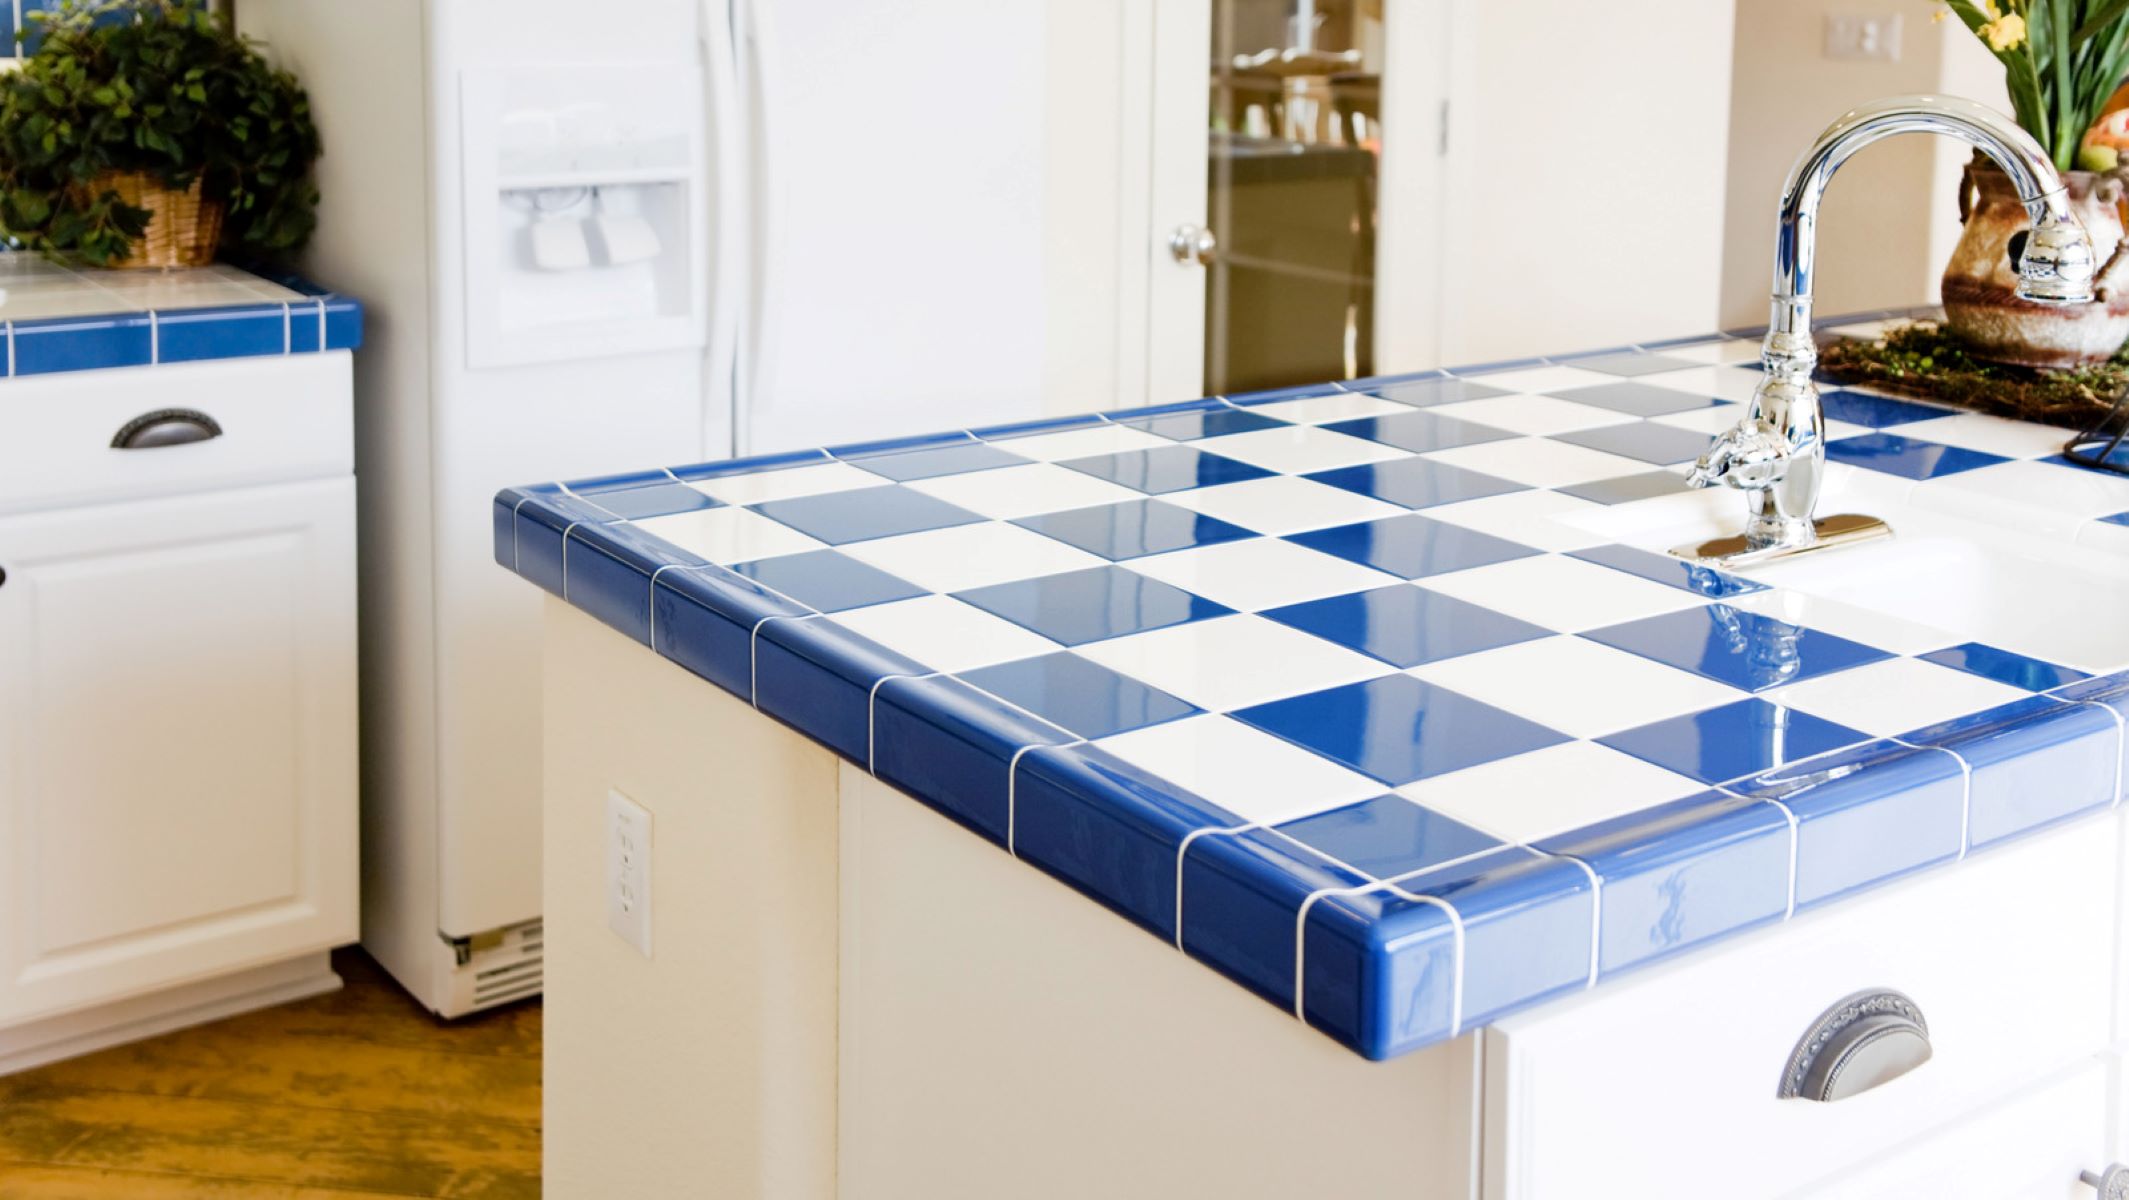
4. Laminate
Laminate countertops are affordable and versatile, offering a wide range of colors and patterns. They are low-maintenance and resistant to stains and scratches. However, they can be damaged by heat and are less durable than natural stone options.
5. Solid Surface
Solid surface countertops are made from a blend of acrylic, polyester, and resins. They are highly customizable and come in a variety of colors and designs. Solid surface countertops are non-porous, repairable, and require minimal maintenance.
6. Butcher Block
Butcher block countertops provide a warm and rustic look. They are made from strips of wood glued together and sealed with a food-safe finish. Butcher block requires regular oiling to prevent drying and cracking.
7. Stainless Steel
Stainless steel countertops are sleek, hygienic, and resistant to heat and stains. They are commonly found in commercial kitchens but can also be a stylish choice for residential spaces. However, they can be prone to scratching.
8. Concrete
Concrete countertops offer a unique and customizable option with endless color and finish possibilities. They are very durable and heat resistant. However, concrete countertops may require regular sealing and can develop hairline cracks over time.
Consider your personal preferences, lifestyle, and budget when selecting the right countertop material for your space. Visit showrooms, consult with professionals, and gather samples to determine which material suits your needs best.
Measuring and Planning
Accurate measurements and careful planning are essential for a successful countertop installation. Follow these steps to ensure a seamless process:
1. Gather the Necessary Tools
Before you start measuring, make sure you have the right tools on hand. You will need a tape measure, a level, a straight edge, a pencil or marker, and paper for note-taking.
2. Measure the Existing Countertop
If you are replacing an existing countertop, start by measuring its length, width, and depth. Measure from the back wall to the front edge of the counter. Also, measure the length and width of any cutouts for sinks, cooktops, or other fixtures.
Read more: How Thick Are Corian Countertops
3. Create a Template
If you are installing countertops in a new space or making significant changes to the layout, create a template using cardboard or a template tool. Transfer the measurements onto the template, including any cutouts and overhangs.
4. Check for Levelness
Use a level to ensure that the cabinets or base where the countertops will be placed are level. If the cabinets are not level, you may need to make adjustments or use shims to level them.
5. Determine the Overhang
Decide on the desired overhang for your countertops. The standard overhang is typically around 1 1/2 inches, but you can adjust it to your preference. Keep in mind that larger overhangs may require additional support.
6. Plan the Seam Placement
If your countertops require multiple sections or have a large surface area, plan the seam placement. Ideally, the seams should be in inconspicuous areas and away from areas prone to stress, such as sink cutouts.
Read more: How To Clean Tile Countertops
7. Consider Support and Reinforcement
For overhangs larger than 6 inches, additional support or reinforcement might be necessary. Consult with a professional or follow manufacturer guidelines to ensure proper support and load distribution.
8. Double-Check Measurements
Once you have gathered all the necessary measurements and planned out the placement, double-check all your measurements for accuracy. Take note of any adjustments or changes that need to be made.
By taking precise measurements and carefully planning the placement of your countertops, you will ensure a smooth installation process and minimize any potential issues during installation.
Preparing the Surface
Creating a proper surface for your countertops is crucial for a secure and long-lasting installation. Follow these steps to prepare the surface before installing your countertops:
1. Clear the Area
Remove any objects or appliances from the countertops and clear the surrounding area. This will provide you with a clean and unobstructed workspace.
Read more: How To Do Tile Countertops
2. Remove the Old Countertops
If you are replacing existing countertops, carefully remove the old ones. Use a utility knife to cut through any caulk or adhesive holding the countertops in place. Disconnect and remove any sinks or fixtures.
3. Inspect and Repair the Base
Thoroughly inspect the base where the countertops will be installed. Check for any damage, rot, or uneven surfaces. Make any necessary repairs, such as fixing loose cabinets or replacing damaged materials.
4. Verify Levelness
Ensure that the base cabinets or the surface where the countertops will rest are level. Use a level to check for any unevenness. If you notice any areas that are not level, use shims to adjust and level the base.
5. Apply a Vapor Barrier
If you are installing countertops over wood or other porous surfaces, consider applying a vapor barrier. This barrier helps prevent moisture from seeping into the base and potentially causing damage over time.
Read more: How Much Are Wood Countertops
6. Install Support Brackets
If your countertops have significant overhangs or require additional support, install support brackets or corbels beneath the overhang areas. These brackets will provide the necessary stability and prevent sagging or cracking.
7. Apply a Silicone Caulk Barrier
Before placing the countertops, apply a bead of silicone caulk along the top edges of the base cabinets. This barrier helps secure the countertops and prevents water or crumbs from seeping into the gaps.
8. Clean the Surface
Thoroughly clean the surface where the countertops will be installed. Remove any dust, debris, or residue. A clean surface will ensure better adhesion and a smooth installation.
By properly preparing the surface, you create a stable and secure foundation for your countertops. This step is essential to ensure the longevity and functionality of your countertops once installed.
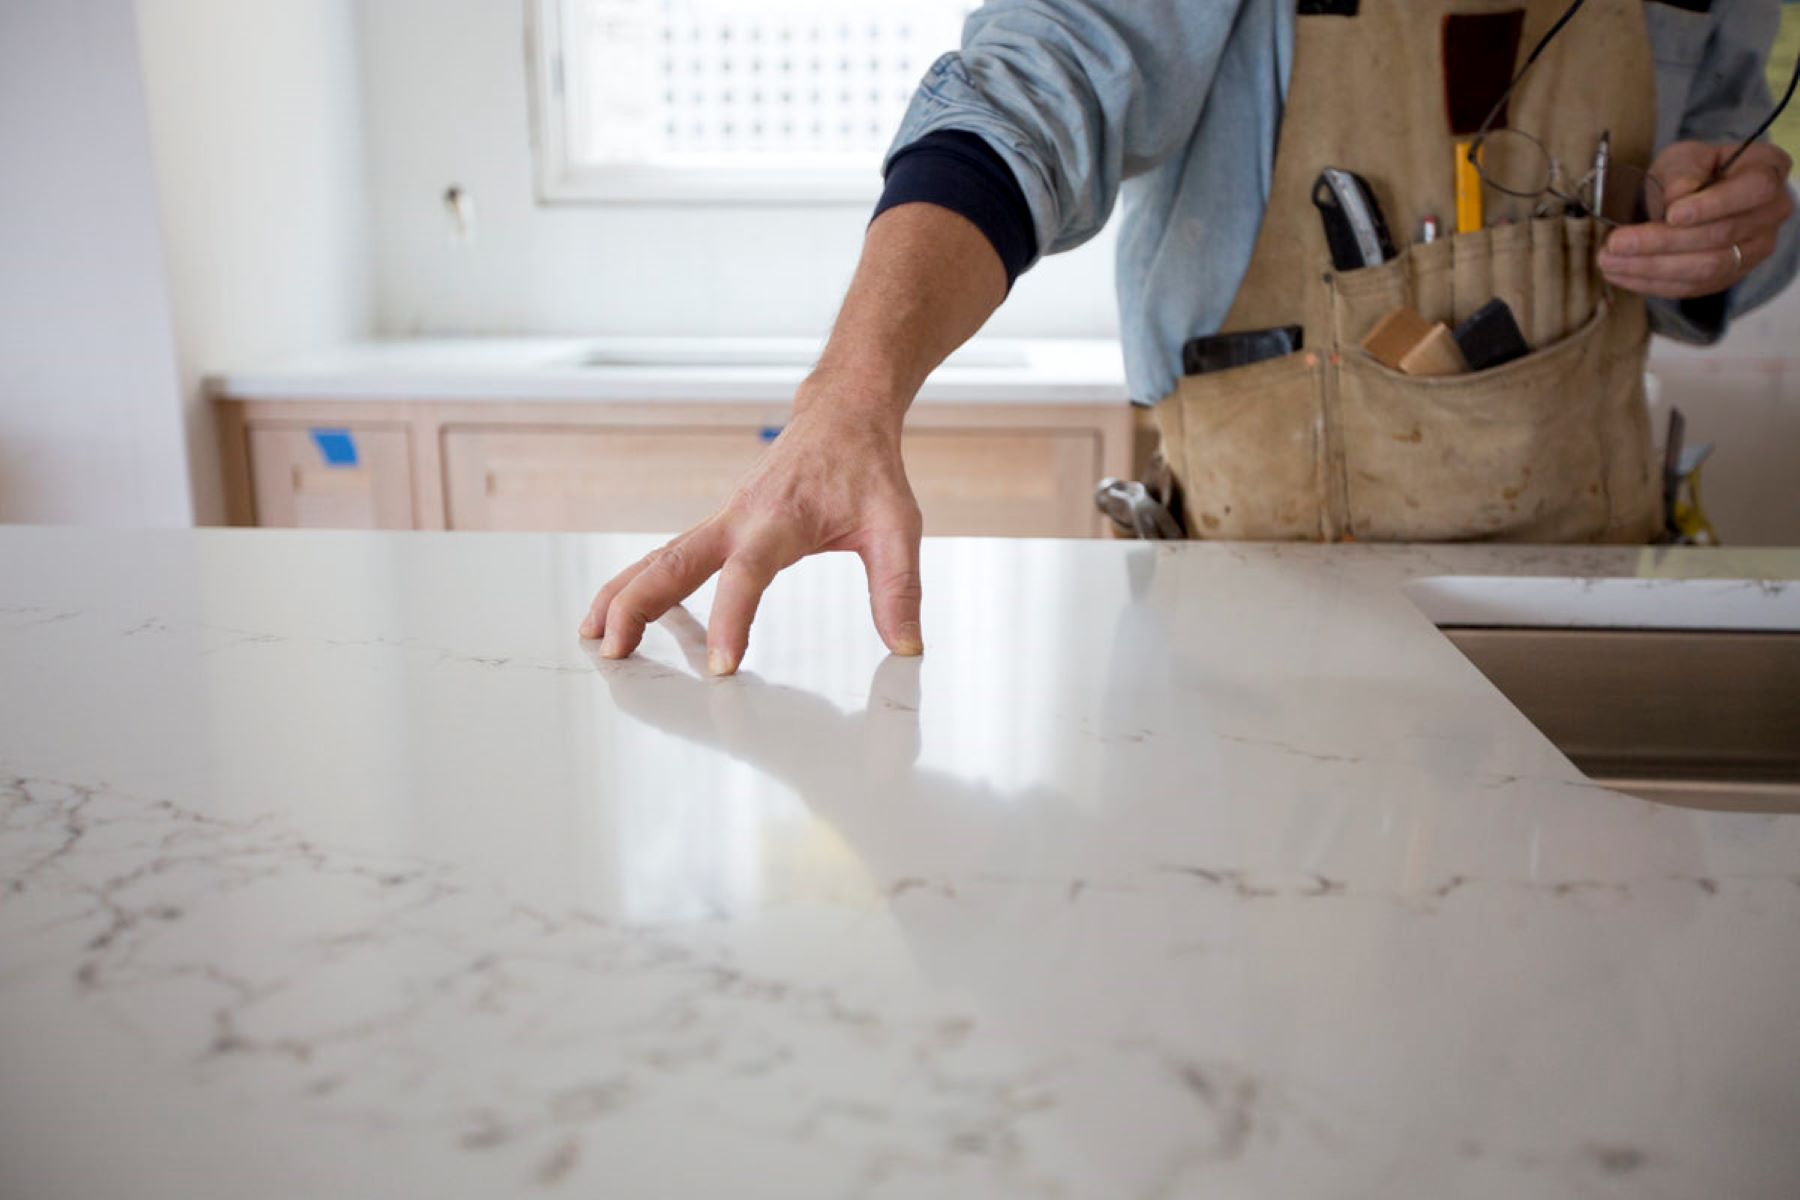
Installing the Countertops
Installing countertops requires careful handling and precise placement to ensure a professional and secure installation. Follow these steps to install your countertops:
Read more: How To Attach Countertop To Cabinet
1. Gather Assistance
Countertops can be heavy, especially if made from stone materials. Enlist the help of at least one or two individuals to assist with lifting and maneuvering the countertops into place.
2. Apply Adhesive
Apply a generous amount of adhesive or construction glue on top of the base cabinets. Ensure that the adhesive is evenly spread and covers the entire surface where the countertops will rest.
3. Lift and Position the Countertops
Lift the countertop sections together with the assistance of others. Carefully position the countertops onto the base cabinets, aligning them with the edges and corners. Take your time to ensure a precise fit.
4. Check for Levelness
Use a level to verify that the countertops are level both from front to back and side to side. Make any necessary adjustments by gently lifting and repositioning the countertops, or by using shims to level specific areas.
Read more: How To Restore Granite Countertops
5. Secure the Countertops
Once the countertops are level, secure them to the base cabinets using screws or brackets. Follow manufacturer guidelines or consult with professionals to determine the appropriate method for your specific countertop material.
6. Settle the Countertops
Apply downward pressure on the countertops to help them settle evenly onto the adhesive. Use a rubber mallet or a block of wood to gently tap on the surface, ensuring a tight bond between the countertops and the base.
7. Check for Seams
If your countertops consist of multiple sections with seams, carefully align the seams and secure them using adhesive or special seam epoxy. Smooth out any excess adhesive or epoxy to create a seamless appearance.
8. Clean and Inspect
Thoroughly clean the surface of the countertops, removing any adhesive or debris. Inspect the countertops for any visible gaps, cracks, or imperfections. If necessary, make any necessary adjustments or repairs.
Installing countertops can be a complex task, but by following these steps and taking the time to ensure accurate placement, you can achieve a professional and visually appealing result.
Read more: How To Cut Corian Countertops
Sealing and Finishing
Sealing and finishing your countertops is a crucial step in protecting them from staining, moisture damage, and general wear and tear. The specific process may vary depending on the material of your countertops, but here are some general guidelines:
1. Determine the Sealing Requirements
Check with the manufacturer or consult with professionals to determine if your countertops require sealing. Some materials, like granite and marble, are more porous and therefore more prone to staining, while others, like quartz, may not require sealing at all.
2. Clean the Countertops Thoroughly
Before applying any sealant, clean the countertops thoroughly to remove any dust, debris, or residue. Use a gentle cleanser and a non-abrasive cloth or sponge. Allow the countertops to dry completely before proceeding.
3. Select the Right Sealant
Choose a sealant that is specifically formulated for your countertop material. There are different types of sealers available, including penetrating sealers, topical sealers, and enhancing sealers. Read the instructions and follow them carefully.
Read more: How To Refinish Quartz Countertops
4. Apply the Sealant
Using a brush or a soft cloth, apply the sealant evenly onto the surface of the countertops. Follow the manufacturer’s instructions regarding the amount of sealant to use and the recommended drying time between coats, if applicable.
5. Allow for Proper Drying and Curing
After applying the sealant, allow it to dry and cure according to the manufacturer’s instructions. This process typically takes a few hours to a few days, depending on the type of sealer used. Avoid using the countertops during this time.
6. Apply a Finish (if desired)
If you want to enhance the appearance of your countertops, you can apply a finishing product. This step is optional and may depend on the type of sealant used. Finishing products can add shine, gloss, or a satin finish to the countertops.
7. Regularly Maintain and Re-Seal
To prolong the life and appearance of your countertops, follow the recommended maintenance guidelines for your specific material. This may include using non-abrasive cleaners, avoiding harsh chemicals, and periodically re-sealing the countertops.
Sealing and finishing your countertops will provide an additional layer of protection and enhance their longevity and beauty. Follow the manufacturer’s instructions and consult with professionals to ensure the proper sealing process for your specific countertop material.
Read more: How To Care For Dolomite Countertops
Maintenance and Care
Proper maintenance and care are essential to keep your countertops looking beautiful and functioning well for years to come. Here are some tips to help you maintain and care for your countertops:
1. Regular Cleaning
Clean your countertops regularly using a mild, non-abrasive cleaner and a soft cloth or sponge. Avoid using harsh chemicals or abrasive scrubbers that can scratch or damage the surface. Wipe up spills promptly to prevent staining.
2. Avoid Heat and Impact
Avoid placing hot pots, pans, or heated appliances directly on the countertops, as they can cause thermal shock and damage the surface. It’s also important to use cutting boards and trivets to protect the countertops from scratches and impact.
3. Use Cutting Boards
Always use cutting boards when preparing food to prevent scratches and knife marks on the surface of the countertops. Avoid chopping directly on the countertops, especially if they are made of natural stone materials.
Read more: How To Upgrade Tile Countertops
4. Handle with Care
Be mindful when handling heavy or sharp objects near the countertops. Dropping heavy objects or accidentally hitting the countertops with sharp utensils can cause damage. Take extra care to avoid impact and potential chipping.
5. Avoid Harsh Chemicals
Avoid using harsh or abrasive chemicals on your countertops. Instead, opt for non-abrasive cleaners that are specifically formulated for the material of your countertops. Harsh chemicals can cause discoloration or damage to the surface.
6. Regularly Re-Seal (if necessary)
If your countertops require sealing, make sure to follow the recommended re-sealing schedule. This will help maintain the integrity of the seal and protect the countertops from staining or moisture damage. Consult with professionals for guidance on re-sealing frequency.
7. Prevent Scratches
Use protective pads or coasters under objects that may scratch the surface of your countertops. This includes items like metal cans, sharp-edged ceramics, or rough-bottomed utensils. Taking these precautions will help maintain the smoothness and appearance of the countertops.
Read more: How To Care For Silestone Countertops
8. Follow Manufacturer Guidelines
Always refer to the manufacturer’s guidelines and recommendations for maintenance and care. Each countertop material may have specific instructions to ensure its longevity and appearance. Following these guidelines will help preserve your countertops.
By adopting good maintenance practices and following these care tips, you can keep your countertops in excellent condition and enjoy their beauty and functionality for many years to come.
Conclusion
Congratulations! You have reached the end of our comprehensive guide on how to set countertops. We have covered everything you need to know, from choosing the right countertop material to measuring and planning, as well as preparing, installing, sealing, and maintaining your countertops.
By carefully considering your needs, preferences, and budget, you can select the perfect countertop material that will enhance the aesthetic appeal and functionality of your space. Taking accurate measurements and planning the layout will ensure a seamless installation process, while proper surface preparation will provide a stable foundation for your countertops.
Remember to follow the specific care and maintenance guidelines for your chosen countertop material to keep them looking beautiful and performing well for years to come. Whether it’s regular cleaning, avoiding heat and impact, or following recommended re-sealing schedules, these practices will help protect your countertops from stains, damage, and general wear and tear.
If you have any specific questions or concerns, consult with professionals or reach out to the manufacturer for further guidance. Their expertise and knowledge will ensure that your countertop installation is a success and that you can enjoy your countertops for many years to come.
Thank you for reading our guide, and we hope it has been helpful in your journey to set countertops. Enjoy your newly installed countertops and the enhanced beauty and functionality they bring to your space!
Frequently Asked Questions about How To Set Countertops
Was this page helpful?
At Storables.com, we guarantee accurate and reliable information. Our content, validated by Expert Board Contributors, is crafted following stringent Editorial Policies. We're committed to providing you with well-researched, expert-backed insights for all your informational needs.

0 thoughts on “How To Set Countertops”