Articles
How To Finish Laundry Room
Modified: October 19, 2024
Discover the best articles on how to finish your laundry room and create a functional and organized space. Get expert tips and advice from experienced home improvement professionals.
(Many of the links in this article redirect to a specific reviewed product. Your purchase of these products through affiliate links helps to generate commission for Storables.com, at no extra cost. Learn more)
Introduction
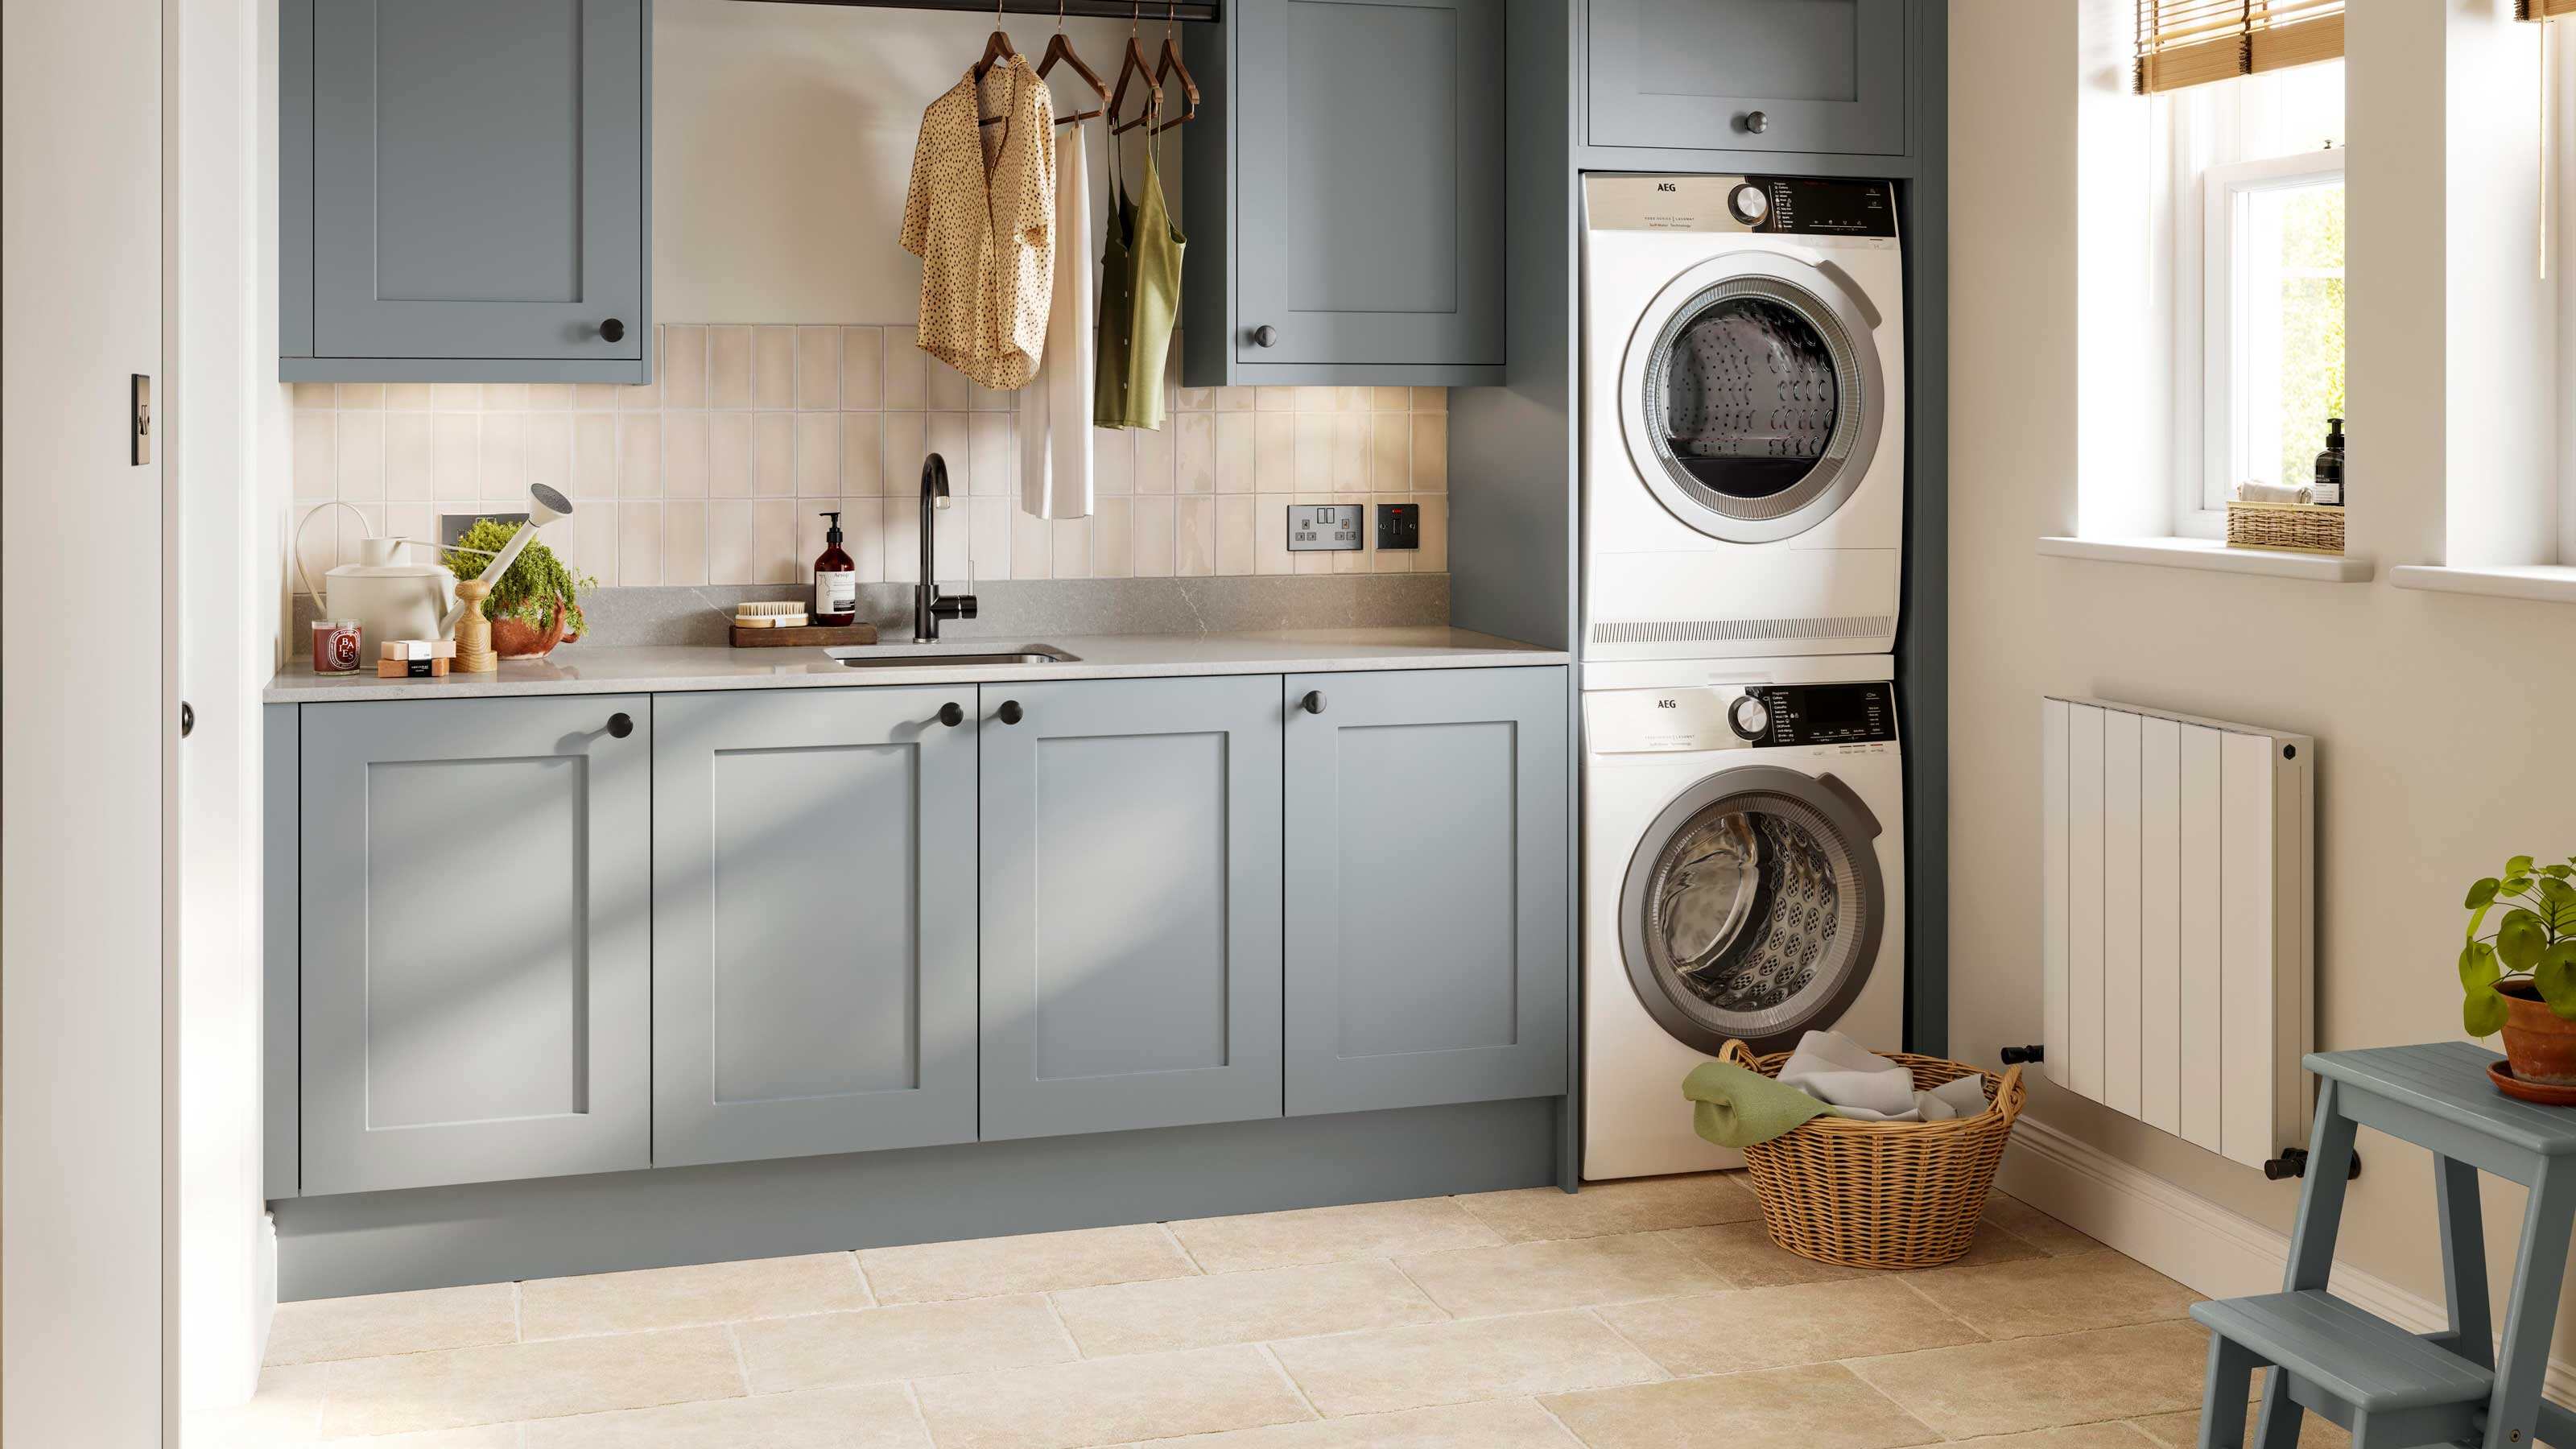
Having a clean and well-organized laundry room can make the daunting task of doing laundry much more efficient and enjoyable. A laundry room that is clutter-free and properly set up can save you time and energy, and ensure that your clothes are cleaned effectively. In this article, we will guide you through the step-by-step process of finishing your laundry room, from decluttering and organization to folding and storing clean laundry.
By following these steps, you will create a space that is not only functional but also aesthetically pleasing. Whether you have a large dedicated laundry room or a small laundry closet, these tips will help you maximize the efficiency and potential of your space.
So, let’s roll up our sleeves and get started on transforming your laundry room into a well-organized and efficient space.
Key Takeaways:
- Transform your laundry room into an efficient and visually appealing space by decluttering, organizing, and setting up dedicated areas for sorting and folding clothes. Streamline your laundry routine and enjoy a well-functioning laundry room.
- Enhance the cleanliness and freshness of your clothes by pre-treating stains, choosing the right detergent and additives, setting the appropriate water temperature, and selecting the correct wash cycle. Optimize the cleaning process and preserve the quality of your garments.
Read more: How To Add A Laundry Room
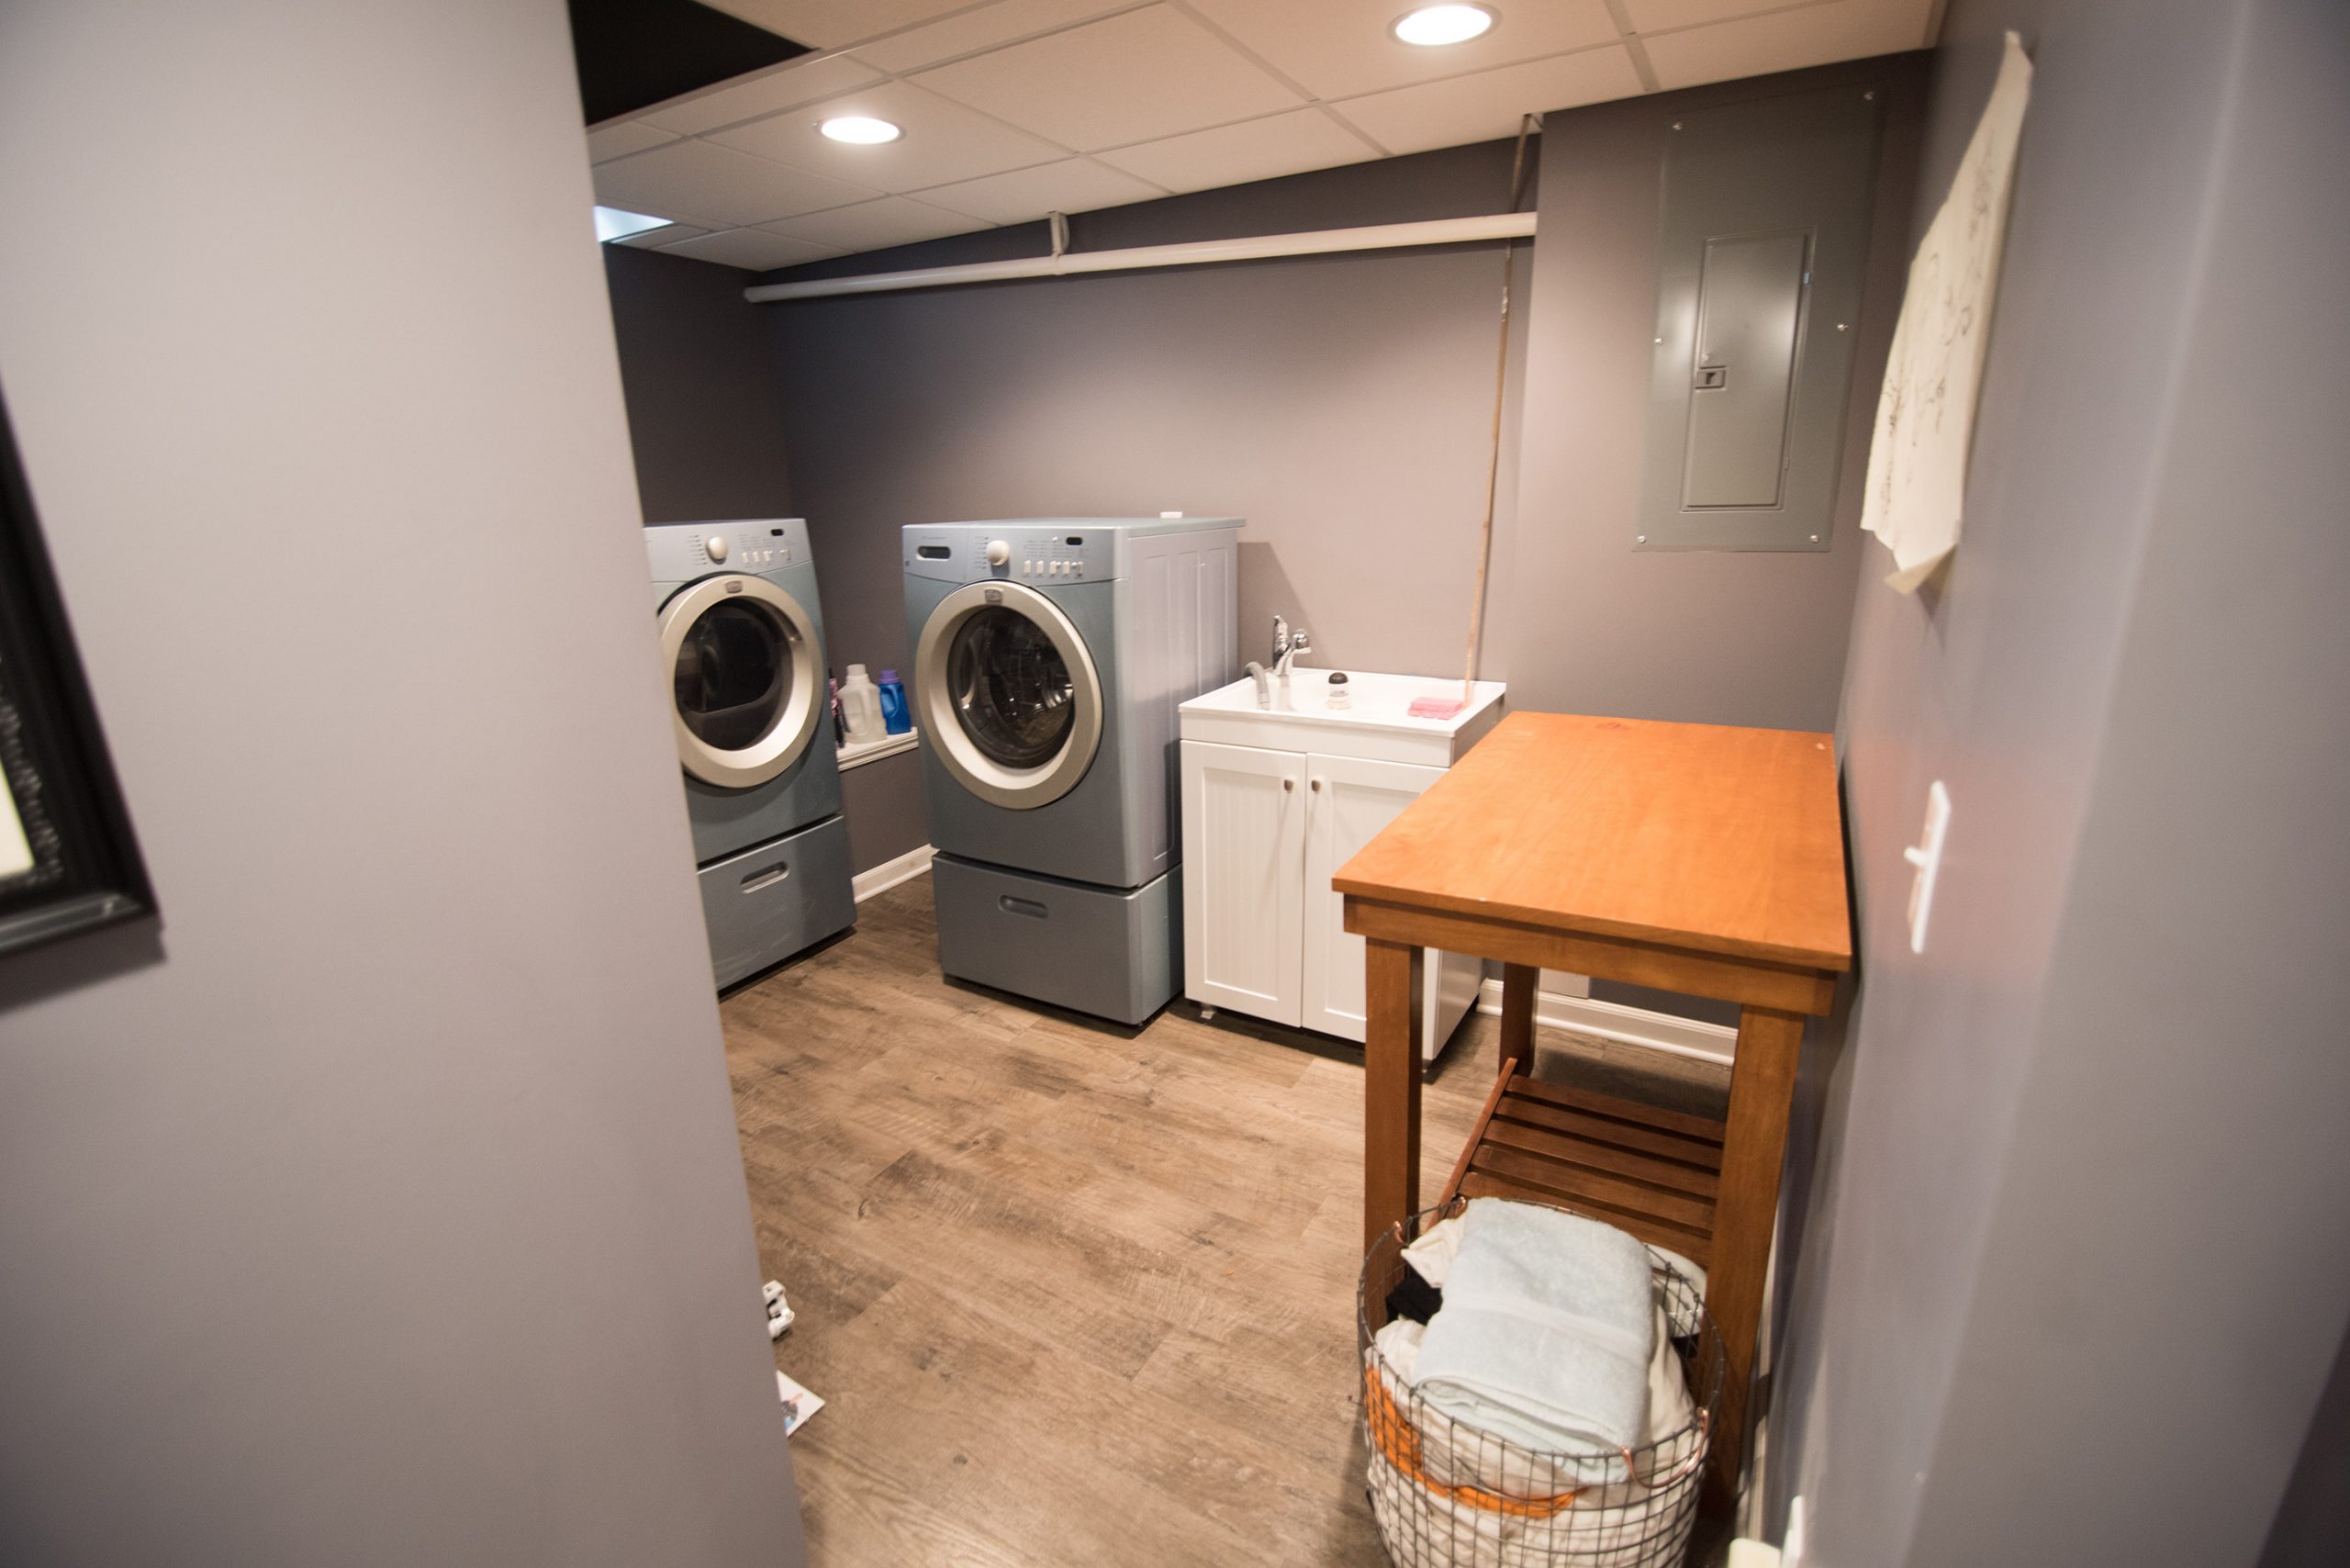
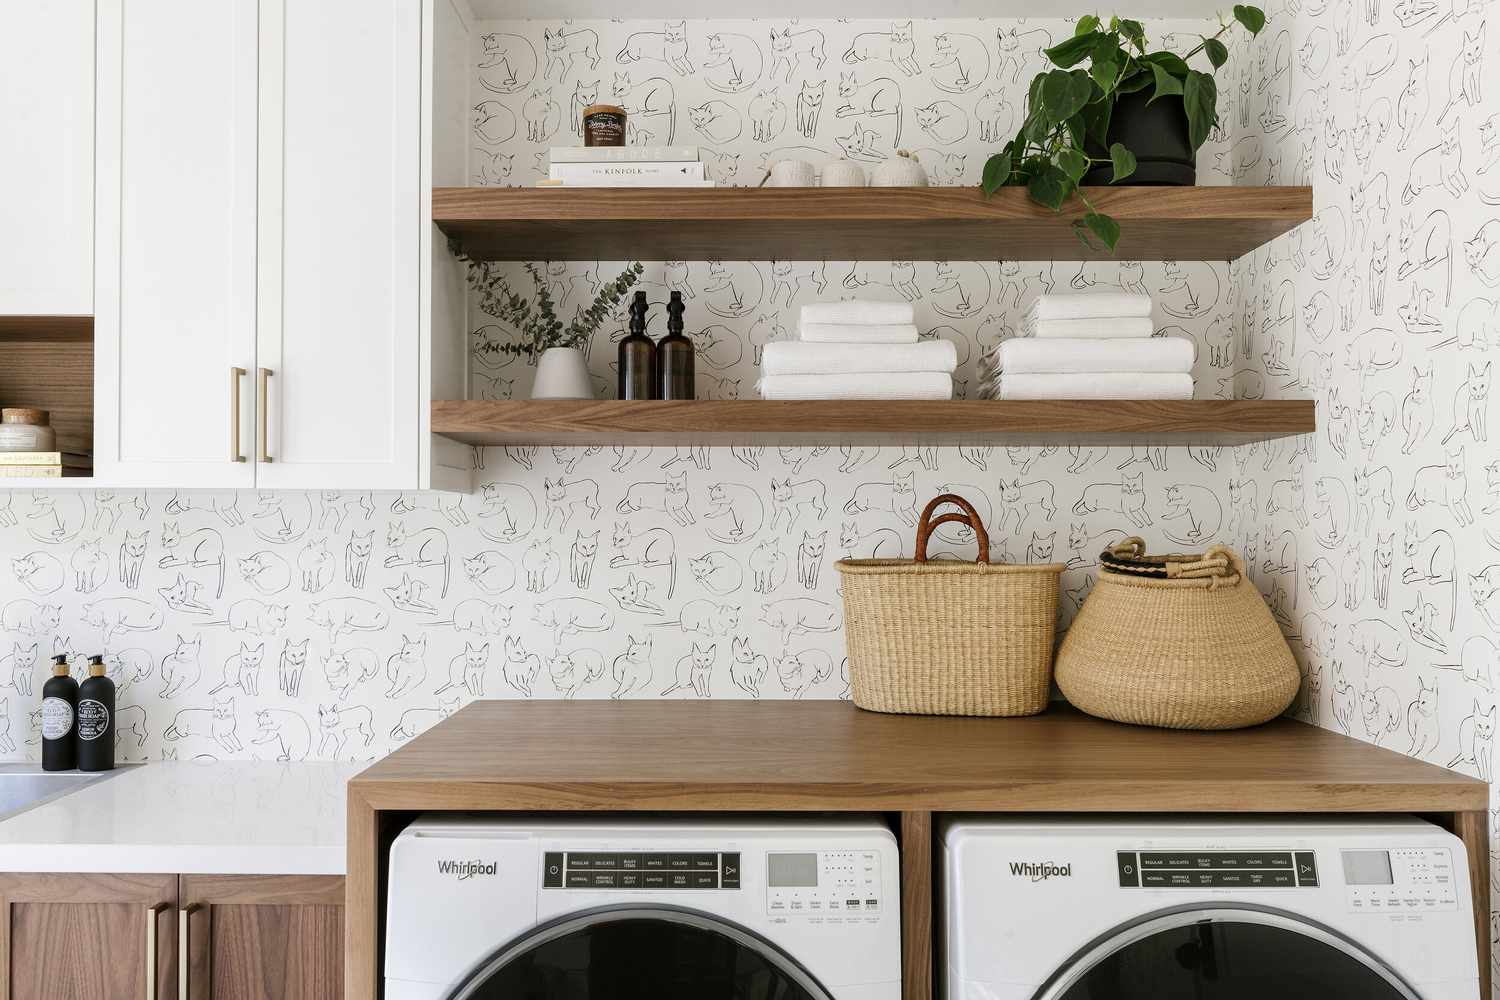
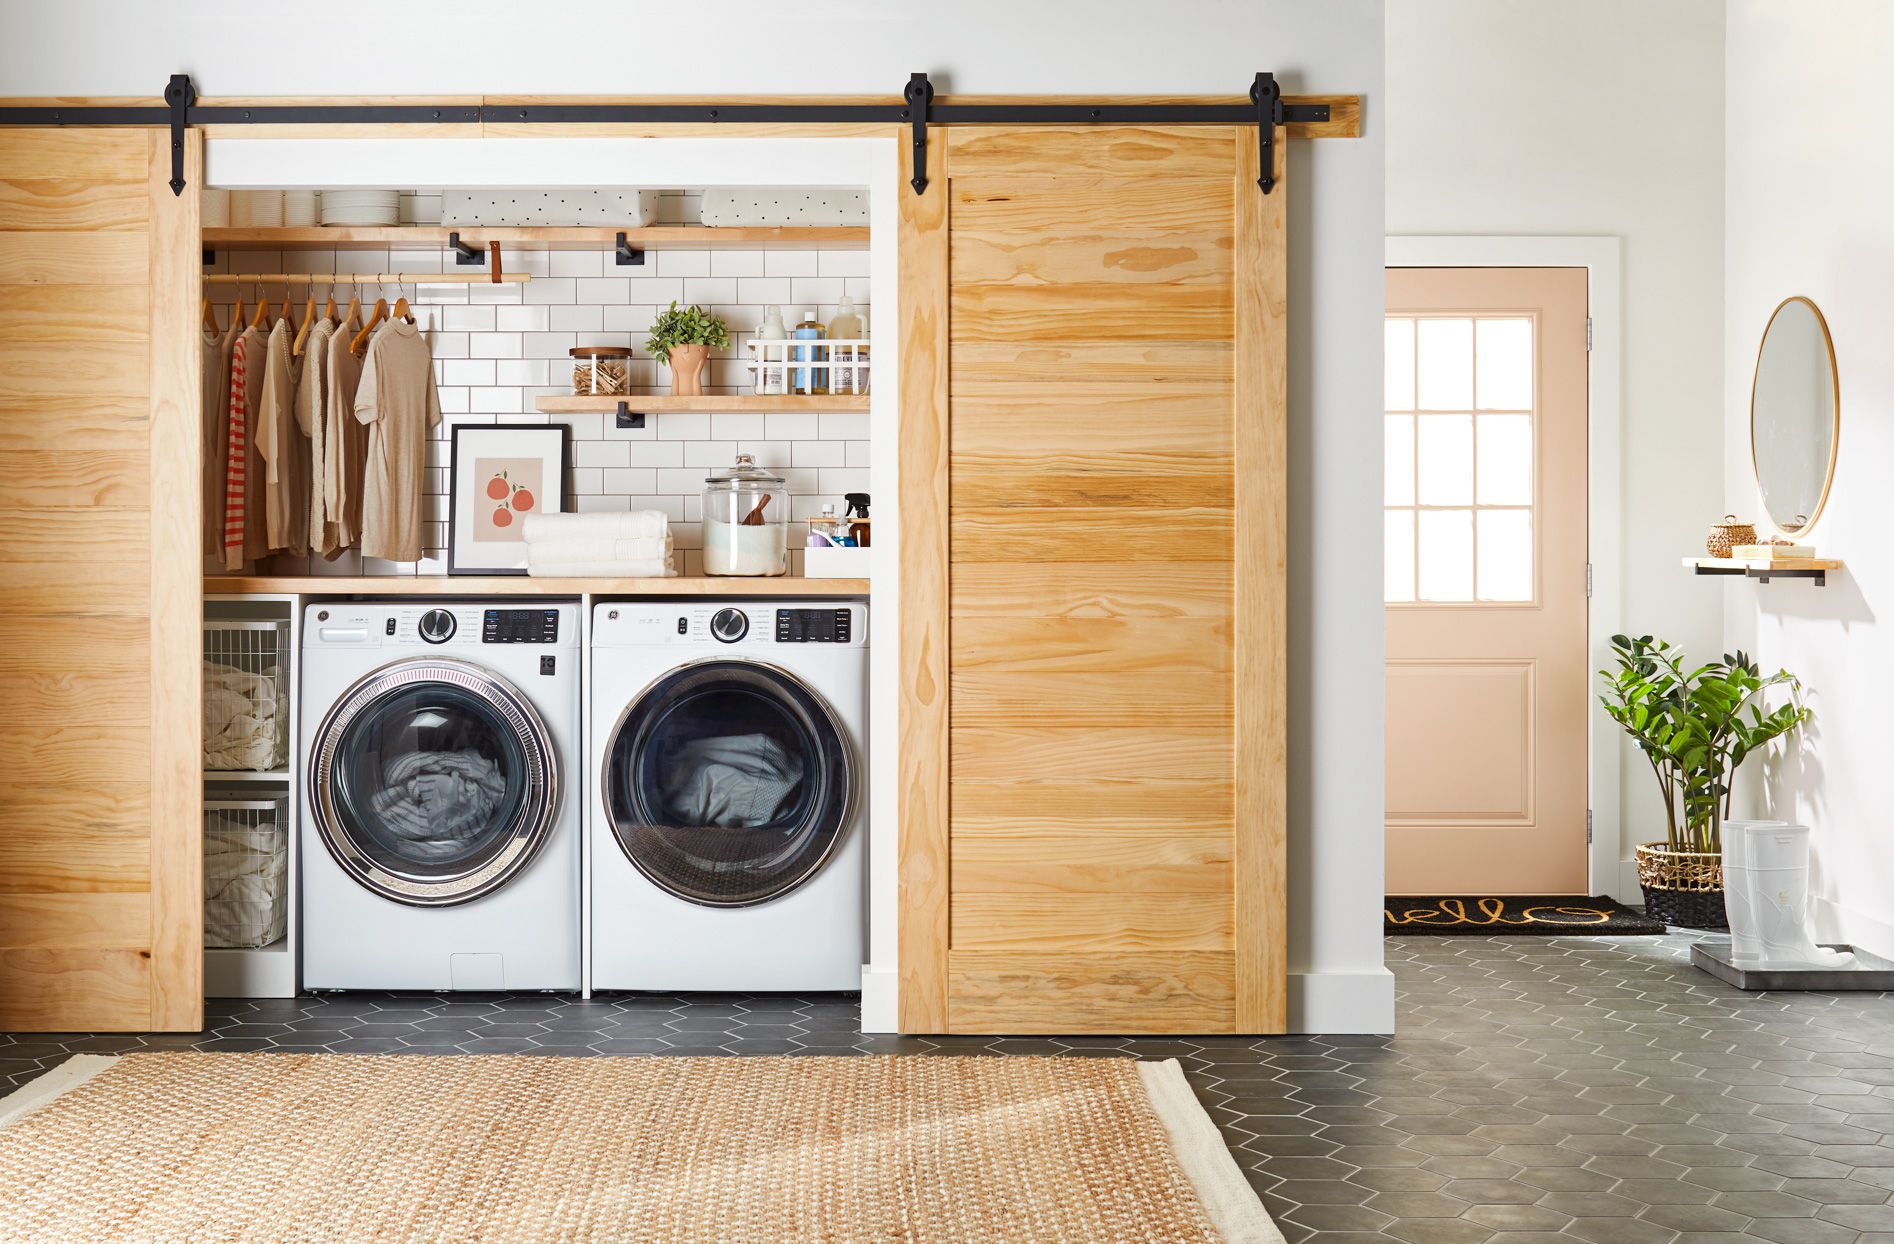
Step 1: Decluttering and Organization
The first step to finishing your laundry room is decluttering and organizing the space. Start by removing any items that are not related to laundry. This includes old cleaning supplies, expired detergents, and any other unnecessary items that have accumulated over time.
Next, assess the storage options in your laundry room. If you have shelves or cabinets, make use of them to store laundry essentials like detergent, fabric softener, and dryer sheets. Consider using baskets or bins to group similar items together, such as stain removers or dryer balls. This will help keep everything neat and easily accessible.
If you have limited storage space, consider utilizing vertical space. Install hooks or shelves on the walls to hang laundry bags, ironing boards, or drying racks. You can also use over-the-door organizers to store smaller items like socks or cleaning supplies.
Another important aspect of organization is setting up dedicated areas for sorting and folding clothes. Install laundry sorting baskets or bins to separate clothes by color or fabric type. This will make it easier to start a load of laundry without having to sort through a pile of clothes.
When it comes to folding and storing clean laundry, invest in storage solutions that work for your space. Folded clothes can be stored in drawers or on shelves, while hangers can be used for items that are best hung up, such as dresses or shirts.
Overall, decluttering and organizing your laundry room will create a more efficient and visually appealing space. It will help streamline the laundry process and reduce time spent searching for misplaced items. By implementing these organization strategies, you will be well on your way to finishing your laundry room.
Step 2: Sorting and Separating Clothes
Sorting and separating your clothes before doing laundry is an essential step to ensure that each item is cleaned properly and that colors do not bleed or fade.
Start by sorting your clothes into different categories, such as whites, lights, and darks. This will prevent any color transfer during the washing process. If you have heavily soiled items or those with specific care instructions, set them aside for special treatment or hand washing.
When sorting, check the garment labels for specific washing instructions. Some items may require a delicate or gentle cycle, while others can be washed on a regular cycle. By separating your clothes based on fabric type and care instructions, you can prevent damage and ensure that each item receives the appropriate treatment.
If you have a large family or loads of laundry, consider investing in separate laundry hampers or baskets for each category. This will make sorting easier and more efficient, especially if different family members have different laundry preferences or specific laundry needs.
In addition to sorting by color and fabric type, it can also be helpful to separate items by wash temperature. Hot water is recommended for linens, towels, and heavily soiled items, while cold water is suitable for most everyday clothing. Sorting by temperature will help you conserve energy by avoiding unnecessary hot water usage.
By taking the time to sort and separate your clothes before doing laundry, you’ll ensure that each item is properly cleaned and cared for. This step will also make the rest of the laundry process more seamless and efficient.
Step 3: Pre-Treating Stains
Dealing with stains is an inevitable part of doing laundry. However, by pre-treating stains before washing, you can increase the chances of successfully removing them.
The first step in pre-treating stains is identifying the type of stain and the fabric it has stained. Different types of stains, such as oil-based stains, food stains, or grass stains, may require different treatment methods.
For oil-based stains, such as grease or makeup, start by blotting the stain with a paper towel or cloth to remove any excess oil. Then, apply a small amount of dish soap or laundry detergent directly to the stain and gently rub it in. Let the detergent sit on the stain for a few minutes before rinsing it thoroughly.
For food stains, like ketchup or coffee, scrape off any excess solid residue, if present. Then, rinse the stain with cold water from the backside of the fabric to prevent it from setting further. Apply a stain remover or a mixture of water and vinegar to the stain and let it sit for a few minutes before laundering as usual.
Grass stains can be particularly stubborn, but with the right treatment, they can be removed. Start by dabbing the stain with rubbing alcohol or a stain remover. Gently scrub the stain with a soft-bristle brush to loosen the grass particles. Rinse the fabric with cold water and launder as usual.
It’s important to remember that different fabrics may require different treatment methods. Delicate fabrics may require gentle stain removers, while stronger solutions may be suitable for tougher fabrics. Always check the fabric care instructions and test any stain removers on a small, inconspicuous area before applying them to the entire stain.
By pre-treating stains, you increase the chances of successfully removing them during the washing process. This step can save your clothes from permanent stains and keep them looking fresh and clean.
Step 4: Choosing the Right Detergent and Additives
The detergent and additives you use can greatly impact the cleanliness and freshness of your laundry. It’s important to choose the right products based on your individual needs and preferences.
When selecting a laundry detergent, consider factors such as the type of fabric you’re washing, the level of dirt and stains, and any specific requirements of the garments. There are various types of detergents available, including liquid, powder, and pods. Liquid detergents are versatile and can be used for all types of fabrics, while powders are often more effective on heavily soiled items. Pods provide a convenient and pre-measured option, but they may not be suitable for all washing machines.
Moreover, consider whether you have any specific laundry concerns, such as sensitive skin or allergies. Look for detergents that are labeled hypoallergenic or free of fragrances and dyes. These options are less likely to cause skin irritations or allergic reactions.
In addition to detergent, you may also want to consider using additives to enhance the cleaning process. Fabric softeners can be added to the wash cycle to make your clothes feel softer and reduce static cling. They also impart a pleasant scent to your laundry. However, keep in mind that fabric softeners may not be suitable for certain types of fabrics, such as microfiber or athletic wear.
If you’re dealing with odorous or heavily soiled clothes, consider using laundry boosters such as oxygen bleach or enzyme-based stain removers. These additives can help tackle tough stains, remove odor, and brighten fabrics.
Lastly, for individuals with hard water, it may be beneficial to use a water softener or a detergent specifically formulated for hard water. Hard water contains minerals that can affect the performance of your detergent, leading to less effective cleaning. Using a water softener or detergent designed for hard water can help ensure optimal cleaning results.
By choosing the right detergent and additives for your laundry needs, you can achieve cleaner and fresher clothes. Experiment with different options and consider your specific requirements to find the combination that works best for you.
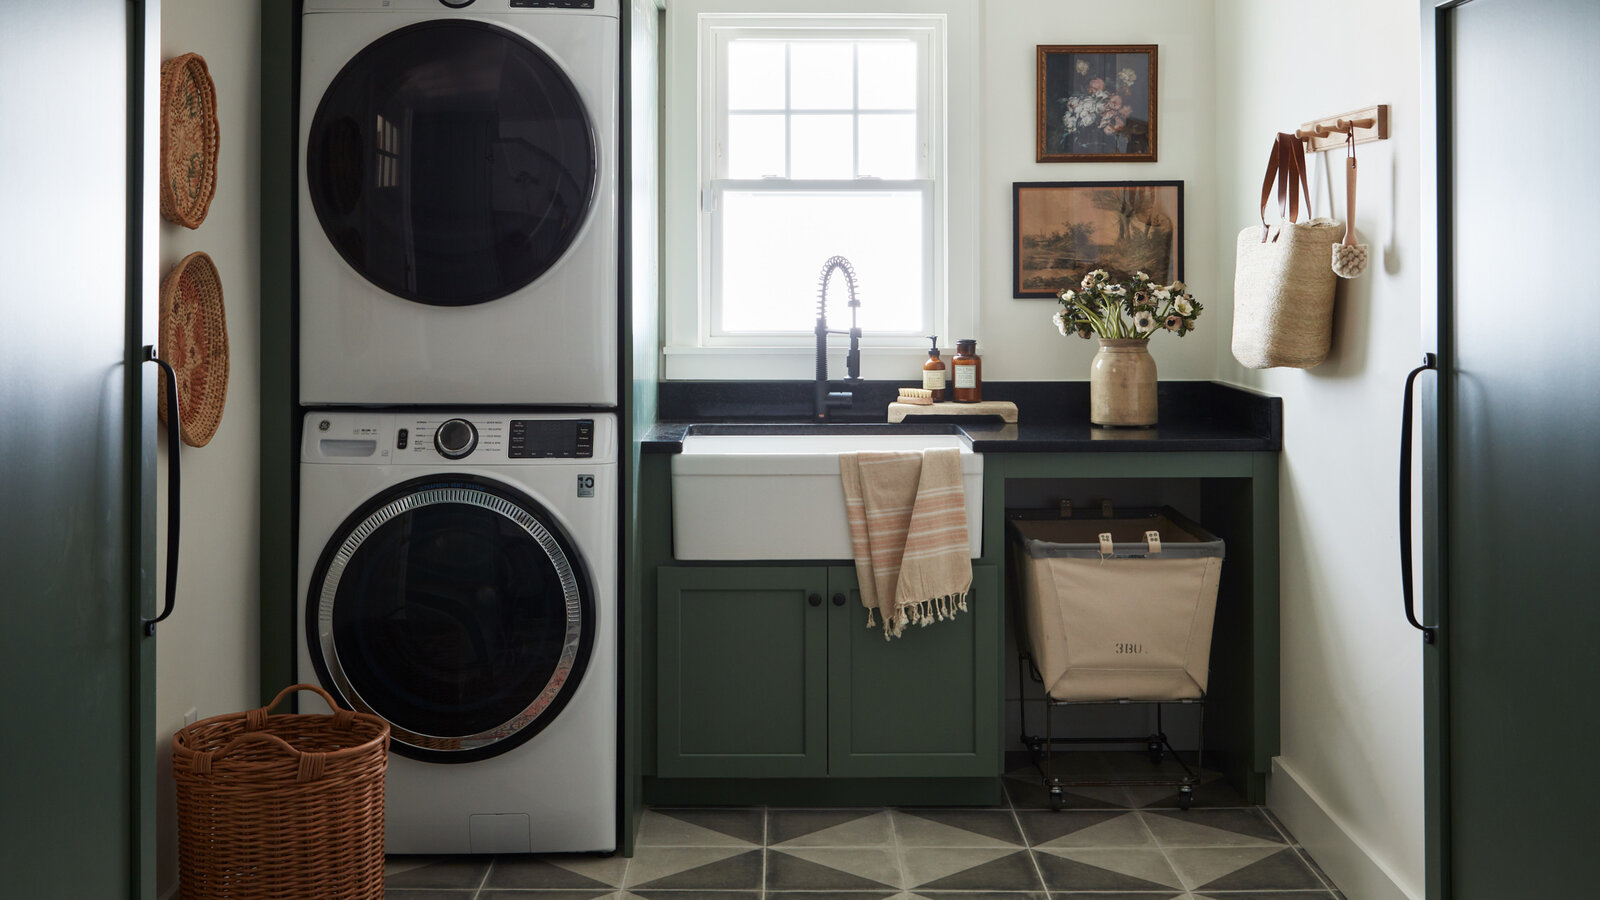
To finish a laundry room, consider adding shelving or cabinets for storage, installing a countertop for folding clothes, and ensuring proper lighting for a functional and inviting space.
Read more: How To Clean A Laundry Room
Step 5: Setting the Appropriate Water Temperature
The water temperature you choose for your laundry can have a significant impact on the effectiveness of the cleaning process. Different fabrics and types of stains require specific water temperatures to achieve the best results.
In general, there are three main water temperature settings: hot, warm, and cold. Let’s explore when each option is most suitable:
Hot Water:
Hot water is best for items that can withstand high temperatures, such as white cotton shirts, towels, and bed linens. It helps to remove tough stains, allergens, and bacteria. Hot water is also effective for cleaning heavily soiled items.
However, be cautious when using hot water as it can cause shrinkage or fading in delicate fabrics, bright colors, or garments with special care instructions.
Warm Water:
Warm water is a versatile option that works well for most everyday clothing items. It balances cleaning power with gentle care and is suitable for synthetic materials, lightly soiled clothes, and colored fabrics.
Using warm water helps to eliminate oils and perspiration while reducing the risk of shrinkage and color fading. It is a good choice for clothing items that do not require the intensity of hot water but still benefit from a thorough clean.
Cold Water:
Cold water is typically used for delicate fabrics, dark-colored items, and clothes that are not heavily soiled. Washing with cold water is effective in preserving colors, preventing shrinkage, and conserving energy.
While cold water may not eliminate tough stains as effectively as warm or hot water, it is suitable for most everyday laundry needs. Pair it with an appropriate detergent and pre-treatment for stain removal.
When selecting the water temperature, refer to the care label and fabric type. Follow the instructions provided to ensure the longevity and appearance of your clothes.
By setting the appropriate water temperature, you will optimize the cleaning process and minimize any potential damage to your garments. Experiment with different settings to find the right balance between cleanliness and garment care.
Step 6: Selecting the Correct Wash Cycle
Choosing the correct wash cycle is crucial to ensure that your clothes are cleaned thoroughly while preserving their quality. Most washing machines offer a variety of wash cycles, each designed for specific types of fabrics and levels of dirtiness. Let’s explore the common wash cycles and their recommended uses:
Normal/Cotton Cycle:
The normal or cotton cycle is suitable for everyday clothing made from cotton or other sturdy fabrics. It provides a vigorous wash with a longer agitation time and higher spin speed. This cycle is ideal for items like jeans, t-shirts, and towels.
Delicate Cycle:
The delicate cycle is designed for delicate or easily damaged fabrics such as silk, lace, or lingerie. It uses lower agitation and spin speeds to minimize potential damage. Remember to place delicate items in a mesh laundry bag to further protect them during the wash.
Permanent Press Cycle:
The permanent press cycle is suitable for wrinkle-resistant fabrics like polyester or synthetic blends. It uses cooler water and shorter agitation to reduce wrinkles and prevent creasing. If your clothes are prone to wrinkling, this cycle will help maintain their appearance.
Quick Wash Cycle:
The quick wash cycle is a faster option for lightly soiled clothes that need to be cleaned quickly. It’s a convenient cycle for items worn for a short time or clothes that don’t have heavy dirt or stains. Keep in mind that the shorter wash time may not provide the same level of deep cleaning as other cycles.
Heavy Duty Cycle:
The heavy-duty cycle is designed for heavily soiled items, durable fabrics, or items that need a more vigorous wash. It incorporates longer wash times and higher water temperatures to tackle tough stains and dirt. This cycle is suitable for items like workwear, sportswear, and heavily soiled linens.
When selecting a wash cycle, consider the fabric type, level of dirtiness, and any specific care instructions on the garment label. It’s always better to err on the side of caution and use a gentler cycle if you’re unsure.
By carefully selecting the appropriate wash cycle, you’ll ensure that your clothes are cleaned effectively and maintain their quality for longer.
Step 7: Drying Techniques and Considerations
Once your laundry is done washing, it’s time to move on to the drying process. Choosing the right drying techniques and considering important factors will help you achieve optimal results and maintain the longevity of your clothes.
1. Air Drying:
Air drying is the most gentle and energy-efficient drying method. Simply hang your clothes on a clothing rack or clothesline to dry naturally. This method is particularly suitable for delicate or lightweight fabrics that may be prone to shrinkage or damage in the dryer.
2. Tumble Drying:
The most common drying method is using a dryer. Keep the following tips in mind when using a dryer:
- Check the care instructions on your garments to see if they are suitable for tumble-drying. Some delicate or shrink-prone items may recommend air-drying only.
- Separate fabrics and weights to ensure even drying. Heavier items, like towels and denim, will take longer to dry than lighter fabrics, such as t-shirts or delicates.
- Be aware of the heat settings on your dryer. High heat can cause shrinking or damage to certain fabrics, so opt for a lower heat setting when in doubt. Use the appropriate setting for the garment type and level of dryness you desire.
- To reduce static cling, add dryer balls or a dryer sheet to the dryer. These products will also help to soften your clothes and reduce wrinkles.
3. Special Drying Considerations:
There are some special considerations to keep in mind when drying specific items:
- If you have delicate or lacy lingerie, consider using a lingerie bag or placing them in a pillowcase to protect them during the drying process.
- Wool garments may need to be reshaped and laid flat to dry to maintain their shape and prevent stretching.
- For items with screen-printed or heat-transferred designs, it’s best to air dry them inside out to preserve the print.
Remember that some garments may require a combination of air drying and tumble drying. Always check the care labels and choose the appropriate drying method accordingly.
By utilizing the right drying techniques and considering the specific needs of your clothes, you’ll ensure that they dry efficiently and remain in excellent condition.
Step 8: Folding and Storing Clean Laundry
After your laundry has been washed and dried, the final step is to fold and store your clean clothes. Proper folding and storage techniques will not only help keep your clothes wrinkle-free and organized but also make it easier for you to find and retrieve items when needed.
1. Sorting by Category:
Start by sorting your clean laundry into categories such as shirts, pants, sweaters, and undergarments. This will make it easier to locate specific items later on.
2. Folding Techniques:
There are different folding techniques you can use depending on the type of clothing item:
- Shirts and tops: Fold shirts in half vertically and then fold them again horizontally. This creates a neat square shape that can be easily stacked.
- Pants and jeans: Fold pants in half vertically, matching the legs. Then fold them in half horizontally or roll them up to save space.
- Sweaters: Fold sweaters carefully to avoid stretching. Fold in half vertically and then fold the sleeves into the center.
- Undergarments: Fold bras in half, tuck the cups into each other, and fold the straps alongside the cups. For underwear and socks, you can either fold them in half or roll them up.
3. Storage Options:
Choose the storage options that work best for your space and organizational preferences:
- Drawers: Folded items can be neatly placed into drawers, making it easy to access and see what you have. Use drawer dividers or organizers to keep different items separate.
- Shelves: If you have open shelves, you can stack folded clothes in neat piles. Consider using shelf dividers to prevent items from toppling over.
- Hanging Space: Reserve hanging space for items that are best stored on hangers, such as dresses, blouses, and jackets. Use quality hangers that won’t stretch or damage the fabric.
- Baskets or Bins: Use baskets or bins to store items that don’t need to be folded neatly, such as towels or linens. These can be easily stacked or placed on shelves.
4. Organizational Tips:
To keep your clean laundry organized and easily accessible:
- Rotate your clothes: When putting away your laundry, place freshly laundered items at the bottom of the stack to ensure that all your clothes are worn evenly.
- Keep a donation bag nearby: As you fold and sort your laundry, set aside any items you no longer wear or need. This will make decluttering your wardrobe easier.
- Regularly revisit your storage system: Every few months, reassess your organization method and make any necessary adjustments to optimize space and efficiency.
By folding your clothes neatly and storing them in an organized manner, you’ll save time when getting dressed and maintain the condition of your garments for longer.
Read more: What Is A Laundry Room
Conclusion
Finishing your laundry room involves more than just washing and drying clothes. It’s about creating an efficient and well-organized space that simplifies the laundry process and keeps your clothes looking their best. By following the steps outlined in this article, you can transform your laundry room into a functional and visually appealing area.
Starting with decluttering and organization, you’ll rid your space of unnecessary items and find suitable storage solutions for your laundry essentials. Sorting and separating your clothes based on color, fabric, and care instructions will ensure that each item gets the appropriate treatment during the wash. Pre-treating stains and selecting the right detergent and additives will further enhance the cleanliness and freshness of your clothes.
Setting the appropriate water temperature and choosing the correct wash cycle are important factors in achieving optimal cleaning results while preserving the quality of your garments. Drying techniques, whether air drying or using a dryer, allow for efficient drying without causing damage or shrinking.
Lastly, folding and storing your clean laundry in an organized manner will make it easier to find and maintain the condition of your clothes. By following these steps consistently, you can streamline your laundry routine and enjoy the benefits of a well-functioning laundry room.
Remember, laundry is a never-ending task, but with proper organization and attention to detail, it can become a more manageable and satisfying chore in your daily routine.
Frequently Asked Questions about How To Finish Laundry Room
Was this page helpful?
At Storables.com, we guarantee accurate and reliable information. Our content, validated by Expert Board Contributors, is crafted following stringent Editorial Policies. We're committed to providing you with well-researched, expert-backed insights for all your informational needs.


0 thoughts on “How To Finish Laundry Room”