
Articles
How To Change A Fluorescent Light Bulb
Modified: October 20, 2024
Learn how to change a fluorescent light bulb with this helpful article. Find step-by-step instructions and expert advice to complete the task easily.
(Many of the links in this article redirect to a specific reviewed product. Your purchase of these products through affiliate links helps to generate commission for Storables.com, at no extra cost. Learn more)
Introduction
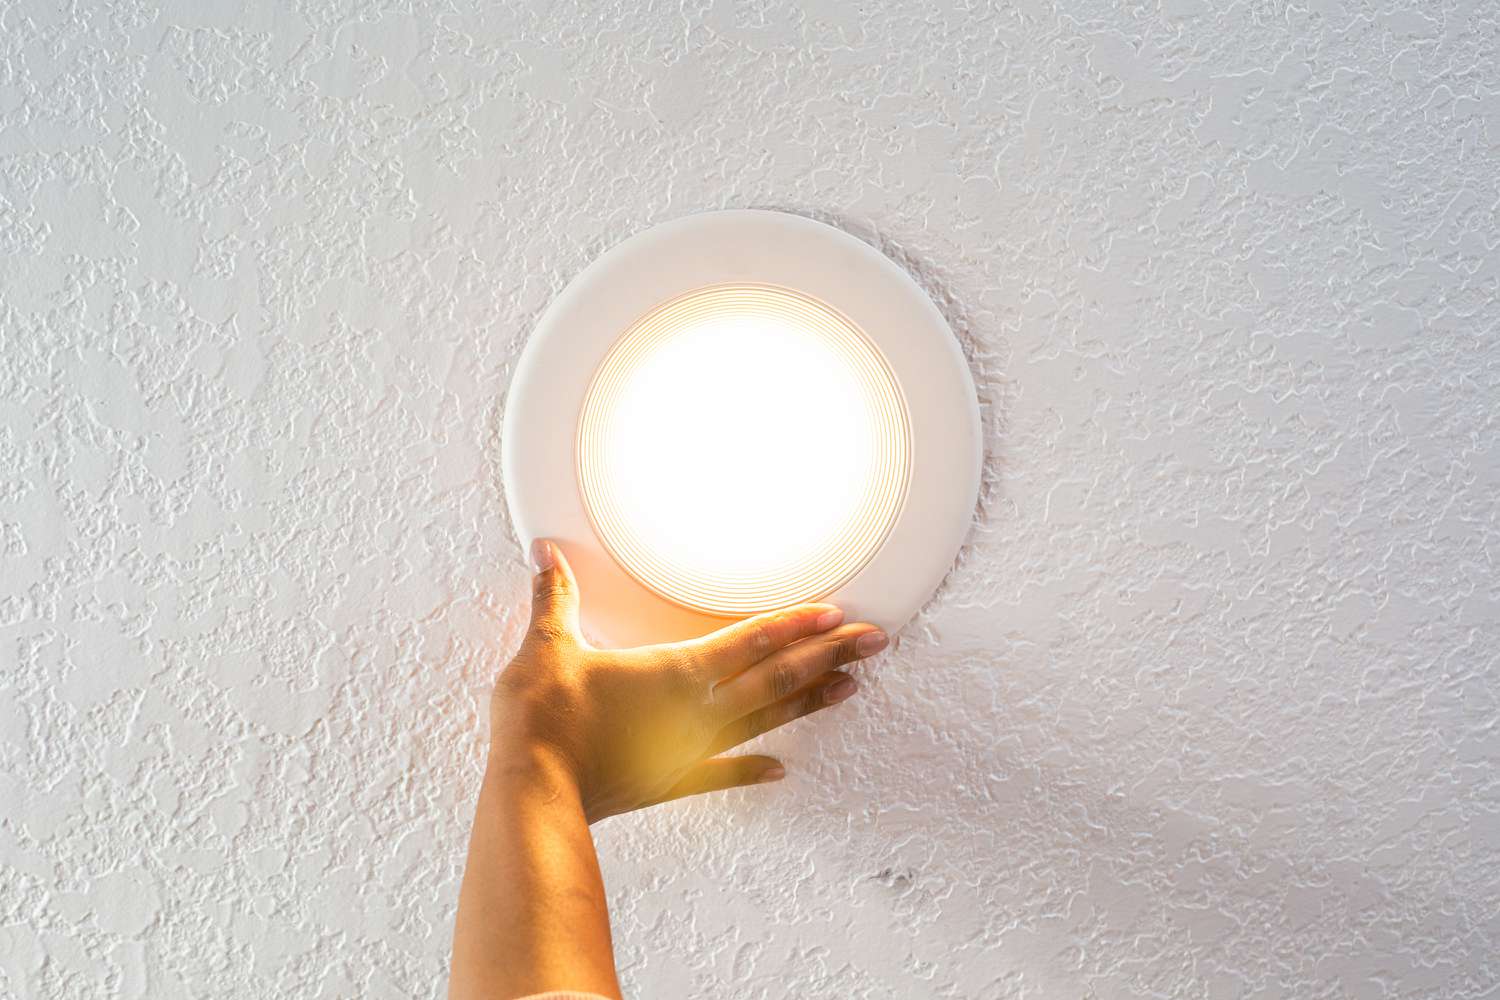
Fluorescent light bulbs are a popular choice for lighting fixtures due to their energy efficiency and long lifespan. However, like any other light bulb, they will eventually need to be replaced when they burn out. Changing a fluorescent light bulb may seem like a daunting task, but with the right tools and knowledge, it can be done safely and easily.
In this article, we will guide you through the step-by-step process of changing a fluorescent light bulb. Whether you are a homeowner looking to replace a bulb in your kitchen or a business owner needing to change bulbs in an office space, this guide will provide you with the necessary information to get the job done.
Before we dive into the steps, let’s go over the tools and materials you will need for this task:
Key Takeaways:
- Changing a fluorescent light bulb is a straightforward process that requires the right tools and safety precautions. Follow the step-by-step guide to safely replace bulbs in your home or office.
- Prioritize safety by wearing protective gear and turning off the power before beginning the process. Enjoy the benefits of energy-efficient lighting with a properly functioning fluorescent bulb.
Read more: How To Change A Light Bulb
Tools and Materials Needed
Before you begin the process of changing a fluorescent light bulb, gather the following tools and materials:
- Safety goggles or glasses
- Gloves
- Step ladder or sturdy chair
- Replacement fluorescent light bulb
- Screwdriver (flathead or Phillips, depending on the fixture)
Safety should always be your top priority when working with electrical fixtures. Make sure you have your safety goggles or glasses on to protect your eyes from any debris that may fall during the process. Additionally, wearing gloves can provide an extra layer of protection.
A step ladder or sturdy chair will be required to reach the light fixture safely. Ensure that the ladder or chair is stable and secure before climbing up to avoid any accidents.
Lastly, you will need a replacement fluorescent light bulb. Make sure to check the wattage and size of your old bulb to ensure you purchase the correct replacement.
Once you have gathered all the necessary tools and materials, you are ready to begin the process of changing your fluorescent light bulb.
Step 1: Turn Off the Power
Before starting any work on the light fixture, it is crucial to turn off the power to avoid any risk of electrical shock. Follow these steps to ensure the power is completely turned off:
- Locate the circuit breaker or fuse box in your home or office. It is usually found in a basement, utility room, or electrical panel.
- Open the circuit breaker or fuse box panel and locate the switch or fuse that controls the power to the specific light fixture you will be working on. It should be labeled accordingly.
- Flip the switch to the “Off” position or remove the fuse to disconnect the power. Confirm that the power is off by flipping the light switch on and off. If the light does not turn on, the power is successfully turned off.
It is important to remember that turning off the light switch alone is not enough to ensure your safety. Always turn off the power at the circuit breaker or fuse box to completely cut off the electricity flow.
Once you have confirmed that the power is off, you can proceed to the next step of removing the light cover.
Step 2: Remove the Light Cover
With the power turned off, you can now safely remove the light cover. The light cover is the protective casing that covers the fluorescent bulbs. Follow these steps to remove it:
- Inspect the light fixture to determine how the light cover is secured. It is usually held in place by clips or screws.
- If the light cover is secured with clips, gently press the clips inward towards the center of the fixture. This will release the clips and allow you to remove the cover.
- If the light cover is secured with screws, use a screwdriver (either flathead or Phillips, depending on the type of screws) to unscrew and remove the screws.
- Once the clips or screws are removed, carefully lift the light cover off the fixture. Be cautious, as the cover may have sharp edges.
- Set the light cover aside in a safe place where it will not be damaged.
Removing the light cover will expose the fluorescent light bulb, allowing you to proceed with the next step of removing the old bulb.
Tip: This is also a good time to clean the light cover if it is dirty or dusty. Use a soft cloth or sponge lightly dampened with mild soap and water to gently wipe away any debris. Make sure the cover is completely dry before reattaching it.
Step 3: Remove the Old Bulb
Now that the light cover is removed, you can move on to removing the old fluorescent bulb. Follow these steps to safely remove the old bulb:
- Look for the two pins at each end of the fluorescent bulb. These pins are what hold the bulb in place.
- Gently press the pins inward and twist the bulb counterclockwise to release it from the socket. Be careful not to apply too much pressure or force, as it may break the bulb.
- Once the bulb is loose, carefully slide it out from the socket. Place the old bulb aside in a safe place or dispose of it properly, following any applicable local regulations for light bulb disposal.
Take note of the wattage and size information on the old bulb. This information will be important when selecting a replacement bulb.
Tip: It’s a good practice to wear gloves while handling the old bulb to avoid any skin contact with potentially harmful substances. If the old bulb breaks during removal, use gloves and a damp cloth to clean up any broken glass fragments. Dispose of the broken bulb and any debris in a sealed bag to prevent injuries.
With the old bulb removed, you are now ready to move on to the next step: installing the new fluorescent bulb.
Make sure to turn off the power to the light fixture before attempting to change the fluorescent light bulb. Use a ladder if needed and carefully twist the old bulb out and replace it with a new one of the same size and wattage.
Read more: Who Invented The Fluorescent Light Bulb
Step 4: Install the New Bulb
With the old fluorescent bulb removed, it’s time to install the new one. Follow these steps to properly install the new bulb:
- Take the replacement fluorescent bulb and carefully align the pins at each end of the bulb with the slots in the socket.
- Gently insert the pins into the slots and twist the bulb clockwise until it locks into place. It should fit snugly in the socket.
- Give the bulb a gentle tug to ensure that it is securely installed. If it comes loose, remove it and try again, making sure to align the pins properly.
It is essential to use the correct wattage and size of the new bulb to ensure compatibility with your light fixture. Refer to the information on the old bulb or consult the light fixture manual for the appropriate specifications.
Tip: Avoid touching the surface of the new bulb with your bare hands, as the oils from your skin can reduce its lifespan. If you accidentally touch the bulb, clean it with a soft cloth lightly dampened with rubbing alcohol before installing it.
Once the new bulb is securely in place, you can proceed to the next step of replacing the light cover.
Step 5: Replace the Light Cover
Now that the new fluorescent bulb is installed, it’s time to replace the light cover. Follow these steps to properly secure the light cover:
- Position the light cover back onto the fixture, aligning it with the clips or screw holes.
- If the light cover has clips, firmly push the cover up against the fixture until the clips snap into place.
- If the light cover has screws, use a screwdriver to insert and tighten the screws back into their respective holes.
- Ensure that the light cover is securely fastened and flush against the fixture.
Take a moment to visually inspect the light cover to make sure it is properly aligned and there are no gaps or loose areas. A properly secured light cover will not only protect the bulb but also enhance the appearance of the fixture.
Once the light cover is securely in place, you are almost done. The final step is to turn on the power and test the newly installed bulb.
Step 6: Turn On the Power
With the light cover replaced, it’s time to turn on the power and test the newly installed fluorescent bulb. Follow these steps to safely turn on the power:
- Return to the circuit breaker or fuse box where you previously turned off the power.
- Locate the switch or fuse that controls the power to the light fixture you worked on.
- Flip the switch back to the “On” position or insert the fuse back into its socket.
Once the power is restored, you can test the bulb by flipping the light switch on. If everything is done correctly, the new fluorescent bulb should illuminate and provide a bright light.
If the bulb does not turn on, double-check that the power is correctly restored and that the bulb is securely installed. If the issue persists, there may be a problem with the fixture or electrical wiring. In this case, it is recommended to consult a qualified electrician for further assistance.
Remember that fluorescent bulbs can take a few seconds to reach their full brightness, so allow some time for the bulb to warm up before making any judgments.
Congratulations! You have successfully changed the fluorescent light bulb. Enjoy the renewed light and energy efficiency it brings to your space.
Conclusion
Changing a fluorescent light bulb may seem like a daunting task, but with the right tools and knowledge, it can be a straightforward process. By following the steps outlined in this guide, you can safely and easily replace a burned-out fluorescent bulb in your home or office.
Remember to always prioritize safety by wearing protective goggles or glasses and gloves when working with electrical fixtures. Additionally, make sure to turn off the power at the circuit breaker or fuse box before beginning any work.
Gathering the necessary tools and materials beforehand, such as a step ladder, replacement bulb, and screwdriver, will ensure a smooth and efficient bulb replacement process.
The step-by-step instructions provided in this guide, from removing the light cover to installing the new bulb and replacing the cover, will help you navigate the process with ease.
Once the bulb is securely in place, restore the power by flipping the switch or reinserting the fuse. Then, test the newly installed bulb to ensure it is working correctly.
By following these steps, you can enjoy the benefits of a properly functioning fluorescent light bulb, including energy efficiency and a long lifespan.
Remember, if you encounter any difficulties or are unsure about any step of the process, it’s always best to consult a professional electrician for assistance. Your safety and the proper functioning of your electrical fixtures should always be the top priority.
Now that you have the knowledge and confidence to change a fluorescent light bulb, go ahead and tackle those burnt-out bulbs to bring a bright and well-lit atmosphere back into your space.
Frequently Asked Questions about How To Change A Fluorescent Light Bulb
Was this page helpful?
At Storables.com, we guarantee accurate and reliable information. Our content, validated by Expert Board Contributors, is crafted following stringent Editorial Policies. We're committed to providing you with well-researched, expert-backed insights for all your informational needs.


0 thoughts on “How To Change A Fluorescent Light Bulb”