Articles
How To Charge An HVAC System
Modified: January 6, 2024
Learn the best charging techniques for your HVAC system with our informative articles. Improve the efficiency and performance of your system today!
(Many of the links in this article redirect to a specific reviewed product. Your purchase of these products through affiliate links helps to generate commission for Storables.com, at no extra cost. Learn more)
Introduction
Welcome to our comprehensive guide on how to charge an HVAC system. HVAC, which stands for Heating, Ventilation, and Air Conditioning, is an essential component in any residential or commercial building. It ensures optimal indoor air quality and maintains a comfortable temperature throughout the year.
There are times when an HVAC system may require charging, particularly when it’s not cooling or heating as effectively as it should. Charging an HVAC system involves adding refrigerant to the system to restore its efficiency and functionality.
In this article, we will walk you through the process of charging an HVAC system step by step. We will begin by providing you with a basic understanding of how the system works and help you identify potential issues that may require charging. We will then move on to acquiring the necessary tools and materials and guide you through the process of preparing the HVAC system for charging.
Once the system is prepared, we will explain how to connect the charging equipment properly. Next, we will show you how to add refrigerant to the system and monitor the system’s pressure throughout the charging process.
Finally, we will touch upon the importance of testing the HVAC system after charging to ensure that it is operating at its optimal level. By following this guide, you will have the knowledge and confidence to successfully charge your HVAC system and enjoy a comfortable and efficient indoor environment.
Key Takeaways:
- Properly preparing and monitoring an HVAC system during the charging process is crucial for optimal performance. Regular testing and maintenance ensure a comfortable indoor environment and long-term efficiency.
- Checking for potential issues, acquiring the right tools, and adding refrigerant carefully are essential steps in charging an HVAC system. Professional expertise and safety precautions are key for a successful charging process.
Read more: How Long Are HVAC Warranties
Understanding the HVAC System
Before we dive into the process of charging an HVAC system, it’s important to have a basic understanding of how the system works. An HVAC system consists of three main components: the furnace or heat pump, the air conditioner, and the ductwork.
The furnace or heat pump is responsible for heating the air in the winter months. It uses fuel or electricity to generate heat, which is then distributed throughout the building using the ductwork. The air conditioner, on the other hand, cools the air during the summer months by removing heat from indoor air and releasing it outside.
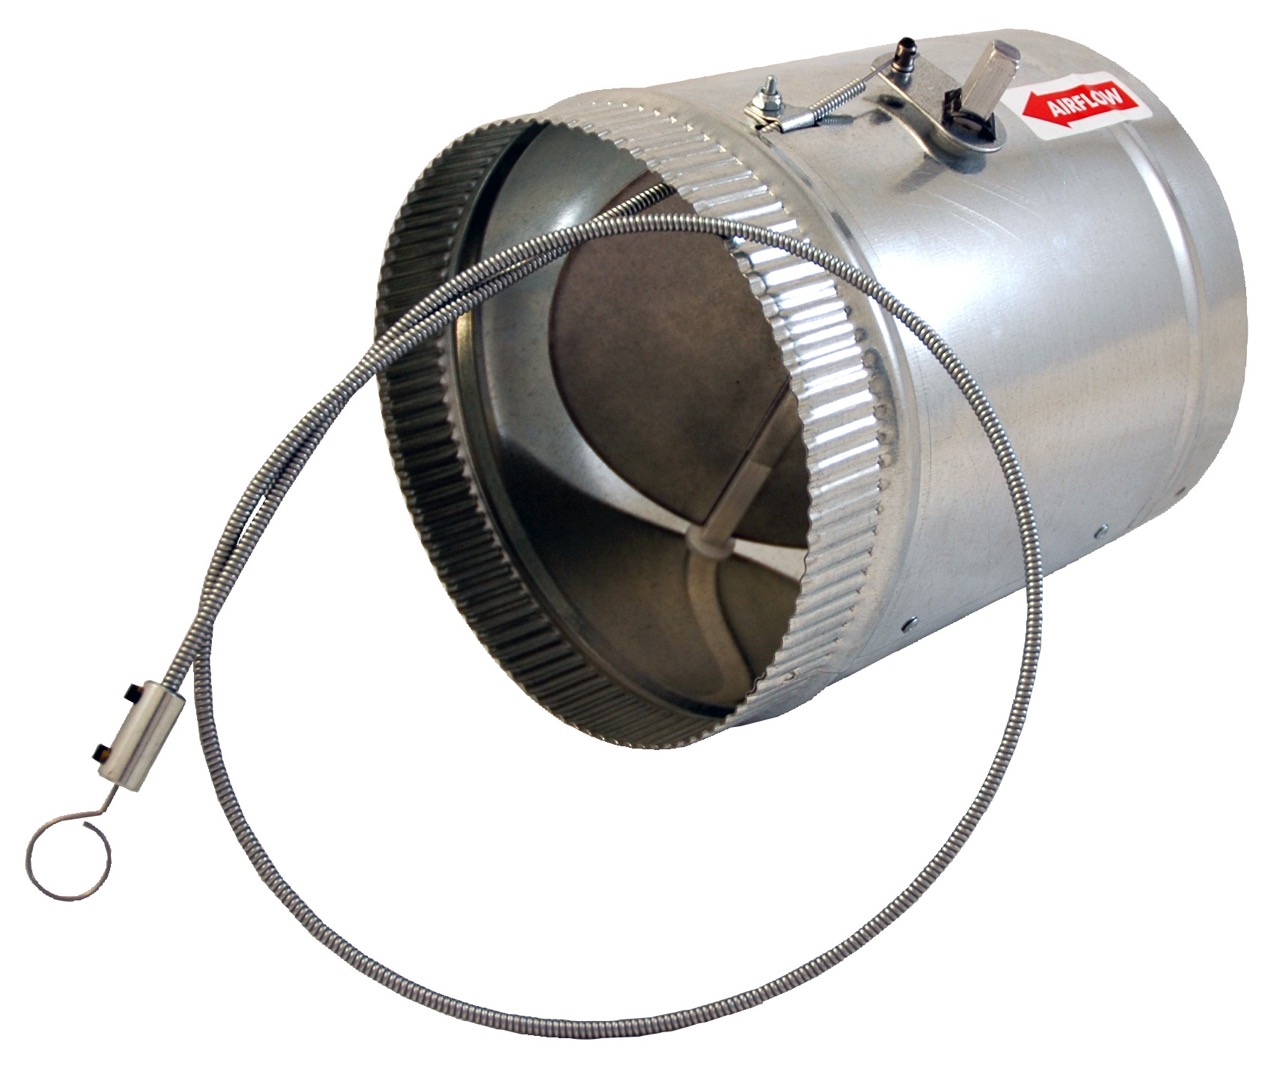
The ductwork acts as a network of pathways that distribute the heated or cooled air to different areas of the building. It ensures that the temperature is regulated evenly throughout the space.
In an HVAC system, refrigerant plays a crucial role. It is a special fluid that absorbs and releases heat to provide cooling or heating. The refrigerant circulates through the system, changing from a high-pressure, high-temperature gas to a low-pressure, low-temperature liquid as it absorbs and releases heat.
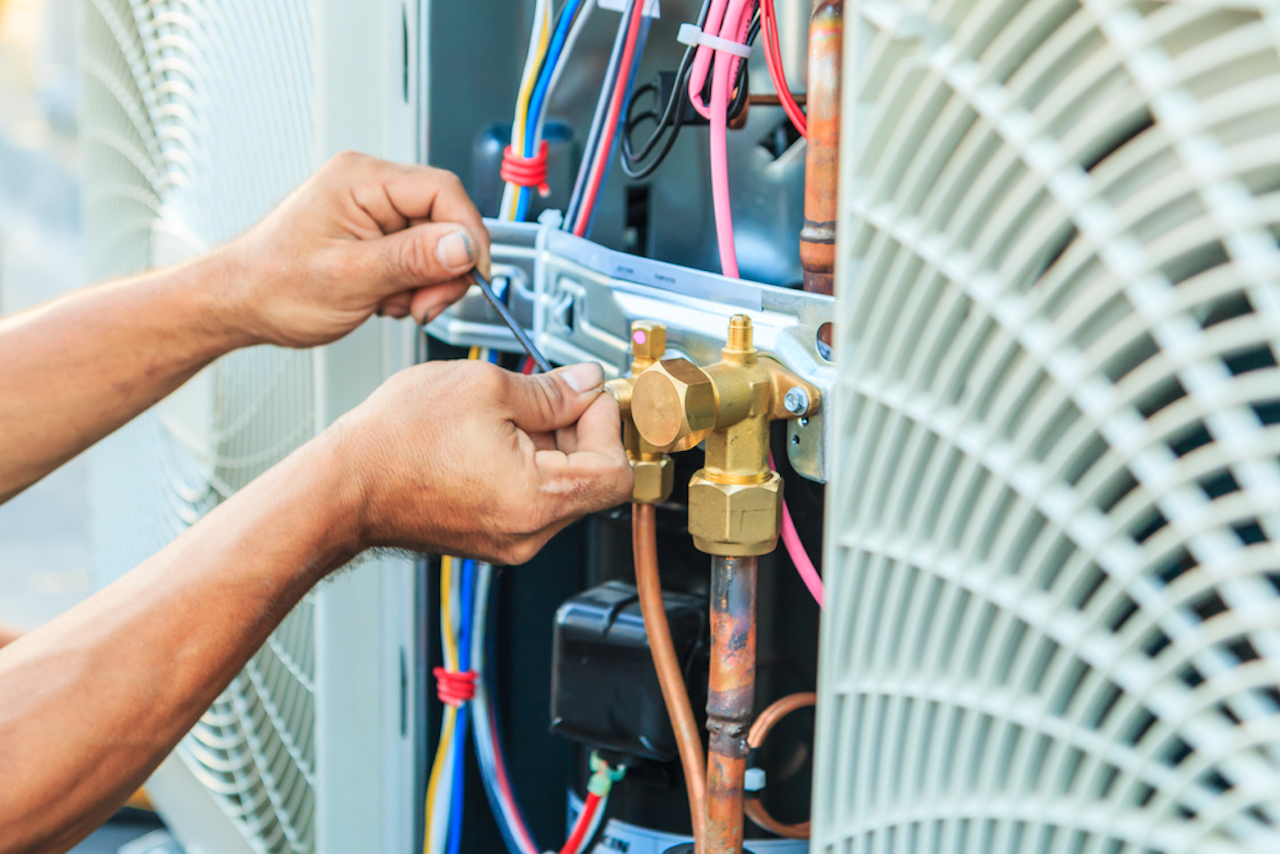
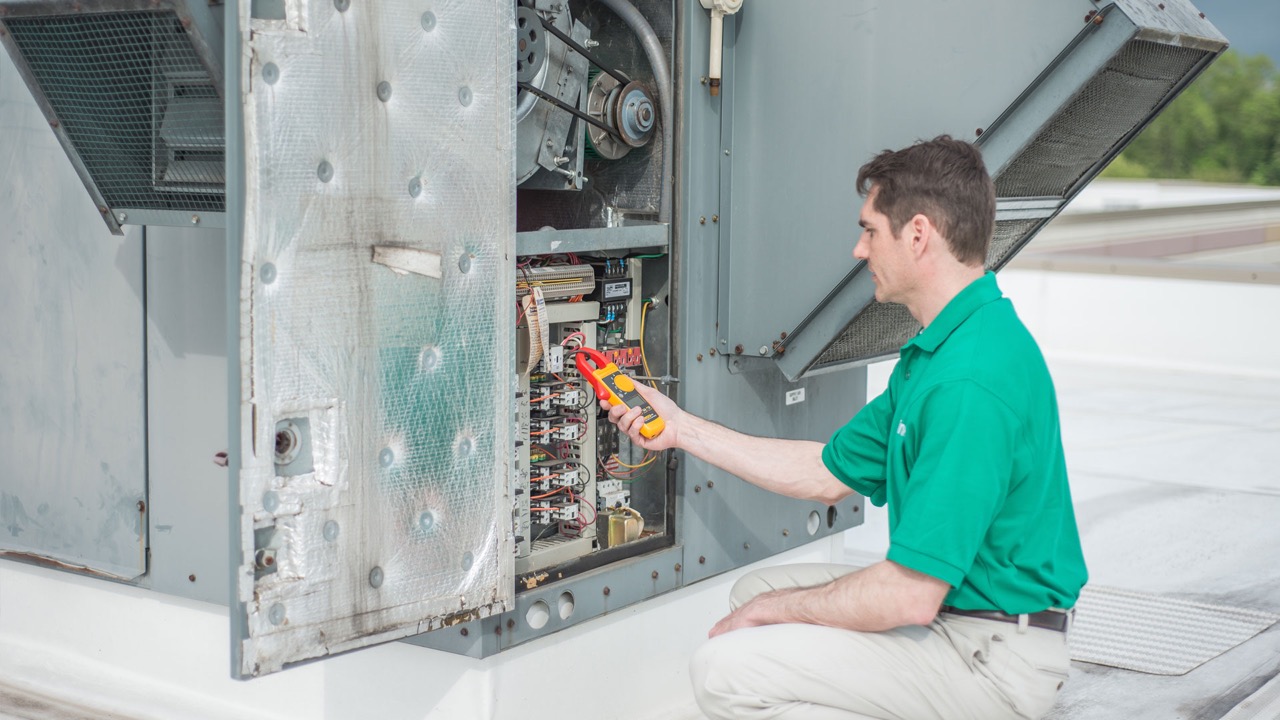
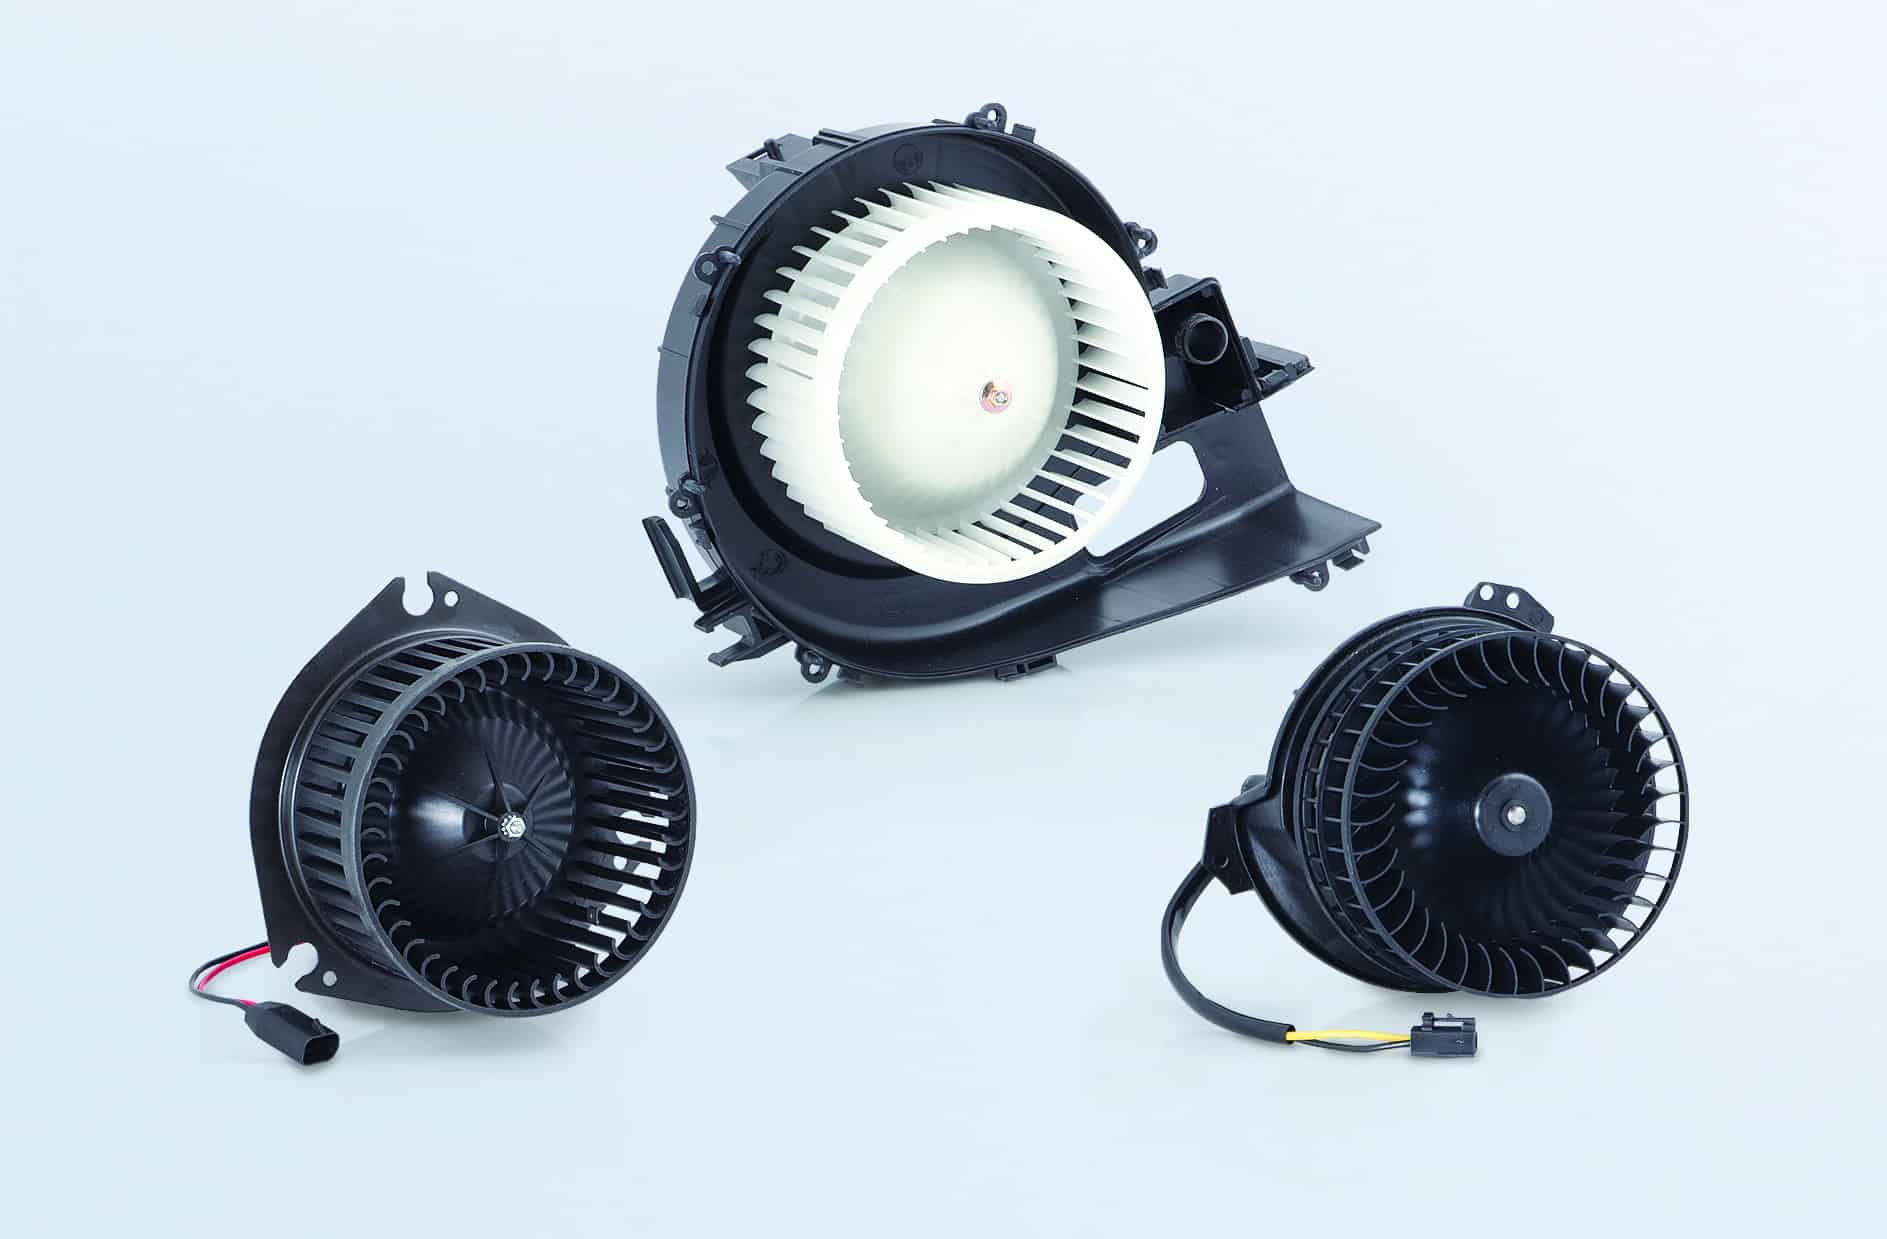
Now, let’s take a closer look at the components involved in charging an HVAC system. The system consists of an outdoor unit that contains the compressor, a fan, and the condenser coil. It also has an indoor unit that includes the evaporator coil and the blower. Refrigerant lines connect these two units.
Overall, understanding the basic components and how they work together is essential for successfully charging an HVAC system. It allows you to identify any potential issues and ensure that the system is functioning optimally.
Checking for Potential Issues
Before charging an HVAC system, it’s important to thoroughly check for any potential issues. This step is crucial as it helps identify any underlying problems that may be affecting the system’s performance. Here are some key things to look out for:
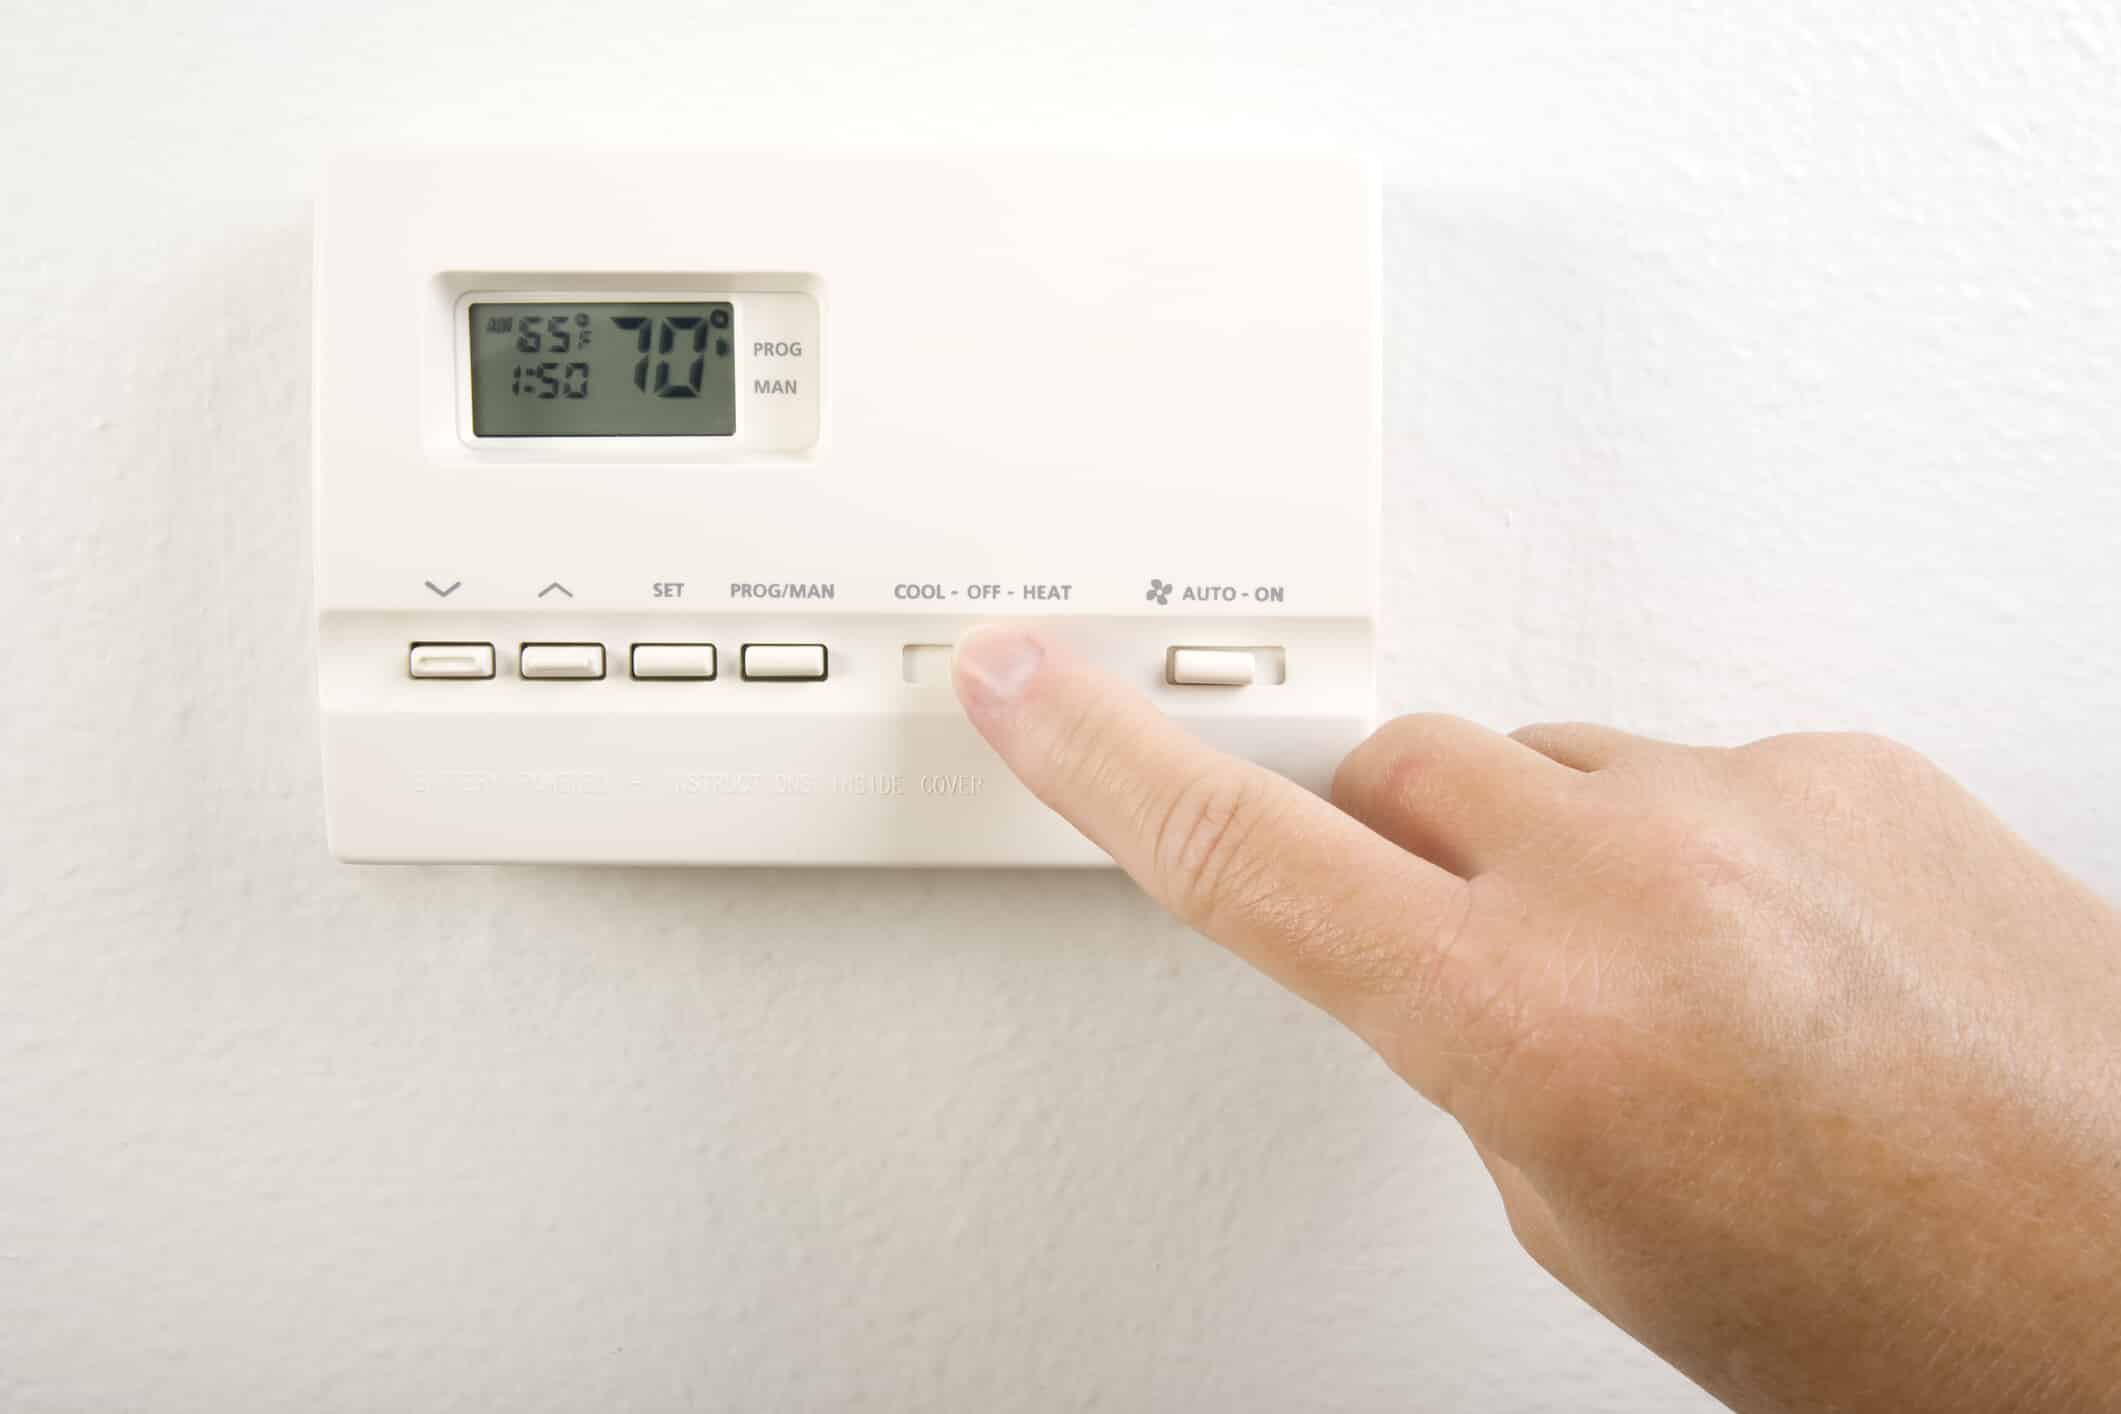
- Lack of Cooling or Heating: If you’ve noticed that your HVAC system is not providing adequate cooling or heating, it may indicate a need for charging. However, it’s essential to rule out other potential issues such as a dirty air filter or a malfunctioning thermostat.
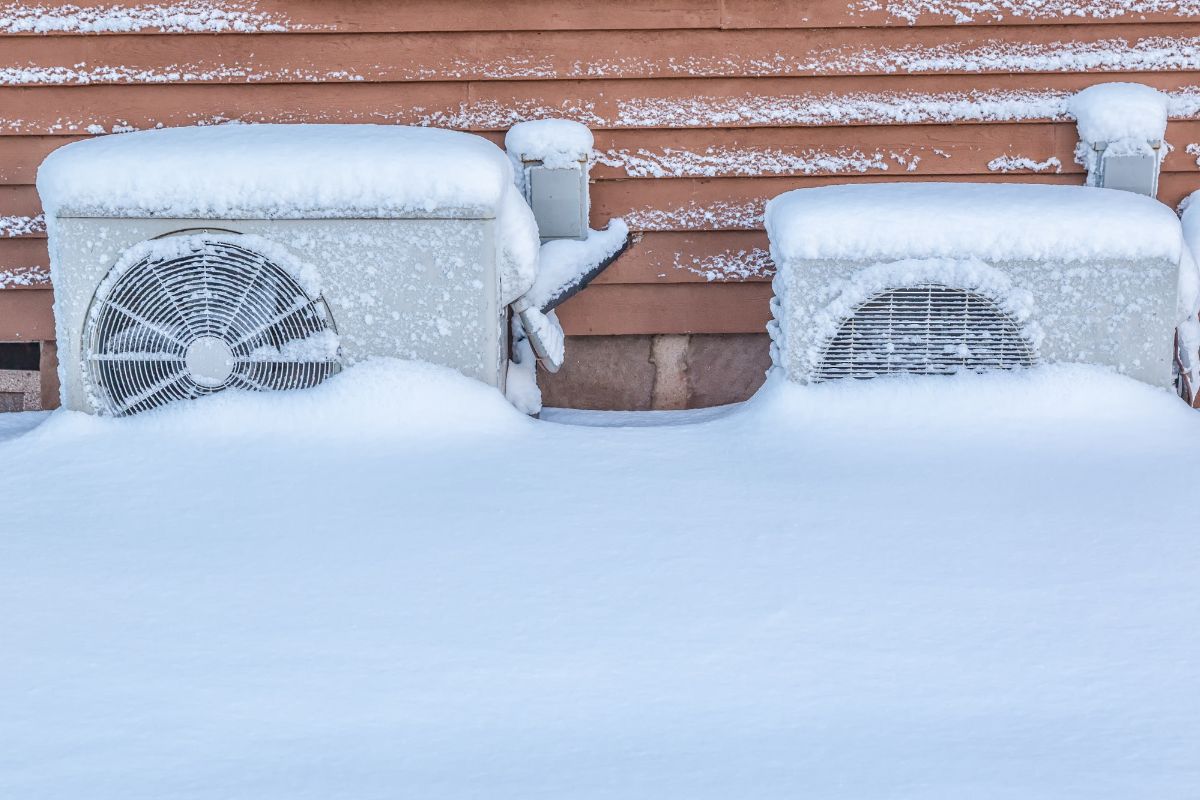
- Frozen Evaporator Coil: If you spot ice buildup on the evaporator coil, it indicates that the system is not operating efficiently. This can be caused by a low refrigerant charge or restricted airflow. Both of these issues will need to be addressed before charging the system.
- Leaking Refrigerant: A refrigerant leak is a common problem in HVAC systems. It can lead to a decrease in the system’s performance and may require charging to restore optimal functioning. Look for signs of oily spots or refrigerant stains near the unit, as well as a sudden increase in your energy bills.
- Inconsistent Temperatures: If some areas of your space are significantly warmer or cooler than others, it may indicate an imbalance in the refrigerant charge. Before charging, it’s important to investigate the cause of these temperature inconsistencies.
- Unusual Noises or Odors: Any strange noises or unusual odors coming from the HVAC system should not be ignored. These can be indicators of a malfunctioning component or a refrigerant issue. Inspect the system and address any potential problems before proceeding with the charging process.
By thoroughly checking for potential issues, you can ensure that charging the HVAC system will address the underlying problems and restore its optimal efficiency. If you’re unsure whether the issues you are experiencing necessitate charging, it’s always a good idea to consult with a professional HVAC technician for a thorough inspection and appropriate recommendations.
Acquiring the Necessary Tools and Materials
Before you can proceed with charging an HVAC system, it’s important to gather all the necessary tools and materials. Here is a checklist of items you’ll need:
- Refrigerant: The first and most crucial item you’ll need is the appropriate refrigerant for your HVAC system. Different HVAC systems require different types of refrigerants, so it’s essential to consult your system’s manual or seek professional advice to determine the correct refrigerant type and amount needed.
- Refrigerant Charging Hose: You’ll need a charging hose to connect the refrigerant canister to the HVAC system. Make sure the hose is compatible with the refrigerant you are using.
- Gauges and Manifold Set: A gauges and manifold set allows you to monitor the pressure levels in the HVAC system during the charging process. It typically includes high and low-pressure gauges, as well as valves and connections.
- Vacuum Pump: In some cases, you may need a vacuum pump to remove any air or moisture from the system before charging it. This step is crucial to ensure the optimal performance and longevity of the HVAC system.
- Leak Detection Kit: A leak detection kit can help you identify any refrigerant leaks in the system. This is particularly important before charging, as adding refrigerant to a leaking system will not resolve the underlying issue.
- Personal Protective Equipment (PPE): Safety should always be a priority when working with HVAC systems and refrigerants. Make sure to wear appropriate PPE, such as gloves, safety goggles, and a respirator, to protect yourself from harmful chemicals.
- Wrenches and Screwdrivers: Depending on the specific HVAC system, you may require wrenches and screwdrivers to access certain components during the charging process. Ensure you have the right tools on hand.
It’s important to note that charging an HVAC system can be a complex process, and it may require professional expertise. If you are not confident or comfortable performing the task yourself, it’s highly recommended to seek the assistance of a licensed HVAC technician. They have the knowledge, experience, and equipment to ensure the proper charging of your HVAC system.
By acquiring the necessary tools and materials, you are setting yourself up for a successful charging process. Remember to always prioritize safety and consult professional help when needed.
Preparing the HVAC System for Charging
Before you can begin charging your HVAC system, it’s essential to properly prepare the system. This involves a few key steps to ensure a smooth and successful charging process. Here’s what you need to do:
- Turn Off the Power: Start by turning off the power supply to the HVAC system. This will help prevent any potential accidents or electrical mishaps during the charging process. Locate the main power switch or circuit breaker for the system and turn it off.
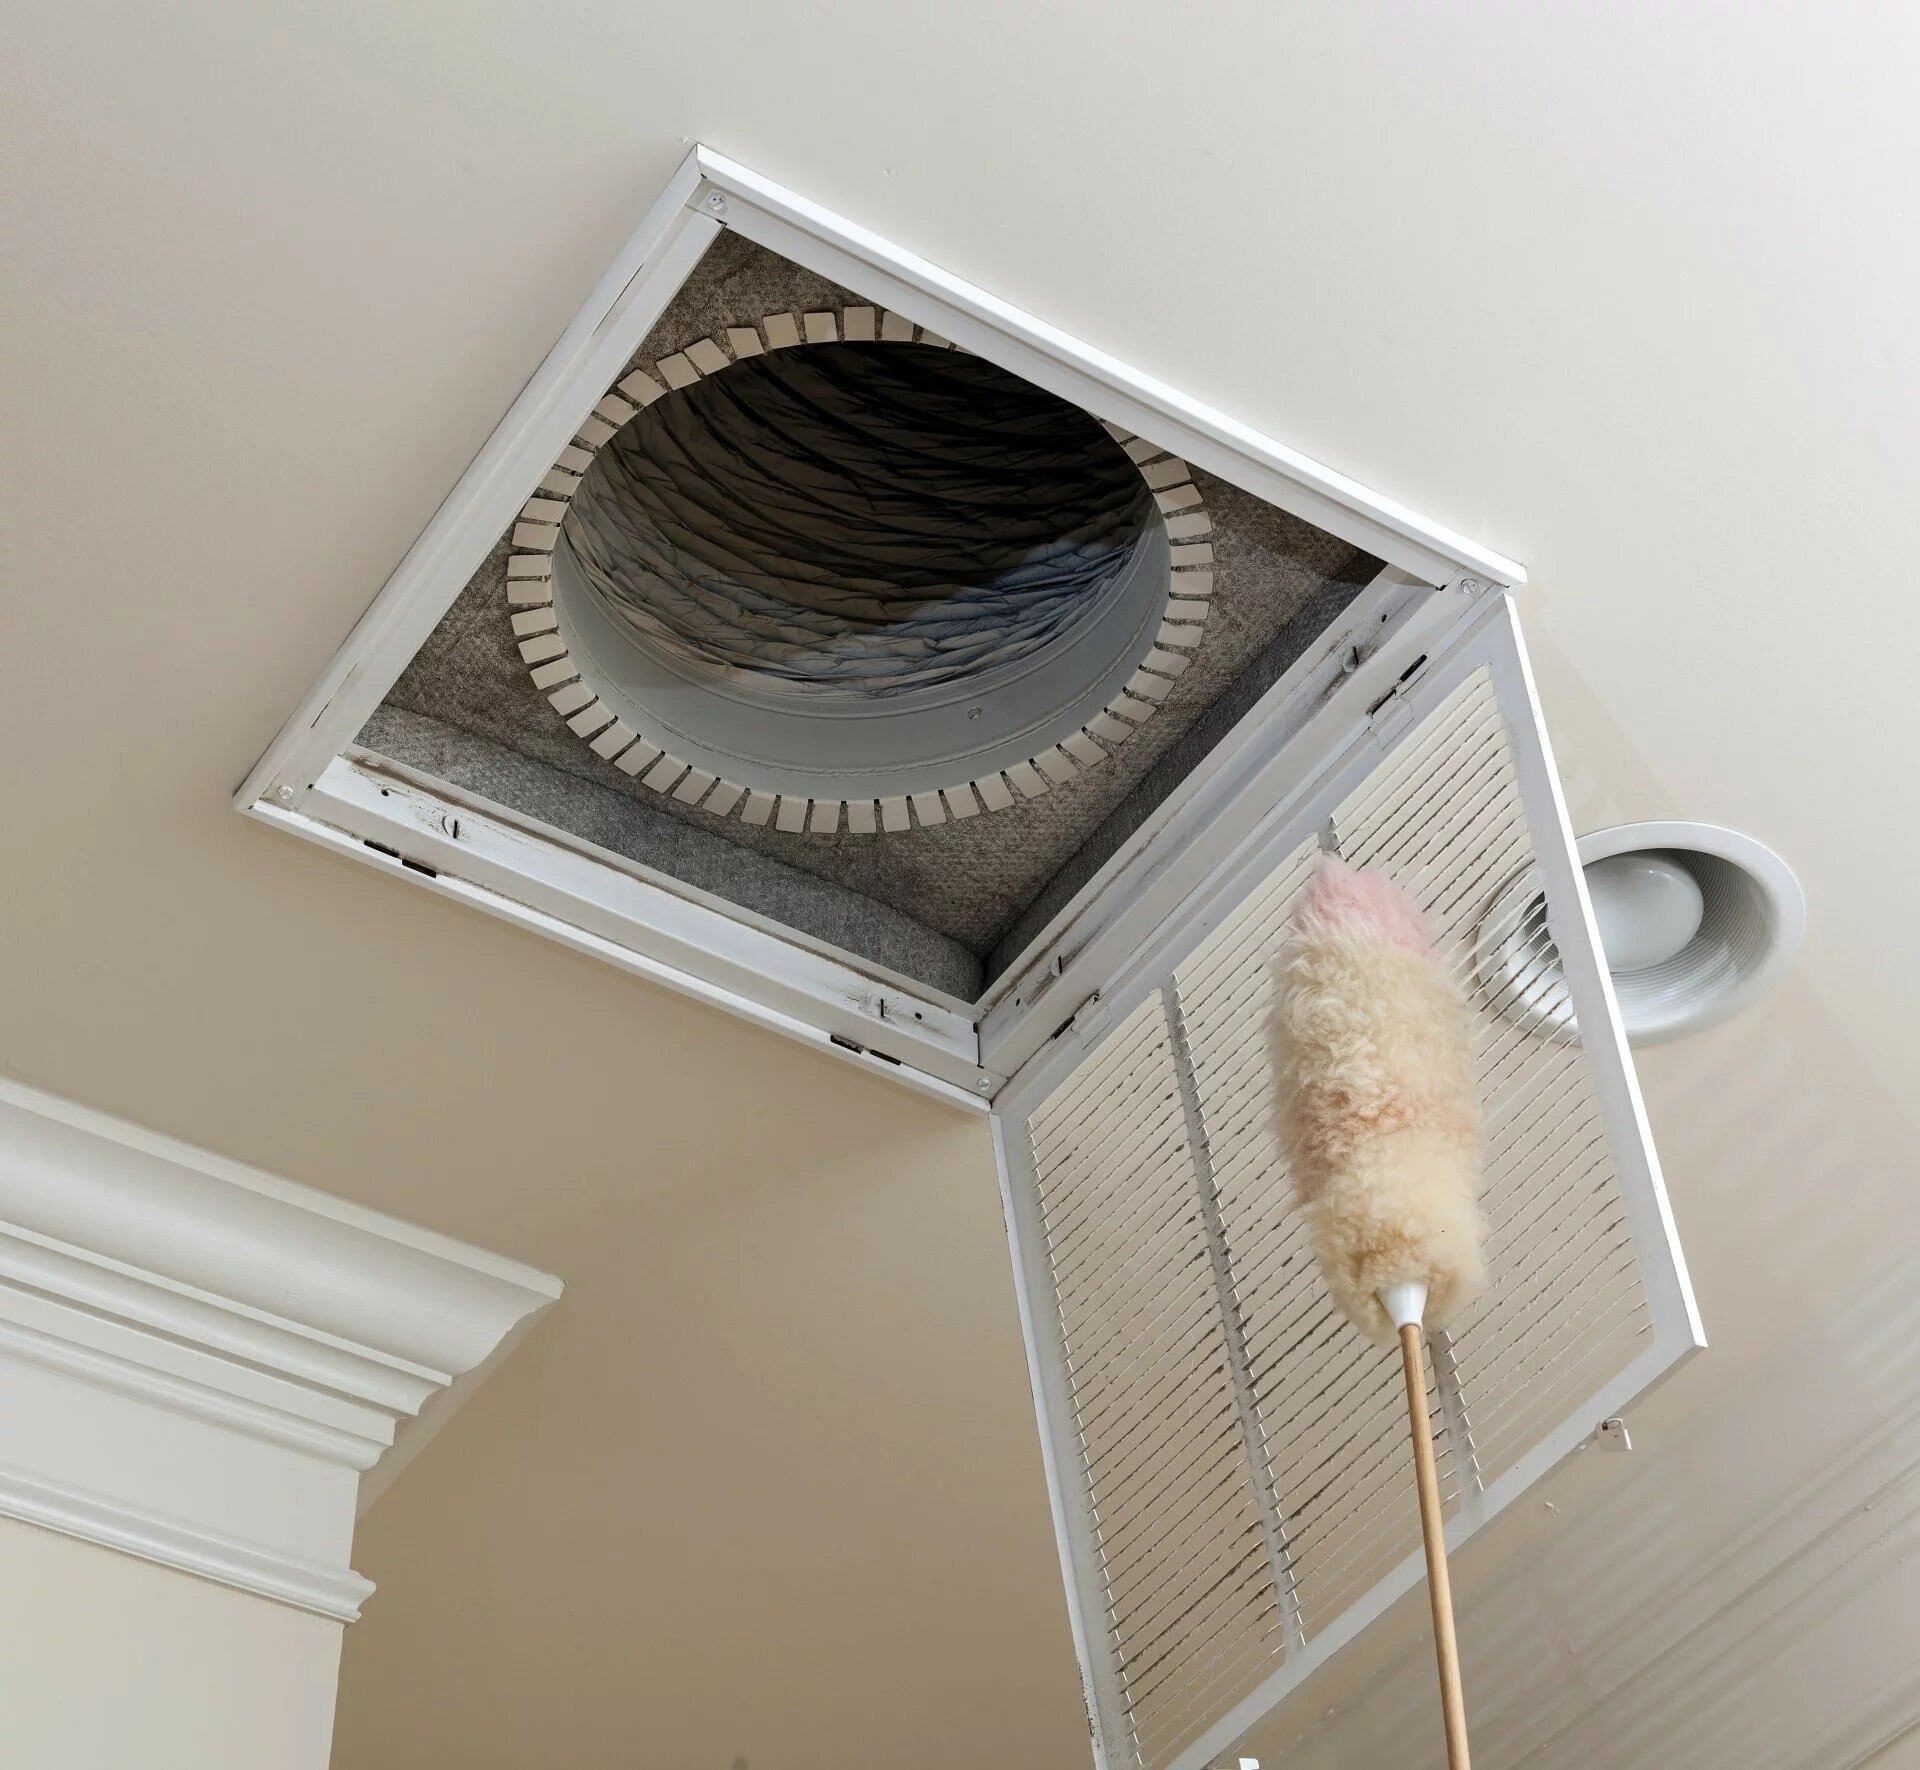
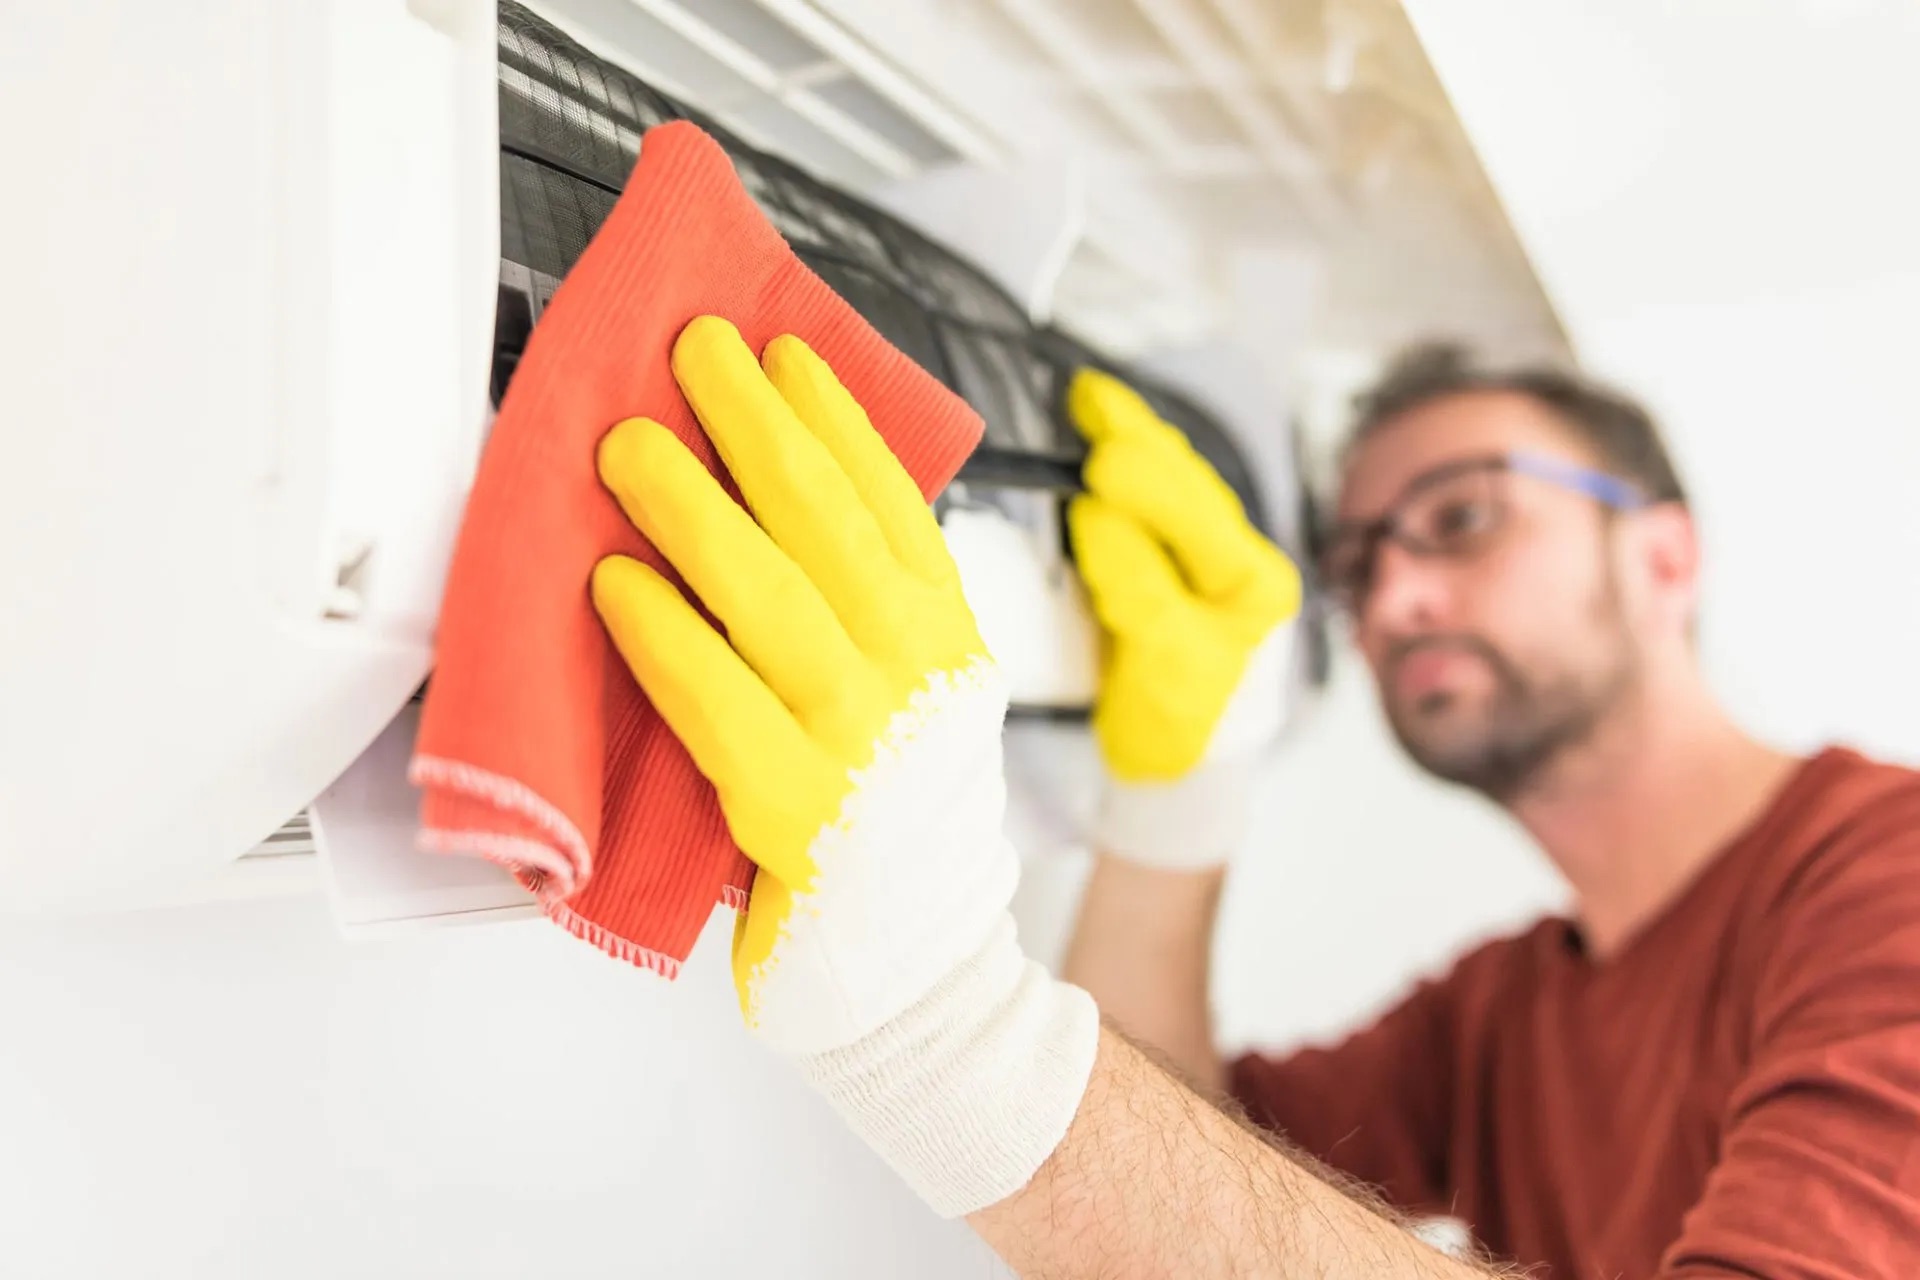
- Clean the System: It’s important to clean the condenser coils and the evaporator coils before charging the system. Use a soft brush or a vacuum cleaner to remove any dirt or debris that may have accumulated on these components. This will help improve the system’s efficiency and prevent any airflow restrictions.
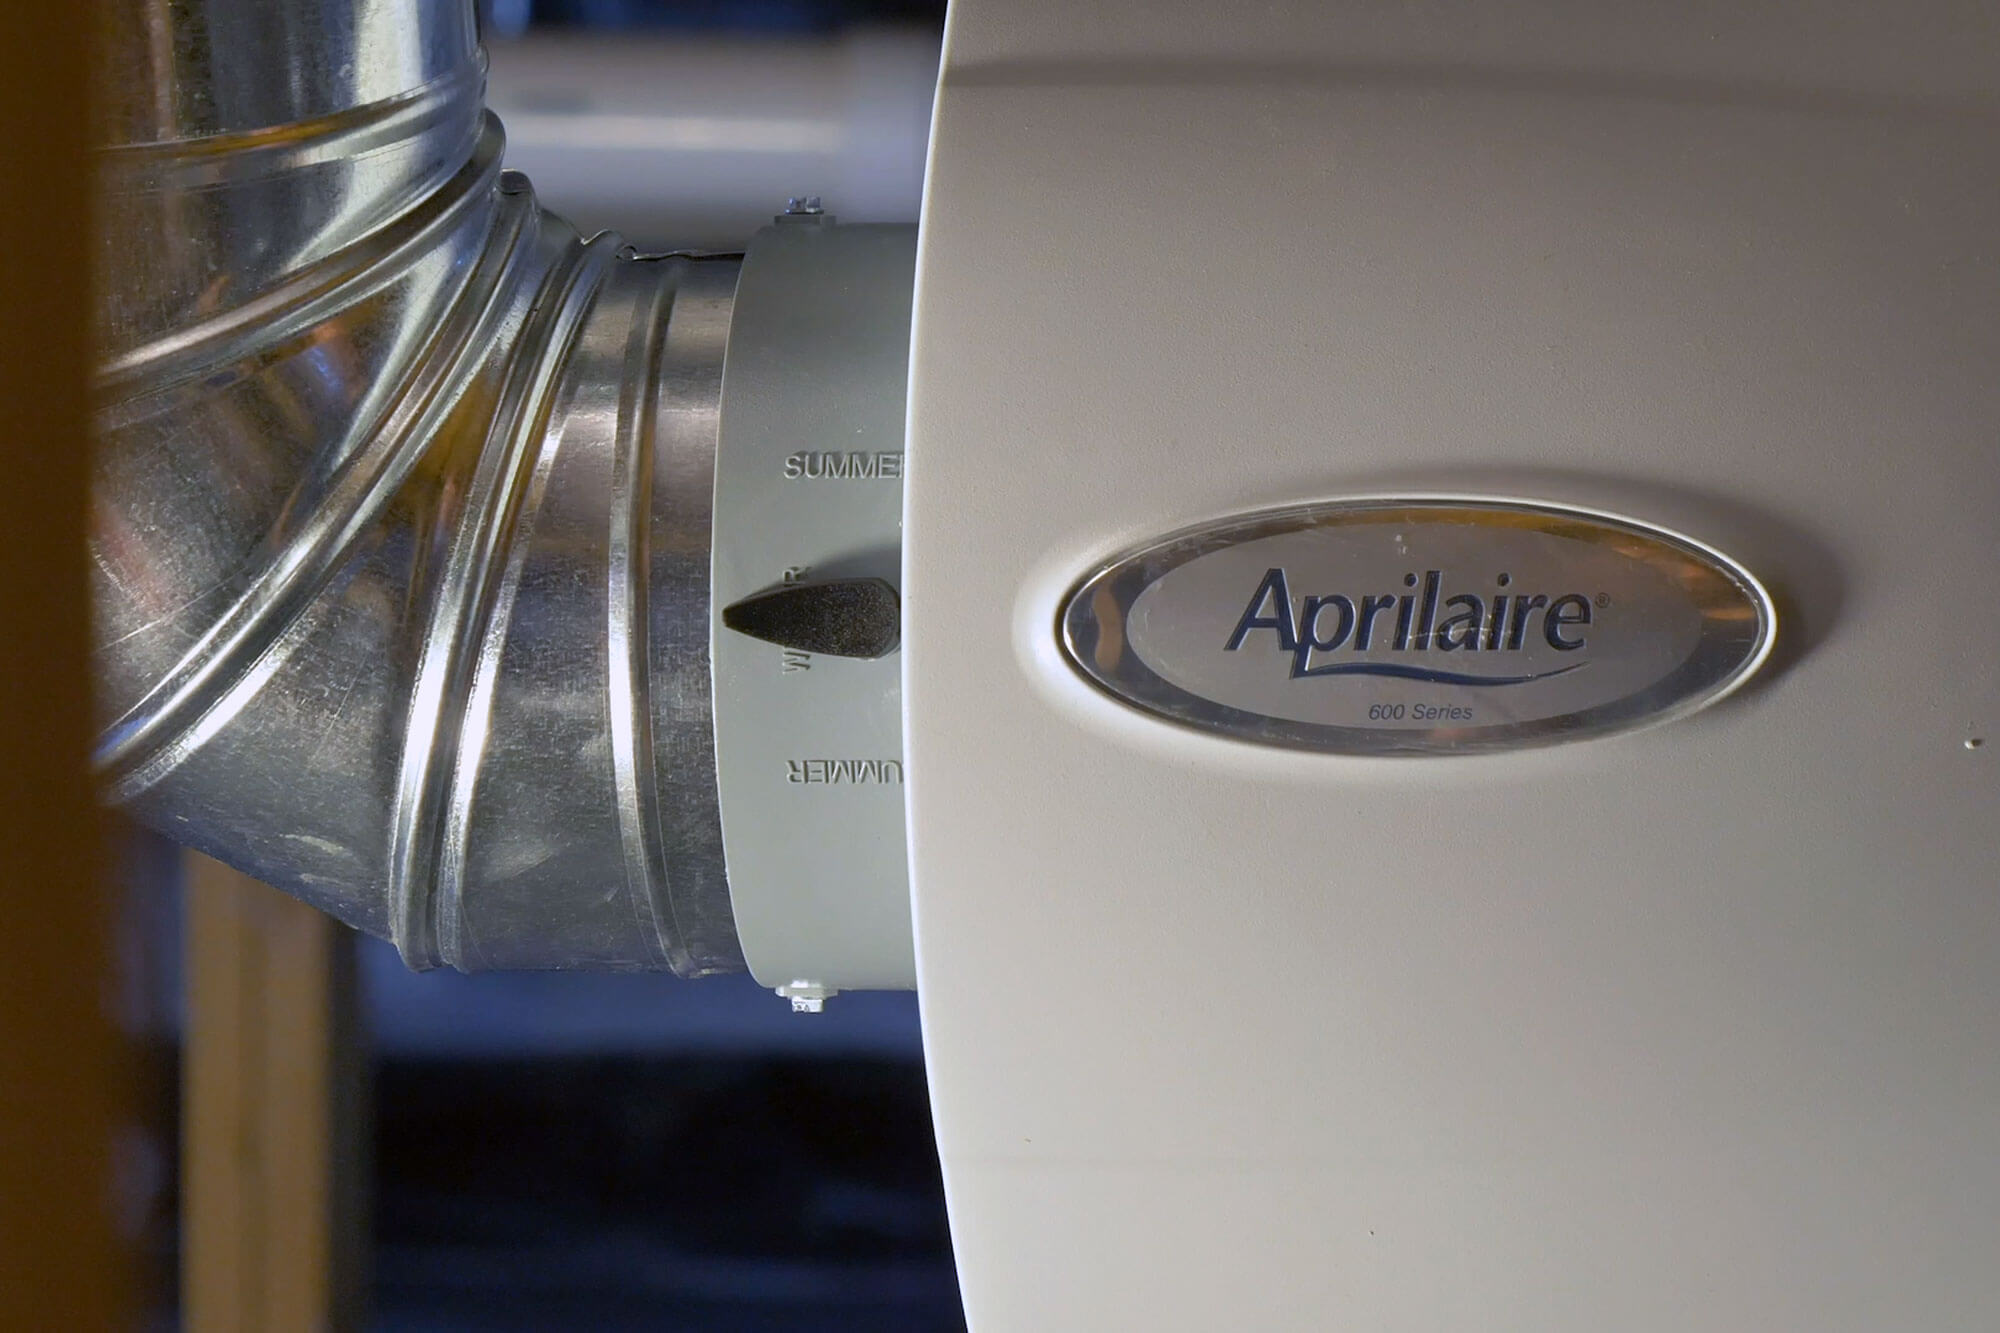
- Inspect and Replace Filters: Check the air filters in your HVAC system and replace them if necessary. Dirty or clogged filters can impede airflow and reduce the system’s efficiency. Clean filters help ensure optimal performance during the charging process.
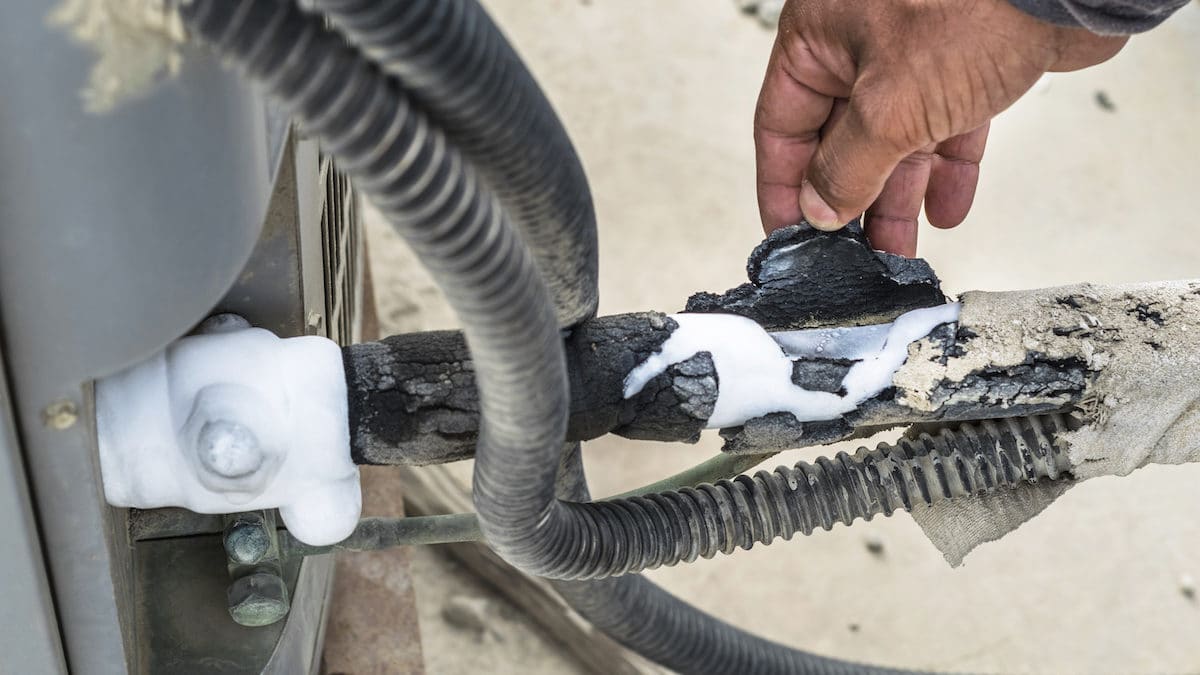
- Check for Leaks: Before charging, it’s crucial to inspect the HVAC system for any potential leaks. Use a leak detection kit or a soapy water solution to check for leaks in the refrigerant lines, connections, and valves. If you notice any leaks, they must be addressed and repaired before proceeding with the charging process.
- Connect the Gauges: Attach the gauges from your manifold set to the appropriate service ports on the HVAC system. Ensure that the high-pressure gauge is connected to the high-pressure service port and the low-pressure gauge is connected to the low-pressure service port. Follow the manufacturer’s instructions for the correct connections.
- Purge the Hoses: Before connecting the charging hose, purge it by quickly open and close the manifold valves. This removes any air from the hoses, ensuring an accurate pressure reading during the charging process.
Properly preparing the HVAC system before charging is crucial to its overall performance and the success of the charging process. By following these steps, you will ensure that your system is clean, filters are replaced, leaks are checked, and gauges are connected correctly. This sets the stage for a smooth and efficient charging process.
Next, we will move on to connecting the charging equipment and adding refrigerant to the HVAC system. Stay tuned!
Regularly clean or replace the air filters in your HVAC system to ensure proper airflow and efficient operation, which can help to reduce energy consumption and extend the system’s lifespan.
Read more: How To Become A HVAC Technician
Connecting the Charging Equipment
Once you have properly prepared the HVAC system, it’s time to connect the charging equipment. This step is essential for a controlled and safe charging process. Here’s how to connect the equipment:
- Ensure Proper Equipment Setup: Before connecting anything, make sure that all the components of the charging equipment, including the charging hose and gauges, are properly assembled and in good working condition. Check for any damage or leaks.
- Connect the Charging Hose: Begin by connecting one end of the charging hose to the refrigerant canister or cylinder. Ensure a secure and tight connection.
- Connect the Other End of the Charging Hose: The other end of the charging hose needs to be connected to the low-pressure service port on the HVAC system. This port is typically labeled “L” or “Low.” Follow the manufacturer’s instructions to locate the correct port.
- Bleed Air from the Line: Open the valve on the charging hose slightly to bleed any air from the line. This ensures that only refrigerant flows through the hose and into the system.
- Close the Service Valve: Locate the service valve on the low-pressure service port and ensure it is closed. This valve regulates the flow of refrigerant into the system.
- Connect Gauges to the Charging Hose: Connect the gauges from your manifold set to the charging hose. Match the high-pressure gauge with the high-pressure side of the system and the low-pressure gauge with the low-pressure side.
- Purge Air from the Gauges: Slowly open the valves on the gauges to purge any air from the gauges. This ensures accurate pressure readings during the charging process.
It’s important to perform these steps carefully and follow the manufacturer’s instructions for your specific charging equipment. Maintaining tight connections and properly purging air from the system will help ensure an efficient and accurate charging process.
Now that you have successfully connected the charging equipment, it’s time to move on to the next step: adding refrigerant to the HVAC system. Stay tuned for the next section!
Adding Refrigerant to the System
Now that you have properly connected the charging equipment, it’s time to add refrigerant to the HVAC system. This step is crucial for restoring the system’s optimal performance. Here’s a step-by-step guide on how to add refrigerant:
- Open the Service Valve: Begin by opening the service valve on the low-pressure service port. This allows refrigerant to flow into the HVAC system. Monitor the pressure gauge to ensure that the pressure is stable.
- Add Refrigerant Slowly: While monitoring the pressure on the gauge, slowly open the valve on the refrigerant canister or cylinder. This allows refrigerant to enter the system. It’s important to add refrigerant slowly to prevent overcharging or overwhelming the system.
- Observe the Pressure: As you add refrigerant, keep a close eye on the pressure gauge. Monitor the high-pressure and low-pressure readings to ensure they stay within the manufacturer’s recommended range. This range varies depending on the specific HVAC system and refrigerant type.
- Monitor the Superheat/Subcooling: Superheat and subcooling are essential parameters in maintaining the efficiency and performance of the HVAC system. Follow the manufacturer’s guidelines or consult a professional technician to ensure the appropriate superheat and subcooling levels are achieved during the charging process.
- Check for Proper Refrigerant Flow: As you add refrigerant, observe the refrigerant flow by checking the sight glass or liquid line. The refrigerant should flow smoothly, without any bubbles or foaming. If you notice any unusual flow, it may indicate a restriction or another issue that needs to be addressed.
- Continue Adding Refrigerant: Add refrigerant in small increments, periodically checking the pressure, superheat, subcooling, and refrigerant flow. Repeat this process until the pressure and parameters are within the recommended range and the desired cooling or heating performance is achieved.
During the refrigerant charging process, it’s important to add the appropriate amount of refrigerant based on the manufacturer’s specifications. Overcharging or undercharging the system can lead to inefficiency and potential damage to the HVAC system.
Remember to follow all safety precautions when handling refrigerant and be aware of any local regulations or restrictions regarding the charging and handling of refrigerants. If you are uncertain or uncomfortable with the process, it’s best to consult a licensed HVAC technician to ensure the correct refrigerant charging procedure.
With the refrigerant added, you’re one step closer to having a properly charged HVAC system. In the next section, we will discuss how to monitor the system’s pressure throughout the charging process.
Monitoring the System’s Pressure
Monitoring the pressure of the HVAC system is a critical step during the charging process. Proper pressure levels ensure that the system is functioning optimally and that the refrigerant charge is correct. Here’s how to effectively monitor the system’s pressure:
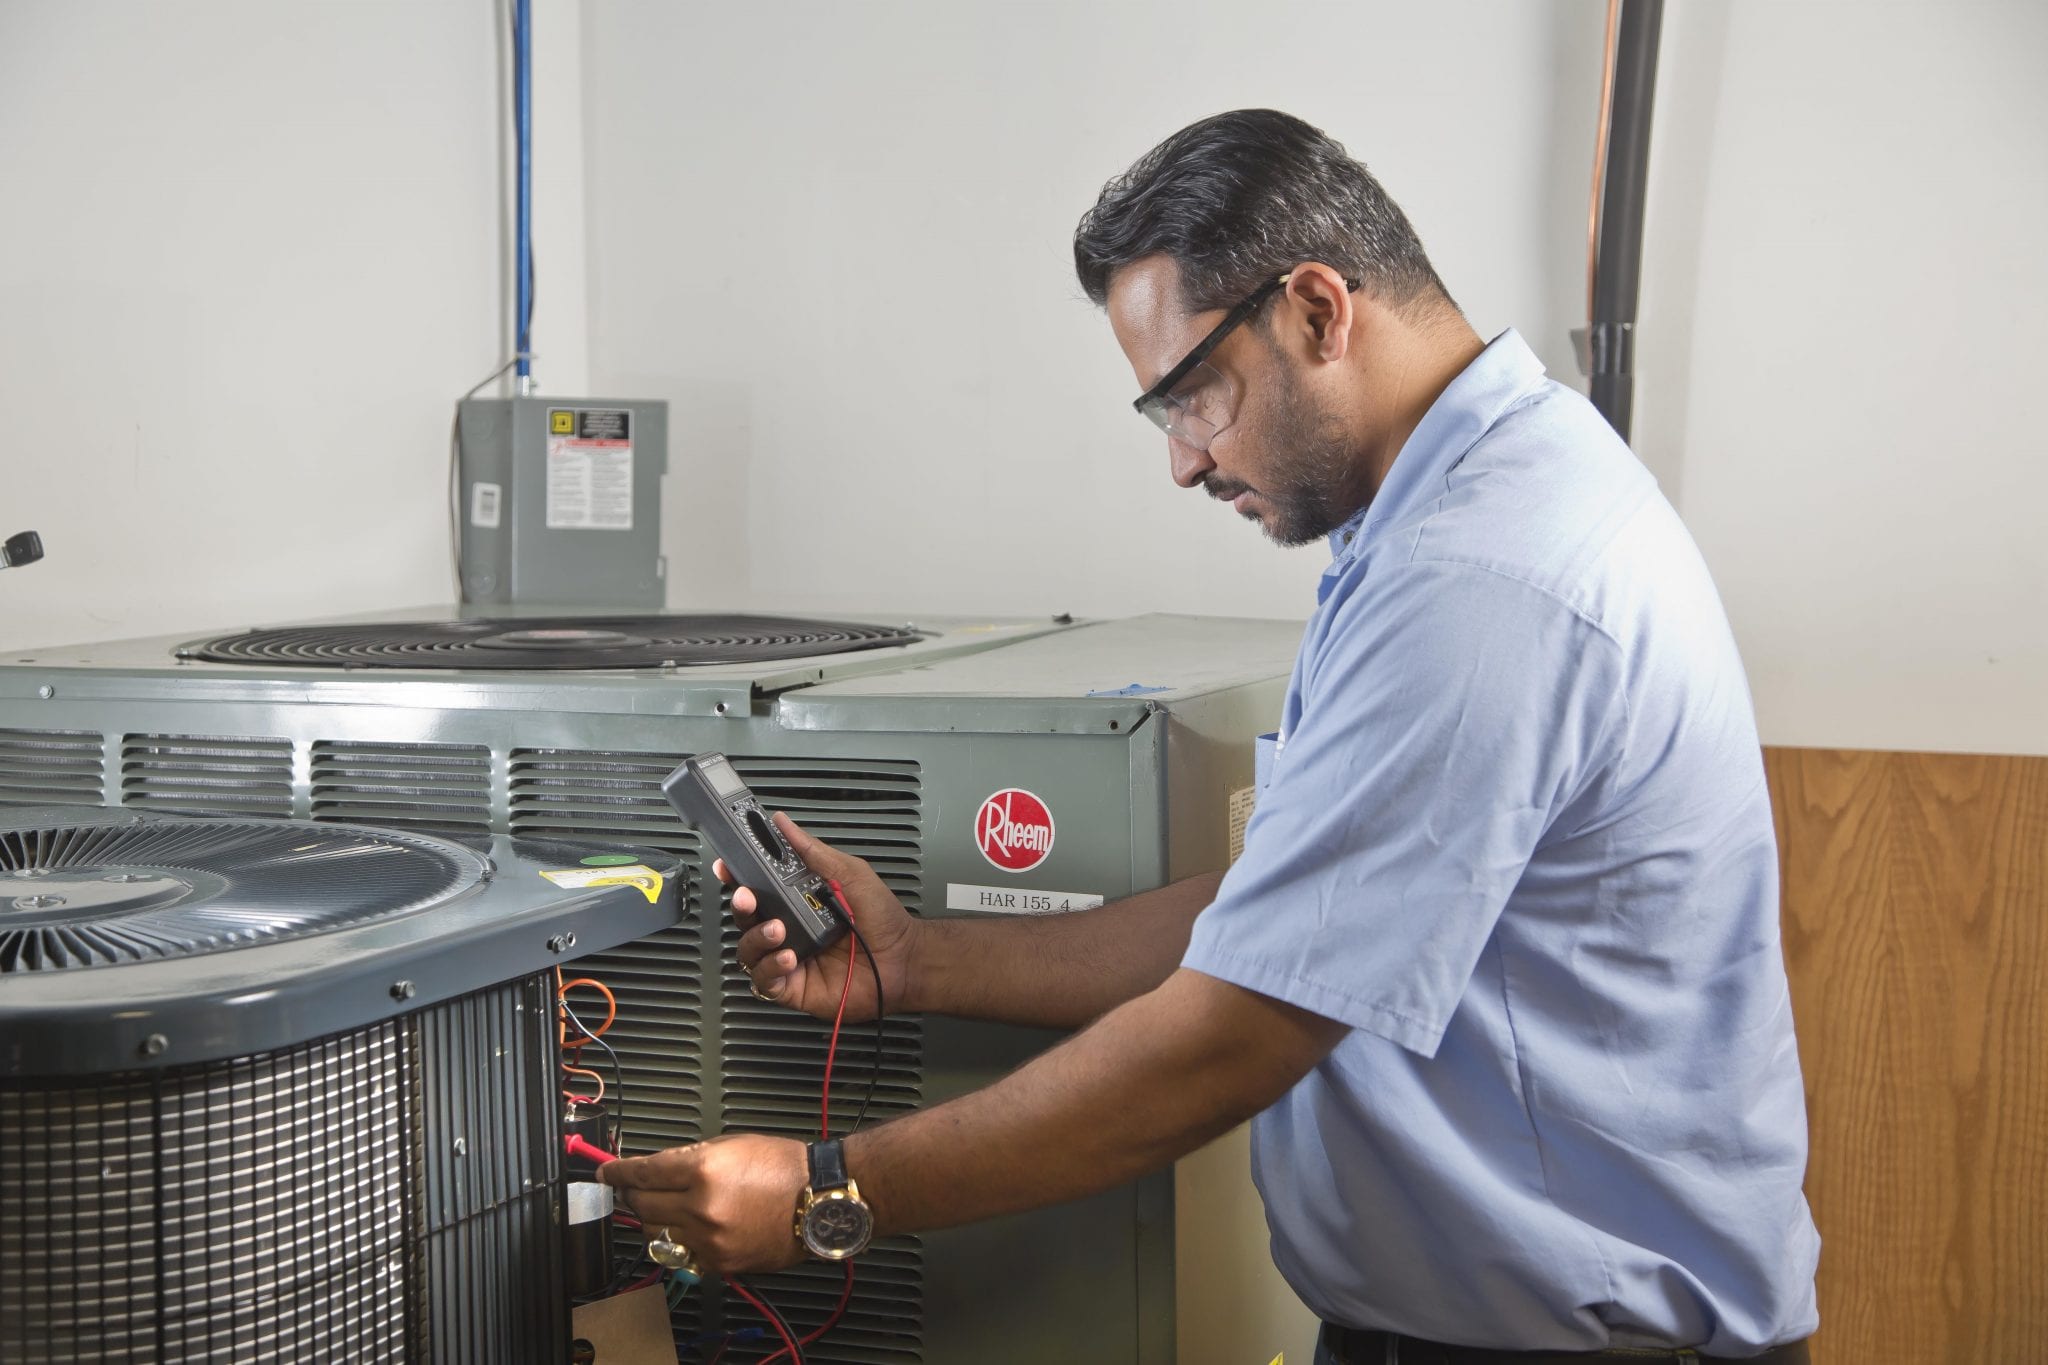
- Use the Gauges: Refer to the gauges connected to the HVAC system’s service ports. The high-pressure gauge measures the pressure on the high-pressure side of the system, typically in the condenser. The low-pressure gauge measures the pressure on the low-pressure side, usually at the evaporator.
- Compare with Manufacturer’s Specifications: Check the specifications provided by the HVAC system manufacturer or consult a professional technician to determine the recommended pressure range for your specific system. Keeping the pressure within this range is crucial for proper functioning and efficiency.
- Observe Pressure Changes: As you add refrigerant, monitor the pressure gauges for any changes. The pressure may increase on the high-pressure side and decrease on the low-pressure side as the system receives the proper refrigerant charge. However, significant and unexpected pressure fluctuations may indicate a problem that needs to be addressed.
- Slow and Steady Increase: Avoid rapid pressure increases in the system. Adding refrigerant slowly allows the system to adjust and prevents overcharging. Slow and steady pressure increases ensure a more accurate and controlled charging process.
- Check for Stable Pressure: Once the refrigerant has been added and the pressure is within the recommended range, observe the pressure readings to ensure they stabilize. Stable pressure indicates that the system is properly charged and functioning as desired.
- Consider Superheat and Subcooling: In addition to pressure, monitor the superheat and subcooling levels during the charging process. These parameters indicate the amount of heat added or removed from the refrigerant and play a vital role in maintaining system efficiency. Consult the manufacturer’s guidelines or a professional technician to ensure the correct superheat and subcooling levels.
Regularly monitoring the pressure and other relevant parameters of the HVAC system helps ensure that the refrigerant charge is accurate and that the system is functioning optimally. It is important to note that pressures can vary depending on factors such as ambient temperature and system size, so it’s essential to refer to the manufacturer’s specifications for your specific HVAC system.
By effectively monitoring the system’s pressure, you can maximize the performance and efficiency of your HVAC system. In the next section, we will discuss the importance of testing the HVAC system after charging.
Testing the HVAC System
After successfully charging the HVAC system, the next crucial step is to thoroughly test it to ensure that it is operating at its optimal level. This testing phase allows you to evaluate the system’s performance and make any necessary adjustments or repairs. Here’s how to test your HVAC system:
- Power On the System: Turn on the power supply to the HVAC system and allow it to run for a sufficient amount of time to stabilize. This will ensure that the system reaches its normal operating conditions.
- Check for Proper Airflow: Test the airflow throughout the system by placing your hand near the vents or registers. Ensure that there is a consistent and adequate flow of cooled or heated air. If you notice weak or uneven airflow, it may indicate a blockage or ductwork issue that needs to be addressed.
- Check for Proper Temperature: Use a reliable thermostat or temperature gauge to check the temperature of the air coming from the vents. Compare it to the desired temperature setting. The air should be cooling or heating to the desired temperature level, providing a comfortable indoor environment.
- Listen for Unusual Noises: Pay attention to any unusual noises coming from the HVAC system, such as rattling, grinding, or squealing sounds. Unusual noises may indicate a mechanical issue that needs to be addressed, including loose components or malfunctioning parts.
- Observe Energy Consumption: Monitor your energy consumption after charging the HVAC system. A properly charged system should operate efficiently, resulting in reasonable energy usage. If you notice a significant increase in energy bills, it may indicate an ongoing issue that requires further investigation.
- Monitor for Consistent Performance: Run the HVAC system for an extended period to ensure consistent performance. Check that it maintains the desired temperature setting without any fluctuations or issues. Consistent and reliable performance is a sign of a well-charged and properly functioning HVAC system.
If you encounter any issues or inconsistencies during the testing phase, it is recommended to consult a professional HVAC technician. They have the expertise and knowledge to diagnose and resolve any underlying problems with the system. Prompt attention to any issues will help prevent further damage and ensure long-term efficiency and reliability of your HVAC system.
By conducting thorough testing, you can confidently verify that your HVAC system is functioning optimally after the charging process. Regular maintenance and periodic testing will help keep your system in top shape and ensure a comfortable indoor environment for years to come.
Read more: How To Design An HVAC System
Conclusion
Charging an HVAC system is a critical process that helps maintain optimal performance, efficiency, and comfort in your home or commercial space. By following the steps outlined in this comprehensive guide, you can successfully charge your HVAC system and enjoy the benefits of a properly functioning heating and cooling system.
We began by providing an understanding of the HVAC system, its components, and how they work together to regulate temperature and airflow. We then covered the importance of checking for potential issues, such as inadequate cooling or heating, refrigerant leaks, or frozen evaporator coils.
Acquiring the necessary tools and materials is crucial before starting the charging process. This ensures that you have everything you need to safely and effectively add refrigerant to the system. We emphasized the importance of proper preparation, including cleaning the system, inspecting and replacing filters, and checking for leaks.
Next, we discussed how to connect the charging equipment, ensuring a secure connection between the refrigerant canister, charging hose, and the HVAC system. We highlighted the necessity of properly purging air from the system and using gauges to monitor the pressure throughout the charging process.
Adding refrigerant to the system requires careful monitoring of pressure, observing refrigerant flow, and ensuring stable pressure levels within the manufacturer’s recommended range. We stressed the importance of monitoring superheat and subcooling to maintain optimal efficiency.
Finally, we discussed how to test the HVAC system after charging to evaluate its performance, including checking for proper airflow, temperature, and listening for unusual noises. We emphasized the significance of consistent performance and energy efficiency.
Remember, if you encounter any difficulties or are unsure about the charging process, it is always best to consult with a licensed HVAC technician. They have the expertise and experience to diagnose and resolve any issues, ensuring the proper functioning of your HVAC system.
By properly charging your HVAC system and conducting regular maintenance, you can enjoy a comfortable indoor environment and maximize the lifespan of your system. Take proper care of your HVAC system, and it will continue to keep you cool in the summer and warm in the winter for years to come.
Frequently Asked Questions about How To Charge An HVAC System
Was this page helpful?
At Storables.com, we guarantee accurate and reliable information. Our content, validated by Expert Board Contributors, is crafted following stringent Editorial Policies. We're committed to providing you with well-researched, expert-backed insights for all your informational needs.


0 thoughts on “How To Charge An HVAC System”