Articles
How To Clean Coils On HVAC Unit
Modified: February 27, 2024
Learn effective methods to clean coils on your HVAC unit with our informative articles. Keep your system running efficiently and improve air quality.
(Many of the links in this article redirect to a specific reviewed product. Your purchase of these products through affiliate links helps to generate commission for Storables.com, at no extra cost. Learn more)
Introduction
Welcome to our comprehensive guide on how to clean coils on an HVAC (Heating, Ventilation, and Air Conditioning) unit. If you own or manage a property with an HVAC system, you know how vital it is to keep it in good working condition. One essential maintenance task is the regular cleaning of the coils. This not only ensures optimal performance but also prolongs the lifespan of the unit.
Coils play a crucial role in the HVAC system as they help transfer heat between the indoor and outdoor components. Over time, these coils can accumulate dirt, debris, and even mold, which can hinder their efficiency. When the coils are dirty, the HVAC unit has to work harder, leading to increased energy consumption and reduced cooling or heating capacity.
In this guide, we will walk you through the step-by-step process of cleaning coils on an HVAC unit. We will also provide safety precautions, essential tools, and equipment required for the task, as well as tips for proper coil maintenance and common mistakes to avoid.
By following our guidelines and investing a little time and effort into maintaining your HVAC coils, you can ensure that your unit runs smoothly, efficiently, and lasts for years to come. So, let’s get started on taking care of those coils!
Key Takeaways:
- Regularly cleaning HVAC coils improves efficiency, extends lifespan, and saves on energy costs. It also enhances indoor air quality, ensuring a comfortable and healthy environment for occupants.
- Prioritize safety when cleaning coils by turning off power, wearing protective gear, and ensuring proper ventilation. Avoid common mistakes like using harsh chemicals and neglecting regular maintenance for optimal results.
Read more: How To Clean Rv AC Coils
Why Cleaning Coils on HVAC Unit is Important
Cleaning the coils on your HVAC unit is a critical maintenance task that should not be overlooked. Here are some key reasons why it is important:
- Improved Efficiency: Over time, dust, dirt, and debris accumulate on the coils of your HVAC unit. This buildup acts as an insulating layer, inhibiting the transfer of heat. The harder your unit has to work to cool or heat your space, the more energy it consumes. By regularly cleaning the coils, you remove this layer of buildup, allowing for better heat transfer and improved energy efficiency.
- Extended Lifespan: HVAC units are a significant investment, and you want to ensure they last as long as possible. Neglected coils can contribute to the overall wear and tear of your unit. The excessive strain on your HVAC system can lead to premature breakdowns and costly repairs. By cleaning the coils regularly, you reduce the strain on the system, helping to extend its lifespan.
- Better Air Quality: Dirty coils not only affect the efficiency of your HVAC system but can also impact the quality of the air circulating in your space. Dust, allergens, and even mold can accumulate on the coils, which can then be distributed throughout your home or office. Regular coil cleaning helps eliminate these contaminants, leading to cleaner, healthier air for you and your occupants.
- Cost Savings: Cleaning the coils on your HVAC unit is a cost-effective maintenance task. By improving efficiency and reducing strain on the system, you can lower your energy bills and potentially avoid expensive repairs or even unit replacements. Investing the time and effort in regular coil cleaning can lead to significant cost savings in the long run.
Overall, cleaning the coils on your HVAC unit is an essential maintenance step that offers numerous benefits. From improved efficiency and extended lifespan to better air quality and cost savings, taking care of your coils ensures optimal performance and a comfortable indoor environment.
Tools and Equipment Needed for Cleaning Coils
Before you begin cleaning the coils on your HVAC unit, it’s important to gather the necessary tools and equipment. Having the right tools will make the process easier and more effective. Here is a list of items you will need:
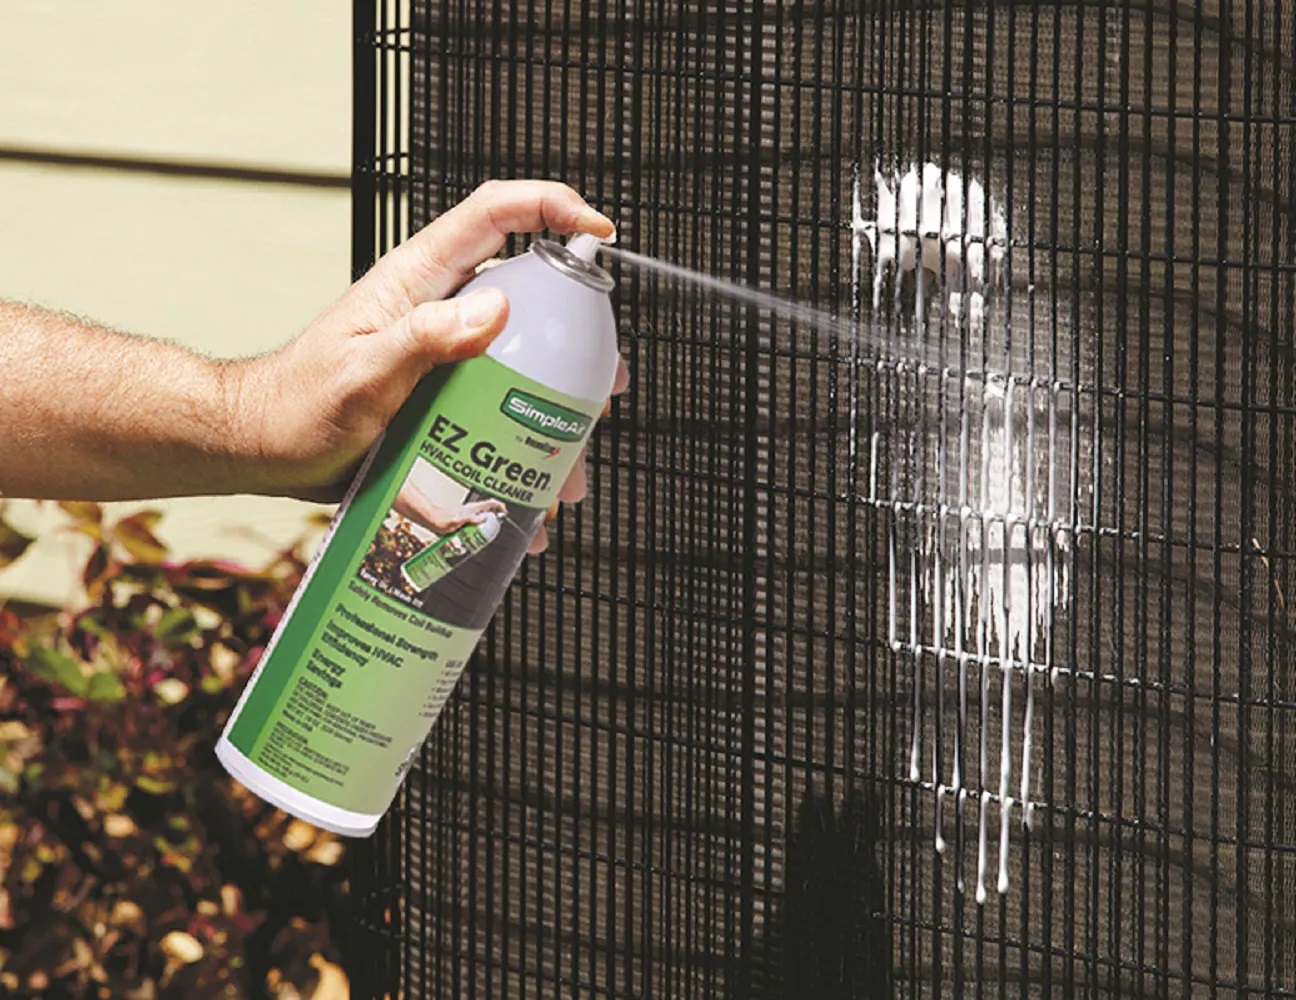
- Coil Cleaner: Start by finding a suitable coil cleaner. Look for a cleaner specifically designed for HVAC coils. These cleaners are formulated to effectively dissolve dirt, grime, and debris without causing any damage to the coils. You can find coil cleaners in spray bottles, foam, or liquid form. Choose one that suits your preferences and the specific needs of your coils.
- Bristle Brush or Coil Brush: A bristle brush or a coil brush is essential for physically removing stubborn debris from the coils. Look for a brush with soft to medium bristles to avoid damaging the fragile fins of the coils. These brushes are designed to reach between the fins and dislodge dirt that may be caught in the tight spaces.
- Fin Comb: A fin comb is a handy tool that helps straighten bent or damaged fins on the coils. The fins are delicate and can easily become bent, which hinders proper airflow. By using a fin comb, you can gently straighten these fins, restoring the optimal functionality of the coils.
- Garden Hose or Pressure Washer: A garden hose or pressure washer will be used for rinsing off the coils after applying the coil cleaner. Make sure you have access to a water source and a hose long enough to reach the coils. If using a pressure washer, be cautious not to use excessive pressure, as it can damage the fins.
- Protective Gear: It’s important to protect yourself during the coil cleaning process. Wear gloves, goggles, and a face mask to prevent the coil cleaner or debris from coming into contact with your skin, eyes, or respiratory system. This protective gear will ensure your safety and prevent any potential health hazards.
- Step Stool or Ladder: Depending on the location of your HVAC unit, you may need a step stool or ladder to access the coils. Make sure the stool or ladder is stable and secure before climbing on it to prevent accidents or injuries.
With these tools and equipment readily available, you are now prepared to start cleaning the coils on your HVAC unit. Remember to always follow manufacturer instructions and safety guidelines when using any cleaning products or tools.
Safety Precautions before Cleaning Coils
Before you begin cleaning the coils on your HVAC unit, it is essential to prioritize safety. Taking proper precautions will protect both you and your HVAC system from potential harm. Here are some important safety measures to consider:
- Power Off the Unit: To avoid any electrical accidents or damage to the HVAC system, ensure that the power to the unit is turned off before you start cleaning the coils. Locate the breaker box and turn off the circuit that supplies power to the unit. This step will minimize the risk of electric shock and keep your equipment safe.
- Wear Protective Gear: Protecting yourself is crucial when working with chemicals and cleaning agents. Wear gloves, safety goggles or glasses, and a face mask to shield yourself from any potential contact with the coil cleaner or debris. These safety measures will prevent skin irritation, eye injuries, and inhalation of harmful substances.
- Ensure Proper Ventilation: When applying the coil cleaner, make sure the area where you are working is well-ventilated. Open windows or doors to allow fresh air to circulate and prevent the buildup of fumes. If you are working in a confined space, consider using fans or wearing a respirator to ensure a safe breathing environment.
- Check for Gas Leaks: If your HVAC system includes a gas furnace, it is crucial to check for gas leaks before starting the cleaning process. Sniff for any unusual odors, such as a rotten egg smell, which may indicate a gas leak. If you suspect a leak, evacuate the area immediately and contact a professional for assistance.
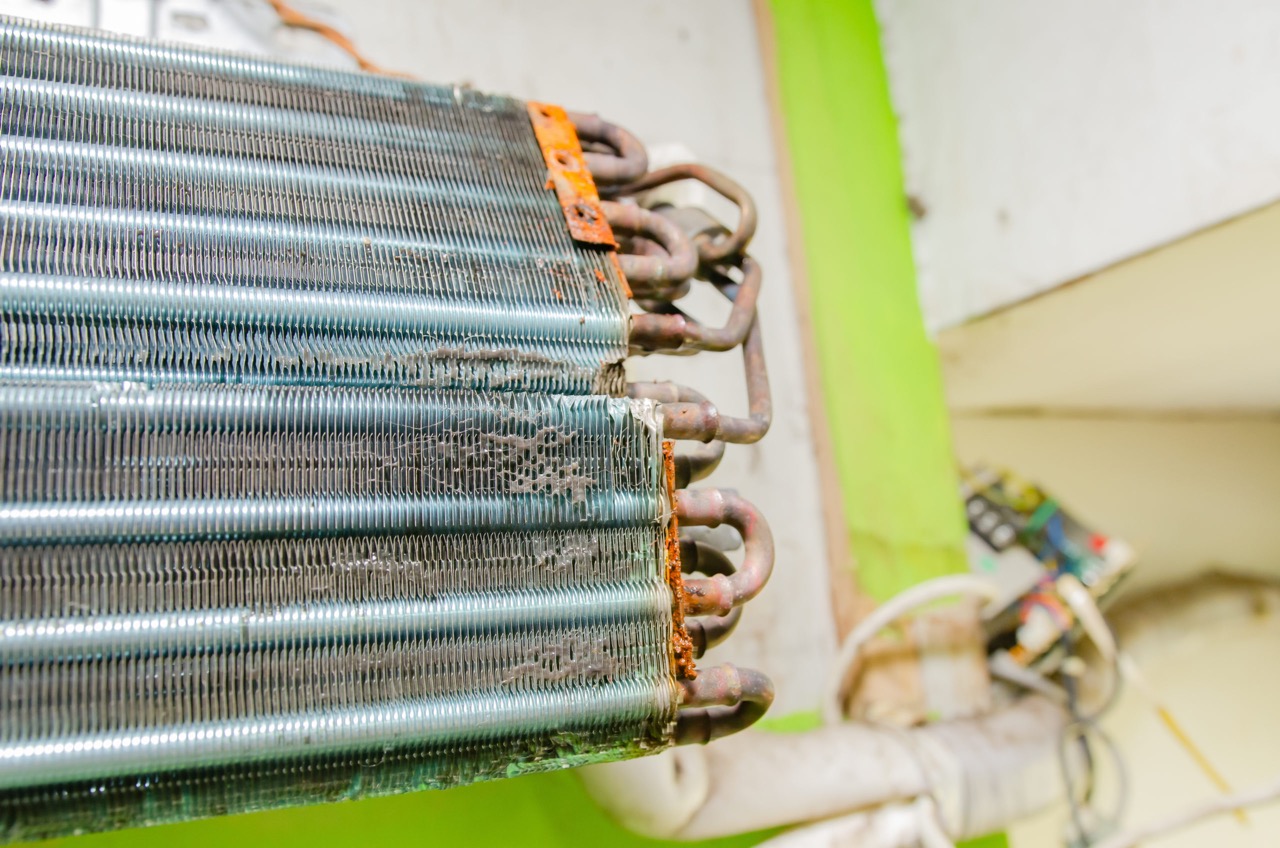
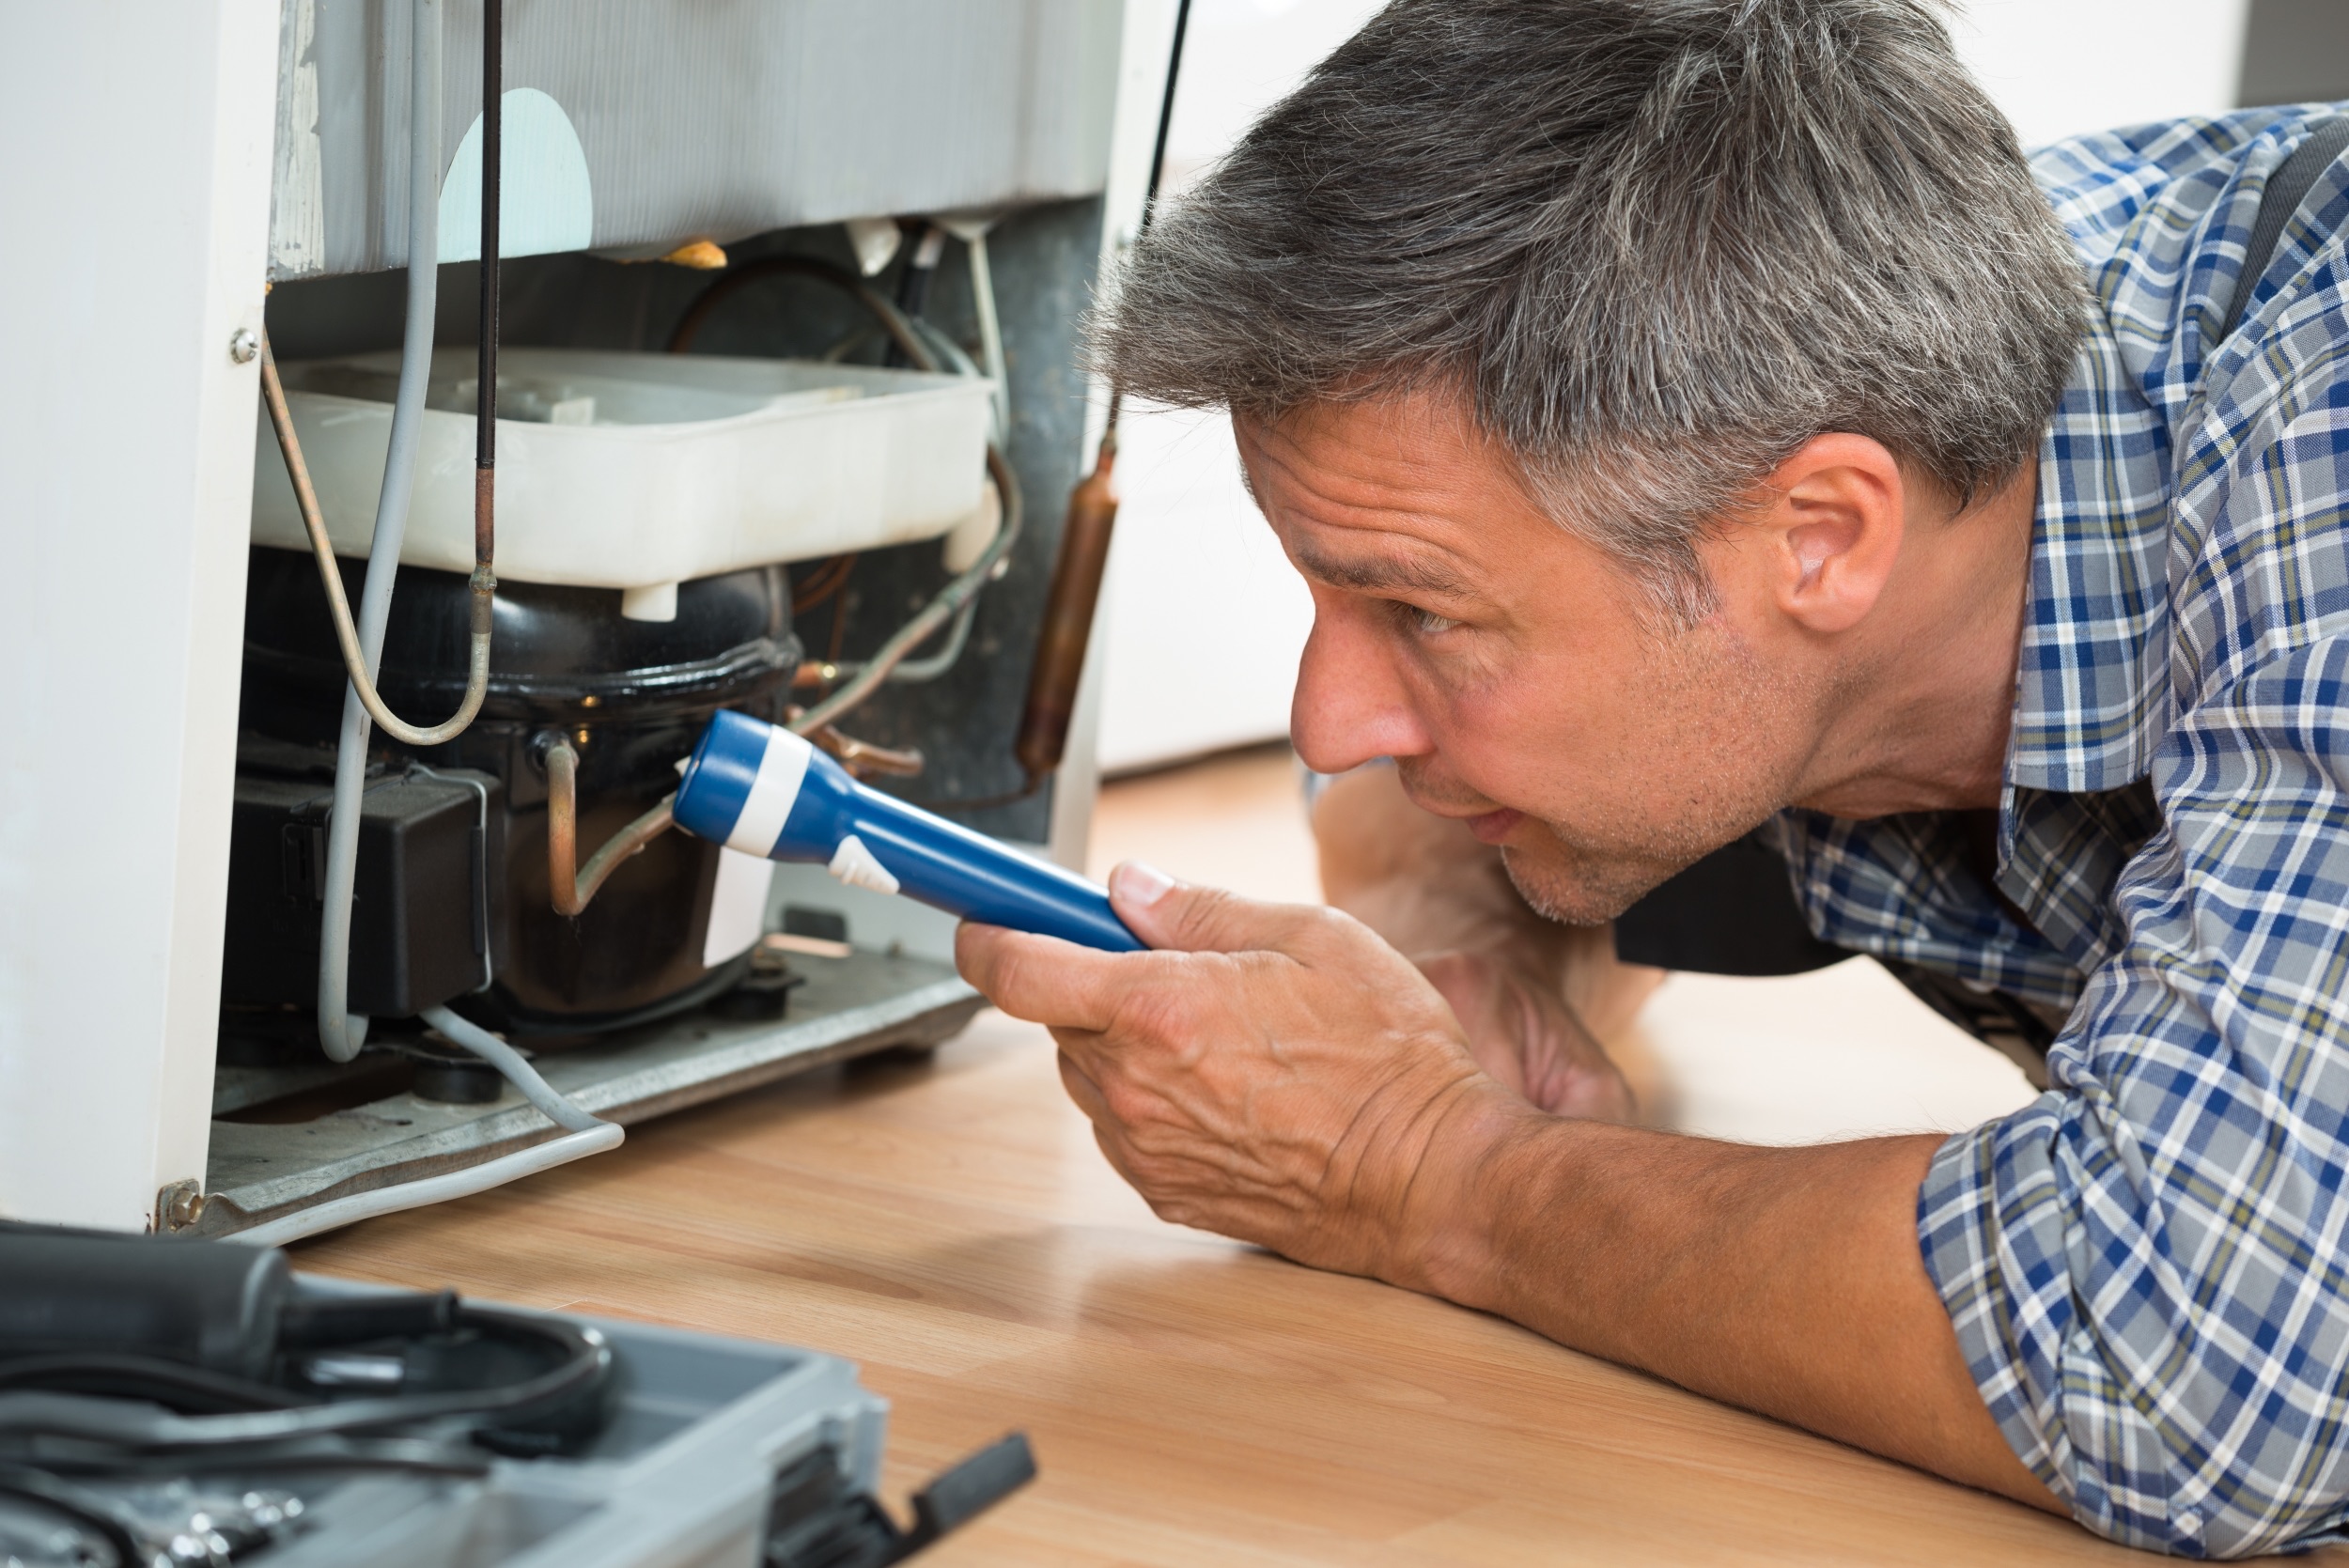
- Inspect the Coils: Before cleaning the coils, visually inspect them for any signs of damage or wear. Look for bent fins, leaks, or excessive corrosion. If you notice any major issues, it’s best to consult a professional HVAC technician who can assess the situation and provide the necessary repairs before proceeding with the cleaning.
- Use Caution on Rooftop Units: If your HVAC unit is located on the roof, exercise extreme caution when accessing it. Ensure that you have a stable and secure ladder or platform for climbing. Watch out for slippery surfaces, loose roof tiles, and potential hazards. If you are not comfortable working at heights, it is advisable to hire a professional for the coil cleaning.
By following these safety precautions, you can minimize risks and ensure a safe environment while cleaning the coils on your HVAC unit. Do not underestimate the importance of safety, and if you encounter any unexpected issues or are unsure about the cleaning process, seek assistance from a qualified HVAC professional.
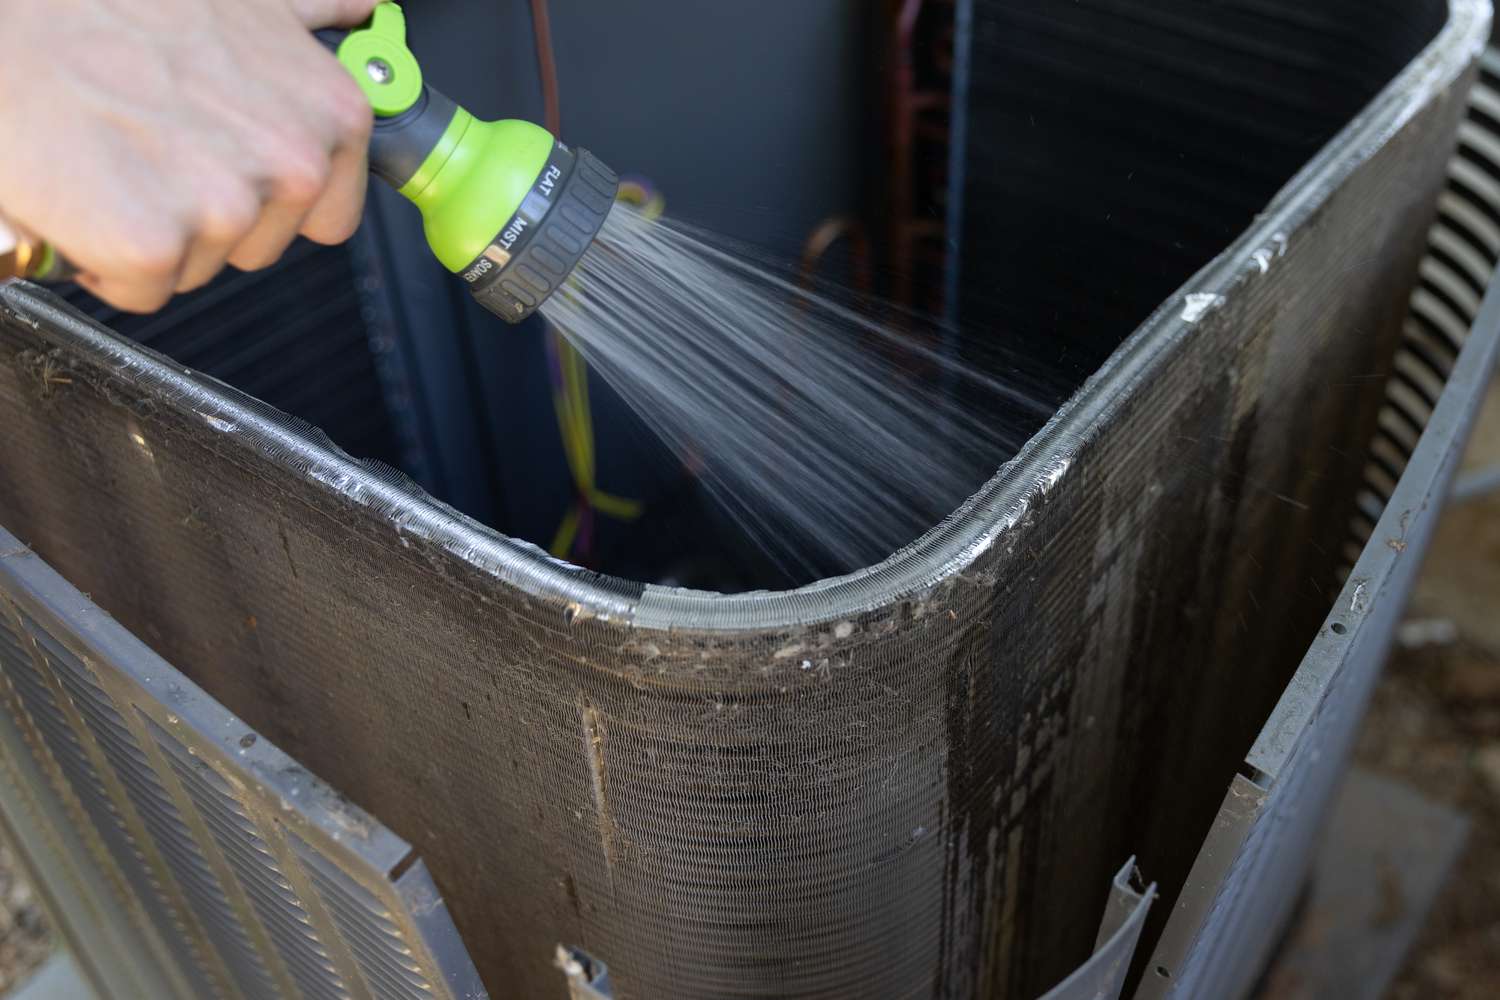
Regularly clean your HVAC unit’s coils to maintain efficiency. Use a soft brush to remove debris and then spray with a coil cleaner. Rinse thoroughly and allow to dry before restarting the unit.
Step-by-Step Guide to Cleaning Coils on HVAC Unit
Cleaning the coils on your HVAC unit is a relatively straightforward process that can be accomplished with the right tools and a systematic approach. Follow this step-by-step guide to effectively clean the coils and ensure your HVAC system operates at its best:
- Turn Off the Power: Begin by turning off the power to your HVAC unit. Locate the breaker that controls the unit and switch it off to prevent accidents or damage during the cleaning process.
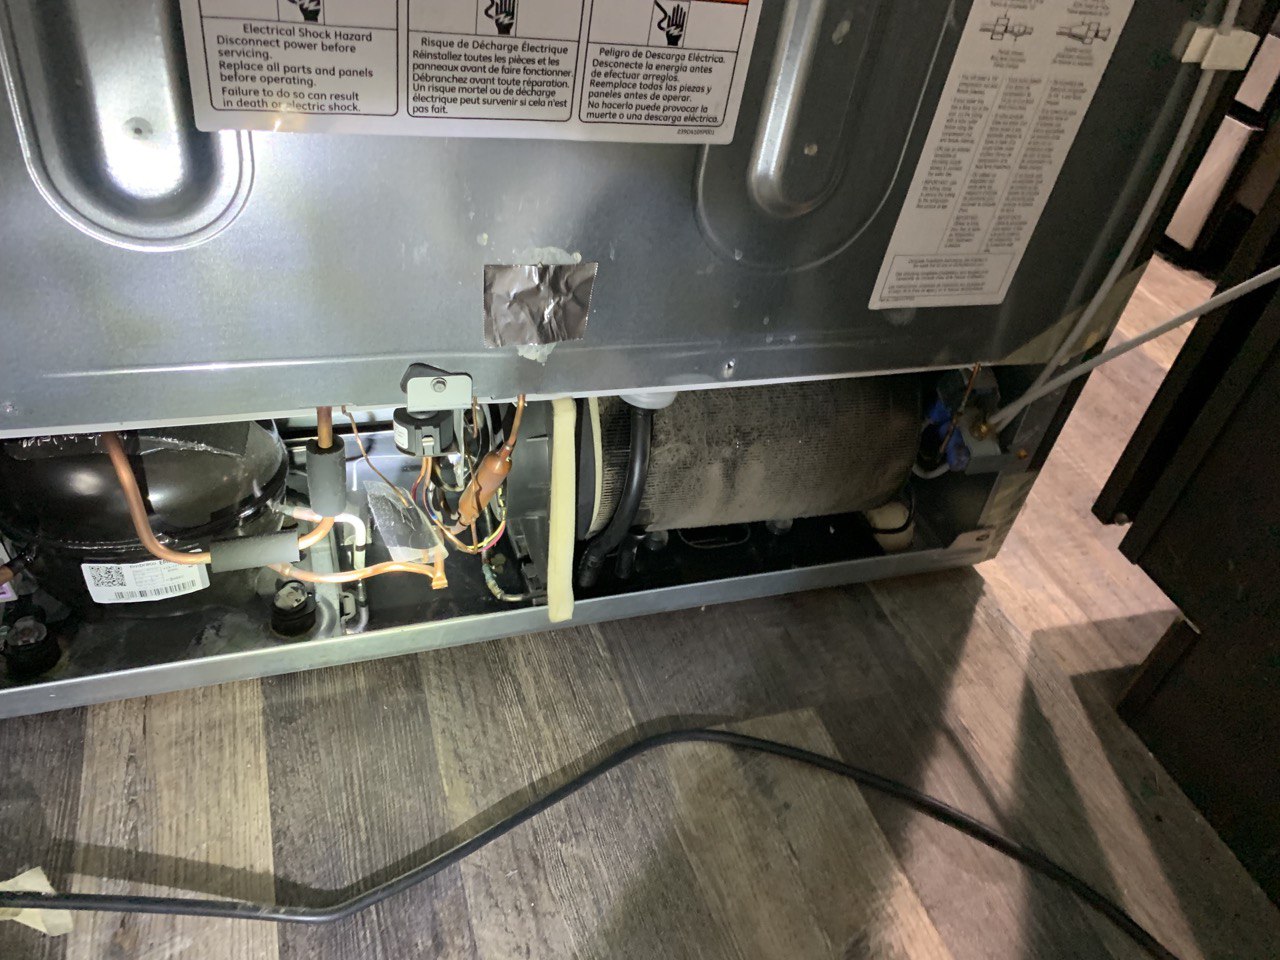
- Access the Coils: Depending on the type of HVAC unit you have, you may need to remove a panel or access cover to reach the coils. Carefully remove the necessary parts, following the manufacturer’s instructions, to expose the coils.
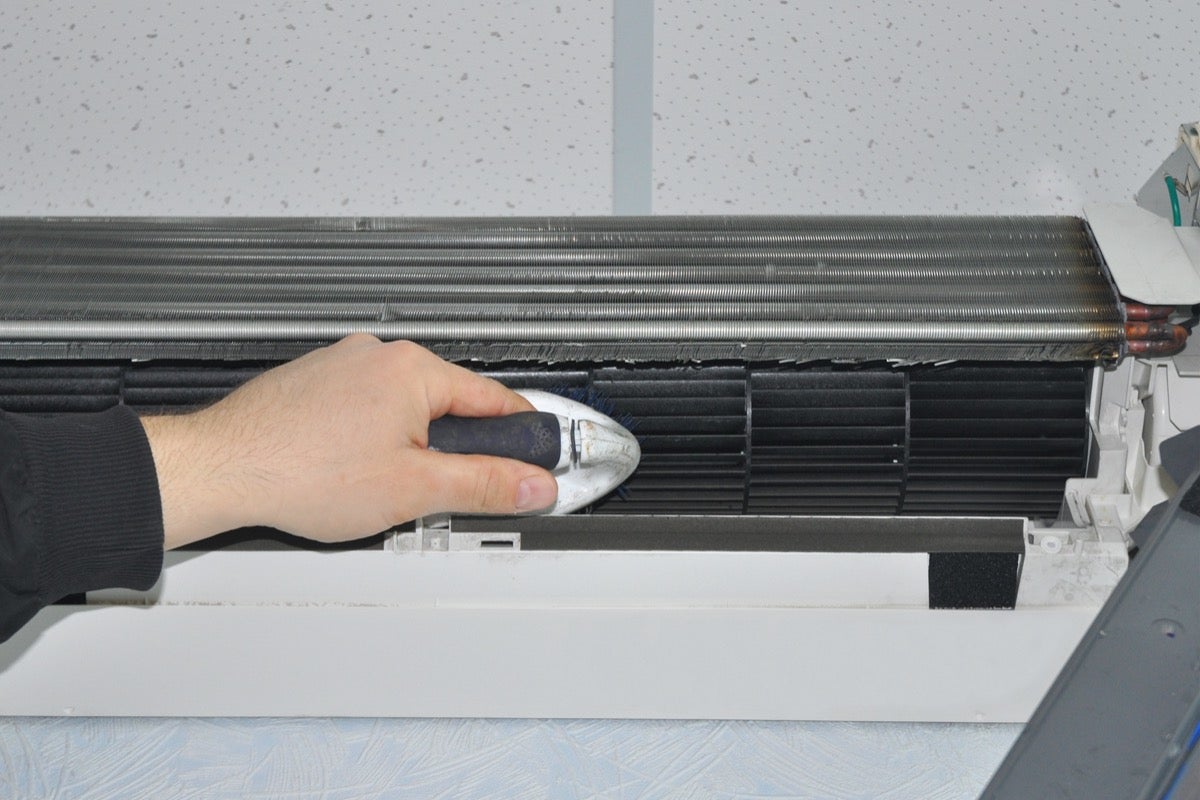
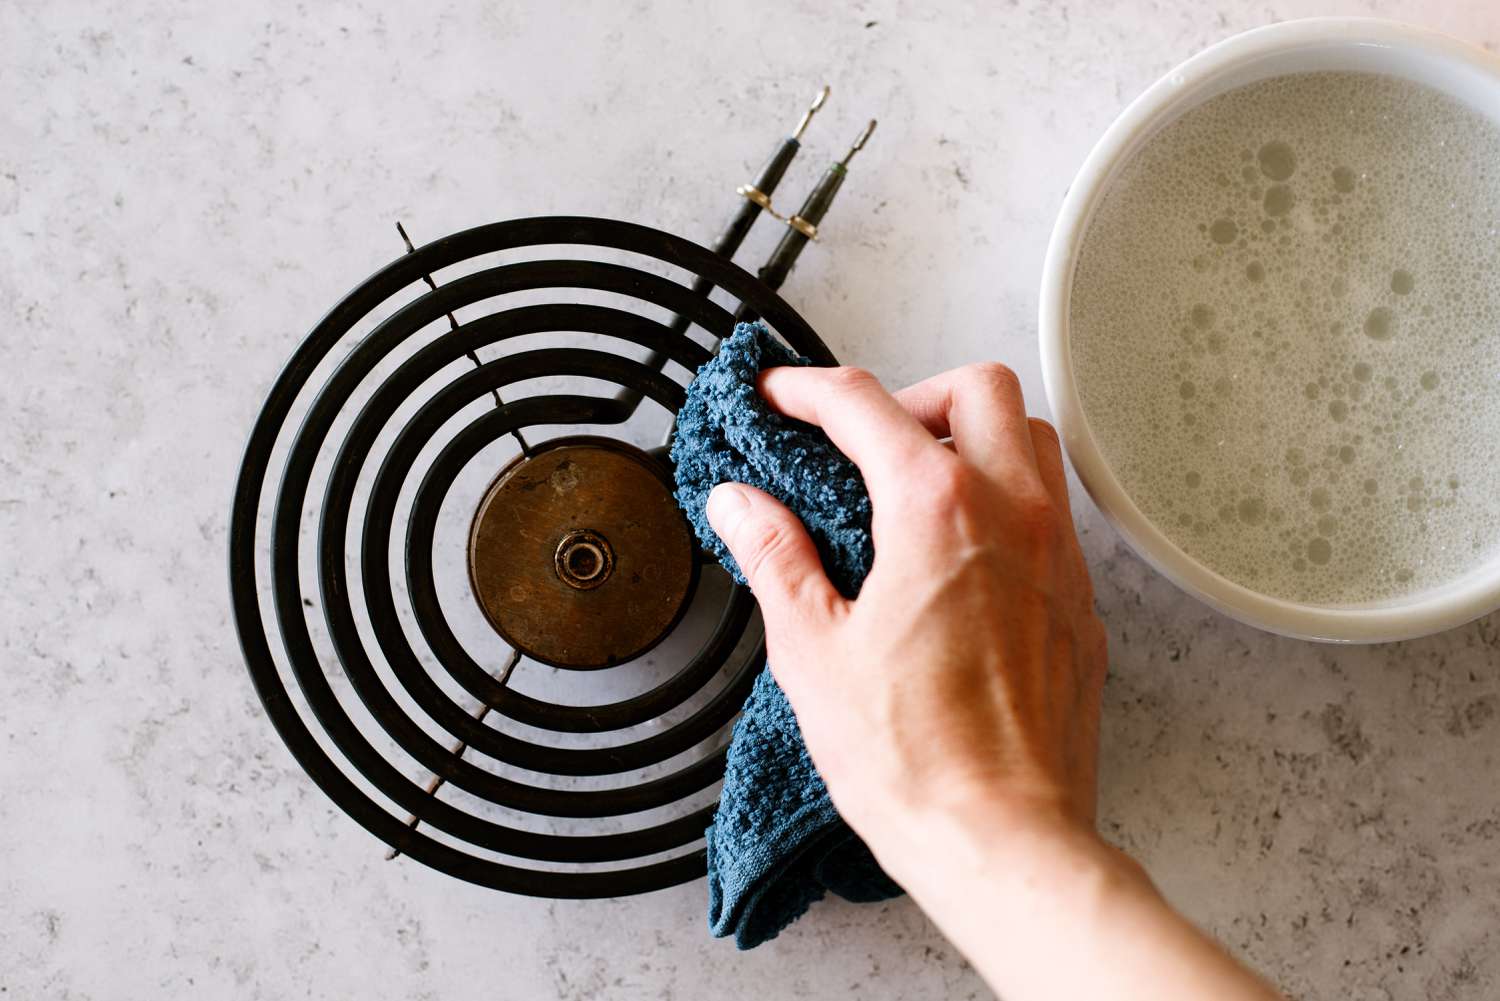
- Remove Loose Debris: Using a soft bristle brush or coil brush, gently remove any loose dust, debris, or vegetation that has accumulated on the coils. Be cautious not to damage the delicate fins while doing so.
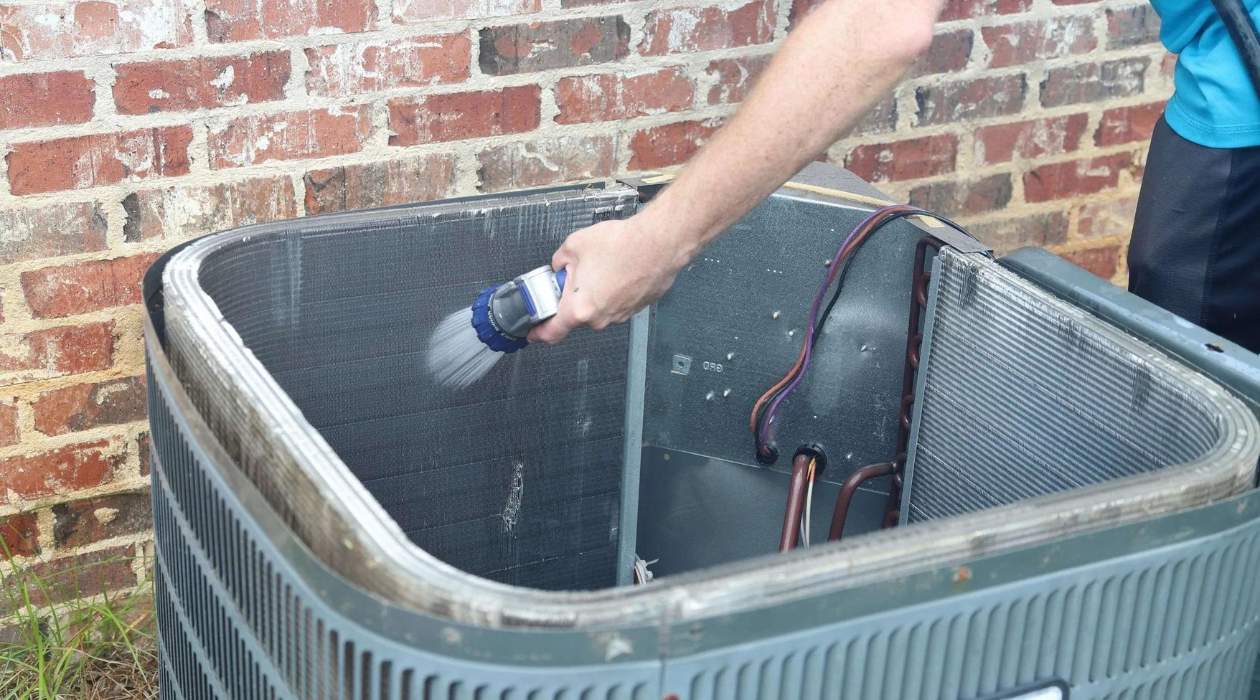
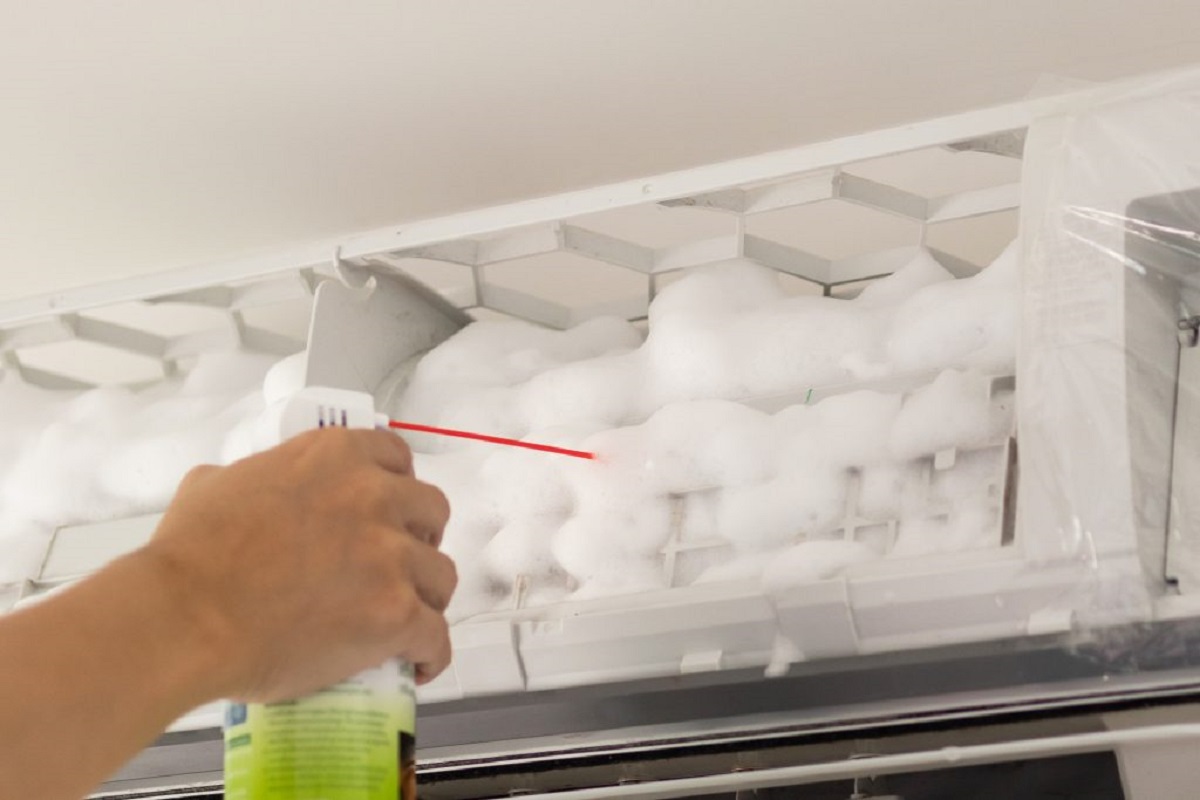
- Apply Coil Cleaner: Following the instructions on the coil cleaner, spray or apply the product evenly onto the coils. Allow the cleaner to sit for the recommended amount of time, typically a few minutes, to allow it to penetrate and loosen any stubborn dirt or grime.
- Scrub the Coils: After the cleaner has had time to work, use a brush to scrub the coils gently. Start at the top and work your way down, ensuring that you cover all areas of the coils. Focus on any particularly dirty or clogged spots, using a bit more pressure if necessary. Avoid using excessive force to prevent damage to the coils.
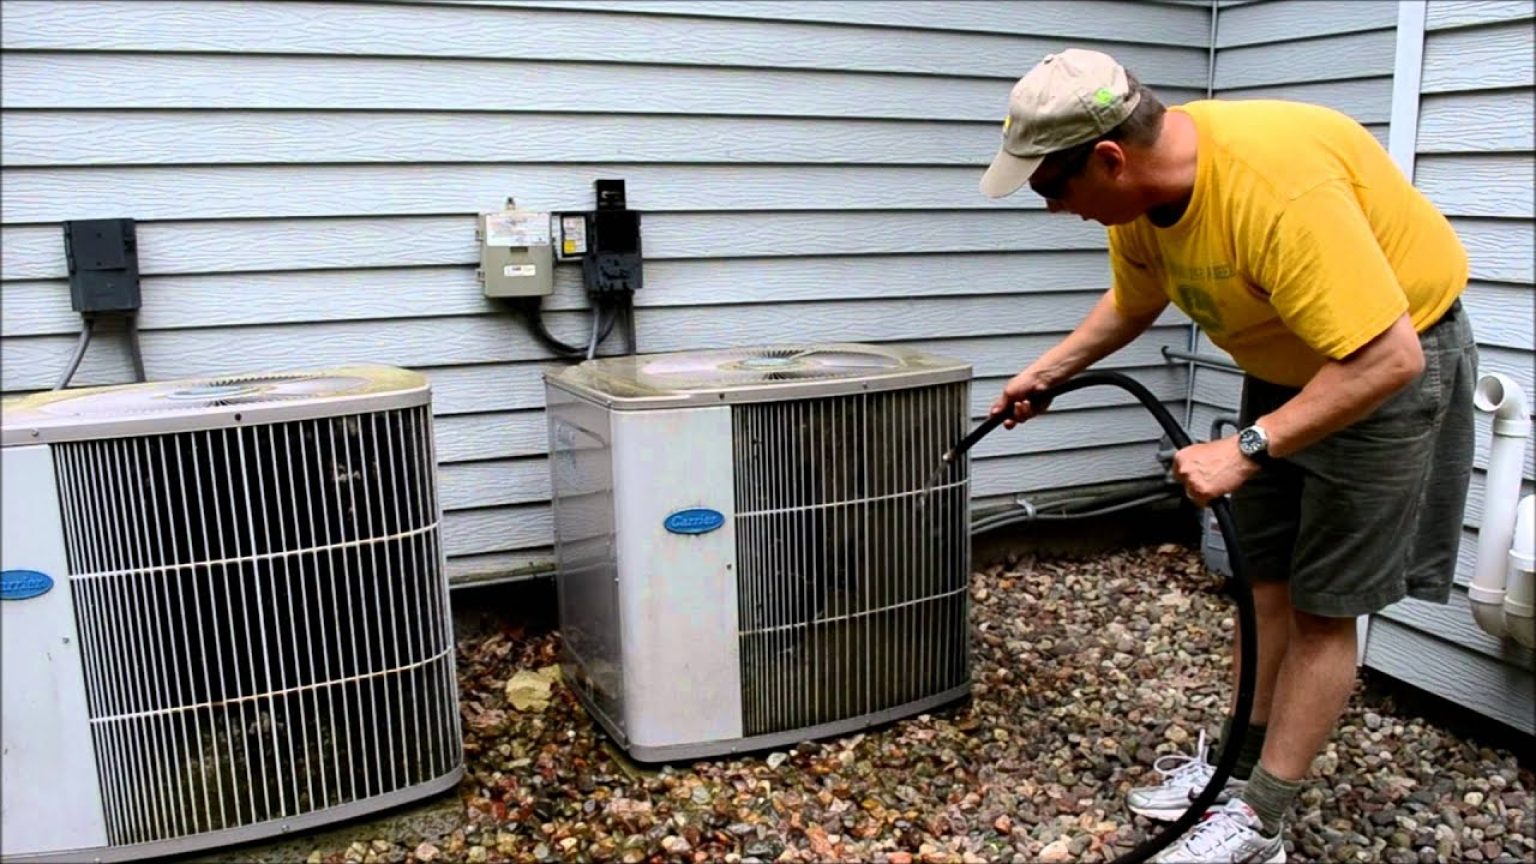
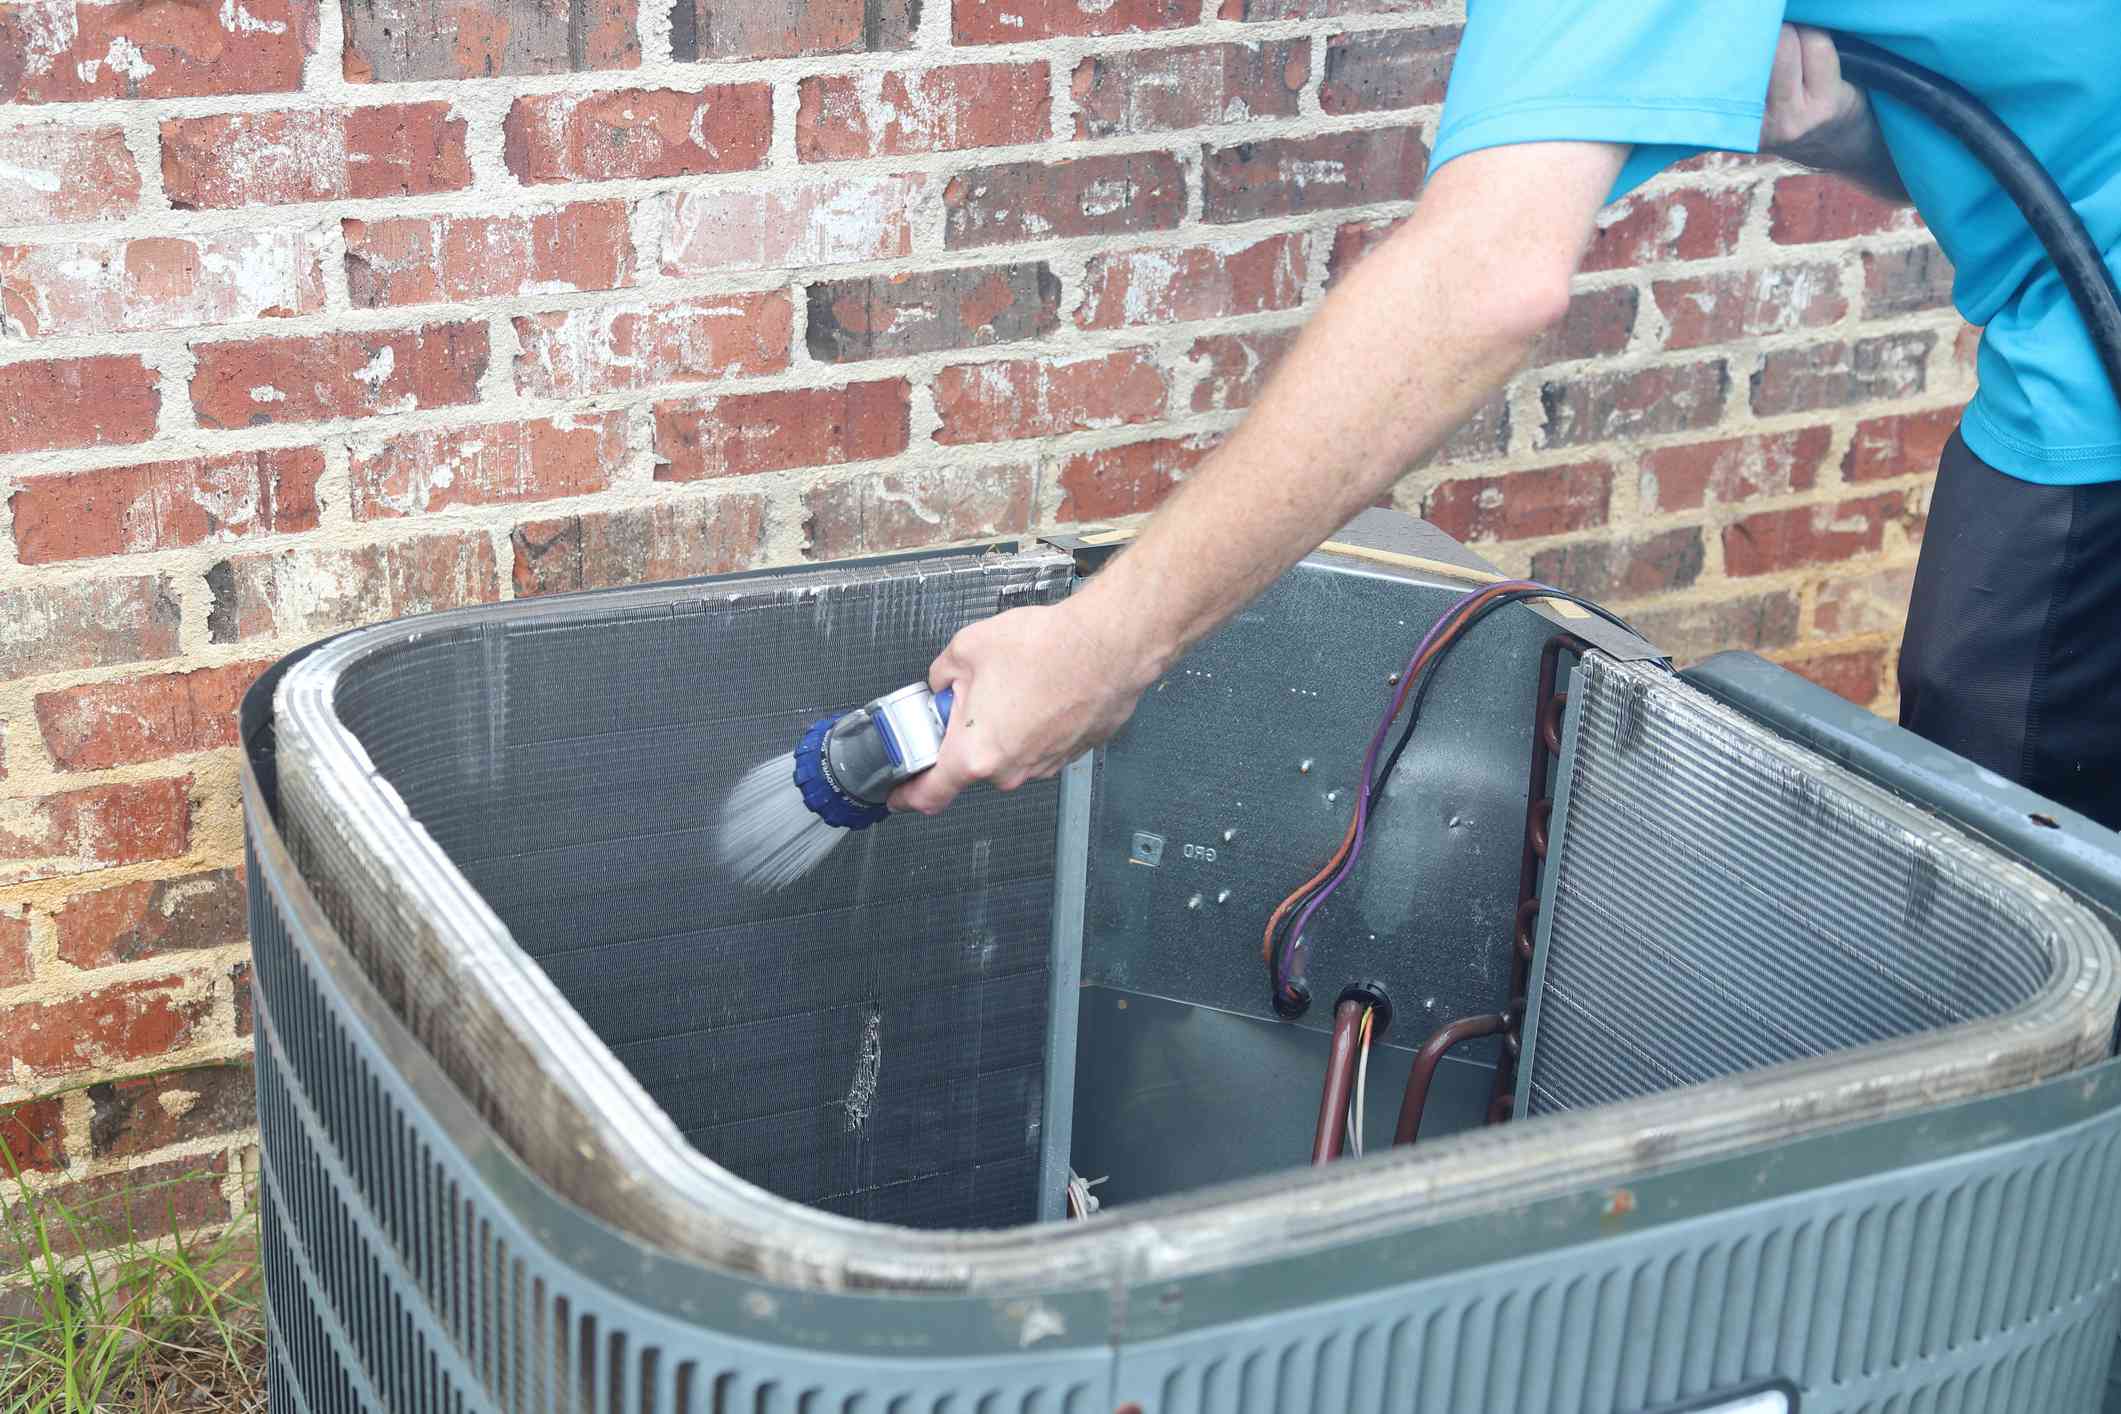
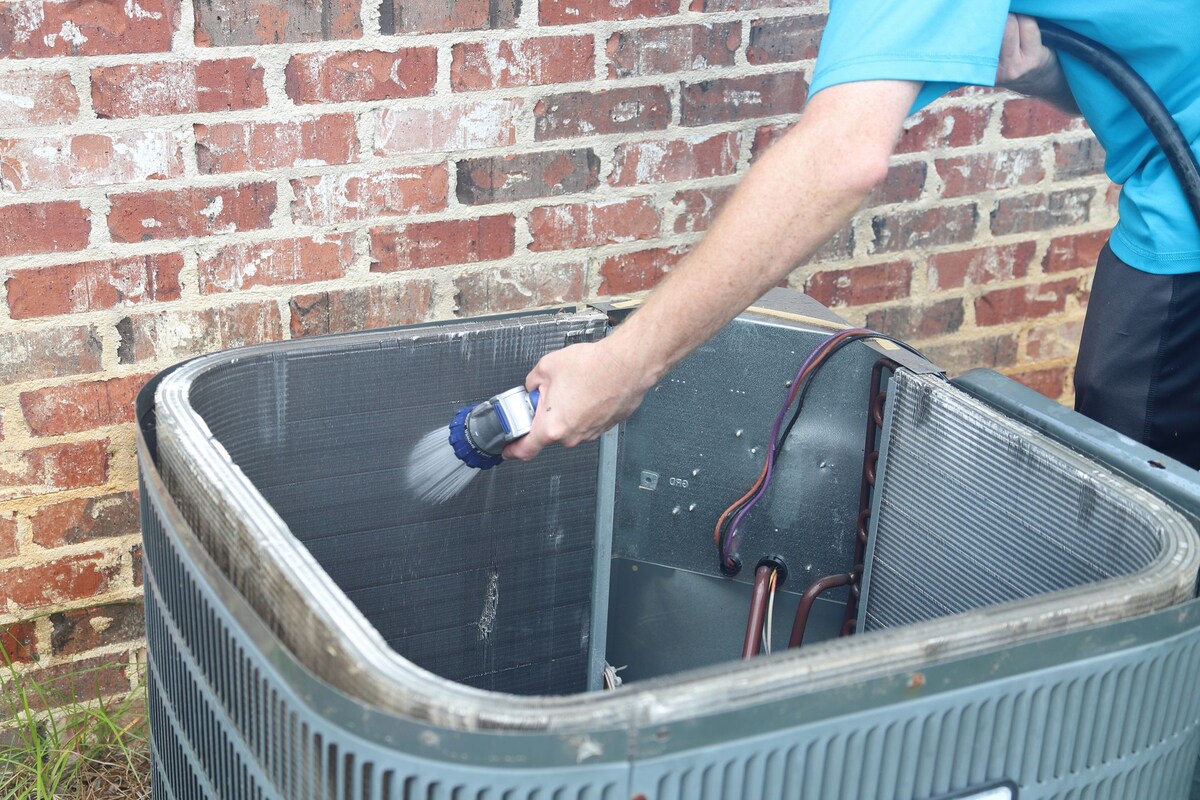
- Rinse the Coils: Once you have thoroughly scrubbed the coils, it’s time to rinse them. Use a garden hose with a sprayer attachment or a pressure washer on a low setting to rinse away the dirt and cleaner residue. Start from the inside and work your way out, ensuring that you remove all traces of debris.
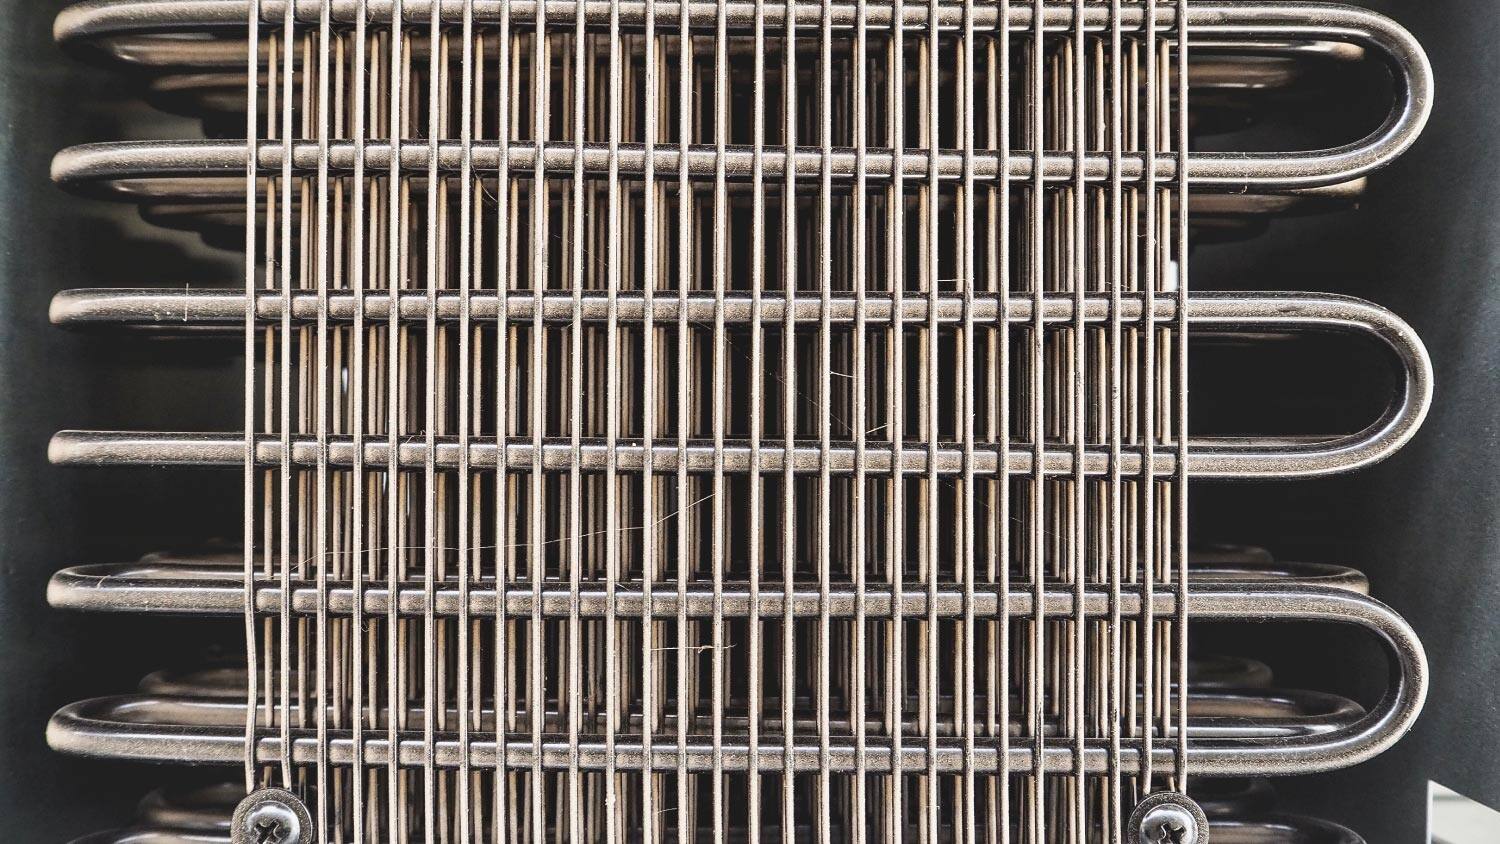
- Straighten Bent Fins: If you notice any bent or damaged fins on the coils, use a fin comb to gently straighten them. Carefully run the fin comb through the fins, starting at the top and working your way down. This will help restore proper airflow and maintain the efficiency of the coils.
- Allow Drying Time: After rinsing the coils, allow them sufficient time to dry completely before reassembling the unit. It’s essential to ensure that no moisture is left behind, as it can lead to mold growth or damage to the HVAC system.
- Reassemble and Restore Power: Once the coils are thoroughly dry, reassemble any parts or access covers that you removed earlier. Double-check that everything is securely fastened and in its proper place. Finally, restore power to your HVAC unit by turning the breaker back on.
Following these steps regularly, ideally once or twice a year, will help keep your HVAC coils clean and functioning efficiently. Remember to consult your HVAC unit’s manual for any specific instructions or recommendations from the manufacturer.
Read more: How Much To Clean AC Coils
Tips for Proper Maintenance of Coils
Maintaining the coils on your HVAC unit is not a one-time task, but an ongoing responsibility. Regular maintenance will ensure optimal performance, energy efficiency, and a longer lifespan for your system. Here are some essential tips for proper coil maintenance:
- Regular Cleaning: Make a habit of cleaning the coils at least once or twice a year, depending on the environment and usage of your HVAC system. Regular cleaning prevents dirt and debris buildup, ensuring efficient heat transfer and airflow.
- Monitor Air Filters: Check and replace air filters regularly, following the manufacturer’s guidelines. Clogged or dirty filters restrict airflow, leading to increased strain on the coils and decreased efficiency. Clean filters will help maintain clean coils.
- Clear Surrounding Area: Keep the area surrounding your HVAC unit clear of any clutter, vegetation, leaves, or debris. Make sure there is enough space around the unit to allow for proper airflow and efficient operation of the coils.
- Inspect for Damage: Periodically inspect the coils for any signs of damage, such as bends, leaks, or corrosion. Promptly address any issues you detect, as damaged coils can impact the performance of your HVAC system. Consult a professional if you are unsure about repairs or need assistance.
- Prevent Blockage: Avoid blocking the air intake or exhaust vents of your HVAC unit. Keep furniture, curtains, or other objects away from the vents to ensure proper circulation of air and prevent hindrance to the coils.
- Monitor Indoor Humidity: High humidity levels can lead to moisture accumulation on the coils, increasing the likelihood of mold growth. Use a dehumidifier if needed to maintain appropriate indoor humidity levels and prevent moisture-related issues.
- Schedule Professional Maintenance: While regular DIY cleaning is essential, it’s also advisable to schedule professional maintenance for your HVAC system. Professional technicians can perform comprehensive inspections, identify any underlying issues, and provide specialized cleaning and maintenance to ensure optimal performance.
- Keep Records: Maintain a record of your HVAC maintenance activities, including coil cleaning, filter replacements, and professional inspections. This record will help you stay on track with maintenance schedules and provide valuable information for future reference and troubleshooting.
By following these tips, you can keep your HVAC coils in excellent condition and maximize the efficiency and longevity of your system. Regular maintenance and attention to detail will pay off in the form of reliable performance, energy savings, and a comfortable indoor environment.
Common Mistakes to Avoid when Cleaning Coils
Cleaning the coils on your HVAC unit is a crucial maintenance task, but it’s important to approach it with care and avoid common mistakes that can potentially damage the coils or hinder the effectiveness of the cleaning process. Here are some common mistakes to avoid:
- Using Harsh Chemicals: Avoid using harsh chemicals or cleaners that are not specifically formulated for cleaning HVAC coils. These chemicals can cause damage to the coils and fins, leading to decreased performance and even system failure. Stick to coil cleaner solutions recommended by the manufacturer or HVAC professionals.
- Using Excessive Water Pressure: While it may be tempting to use a high-pressure wash to clean the coils, be cautious. Excessive water pressure can bend or damage the delicate fins, compromising their functionality. Use gentle water pressure when rinsing the coils to avoid any bending or distortion.
- Neglecting Safety Precautions: Safety should always be a top priority when working with HVAC units. Avoid neglecting safety precautions such as turning off the power, wearing protective gear, and ensuring proper ventilation during the cleaning process. Ignoring safety measures can put you at risk of electric shock, injury, or exposure to harmful chemicals.
- Skipping Regular Maintenance: Cleaning the coils is just one aspect of proper HVAC maintenance. Neglecting other maintenance tasks such as filter replacement, inspection of the blower motor, and lubrication of moving parts can affect the overall performance and efficiency of your system. Follow a comprehensive maintenance schedule to ensure optimal system functioning.
- Using Improper Cleaning Techniques: Improper cleaning techniques can cause damage to the delicate coil fins. Avoid using excessive force or sharp objects that can bend or break the fins. Use a soft-bristle brush or coil brush to gently remove dirt and debris, and be mindful of the pressure applied during the cleaning process.
- Not Allowing Proper Drying Time: After rinsing the coils, it’s essential to allow sufficient drying time before reassembling the unit. Leaving moisture on the coils can lead to mold growth or damage to components. Ensure the coils are completely dry before proceeding with reassembly.
- Ignoring Professional Assistance: While regular DIY cleaning is important, there may be times when professional assistance is necessary. If you are unsure about the cleaning process, detect major issues with the coils, or need specialized maintenance, it’s best to consult a professional HVAC technician. They have the knowledge and expertise to perform thorough cleanings and address any underlying issues.
- Not Documenting Maintenance Activities: Keep a record of your HVAC maintenance activities, including coil cleanings, filter replacements, and professional inspections. This documentation will help you stay organized, track maintenance schedules, and provide valuable information for future reference and troubleshooting.
By avoiding these common mistakes and following proper cleaning procedures and maintenance guidelines, you can effectively clean your HVAC coils and ensure optimal performance and longevity of your system.
Conclusion
Proper maintenance of the coils on your HVAC unit is essential for optimal performance, energy efficiency, and a longer lifespan of the system. Regularly cleaning the coils helps remove dirt, debris, and buildup that can hinder airflow and heat transfer, ensuring that your HVAC system operates at its best.
Throughout this comprehensive guide, we have provided you with valuable information on why cleaning coils is important, the tools and equipment needed for the task, safety precautions to follow, a step-by-step cleaning guide, tips for proper maintenance, and common mistakes to avoid. By following these guidelines, you can confidently maintain your coils and keep your HVAC system running smoothly.
Remember, regular maintenance extends beyond just cleaning the coils. It involves monitoring air filters, clearing the surrounding area, inspecting for damage, and scheduling professional maintenance when necessary. Maintaining a consistent maintenance schedule and addressing issues promptly will help ensure optimal performance and longevity of your HVAC system.
By dedicating time and effort to properly maintain your coils, you can enjoy benefits such as improved efficiency, cost savings, enhanced indoor air quality, and a system that lasts for years to come. So, don’t neglect this crucial maintenance task, and make it a priority in your overall HVAC system care.
Keep in mind that if you are unsure about any aspect of cleaning or maintaining your coils, it is always best to seek assistance from a qualified HVAC professional. They can provide guidance, perform specialized cleanings, and address any underlying issues to ensure the optimal functioning of your HVAC system.
By incorporating regular coil maintenance into your overall HVAC system care routine, you can create a comfortable and healthy indoor environment while enjoying optimal performance and energy efficiency.
Frequently Asked Questions about How To Clean Coils On HVAC Unit
Was this page helpful?
At Storables.com, we guarantee accurate and reliable information. Our content, validated by Expert Board Contributors, is crafted following stringent Editorial Policies. We're committed to providing you with well-researched, expert-backed insights for all your informational needs.


0 thoughts on “How To Clean Coils On HVAC Unit”