Articles
How To Clean A Duster
Modified: December 7, 2023
Learn how to clean articles with our easy step-by-step guide. Keep your duster fresh and effective with these simple cleaning methods.
(Many of the links in this article redirect to a specific reviewed product. Your purchase of these products through affiliate links helps to generate commission for Storables.com, at no extra cost. Learn more)
Introduction
Welcome to our comprehensive guide on how to clean a duster! Dusting is an essential household chore that helps to maintain cleanliness and keep allergies at bay. However, over time, dusters can accumulate dirt, debris, and allergens, diminishing their effectiveness. To ensure your duster is in top-notch condition and able to efficiently remove dust from surfaces, regular cleaning is necessary.
In this article, we will walk you through the step-by-step process of cleaning a duster to ensure it remains effective and clean for future use. Whether your duster is made of microfiber, feathers, or any other material, our guide will provide you with the necessary techniques and tips to achieve a thorough clean.
So, if you’re ready to learn how to restore your duster’s cleaning power, gather your materials and let’s dive into the cleaning process!
Key Takeaways:
- Regularly cleaning and properly storing your duster is crucial to maintain its effectiveness and extend its lifespan, ensuring efficient and effective cleaning tasks for a clean and fresh home.
- Start by shaking out the duster, then wash the fabric, dry it thoroughly, clean the handle, and store it properly to keep your duster clean and ready for use. Happy dusting!
Read more: How To Clean An Oilskin Duster
Necessary Materials
Before you embark on cleaning your duster, it’s essential to gather the necessary materials to ensure a successful and efficient cleaning process. These materials are easily accessible and will make the cleaning process much easier.
Here’s a list of the necessary materials you’ll need:
- Mild Detergent: Use a mild detergent such as dish soap or laundry detergent. Avoid using harsh chemicals that may damage the duster.
- Warm Water: Ensure you have access to warm water for the cleaning process. Warm water helps to loosen dirt and debris more effectively.
- Clean Towel: Keep a clean towel nearby to dry the duster and handle after washing.
- Bucket or Sink: Use a bucket or sink to hold the warm water and detergent mixture for cleaning.
- Gentle Brush: If your duster has stubborn stains or debris, a soft-bristled brush can be useful for gently scrubbing the fabric.
- Drying Rack or Clothesline: Ensure you have a suitable place to dry the duster where it can hang freely and air dry.
Gathering these materials before you start the cleaning process will save you time and make the entire process smoother. Now that you have all the necessary materials at your disposal, let’s move on to the step-by-step cleaning process.
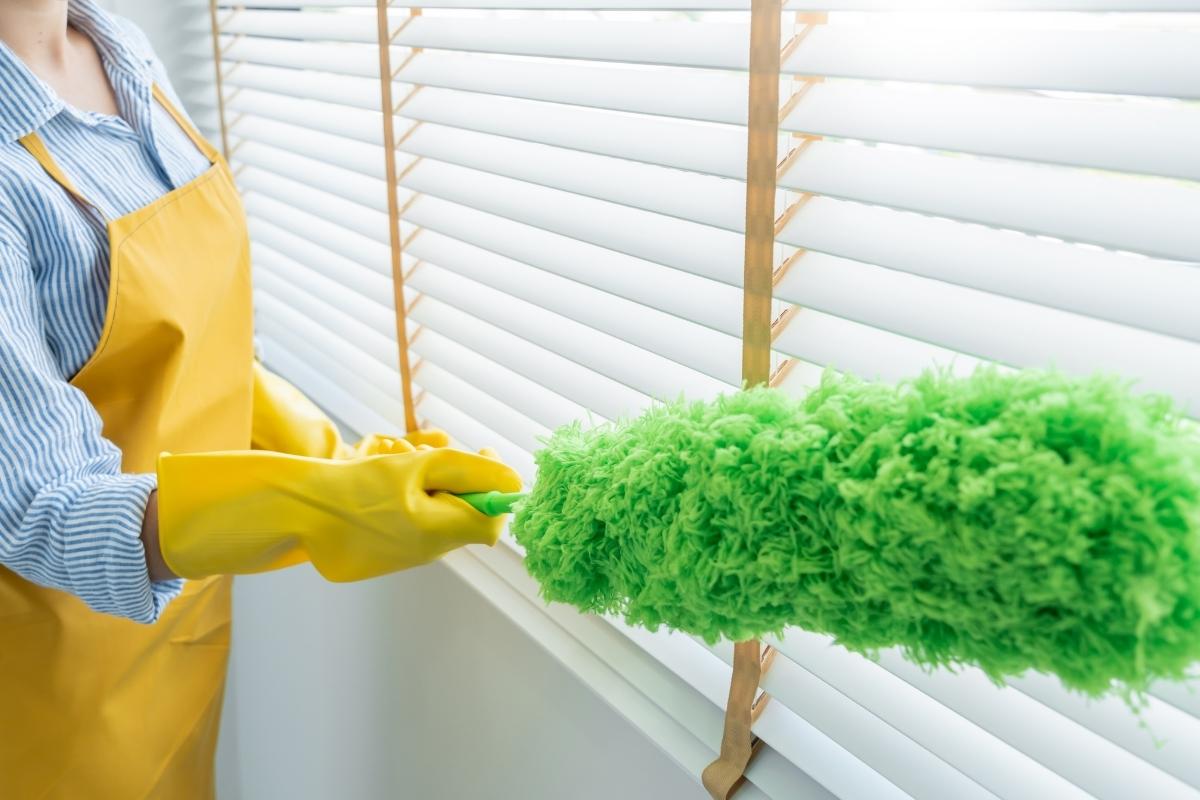
Step 1: Shake Out the Duster
The first step in cleaning your duster is to shake off any loose dust and dirt. Take the duster outside or hold it over a trash bin to prevent the dust from spreading across your home.
To shake out the duster, follow these steps:
- Gently hold the duster by the handle or grip the fabric near the top.
- With a swift motion, shake the duster back and forth to dislodge any loose dust and debris trapped in the fabric.
- Continue shaking until you no longer see dust particles falling from the duster.
Shaking out the duster helps to remove the surface-level dirt and dust. However, for a more thorough clean, continue to the next step to wash the duster fabric.
Important Note: If your duster is not machine washable, shaking out the excess dust is even more vital. In this case, it’s essential to rely on other cleaning methods such as spot cleaning or vacuuming to maintain the duster’s cleanliness.
Now that you’ve shaken out the loose dust, let’s move on to step 2: washing the duster fabric.
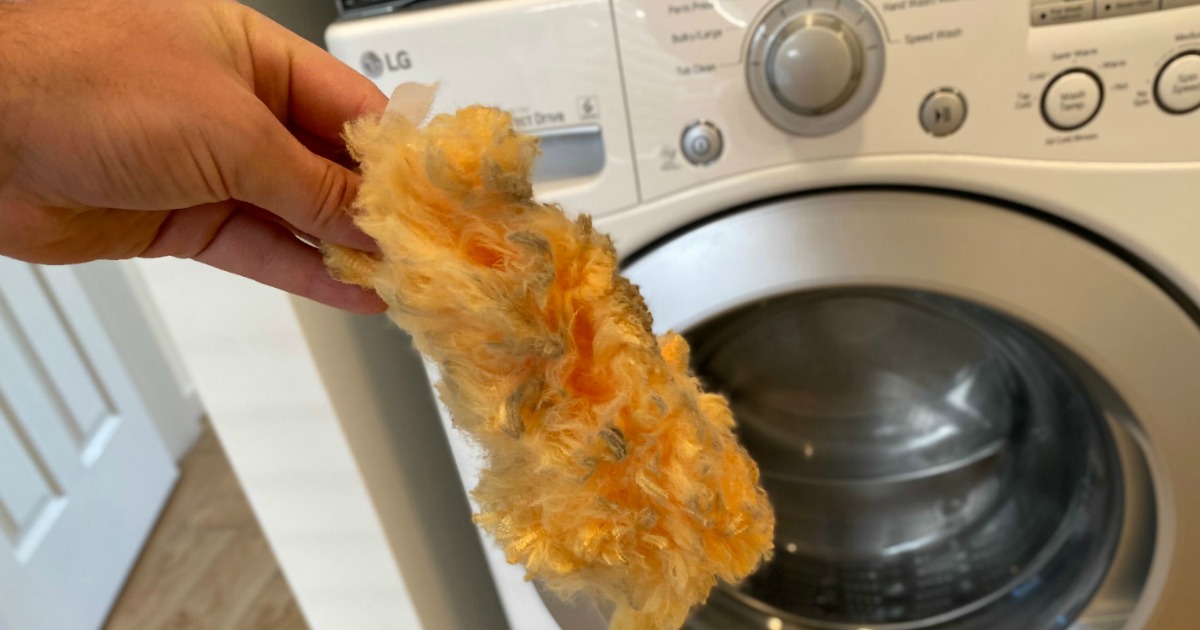
Step 2: Wash the Duster Fabric
After shaking out the duster, it’s time to give the fabric a thorough cleaning. Cleaning the fabric will help remove any remaining dirt, dust, and stains, ensuring that your duster is fresh and ready for future use.
Follow these steps to wash the duster fabric:
- If your duster is machine washable, check the care instructions on the label to determine the appropriate washing settings.
- If machine washing is not recommended or if you’re unsure about the duster’s fabric, opt for hand washing instead.
- Fill a bucket or sink with warm water and add a small amount of mild detergent, such as dish soap or laundry detergent. Mix the detergent into the water to create a soapy solution.
- Place the duster fabric into the soapy water and gently agitate it to ensure the detergent is evenly distributed and the fabric is saturated.
- Allow the duster to soak in the soapy water for 10-15 minutes to loosen dirt and stains.
- After soaking, gently scrub the duster fabric with a soft-bristled brush to remove any stubborn stains or debris. Be gentle to avoid damaging the fabric.
- Rinse the duster fabric thoroughly in clean, running water to remove all traces of detergent.
For machine washable dusters, transfer the fabric to the washing machine and run a gentle cycle with cold or lukewarm water. Avoid using bleach or fabric softener, as these can be detrimental to the duster fabric.
After washing the duster fabric, move on to the next step: drying the duster.
After using a duster, shake it outside to remove loose dust and debris. Then, hand wash it in warm soapy water, rinse thoroughly, and allow it to air dry completely before using it again.
Step 3: Dry the Duster
Once you have washed the duster fabric, it’s crucial to ensure that it is thoroughly dried before storing or using it again. Proper drying prevents the growth of mildew and helps maintain the duster’s effectiveness.
Follow these steps to dry the duster:
- Squeeze out any excess water from the duster fabric gently. Be careful not to wring or twist the fabric too tightly, as this may damage it.
- Place a clean towel on a flat surface and lay the damp duster fabric on top of it. Fold the towel over the fabric and press down gently to absorb some of the moisture.
- Hang the duster in a well-ventilated area to air dry completely. Use a drying rack or clothesline to allow air to circulate around the duster.
- Avoid drying the duster directly under sunlight, as prolonged exposure to UV rays can cause damage to the fabric.
- Depending on the fabric and humidity levels, drying time may vary. Ensure that the duster is completely dry before moving on to the next step.
It’s important to note that some dusters, especially feather dusters, may require additional fluffing and reshaping after drying. Gently fluff the duster by separating the feathers or fibers with your fingers, ensuring they are evenly distributed.
Once your duster is completely dry and fluffed, it’s time to move on to step 4: cleaning the handle.
Read more: How To Clean Dust Without A Duster
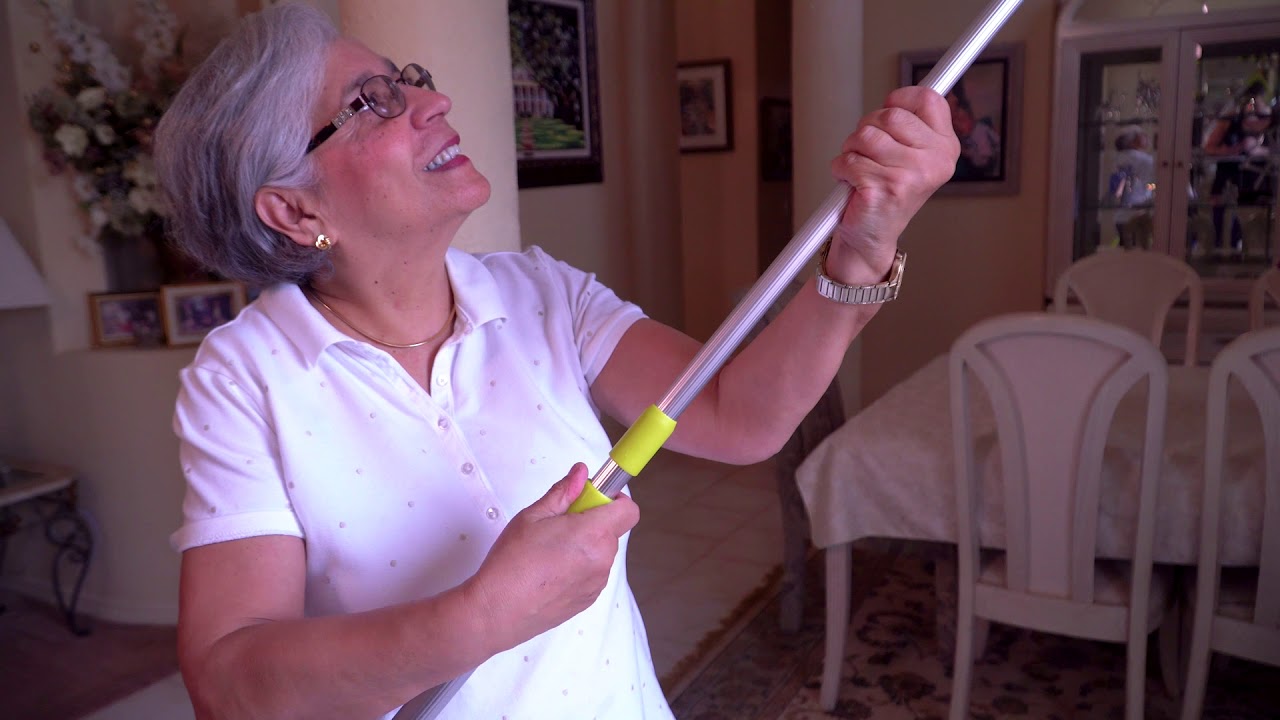
Step 4: Clean the Handle
While cleaning the duster fabric is essential, don’t forget to give some attention to the handle as well. The handle can harbor dirt, dust, and grime, which can transfer back onto the freshly cleaned duster fabric if not properly cleaned.
Here’s how to clean the handle of the duster:
- Dampen a clean cloth or sponge with warm, soapy water. You can use the same mild detergent used to clean the duster fabric.
- Gently wipe down the duster handle, paying attention to any areas with visible dirt or stains.
- If the handle is made of wood or another porous material, avoid soaking it in water. Instead, dampen the cloth or sponge with the soapy water and carefully wipe the handle.
- Rinse the cloth or sponge with clean water and wipe down the handle again to remove any soapy residue.
- Allow the handle to air dry completely before using or storing the duster.
If the handle is made of plastic or metal, you can also use a disinfecting wipe or a solution of water and vinegar to sanitize and remove any lingering germs or bacteria.
Cleaning the handle ensures that your duster is clean and ready for use. Now that you’ve cleaned both the duster fabric and handle, it’s time for the final step: proper storage.
Step 5: Store the Duster Properly
Proper storage of your duster is crucial to keep it clean, protect its fibers or feathers, and ensure its longevity. By storing your duster correctly, you can prevent dust accumulation and maintain its effectiveness for future use.
Follow these steps to store your duster properly:
- Ensure that your duster is completely dry before storing it. Damp or wet dusters can promote mold and mildew growth.
- Choose an appropriate storage location that is clean, dry, and free from dust. Avoid storing your duster in areas prone to high humidity or direct sunlight, as these conditions can damage the fabric or materials.
- If your duster is collapsible or retractable, fold or collapse it according to the manufacturer’s instructions. This helps to save space and protect the duster from being bent or damaged.
- If your duster doesn’t have a specific storage feature, you can use a clean plastic bag or a fabric cover to protect it from dust and dirt.
- Place the duster in the storage container or hang it on a hook, ensuring it is not in contact with any other potentially dirty items. This helps to maintain the cleanliness of the duster and extends its lifespan.
By following these storage practices, you’ll keep your duster clean and ready for use when you need it. It’s good to periodically inspect and clean your stored duster to ensure its cleanliness and effectiveness.
With the completion of step 5, you’ve successfully learned how to clean and store your duster properly. Now you can enjoy using a fresh, clean duster for your cleaning tasks!
Conclusion
Cleaning your duster regularly is essential to maintain its effectiveness and keep your home free from dust and allergens. By following the step-by-step guide we have provided, you can ensure that your duster remains clean and ready for use whenever you need it.
Remember to start by shaking out the duster to remove loose dust and debris. Then, wash the duster fabric using mild detergent and warm water, taking care to scrub any stubborn stains gently. After washing, make sure to dry the duster thoroughly to prevent mold and mildew growth. Clean the handle of the duster to remove any dirt or grime that can transfer onto the fabric. Finally, store the duster in a clean and dry location to protect it from accumulating dust.
Regular cleaning and proper storage of your duster will not only keep it in optimal condition but also extend its lifespan. A well-maintained duster ensures that your cleaning tasks are efficient and effective, keeping your home clean and fresh.
So, the next time you reach for your duster, follow these steps and enjoy the satisfaction of using a thoroughly clean and well-cared-for tool.
Happy dusting!
Frequently Asked Questions about How To Clean A Duster
Was this page helpful?
At Storables.com, we guarantee accurate and reliable information. Our content, validated by Expert Board Contributors, is crafted following stringent Editorial Policies. We're committed to providing you with well-researched, expert-backed insights for all your informational needs.


0 thoughts on “How To Clean A Duster”