Furniture
How To Clean An Oil Lamp
Modified: December 7, 2023
Learn how to clean an oil lamp with our easy-to-follow guide! Keep your furniture looking beautiful with these simple steps.
(Many of the links in this article redirect to a specific reviewed product. Your purchase of these products through affiliate links helps to generate commission for Storables.com, at no extra cost. Learn more)
Introduction
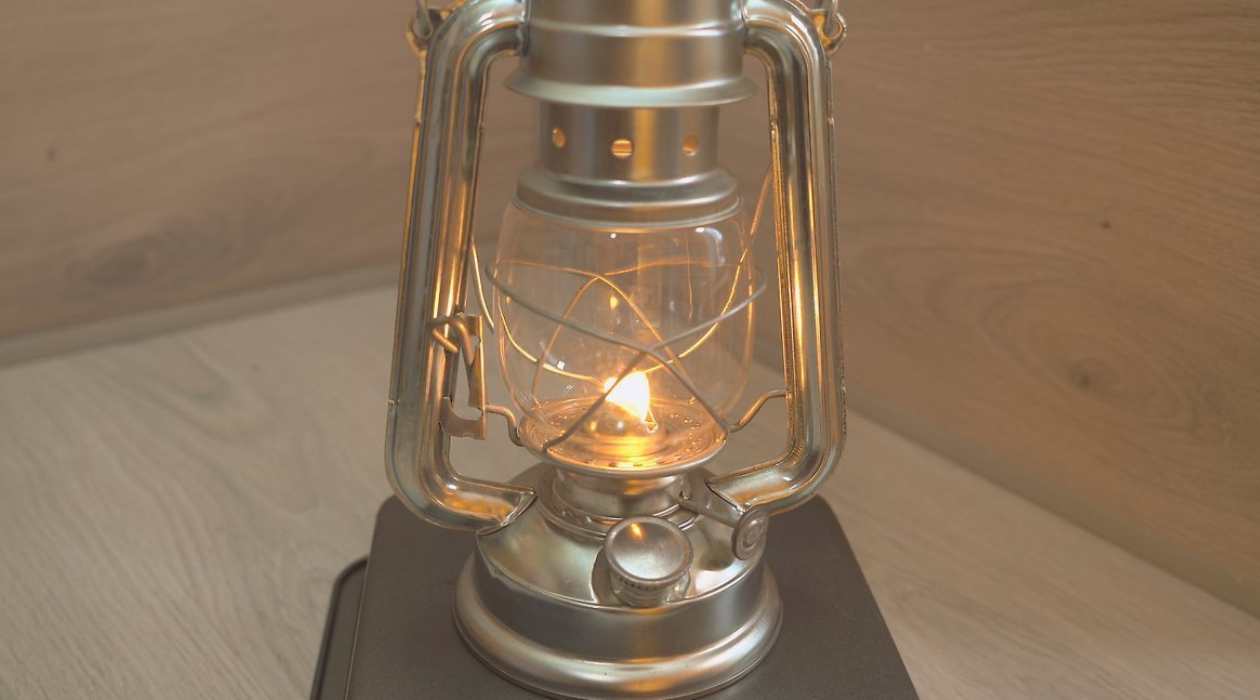
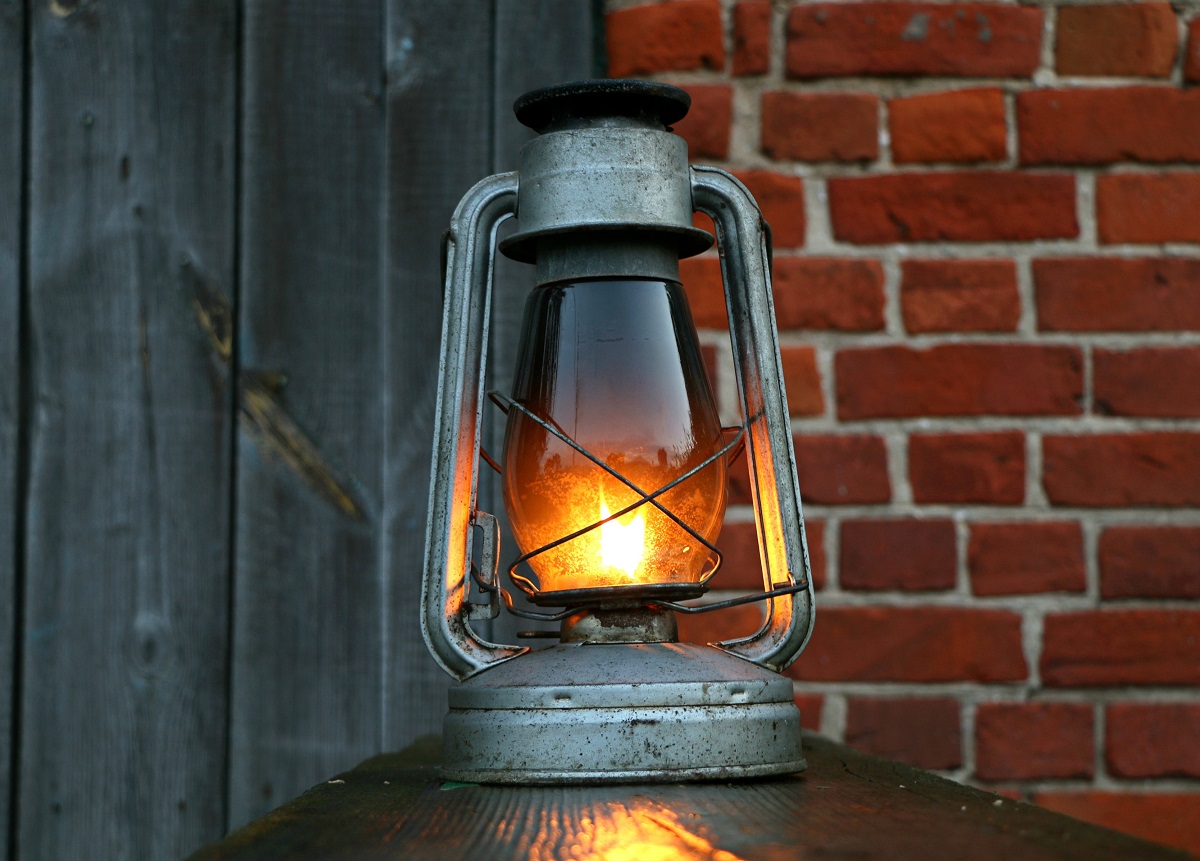
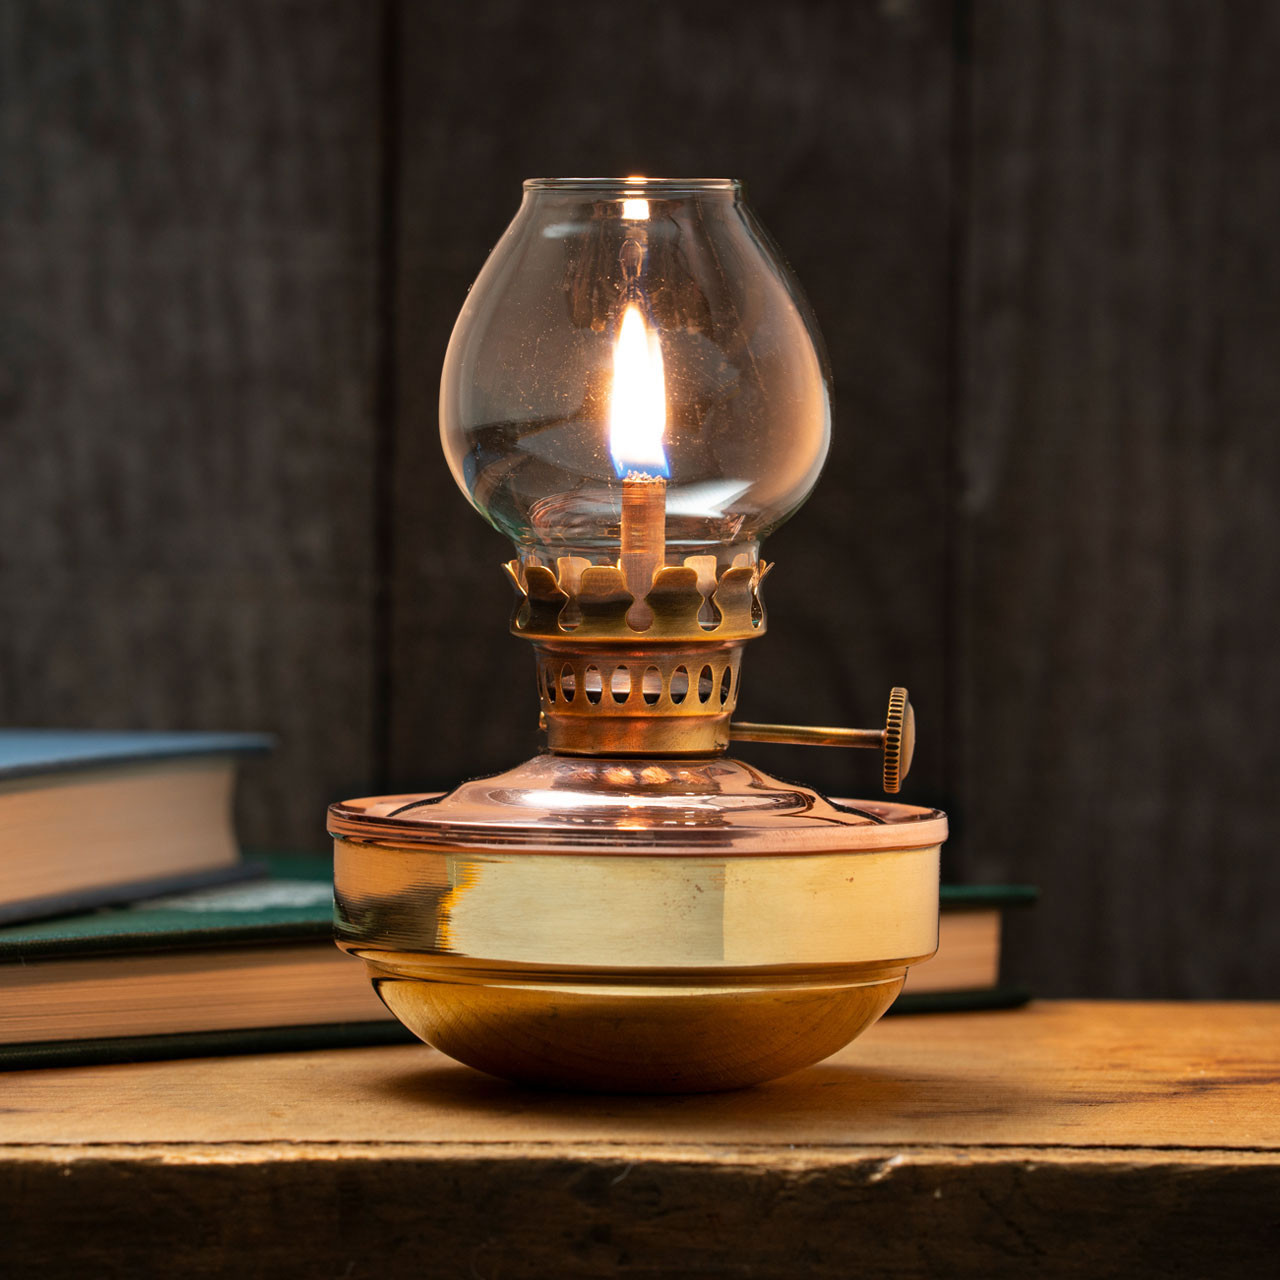
An oil lamp can add a touch of elegance and nostalgia to any room. Whether you have inherited an antique oil lamp or purchased a modern replica, it is essential to keep it clean to maintain its functionality and beauty. Cleaning an oil lamp may seem like a daunting task, but with the right knowledge and supplies, it can be a straightforward process.
In this article, we will guide you through the step-by-step process of cleaning an oil lamp. We will cover everything from safety precautions to reassembling the lamp after cleaning. So, let’s dive in and discover how to make your oil lamp shine bright once again.
Key Takeaways:
- Safely and effectively clean your oil lamp by following step-by-step instructions, prioritizing safety, and gathering the necessary supplies for a rewarding and efficient maintenance process.
- Preserve the beauty and functionality of your oil lamp by incorporating regular maintenance practices, such as trimming the wick, choosing the right oil, and proper storage, to enjoy its warm ambiance for years to come.
Read more: How To Dispose Of Lamp Oil
Safety Precautions
Before you start cleaning your oil lamp, it is crucial to prioritize safety. Working with flammable materials and potentially delicate glass components requires caution. Here are some important safety precautions to keep in mind:
- Choose a well-ventilated area: Ensure that you have enough airflow in the room where you’ll be cleaning the oil lamp to avoid inhaling any fumes.
- Clear the workspace: Remove any flammable or delicate objects from the area to minimize the risk of accidents.
- Wear protective gloves: Oil lamps can be greasy, so wearing gloves will protect your hands against any potential slips or spills.
- Use eye protection: Consider wearing safety goggles to shield your eyes from any chemical substances or broken glass.
- Keep a fire extinguisher nearby: Just in case any mishap occurs, having a fire extinguisher within reach is always a wise decision.
- Follow manufacturer’s instructions: Some oil lamps may have specific cleaning instructions provided by the manufacturer. Follow those guidelines to ensure proper handling and maintenance.
By adhering to these safety precautions, you can minimize the risk of accidents and enjoy a worry-free cleaning process for your oil lamp.
Gathering the Supplies
Before you begin the cleaning process, it’s essential to gather all the necessary supplies. Having everything within reach will make the task more efficient and ensure you have what you need. Here is a list of supplies you will need to clean your oil lamp:
- Warm water: You will need warm water for rinsing and cleaning the oil lamp components.
- Mild dish soap or vinegar: A mild dish soap or vinegar solution will help break down the grease and dirt on the lamp’s surface.
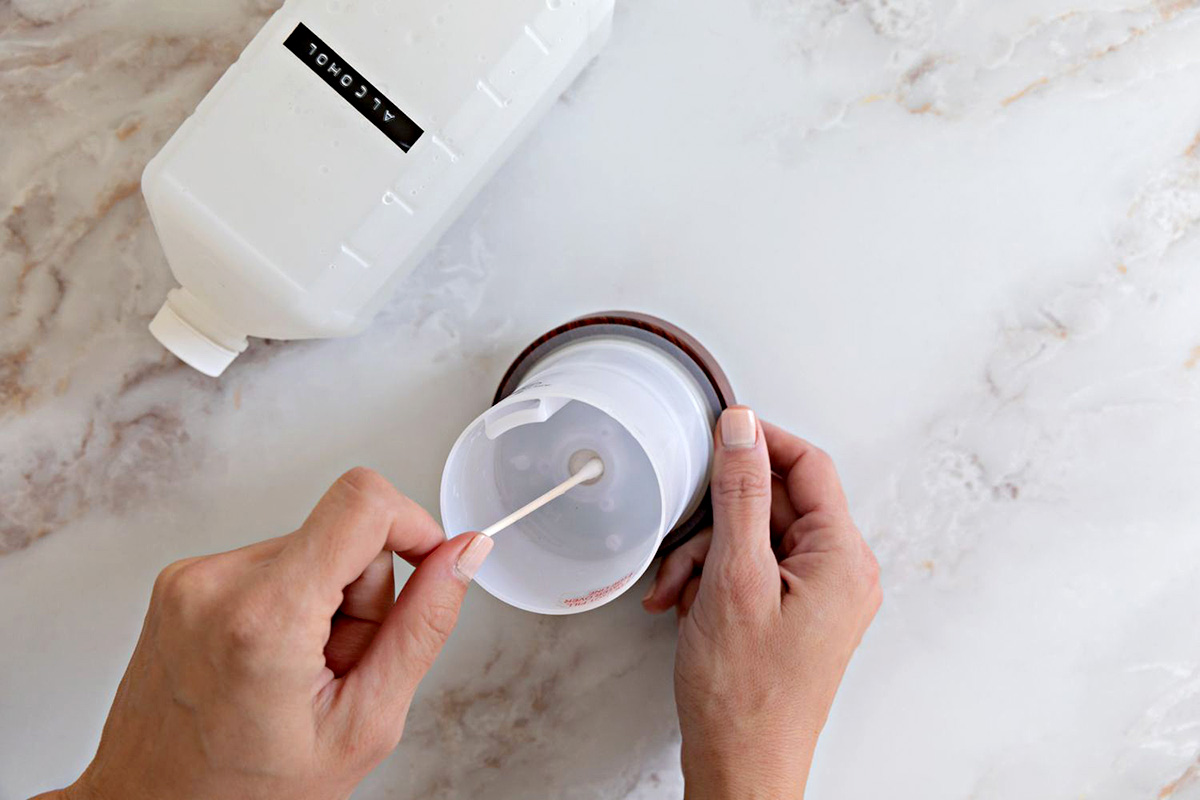
- Cotton swabs or small brushes: These tools will come in handy for cleaning smaller, hard-to-reach areas.
- Cleaning cloth or microfiber towel: A soft cloth or microfiber towel is ideal for drying and polishing the lamp.
- White vinegar: Vinegar can be useful for removing stubborn stains or mineral deposits from the chimney.
- Optional: Brasso or metal polish: If you have a brass or metal oil lamp, you may want to use a specialized polish to restore its shine.
Make sure to gather these supplies before starting the cleaning process to ensure a smooth and uninterrupted experience.
Removing the Oil and Wick
The first step in cleaning your oil lamp is to remove the old oil and the wick. Follow these steps to safely and effectively remove the oil and wick from your lamp:
- Extinguish the flame: If your oil lamp is currently lit, make sure to extinguish the flame by gently blowing it out or using a snuffer.
- Allow the lamp to cool: Give the lamp some time to cool down before attempting to handle it. Hot glass can cause burns, so exercise caution.
- Remove the chimney: Carefully lift off the chimney or shade of the oil lamp. Set it aside in a safe place where it won’t get damaged.
- Empty the oil reservoir: Slowly pour out the oil from the reservoir into a suitable disposal container. Be gentle to avoid spillage.
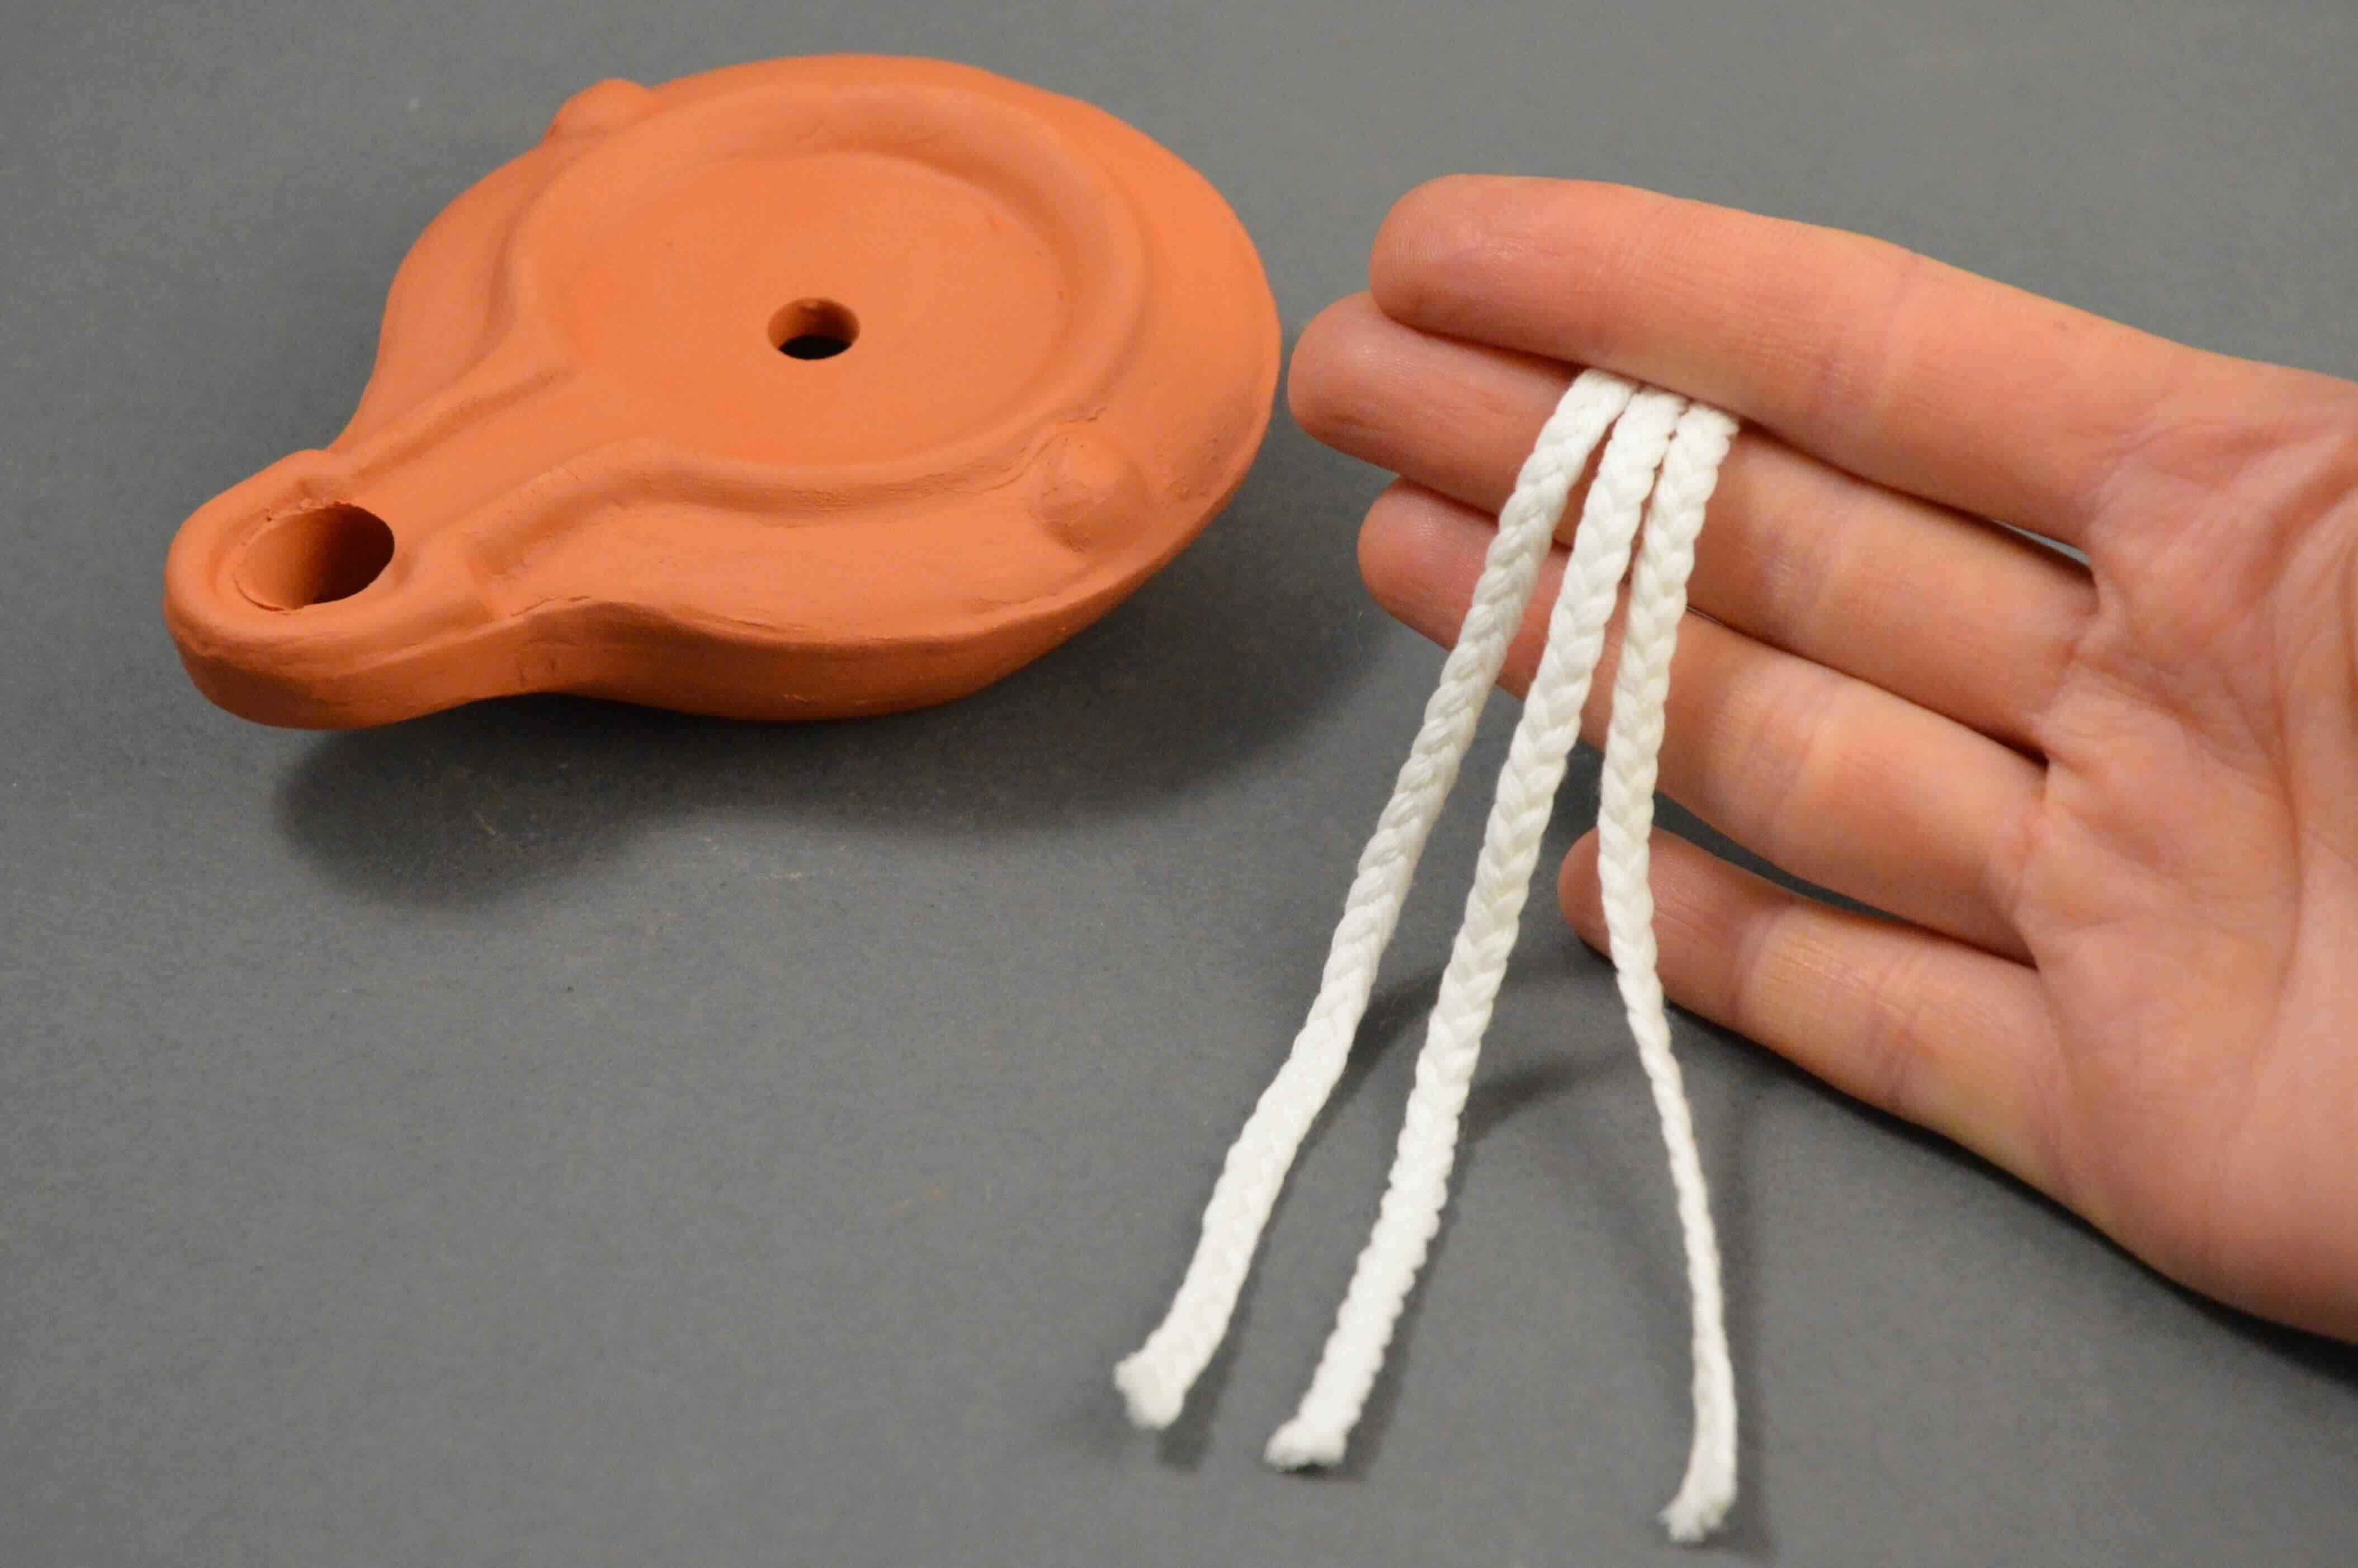
- Remove the wick: Carefully lift out the wick from the oil well. If the wick is burnt or worn out, it is a good time to replace it with a new one.
- Dispose of the oil and wick: Properly dispose of the used oil and old wick according to your local regulations. Do not pour the oil down the drain.
Now that the old oil and wick have been safely removed from the oil lamp, you can proceed to clean the lamp’s exterior.
Cleaning the Exterior
Once you have removed the oil and wick, it’s time to clean the exterior of your oil lamp. Follow these steps to effectively clean and restore the lamp’s outer surface:
- Mix a cleaning solution: Fill a basin or sink with warm water and add a small amount of mild dish soap or vinegar. Mix the solution until it is well combined.
- Submerge the exterior components: Place the exterior components, such as the base and the burner, in the cleaning solution. Let them soak for a few minutes to loosen any dirt or grime.
- Scrub gently: Use a soft brush or sponge to gently scrub the exterior surfaces of the lamp. Pay close attention to any areas with heavy dirt buildup or stains.
- Rinse thoroughly: Once you have scrubbed the lamp, rinse off all the soap residue with warm water. Ensure that all cleaning solution is removed from the lamp.
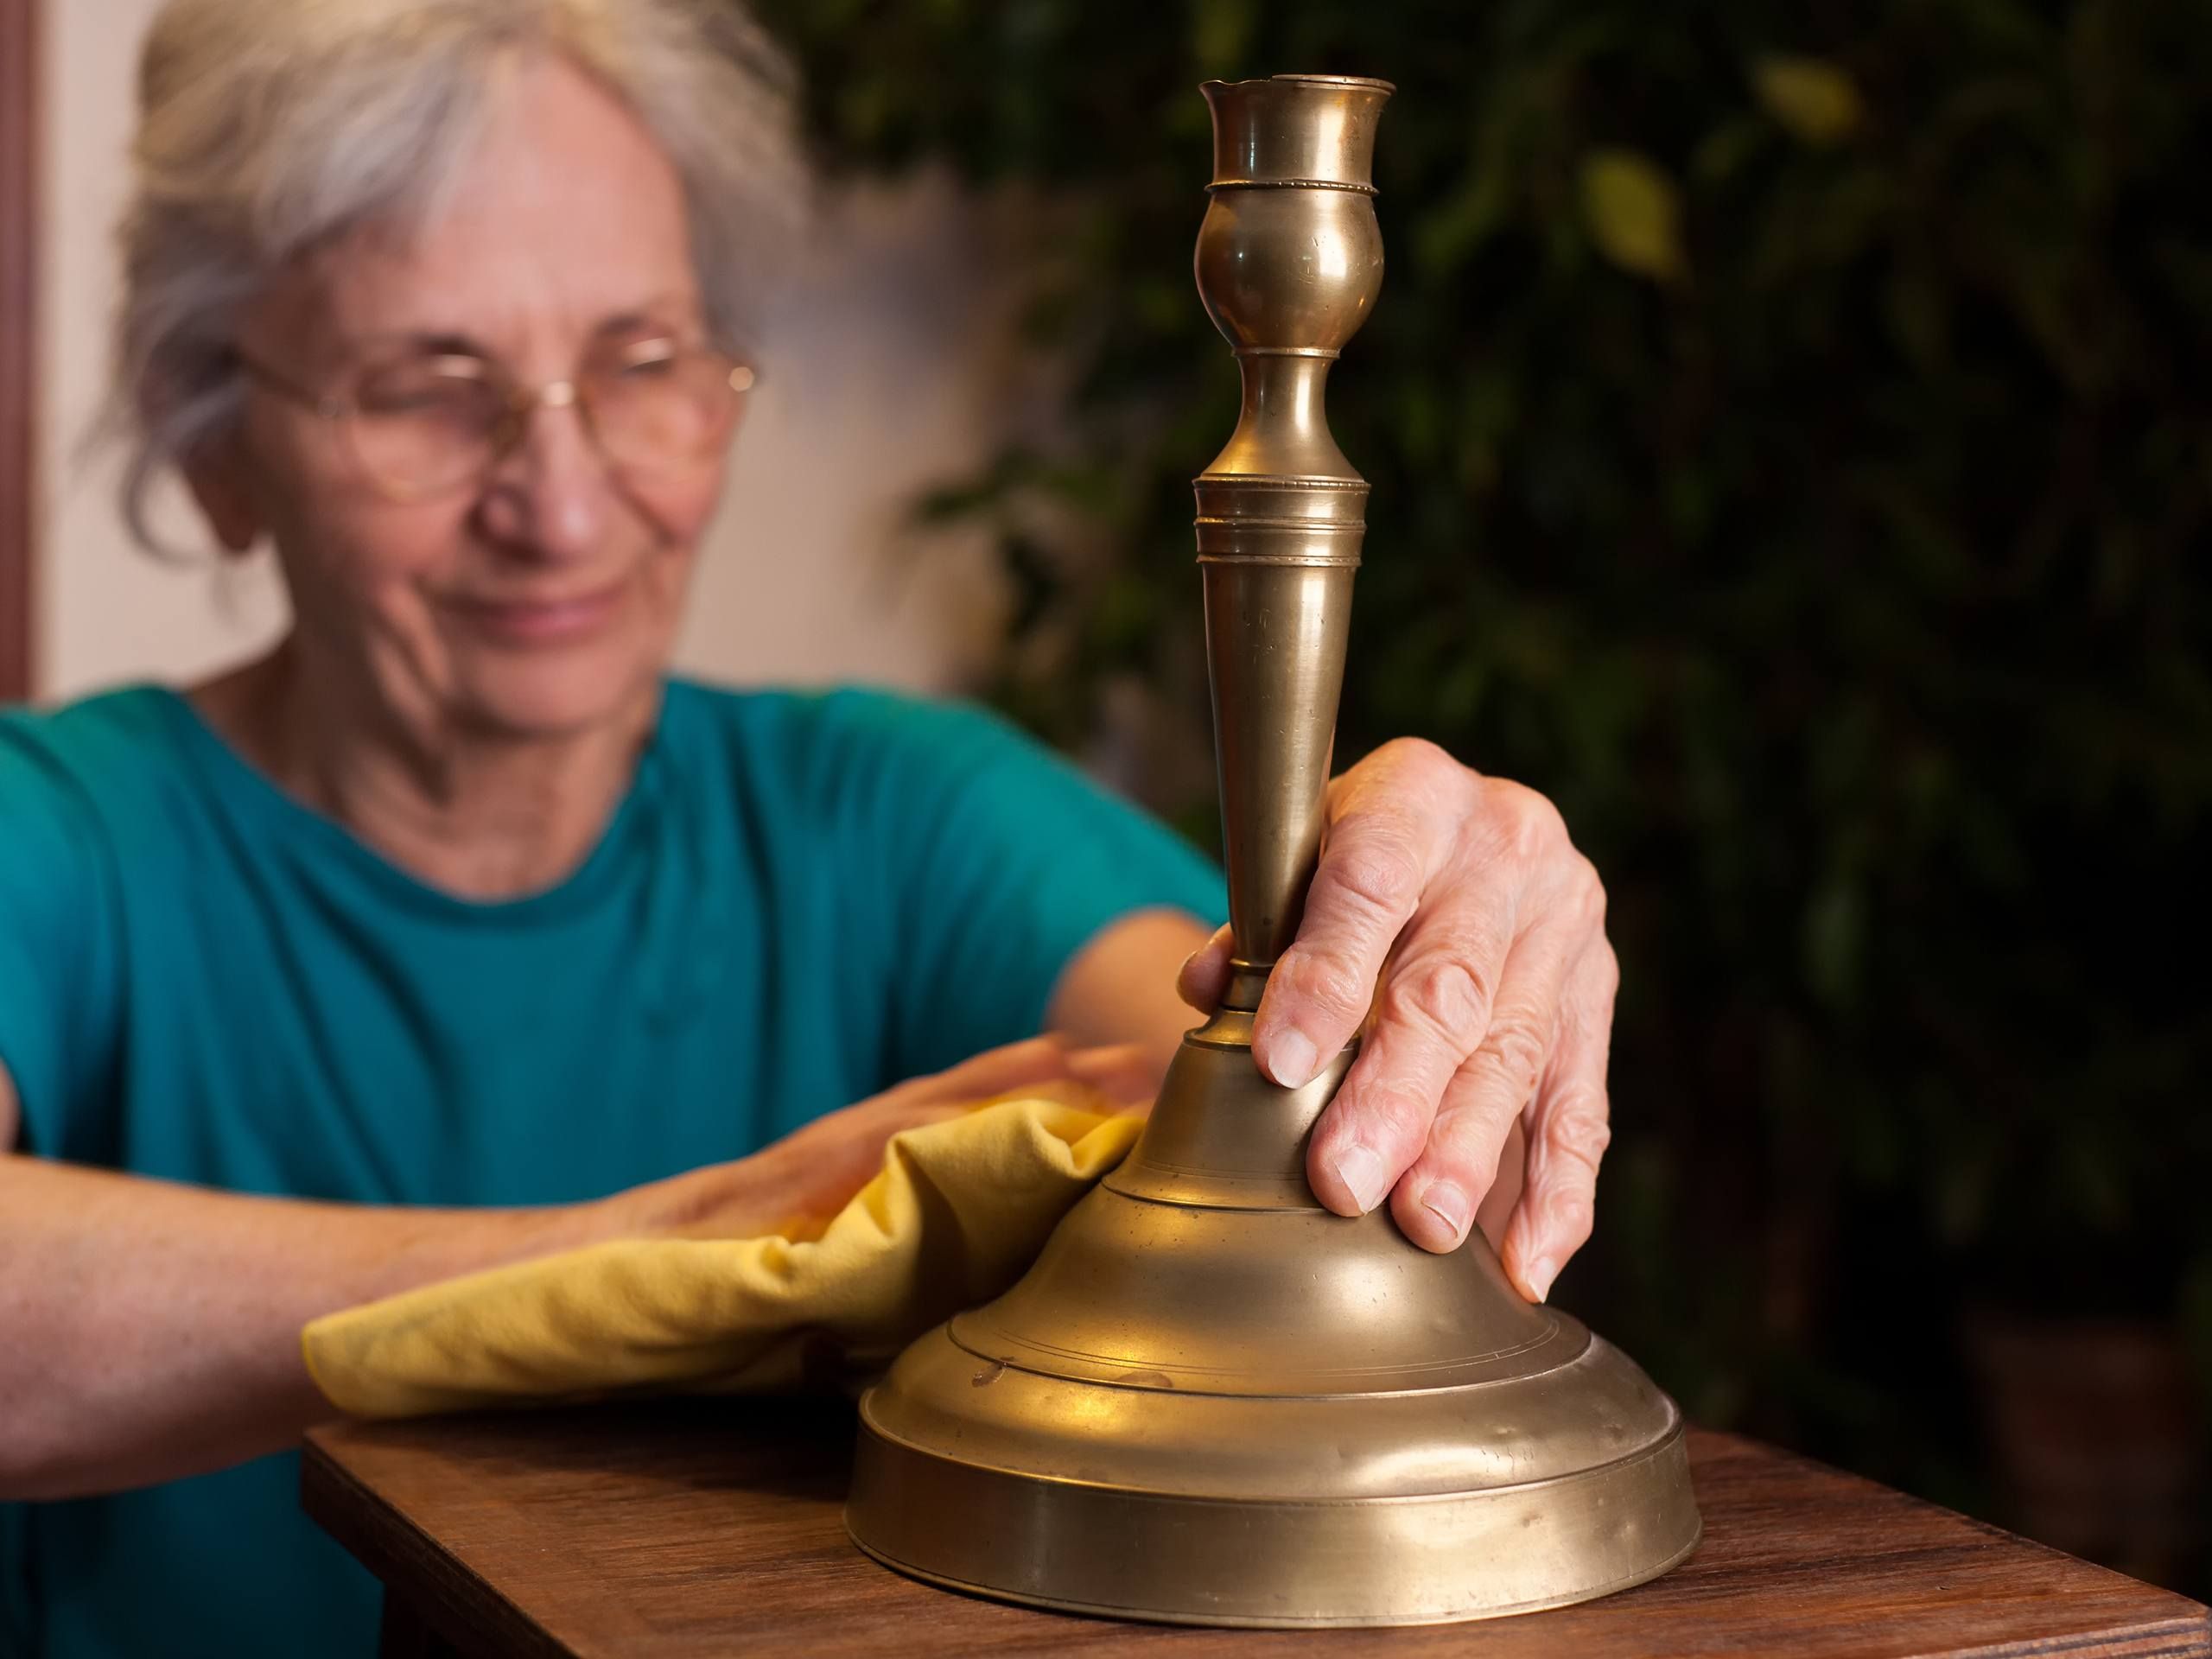
- Dry and polish: Use a clean, dry cloth or microfiber towel to thoroughly dry the lamp. Gently polish the surfaces to restore the lamp’s shine.
- Optional: Polish metal components: If your oil lamp has brass or metal components, you can use a specialized polish like Brasso to restore their luster. Follow the instructions on the polish label.
Remember to handle the lamp with care while cleaning to avoid any accidental damage. Once the exterior is cleaned and polished, you can move on to cleaning the chimney.
To clean an oil lamp, first remove the wick and any remaining oil. Then, wash the lamp with warm soapy water and a soft cloth. Finally, dry it thoroughly before adding new oil and a fresh wick.
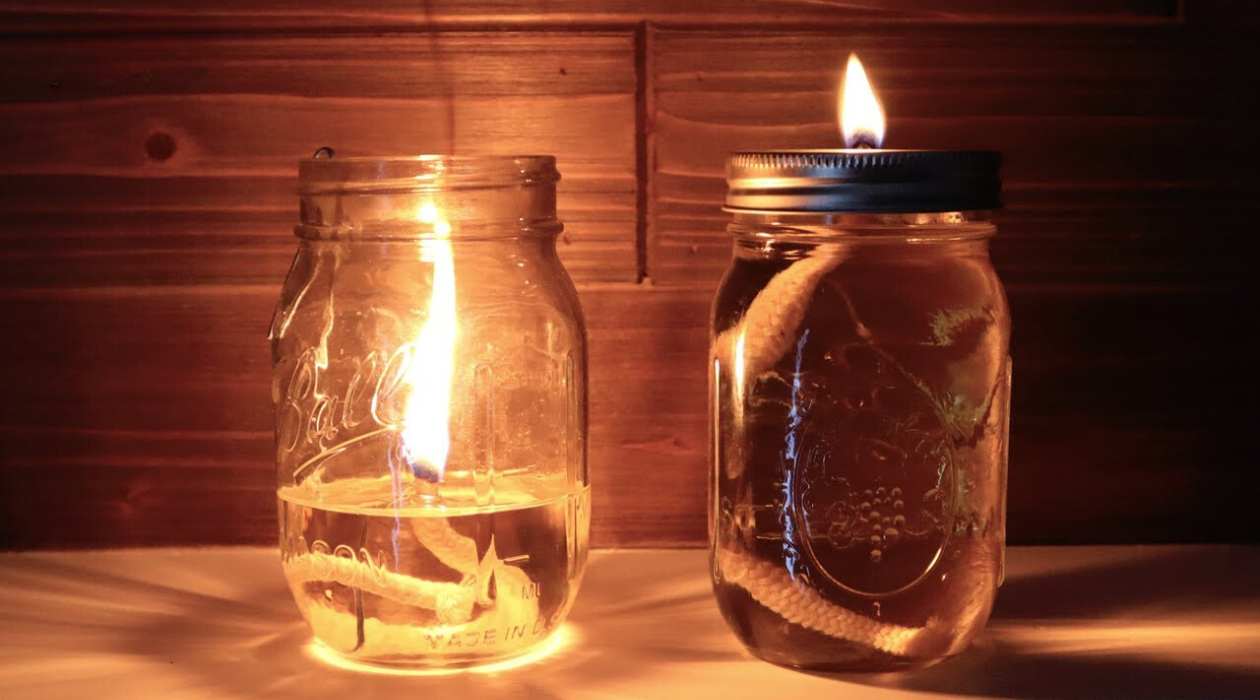
Read more: How To Make An Oil Lamp
Cleaning the Chimney
The chimney of your oil lamp is responsible for allowing air flow and protecting the flame. Over time, it can accumulate soot, debris, or mineral deposits that can reduce its efficiency. Here’s how you can clean the chimney to ensure optimal performance of your oil lamp:
- Inspect the chimney: Carefully examine the chimney for any visible soot or residue. Note any areas that require extra attention during the cleaning process.
- Prepare a cleaning solution: Fill a basin or sink with warm water. If there are stubborn stains or mineral deposits, you can add a small amount of white vinegar to the water.
- Submerge the chimney: Place the chimney in the cleaning solution and let it soak for a few minutes. This will help loosen the dirt and make it easier to clean.
- Scrub gently: Using a soft brush or sponge, gently scrub the interior and exterior of the chimney. Pay close attention to any areas with stubborn stains or residue.
- Rinse thoroughly: Once you have scrubbed the chimney, rinse it thoroughly with warm water to remove any remaining cleaning solution or debris.
- Dry completely: Set the chimney aside on a clean, dry towel or rack to air dry completely. Make sure it is completely dry before reassembling the oil lamp.
Cleaning the chimney regularly will not only enhance the appearance of your oil lamp but also ensure optimal functionality. With a clean chimney, you can now move on to reassembling your oil lamp.
Reassembling the Oil Lamp
Now that you have cleaned the exterior and chimney of your oil lamp, it’s time to reassemble the lamp. Follow these steps to put the lamp back together properly:
- Place the wick back in the oil well: Insert the new or cleaned wick back into the oil well of the lamp. Make sure it is positioned securely and can absorb the oil.
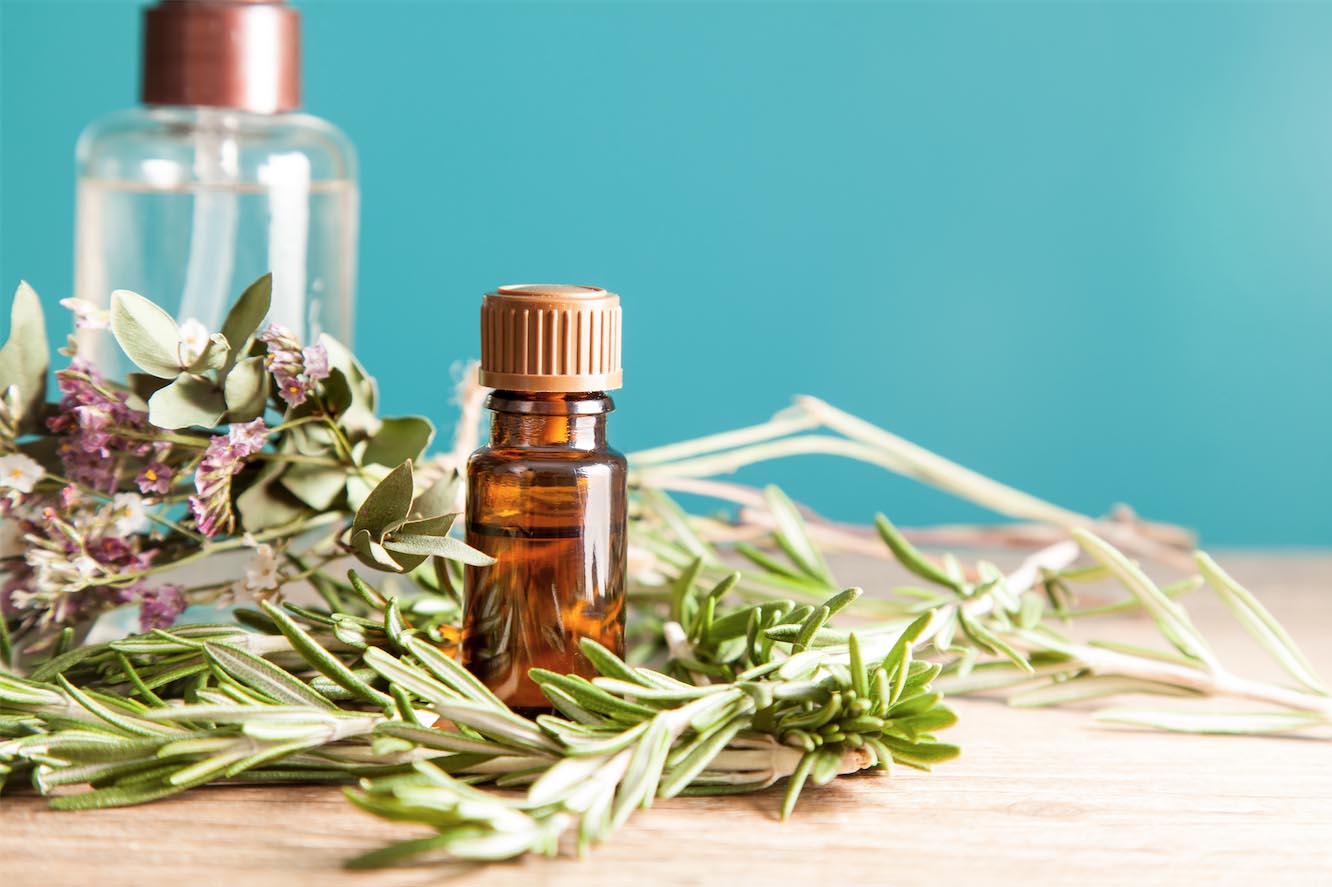
- Add fresh oil: Fill the oil reservoir with fresh, high-quality lamp oil. Be careful not to overfill it, as this can cause spills or accidents when lit.
- Replace the chimney: Carefully place the clean and dry chimney back onto the lamp, ensuring it is aligned correctly and sits securely.
- Secure the burner: If your oil lamp has a removable burner, reattach it securely to the lamp base. Ensure it is properly aligned and screwed on tightly.
- Test the lamp: Before lighting the lamp, double-check that all the components are correctly assembled and secure. Test the lamp to ensure a proper flame and that it functions as expected.
Reassembling the oil lamp is the final step to get it ready for use. Now you can enjoy the soft, warm glow and delicate ambiance that only an oil lamp can provide. However, remember to follow necessary safety precautions when using the lamp.
Final Tips and Maintenance
To ensure that your oil lamp continues to shine brightly and function properly, here are some final tips and maintenance practices to keep in mind:
- Regularly clean and maintain: Make it a habit to clean your oil lamp periodically to prevent dirt, soot, and residue from building up. This will not only keep the lamp looking beautiful but also maintain its functionality.
- Trim the wick: Keep the wick trimmed to around ¼ inch in length to promote a clean and efficient burn. Trimming the wick regularly will prevent excessive smoke and soot formation.
- Choose the right oil: Use high-quality lamp oil specifically designed for oil lamps. Avoid using alternative oils like cooking oil, as they can produce excess smoke and foul odors.
- Store the lamp properly: When not in use, store your oil lamp in a cool, dry place, away from direct sunlight and extreme temperatures. This will help preserve its condition and prevent any damage.
- Inspect for damage: Regularly inspect your oil lamp for any signs of damage, such as cracks or loose parts. Address any issues promptly to prevent further damage and maintain safety.
- Seek professional assistance: If you have an antique or valuable oil lamp or if you are unsure about handling any maintenance tasks, consider seeking help from a professional lamp restorer or collector.
By following these tips and consistently maintaining your oil lamp, you can enjoy its beauty and functionality for years to come. Remember to always prioritize safety and exercise caution while handling and operating your oil lamp.
Conclusion
Cleaning and maintaining an oil lamp is a rewarding task that allows you to preserve its beauty and functionality. By following the step-by-step process outlined in this article, you can ensure that your oil lamp continues to shine brightly, creating a warm and inviting atmosphere in your space.
Remember to prioritize safety throughout the cleaning process, taking necessary precautions such as working in a well-ventilated area, wearing protective gloves and eye protection, and keeping a fire extinguisher nearby. Gathering all the required supplies beforehand will make the process more efficient and enjoyable.
From removing the old oil and wick to cleaning the exterior and chimney, each step contributes to the overall maintenance of your oil lamp. By staying consistent with cleaning and following proper reassembly techniques, you can enjoy the charm and elegance of your oil lamp for years to come.
Additionally, incorporating regular maintenance practices such as trimming the wick, choosing the right oil, and proper storage will extend the lifespan of your oil lamp and enhance its performance.
So, take the time to care for your oil lamp and appreciate the warm ambiance it creates. Whether it’s an antique family heirloom or a new addition to your home decor, a clean and well-maintained oil lamp can illuminate not only your space but also your appreciation for timeless beauty and craftsmanship.
With these cleaning techniques and maintenance tips in mind, you can now confidently embark on the journey of bringing back the radiance of your oil lamp. Enjoy the enchanting glow and the nostalgic charm it adds to your home.
Frequently Asked Questions about How To Clean An Oil Lamp
Was this page helpful?
At Storables.com, we guarantee accurate and reliable information. Our content, validated by Expert Board Contributors, is crafted following stringent Editorial Policies. We're committed to providing you with well-researched, expert-backed insights for all your informational needs.

0 thoughts on “How To Clean An Oil Lamp”