
Articles
How To Use A Duster
Modified: August 28, 2024
Learn the proper technique for using a duster in this comprehensive guide. Find articles on dusting tips and tricks to keep your home clean and dust-free.
(Many of the links in this article redirect to a specific reviewed product. Your purchase of these products through affiliate links helps to generate commission for Storables.com, at no extra cost. Learn more)
Introduction
Dusting is an essential part of regular cleaning routines, as it helps to maintain a clean and healthy environment. However, many people tend to overlook the importance of using the right tools and techniques when it comes to dusting. A duster is a versatile tool that can effectively remove dust from various surfaces, including furniture, electronics, and hard-to-reach areas.
In this article, we will explore the different types of dusters available, how to choose the right one for your needs, and step-by-step instructions on how to use a duster effectively. By following these tips, you can ensure that your dusting efforts are not only efficient but also deliver a long-lasting shine in your home or office.
So, let’s dive in and discover the secrets to becoming a dusting master!
Key Takeaways:
- Choose the right duster by considering surface type, dust accumulation, allergies, usability, and durability. Tailoring your choice ensures effective and efficient dusting for a cleaner environment.
- Master the art of dusting by preparing your duster, using gentle strokes, and cleaning delicate items and hard-to-reach areas. Regular maintenance ensures long-lasting effectiveness and a healthier space.
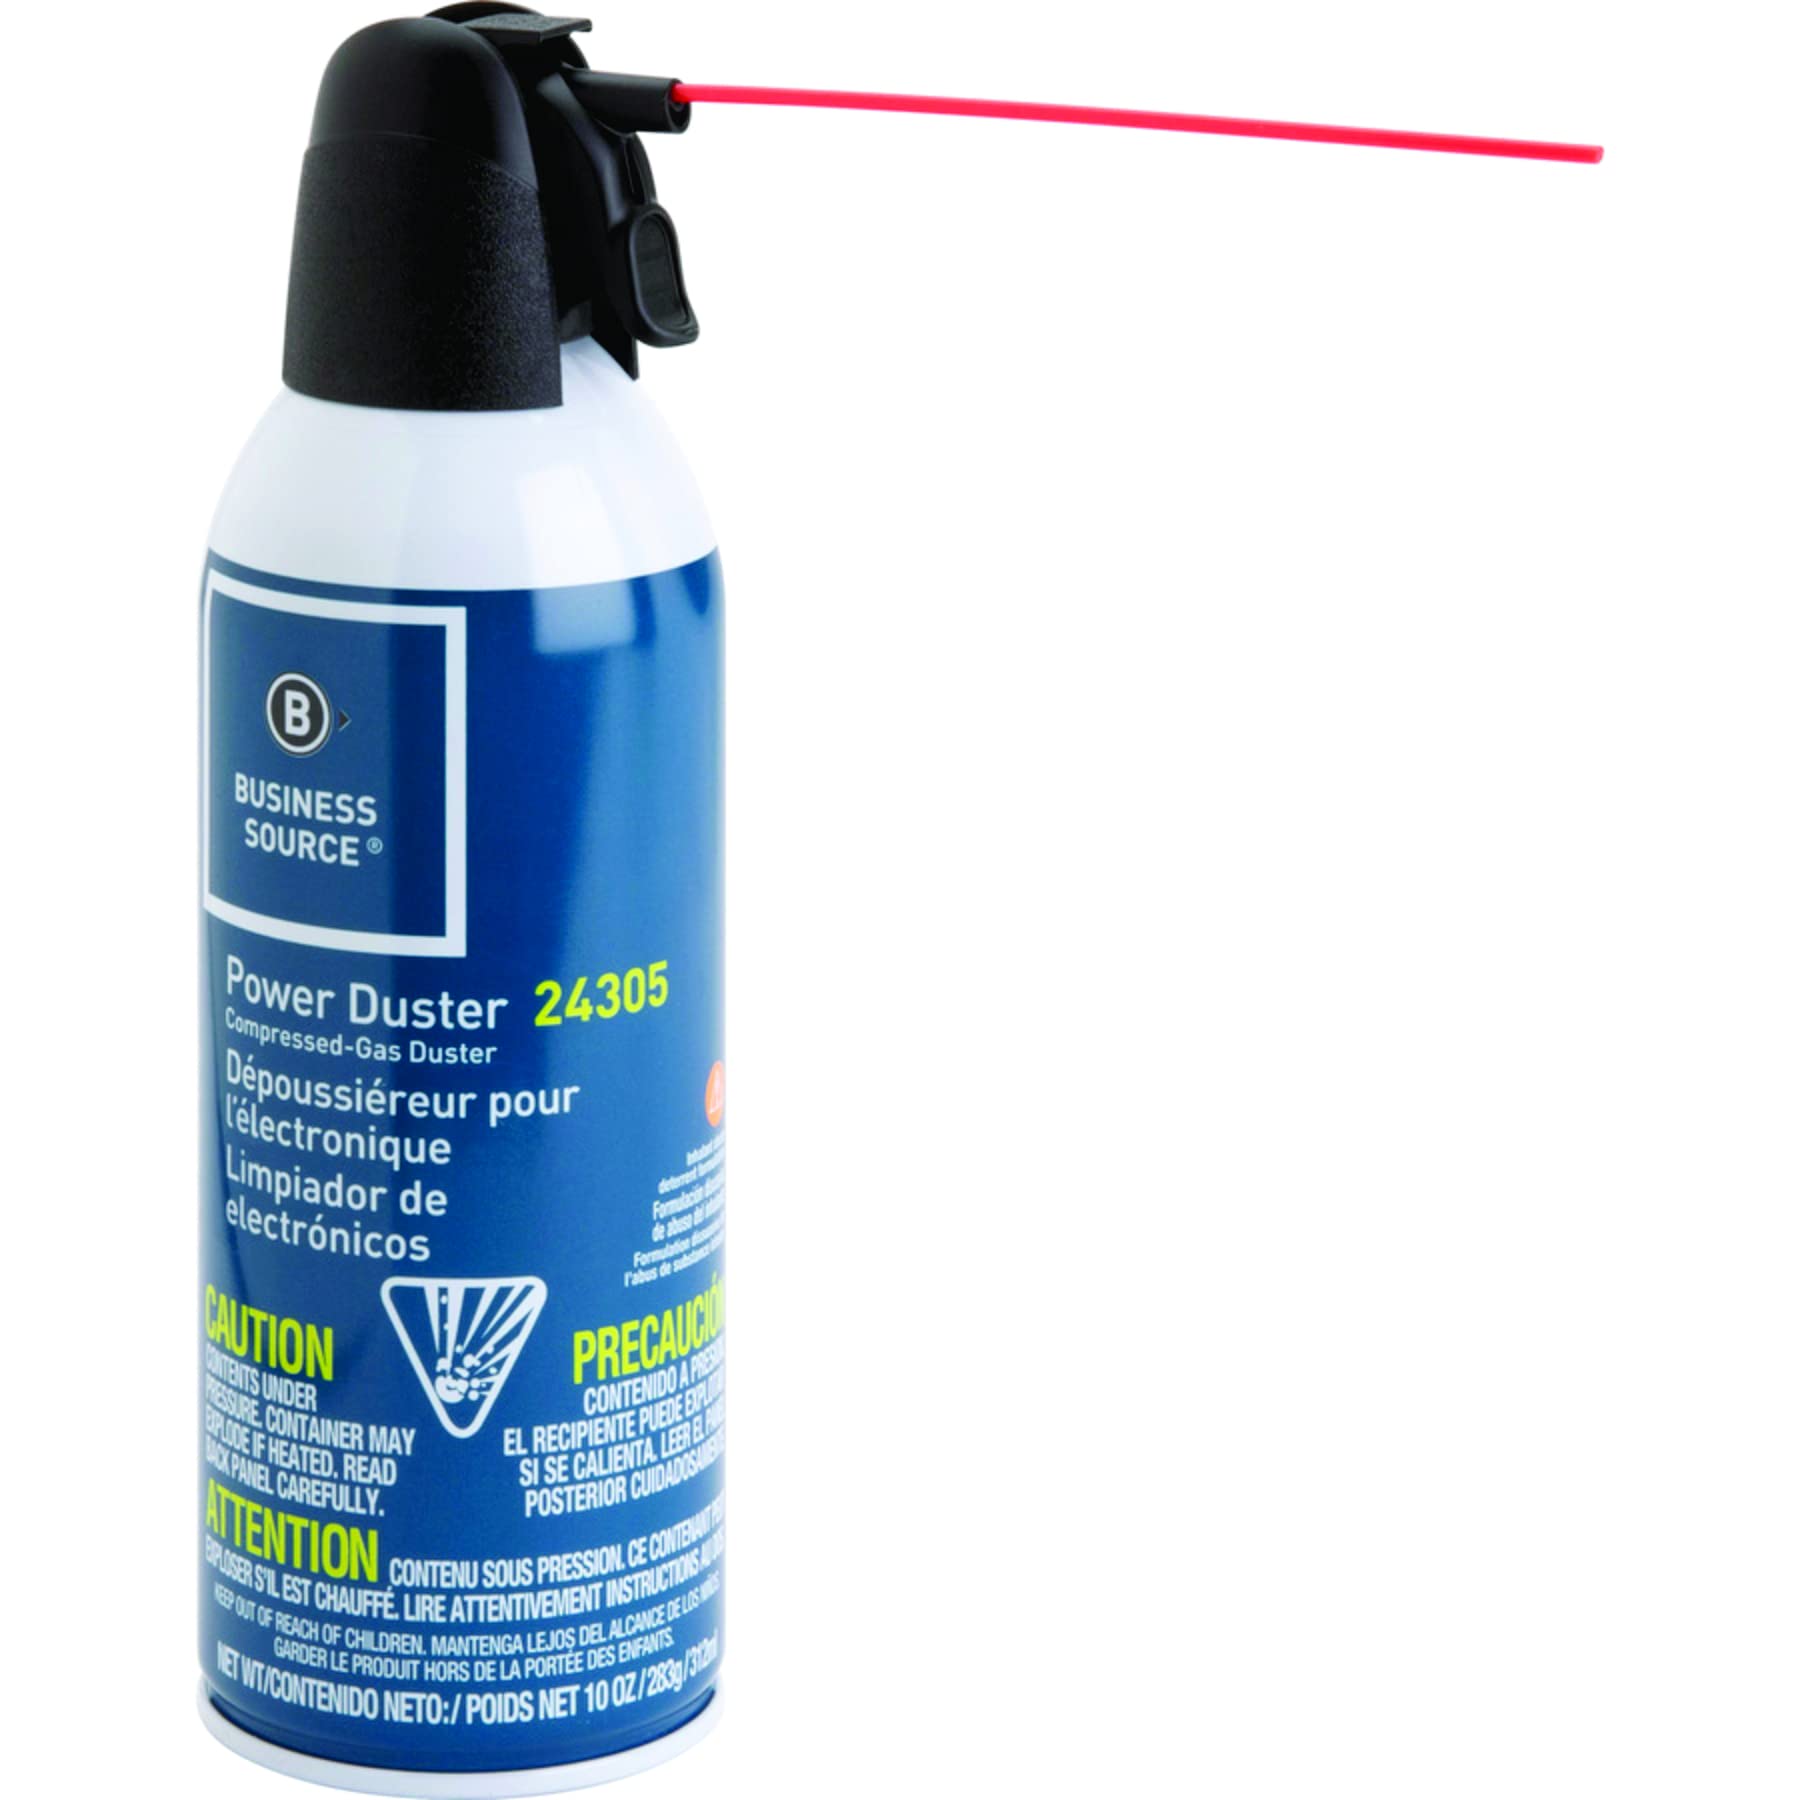
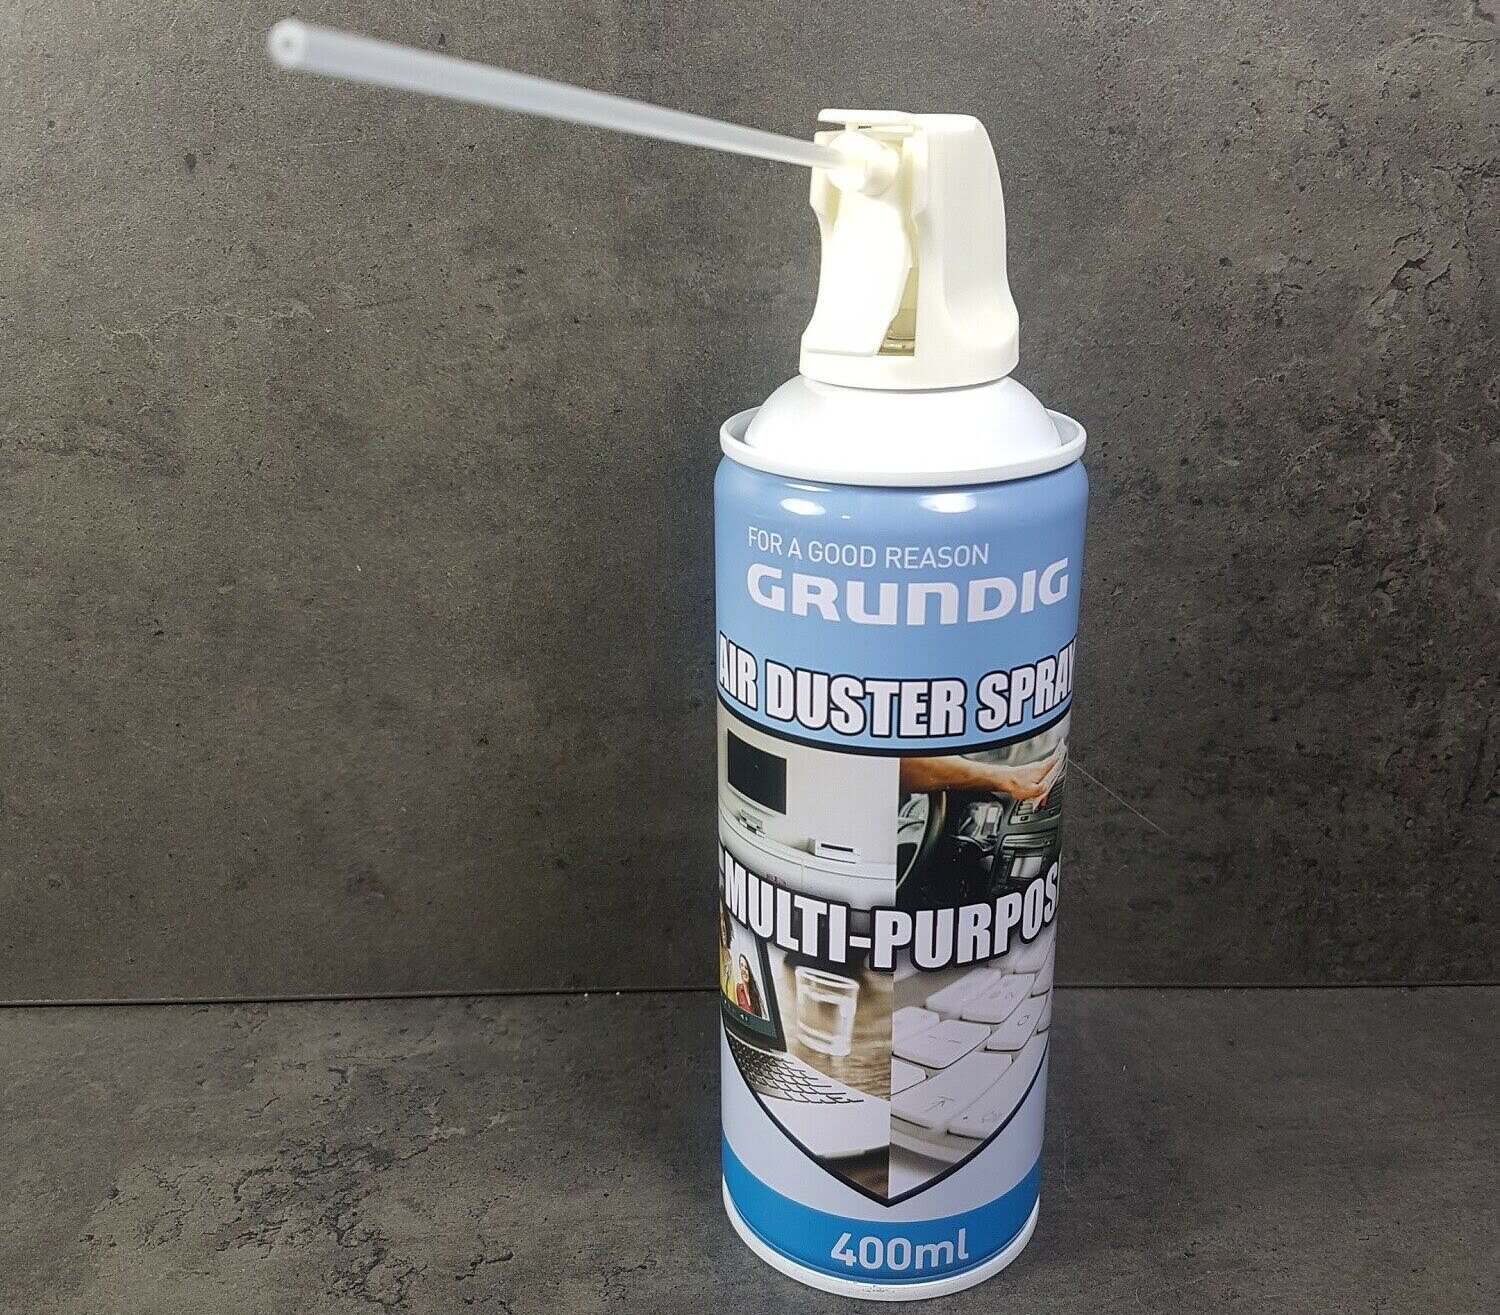
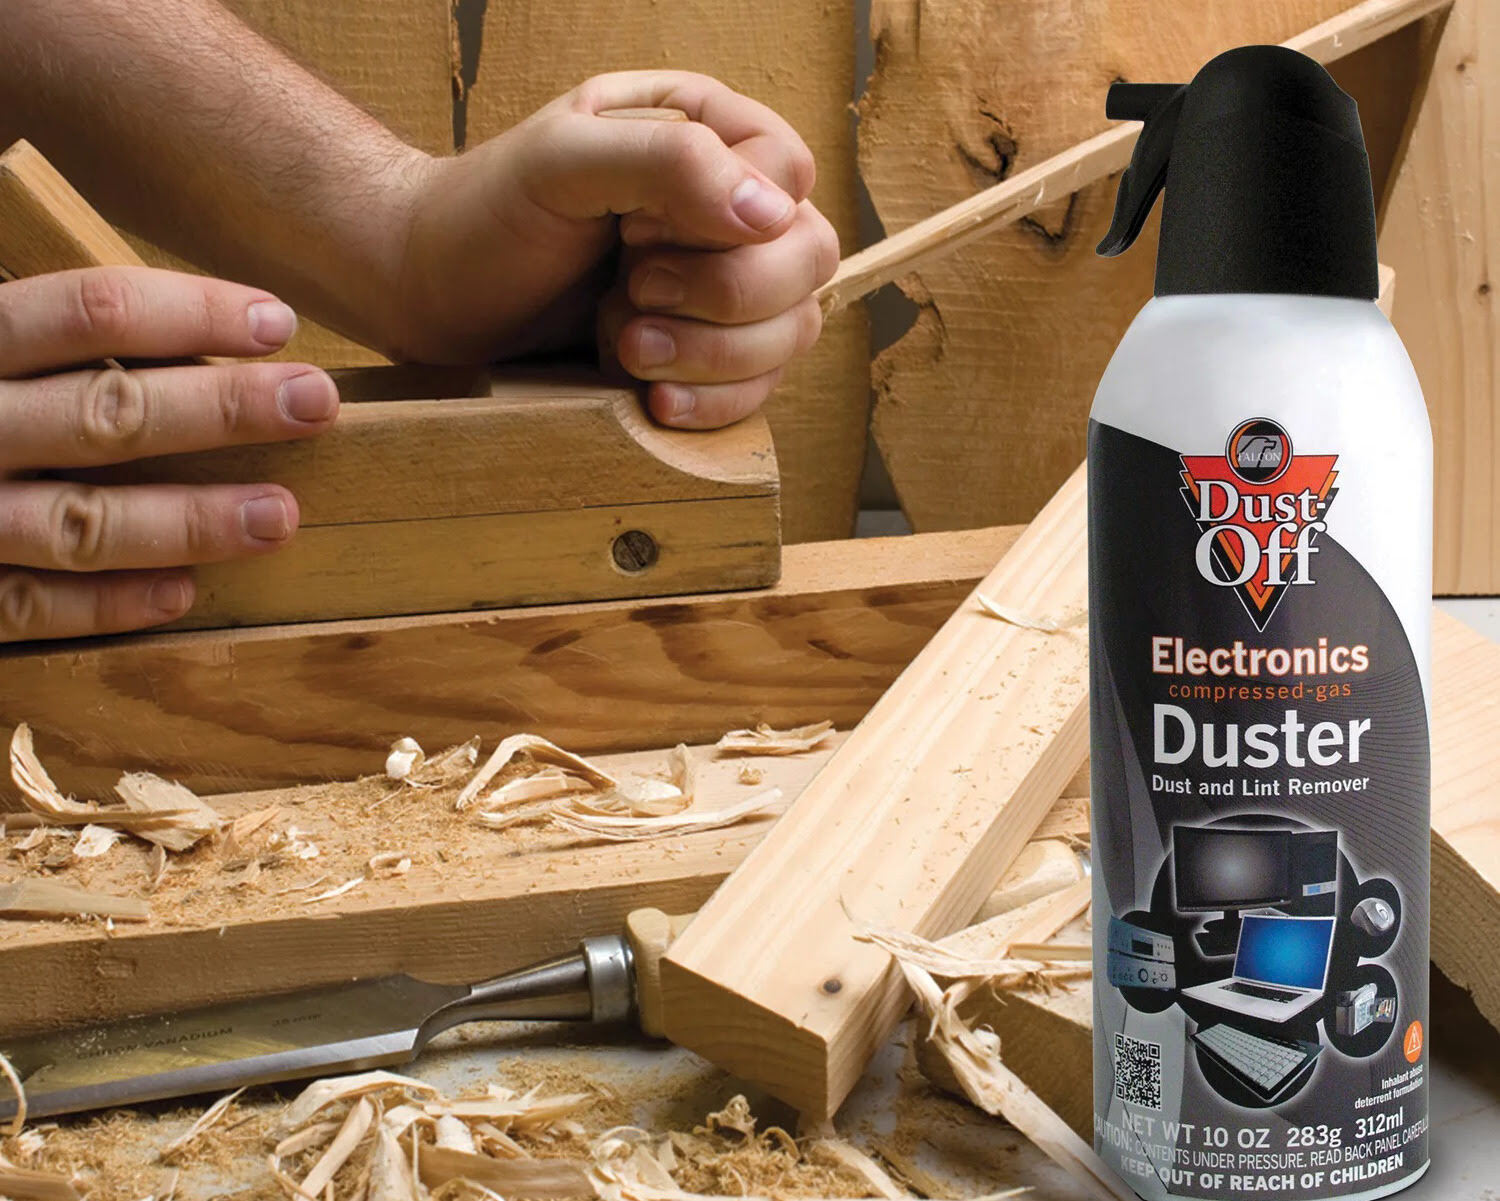
Read more: How To Use Air Duster Spray
Types of Dusters
There are various types of dusters available on the market, each designed to tackle specific dusting needs. Let’s take a closer look at some of the most common types:
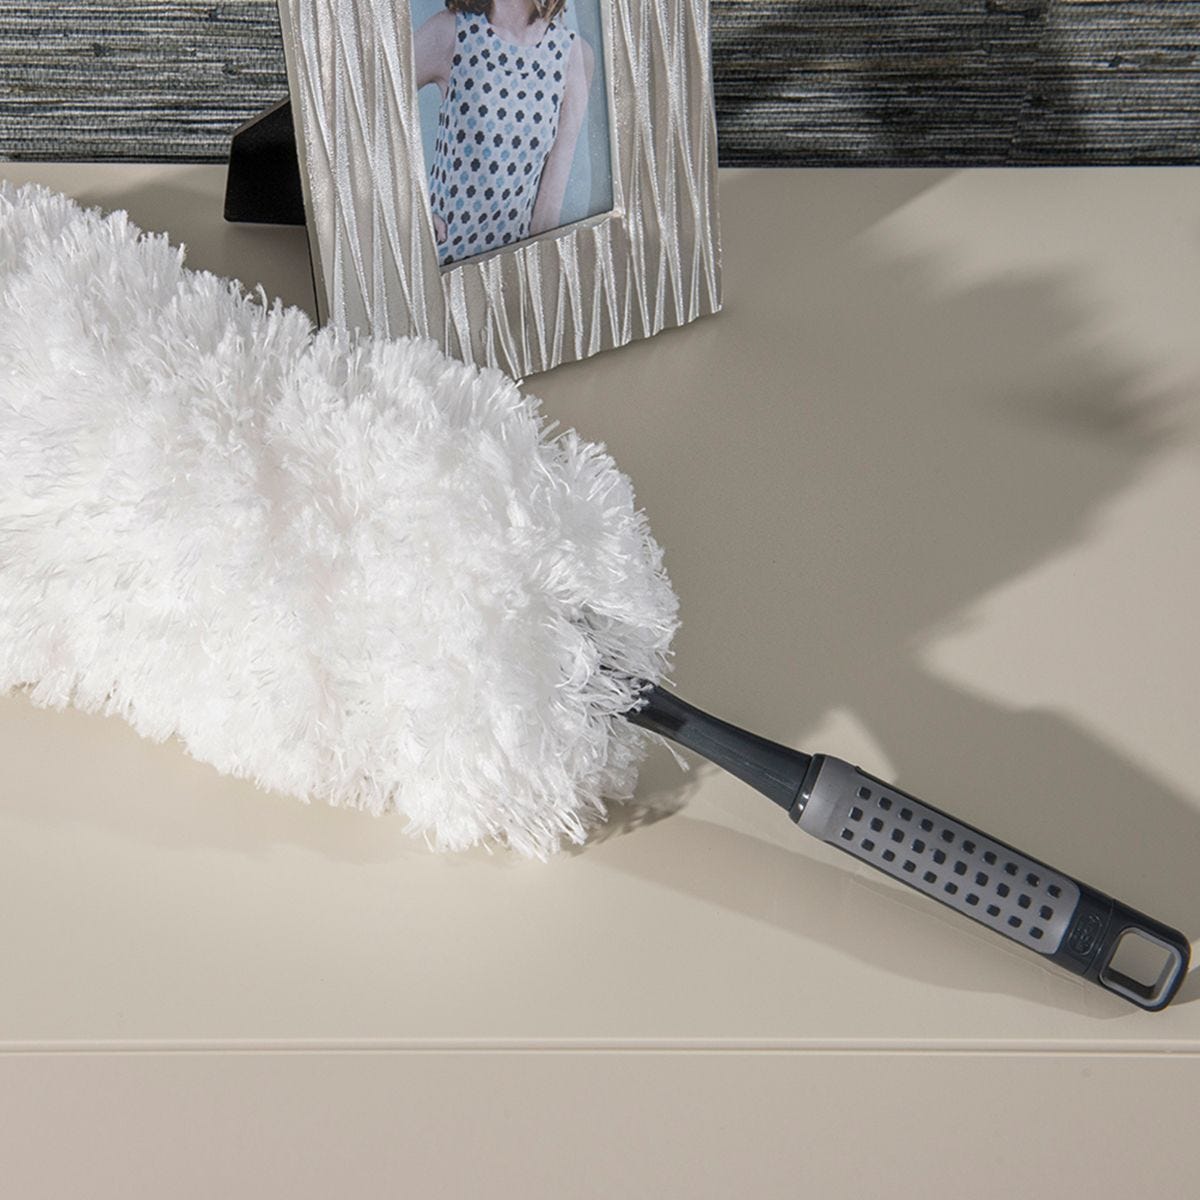
- Feather Dusters: Feather dusters are a classic and popular choice for dusting. They are made of lightweight, soft feathers or synthetic materials that attract dust particles and allow for easy removal. Feather dusters are great for delicate items and surfaces that require a gentle touch.
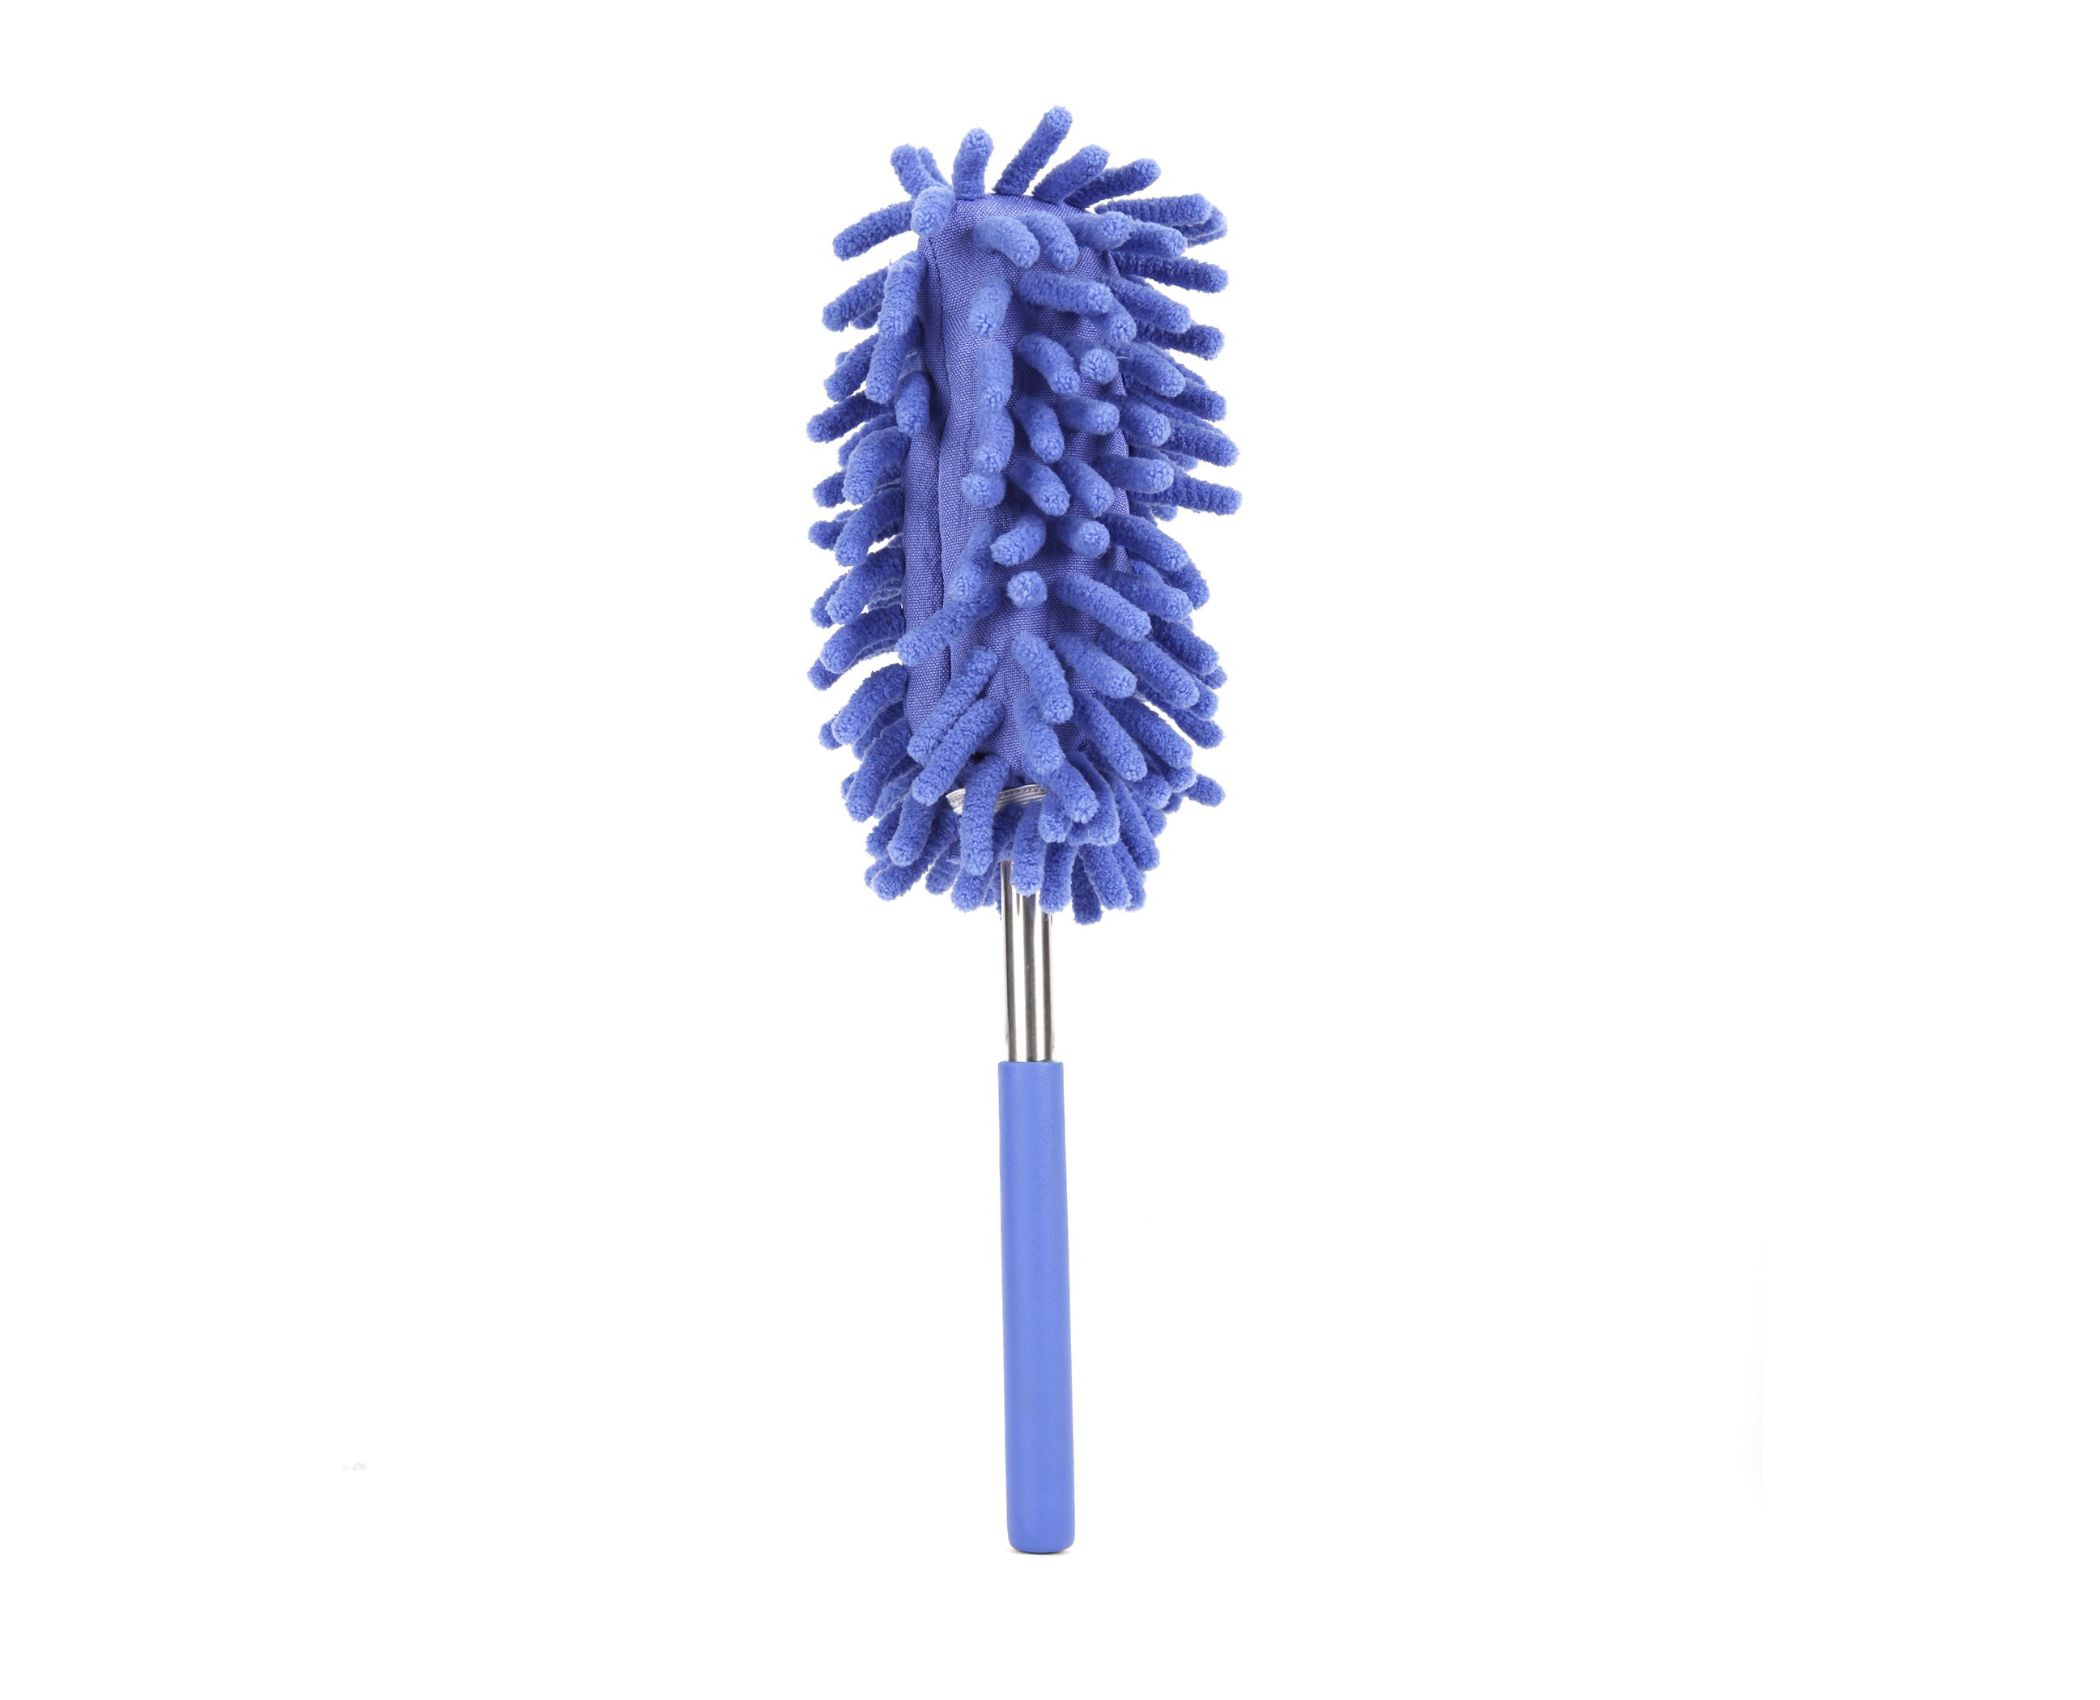
- Microfiber Dusters: Microfiber dusters are made of fine synthetic fibers that create an electrostatic charge, effectively attracting and trapping dust particles. They are versatile, durable, and can be used dry or slightly dampened for more stubborn dust. Microfiber dusters are perfect for larger surfaces, such as tables, countertops, and shelves.
- Lambswool Dusters: Lambswool dusters are made of soft and gentle lambswool, which naturally attracts and holds dust. They are ideal for delicate surfaces like glass, mirrors, or fragile items. Lambswool dusters are known for their durability and are often considered a long-term investment in your cleaning arsenal.
- Static Dusters: Static dusters feature long, fluffy fibers that generate a static charge to attract dust particles. They are commonly made of synthetic materials like polyester. Static dusters are highly effective at reaching tight spaces and corners, making them a go-to option for hard-to-reach areas.
- Electrostatic Dusters: Electrostatic dusters utilize an electrostatic charge to attract and hold dust particles. They often come in the form of disposable sheets attached to a handle or in disposable duster mitts. Electrostatic dusters are convenient and efficient for quick and easy dusting tasks.
It’s important to choose a duster that suits your specific cleaning needs and preferences. Consider the type of surfaces you will be dusting, the level of dust accumulation, and any specific sensitivities or allergies you may have.
Now that we’ve explored the different types of dusters, let’s move on to choosing the right duster for your cleaning tasks.
Choosing the Right Duster
When it comes to choosing the right duster for your cleaning needs, there are a few factors to consider. Keep the following tips in mind before making your purchase:
- Type of Surface: Consider the surfaces you will be dusting. If you have delicate items or surfaces that require a gentle touch, opt for a feather or lambswool duster. For larger surfaces or electronics, microfiber or static dusters are a great choice.
- Dust Accumulation: Evaluate the level of dust accumulation in your space. If there is heavy dust build-up, consider a duster with better dust-trapping capabilities, such as microfiber or electrostatic dusters. For light dusting or maintenance cleaning, a feather or lambswool duster may suffice.
- Allergies or Sensitivities: If you or anyone in your household has allergies or sensitivities, it’s important to choose a duster that minimizes the risk of triggering them. Look for dusters that are specifically designed to capture and hold dust particles instead of spreading them into the air.
- Usability: Consider the ease of use and convenience of the duster. Look for features like an ergonomic handle or a telescopic pole if you need to reach high or hard-to-access areas. Additionally, consider whether you prefer a reusable duster that requires cleaning or a disposable option for added convenience.
- Durability: Assess the durability of the duster. Check customer reviews and product descriptions to ensure that the duster is built to last. Investing in a high-quality, durable duster will save you money in the long run and provide more effective dusting results.
By considering these factors, you can choose a duster that is best suited for your specific cleaning needs. Remember, there is no “one-size-fits-all” solution, so take the time to assess your requirements before making a purchase.
Now that you know how to choose the right duster, let’s move on to the step-by-step process of using a duster effectively.
Step 1: Preparing the Duster
Before you start dusting, it’s important to prepare your duster for the task at hand. Follow these steps to ensure your duster is ready to effectively remove dust:
- Inspect the Duster: Take a moment to inspect your duster for any damage or excessive dust accumulation. If your duster is dirty, give it a gentle shake outdoors to remove loose dust particles. If it’s reusable, you may also consider washing or cleaning it according to the manufacturer’s instructions.
- Ensure the Duster is Dry: If you’ve washed or dampened your duster, ensure that it is completely dry before use. Using a damp duster can leave streaks or watermarks on surfaces, compromising the cleanliness of your dusting efforts.
- Consider Anti-Static Sprays: If you’re using a duster that does not have built-in anti-static properties, you may consider using an anti-static spray on your duster. This can help minimize the chances of dust resettling on surfaces after you’ve completed your dusting tasks.
- Check the Handle: If your duster has a handle or an extension pole, double-check its stability and adjust the length if needed. Ensure that the handle or pole is securely attached to the duster to prevent any accidents or damage during the cleaning process.
By properly preparing your duster, you can ensure that it is at its optimal state to effectively remove dust from various surfaces. With your duster ready, let’s move on to the next step: dusting hard surfaces.
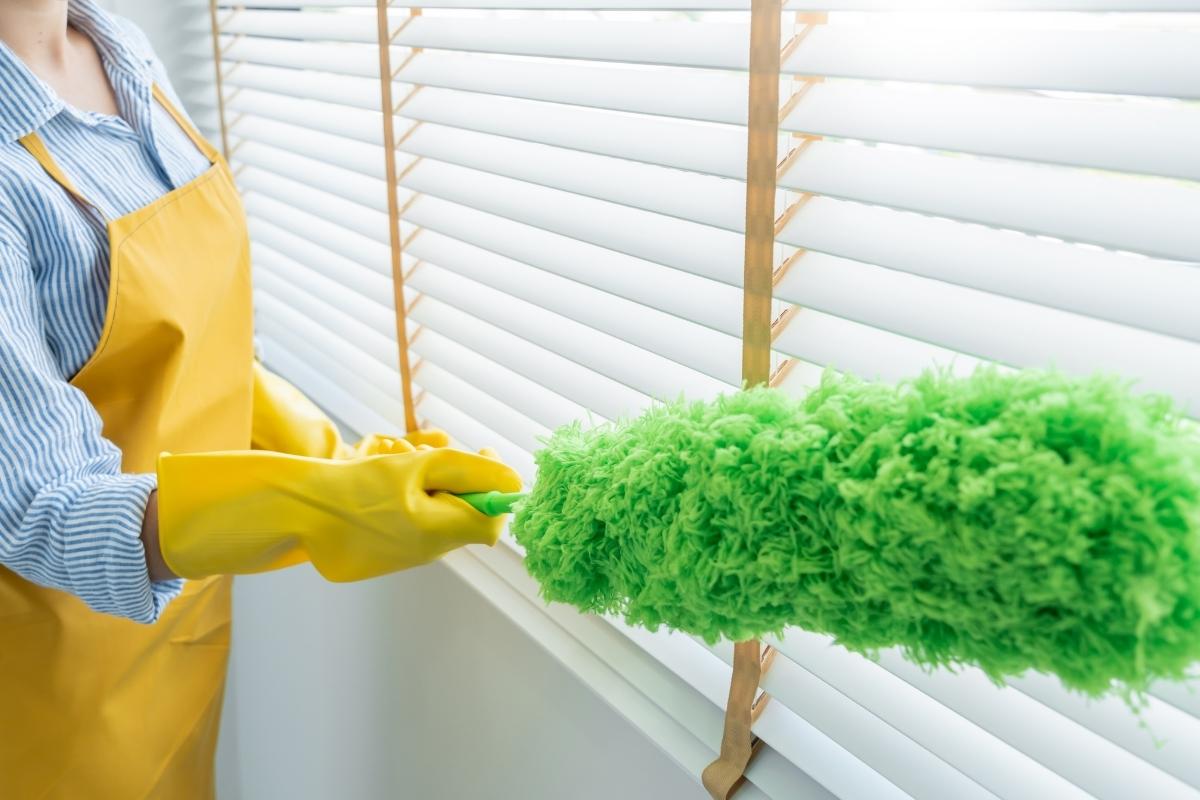
Step 2: Dusting Hard Surfaces
Now that you have prepared your duster, it’s time to start dusting! This step will guide you through the process of dusting hard surfaces in your home or office:
- Start at the Top: Begin dusting at the highest point in the room, such as ceiling fans, light fixtures, or high shelves. Use a step ladder or an extension pole if needed to reach these areas. Work your way down to the lower surfaces to ensure that any falling dust is captured during the process.
- Dust in a Top-to-Bottom Approach: When dusting surfaces, always follow a top-to-bottom approach. This way, any falling dust will settle on surfaces that haven’t been dusted yet. Dusting in a circular or random motion can lead to dust resettling on already cleaned surfaces.
- Use Gentle Strokes: Apply gentle and light strokes with your duster to avoid scratching or damaging surfaces. Let the duster do the work by allowing it to glide over the surface rather than pressing down with force.
- Pay Attention to Detail: Dust not only the flat surfaces but also the edges, corners, and crevices where dust can easily accumulate. Use the appropriate edge of your duster or opt for a smaller duster or brush to reach these tight spaces.
- Don’t Forget Electronics: When dusting electronics like televisions, computers, or stereo systems, remember to turn them off and unplug them before dusting. Use a soft duster or a microfiber cloth to gently remove dust from screen surfaces, buttons, and vents.
Remember, consistency is key when it comes to dusting. Regularly dusting hard surfaces will help maintain a clean and dust-free environment, helping to reduce allergens and improve air quality in your space.
Now that you’ve mastered dusting hard surfaces, let’s move on to the next step: dusting delicate items.
When using a duster, start from the top and work your way down to prevent dust from settling on already cleaned surfaces. Shake out the duster outside after use to remove trapped dust.
Read more: How To Wear A Duster
Step 3: Dusting Delicate Items
Dusting delicate items requires extra care and attention to prevent any damage. Follow these steps to safely and effectively dust delicate items in your home or office:
- Select the Right Duster: Choose a duster specifically designed for delicate surfaces, such as a feather duster or a lambswool duster. These types of dusters are soft and gentle, minimizing the risk of scratching or causing any damage.
- Inspect the Item: Before dusting, inspect the delicate item for any loose or fragile parts. Take note of any areas that require extra caution or a different cleaning approach. If there are specific cleaning instructions provided by the manufacturer, follow them accordingly.
- Dust Lightly: When dusting delicate items, use light and gentle strokes. Avoid applying pressure that could potentially damage or displace any parts. Let the soft bristles of your duster or the feathers glide over the surface without exerting too much force.
- Consider Handheld Vacuum or Brush: In some cases, delicate items may have intricate details or hard-to-reach areas that are challenging to clean with a duster alone. Consider using a small handheld vacuum cleaner with a soft brush attachment or a soft-bristled brush to remove dust from these intricate parts.
- Clean in a Controlled Environment: It’s important to dust delicate items in a controlled and stable environment. Avoid dusting in areas with strong air currents or drafts that could potentially knock over or disrupt fragile objects. Find a stable surface or use a soft cloth or cushioned mat to protect the delicate item during the dusting process.
By following these steps, you can safely and effectively dust delicate items without causing any harm. Take your time and exercise patience to ensure the preservation of these special objects.
Now that you’ve mastered dusting delicate items, let’s move on to the next step: dusting high or hard-to-reach areas.
Step 4: Dusting High or Hard-to-Reach Areas
Dusting high or hard-to-reach areas can be a challenging task, but with the right techniques and tools, you can effectively remove dust from these areas. Follow these steps to easily tackle high or hard-to-reach dusting:
- Use an Extension Pole: An extension pole is a valuable tool when it comes to dusting high or unreachable areas. Attach your duster securely to the extension pole to gain extra reach without the need for a ladder or step stool. Choose a pole that is adjustable to your desired length.
- Secure the Area: Before reaching high areas, ensure that the surrounding area is clear of any valuable or fragile items. Remove any obstacles or objects that may impede your cleaning process or pose a risk of falling or breaking during dusting.
- Start from the Top: Begin dusting at the highest point and work your way down gradually. This will prevent dust from falling onto already cleaned surfaces. Focus on areas such as ceiling corners, moldings, tops of furniture, light fixtures, and ceiling fans.
- Use Gentle and Controlled Movements: As you dust high or hard-to-reach areas, be mindful of your movements. Use slow, controlled motions to ensure that the dust is effectively captured by the duster. Avoid vigorous shaking or aggressive movement that may cause the dust to spread or be released into the air.
- Be Safe: When dusting high areas, ensure your safety by using stable furniture, step ladders, or scaffolding to reach them. Take precautions to prevent slips or falls by wearing appropriate footwear and maintaining a firm grip on the extension pole and duster.
By following these steps, you can conquer high or hard-to-reach areas and eliminate dust from these spots. Regularly dusting these areas will help maintain a cleaner and healthier environment in your space.
Now that you’ve learned how to dust high or hard-to-reach areas, let’s move on to the final step: cleaning and maintaining your duster.
Step 5: Cleaning and Maintaining the Duster
Cleaning and maintaining your duster is essential to ensure its effectiveness and longevity. Follow these steps to keep your duster in great condition:
- Remove Dust Particles: After each use, give your duster a gentle shake outdoors to remove any trapped dust particles. This will prevent the dust from resettling on the duster or being released into the air during the next use.
- Wash or Clean as Appropriate: Depending on the type of duster you have, follow the manufacturer’s instructions for cleaning. Some dusters, like microfiber or lambswool, may be machine washable. Feather dusters can be gently washed with mild soap and water. Ensure that the duster is completely dry before using it again.
- Inspect for Damage: Regularly inspect your duster for any signs of damage or wear. Check for loose or broken bristles, tears in the fabric, or any other issues that may affect its performance. If your duster is damaged, consider replacing it to maintain effective dusting results.
- Store Properly: Store your duster in a clean and dry area to prevent dust or moisture buildup. Consider using a resealable bag or a dedicated storage container to protect it from contamination or damage when not in use.
- Replace When Necessary: Over time, dusters may lose their effectiveness due to wear and tear or accumulated dust particles that cannot be removed. If you notice that your duster is no longer picking up dust effectively, it may be time to replace it with a new one for optimal cleaning results.
By regularly cleaning and maintaining your duster, you can ensure that it performs at its best and provides efficient dusting results for a longer period of time.
Congratulations! You have now mastered the art of using a duster effectively. By following these steps and incorporating them into your cleaning routine, you can maintain a dust-free and clean environment in your home or office.
Remember, dusting is not just about cleanliness; it’s about creating a healthier space for you and your loved ones. So, grab your duster and start dusting away!
Conclusion
Congratulations! You have reached the end of this comprehensive guide on using a duster effectively. Armed with the knowledge of the different types of dusters, how to choose the right one for your needs, and the step-by-step process of dusting, you are now well-equipped to tackle dust and maintain a clean and healthy environment.
Remember, dusting is not just about aesthetics – it plays a crucial role in improving indoor air quality and reducing allergens in your space. Regular dusting can help alleviate allergies and respiratory issues, making your home or office a more comfortable and breathable place to be.
Whether you’re dusting hard surfaces, delicate items, high or hard-to-reach areas, following the proper techniques and utilizing the appropriate duster will ensure that you achieve optimal results. By starting from the top and working your way down, using gentle strokes, and paying attention to detail, you can effectively remove dust and maintain a pristine environment.
Don’t forget to clean and maintain your duster regularly to ensure its longevity and effectiveness. Removing trapped dust particles and washing or cleaning the duster as needed will help it continue to perform at its best and provide you with clean and dust-free surfaces.
So, grab your duster and embark on your dusting journey! Take pride in maintaining a clean and healthy space that you, your family, and your colleagues can enjoy. Remember, consistency is key, so incorporate regular dusting into your cleaning routine to reap the benefits of a dust-free environment.
Thank you for reading this guide, and happy dusting!
Frequently Asked Questions about How To Use A Duster
Was this page helpful?
At Storables.com, we guarantee accurate and reliable information. Our content, validated by Expert Board Contributors, is crafted following stringent Editorial Policies. We're committed to providing you with well-researched, expert-backed insights for all your informational needs.


0 thoughts on “How To Use A Duster”