
Articles
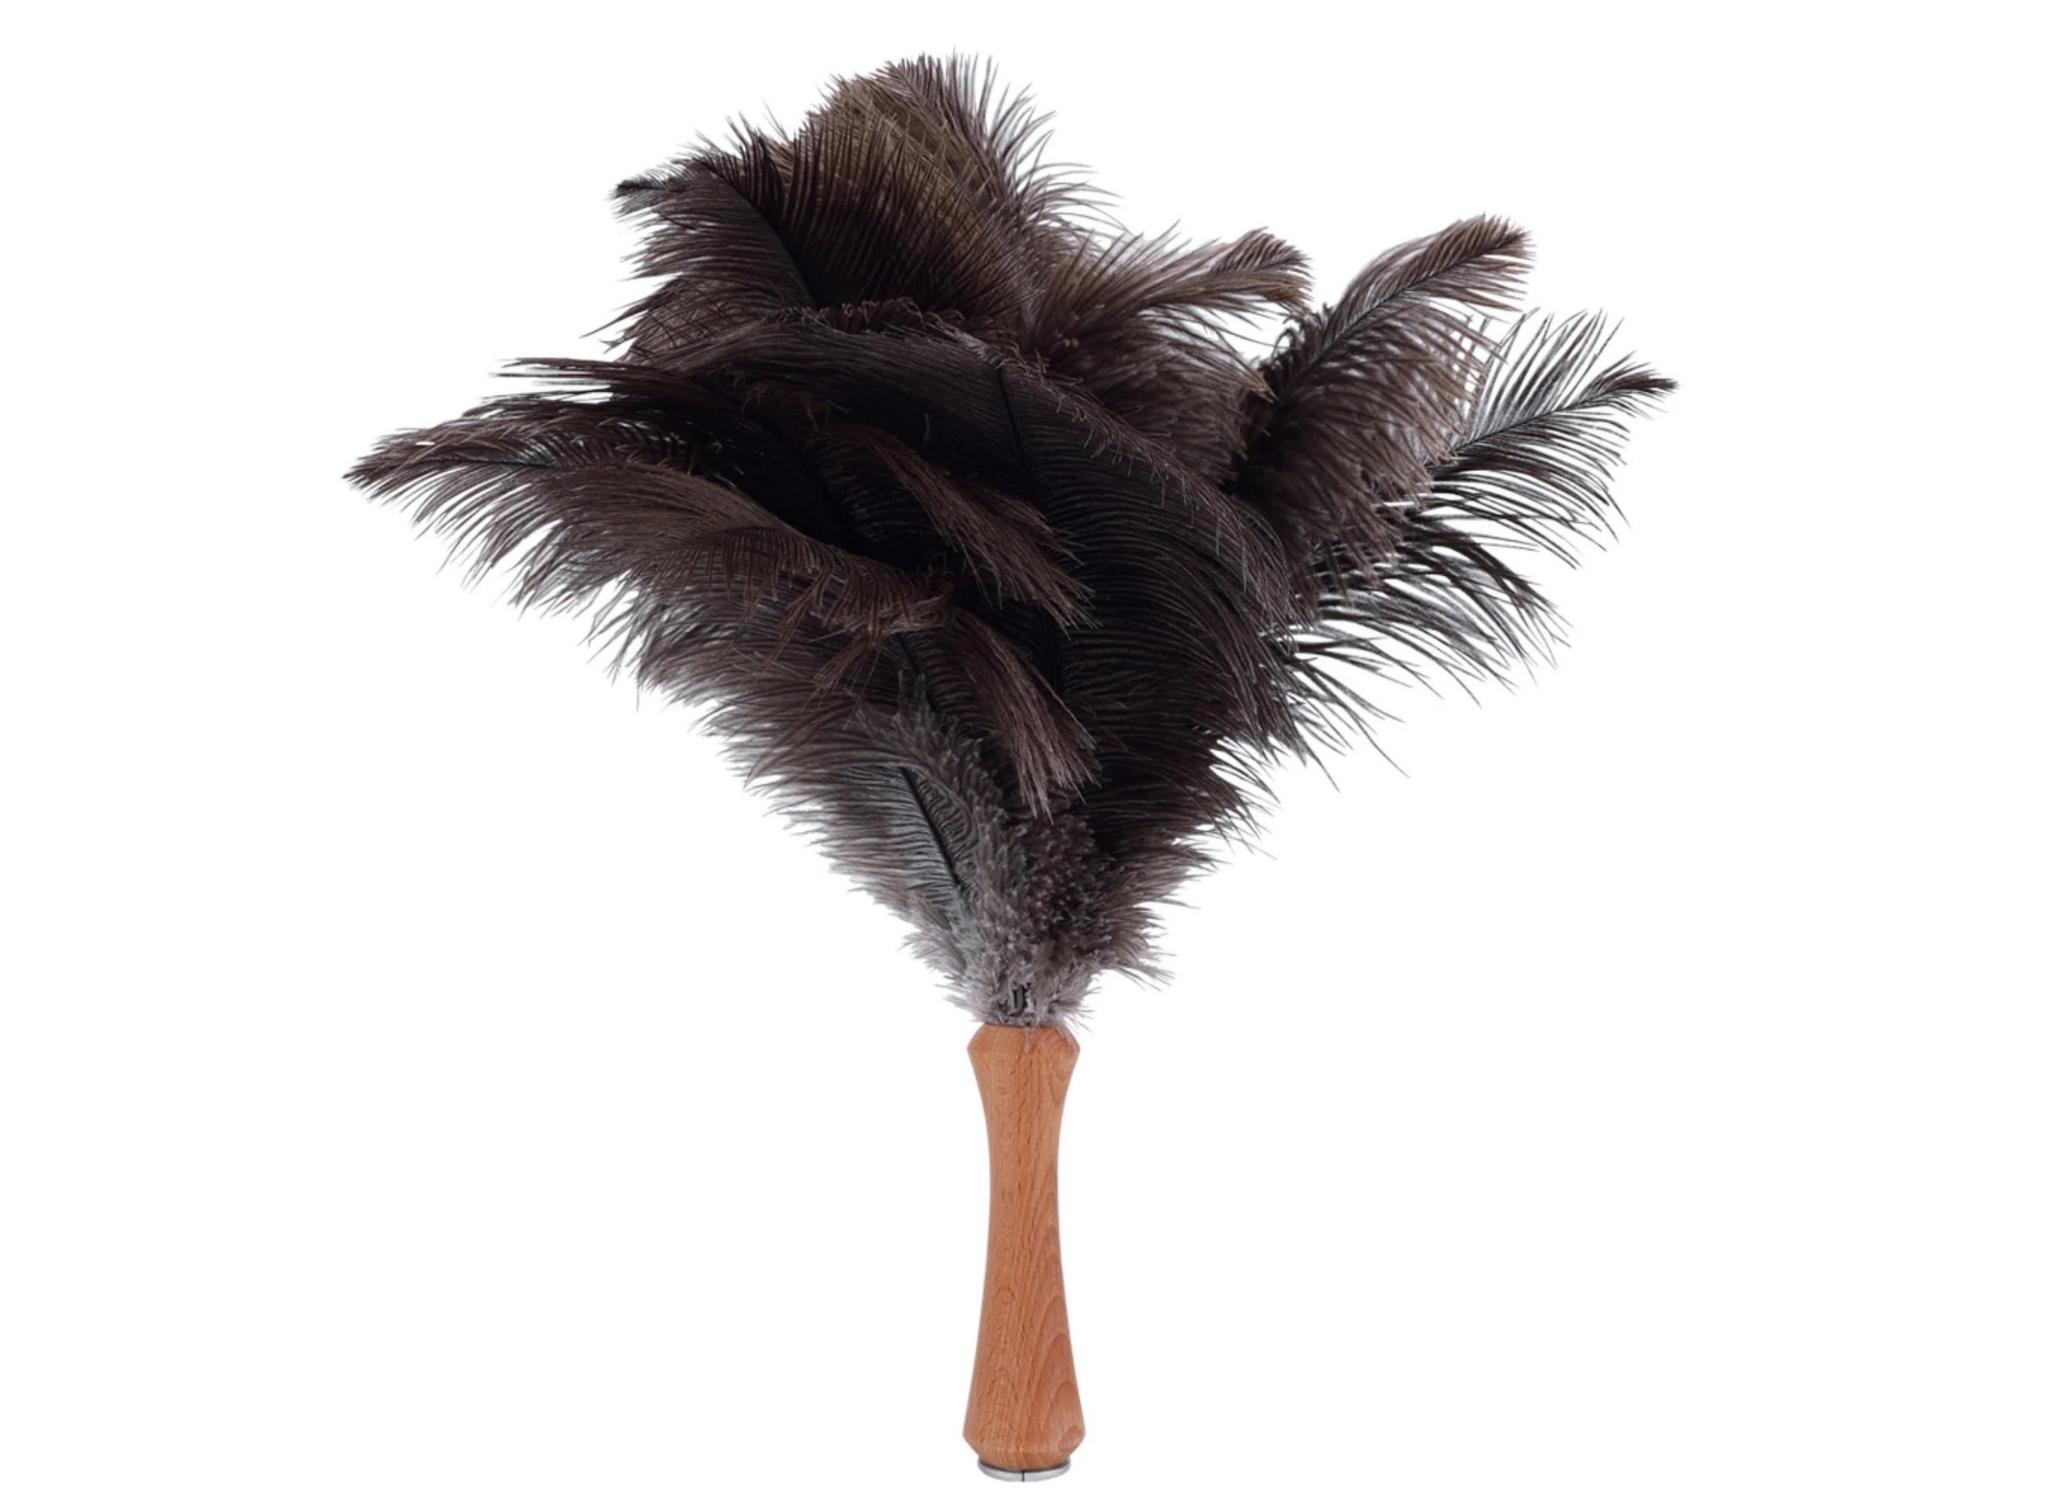
How To Clean A Feather Duster
Modified: December 7, 2023
Learn how to clean a feather duster effectively with our informative articles. Discover expert tips and tricks for maintaining the cleanliness and longevity of your duster.
(Many of the links in this article redirect to a specific reviewed product. Your purchase of these products through affiliate links helps to generate commission for Storables.com, at no extra cost. Learn more)
Introduction
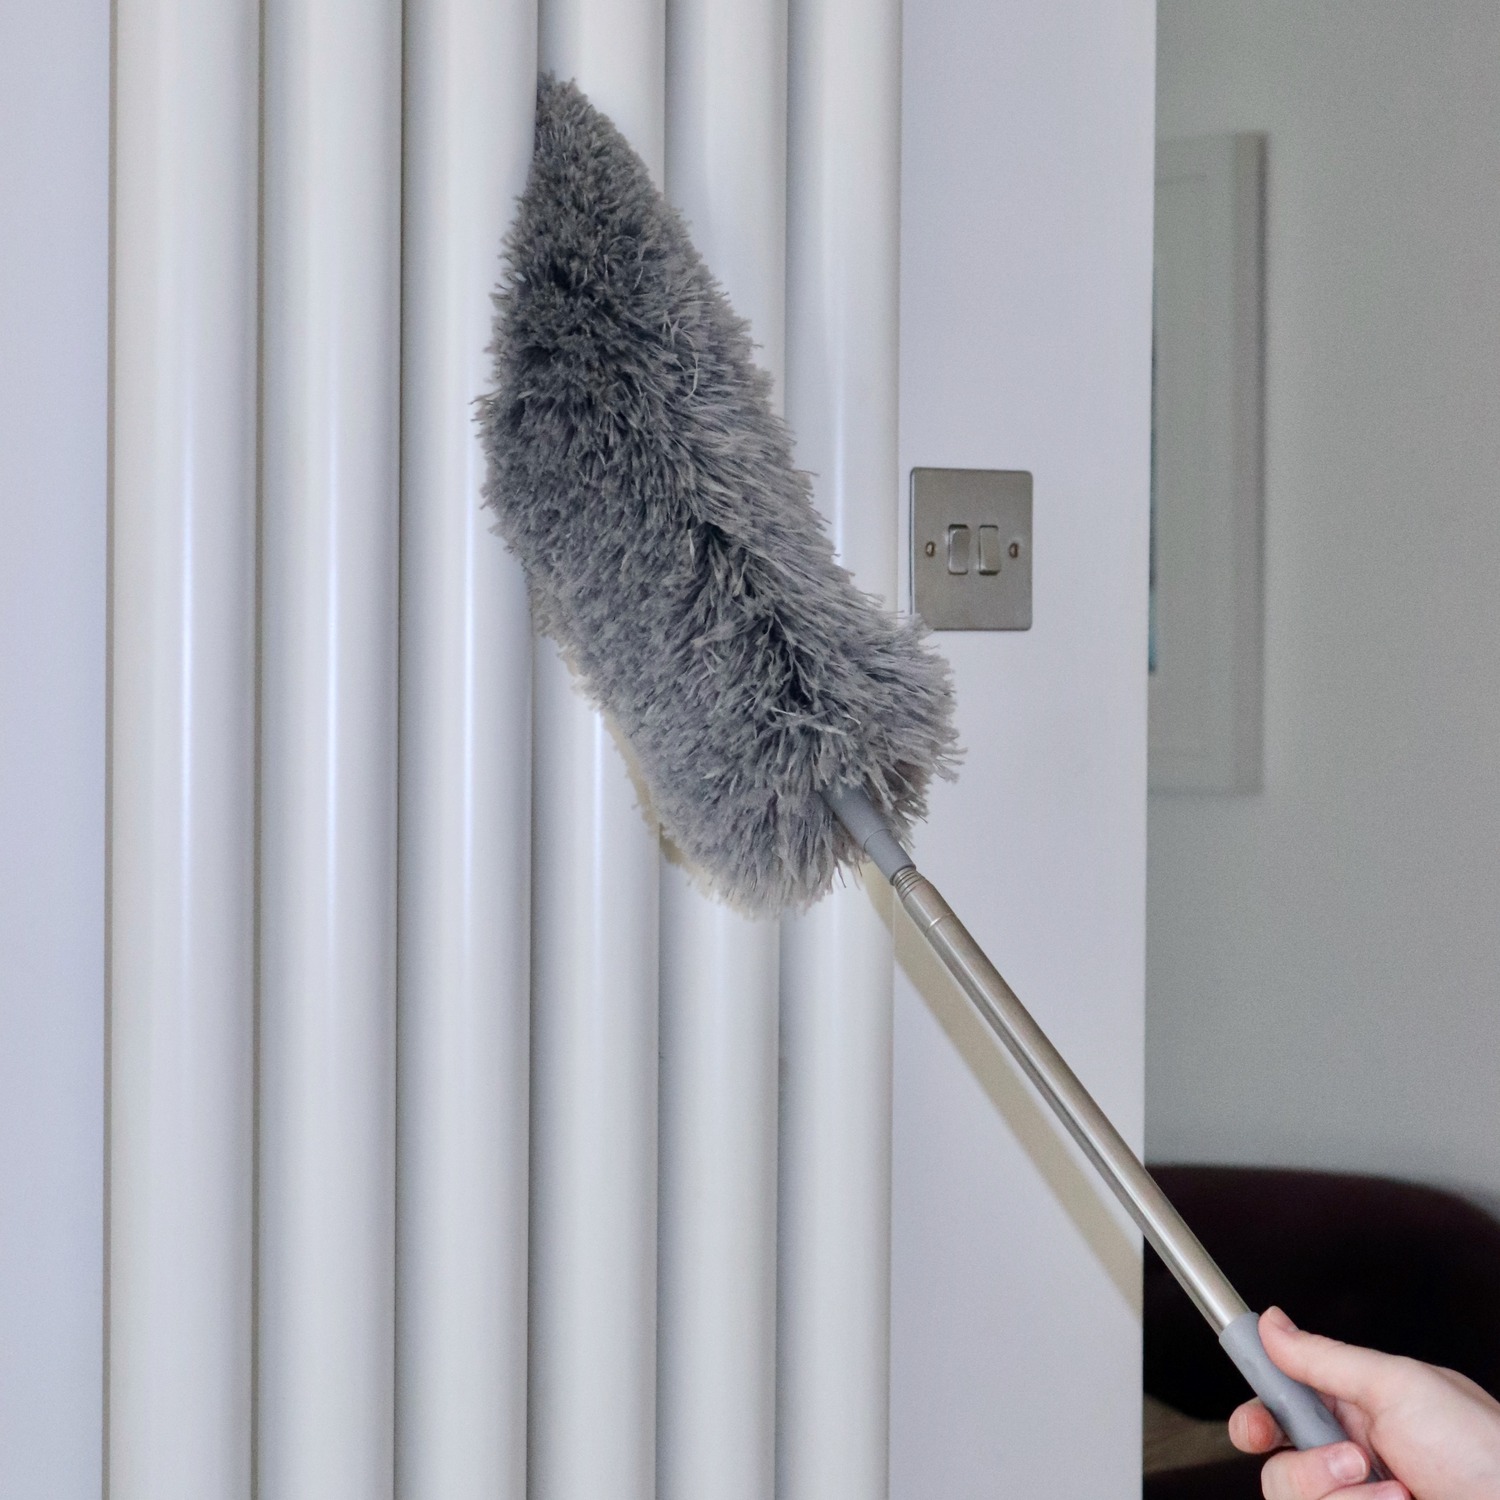
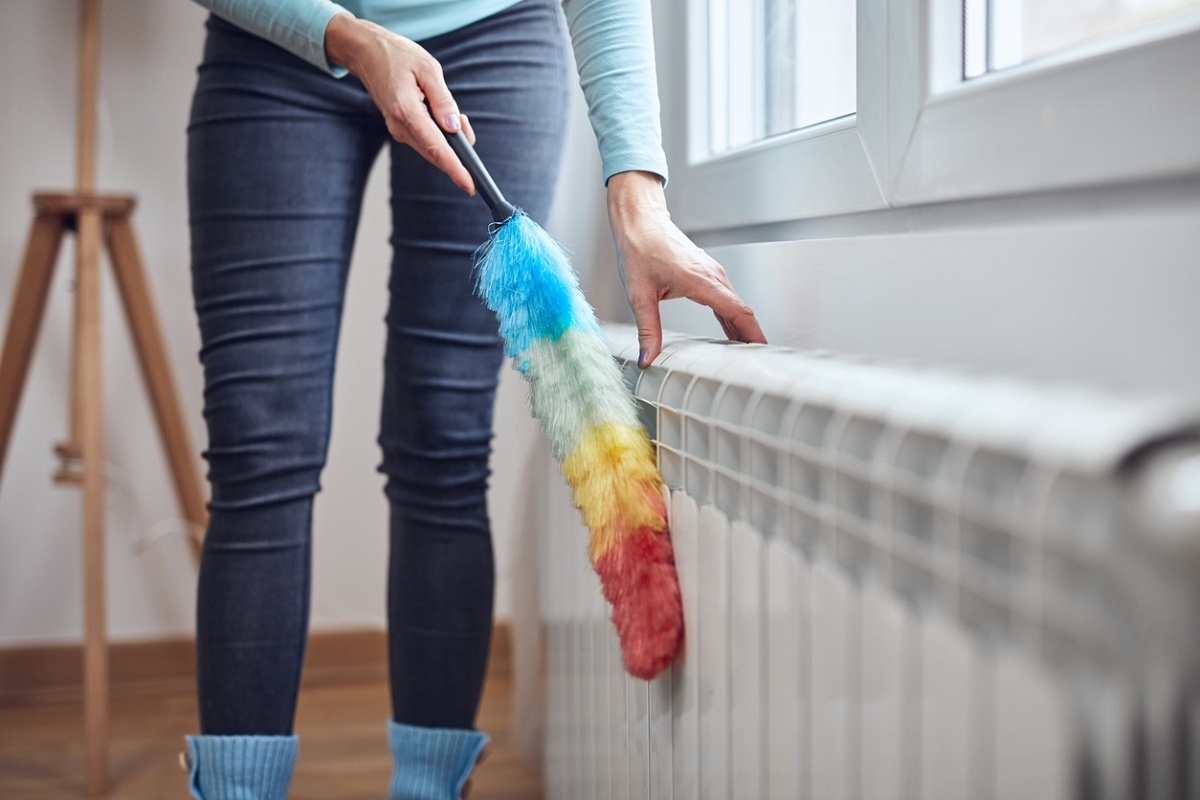
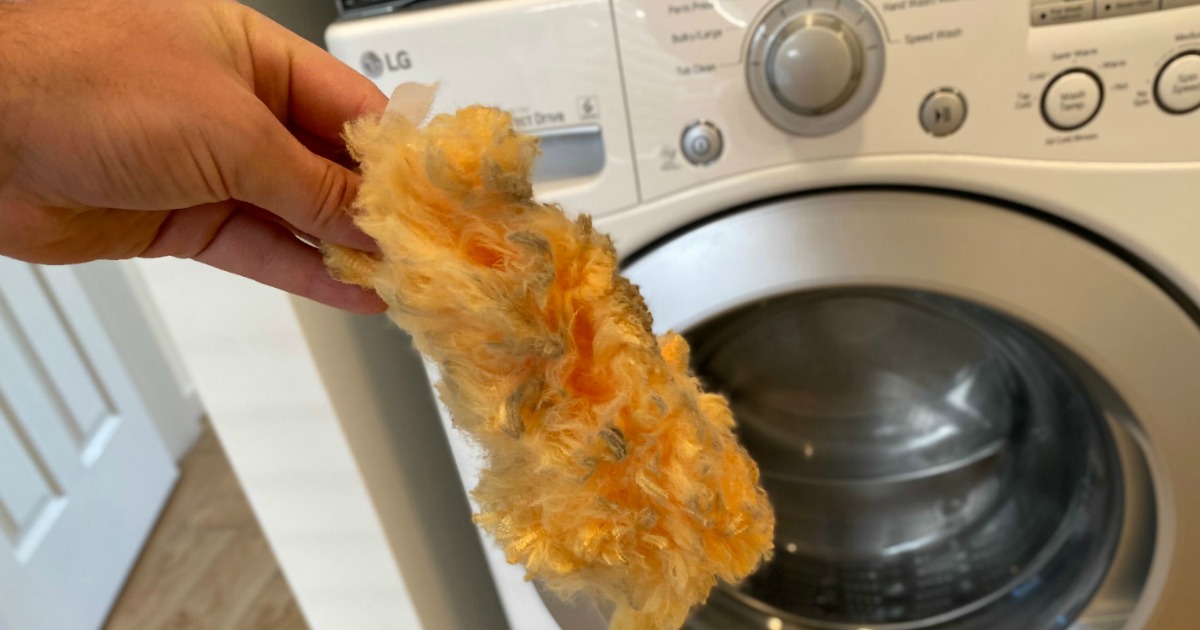
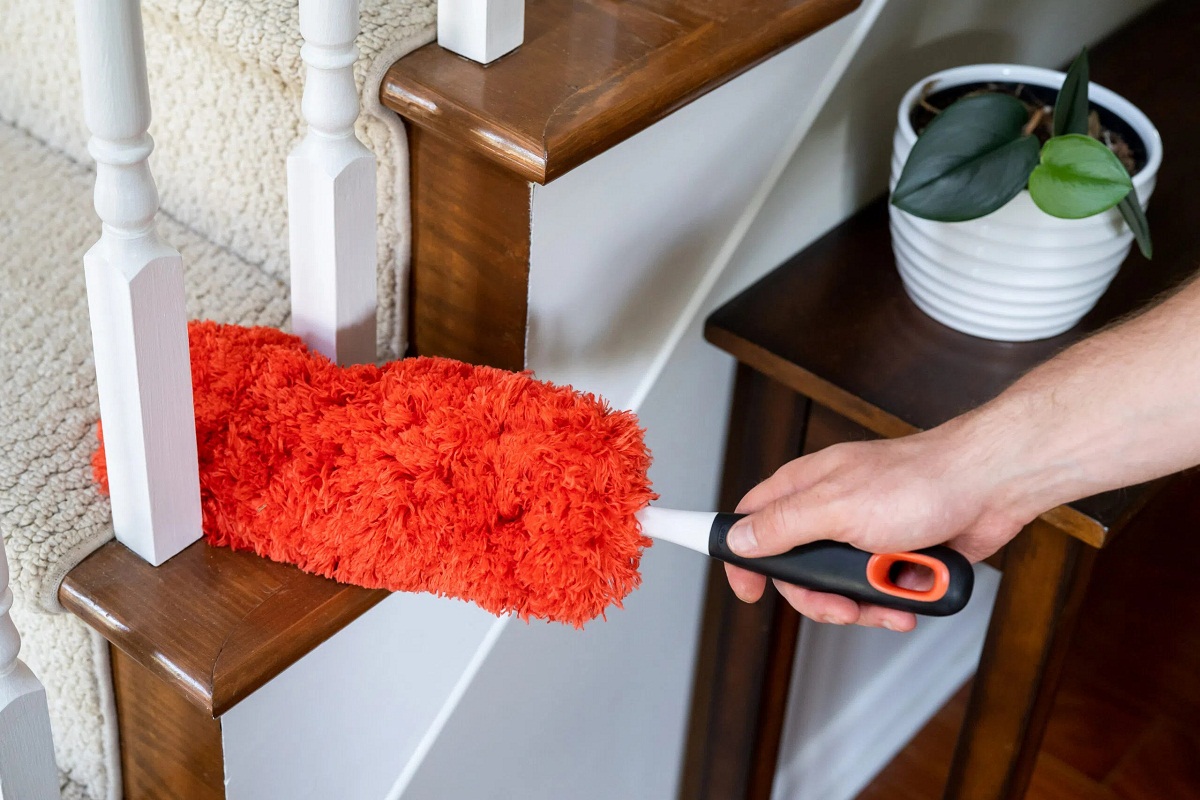
Feather dusters are a great tool for dusting and cleaning delicate surfaces. Their soft feathers attract and trap dust, making them an effective and gentle cleaning option for items such as glassware, electronics, and intricate decor pieces. However, over time, feather dusters can accumulate dust and lose their effectiveness if not properly cleaned and maintained.
In this article, we will guide you through the simple and efficient process of cleaning a feather duster, ensuring that it remains in optimal condition and ready to tackle your dusting needs. With just a few easy steps, you can keep your feather duster clean and functional, prolonging its lifespan and maximizing its dusting power.
So, let’s grab our feather dusters and dive into the detailed instructions for how to clean them!
Key Takeaways:
- Keep your feather duster clean and effective by shaking off excess dust, washing with mild soap, thorough rinsing, proper drying, and fluffing the feathers. Regular maintenance ensures a longer lifespan and optimal dusting power.
- Remember to store your freshly cleaned feather duster in a clean, dry area to prevent dust buildup. With proper care, your trusty feather duster will continue to be a valuable cleaning tool for years to come.
Read also: 13 Amazing Feather Duster for 2024
Materials Needed
Before we begin cleaning your feather duster, let’s gather the materials you will need. The good news is that you won’t require any specialized or expensive supplies. Here are the materials you’ll need:
- A clean, lint-free cloth
- Mild dish soap or baby shampoo
- A sink or basin filled with lukewarm water
- A clean towel or drying rack
These materials are easily accessible and can be found in most households. Once you have them ready, we can move on to the step-by-step process of cleaning your feather duster.
Step 1: Shake off Excess Dust
The first step in cleaning a feather duster is to remove any excess dust or debris that may have accumulated on the feathers. Take the feather duster outside or to an open area to avoid spreading dust indoors.
To shake off the excess dust, hold the feather duster firmly by the handle and gently flick or shake it in an up-and-down motion. This action will help dislodge any loose dirt or particles and allow them to fall away from the feathers.
If the feather duster is particularly dusty, you can lightly tap it against a hard surface, such as a railing or wall, to encourage more dust to dislodge. Be careful not to apply too much force, as this can damage the feathers.
Continue shaking and tapping the feather duster until you are satisfied that most of the loose dust has been removed. This step will make the subsequent cleaning process more effective and prevent the dust from settling back onto the feathers during washing.
Once you have shaken off the excess dust, it’s time to move on to the next step: washing the feather duster.
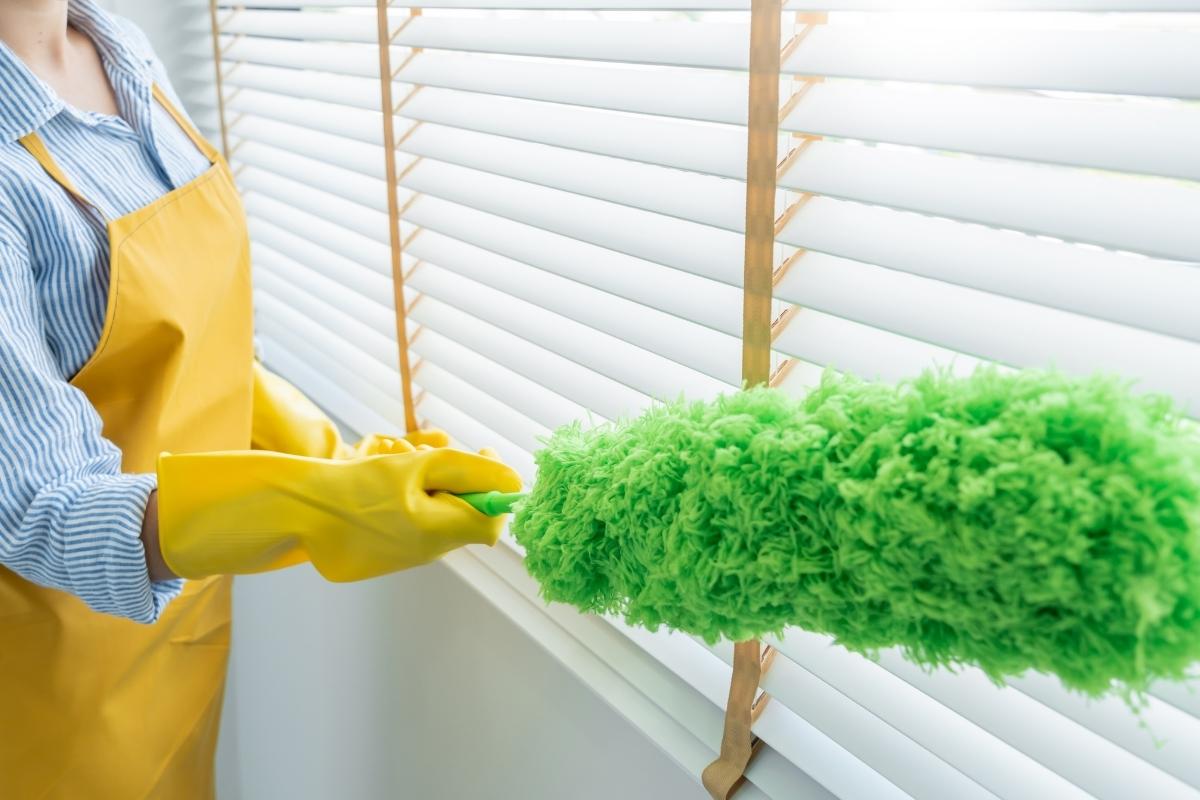
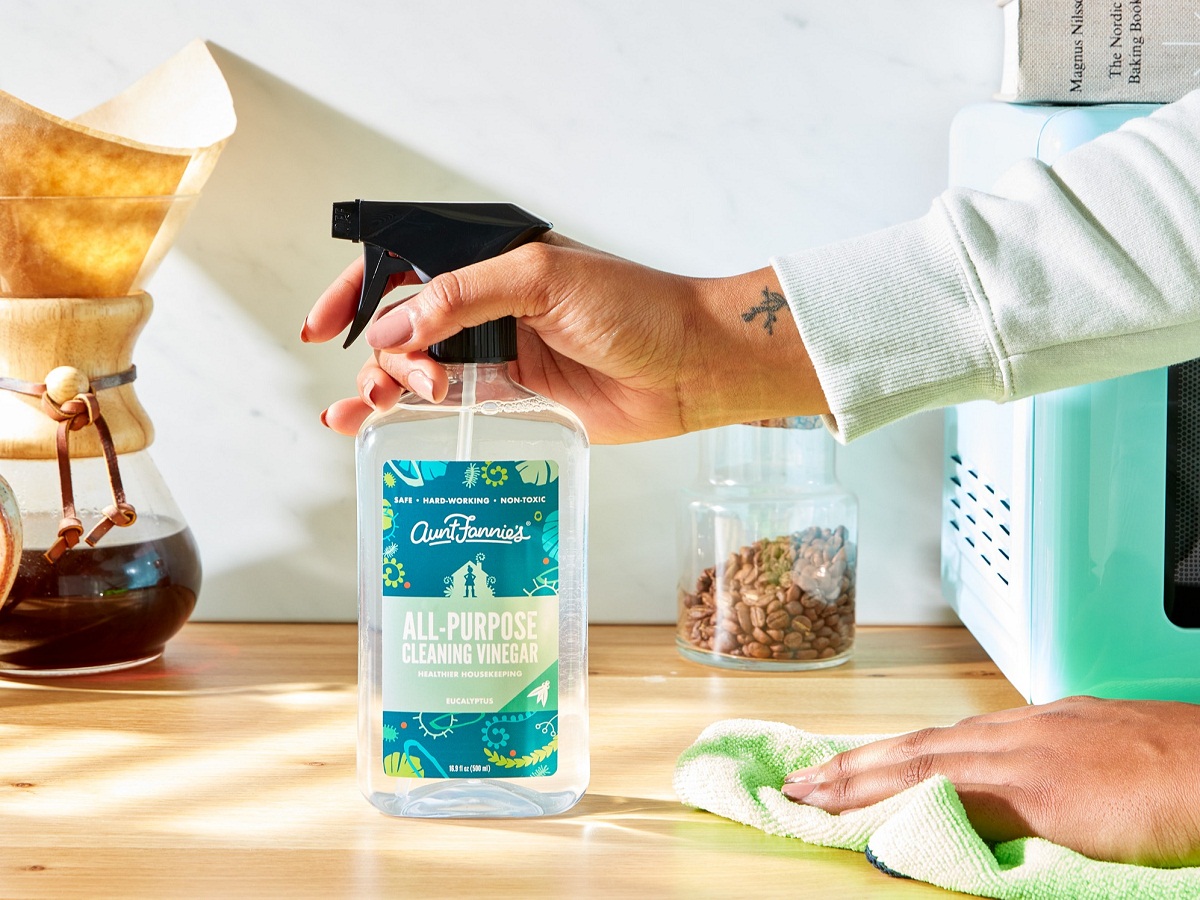
Step 2: Wash the Feather Duster
After shaking off the excess dust, it’s time to give your feather duster a proper wash. Fill a sink or basin with lukewarm water and add a small amount of mild dish soap or baby shampoo. Swirl the water gently to create some suds.
Submerge the feathers of the feather duster into the soapy water, making sure to keep the handle and any fabric or wood components above the waterline. Using your hand, gently agitate the feathers in the water, being careful not to apply too much pressure that may damage them.
Continue swishing the feather duster in the soapy water for a few minutes, allowing the soap to penetrate and remove any dirt or oils trapped in the feathers. Pay special attention to any areas that appear particularly dirty or stained.
Once you are satisfied with the cleaning, carefully remove the feather duster from the soapy water, ensuring that you hold it by the handle to avoid putting unnecessary stress on the feathers. Do not wring or twist the feathers, as this can cause them to lose their shape or become damaged.
Rinse the feather duster thoroughly under running water to remove any remaining soap residue. Again, be gentle when handling the feathers to prevent them from bending or breaking. Continue rinsing until the water runs clear and free of any soap suds.
Now that your feather duster is clean and soap-free, it’s time to move on to the next step: rinsing.
To clean a feather duster, gently shake off the dust outdoors, then soak the feathers in warm soapy water for a few minutes. Rinse and air dry thoroughly before using again.
Step 3: Rinse the Feather Duster
After washing the feather duster with soapy water, it’s essential to thoroughly rinse away any remaining residue. This step will ensure that the feathers are clean and free from any soap or cleaning agents.
Hold the feather duster under a gentle stream of running water, allowing the water to flow over the feathers. Use your fingers to separate and fluff the feathers as the water runs through them. This will help to dislodge any remaining soap residue and ensure a thorough rinse.
Continue rinsing the feather duster until the water runs clear and free of any soapy suds. It’s important to take your time during this step and ensure that all the feathers have been rinsed properly.
Once you are satisfied that the feather duster is thoroughly rinsed, gently shake off any excess water. Be careful not to shake too vigorously or squeeze the feathers too tightly, as this can cause them to lose their shape or become damaged.
Now that your feather duster is clean and rinsed, it’s time to move on to the next step: allowing it to dry properly.
Read more: How To Clean Feather Cushions
Step 4: Allow the Feather Duster to Dry
Properly drying the feather duster is crucial to ensure that it remains in good condition and ready for future use. After rinsing, gently squeeze out any excess water from the feathers, being careful not to twist or wring them too forcefully.
Next, lay the feather duster flat on a clean towel or place it on a drying rack, making sure that the feathers are spread out and not overlapping. This will allow air to circulate around the feathers, promoting faster and more thorough drying.
Place the feather duster in a well-ventilated area, away from direct sunlight or heat sources. Exposing the feathers to excessive heat or sunlight can cause them to become brittle and lose their softness.
Allow the feather duster to dry completely, which may take several hours or overnight, depending on the humidity in your environment. Avoid using the feather duster before it is completely dry to prevent any potential damage or clumping of the feathers.
Once the feather duster is dry, give it a gentle shake or fluff the feathers with your fingers to restore their natural fluffiness. This step will ensure that the feather duster is ready for use and will effectively trap dust once again.
Now that your feather duster is clean and thoroughly dried, let’s move on to the final step: fluffing the feathers.
Step 5: Fluff the Feathers
After the feather duster has completely dried, it’s time to fluff up the feathers to restore their full volume and effectiveness. Fluffing the feathers will help to optimize the dust-trapping capabilities of the duster and ensure that it is ready for your next cleaning session.
To fluff the feathers, hold the feather duster firmly by the handle and gently shake it in an up-and-down motion. This action will help to separate and loosen any feathers that may have clumped together during the drying process.
If you notice that some feathers are still slightly flattened or sticking together, you can use your fingers to gently separate and fluff them. Run your fingers through the feathers, working from the base towards the tips, to restore their natural fluffiness.
As you fluff the feathers, be careful not to apply too much pressure or force, as this can damage or break them. Handle the feather duster with care and take your time to ensure that all the feathers are properly fluffed.
Once you have fluffed the feathers to your satisfaction, your feather duster is now ready for use. Store it in a clean and dry place, away from dust and dirt, until you need to use it again.
By following these simple steps on how to clean and maintain a feather duster, you can ensure that it remains in optimal condition and continues to effectively dust and clean delicate surfaces for a long time.
Now that you’ve successfully completed all the steps, take a moment to admire your freshly cleaned and fluffed feather duster. Give yourself a pat on the back for taking the time to properly care for your cleaning tools!
Remember, regular cleaning and maintenance will not only keep your feather duster in top shape but also contribute to a cleaner and healthier home environment.
Happy dusting!
Conclusion
Cleaning a feather duster is a simple and straightforward process that can significantly extend its lifespan and maintain its effectiveness. By following these easy steps and investing a little time and effort, you can ensure that your feather duster remains a reliable tool for keeping your home clean and dust-free.
Remember to shake off excess dust before washing the feather duster with a mild soap solution. Rinse it thoroughly to remove any leftover residue and allow it to dry completely in a well-ventilated area. Once dry, fluff up the feathers to restore their natural volume.
Regular maintenance of your feather duster will not only maximize its dusting power but also prevent the spread of allergens and promote a healthier living environment. Clean your feather duster every few months or as needed, depending on the amount of dust it collects.
Lastly, always store your feather duster in a clean and dry area to prevent dust and dirt from settling on the feathers. With proper care, your feather duster will continue to serve as a valuable cleaning tool for years to come.
So, next time you reach for your trusty feather duster, remember to give it a good cleaning to ensure optimal performance. Happy cleaning!
Frequently Asked Questions about How To Clean A Feather Duster
Was this page helpful?
At Storables.com, we guarantee accurate and reliable information. Our content, validated by Expert Board Contributors, is crafted following stringent Editorial Policies. We're committed to providing you with well-researched, expert-backed insights for all your informational needs.

0 thoughts on “How To Clean A Feather Duster”