Articles
How To Clean Dust Without A Duster
Modified: January 6, 2024
Learn how to effectively clean dust without using a duster with these helpful articles. Discover simple and innovative techniques for a dust-free home.
(Many of the links in this article redirect to a specific reviewed product. Your purchase of these products through affiliate links helps to generate commission for Storables.com, at no extra cost. Learn more)
Introduction
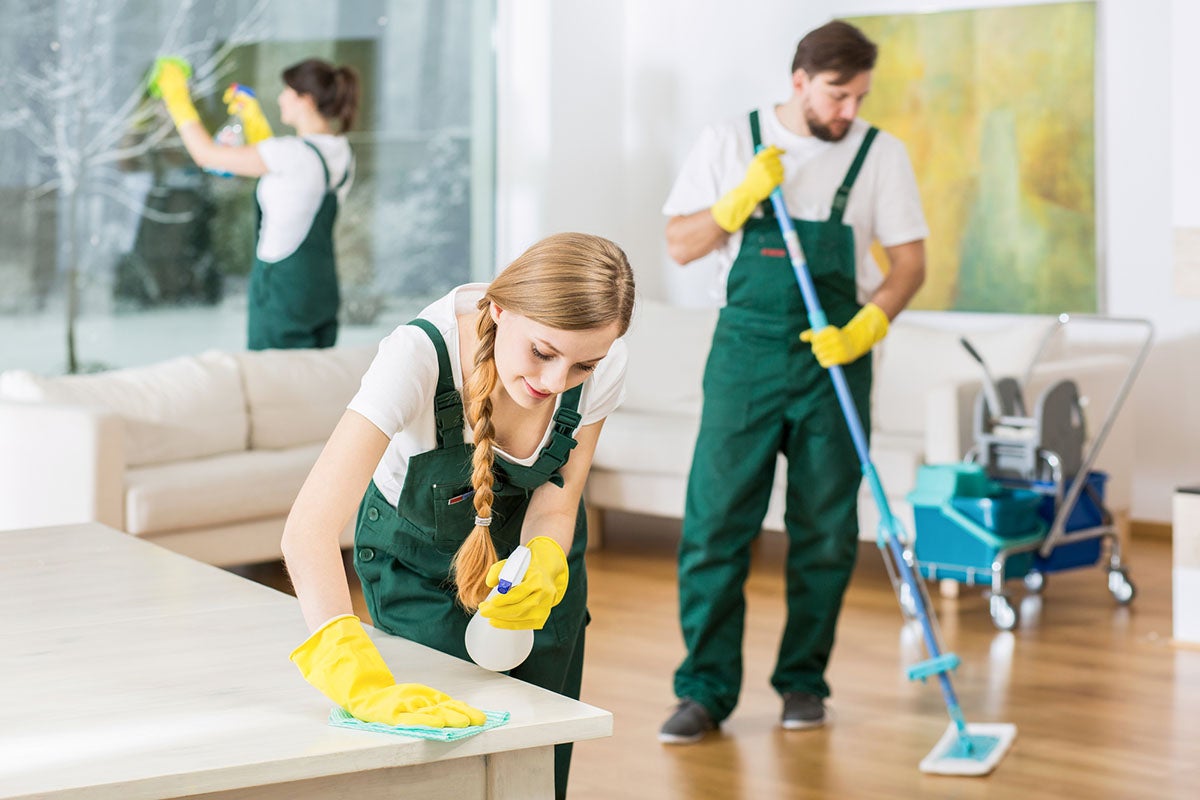
Dust accumulates in our homes on a daily basis, and it can be quite a hassle to keep up with cleaning it. While traditional dusters are commonly used to tackle this issue, there are times when we don’t have one readily available. Luckily, there are several alternative methods that can effectively clean dust without the need for a duster. In this article, we will explore these methods, using common household items that you may already have at home.
Using alternatives to dusters not only helps with convenience but also allows for more creativity and resourcefulness in tackling dust. Additionally, these methods can be more versatile and effective in reaching narrow or hard-to-reach areas, ensuring a thorough cleaning.
So, if you find yourself without a duster or simply want to explore different cleaning techniques, read on to discover these clever alternatives that will help you get rid of dust in no time!
Key Takeaways:
- Say goodbye to dust with these clever alternatives! From microfiber cloths to sticky tape, explore creative and eco-friendly ways to keep your home clean without traditional dusters.
- Embrace resourcefulness and versatility in dusting. Utilize everyday items like socks, feathers, and newspaper to efficiently remove dust while minimizing waste and saving money.
Read more: How To Clean A Duster
Why Use Alternatives to Dusters?
Using alternatives to traditional dusters can offer several advantages when it comes to cleaning dust effectively. Here are a few reasons why you should consider using these alternatives:
- Versatility: Traditional dusters often have a limited reach and may not be able to clean narrow or hard-to-reach areas effectively. Alternatives like microfiber cloths or foam paintbrushes can easily maneuver into tight spaces, ensuring a more thorough clean.
- Eco-friendly: Some dusters utilize disposable materials or contain harmful chemicals. By opting for alternative methods, such as using socks or fabric gloves, you can reduce waste and minimize the use of potentially harmful substances.
- Cost-effective: Purchasing dusters can add up over time. Alternatives that utilize items you already have at home, like socks or newspaper, can save you money in the long run.
- Multi-purpose use: Many of the alternatives to dusters mentioned in this article can serve multiple purposes. For example, microfiber cloths can also be used for cleaning glass surfaces or electronics, making them a versatile tool in your cleaning arsenal.
- Creativity: Using alternative methods to clean dust allows for a more creative and resourceful approach. It encourages you to think outside the box and find effective solutions using everyday items you may already have at home.
By exploring these alternatives, you can not only find effective ways to clean dust without a duster but also reap the benefits of versatility, cost-saving, and eco-friendly practices. Now let’s delve into some common household items that can be used as alternatives to dusters!
Common Household Items to Clean Dust
When you don’t have a duster on hand, don’t worry – there are plenty of household items that can be used as effective alternatives. Let’s explore some of these items:
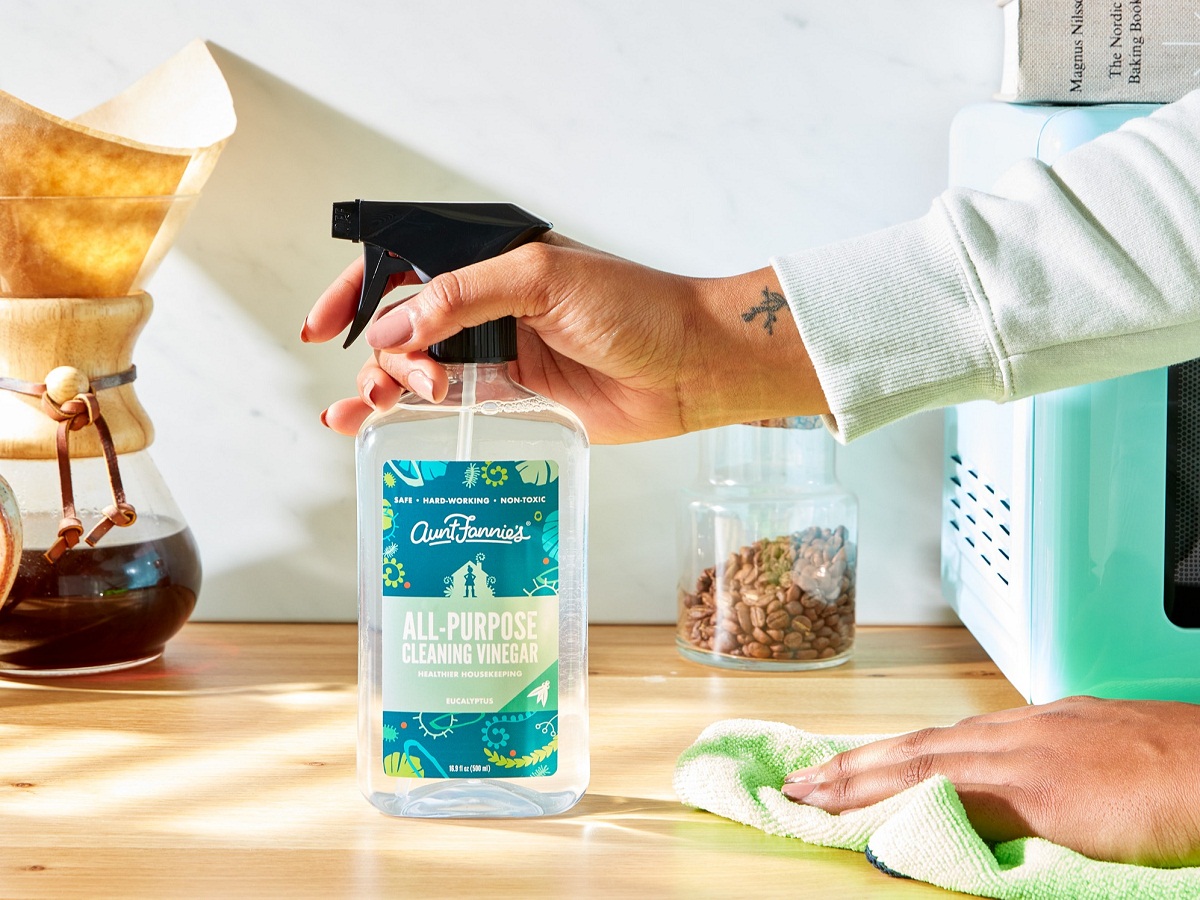
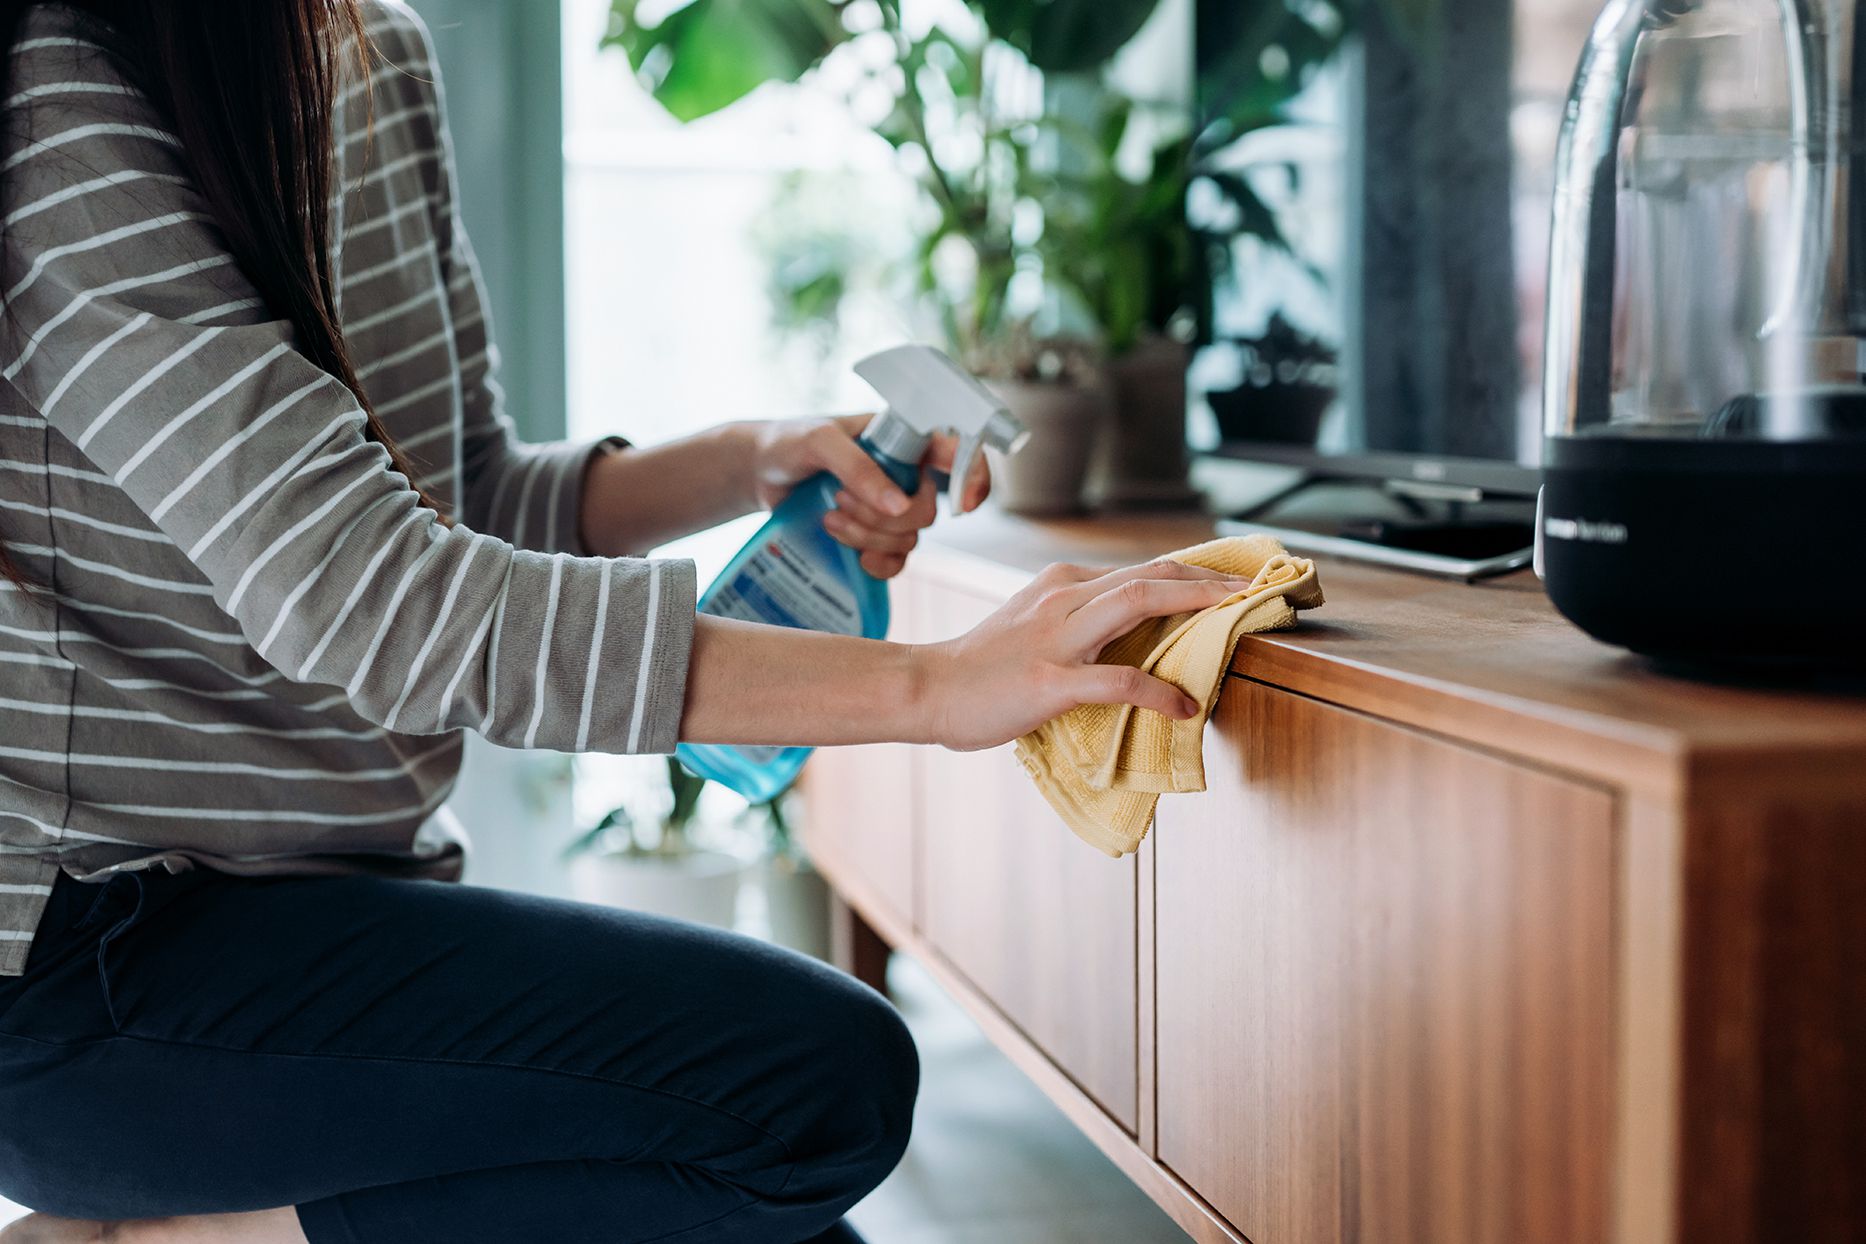
- Microfiber Cloth: A microfiber cloth is an excellent alternative to a duster. The fine fibers of the cloth attract and trap dust, making it a highly effective cleaning tool. Simply dampen the cloth slightly and use it to wipe surfaces, including furniture, electronics, and blinds.
- Socks or Fabric Gloves: Instead of tossing out old socks or single gloves, repurpose them as dusting tools. Slide a sock over your hand or wear a fabric glove and use it to wipe away dust. The fabric’s texture will attract and hold onto the dust particles, leaving your surfaces clean.
- Foam Paintbrush: A foam paintbrush is not just for art projects; it can also be used as a dusting tool. The soft foam bristles are gentle on surfaces while effectively picking up dust. Use it to dust delicate items, intricate furniture details, or even your computer keyboard.
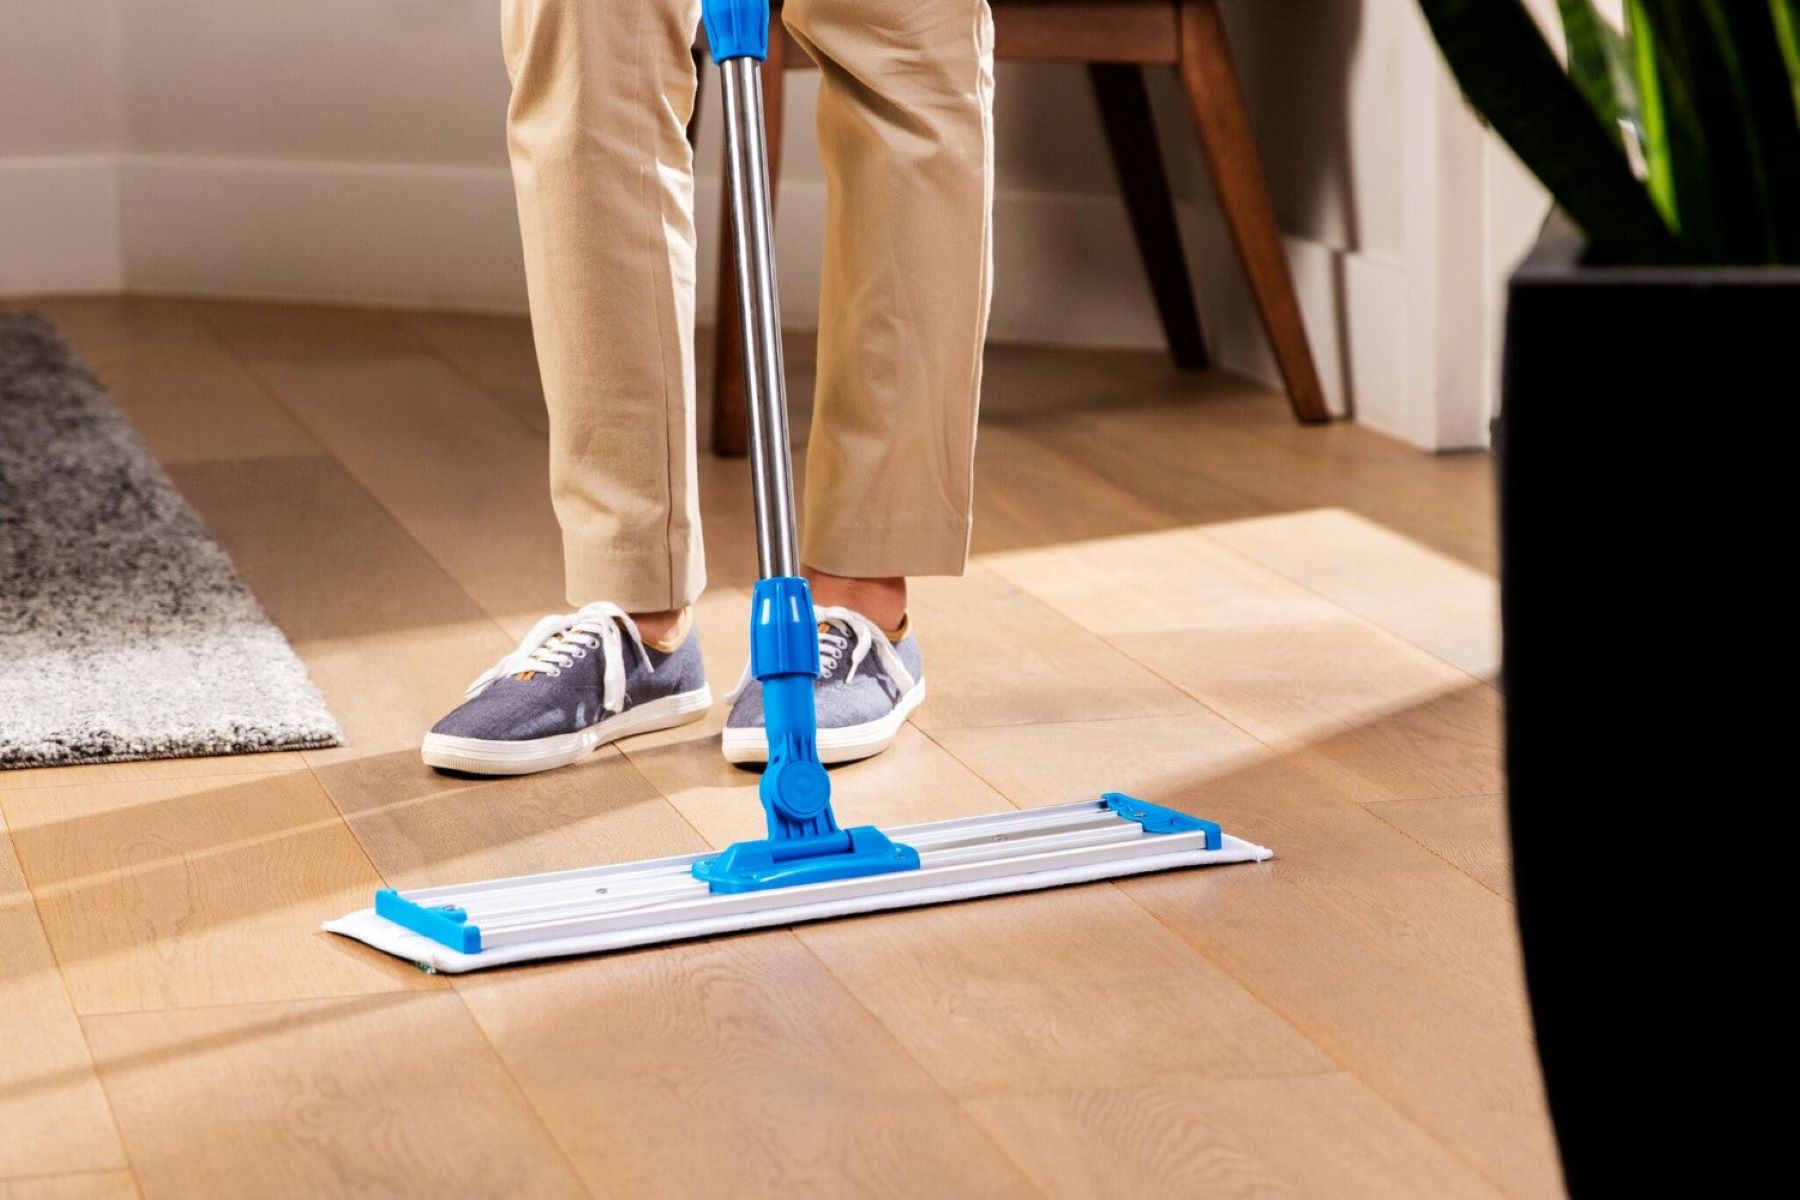
- Vacuum Cleaner with Brush Attachment: Most vacuum cleaners come with a brush attachment that is perfect for dusting. Attach the brush to the vacuum hose and run it over surfaces, such as shelves, baseboards, and upholstery. The suction power of the vacuum will effectively remove dust particles.
- Sticky Tape or Lint Roller: If you have some sticky tape or a lint roller lying around, they make great dusting tools. Simply wrap the tape around your hand or use the roller and press it onto dusty surfaces. The adhesive will pick up dust and debris, leaving your surfaces clean and lint-free.
- Feather or Fan: Using a feather or a handheld fan can also help in dust removal. The gentle movement of the feather or fan will create airflow, causing dust to be dislodged and fall to the ground. Be sure to clean up the fallen dust afterward.
- Newspaper or Coffee Filters: Surprisingly, newspaper or coffee filters can also be used to remove dust. Crumple up a sheet of newspaper or use a coffee filter to wipe down surfaces. The slightly abrasive texture of the paper will help dislodge the dust, while also absorbing oily residue on glass surfaces.
These items are readily available in most households, making them convenient alternatives to traditional dusters. Experiment with different options and find the one that works best for you and your cleaning needs. Now, let’s explore how to use these alternatives effectively.
Method 1: Microfiber Cloth
A microfiber cloth is an excellent alternative to a traditional duster. Its fine fibers are designed to attract and trap dust particles effectively. Here’s how you can use a microfiber cloth to clean dust:
- Start by slightly dampening the microfiber cloth. You want it to be moist but not dripping wet. This helps to enhance its dust-trapping capabilities.
- Gently wipe the cloth over dusty surfaces, such as furniture, shelves, and electronics. Use long, sweeping motions or circular motions to ensure thorough cleaning.
- As you wipe, the microfibers will attract and hold onto dust particles, eliminating them from the surfaces.
- If the cloth becomes too dirty, rinse it out under running water and wring out any excess moisture. You can also wash it with mild soap if necessary. Always follow the manufacturer’s instructions for cleaning and caring for your microfiber cloth.
- Continue cleaning until all surfaces are dust-free. Pay attention to areas that tend to collect more dust, such as corners, crevices, and decor items.
- Once you’re done, allow the surfaces to completely dry before placing items back or sitting on furniture.
A microfiber cloth can be used on a variety of surfaces, including wood, glass, electronics, and even delicate items. It’s gentle enough to use without worrying about scratching or damaging surfaces. Remember to regularly wash and replace your microfiber cloth to maintain its effectiveness.
Using a microfiber cloth is not only an effective way to clean dust but also an eco-friendly option. By reusing the cloth, you reduce the need for disposable cleaning products and minimize waste. It’s a versatile tool that can be used for various cleaning tasks beyond just dusting. So, have a few microfiber cloths on hand and say goodbye to dust in no time!
Method 2: Socks or Fabric Gloves
Socks and fabric gloves are practical and readily available items that can be repurposed as effective dusting tools. Here’s how you can use them:
- Find a clean, old sock or fabric glove and slide it over your hand. Make sure it fits snugly to ensure a good grip and control over your dusting movements.
- Start by inspecting the area you want to dust and identifying any delicate or fragile items that need special care.
- Gently run your sock-covered hand or fabric-gloved hand over dusty surfaces. Apply light pressure to pick up dust effectively without damaging the items.
- Use sweeping motions or circular motions to cover larger areas and ensure all dust particles are captured by the fabric.
- If you’re dusting delicate or fragile items, be extra careful and use gentle touch. You can lightly tap the surface of the item to dislodge dust without applying direct pressure.
- As you dust, periodically check the sock or glove for dust accumulation. Shake it off or remove any dust particles to maintain its efficiency.
- Continue dusting until all surfaces are free from dust. Be thorough and pay attention to areas that are prone to collect dust, such as shelves, tabletops, and electronic devices.
- Afterward, give your socks or fabric gloves a good shake outside to remove any trapped dust. You can also toss them in the washing machine for a thorough clean, following the care instructions provided.
Using socks or fabric gloves allows you to easily maneuver and reach into narrow or hard-to-reach areas that may be challenging with traditional dusters. The fabric’s texture naturally attracts and holds onto dust particles, providing an effective cleaning solution. Plus, repurposing these items reduces waste and gives them a new life as cleaning tools.
Remember, when using socks or fabric gloves, it’s essential to make sure they are clean and free from any residues that could transfer onto the surfaces you’re dusting. By incorporating this method into your cleaning routine, you’ll be able to quickly and efficiently remove dust without having to rely on a duster.
Method 3: Foam Paintbrush
A foam paintbrush can be a surprisingly effective tool for dusting various surfaces, especially those with intricate details or delicate finishes. Here’s how you can use a foam paintbrush to remove dust:
- Select a foam paintbrush with bristles that are soft and flexible. This will ensure gentle cleaning without causing any damage to the surfaces you’re dusting.
- Start by inspecting the item or surface you want to dust. Note any delicate areas or intricate details that require special attention.
- Gently run the foam bristles of the paintbrush over dusty surfaces. Use light pressure and smooth strokes to collect the dust effectively.
- For intricate details or hard-to-reach spaces, use the narrow edge or tip of the foam brush to access those areas without disturbing or damaging them.
- Work your way systematically across the surface, ensuring all dust particles are picked up by the bristles.
- Periodically clean the brush by gently tapping it against a surface or blowing on it to dislodge any trapped dust.
- Continue dusting until the surfaces are free from dust. Be thorough, especially in corners, crevices, and areas prone to collecting dust.
- After you finish dusting, clean the foam paintbrush with mild soap and water or according to the manufacturer’s instructions. Allow it to dry completely before storing it for future use.
A foam paintbrush is particularly useful for dusting delicate items, artwork, picture frames, or intricate furniture details. Its soft bristles effectively capture dust without scratching or damaging the surfaces. You can also use a foam brush to clean your computer keyboard, removing dust and debris from between the keys.
Using a foam paintbrush as an alternative to a duster allows for more precision and control. It ensures that you can thoroughly clean dust from even the most challenging areas while being gentle on delicate objects and surfaces. So, grab a foam paintbrush, and get ready to tackle dust with ease!
Use a damp microfiber cloth to wipe down surfaces and pick up dust without spreading it around. The microfiber will trap the dust, and the dampness will help it stick to the cloth.
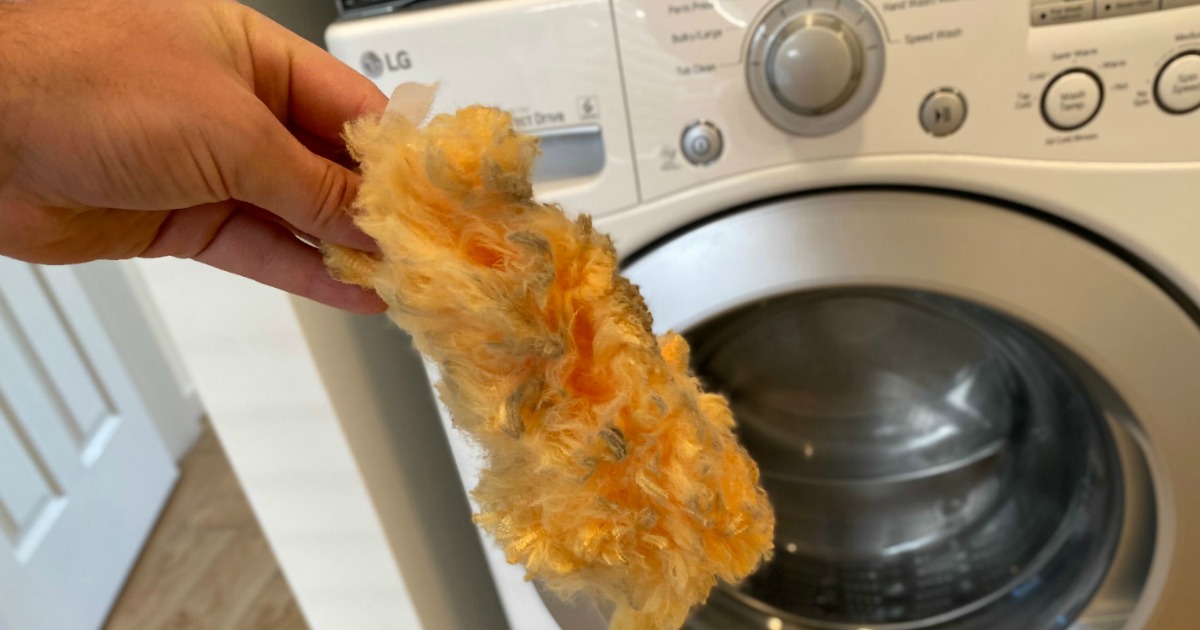
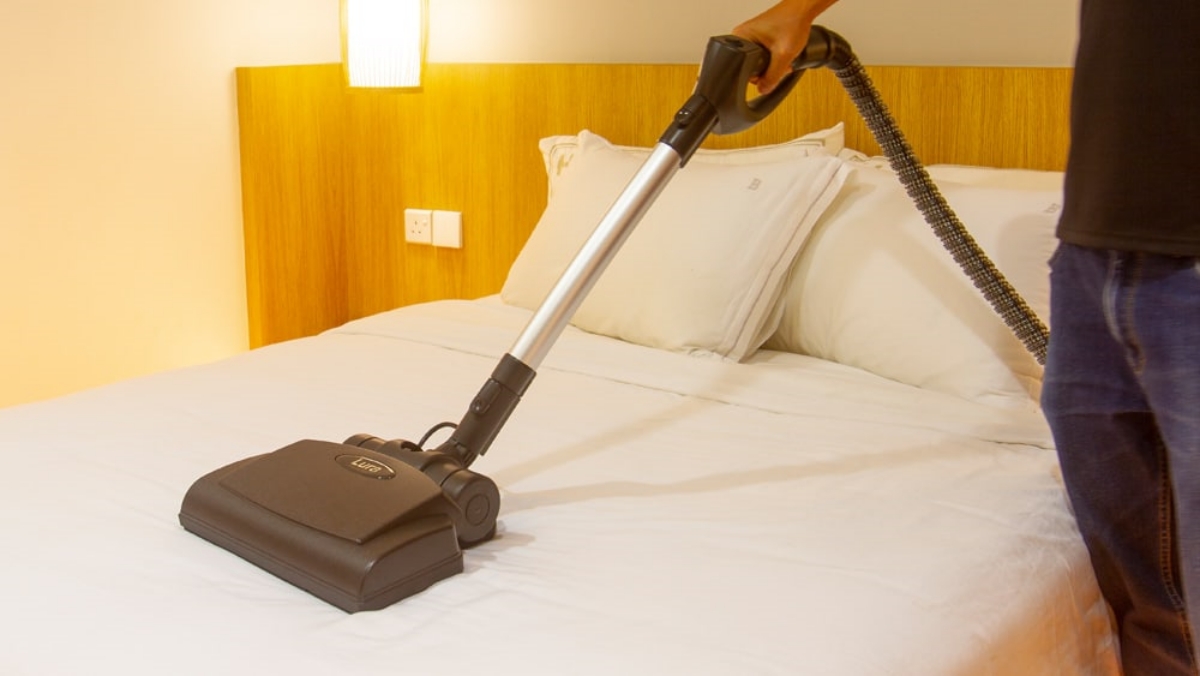
Method 4: Vacuum Cleaner with Brush Attachment
A vacuum cleaner with a brush attachment is a powerful tool that can effectively remove dust from a variety of surfaces. Here’s how you can utilize this method to clean dust:
- Ensure your vacuum cleaner is equipped with a brush attachment. This attachment typically has soft bristles that are gentle on surfaces while effectively dislodging dust.
- Attach the brush nozzle to your vacuum’s hose or wand.
- Start by adjusting the suction power to a level suitable for the surface you’re cleaning. High suction power may be necessary for carpets and upholstery, while low or medium power is ideal for delicate surfaces like furniture or electronics.
- Hold the brush attachment at a slight angle and start running it over dusty surfaces. Move it in slow, overlapping motions to ensure thorough cleaning.
- Focus on areas that are prone to collecting dust, such as shelves, baseboards, and upholstered furniture.
- As you pass over surfaces, the brush attachment’s bristles will agitate the dust, allowing the vacuum cleaner to suction it away.
- For crevices and hard-to-reach areas, use the brush attachment’s narrow edge or tip to get into those spaces.
- Continue vacuuming until all surfaces are free from dust, paying attention to corners and edges.
- Once you’ve finished vacuuming, detach the brush attachment and clean it according to the manufacturer’s instructions. This may involve rinsing or wiping it down.
- Empty the vacuum cleaner’s dust bin or change the bag to prevent any dust particles from being released back into the air.
Using a vacuum cleaner with a brush attachment is an efficient way to remove dust from both hard surfaces and fabrics. It allows for deep cleaning and removes not only the visible dust but also the microscopic particles that can contribute to allergies or respiratory issues.
Remember to adjust the suction power accordingly to prevent any damage to delicate surfaces. Regularly cleaning your vacuum’s brush attachment ensures its effectiveness and prolongs its lifespan. So, fire up your vacuum cleaner with the brush attachment and bid farewell to dust!
Method 5: Sticky Tape or Lint Roller
When it comes to removing dust from surfaces, sticky tape or a lint roller can be surprisingly effective tools. Here’s how you can use them:
- Get a roll of sticky tape or a lint roller that has adhesive surfaces.
- Start by tearing off a piece of tape or ensuring that the lint roller has a fresh adhesive sheet ready for use.
- Press the sticky side of the tape or the adhesive sheet of the lint roller onto dusty surfaces.
- Gently roll or press the tape or the lint roller over the surfaces, applying light pressure to ensure good contact with the dust particles.
- As you roll or press, the adhesive surface will effectively pick up dust and debris from the surfaces. Keep rolling or pressing until the tape or adhesive sheet becomes dirty and less sticky.
- When the tape or adhesive sheet loses its stickiness or becomes too dirty, tear it off and expose a fresh clean surface for continued dusting.
- Continue this process until all surfaces are free from dust, paying attention to corners, edges, and hard-to-reach areas.
- Once you’ve finished dusting, carefully dispose of the used tape or remove the filled adhesive sheet from the lint roller.
Sticky tape or a lint roller can be particularly useful for removing dust from fabric surfaces, such as upholstery, curtains, or clothing. They are also handy for removing dust from smaller objects or hard-to-clean areas, like lampshades or decorative items.
These tools are quick and efficient, allowing you to easily remove dust without the need for any additional cleaning solutions or equipment. They are particularly useful when dealing with dust that might be difficult to reach or stubbornly adhered to surfaces.
So, grab some sticky tape or a lint roller and roll away the dust to leave your surfaces looking clean and fresh!
Method 6: Feather or Fan
A feather or a handheld fan can be a surprisingly effective tool for dusting and refreshing surfaces. Here’s how you can use them:
- Grab a clean feather or a handheld fan.
- Stand near an open window or in an area with good airflow.
- Hold the feather or fan and gently wave it back and forth, creating airflow in the room.
- The movement of the air will dislodge dust particles from surfaces, causing them to become airborne.
- Make sure to direct the airflow towards open spaces or areas where dust can freely settle.
- After you’ve created enough movement, allow the dust particles to settle on the floor or other surfaces.
- Once the dust has settled, use a vacuum cleaner or a damp cloth to clean up the fallen dust.
- Repeat this process in different areas of the room until all surfaces are free from dust.
Using a feather or fan is an excellent method for refreshing the air and removing loose dust particles. It works well for light dusting or quick touch-ups, especially in areas where traditional dusting tools may not reach easily.
Keep in mind that this method may not be suitable for removing heavy or stubborn dust buildup. It works best for maintaining cleanliness and enhancing indoor air quality. For more thorough cleaning, you may need to combine this method with other dusting techniques.
So, grab a feather or a handheld fan and create a refreshing airflow to whisk away the dust and breathe in cleaner air!
Read more: How To Clean An Oilskin Duster
Method 7: Newspaper or Coffee Filters
Believe it or not, newspaper or coffee filters can be surprisingly effective tools for dusting various surfaces. Here’s how you can use them:
- Grab a sheet of newspaper or a clean coffee filter.
- Crumple up the newspaper or fold the coffee filter so that it forms a slightly abrasive surface.
- Starting from the top, gently wipe the crumpled newspaper or coffee filter across the dusty surfaces.
- Apply light pressure and use circular or sweeping motions to lift and capture the dust particles.
- Continue wiping until all surfaces are clean and free from dust.
- Pay extra attention to areas that tend to collect more dust, such as corners, crevices, and intricate details.
- Dispose of the used newspaper or coffee filter properly after you’ve finished dusting.
Newspaper and coffee filters have a slightly abrasive texture that helps to dislodge dust particles while also absorbing any oily residue on glass or smooth surfaces. They are particularly useful for cleaning windows, mirrors, or glass tabletops.
This method is not only effective in removing dust but also allows for recycling and repurposing. Instead of throwing away old newspapers or used coffee filters, give them a second life as cleaning tools.
So, next time you need to remove dust from surfaces, grab a sheet of newspaper or a coffee filter, and watch the dust disappear!
Conclusion
Keeping our homes free from dust is essential for maintaining a clean and healthy living environment. While traditional dusters are commonly used for this purpose, there are times when we don’t have one readily available. However, there’s no need to worry because there are several effective alternatives that can help us clean dust without a duster.
In this article, we explored seven common household items that can be used as alternatives to dusters. From microfiber cloths and socks to foam paintbrushes and sticky tape, each method offers its own unique benefits and advantages. These alternatives provide versatility, eco-friendliness, cost-effectiveness, and multi-purpose use, making them excellent options for dusting.
We learned that a microfiber cloth is perfect for gently wiping surfaces, while socks or fabric gloves can be worn to attract and capture dust particles. Foam paintbrushes are ideal for intricate details, and a vacuum cleaner with a brush attachment is great for deep cleaning. Sticky tape or a lint roller makes quick work of smaller areas, and a feather or fan can refresh the air and dislodge loose dust. Lastly, newspaper or coffee filters offer an abrasive surface to remove dust and absorb oily residue.
By incorporating these alternative methods into our cleaning routines, we can efficiently remove dust and maintain a clean and inviting home. Not only do these methods provide effective cleaning results, but they also encourage resourcefulness, creativity, and eco-friendly practices.
So, the next time you find yourself without a duster or want to explore different cleaning techniques, remember these alternatives. Embrace your creativity, use common household items, and say goodbye to dust in a hassle-free, cost-effective, and environmentally friendly way.
Frequently Asked Questions about How To Clean Dust Without A Duster
Was this page helpful?
At Storables.com, we guarantee accurate and reliable information. Our content, validated by Expert Board Contributors, is crafted following stringent Editorial Policies. We're committed to providing you with well-researched, expert-backed insights for all your informational needs.


0 thoughts on “How To Clean Dust Without A Duster”