Articles
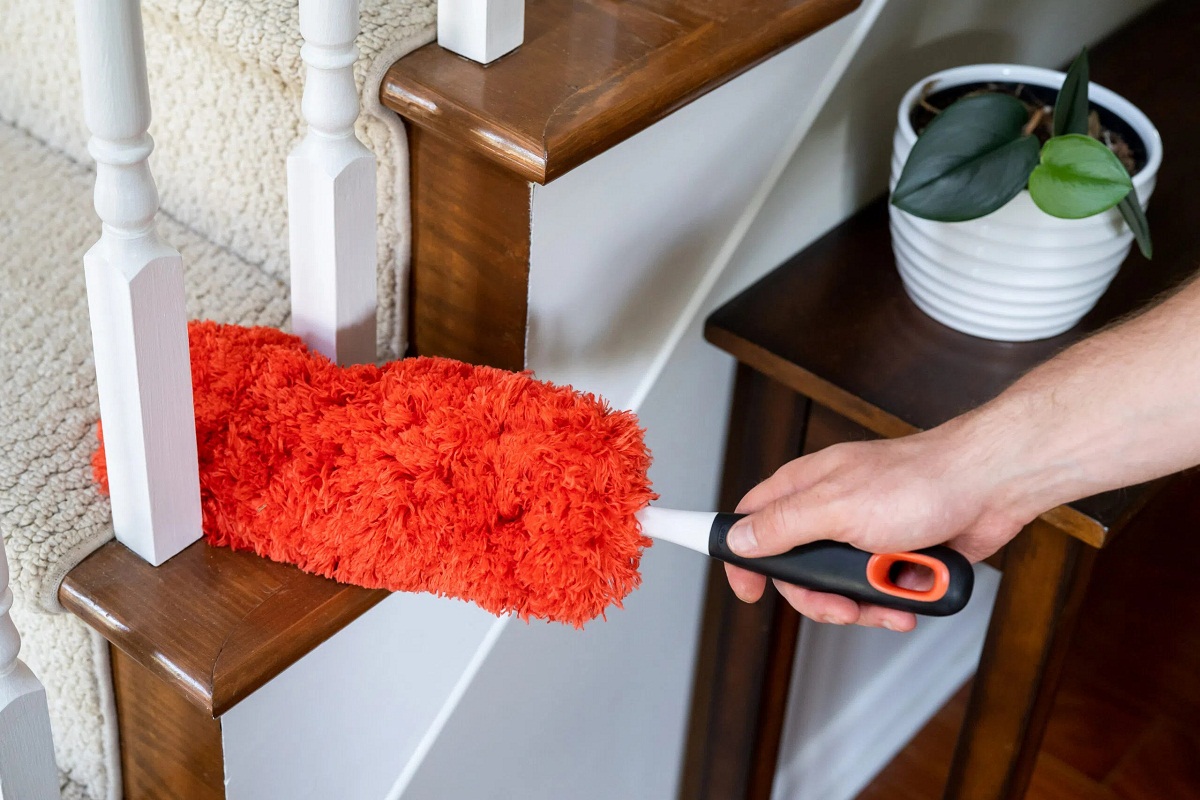
How To Clean A Static Duster
Modified: February 25, 2024
Learn how to clean a static duster with our helpful articles. Remove dust and keep your home clean with our step-by-step guides and expert tips.
(Many of the links in this article redirect to a specific reviewed product. Your purchase of these products through affiliate links helps to generate commission for Storables.com, at no extra cost. Learn more)
Introduction
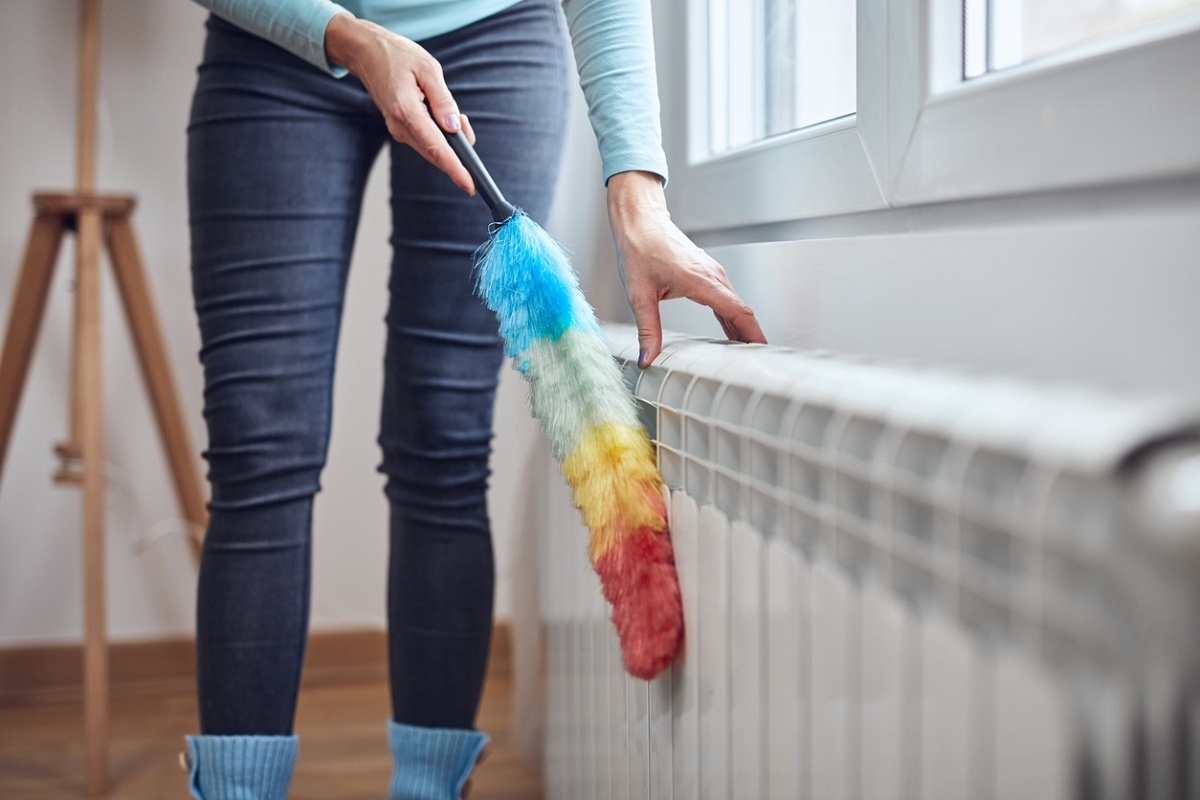
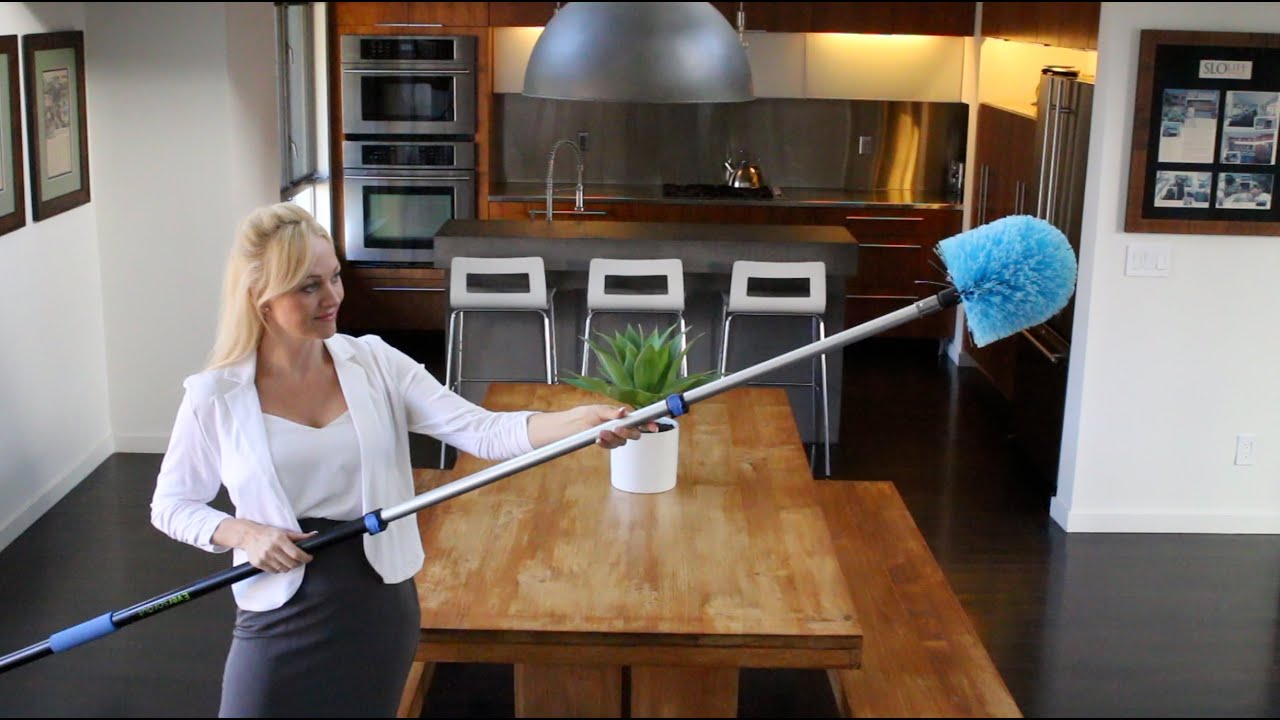
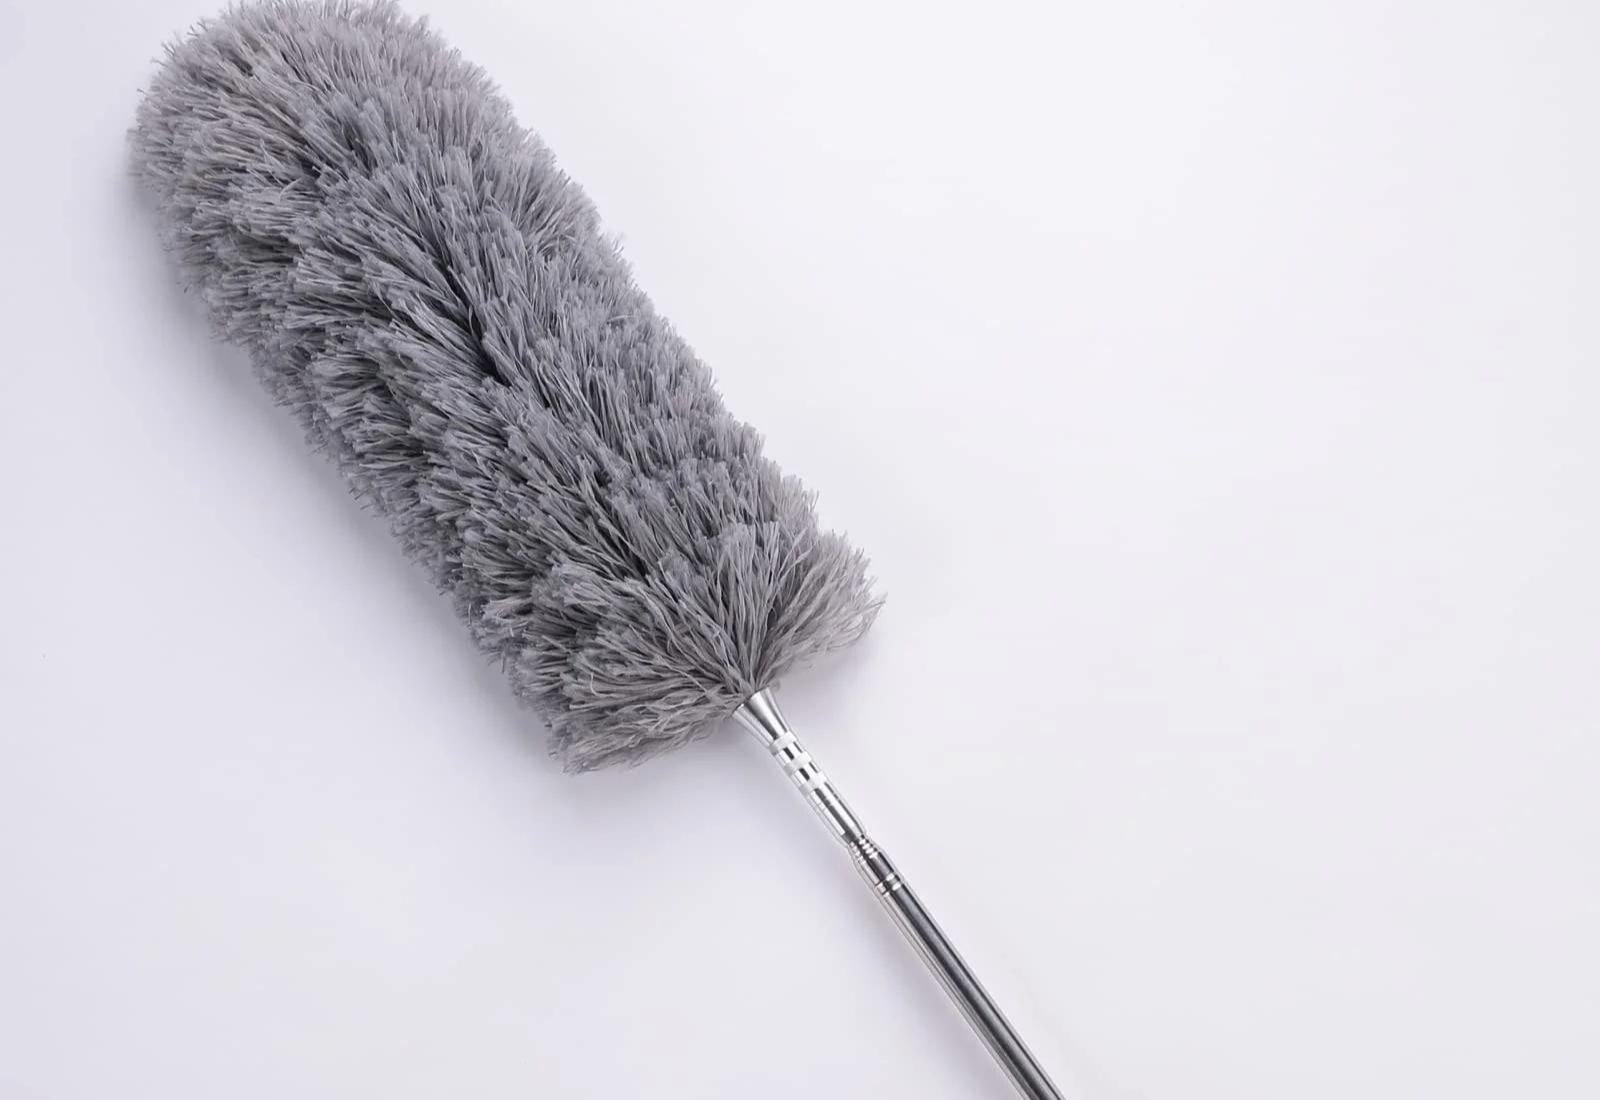
Keeping our living spaces clean and dust-free is essential for a healthy and comfortable environment. Dusting is a crucial part of our cleaning routine, and using a static duster can make this task easier and more efficient. Static dusters are designed to attract and hold onto dust particles, ensuring thorough cleaning without spreading dust into the air.
In this article, we will guide you on how to effectively clean a static duster to maintain its optimal performance. By following these simple steps, you can ensure that your static duster remains in top condition and continues to effectively remove dust from your home.
Key Takeaways:
- Keep your static duster in top shape by shaking off excess dust, using a vacuum cleaner, washing with mild detergent, air drying, and storing properly. Enjoy a dust-free home with a well-maintained duster!
- Maintain the effectiveness of your static duster with simple cleaning steps. Shake, vacuum, wash, air dry, and store to ensure optimal dusting performance and a clean living space.
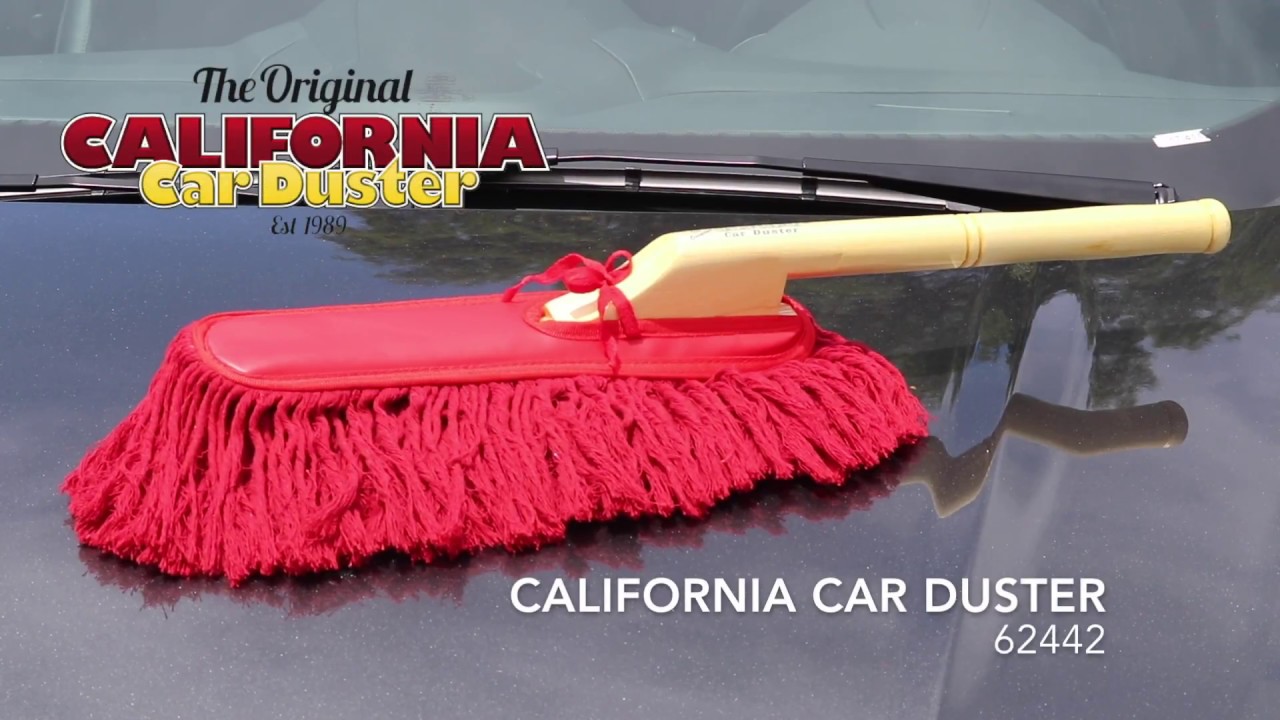
Read also: 9 Unbelievable Static Duster for 2024
Materials Needed
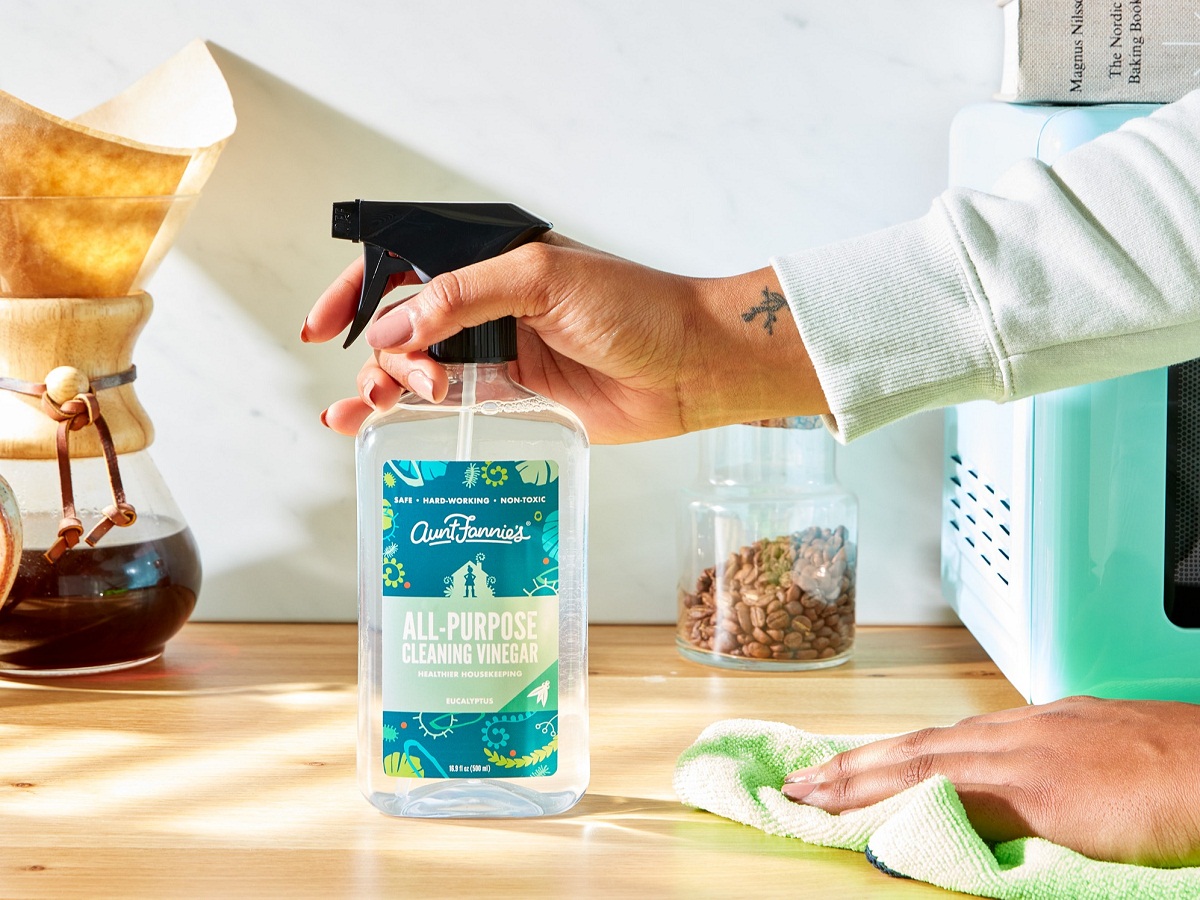
Before you begin cleaning your static duster, gather the following materials:
- Mild detergent or dish soap
- Warm water
- Clean, lint-free cloth
- Vacuum cleaner with brush attachment
Having these materials on hand will ensure that you have everything you need to effectively and safely clean your static duster.
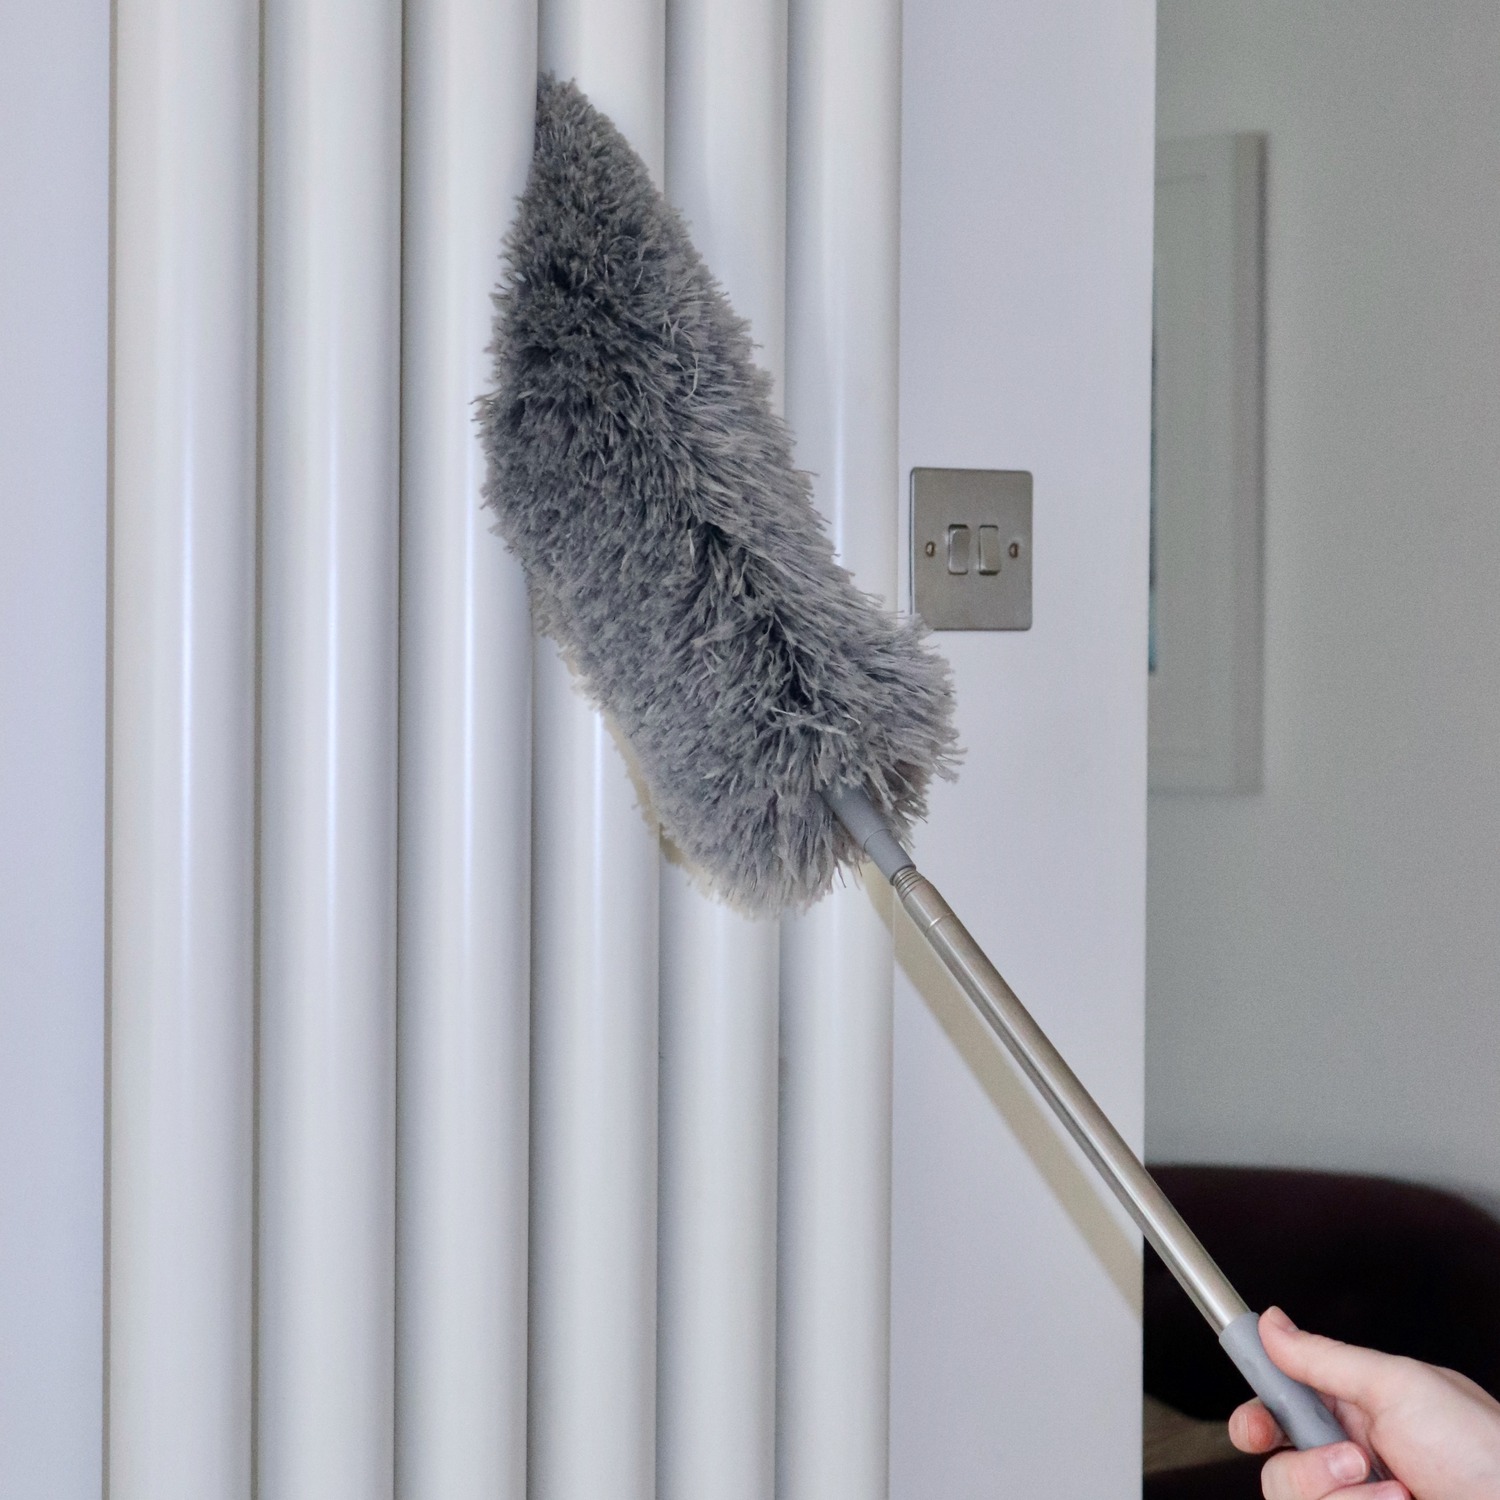
Step 1: Shake off Excess Dust
The first step in cleaning a static duster is to shake off any excess dust that has accumulated on the surface. Take the duster outside or hold it over a trash bin, and gently shake it to dislodge the loose dust particles.
By shaking off the excess dust, you remove any large particles that may hinder the cleaning process. This step will help ensure that the static duster is ready for a more thorough cleaning.
Remember to shake the duster gently to avoid damaging the delicate fibers or causing the dust to disperse into the air. A light and controlled shake should be enough to loosen the dust without causing any damage.
Once you have shaken off the excess dust, you can proceed to the next step to further clean your static duster.
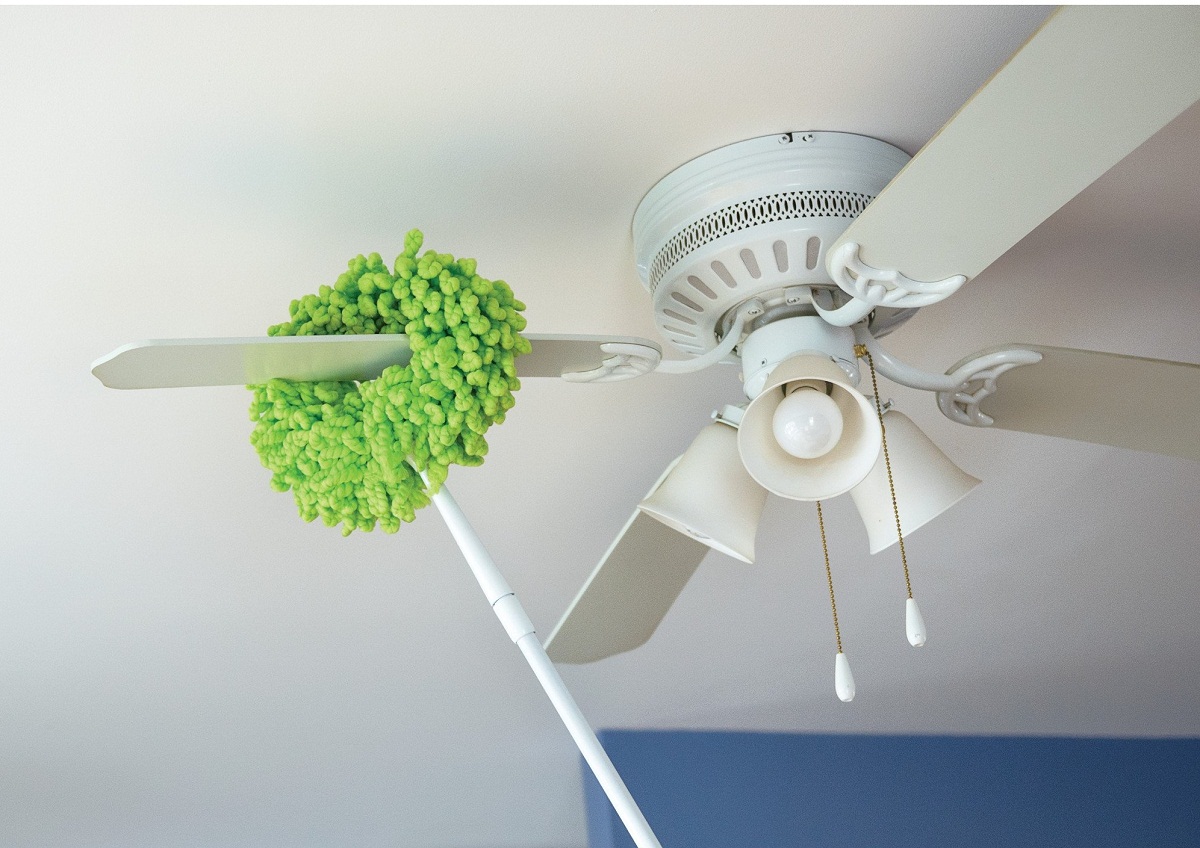
Step 2: Use a Vacuum Cleaner
After shaking off the excess dust, the next step in cleaning your static duster is to use a vacuum cleaner. Attach the brush attachment to your vacuum cleaner to prevent any potential damage to the delicate fibers of the duster.
Hold the static duster with one hand and use the vacuum cleaner with the other hand to gently run the brush attachment over the surface of the duster. This will help to further remove any remaining dust particles that may be stuck to the fibers.
Move the vacuum cleaner attachment in a sweeping motion, making sure to cover the entire surface area of the duster. Take your time and be thorough, paying attention to any areas where dust may be more concentrated.
Using a vacuum cleaner will not only help remove dust but also any larger debris or particles that may have accumulated on the duster. This step is particularly useful for static dusters with longer or thicker fibers that may trap more dust.
Once you have thoroughly vacuumed the surface of the static duster, you can move on to the next step to give it a more thorough cleaning.
To clean a static duster, gently shake it outside to remove loose dust and then wash it with mild soap and water. Allow it to air dry completely before using it again.
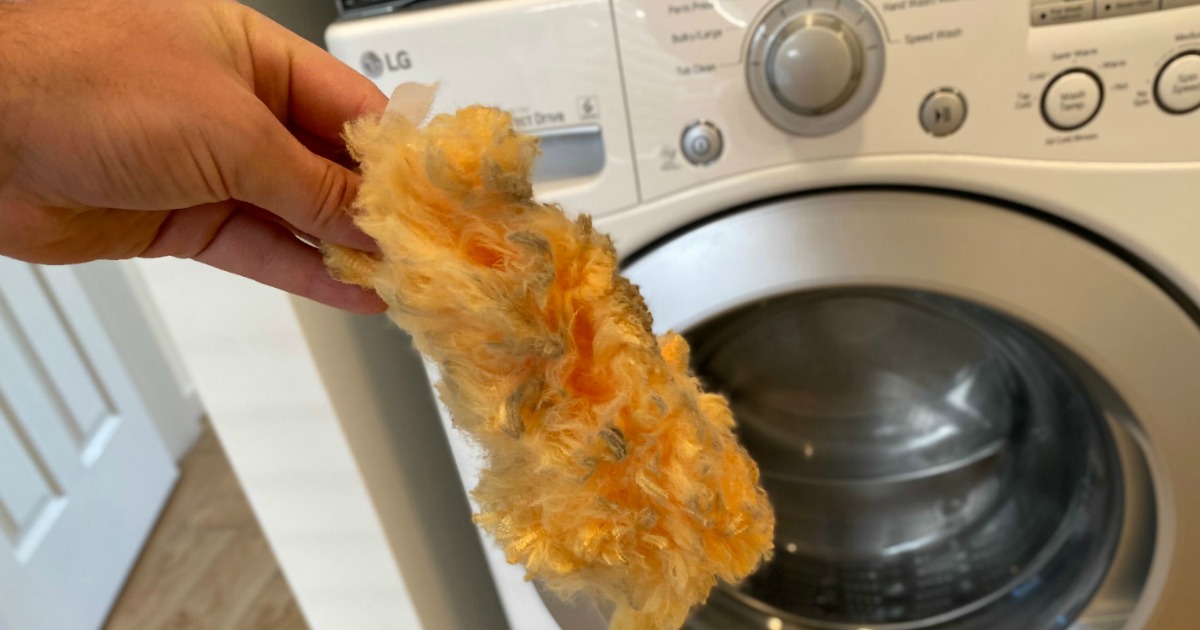
Step 3: Wash the Static Duster
Washing the static duster is an important step to remove any stubborn residue or dirt that may have accumulated over time. To do this:
- Fill a basin or sink with warm water.
- Add a small amount of mild detergent or dish soap to the water.
- Gently submerge the static duster into the soapy water.
- Using your hands, agitate the duster in the water, ensuring that the soap reaches all parts of the duster.
- Pay attention to any stained or dirty areas, gently rubbing them to loosen the dirt.
- Continue to agitate the duster for a few minutes, allowing the soap to work its way into the fibers.
Avoid excessive scrubbing or twisting the duster, as this can damage the delicate fibers. Instead, focus on gentle movements to ensure a thorough cleaning without causing any harm.
Once you are satisfied that the duster has been adequately cleaned, drain the soapy water and rinse the duster under running water. Gently squeeze the duster to remove excess water without wringing or twisting it.
While washing the duster is effective for routine cleaning, it is important to note that some static dusters may have specific care instructions. Always check the manufacturer’s guidelines for your particular duster before washing to prevent any damage.
Now that your static duster is clean, let’s move on to the next step to ensure it dries properly.
Read more: How To Clean A Duster
Step 4: Air Dry the Duster
After washing the static duster, it’s important to allow it to air dry thoroughly before using it again. Air drying ensures that the duster retains its shape and avoids any potential damage that could occur from heat or machine drying.
To air dry the static duster:
- Gently squeeze the duster to remove any excess water.
- Place the duster on a clean, lint-free cloth or hang it in a well-ventilated area.
- Make sure the duster is laid flat or hung up so that it can dry evenly.
- Avoid exposing the duster to direct sunlight, as this can cause the fibers to fade or become brittle.
- Allow the duster to air dry completely. This may take a few hours or overnight, depending on the humidity in your environment.
During the drying process, gently fluff the duster occasionally to help restore its shape and loftiness. This can be done by shaking it lightly or running your fingers through the fibers.
Once the duster is completely dry, it is ready to be used again for your next dusting session.
Now that the static duster is clean and dry, let’s move on to the final step to ensure it is stored properly.
Step 5: Store the Duster Properly
Proper storage is essential to maintain the cleanliness and effectiveness of your static duster. Here are some tips to help you store it properly:
- Make sure the duster is completely dry before storing it. Moisture can promote the growth of mold or mildew.
- Find a clean and dry storage area for your duster. Avoid storing it in dusty or humid environments.
- Keep the duster away from direct sunlight, as prolonged exposure can cause fading or damage to the fibers.
- If your duster has a protective cover or bag, use it to shield it from dust and dirt.
- Store the duster in an upright position to help maintain its shape and prevent deformation of the fibers.
- If you have multiple dusters, keep them separate to prevent them from tangling or causing damage to each other.
By following these storage tips, you ensure that your static duster remains clean and ready for use whenever you need it. Taking proper care of your duster will help prolong its lifespan and maintain its effectiveness.
Now that you know how to effectively clean and store your static duster, you can enjoy a dust-free environment with ease and efficiency.
Remember to periodically check your duster for any signs of wear or damage, and replace it as needed to ensure optimal cleaning performance.
Conclusion
Cleaning a static duster is a simple yet important task to keep it in top condition for effective dusting. By following the steps outlined in this article, you can ensure that your static duster remains clean and ready to tackle dust and dirt in your home.
Starting with shaking off excess dust and using a vacuum cleaner to remove loose particles, you can then move on to washing the duster with mild detergent and warm water. Remember to handle the duster gently to avoid damaging the delicate fibers.
After washing, allow the duster to air dry completely in a well-ventilated area. Proper drying helps maintain its shape and quality. Lastly, store the duster in a clean and dry location, away from sunlight and potential dust or moisture sources.
Regularly cleaning and maintaining your static duster will ensure that it continues to effectively attract and trap dust particles, making your cleaning routine more efficient and keeping your living space dust-free.
So, the next time you pick up your static duster for a cleaning session, remember these steps to keep it in excellent condition. Enjoy the benefits of a clean and dust-free home with a well-maintained static duster!
Frequently Asked Questions about How To Clean A Static Duster
Was this page helpful?
At Storables.com, we guarantee accurate and reliable information. Our content, validated by Expert Board Contributors, is crafted following stringent Editorial Policies. We're committed to providing you with well-researched, expert-backed insights for all your informational needs.


0 thoughts on “How To Clean A Static Duster”