Home>Storage Ideas>Kitchen Storage>How To Clean Grill Grates
Kitchen Storage
How To Clean Grill Grates
Modified: August 28, 2024
Discover effective kitchen storage ideas and learn how to clean grill grates to keep your kitchen organized and your grilling experience enjoyable.
(Many of the links in this article redirect to a specific reviewed product. Your purchase of these products through affiliate links helps to generate commission for Storables.com, at no extra cost. Learn more)
Introduction
Welcome to our guide on how to clean grill grates! As grilling enthusiasts, we all know that maintaining clean grill grates is essential for optimal cooking results and longevity of our grills. Over time, grease, food residue, and carbon deposits can accumulate on the grates, impacting the flavor of our food and making them a breeding ground for bacteria. That’s why it’s crucial to regularly clean and maintain your grill grates to ensure safe and delicious meals.
In this comprehensive guide, we will take you through the step-by-step process of effectively cleaning your grill grates. You will learn about the tools and materials you’ll need, as well as alternative cleaning methods for different types of grates. We will also provide you with expert tips for preventing buildup and keeping your grill grates in excellent condition. So, let’s dive in and discover the secrets to achieving spotless grill grates!
Key Takeaways:
- Regularly cleaning grill grates prevents flare-ups, enhances flavor, improves heat distribution, prolongs grill life, and prevents cross-contamination, ensuring safe and delicious meals every time.
- Preheat and oil grates, clean after each use, use drip pans, and avoid abrasive tools to prevent residue buildup and maintain clean, well-functioning grill grates for optimal cooking results.
Read more: How To Clean Rust Off Grill Grates
Why Cleaning Grill Grates is Important
Keeping your grill grates clean is not just about hygiene; it has a significant impact on your cooking performance and the overall taste of your food. Here’s why cleaning grill grates should be a top priority for every grilling enthusiast:
- Prevents Flare-ups: When grease and residue build up on the grates, they become a fire hazard. These deposits can ignite and cause dangerous flare-ups, putting your safety at risk. Regular cleaning helps to minimize the potential for flare-ups, ensuring a safer and more enjoyable grilling experience.
- Enhances Flavor: Have you ever noticed a slightly off taste in your grilled food? This could be due to the accumulation of old, burnt-on residue on your grill grates. Cleaning the grates removes any leftover food particles, grease, or carbon deposits that can taint the flavor of your food. By keeping your grates clean, you’ll enjoy the natural flavors of your grilled meats, vegetables, and seafood.
- Improves Heat Distribution: A clean grill grate allows for better heat distribution. When the grates are clogged with debris, hot spots can develop, leading to uneven cooking. Cleaning the grates ensures consistent heat across the surface, resulting in perfectly cooked foods every time.
- Prolongs the Life of Your Grill: Regular maintenance, including cleaning the grill grates, can significantly extend the lifespan of your grill. Over time, the accumulation of grease and residue can corrode the grates and other components of your grill. By keeping the grates clean, you minimize the risk of deterioration and ensure your grill remains in excellent working condition for years to come.
- Prevents Cross-Contamination: Cleaning your grill grates is crucial for preventing cross-contamination of flavors. If you’re cooking different types of proteins or foods with distinct flavors, the residue from previous cookouts can transfer and impact the taste of your current meal. Regularly cleaning the grates eliminates this risk and ensures that your food tastes exactly as intended.
Now that we understand the importance of cleaning grill grates, let’s move on to the tools and materials you’ll need to get the job done.
Tools and Materials Needed
Cleaning your grill grates effectively requires having the right tools and materials on hand. Here’s a list of essential items you’ll need to get started:
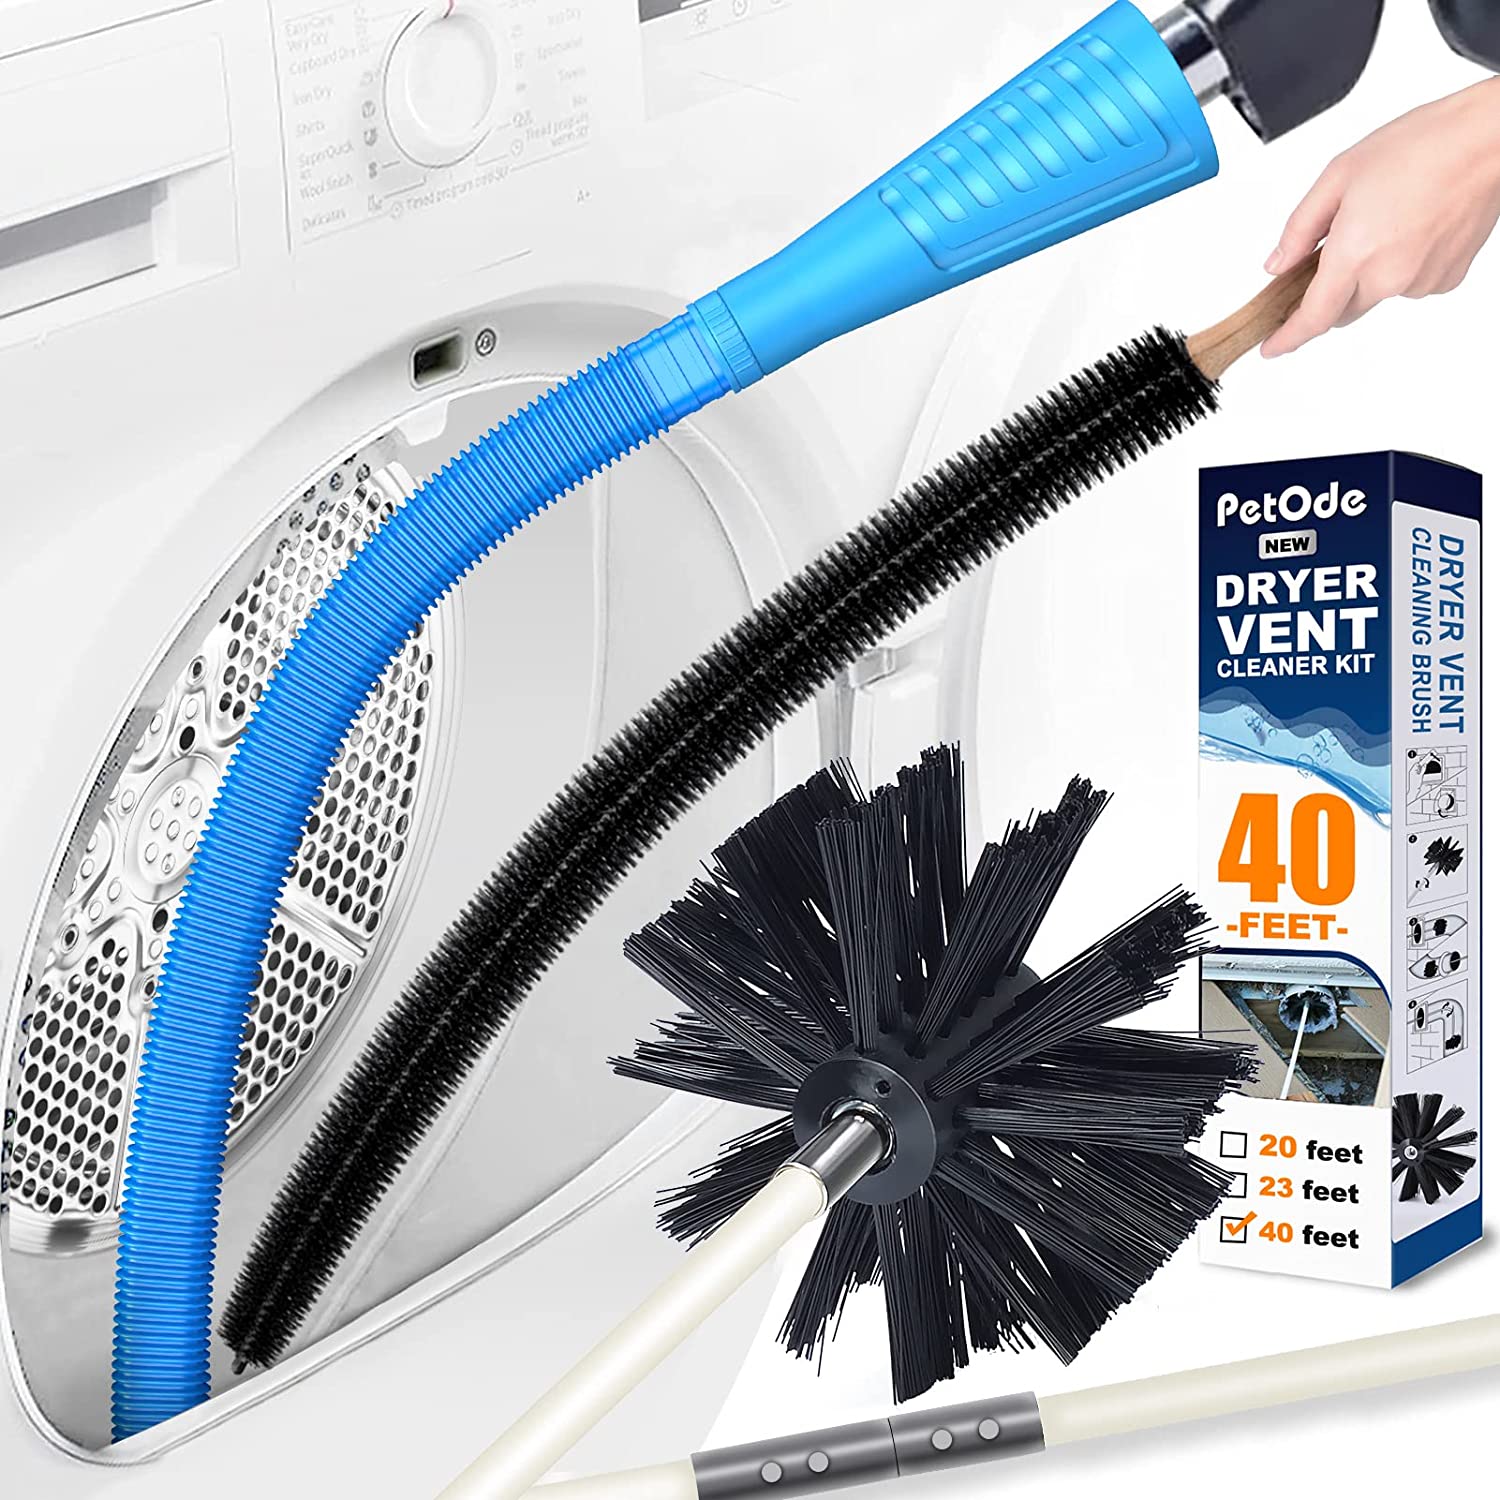
- Grill brush: A high-quality grill brush with firm bristles is essential for removing stubborn residue from your grill grates. Look for a brush with a long handle for easy maneuverability.
- Scraper or putty knife: A scraper or putty knife can come in handy for removing larger food particles or thick, burnt-on residue. Opt for a scraper with a flat, sturdy blade for effective cleaning.
- Heat-resistant gloves: To protect your hands from heat and potential burns while cleaning a hot grill, invest in a pair of heat-resistant gloves.
- Dish soap: A mild dish soap is useful for cutting through grease and grime on your grill grates. Choose a soap that is safe for use on metal surfaces.
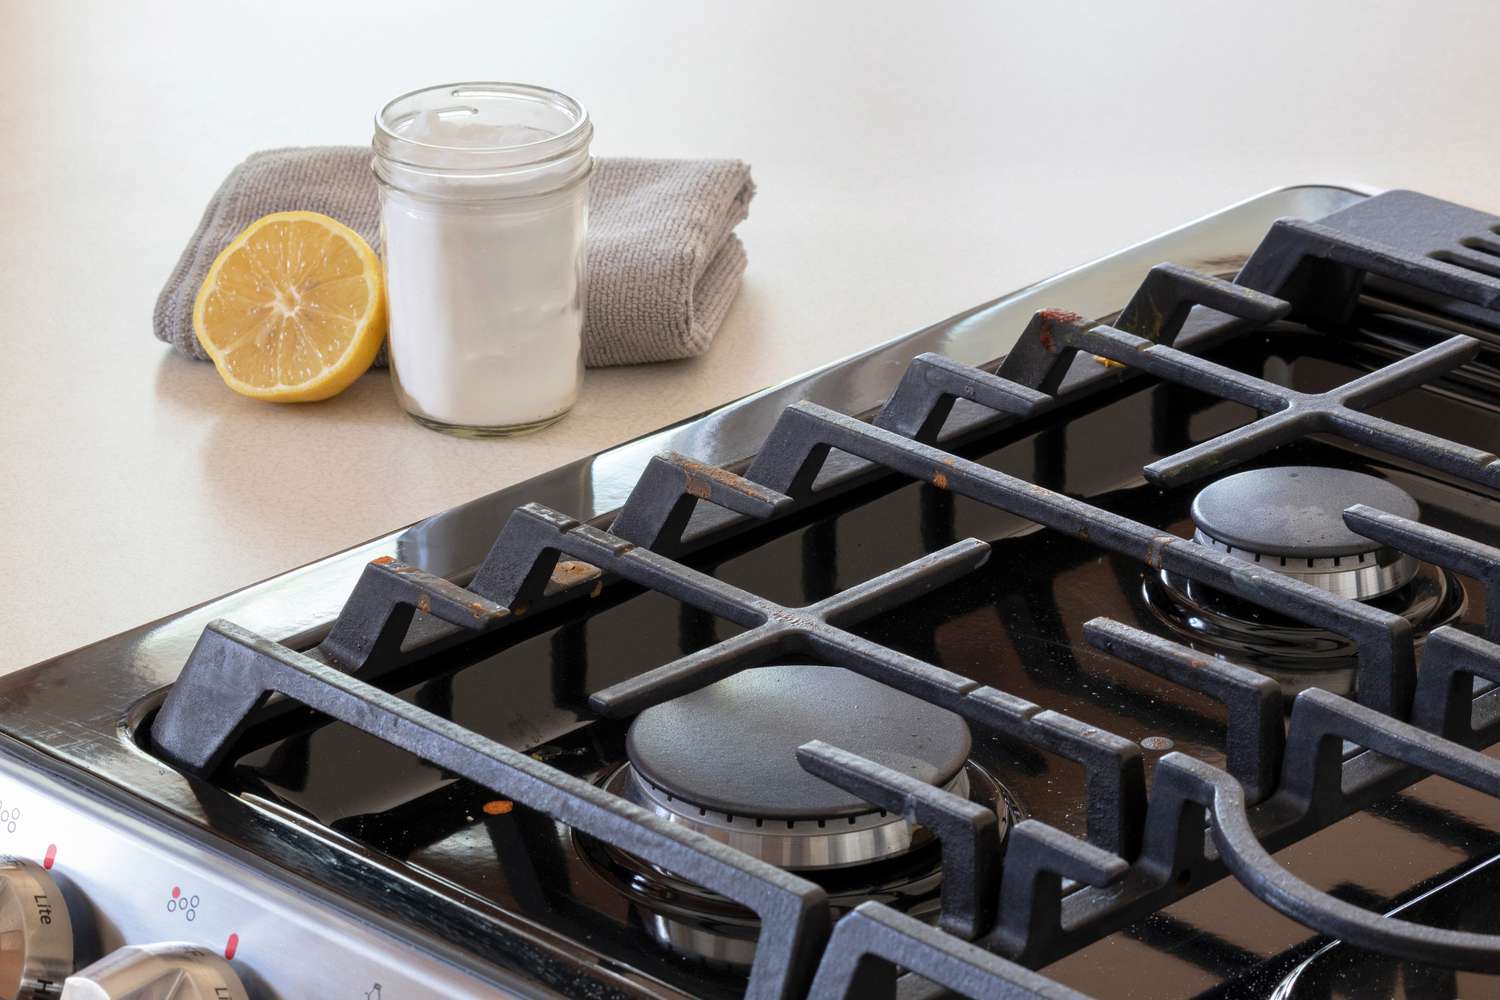
- Baking soda: Baking soda is a natural cleaning agent that can help tackle stubborn stains and odors on your grill grates.
- Vinegar: White distilled vinegar can be mixed with baking soda to create a powerful cleaning solution. It helps to break down grease and remove stubborn residue.
- Bucket or basin: A bucket or basin is useful for soaking your grill grates in a cleaning solution before scrubbing them.
- Water hose or spray bottle: Having a water hose or spray bottle nearby will make rinsing off cleaning solutions much easier.
- Drying cloth or paper towels: After cleaning your grill grates, you’ll want to dry them thoroughly to prevent any moisture-related issues. Have a drying cloth or paper towels ready for this purpose.
With these tools and materials at your disposal, you’ll be well-prepared to tackle the cleaning process. Now, let’s move on to the next step: preparing the grill for cleaning.
Preparing the Grill
Before you start cleaning the grill grates, it’s important to properly prepare the grill to ensure safety and effectiveness. Follow these steps to get your grill ready for the cleaning process:
- Turn off the grill: Ensure that the grill is completely turned off and that the gas supply or charcoal is fully extinguished. Safety should always be your top priority.
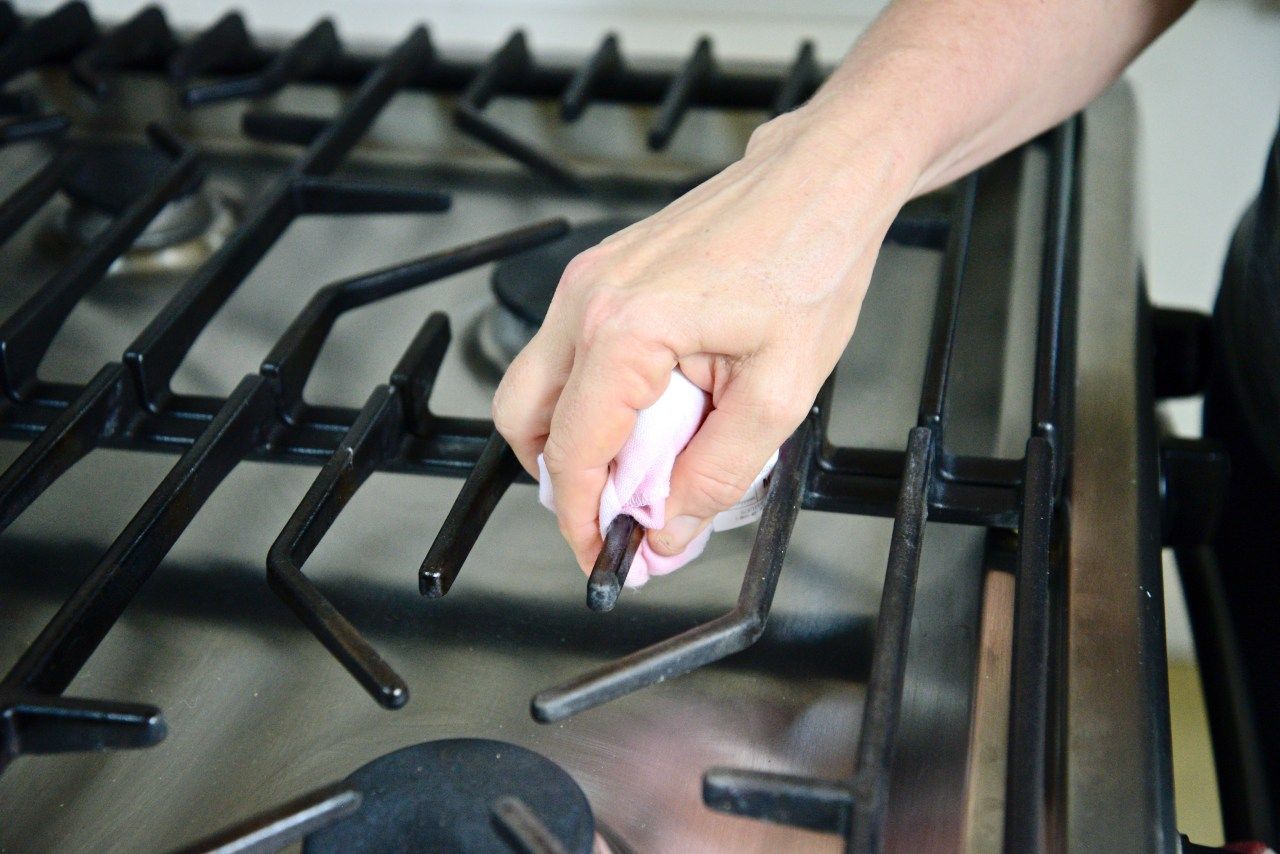
- Remove any leftover ashes: For charcoal grills, if there are any ashes remaining in the grill, carefully remove them. Use a metal scoop or a suitable tool to dispose of the ashes safely.
- Empty grease trap or drip pan: If your grill has a grease trap or drip pan, empty it to avoid any spills or mess during the cleaning process.
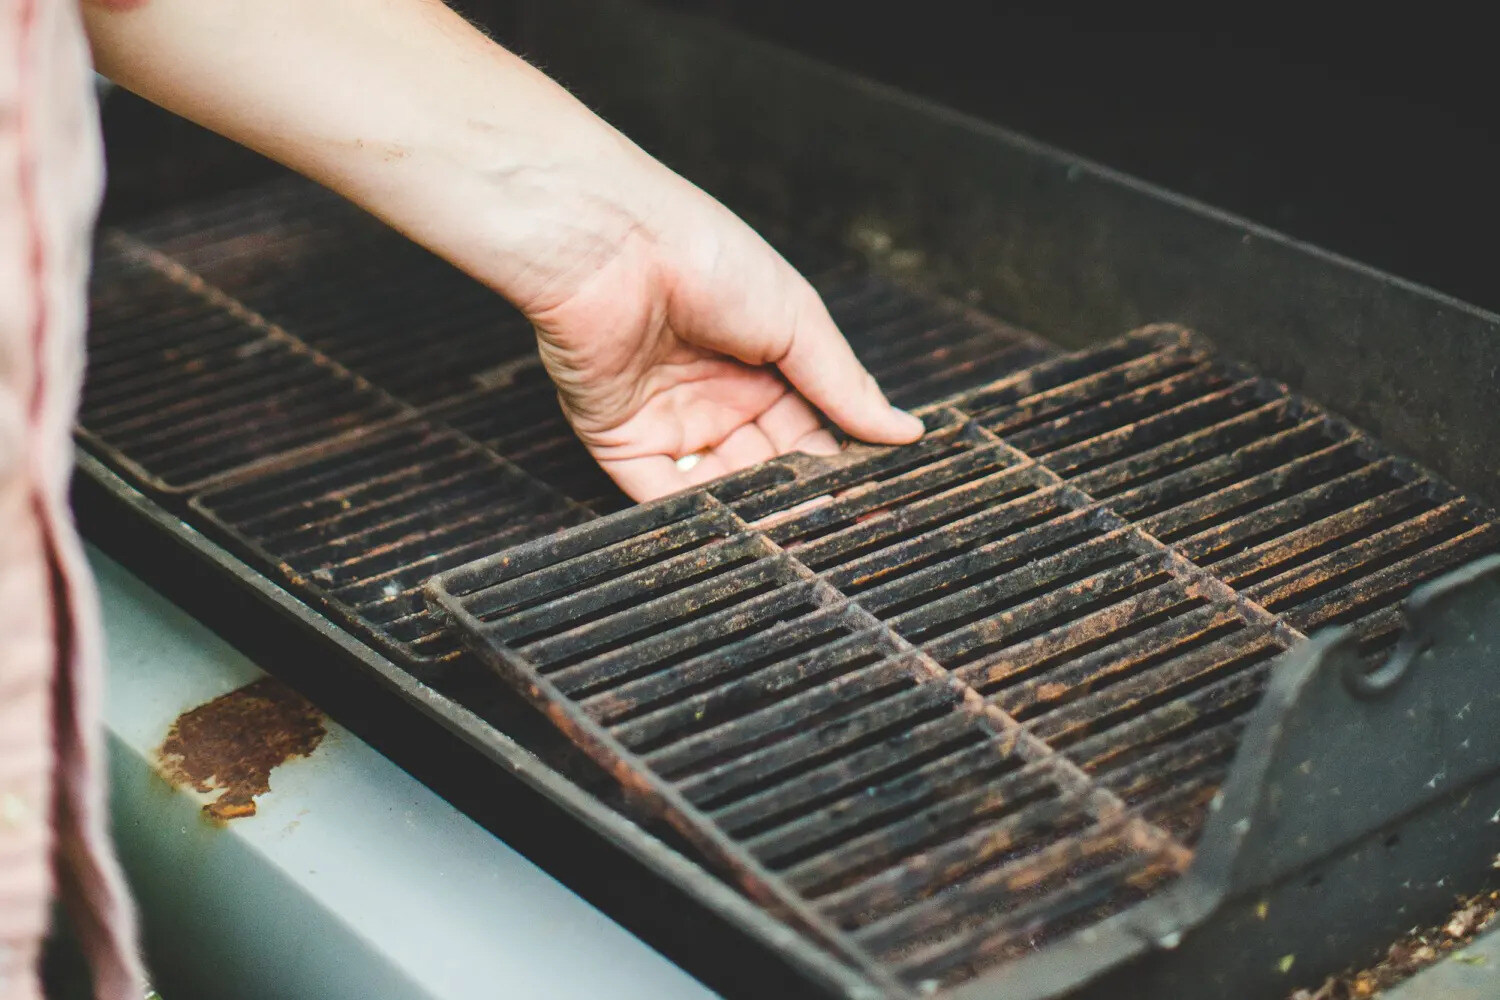
- Detach the grill grates: Depending on your grill model, you may need to remove the grates for easier access and thorough cleaning. Follow the manufacturer’s instructions for removing the grates or consult your grill’s manual.
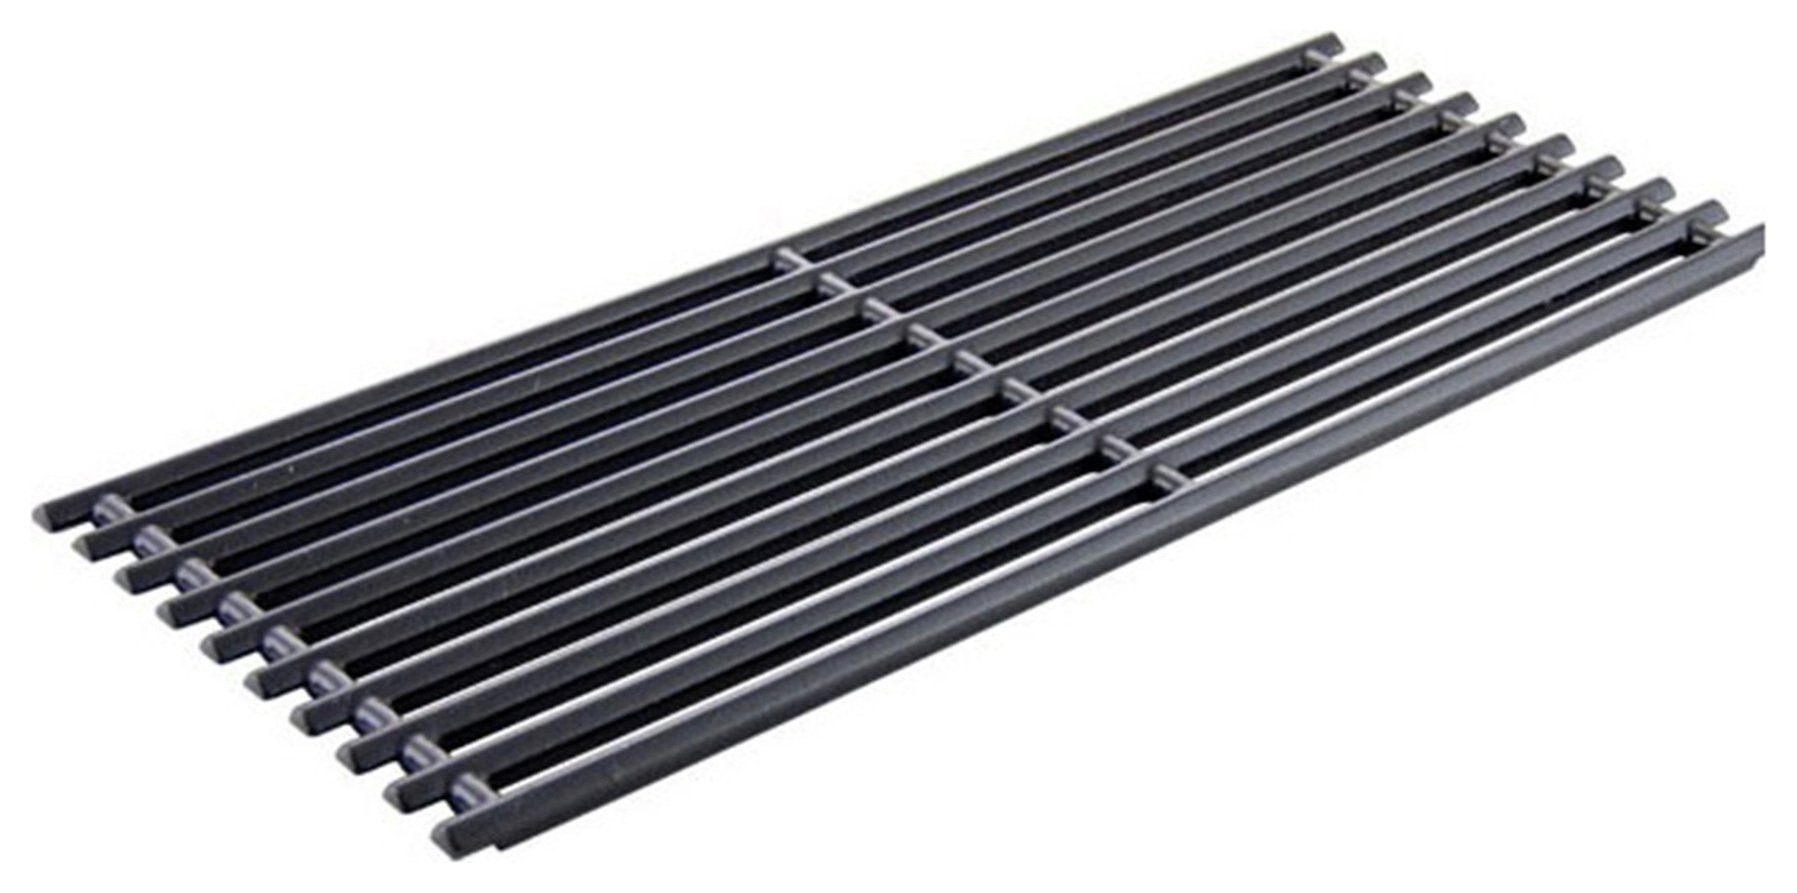
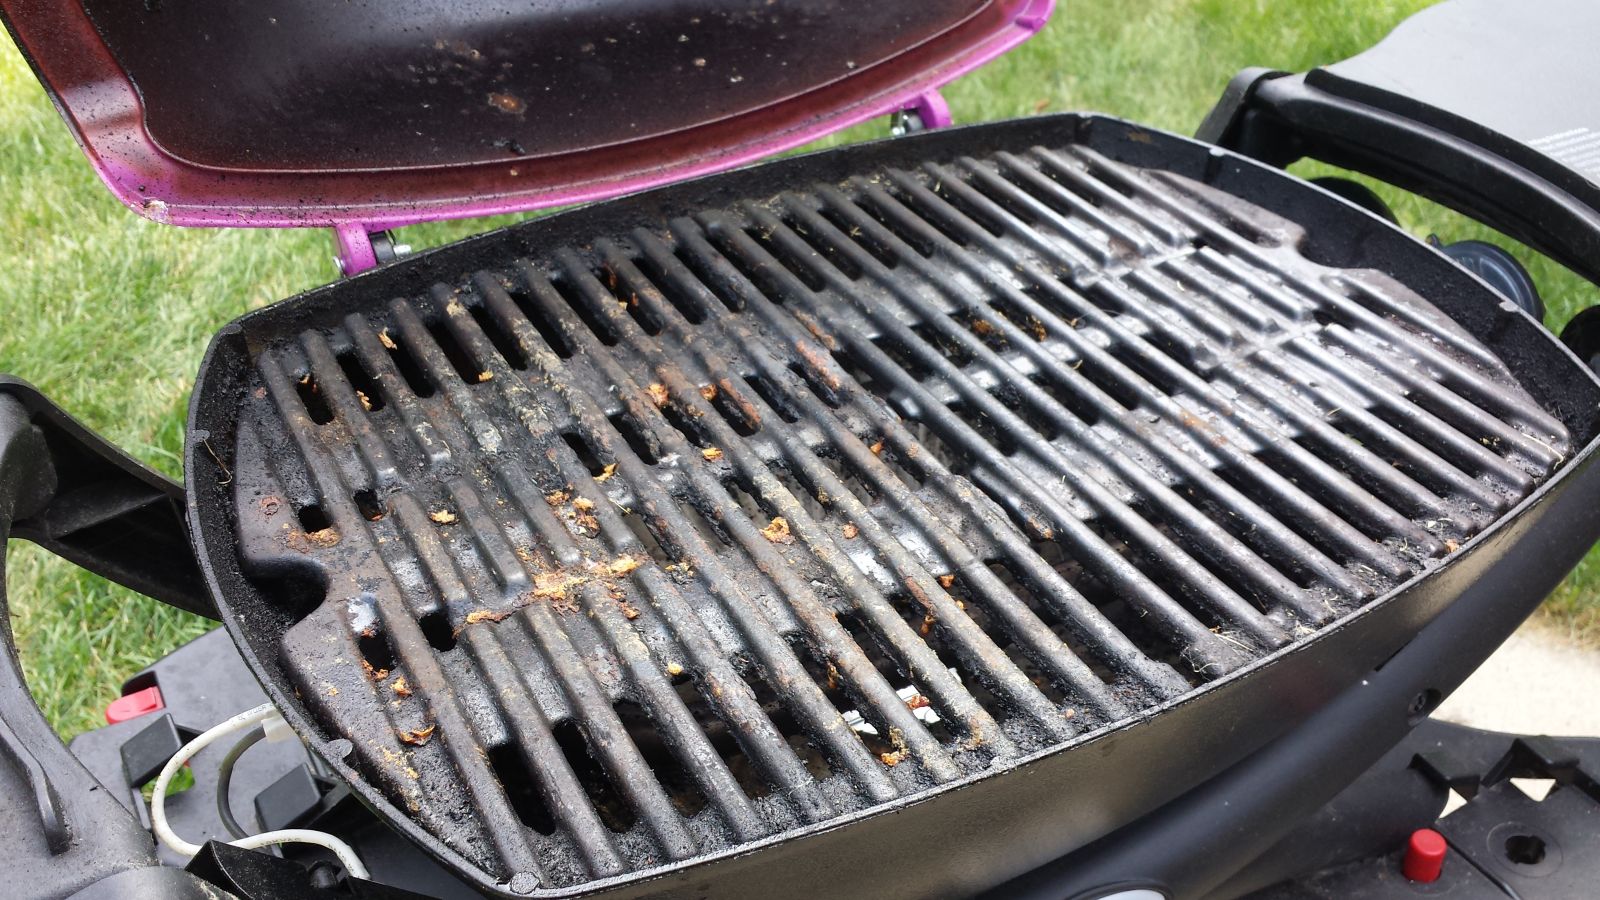
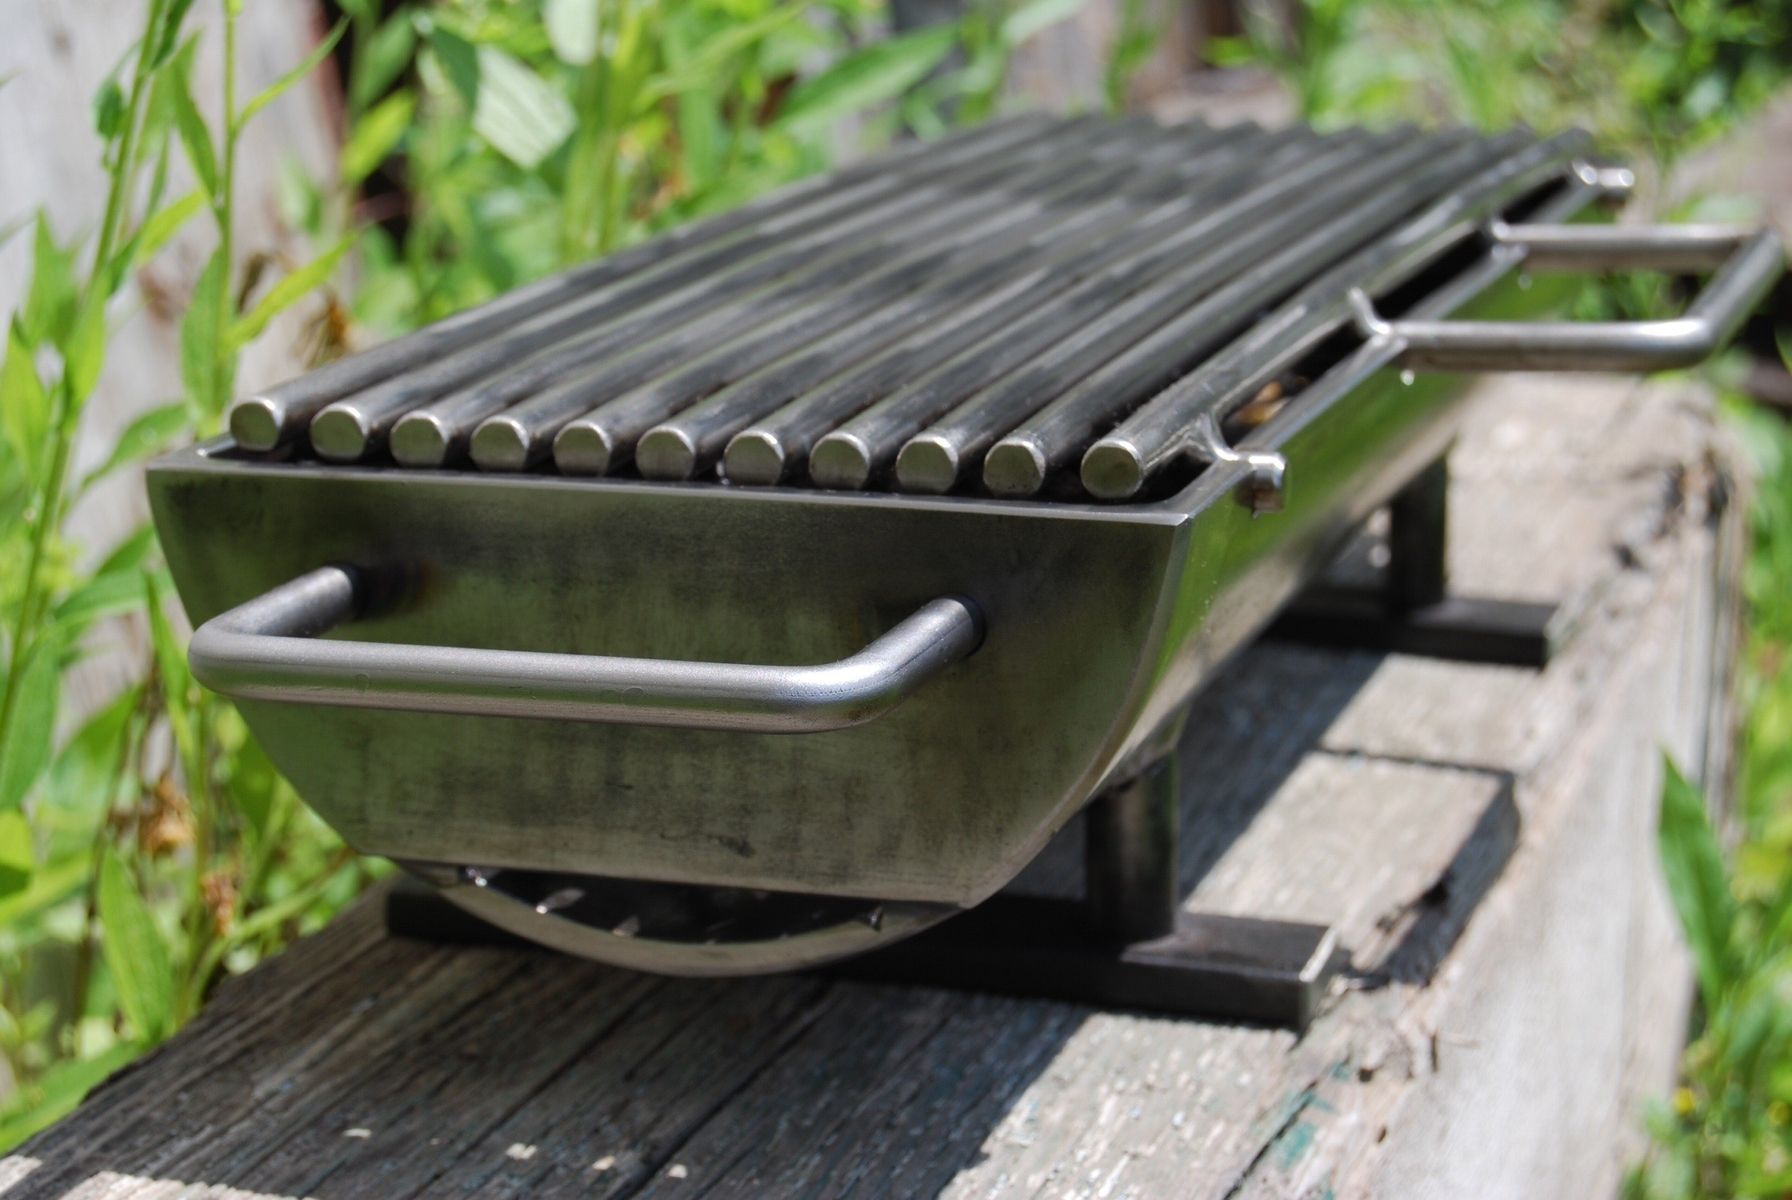
- Inspect the grates: While the grates are detached, take a moment to inspect them for any signs of damage or excessive wear. If you notice any significant issues with the grates, such as rust or corrosion, consider replacing them for optimal grilling results.
- Soak the grates (optional): For grates that are heavily soiled, you can choose to soak them in a solution of warm water and dish soap or a mixture of vinegar and baking soda. This will help to loosen stubborn residue and make cleaning easier.
By properly preparing your grill, you’ll create a safe and clean environment for the next steps. Now, let’s move on to the heart of the cleaning process: cleaning the grill grates!
After grilling, scrub the grates with a wire brush to remove any food residue. Then, heat the grill on high for 15 minutes to burn off any remaining debris. Finally, use a damp cloth to wipe down the grates.
Cleaning the Grill Grates
Now that you’ve prepared your grill, it’s time to tackle the cleaning of the grill grates. Follow these steps to ensure a thorough and effective cleaning:
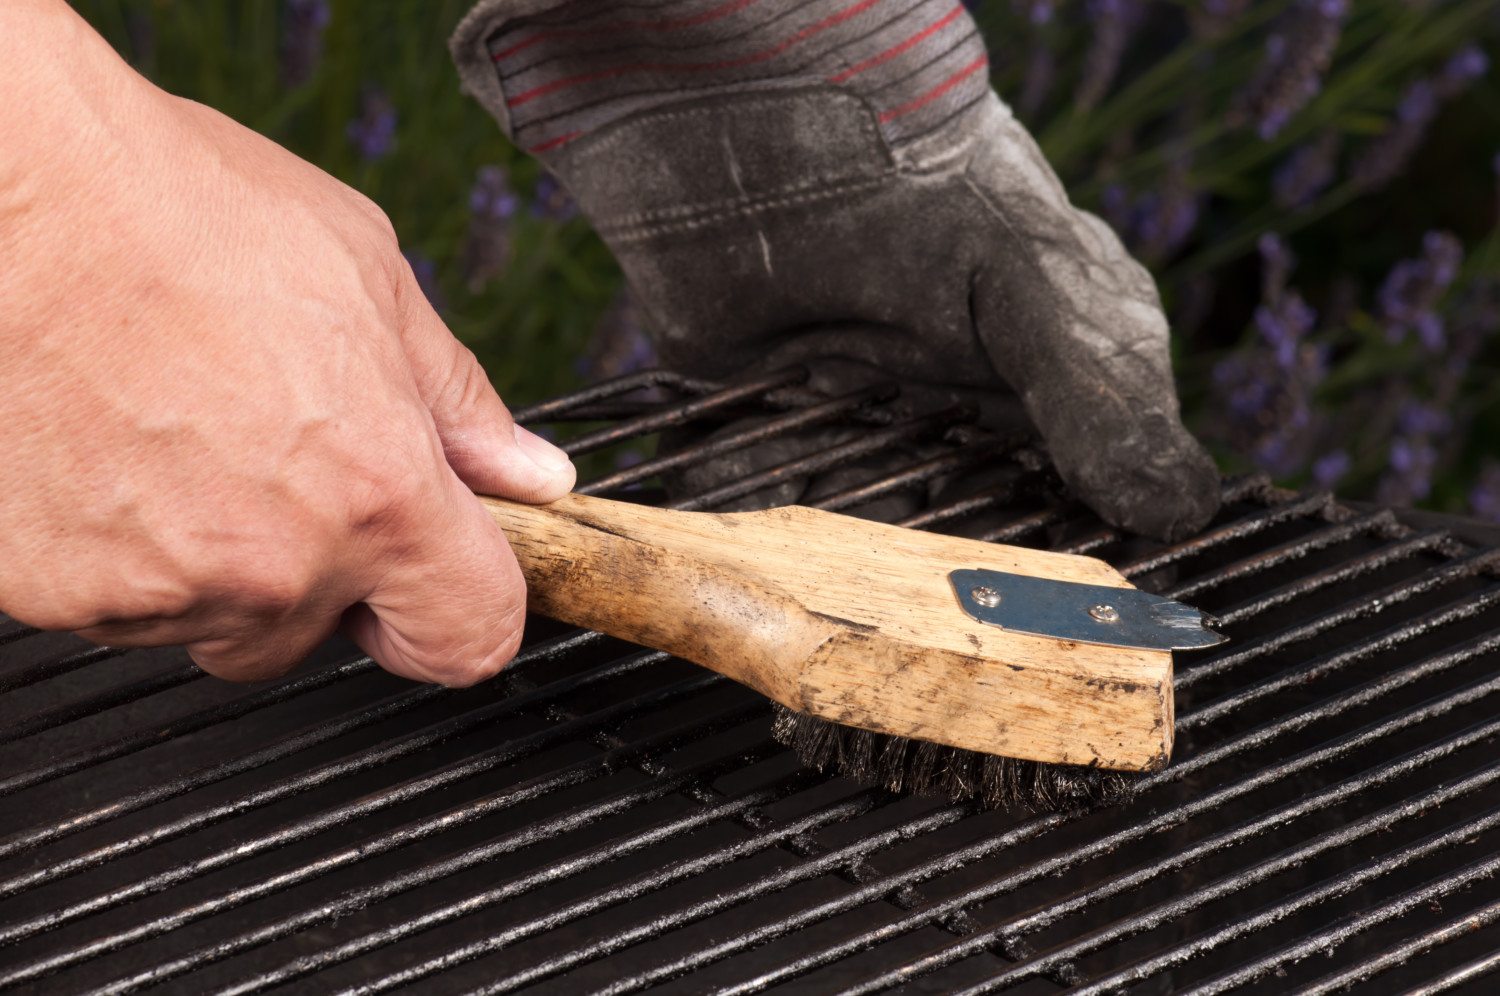
- Scrub with a grill brush: Begin by scrubbing the grates with a grill brush. Use firm pressure to remove any loose debris, grease, or food particles. Make sure to scrub all sides of the grates, including the top and bottom.
- Use a scraper for stubborn residue: If there are stubborn, burnt-on residue or larger food particles, use a scraper or putty knife to gently scrape them off. Make sure to be careful not to damage the grates. A back-and-forth motion or a gentle side-to-side motion can help dislodge the buildup.
- Apply a cleaning solution: If your grates are particularly dirty, you can use a cleaning solution to help break down grease and grime. Mix warm water with dish soap or create a paste using baking soda and vinegar. Apply the solution to the grates and let it sit for a few minutes to loosen the residue.
- Scrub again: After the cleaning solution has had some time to work, use the grill brush to scrub the grates again. This will help to further remove any remaining residue. Pay attention to any areas that may need additional scrubbing.
- Rinse off the grates: Once you’re satisfied with the cleanliness of the grates, rinse them off with water. You can use a water hose, a bucket of water, or a spray bottle. Make sure to remove any traces of the cleaning solution.
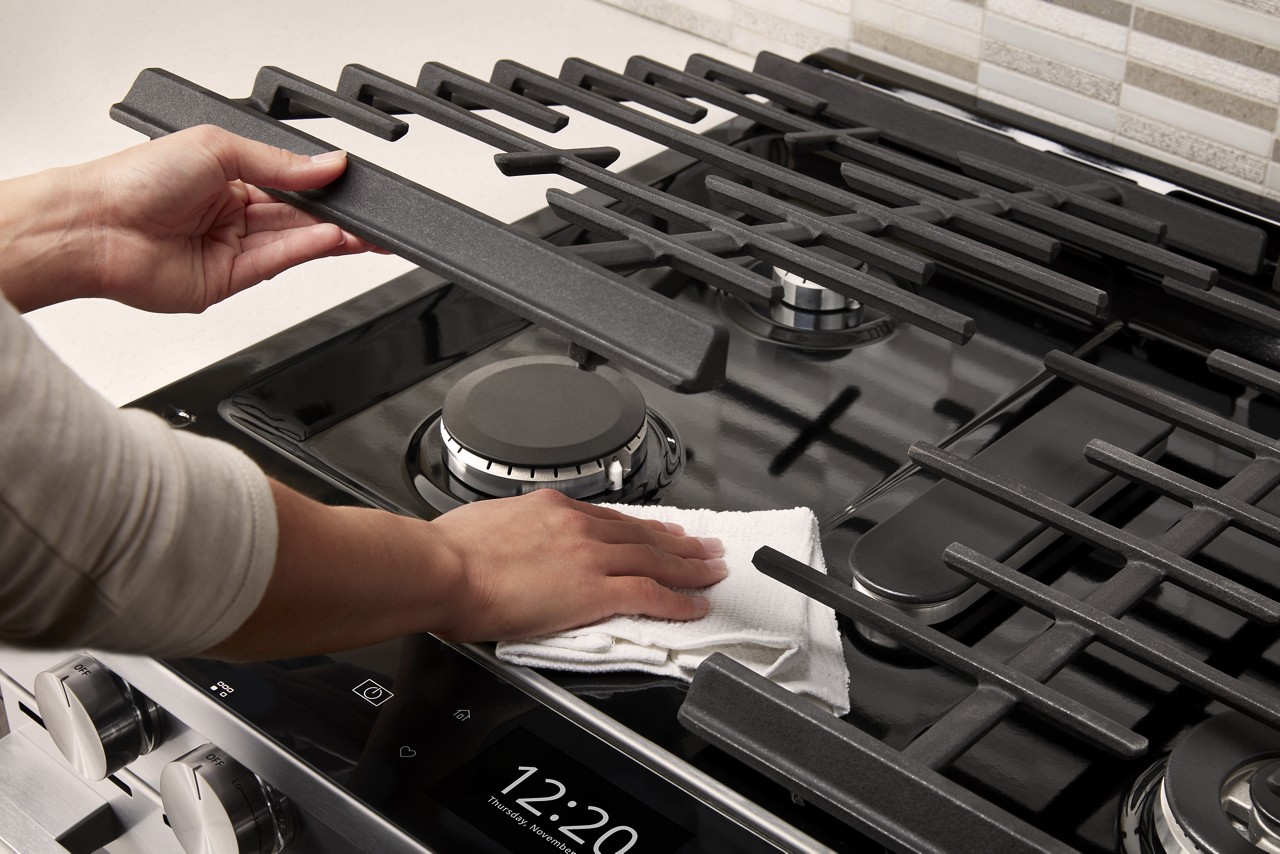
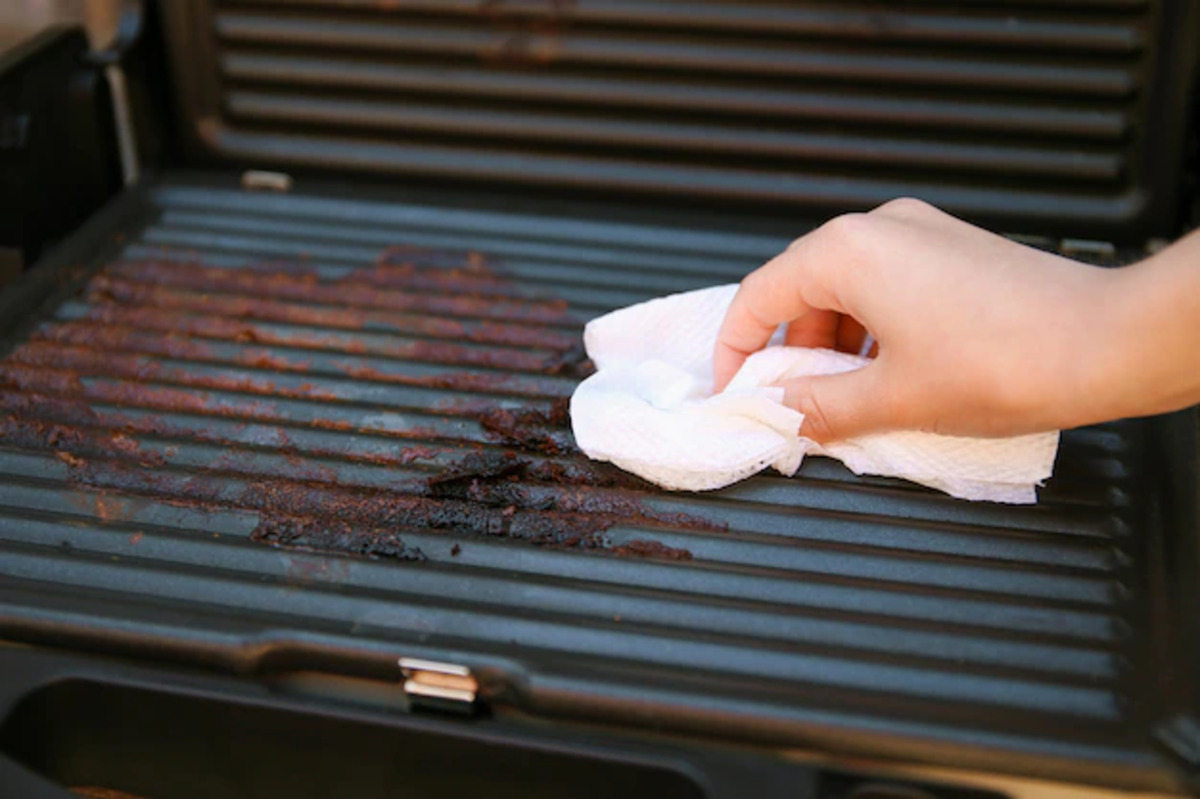
- Dry the grates: Before reattaching the grates to your grill, ensure that they are thoroughly dried. Use a clean drying cloth or paper towels to absorb any moisture. This step is crucial to prevent rust or corrosion on the grates.
By following these steps, you’ll achieve clean and well-maintained grill grates, ready for your next grilling session. However, if you prefer alternative cleaning methods, keep reading for some additional options.
Read more: How To Clean Cooktop Grates
Alternative Cleaning Methods
While using a grill brush and cleaning solutions is a standard method for cleaning grill grates, there are alternative approaches you can consider. These methods can be especially useful for different types of grates or for situations where traditional cleaning may not be effective. Here are some alternative cleaning methods for your grill grates:
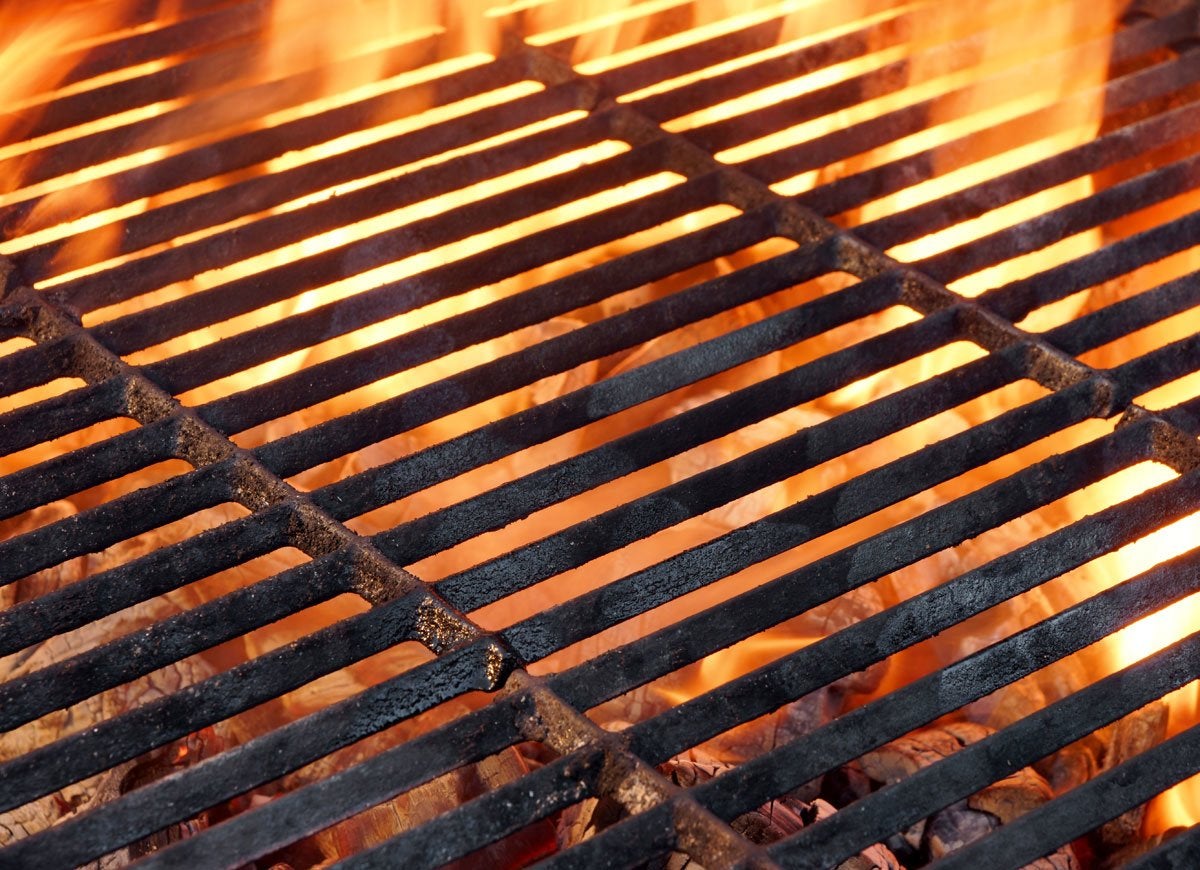
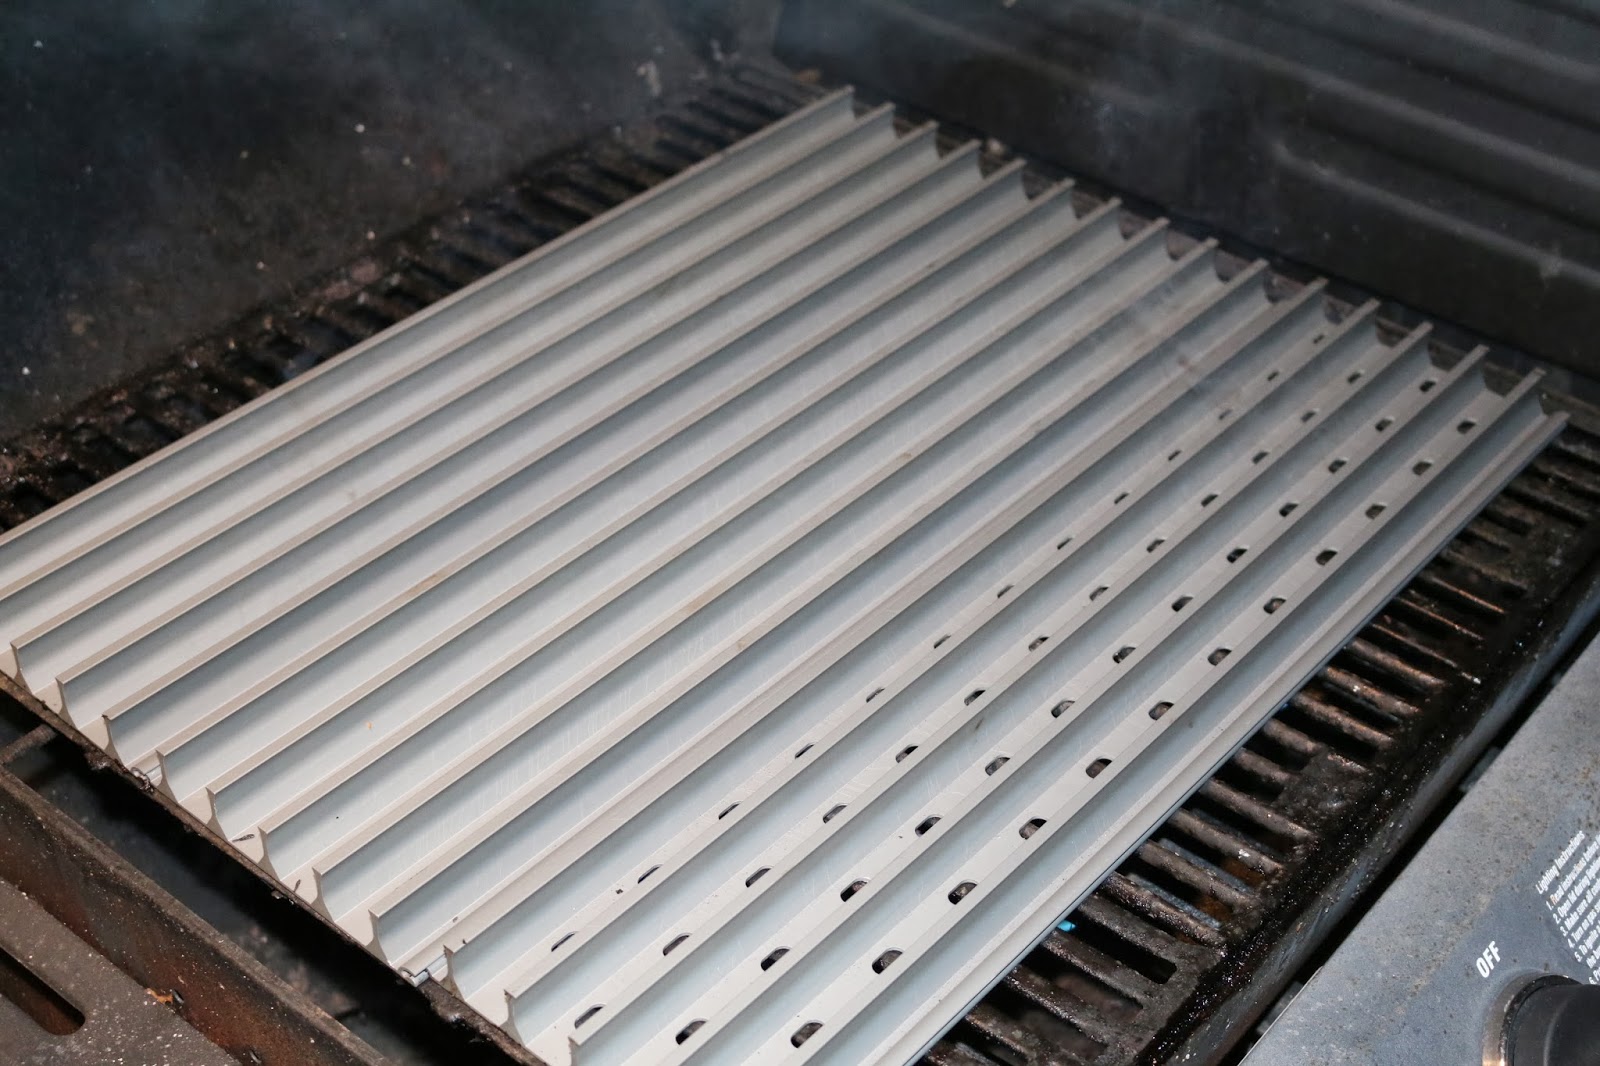
- Heat method: This method is particularly suitable for cast iron or porcelain-coated grates. After preheating your grill on high heat for about 15 minutes, use a brush to remove any loose debris. The heat will help to burn off stuck-on residue. Once cooled, scrub off any remaining residue.
- Aluminum foil: For porcelain-coated or stainless steel grates, crumpling a sheet of aluminum foil and using it to scrub the grates can be effective. The foil acts as an abrasive surface to remove buildup. Be cautious not to use this method on cast iron grates as it may damage the surface.
- Salt and oil: Mix equal parts of salt and oil to create a paste. Apply the paste to the grates and scrub with a brush or cloth. The salt acts as an abrasive while the oil helps to break down grease and grime. Rinse off with water and dry thoroughly.
- Onion method: Slice an onion in half and use the cut side to scrub the hot grates. The juices from the onion help to break down residue, and the natural fibers of the onion act as a gentle scrubbing agent. This method is best suited for light cleaning or as a maintenance option in between more thorough cleanings.
- Professional cleaning services: If you have a large or complex grill, or if you simply prefer to leave the cleaning to professionals, consider hiring a grill cleaning service. These professionals have the expertise and specialized equipment to clean your grill grates thoroughly.
Remember to assess the type of grates you have and choose a cleaning method that is suitable for their material. Always follow the manufacturer’s recommendations for cleaning to avoid any damage or deterioration.
Now that you’re aware of alternative cleaning methods, let’s explore some tips for preventing the buildup on your grill grates.
Tips for Preventing Grill Grate Buildup
Prevention is key when it comes to keeping your grill grates clean and in good condition. By adopting a few simple habits, you can minimize the buildup of residue and ensure that your grates stay in top shape. Here are some tips for preventing grill grate buildup:
- Preheat and clean: Before each grilling session, preheat your grill for 10-15 minutes. This helps to burn off any remaining residue from previous cookouts. Use a grill brush to clean the grates while they are hot. This routine maintenance will prevent future buildup.
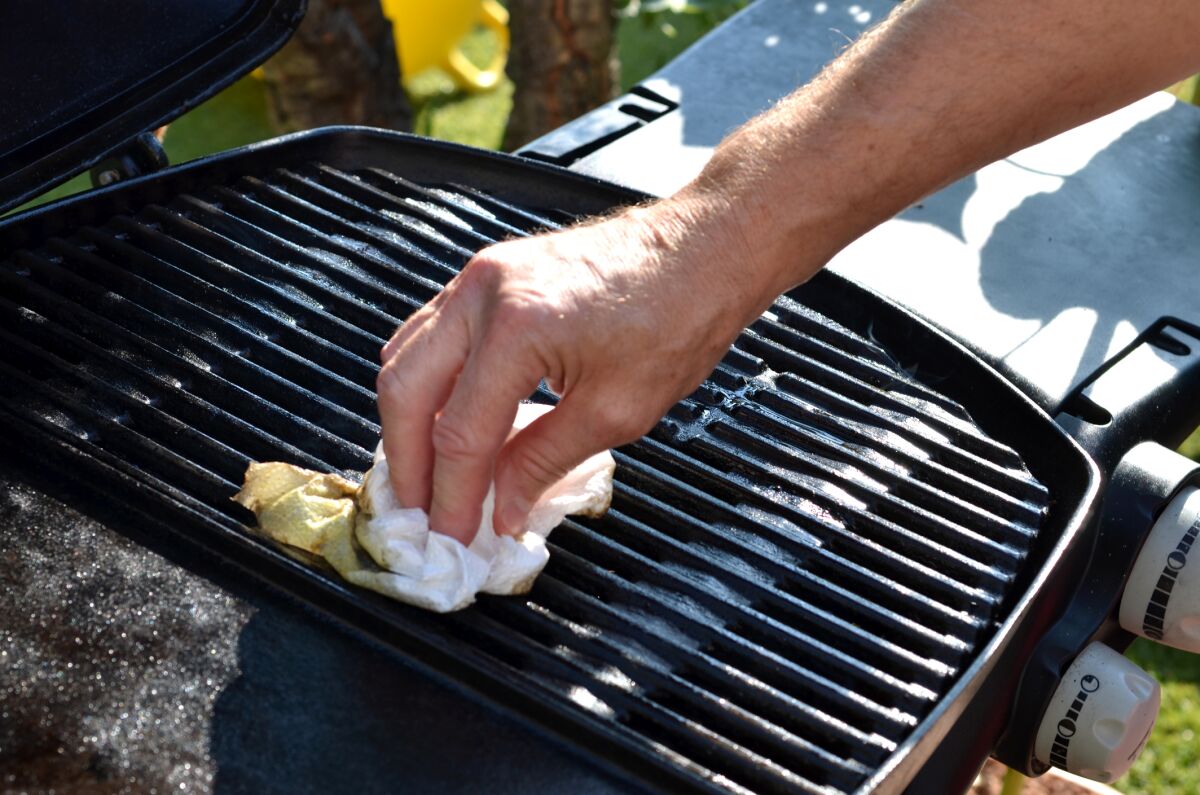
- Oil the grates: Prior to placing food on the grates, lightly coat them with oil to prevent sticking. Use a high smoke point oil like canola or grapeseed oil. This will create a barrier and make it easier to clean the grates after cooking.
- Clean after each use: Get into the habit of cleaning your grill grates after each use. Allow the grates to cool down slightly and then use a brush to remove any food particles or residue. This quick cleaning routine prevents stubborn buildup and makes future cleanings easier.
- Use a drip pan or foil: Placing a drip pan or aluminum foil beneath the grates can help catch dripping grease and food particles. This prevents them from accumulating on the grates, making cleanup simpler.
- Avoid abrasive cleaning tools: While it’s important to scrub your grill grates to remove buildup, be cautious of using overly abrasive tools or harsh chemicals. They can damage the grates or strip away the seasoning on cast iron grates. Stick to grill brushes and scrapers specifically designed for grates.
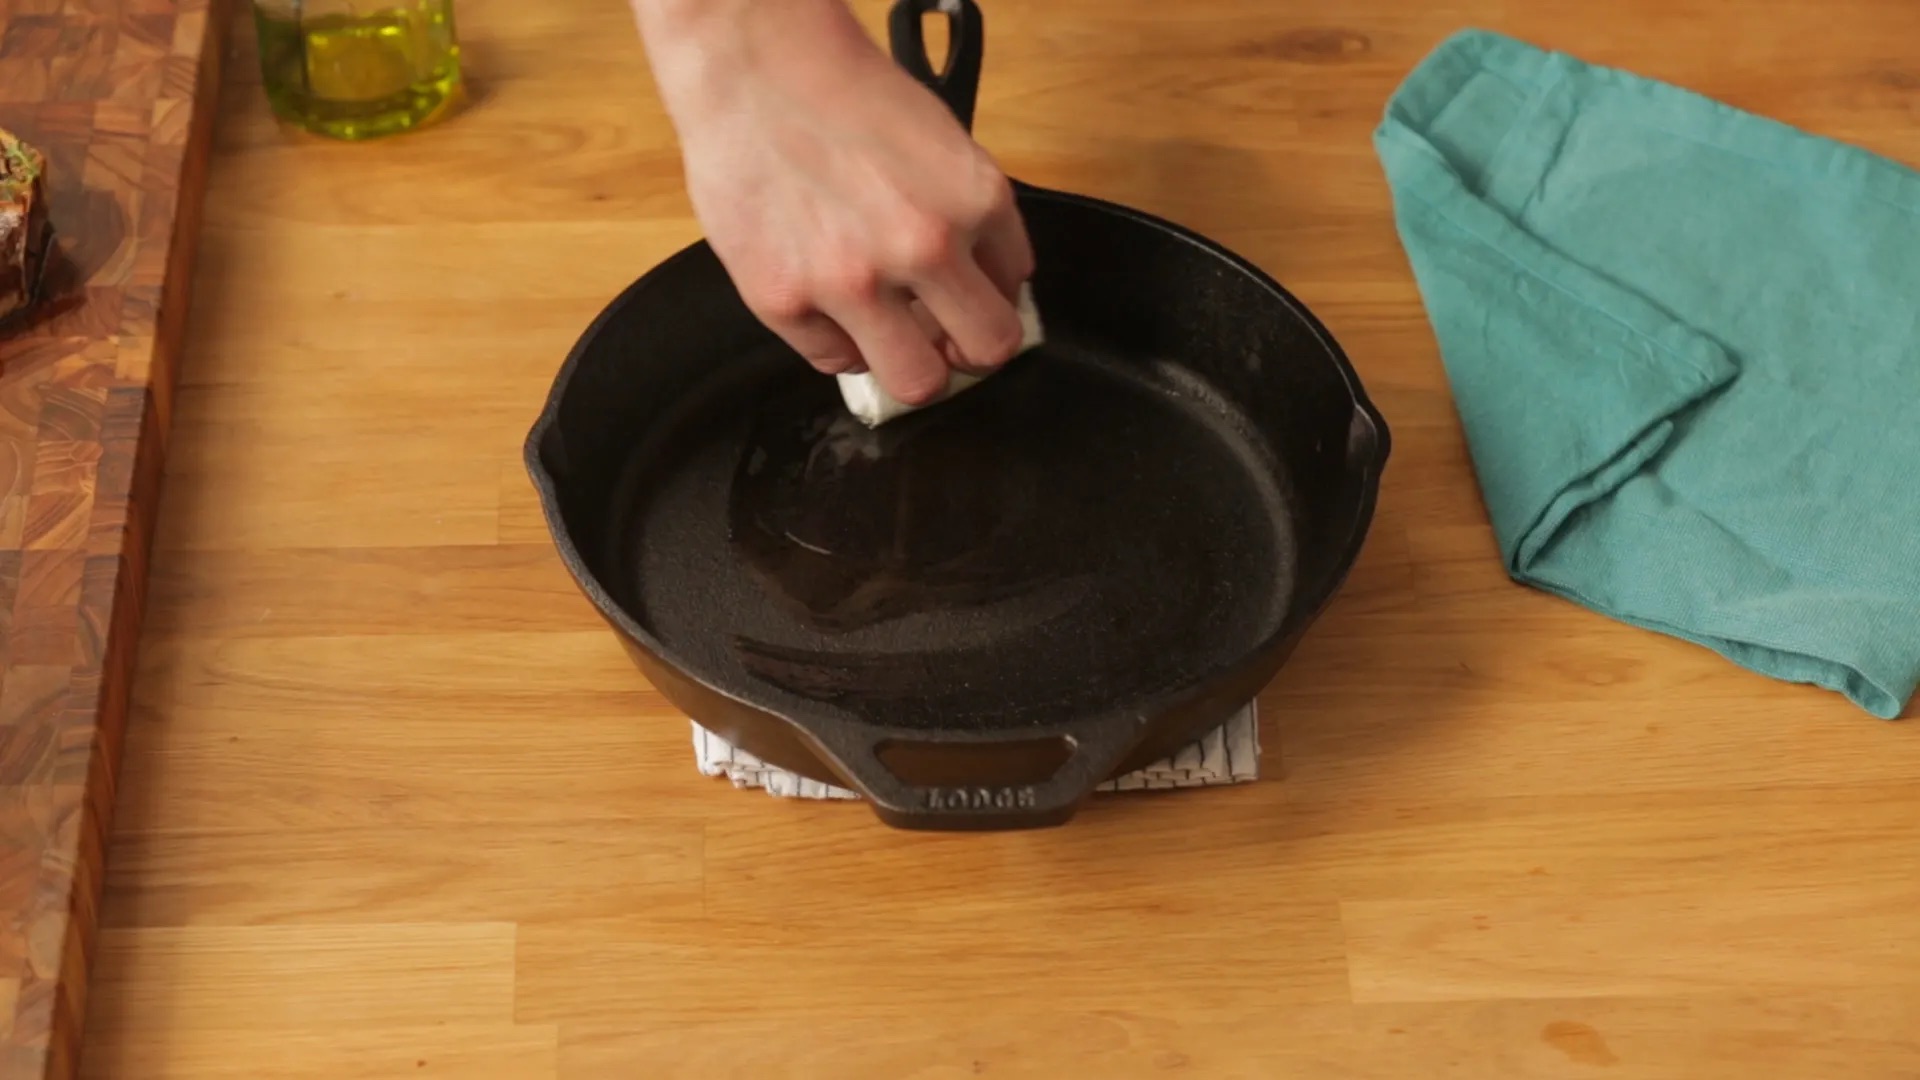
- Season cast iron grates: If you have cast iron grates, season them regularly to create a non-stick surface and protect against rust. After cleaning, apply a thin layer of vegetable oil or another high smoke point oil to the grates and heat them for a few minutes. This process helps to maintain the integrity and performance of cast iron grates.
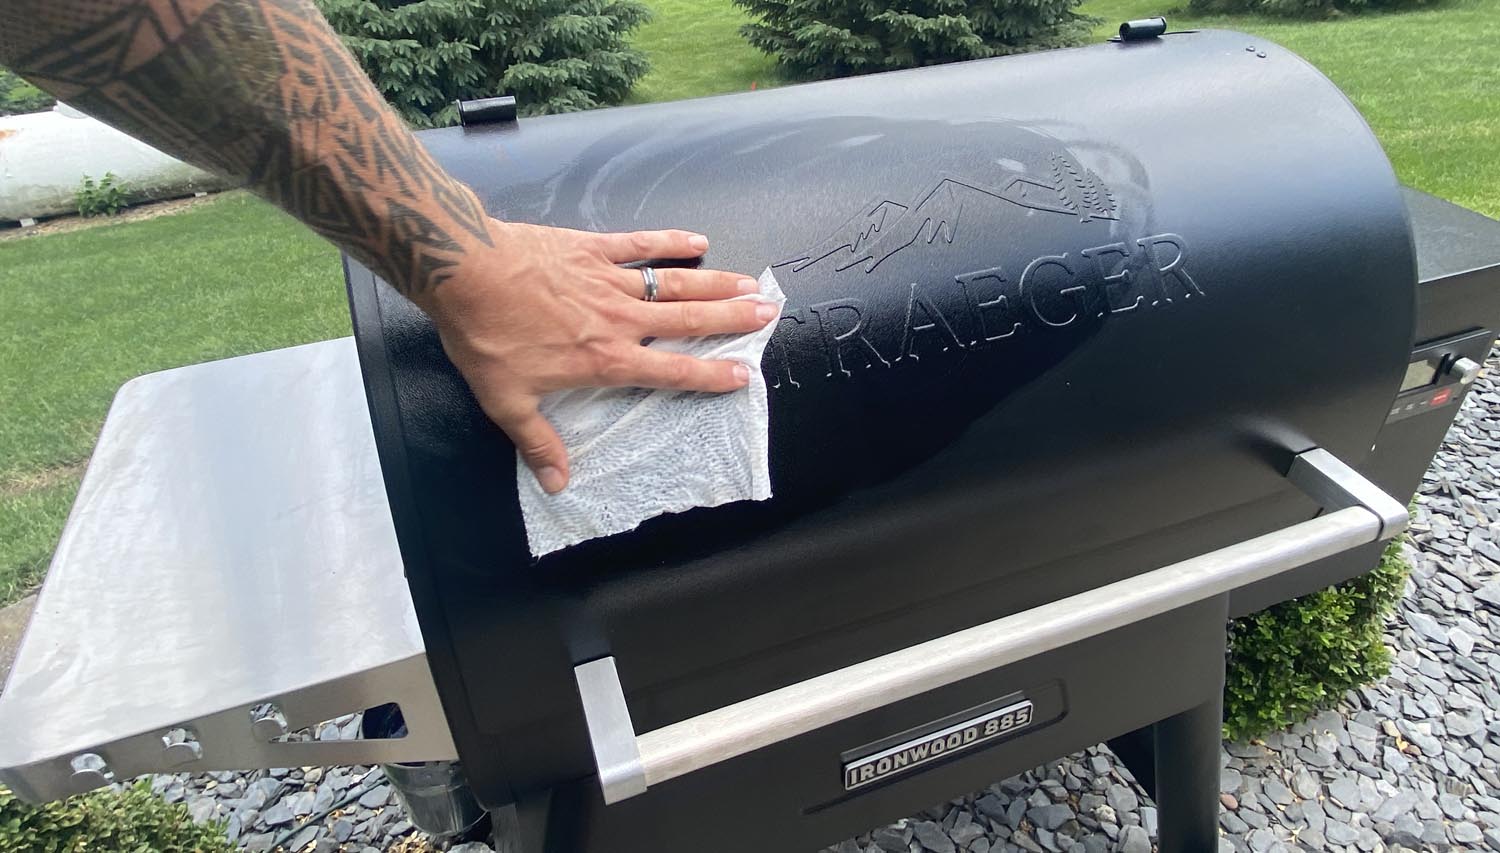
- Cover your grill: Investing in a grill cover is an effective way to protect your grill grates and prevent the buildup of dirt, dust, and debris. Covering your grill when it’s not in use will keep it clean and extend its lifespan.
By incorporating these preventive measures into your grilling routine, you’ll enjoy cleaner grates, improved cooking performance, and a longer lifespan for your grill.
Now that you’re armed with these tips, you’ll be able to maintain clean and well-functioning grill grates with ease. Let’s wrap up our guide.
Conclusion
Properly cleaning and maintaining your grill grates is essential for not only hygiene but also for ensuring delicious grilled meals and prolonging the lifespan of your grill. By following the steps outlined in this guide, you have the knowledge and tools to effectively clean your grill grates and prevent the buildup of residue and grime.
Remember to prepare your grill before cleaning, removing any ashes, emptying the grease trap, and inspecting the grates. Scrubbing the grates with a grill brush, using a scraper for stubborn residue, and applying a cleaning solution are the key steps for achieving spotless grates. Rinse off the grates, dry them thoroughly, and they’ll be ready for your next grilling adventure.
Additionally, you have learned about alternative cleaning methods suitable for different types of grates and received valuable tips for preventing buildup on your grill grates. By embracing these preventive measures, such as preheating the grill, applying oil, and cleaning after each use, you can keep your grates in excellent condition and avoid the need for intensive cleaning in the future.
So, the next time you fire up your grill, take a moment to appreciate the importance of clean grill grates and the impact they have on your cooking experience and the taste of your food. By maintaining clean grates, you’ll ensure safe, flavorful, and evenly cooked meals every time.
Now, go ahead and put this knowledge into practice, keeping your grill grates sparkling clean and ready for your next barbecue!
Frequently Asked Questions about How To Clean Grill Grates
Was this page helpful?
At Storables.com, we guarantee accurate and reliable information. Our content, validated by Expert Board Contributors, is crafted following stringent Editorial Policies. We're committed to providing you with well-researched, expert-backed insights for all your informational needs.
0 thoughts on “How To Clean Grill Grates”