Articles
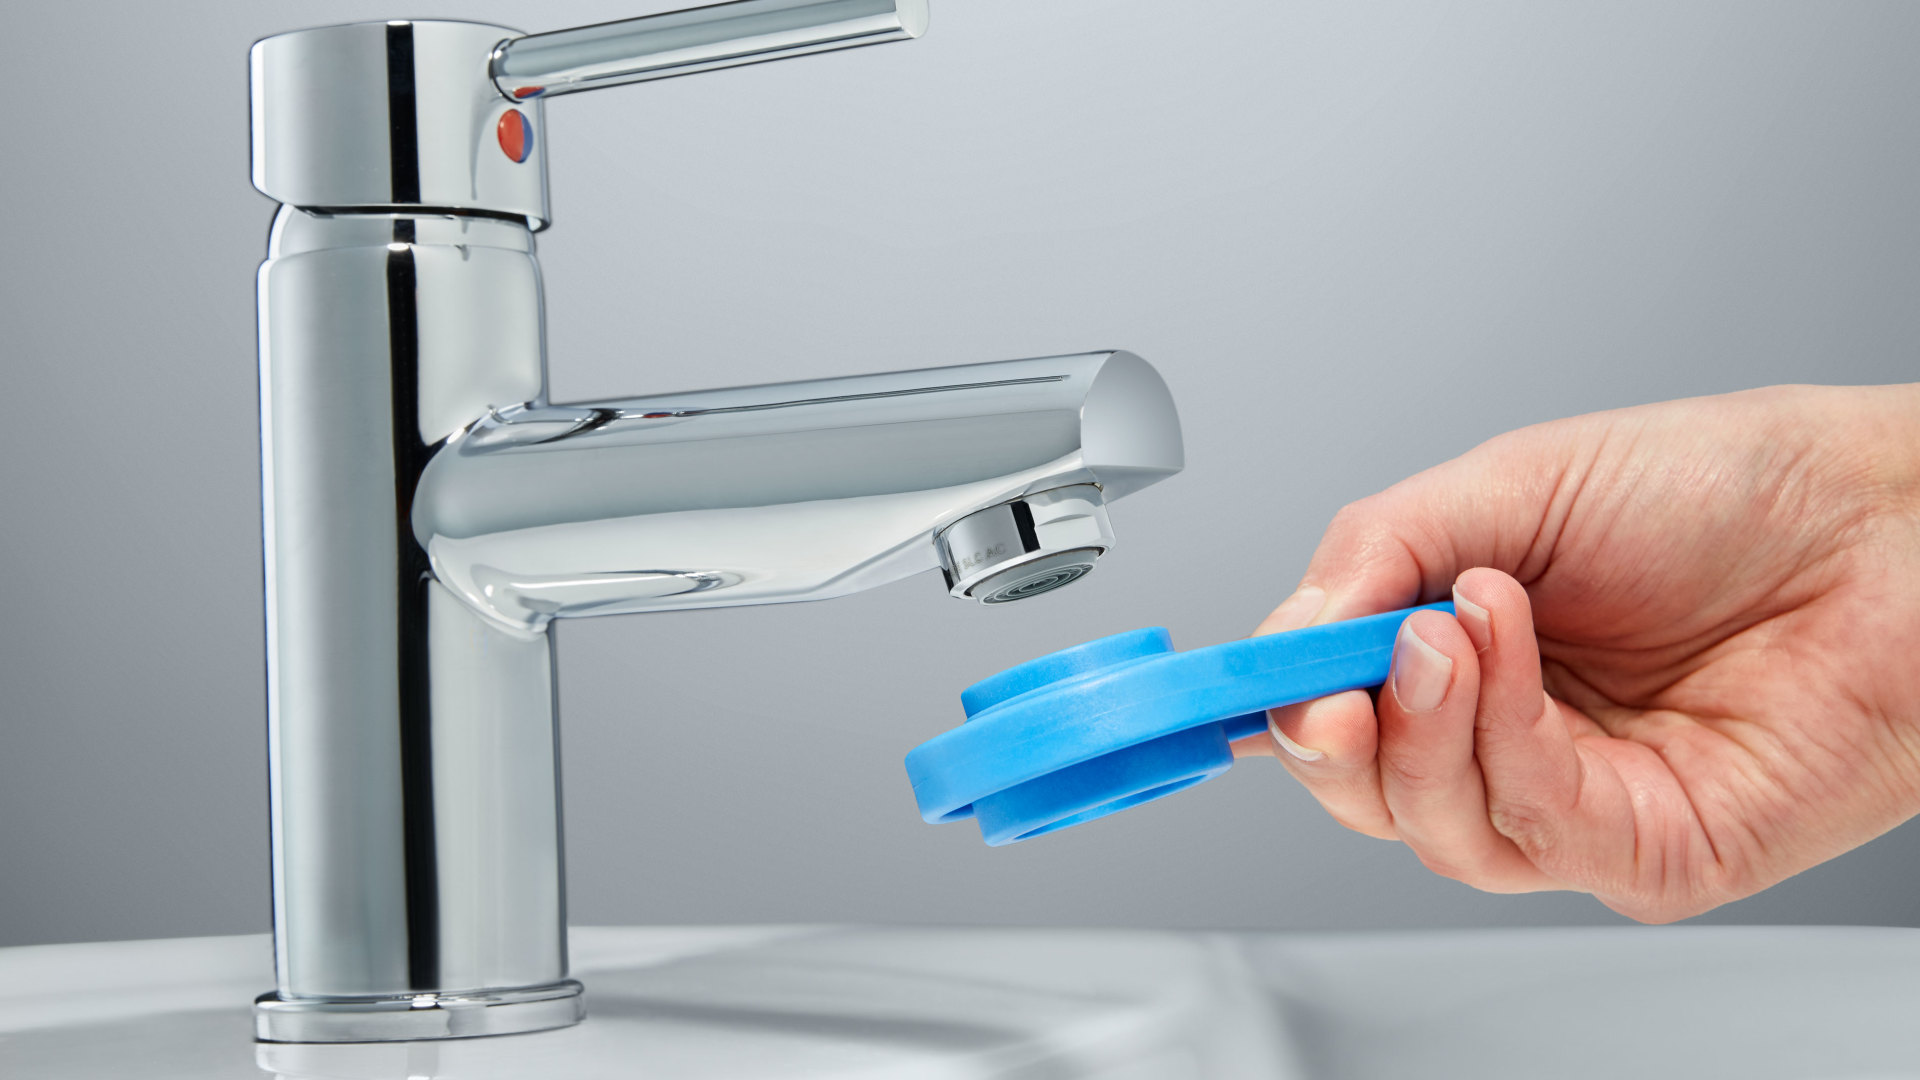
How To Clean Faucet Head Without Vinegar
Modified: August 16, 2024
Learn how to effectively clean your faucet head without vinegar in this informative article. Discover alternative methods and keep your faucet looking its best.
(Many of the links in this article redirect to a specific reviewed product. Your purchase of these products through affiliate links helps to generate commission for Storables.com, at no extra cost. Learn more)
Introduction
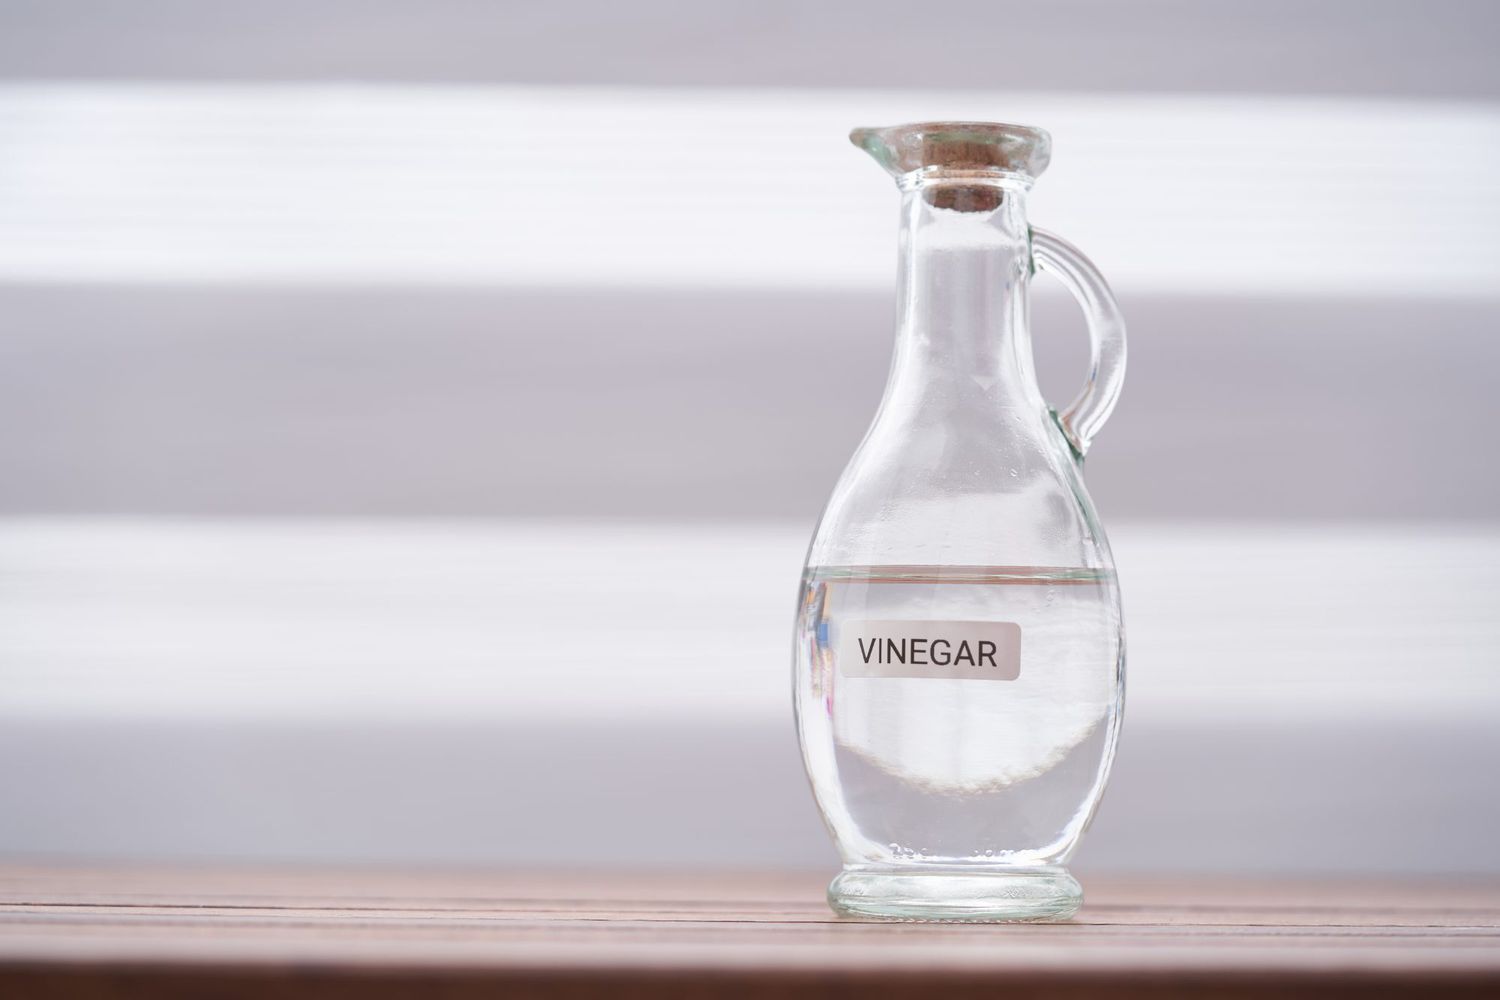
Keeping your faucet head clean and free from buildup is essential for maintaining the cleanliness and functionality of your kitchen or bathroom sink. While vinegar is a popular and effective cleaning agent, not everyone likes its strong smell or may not have it readily available at home. Fret not, as there are several alternative methods that you can use to clean your faucet head without vinegar. In this article, we will explore four such methods that are both effective and easy to implement.
Whether it’s mineral deposits, soap scum, or bacteria, the accumulation on your faucet head can not only affect its appearance but also reduce water flow and overall performance. Regular cleaning can prevent any blockage and ensure proper water flow, prolonging the lifespan of your faucet.
So, if you’re looking for vinegar-free ways to keep your faucet head sparkling clean, read on to discover four effective cleaning methods that you can try at home.
Key Takeaways:
- Say goodbye to vinegar and hello to sparkling faucet heads! Try baking soda and lemon juice, dish soap and warm water, toothbrush and baking soda paste, or citric acid solution for effective and vinegar-free cleaning.
- Keep your faucet head clean and functional with these easy and effective vinegar-free cleaning methods. Choose the one that suits your needs and enjoy a sparkling faucet without the strong smell of vinegar!
Read more: How To Clean Faucet With Vinegar
Method 1: Baking Soda and Lemon Juice
Baking soda and lemon juice make a powerful combination when it comes to removing stubborn stains and buildup from your faucet head. The natural acidity of lemon juice combined with the gentle abrasiveness of baking soda creates a potent cleaning solution.
To use this method, follow these simple steps:
- Fill a small bowl or container with equal parts baking soda and lemon juice.
- Mix the two ingredients together to form a paste.
- Apply the paste to the faucet head, making sure to cover all the affected areas.
- Leave the paste on for about 10-15 minutes to allow it to work its magic.
- Use a soft toothbrush or toothpick to gently scrub the faucet head, focusing on the areas with stubborn buildup.
- Rinse the faucet head thoroughly with warm water to remove any residue.
You will be amazed at how effectively this method can remove mineral deposits, limescale, and other grime from your faucet head. The citric acid in the lemon juice helps to dissolve the mineral buildup, while the baking soda gently scrubs away any remaining stains.
Remember to exercise caution when using this method on certain types of finishes, such as brass or gold plating. The acid in the lemon juice can potentially damage or discolor these delicate surfaces. It’s always a good idea to test a small, inconspicuous area first to ensure compatibility.
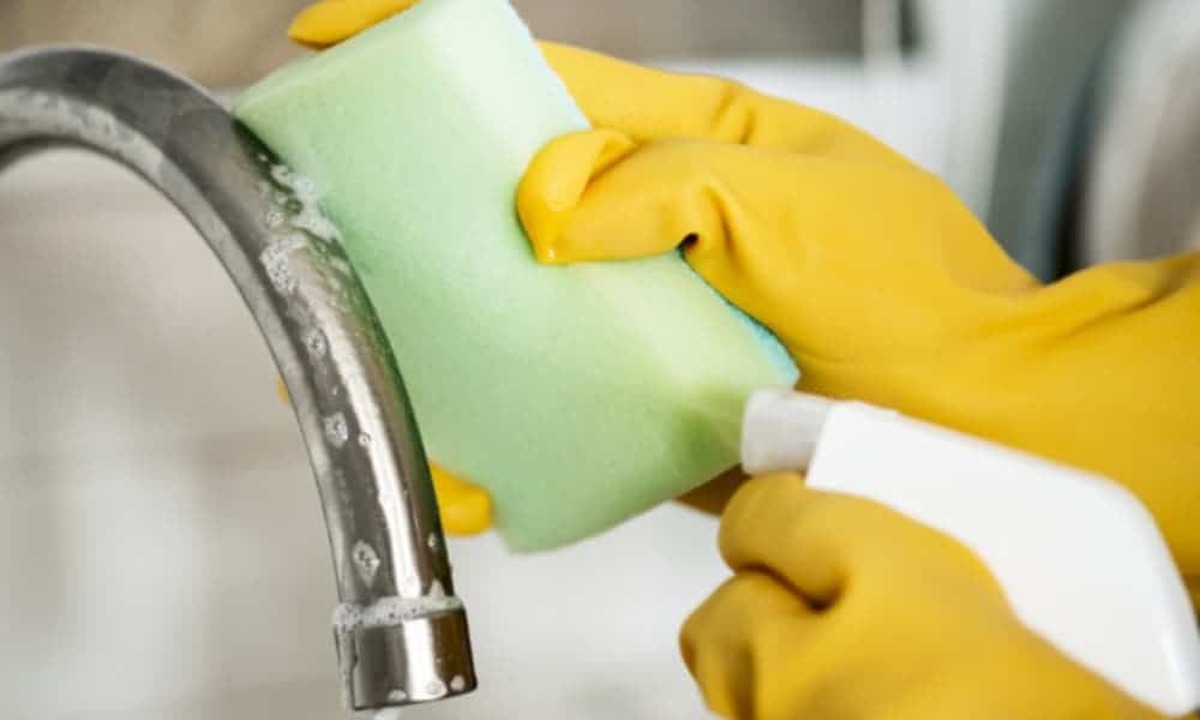
Method 2: Dish Soap and Warm Water
If you prefer a milder and more readily available option, dish soap and warm water can be a great combination for cleaning your faucet head. Dish soap is designed to cut through grease and grime, making it effective for removing everyday buildup on your taps.
Here’s how you can use dish soap and warm water to clean your faucet head:
- Fill a basin or sink with warm water.
- Add a few drops of mild dish soap to the water and mix well to create a soapy solution.
- Detach the faucet head if possible and let it soak in the soapy water for about 15-20 minutes.
- Using a soft sponge or cloth, gently scrub the faucet head, paying attention to the areas with visible stains or deposits. For hard-to-reach areas, a toothbrush can be useful.
- Rinse the faucet head thoroughly with clean water to remove any soap residue.
- Reattach the faucet head and wipe it dry with a clean cloth.
This method is gentle yet effective in removing dirt, grime, and even some mineral deposits from your faucet head. The warm water helps in loosening the buildup while the dish soap removes any grease or residue.
Remember to avoid using abrasive materials or scrub brushes with coarse bristles, as they can scratch or damage the surface of your faucet head. Stick to soft sponges or cloths to ensure a safe and thorough cleaning process.
You can clean a faucet head without vinegar by soaking it in a solution of baking soda and water. Mix 1/2 cup of baking soda with 1/4 cup of water to form a paste, then apply it to the faucet head and let it sit for 15-20 minutes before rinsing.
Method 3: Toothbrush and Baking Soda Paste
If you’re dealing with stubborn stains or hard-to-reach areas on your faucet head, using a toothbrush along with a baking soda paste can be a highly effective cleaning method. The bristles of a toothbrush can provide the necessary scrubbing power, while the baking soda acts as a natural abrasive agent.
Follow these steps to clean your faucet head using a toothbrush and baking soda paste:
- In a small bowl, mix baking soda with a small amount of water to create a paste.
- Dip the toothbrush into the baking soda paste and apply it directly to the faucet head, focusing on areas with visible stains or buildup.
- Gently scrub the faucet head using the toothbrush, applying light pressure to remove the grime.
- Continue scrubbing until you’ve covered all the affected areas.
- Rinse the faucet head thoroughly with warm water to remove any residue.
This method is particularly effective for removing mineral deposits or tough stains that cannot be easily removed with just soap and water. The baking soda paste acts as a mild abrasive, breaking down the buildup and leaving your faucet head looking sparkling clean.
However, it’s important to be gentle while scrubbing to avoid scratching or damaging the surface of your faucet head. If your faucet head has a delicate finish or is made of a sensitive material, it’s advisable to test the baking soda paste on a small, inconspicuous area first to ensure it doesn’t cause any damage.
Method 4: Citric Acid Solution
If you’re looking for a powerful and effective cleaning solution for your faucet head, a citric acid solution can do wonders. Citric acid is a natural cleaning agent that effectively removes mineral deposits and stubborn buildup from various surfaces.
Here’s how you can use a citric acid solution to clean your faucet head:
- In a small bowl or container, mix equal parts of citric acid powder and warm water to create a solution.
- Dismantle the faucet head if possible and submerge it in the citric acid solution. If you cannot detach the faucet head, soak a cloth or sponge in the solution and wrap it around the faucet head.
- Leave the faucet head to soak in the solution for about 30 minutes. This will allow the citric acid to dissolve the mineral deposits and grime.
- Using a soft brush or toothbrush, gently scrub the faucet head to remove any remaining buildup.
- Rinse the faucet head thoroughly with clean water to wash away any citric acid residue.
- If needed, repeat the process for stubborn stains or deposits.
- Dry the faucet head with a clean cloth and reattach it.
The citric acid solution effectively breaks down mineral deposits, limescale, and other buildup, restoring the shine and functionality of your faucet head. It’s a great alternative to vinegar, especially if you’re looking for a stronger cleaning agent.
However, it’s important to note that citric acid can be corrosive for certain types of finishes or materials. Always test the solution on a small, inconspicuous area first and use caution when using it on delicate surfaces.
With these four vinegar-free methods, you now have effective alternatives to keep your faucet head clean and free from buildup. Regular cleaning using these methods will not only enhance the appearance of your faucet but also ensure optimum water flow and functionality. Choose the method that works best for you and enjoy a sparkling faucet head without the need for vinegar!
Read more: How To Clean A Kettle Without Vinegar
Conclusion
Keeping your faucet head clean and free from buildup is essential for maintaining a clean and functional kitchen or bathroom sink. While vinegar is a popular and effective cleaning agent, there are several alternative methods that you can use to clean your faucet head without vinegar.
In this article, we explored four vinegar-free methods for cleaning your faucet head:
- Baking Soda and Lemon Juice: The natural acidity of lemon juice combined with the gentle abrasiveness of baking soda creates a powerful cleaning solution.
- Dish Soap and Warm Water: This milder option can effectively remove everyday buildup from your faucet head.
- Toothbrush and Baking Soda Paste: Using a toothbrush along with a baking soda paste can effectively tackle stubborn stains and hard-to-reach areas.
- Citric Acid Solution: Citric acid is a powerful natural cleaning agent that can dissolve mineral deposits and stubborn grime from your faucet head.
Each method offers its own benefits and is easy to implement with readily available household ingredients. It’s important to choose the method that suits your needs and the material of your faucet head.
Regularly cleaning your faucet head using these vinegar-free methods will not only enhance its appearance but also maintain proper water flow and improve its overall performance. By removing mineral deposits, limescale, and other buildup, you can prolong the lifespan of your faucet and avoid potential clogs or issues.
Remember to always exercise caution when cleaning your faucet head and avoid using abrasive materials or harsh chemicals that can damage the surface. If you’re unsure about the compatibility of a cleaning method with your faucet head, it’s always best to test it on a small, inconspicuous area first.
By following these vinegar-free cleaning methods, you can enjoy a sparkling faucet head without the need for vinegar. So, roll up your sleeves, gather your cleaning supplies, and give your faucet head the attention it deserves!
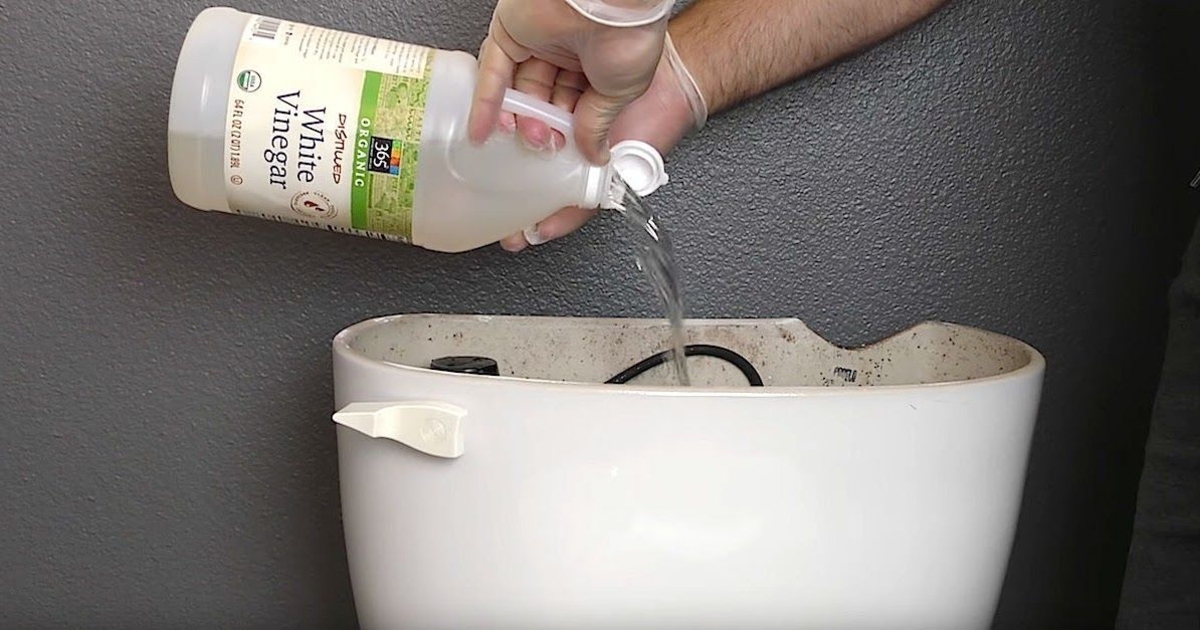
Now that your faucet head shines without a trace of vinegar, why not tackle another common household cleaning challenge? Learn how to harness the power of baking soda and vinegar for a sparkling clean toilet. This method not only promises a spotless finish but also ensures a fresher scent and more hygienic space. Dive into our practical tips and keep every corner of your home in top condition.
Frequently Asked Questions about How To Clean Faucet Head Without Vinegar
Was this page helpful?
At Storables.com, we guarantee accurate and reliable information. Our content, validated by Expert Board Contributors, is crafted following stringent Editorial Policies. We're committed to providing you with well-researched, expert-backed insights for all your informational needs.


0 thoughts on “How To Clean Faucet Head Without Vinegar”