Articles
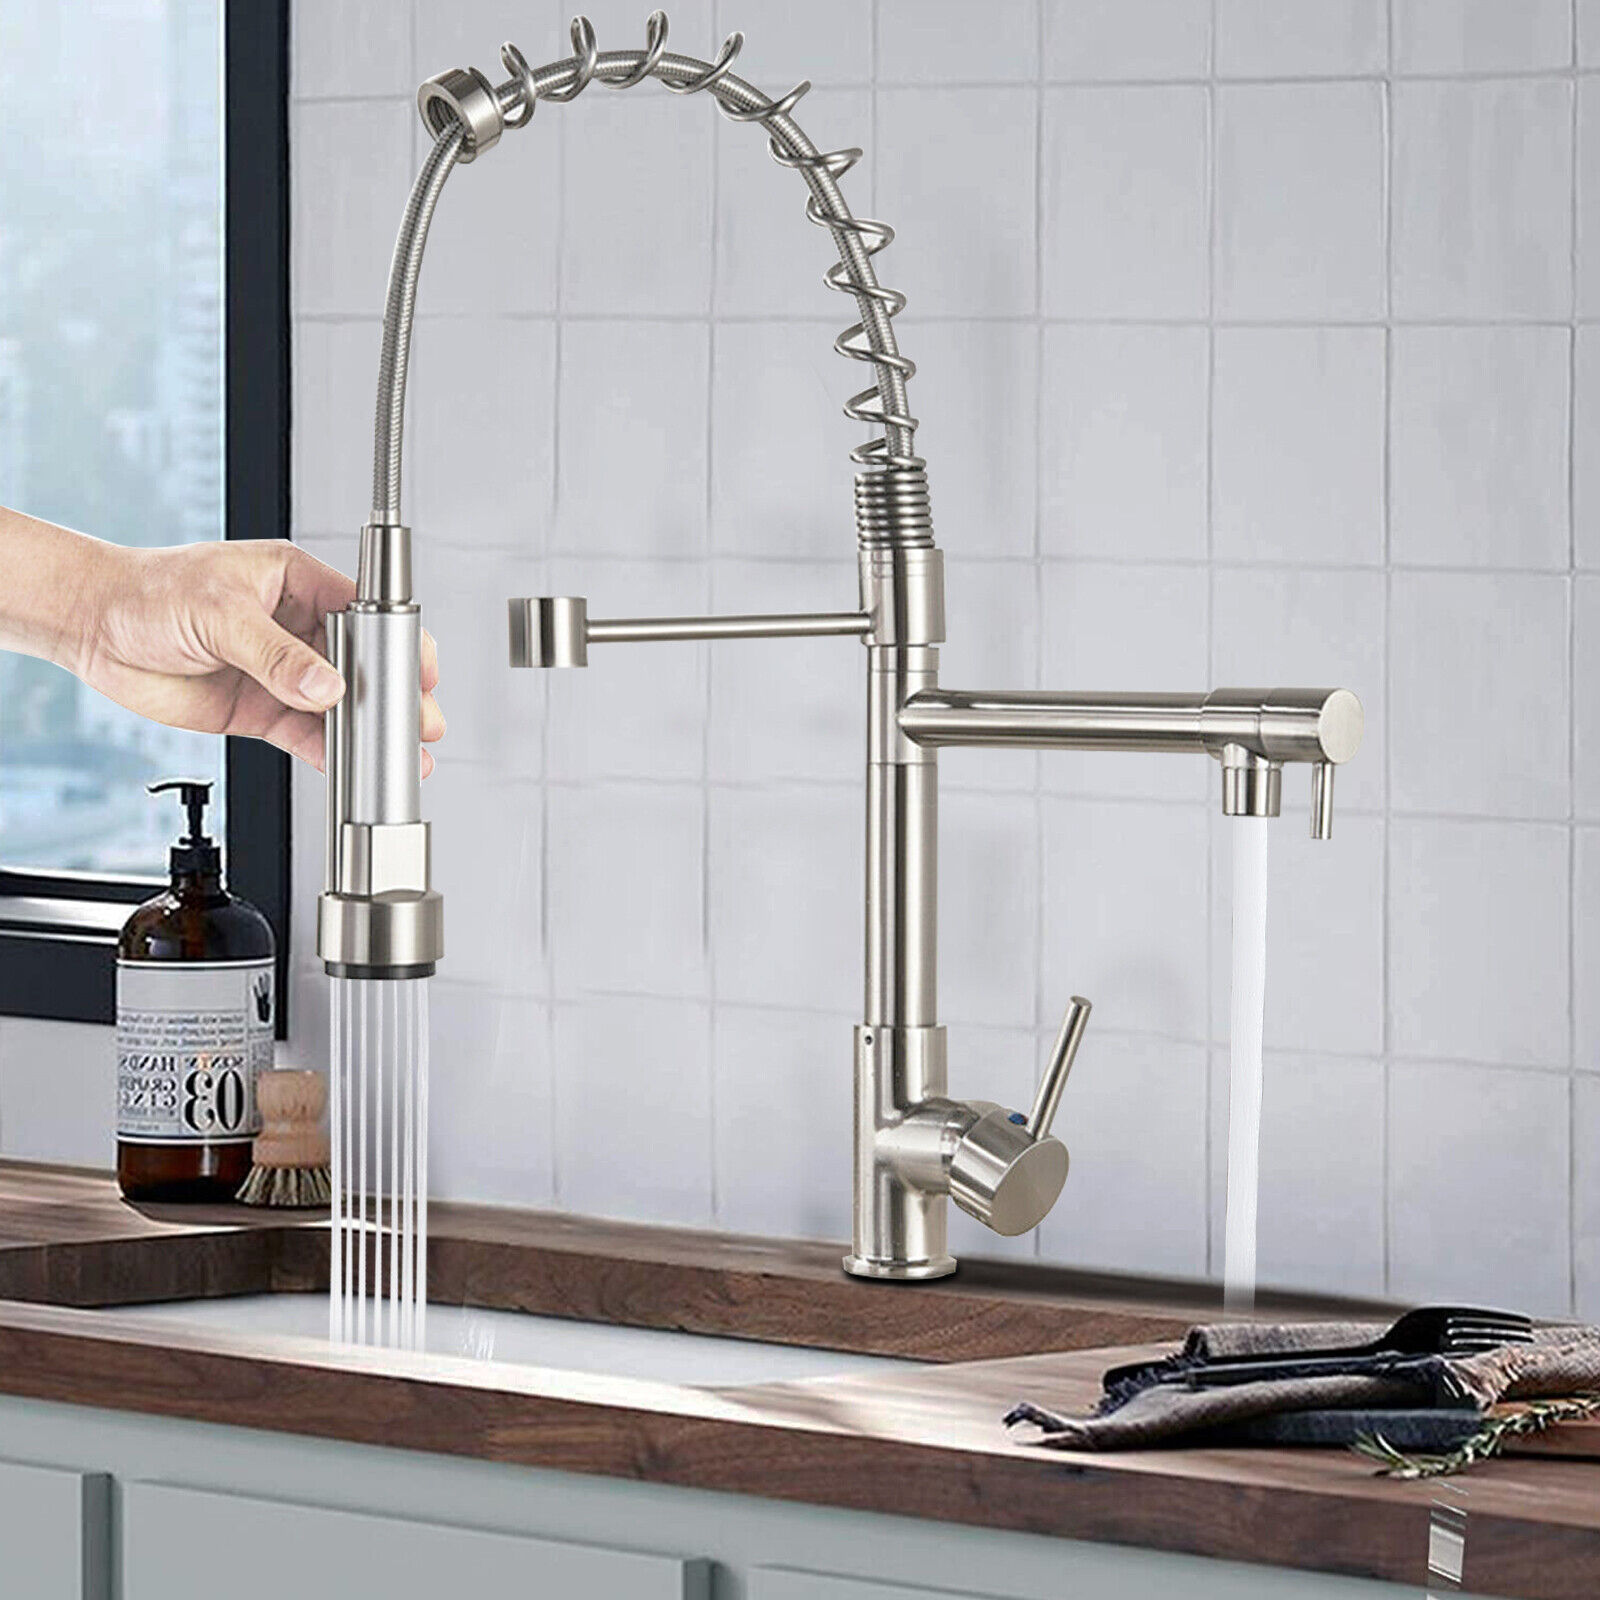
How To Clean A Sink Faucet Head
Modified: October 28, 2024
Learn how to clean a sink faucet head with these helpful articles. Keep your faucet in top shape and prevent buildup for better water flow.
(Many of the links in this article redirect to a specific reviewed product. Your purchase of these products through affiliate links helps to generate commission for Storables.com, at no extra cost. Learn more)
Introduction
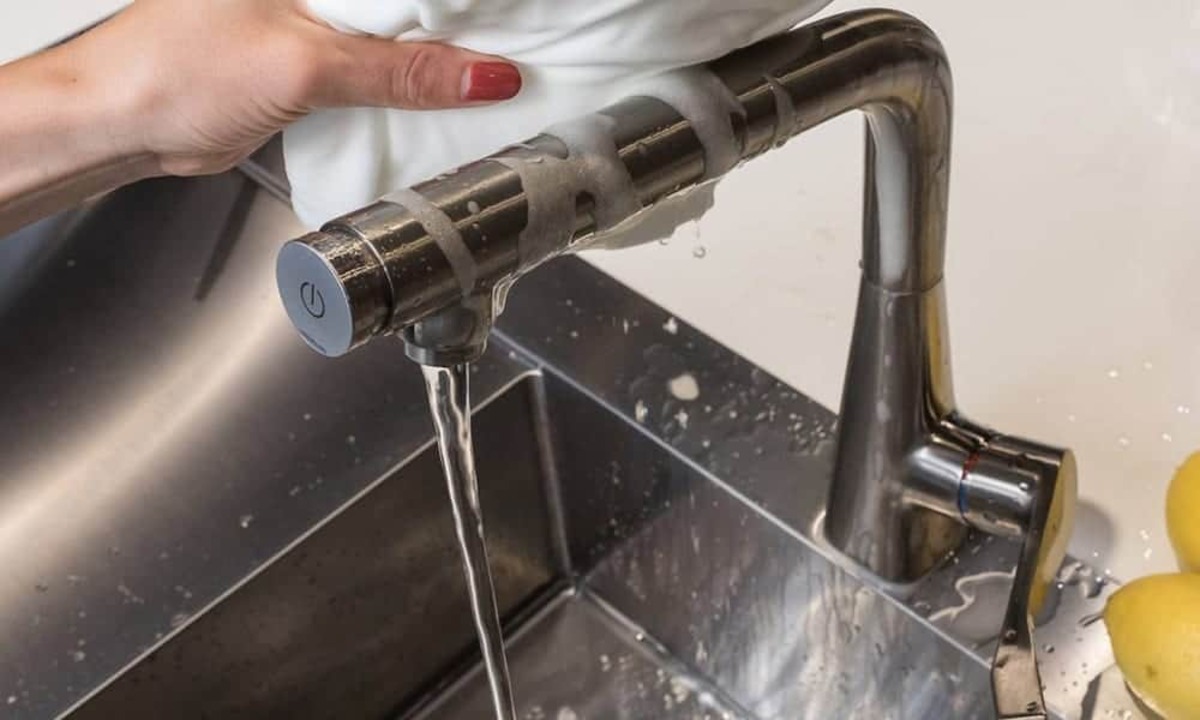
A sink faucet head is an essential part of any kitchen or bathroom sink, allowing you to control the flow and temperature of water. Over time, the faucet head can accumulate mineral deposits, grime, and bacteria, affecting its performance and appearance. Cleaning the faucet head regularly not only improves its functionality but also enhances the overall hygiene of your sink. Fortunately, cleaning a sink faucet head is a quick and simple task that can be done with a few basic supplies and some easy steps.
In this article, we will guide you through the process of cleaning a sink faucet head effectively. We will provide step-by-step instructions, including the necessary supplies and techniques to remove mineral deposits and restore the faucet head’s optimal performance. By following these guidelines, you’ll be able to maintain a clean and functional faucet head that will last for years to come.
So let’s roll up our sleeves and get into the details of how to clean a sink faucet head!
Key Takeaways:
- Regularly cleaning your sink faucet head with white vinegar and basic supplies ensures optimal performance, prevents mineral deposits, and maintains a clean and hygienic sink environment.
- By following simple steps to soak, scrub, rinse, and reattach your faucet head, you can easily restore its functionality and prolong its lifespan, ensuring a clean and fully operational sink.
Read more: How To Take Off Sink Faucet Head
Step 1: Gather necessary supplies
Before you begin cleaning your sink faucet head, it’s important to gather all the necessary supplies. Having everything on hand will ensure a smooth and efficient cleaning process. Here are the supplies you will need:
- White vinegar: This natural cleaning agent is highly effective in removing mineral deposits and grime.
- Warm water: You will need warm water to create a vinegar solution for soaking the faucet head.
- Toothbrush or small scrub brush: These brushes will help you scrub away stubborn mineral deposits.
- Old toothbrush or toothpick: These narrow tools can be used to clean small crevices and hard-to-reach areas of the faucet head.
- Microfiber cloth or sponge: These soft and absorbent materials are ideal for wiping away dirt and excess cleaning solution.
- Adjustable wrench or pliers (if necessary): In some cases, you may need to remove the faucet head using a tool like an adjustable wrench or pliers.
Once you have gathered all the necessary supplies, you’ll be well-prepared to tackle the cleaning process efficiently. Having these items readily available will save you time and ensure that you have everything you need to effectively clean your sink faucet head.
Step 2: Remove the faucet head
Now that you have all the necessary supplies, it’s time to remove the faucet head from the sink. Here’s how you can do it:
- Locate the connection point: Look for the point where the faucet head is connected to the rest of the faucet assembly. This may be a screw or a collar.
- Use an adjustable wrench or pliers: If the faucet head is tightly attached, you may need to use an adjustable wrench or pliers to loosen it. Secure the wrench or pliers around the connection point and turn it counterclockwise to loosen and remove the faucet head.
- Gently twist and pull: Once the faucet head is loose, gently twist it counterclockwise while applying slight pressure to pull it away from the faucet assembly.
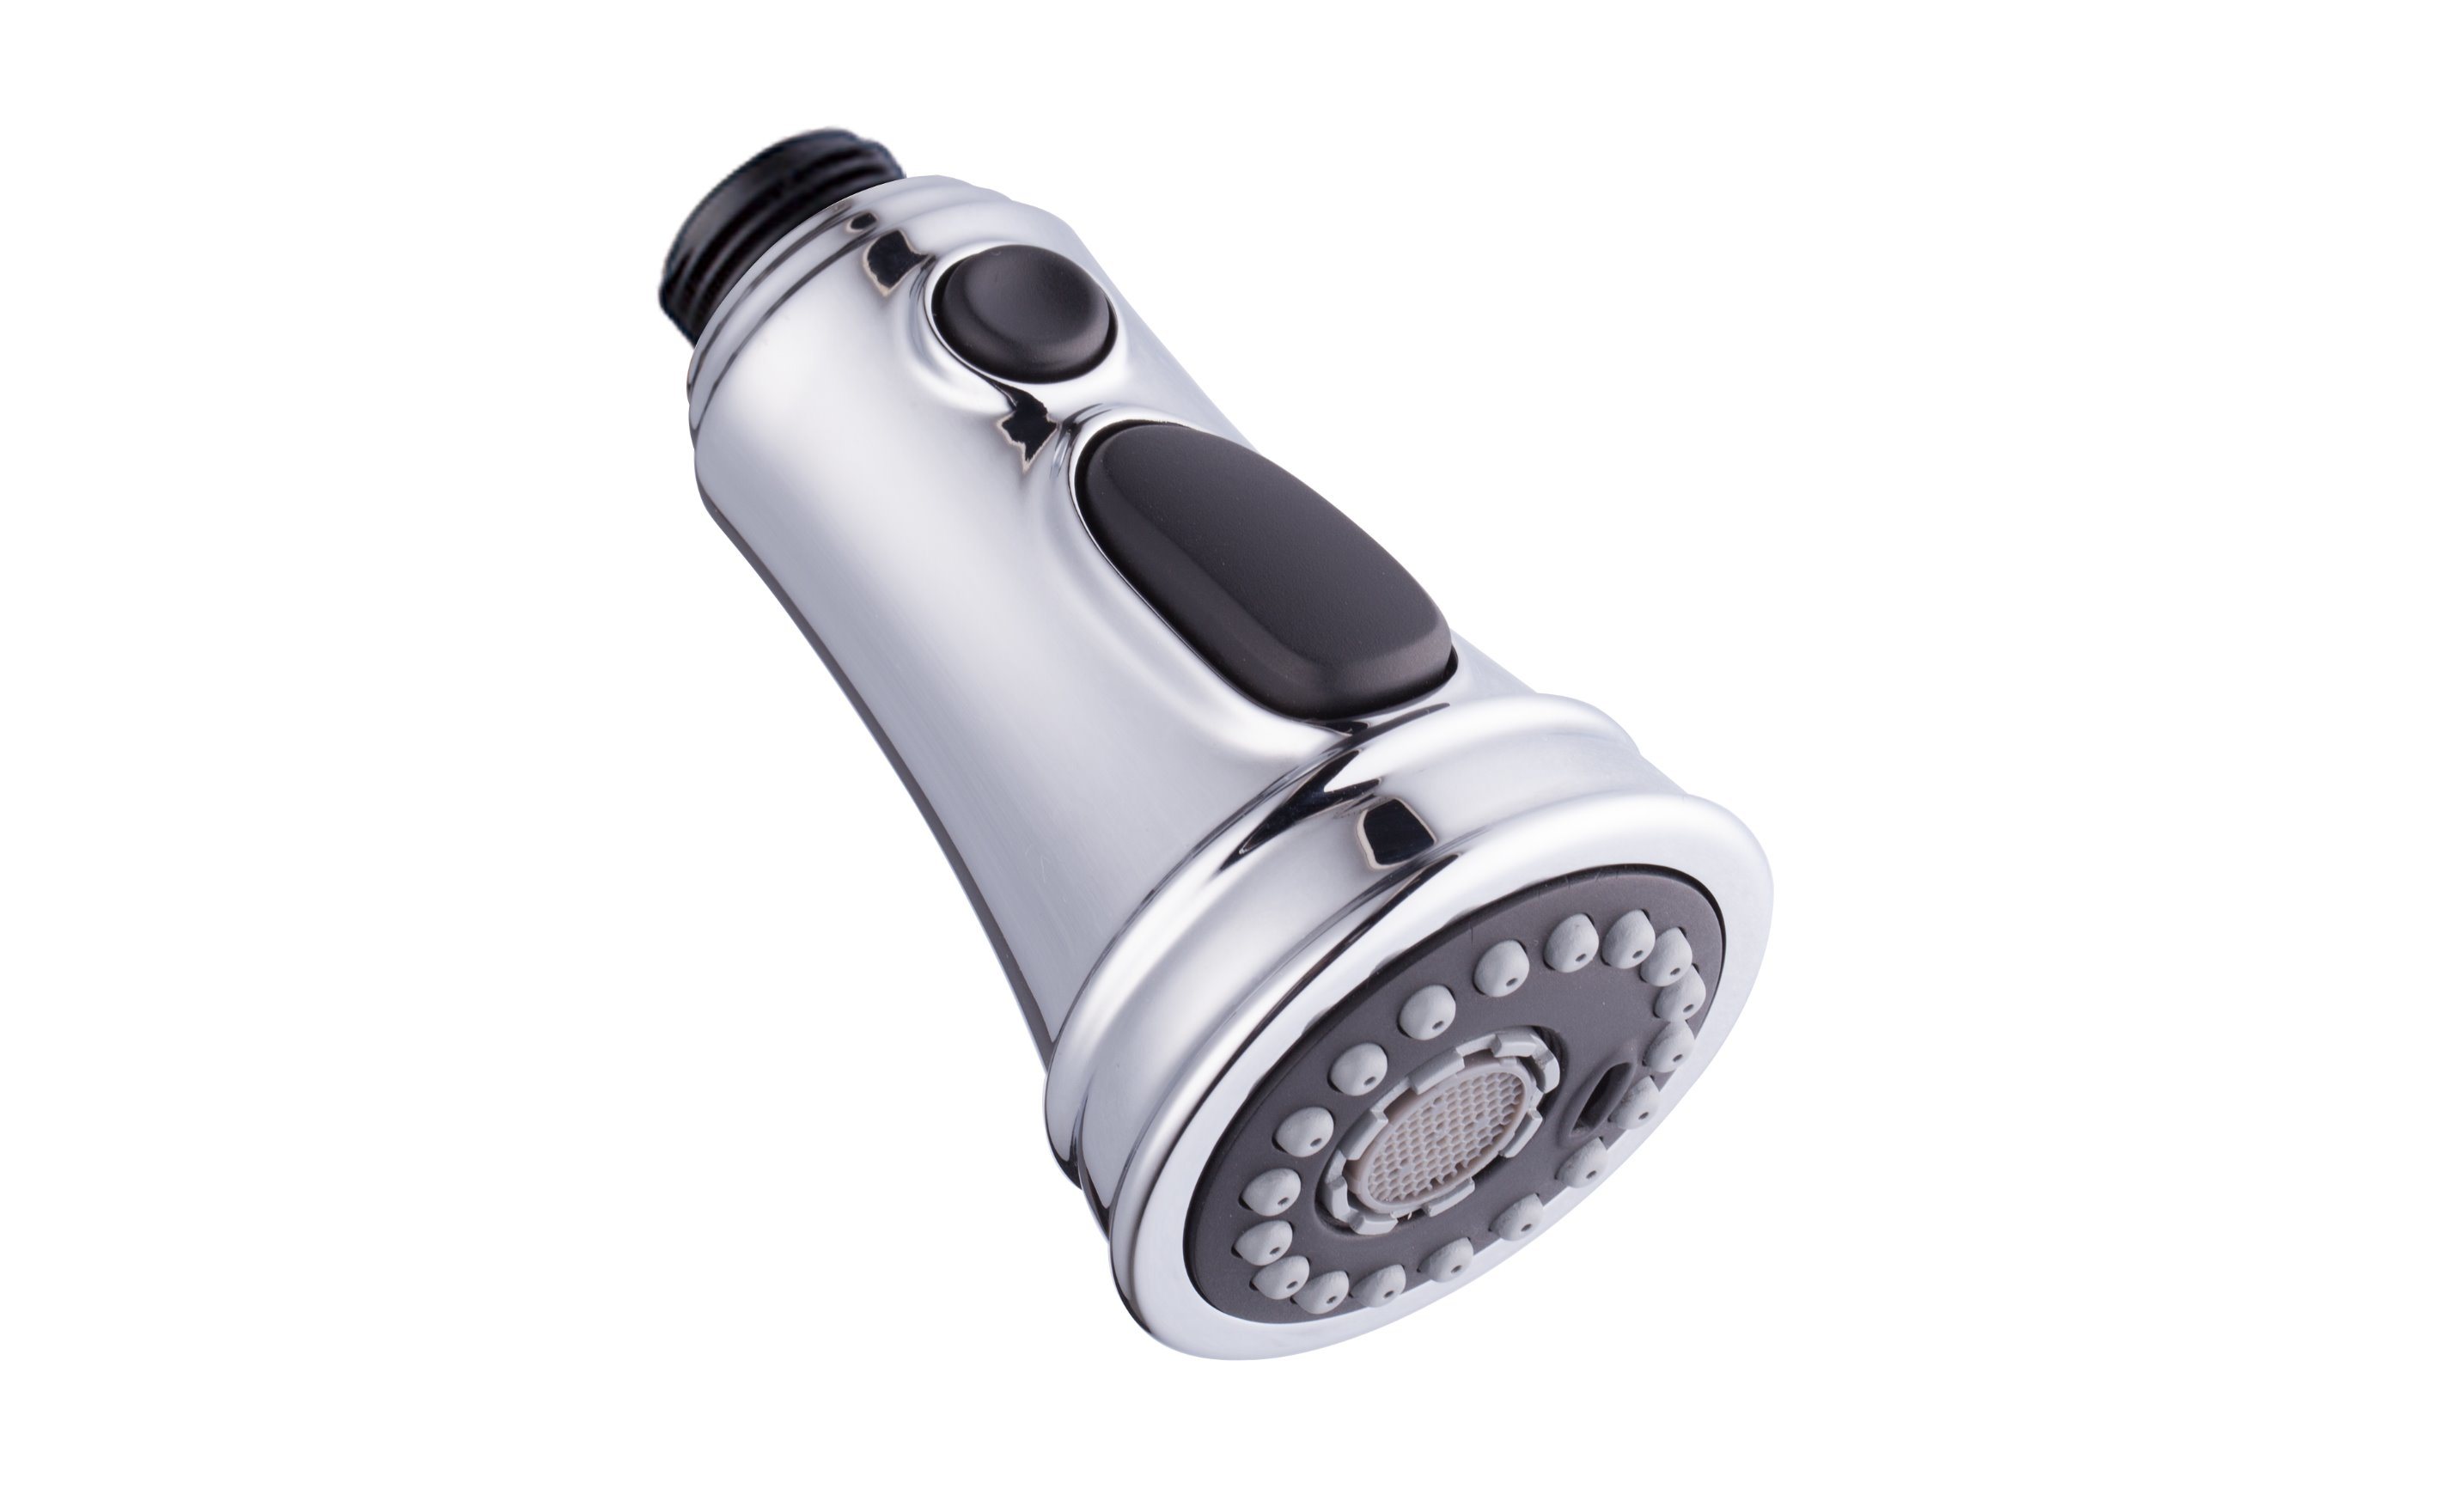
Note: Some faucet heads may have a separate aerator, which is a small mesh screen or attachment that enhances water flow. If your faucet head has an aerator, you may need to unscrew it separately before removing the rest of the faucet head.
By carefully following these steps, you will be able to detach or remove the faucet head from the sink. Taking this step is crucial to ensure thorough cleaning, as it allows you better access to all parts of the faucet head.
Step 3: Soak the faucet head in vinegar solution
After removing the faucet head, it’s time to give it a nice, deep soak in a vinegar solution. This step helps to break down mineral deposits and remove any stubborn grime. Here’s how you can do it:
- Fill a bowl or small container with equal parts white vinegar and warm water. The amount needed will depend on the size of your faucet head. You want enough liquid to fully submerge the faucet head.
- Place the faucet head in the vinegar solution, ensuring that it is completely immersed. Allow it to soak for at least 30 minutes. For heavily soiled or mineral-encrusted faucet heads, you may want to leave it soaking for up to an hour.
Vinegar is a natural cleaning agent that effectively breaks down mineral deposits. Its acidic properties help dissolve the build-up, making it easier to remove during the cleaning process. The warm water helps to enhance the cleaning power of the vinegar and aids in loosening dirt and grime.
While the faucet head is soaking, you can take this opportunity to clean other parts of the sink or do some light cleaning around the kitchen or bathroom. This way, you make the most of your time while waiting for the vinegar solution to work its magic on the faucet head.
Once the designated soaking time is over, move on to the next step to continue the cleaning process and restore your faucet head to its former glory.
To clean a sink faucet head, unscrew the aerator and soak it in a vinegar solution for 30 minutes. Use a small brush to scrub away any mineral deposits, then reattach the aerator.
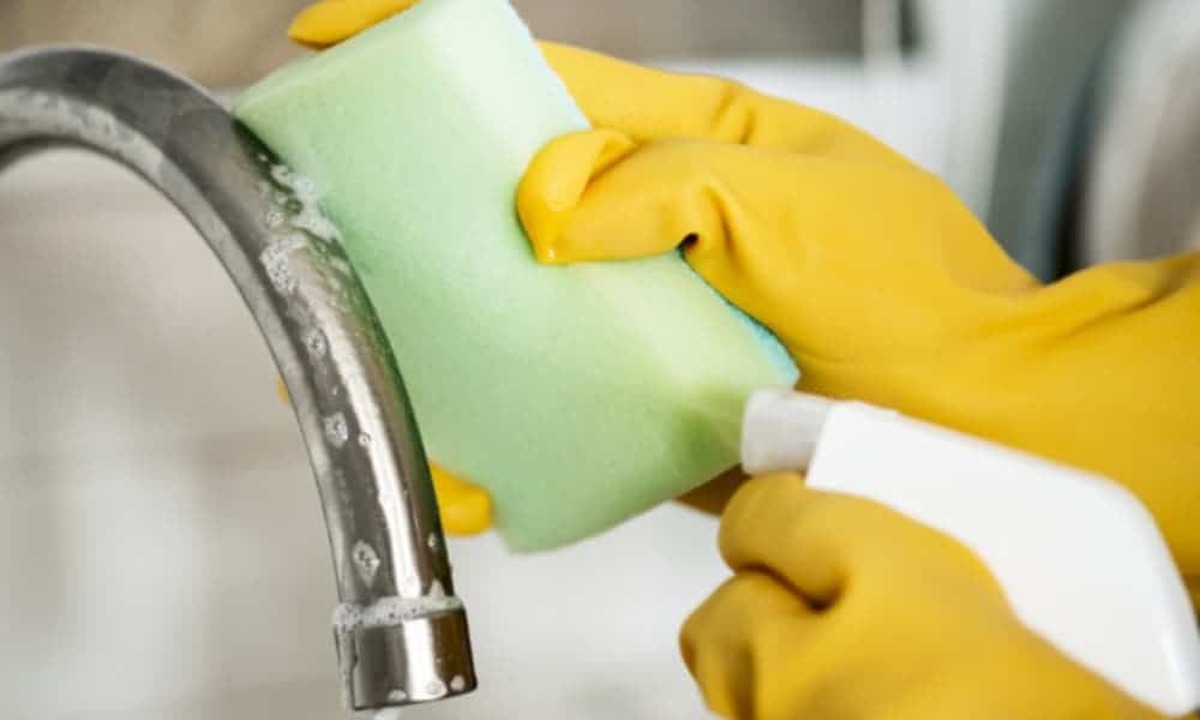
Step 4: Scrub away mineral deposits
Now that you have soaked the faucet head in the vinegar solution, it’s time to remove those stubborn mineral deposits. Here’s how you can effectively scrub away the build-up:
- Using a toothbrush or small scrub brush, gently scrub the surface of the faucet head. Pay special attention to areas where you see mineral deposits or grime.
- If there are hard-to-reach areas or crevices, use an old toothbrush or a toothpick to carefully clean them. Be gentle to avoid damaging any delicate components of the faucet head.
- Continue scrubbing until the mineral deposits have been loosened and removed. You may need to apply a bit more pressure for stubborn deposits.
While scrubbing, you may notice that the vinegar solution starts to foam or fizz. This is normal and indicates that the vinegar is reacting with the mineral deposits, helping to dissolve them.
It’s important to be patient and thorough during this step. Take your time to ensure that all the mineral deposits are removed, as they can affect the performance of the faucet head. Regular cleaning prevents buildup and allows for a smoother flow of water.
Once you are satisfied with the scrubbing, it’s time to move on to the next step to rinse off any remaining residue and reattach the faucet head.
Read also: 8 Amazing Sink Faucet Head for 2025
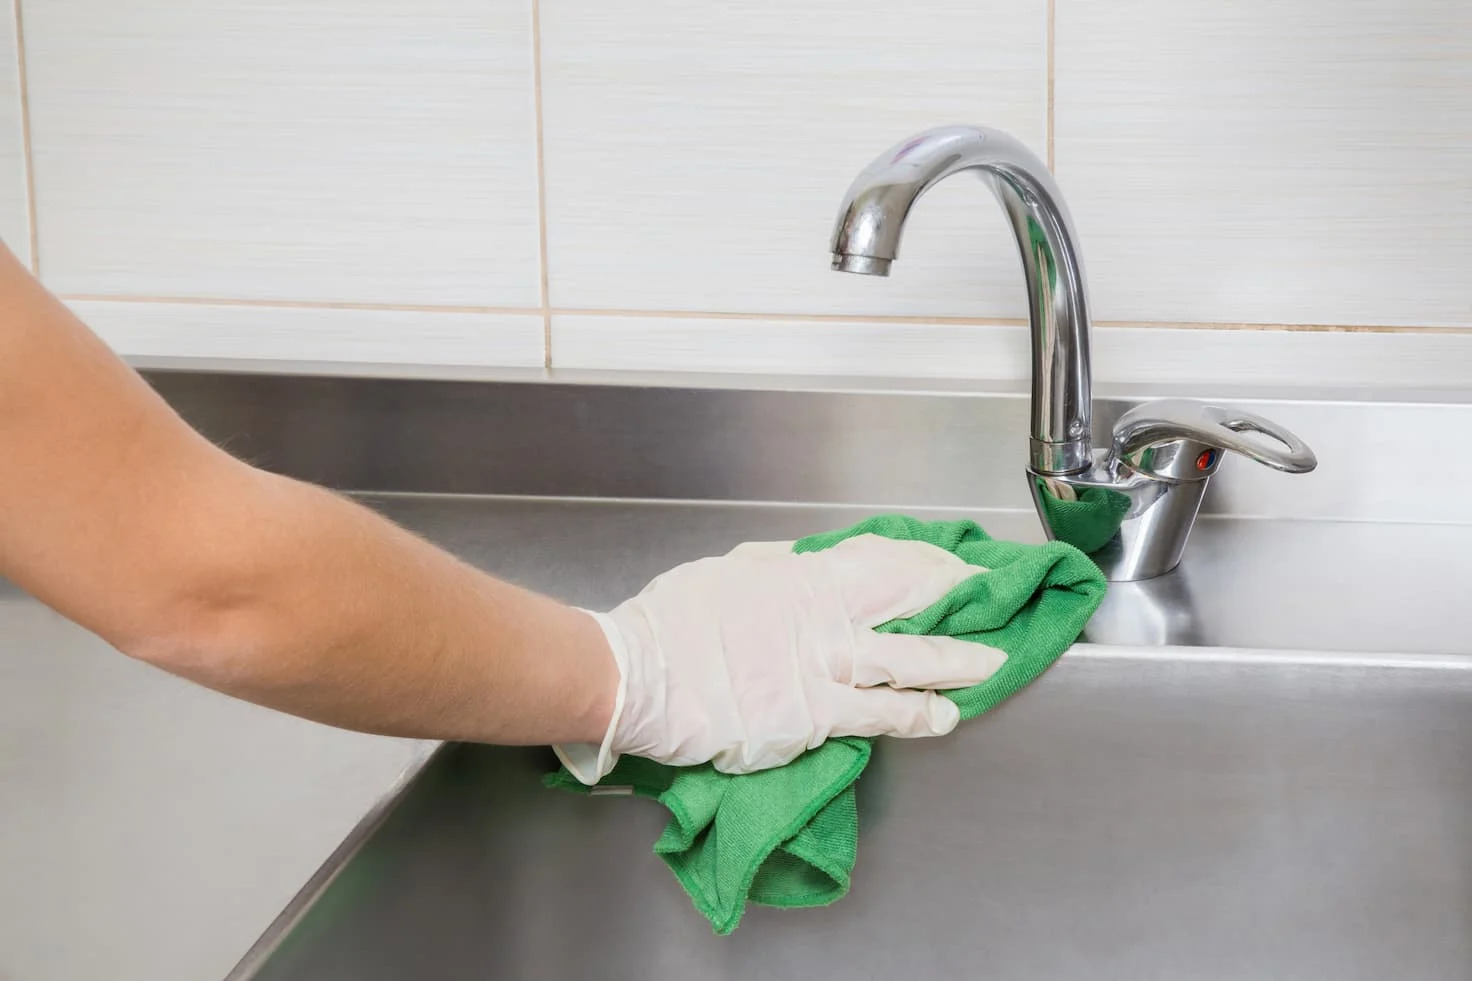
Step 5: Rinse and reattach the faucet head
After scrubbing away the mineral deposits, it’s crucial to rinse off any remaining residue and prepare to reattach the faucet head. Follow these steps to ensure a thorough rinse and secure reattachment:
- Hold the faucet head under running water to rinse off the vinegar solution and any loosened debris. Make sure to rinse both the outside and inside of the faucet head.
- Use a microfiber cloth or sponge to wipe away any remaining residue or particles. Pay attention to all the nooks and crannies of the faucet head.
- Inspect the faucet head for any lingering mineral deposits or grime. If you notice any stubborn spots, use the toothbrush or small scrub brush to give them a gentle scrub.
- Once the faucet head is clean and free of residue, it’s time to reattach it to the sink. Gently twist the faucet head back onto the faucet assembly, clockwise this time, until it is securely in place.
- If your faucet head has a separate aerator, don’t forget to reattach it as well. Screw it back onto the faucet head using a clockwise motion.
Ensure that the faucet head is tightly secured to prevent any leaks or water flow issues. Use an adjustable wrench or pliers to give it an extra twist if necessary, but be cautious not to overtighten and risk damaging the faucet head or assembly.
Now that the faucet head is rinsed, cleaned, and reattached, it’s time to move on to the final step to ensure that everything is in proper working order.
Step 6: Test the faucet for proper functionality
After cleaning and reattaching the faucet head, it’s important to test the faucet to ensure that it is functioning properly. Follow these steps to check for any issues and ensure optimal functionality:
- Turn on the water: Slowly turn on the water supply to test the water flow. Check if the water is flowing smoothly and at the desired pressure.
- Check for leaks: Inspect the area around the faucet head for any signs of leaking. Look for drips or water pooling and address any leaks promptly.
- Test the temperature control: Adjust the temperature control handle or knob to test the ability to control hot and cold water. Ensure that the water reaches the desired temperature without any issues or fluctuations.
- Check for any spraying or splashing: Observe the water flow to see if there are any erratic sprays or splashes. Adjust the faucet head as needed to ensure a steady and directed flow.
- Listen for any unusual noises: As the water flows, listen for any unusual noises, such as whistling or rattling. These sounds can indicate underlying issues that may need to be addressed.
If you notice any issues during this testing phase, it’s important to address them promptly. Leaks, inconsistent water flow, or unusual noises could be signs of a deeper problem that may require professional attention. Regularly cleaning and maintaining your faucet head can help prevent such issues from arising in the first place.
By following these steps and testing the faucet for proper functionality, you can ensure a clean and fully operational sink faucet head.
Conclusion
Cleaning a sink faucet head is a simple yet essential task that helps maintain the functionality and hygiene of your sink. With the proper supplies and a step-by-step approach, you can easily remove mineral deposits and grime to restore your faucet head’s optimal performance. Regular cleaning not only improves water flow but also prevents the buildup of bacteria and ensures a clean and pleasant sink environment.
In this article, we have outlined the necessary steps to clean a sink faucet head effectively. From gathering the supplies to removing the faucet head, soaking it in a vinegar solution, scrubbing away mineral deposits, rinsing, and reattaching the head, to finally testing the faucet for proper functionality, each step contributes to a thorough cleaning process.
Remember to use white vinegar as a natural cleaning agent and take your time to scrub away any stubborn deposits. Be sure to rinse off any residue and securely reattach the faucet head to ensure smooth water flow and prevent leaks.
Regularly cleaning your sink faucet head not only enhances its performance but also prolongs its lifespan. By incorporating this simple maintenance task into your cleaning routine, you can enjoy a clean and functional faucet head for years to come.
So why wait? Grab your supplies and give your sink faucet head the cleaning it deserves. Your clean and sparkling sink will thank you!
Frequently Asked Questions about How To Clean A Sink Faucet Head
Was this page helpful?
At Storables.com, we guarantee accurate and reliable information. Our content, validated by Expert Board Contributors, is crafted following stringent Editorial Policies. We're committed to providing you with well-researched, expert-backed insights for all your informational needs.


0 thoughts on “How To Clean A Sink Faucet Head”