Home>Articles>How To Remove Recessed Faucet Aerator Without Key
Articles
How To Remove Recessed Faucet Aerator Without Key
Modified: August 16, 2024
Discover the step-by-step guide on how to easily remove a recessed faucet aerator without a key in this informative article.
(Many of the links in this article redirect to a specific reviewed product. Your purchase of these products through affiliate links helps to generate commission for Storables.com, at no extra cost. Learn more)
Introduction
One common plumbing issue that many homeowners encounter is dealing with a recessed faucet aerator. The aerator is a small device located at the end of the faucet spout that helps control the flow of water and prevent splashing. Over time, sediment and debris can accumulate in the aerator, affecting water pressure and quality. However, removing a recessed faucet aerator can be a bit tricky, especially if you don’t have the appropriate tools or key.
In this article, we will guide you through the steps on how to remove a recessed faucet aerator without a key, using common household items. By following these instructions, you will be able to clean or replace the aerator, restoring your faucet to its optimal function.
Key Takeaways:
- Easily remove a recessed faucet aerator without a key using household items like pliers, a credit card, or a rubber band. Clean or replace the aerator to restore optimal water flow and prevent clogs.
- If traditional methods fail, try using WD-40 or creating a homemade key to remove a stubborn recessed faucet aerator. Regular maintenance of the aerator is crucial for preserving water flow and faucet efficiency.
Read more: How To Remove Moen Faucet Aerator
Step 1: Gather necessary tools and materials
Before you begin the process of removing a recessed faucet aerator, it’s important to gather the necessary tools and materials. Fortunately, you don’t need any specialized equipment for this task. Here are the items you will need:
- Adjustable pliers
- Credit card or thin, sturdy plastic card
- Rubber band
- WD-40 or equivalent lubricant
- Paper towel or cloth
Make sure you have these items on hand before proceeding to the next steps. These tools and materials will help you tackle different methods for removing the aerator, providing you with options depending on the availability of tools in your household.
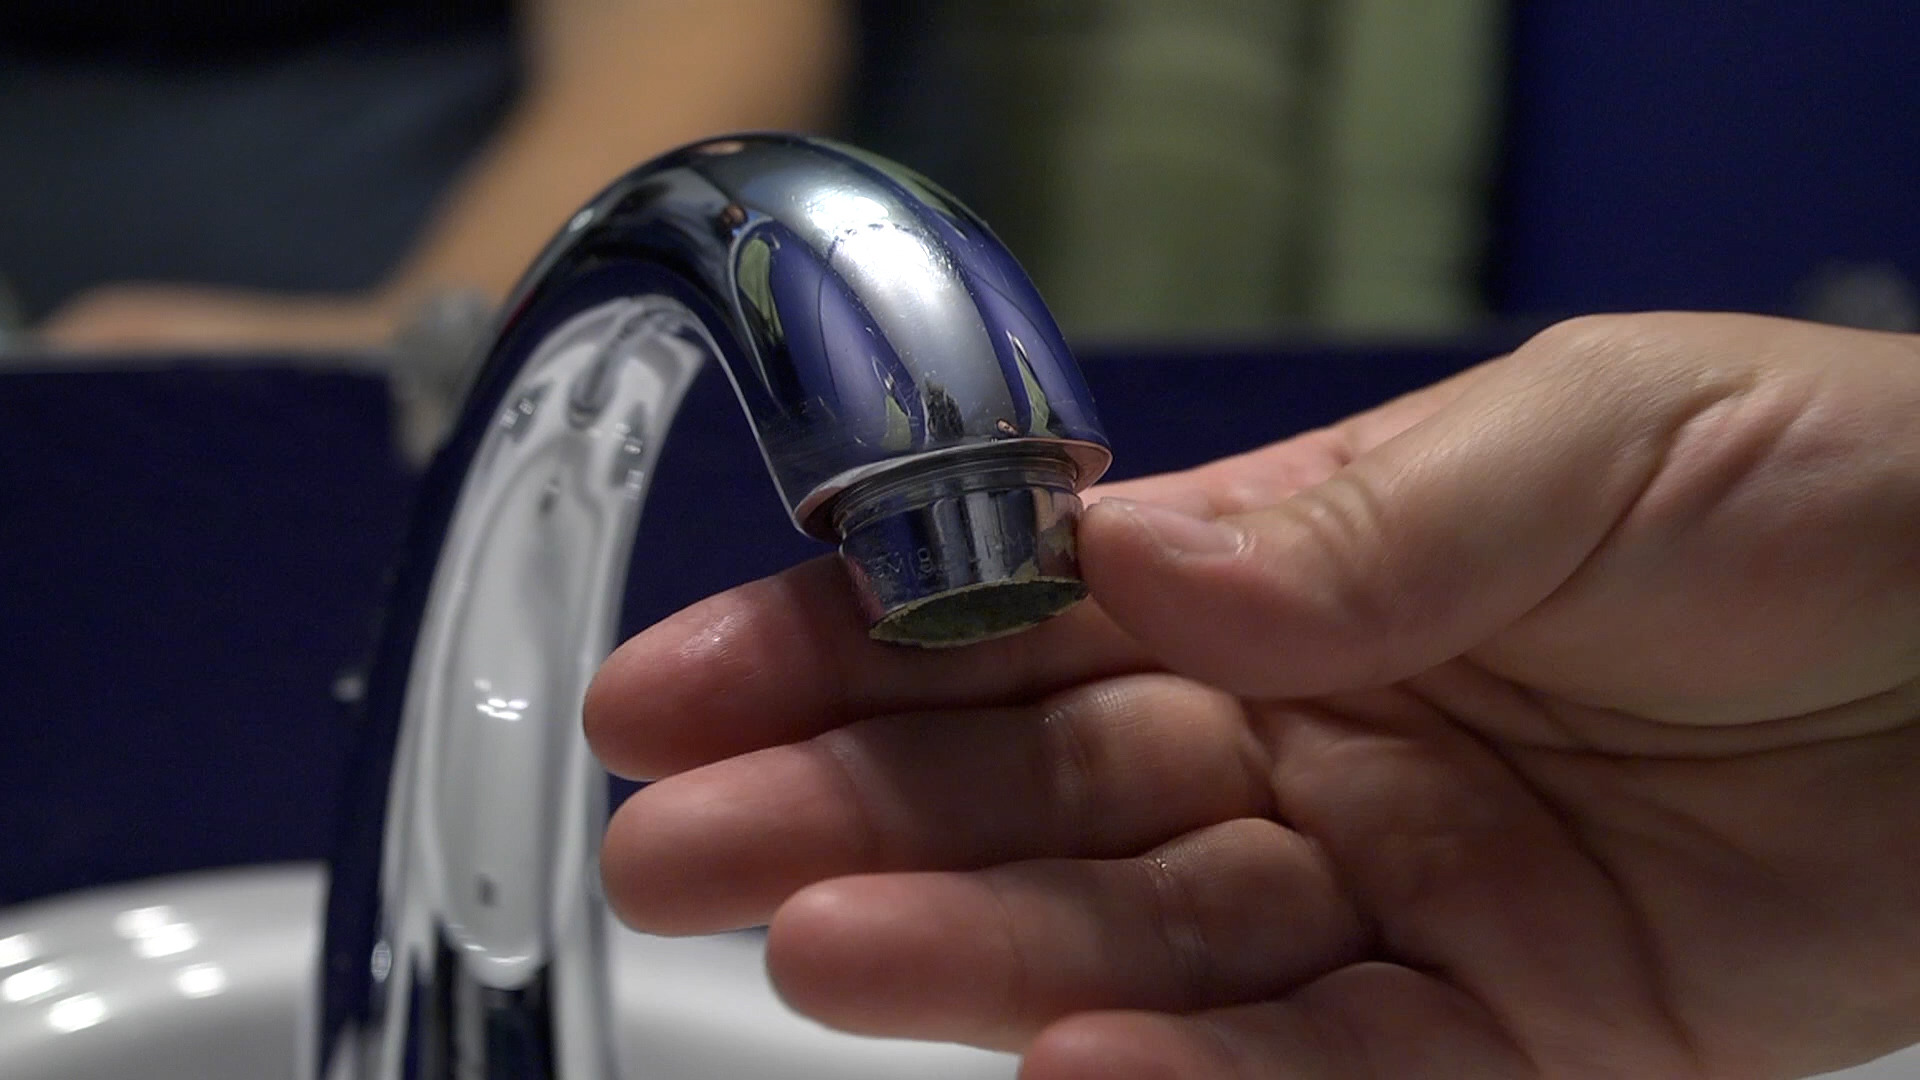
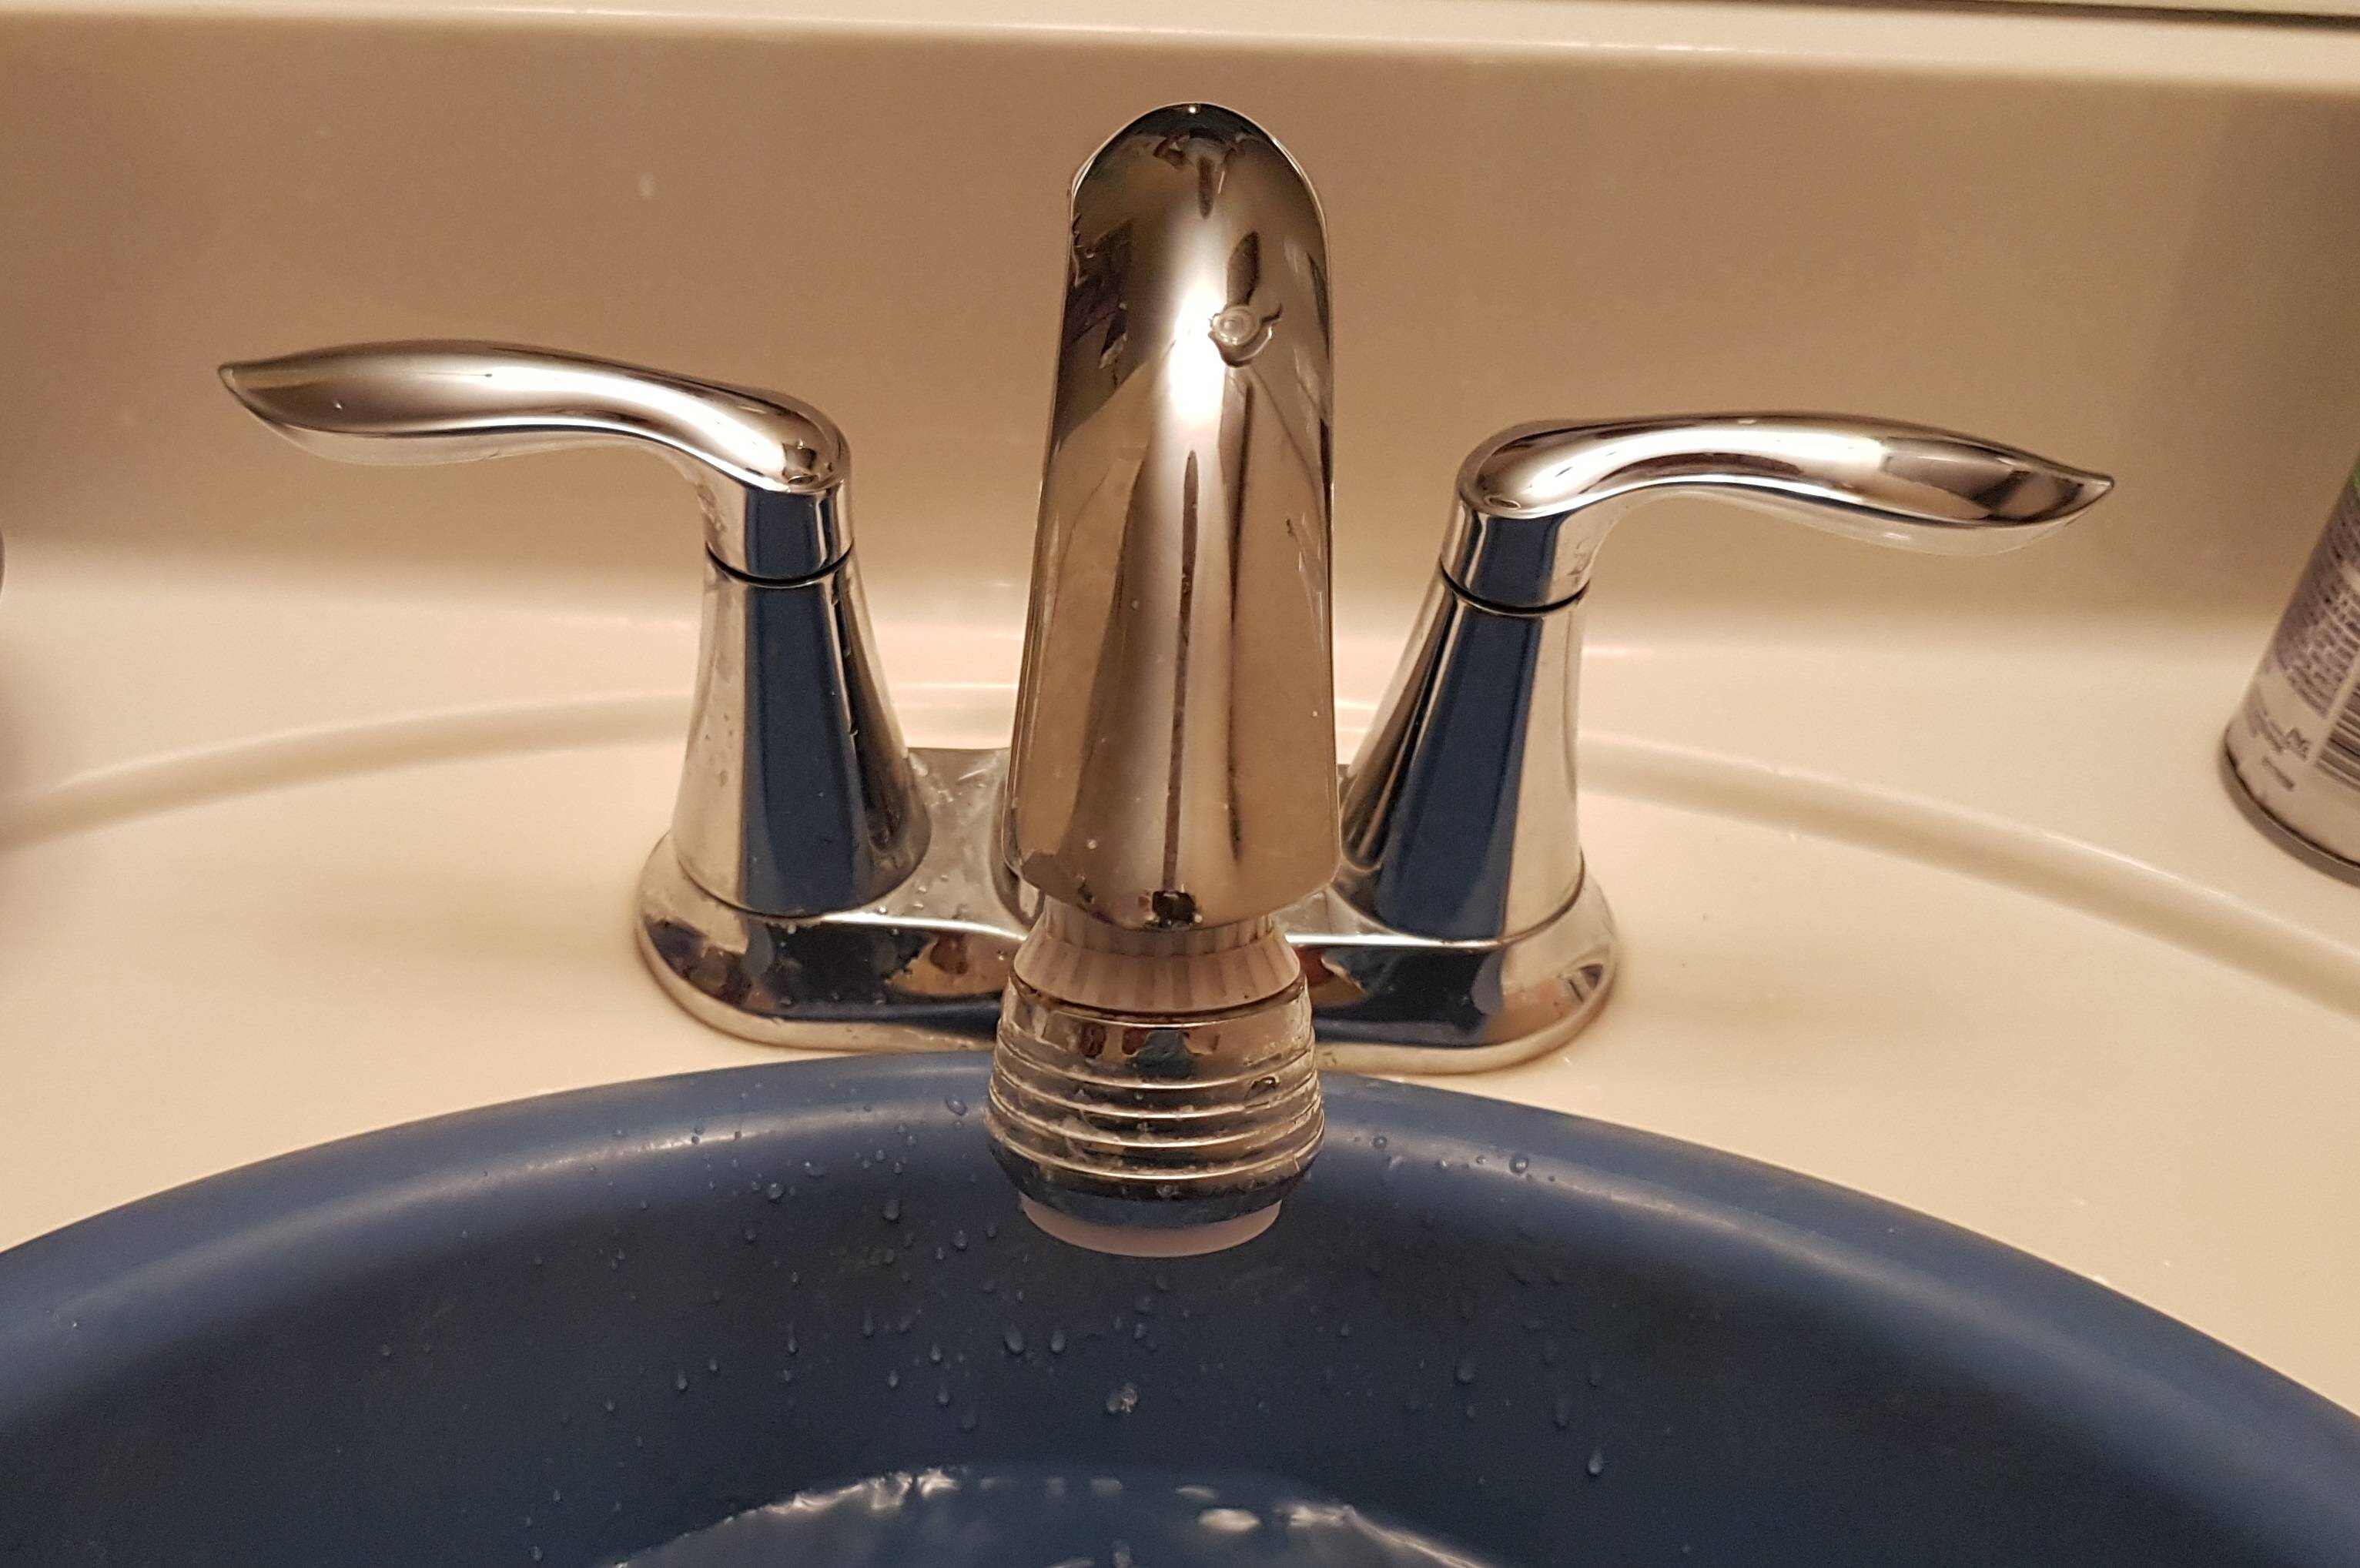
Step 2: Locate the recessed faucet aerator
Before you can remove the recessed faucet aerator, you need to locate its position. The aerator is typically found at the end of the faucet spout and is recessed into the fixture. It may be hidden beneath a decorative cap or cover.
To locate the aerator, examine the end of the faucet spout closely. Look for a small circular opening with tiny notches or ridges. This is where the aerator is situated. It may also be marked with text or symbols indicating its presence.
If the aerator is covered by a decorative cap, gently pry it off using your fingers or a flat-head screwdriver. Be careful not to damage the cap or the surrounding area. Once the cap is removed, you should be able to see the recessed aerator.
Take note of the size and shape of the aerator, as this will help you determine the best method for its removal. Some aerators have a standard size and can be removed using general techniques, while others may require specific tools or methods.
Once you have located the aerator, you are ready to proceed to the next step of removing it without a key.
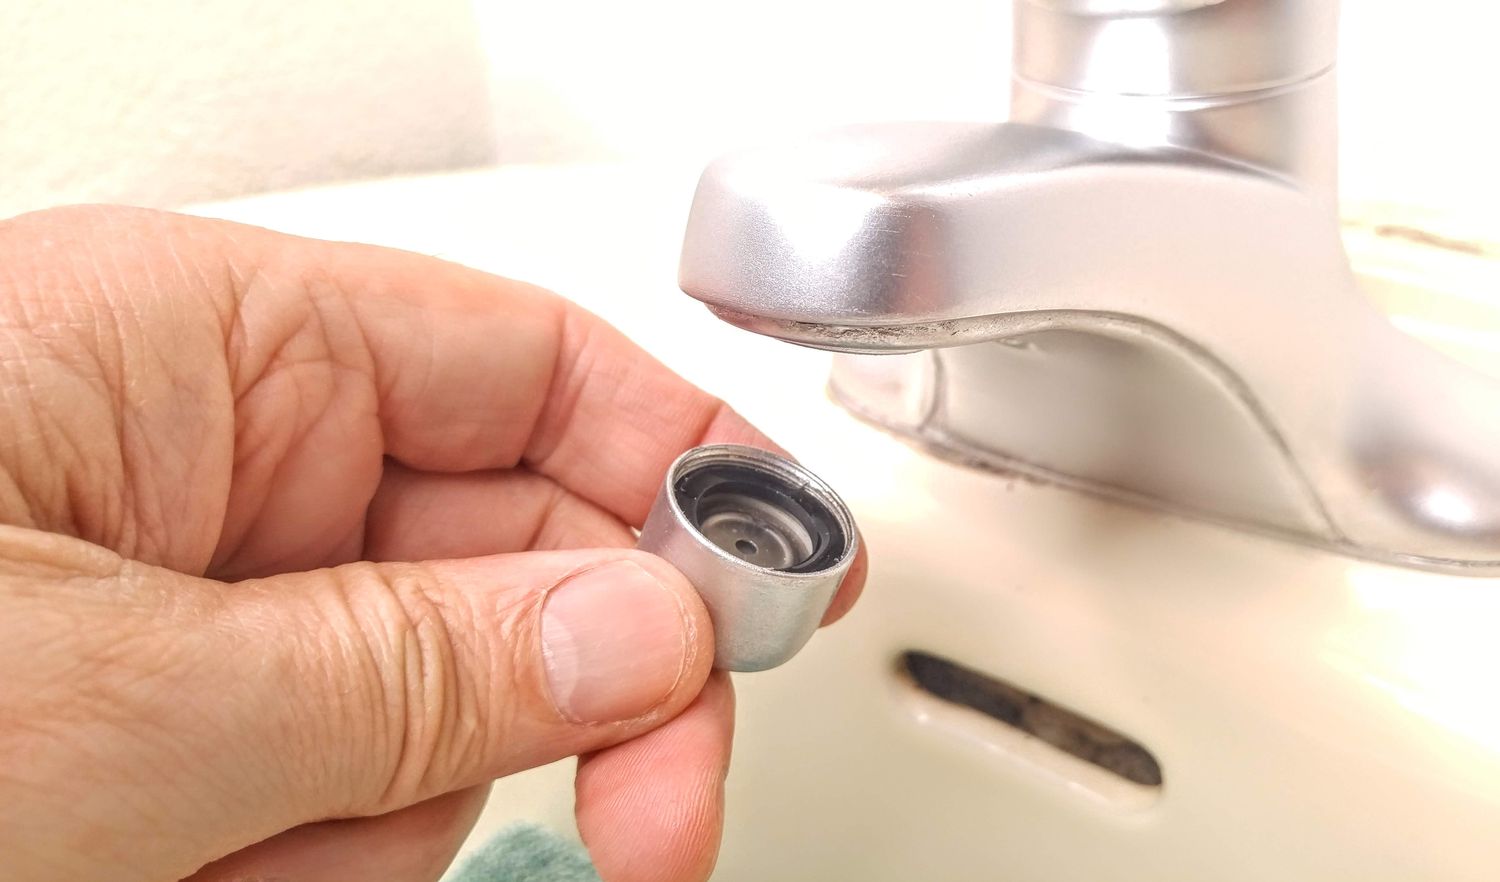
Step 3: Remove the aerator using pliers
If your recessed faucet aerator has distinct notches or ridges on its outer surface, you can use a pair of adjustable pliers to remove it. Here’s how:
- Wrap the jaws of the pliers with a thin cloth or adhesive tape to prevent scratching the aerator.
- Position the pliers around the aerator, making sure they are securely gripping the notches or ridges.
- Apply gentle but firm pressure to turn the aerator counterclockwise. If it doesn’t budge, you can use a small amount of WD-40 or equivalent lubricant to loosen it.
- Continue turning the pliers until the aerator is completely unscrewed from the faucet spout.
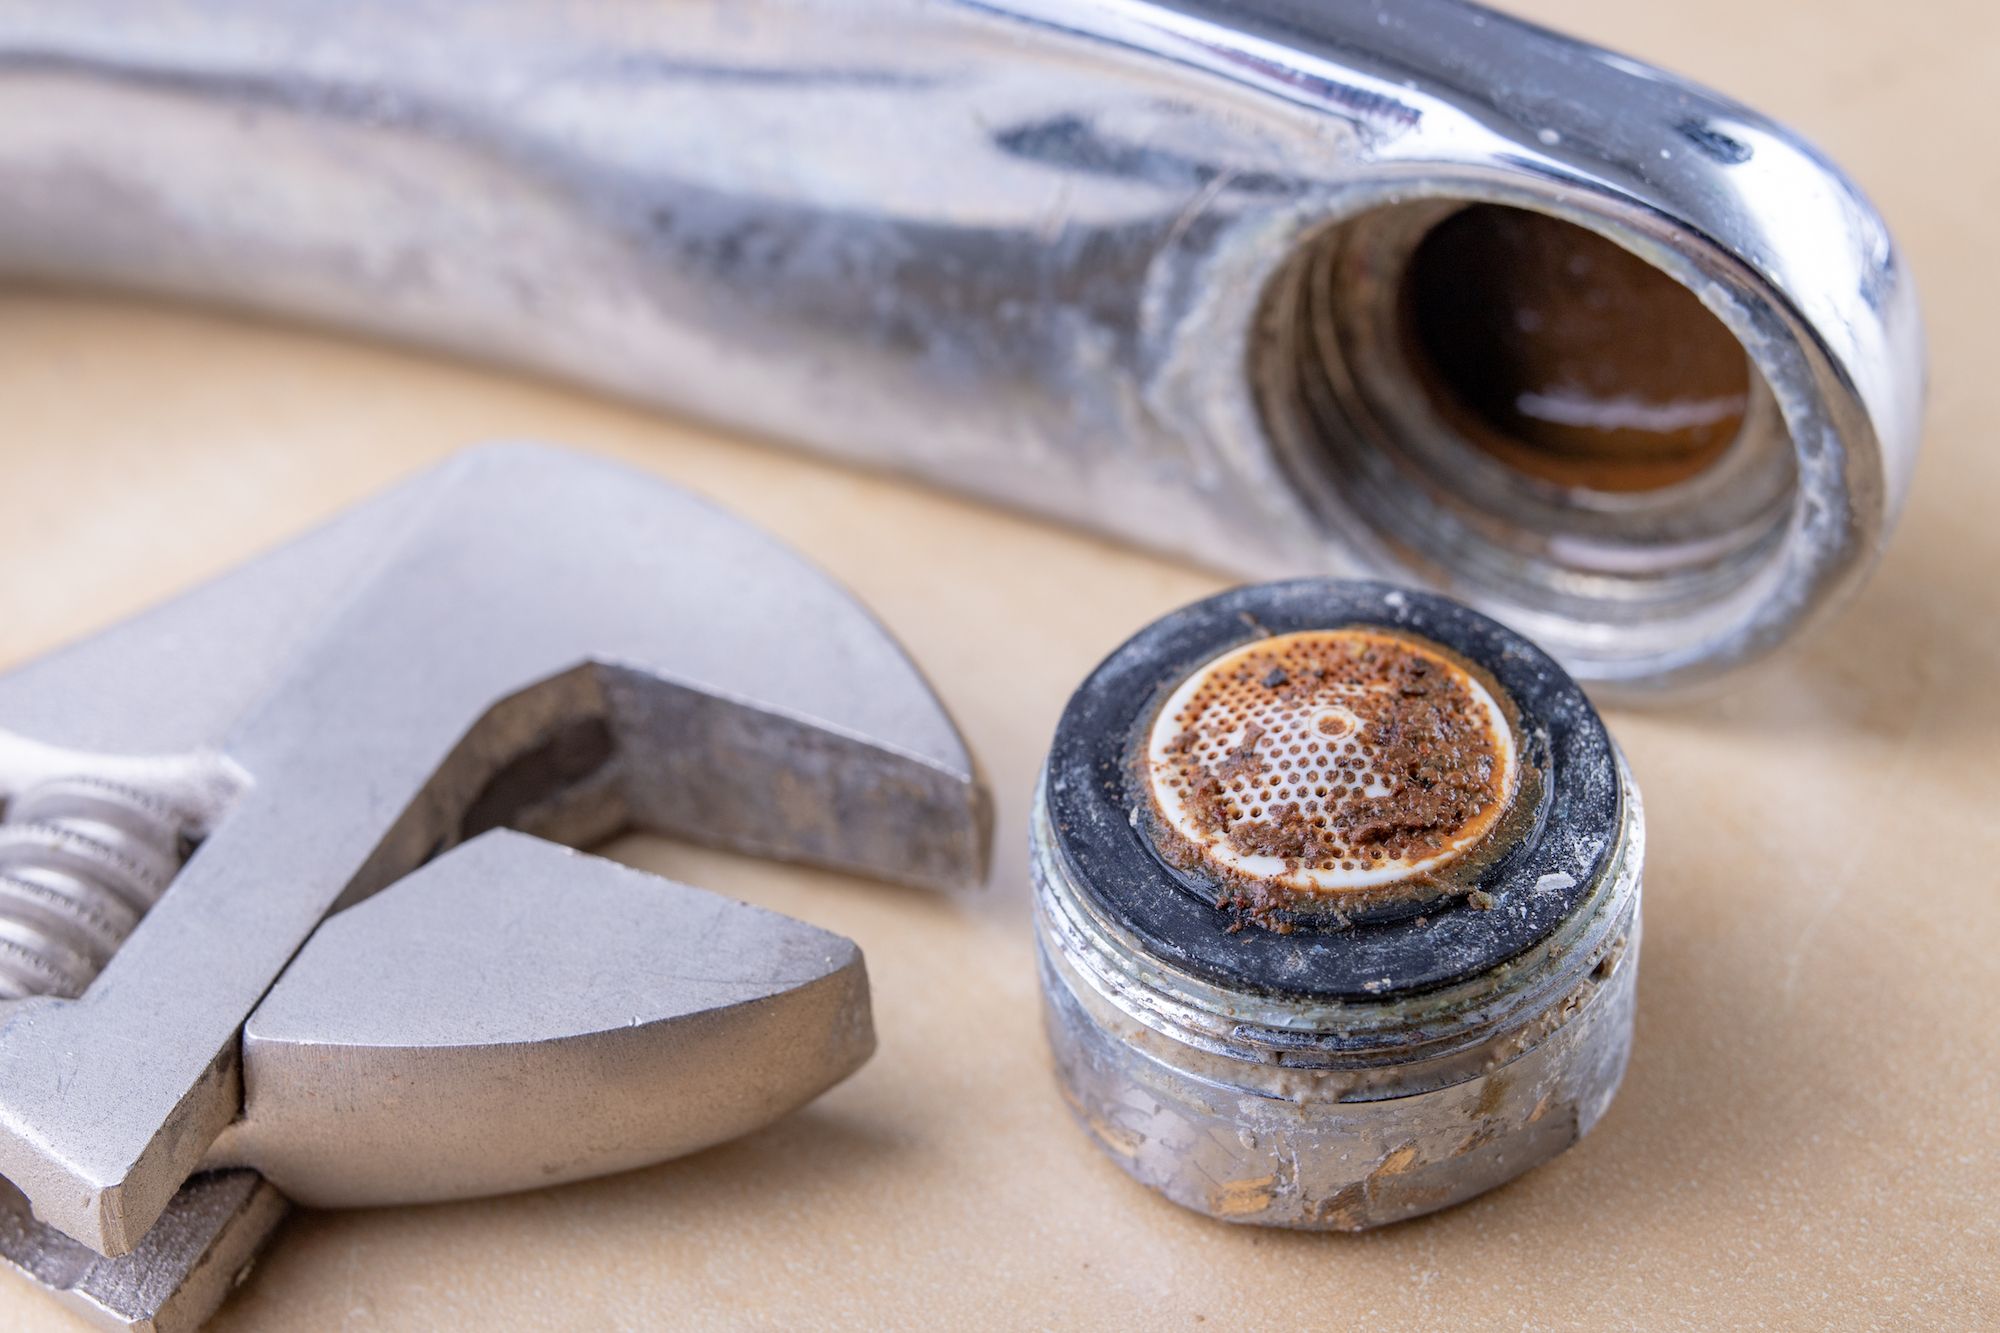
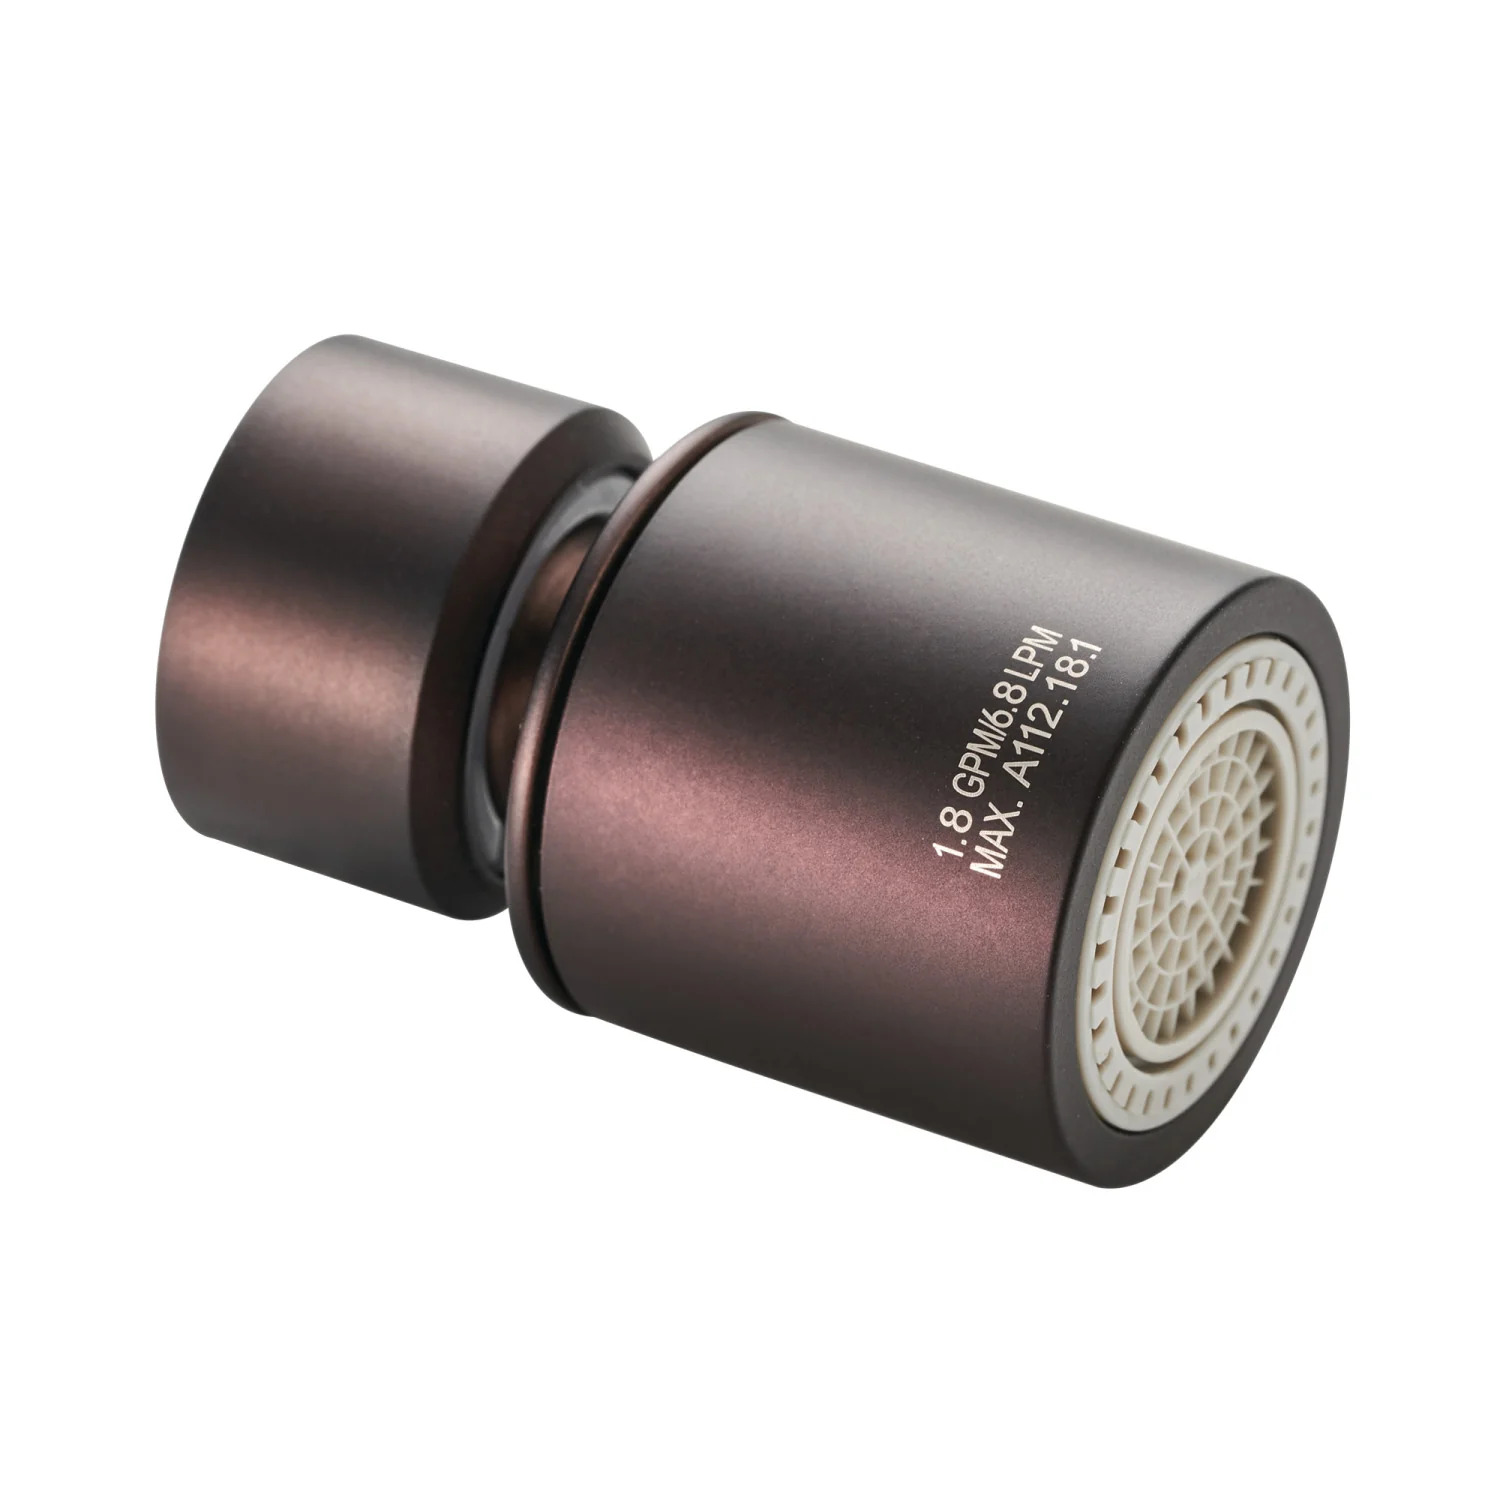
Once the aerator is removed, you can clean or replace it as needed. If cleaning, rinse it under running water to remove any debris or sediment. Use a toothbrush or soft brush to scrub away stubborn buildup. You can also soak the aerator in a mixture of vinegar and water to dissolve mineral deposits.
If you need to replace the aerator, take note of its size and thread pattern. You can find compatible replacements at hardware stores or online retailers.
Remember to tighten the new aerator firmly but avoid over-tightening, as this can damage the threads on the faucet. Use the same pliers, wrapped in cloth or tape, to secure the new aerator in place.
Removing a recessed faucet aerator using pliers is a straightforward method, but if your aerator lacks notches or ridges, don’t worry! There are alternative methods you can try. Let’s explore them in the following steps.
Step 4: Try the credit card method
If the recessed faucet aerator does not have notches or ridges, you can attempt the credit card method. This technique utilizes a sturdy plastic card, such as a credit card or gift card, to grip and turn the aerator. Here’s how you can use this method:
- Select a sturdy plastic card that is slightly wider than the aerator’s diameter.
- Insert the edge of the card into the recessed area of the aerator, making sure it is securely positioned.
- Apply gentle but firm pressure and turn the card counterclockwise, mimicking the motion of unscrewing a lid.
- Continue rotating the card until the aerator becomes loose and can be easily unscrewed by hand.
If the credit card method does not work initially, you can try using multiple cards stacked together to provide more grip and leverage. Alternatively, you can also wrap a rubber band around the card for added traction.
Once the aerator is removed, you can proceed to clean or replace it, as mentioned in the previous step.
The credit card method is a handy solution for removing a recessed faucet aerator without a key. However, if you are still unable to remove the aerator using this technique, don’t worry. There are a few more methods you can try in the following steps.
Use a pair of needle-nose pliers to grip the edges of the recessed aerator and twist it counterclockwise to remove it. Be careful not to damage the aerator or the faucet.
Read more: How To Remove Door Lock Without Key
Step 5: Use a rubber band for extra grip
If the pliers or credit card methods did not successfully remove the recessed faucet aerator, you can try utilizing a rubber band to provide extra grip. Here’s how you can use this simple yet effective method:
- Wrap a rubber band tightly around the aerator, ensuring that it covers the entire circumference.
- Using your fingers or a pair of pliers, grip the rubber band and attempt to turn the aerator counterclockwise.
- The rubber band will create friction and give you a better grip on the aerator, making it easier to unscrew.
- Apply steady pressure and keep turning until the aerator becomes loose enough to remove by hand.
If the rubber band starts to slip or lose its grip, you can try using multiple rubber bands or a thicker band for more traction.
Remember to be cautious and not overtighten the rubber band, as it may snap or damage the aerator. Adjust the tension accordingly to maintain a secure grip without excessive force.
Once the aerator is successfully unscrewed, clean or replace it as needed, following the steps mentioned earlier.
The rubber band method provides an additional level of grip, increasing your chances of removing the recessed faucet aerator. However, if this method doesn’t work for you, don’t worry. There is still one more technique you can try in the next step.
Step 6: Apply WD-40 or equivalent lubricant
If the recessed faucet aerator is stubbornly stuck and resistant to removal, applying a lubricant can help loosen it. WD-40 or an equivalent lubricant can work wonders in such situations. Here’s how you can use this method:
- Ensure the area around the aerator is clean and dry.
- Apply a small amount of WD-40 or equivalent lubricant to the outer surface of the aerator.
- Allow the lubricant to penetrate for a few minutes to dissolve any buildup or corrosion.
- Use a pair of pliers, a credit card, or a rubber band, depending on the method you have been using, to grip and turn the aerator counterclockwise.
- Apply steady pressure while turning, and be patient as the lubricant works its magic.
- Continue rotating until the aerator starts to give way and can be easily unscrewed.
If needed, you can reapply the lubricant and let it sit for a little longer to further loosen the aerator.
Once you have successfully removed the aerator, remember to clean it thoroughly or replace it if necessary.
The application of WD-40 or a lubricant equivalent can be a game-changer when faced with a stubborn recessed faucet aerator. However, if this method still fails to remove the aerator, there is one final option you can explore in the next step.
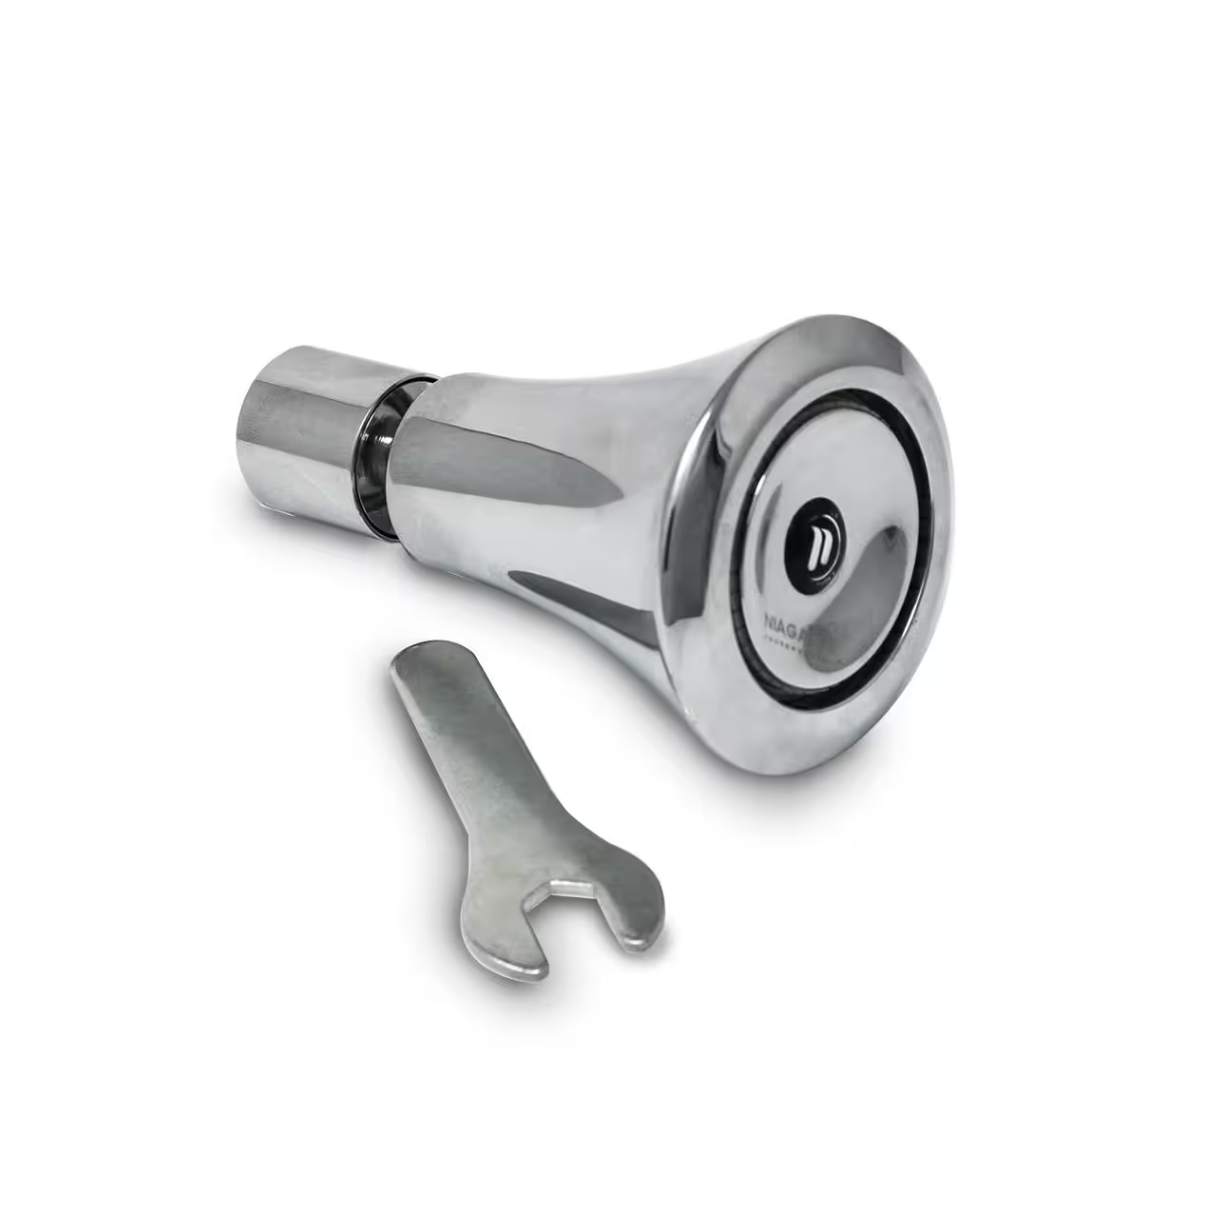
Step 7: Remove the aerator with a homemade key
If none of the previous methods have been successful in removing the recessed faucet aerator, you can create a homemade key to assist you. This method involves using a few household items to fashion a tool that fits into the aerator’s recessed area for easier removal. Here’s how you can do it:
- Find a small, flat metal object or thin, sturdy wire that can fit into the aerator’s recessed area. Examples include a paperclip, a small Allen wrench, or a thin nail.
- Bend the wire or metal object into an L or U shape, ensuring that one end extends straight out while the other forms a 90-degree angle.
- Insert the straight end into the aerator’s recessed area, aligning it with the notches, ridges, or grooves on the aerator.
- Apply steady but gentle pressure while turning the homemade key counterclockwise. This should mimic the motion of unscrewing the aerator.
- Continue rotating until the aerator starts to loosen, allowing you to remove it by hand.
It’s essential to be cautious and avoid using excessive force, as the homemade key may bend or break if too much pressure is applied.
Once the aerator is successfully removed, clean it thoroughly or replace it if necessary.
The homemade key method provides an alternative option for removing a recessed faucet aerator when other techniques have failed. However, if you find this method challenging or are unable to create a suitable key, you may need to call a professional plumber for assistance.
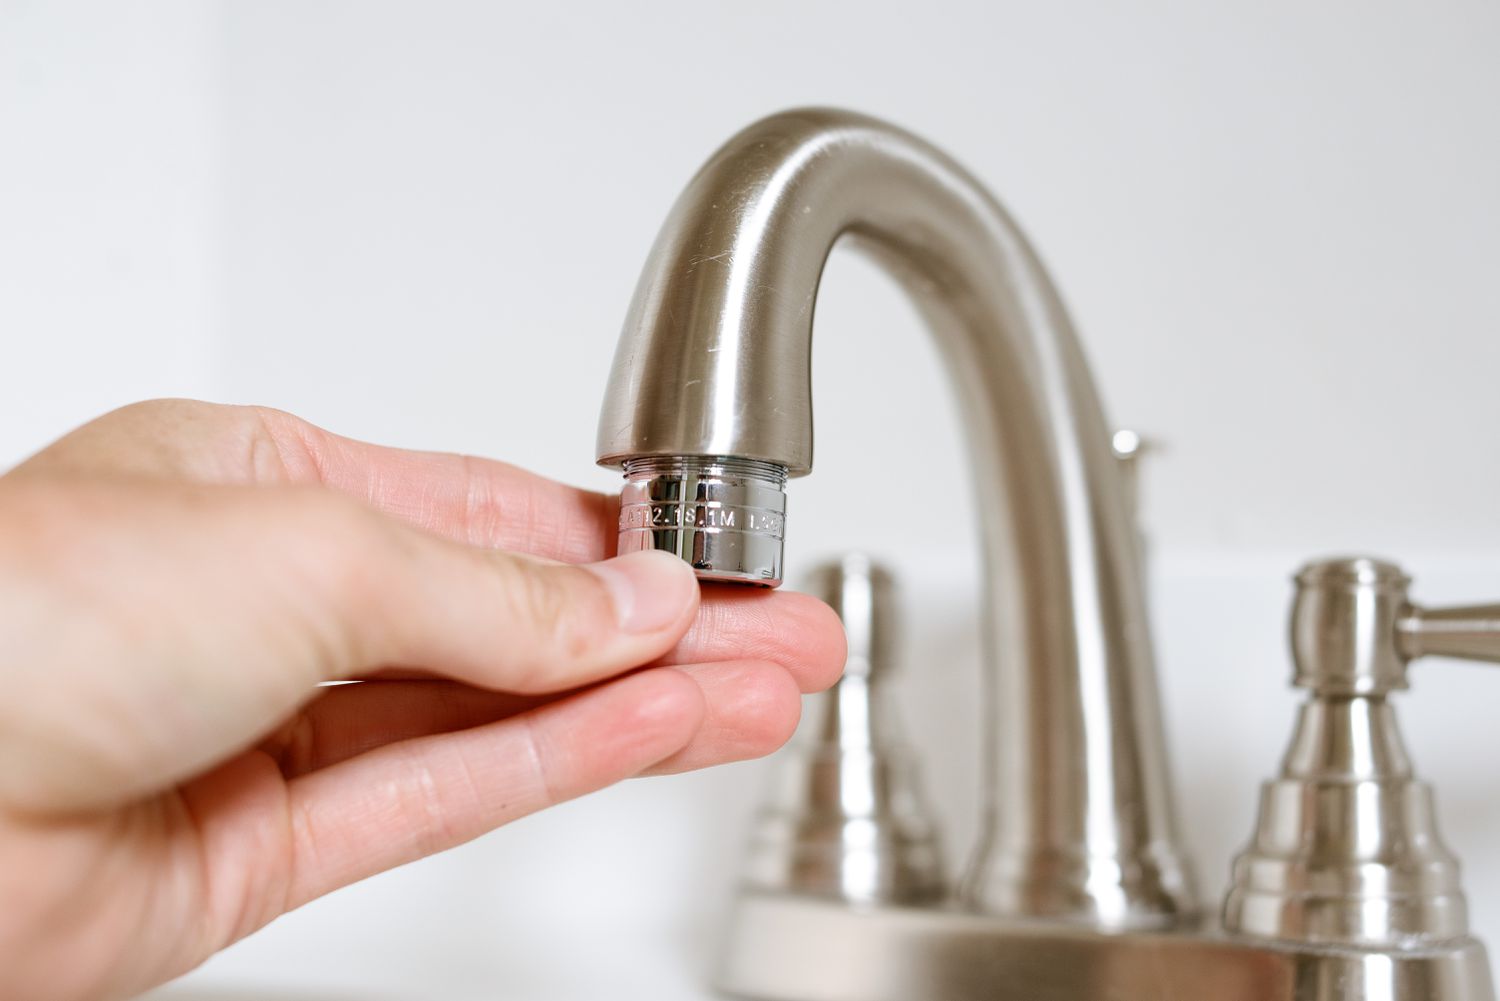
Step 8: Clean and reinstall the aerator
After successfully removing the recessed faucet aerator, it’s important to clean it thoroughly before reinstalling it. This will help ensure optimal water flow and prevent any buildup that can affect the overall performance of your faucet. Here’s how you can clean and reinstall the aerator:
- Inspect the aerator for any debris, sediment, or mineral deposits. If visible, use a toothbrush or soft brush to gently scrub away any buildup.
- If the aerator is heavily clogged, you can soak it in a vinegar and water solution for about 30 minutes. This will help dissolve mineral deposits and remove stubborn residue.
- Rinse the aerator under warm running water, making sure to remove any remaining cleaning solution or loosened debris.
- Dry the aerator thoroughly with a paper towel or cloth to prevent water spots or staining.
- Inspect the aerator for any damaged or worn-out parts. If necessary, replace any deteriorated components before reinstalling.
- Screw the cleaned aerator back into place on the faucet spout. Use your hand to tighten it firmly but avoid excessive force that could damage the threads.
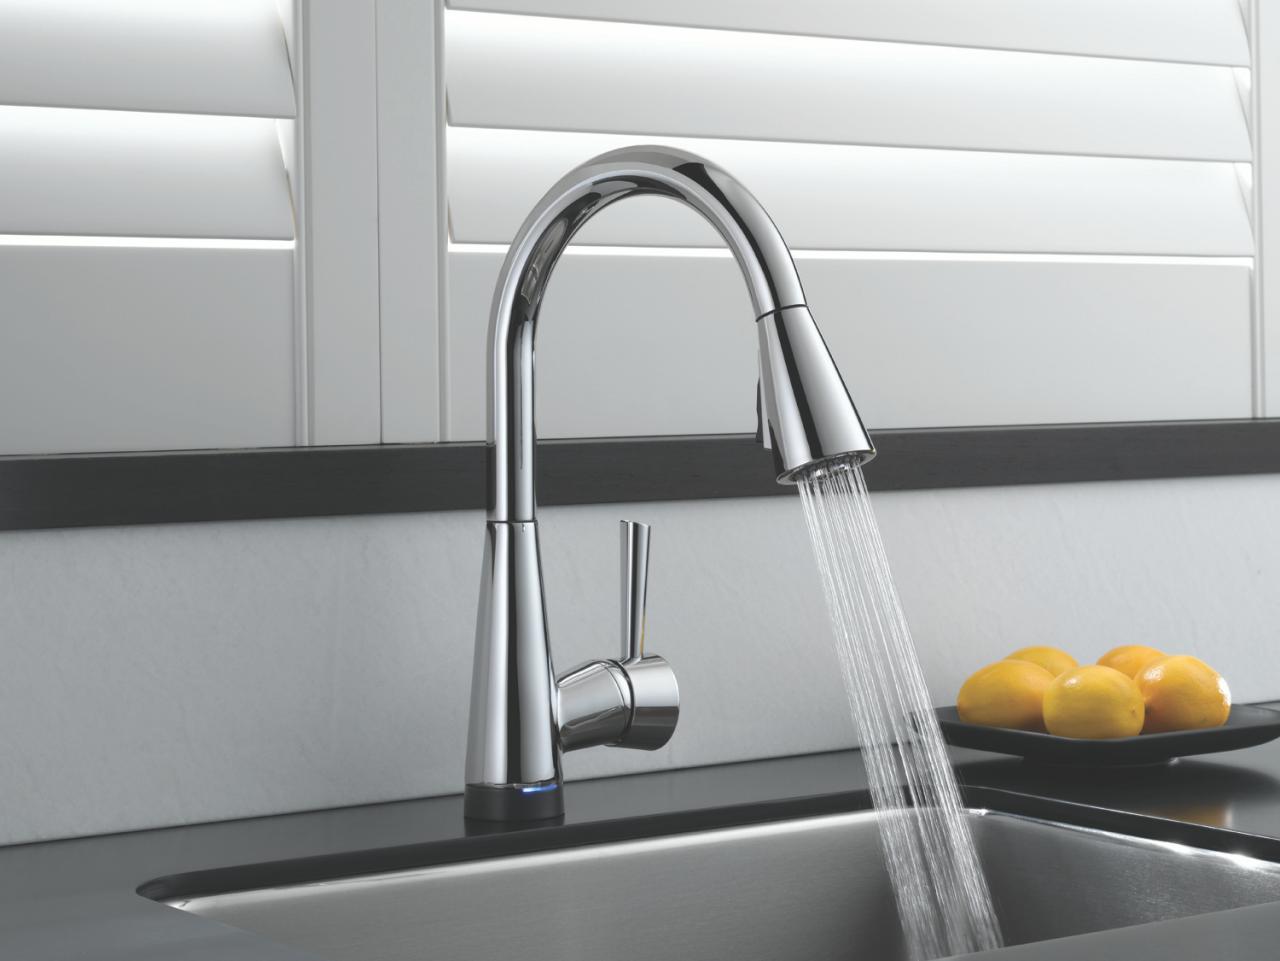
Once the aerator is securely reinstalled, check your faucet to ensure that the water flows smoothly and without any issues. If the water flow remains restricted or irregular, you may need to repeat the cleaning process or consider replacing the aerator with a new one.
Regular maintenance of the aerator is recommended to prevent clogs and maintain the efficiency of your faucet. Depending on your water quality, it’s generally advised to clean the aerator every few months or as needed.
By cleaning and reinstalling the aerator, you not only ensure the optimal performance of your faucet but also help extend its lifespan and improve water efficiency.
Read more: How To Remove Door Lock Cylinder Without Key
Conclusion
Dealing with a recessed faucet aerator can seem like a daunting task, especially without a proper key or specialized tools. However, with the right approach, you can successfully remove the aerator and restore the functionality of your faucet. Whether you used pliers, a credit card, a rubber band, WD-40, a homemade key, or a combination of methods, the key is persistence and resourcefulness.
Remember to gather the necessary tools and materials before starting the process. Locate the aerator and be prepared to adapt your method based on its design and features. Applying lubricant or creating a homemade key can provide the extra leverage needed to remove a stubborn aerator.
Once the aerator is removed, take the opportunity to clean it thoroughly or replace it if necessary. Regular maintenance of the aerator will help prevent clogs, preserve water flow, and maintain the efficiency of your faucet.
If all else fails, don’t hesitate to seek professional assistance from a plumber who can handle the task with expertise and specialized tools.
By following the steps outlined in this guide, you can successfully remove a recessed faucet aerator without a key. With a little patience and resourcefulness, you’ll be able to maintain a smoothly functioning faucet in your home.
Remember, if you’re unsure or uncomfortable with the removal process, it’s always best to consult a professional plumber to avoid causing any damage to your faucet or compromising its functionality.
Now that you've mastered removing a recessed faucet aerator without a key, why not tackle more around your dwelling? For those dealing with leaky or outdated fixtures, our guide on the best Delta faucet repair kits offers practical solutions. And if you're looking to keep everything running smoothly, our comprehensive checklist on home maintenance tasks will ensure nothing gets overlooked. Keep your living space in tip-top shape with these essential reads!
Frequently Asked Questions about How To Remove Recessed Faucet Aerator Without Key
Was this page helpful?
At Storables.com, we guarantee accurate and reliable information. Our content, validated by Expert Board Contributors, is crafted following stringent Editorial Policies. We're committed to providing you with well-researched, expert-backed insights for all your informational needs.


0 thoughts on “How To Remove Recessed Faucet Aerator Without Key”