Home>Articles>How To Install Pur Water Filter On Pull Out Faucet
Articles
How To Install Pur Water Filter On Pull Out Faucet
Modified: August 19, 2024
Learn how to easily install a Pur water filter on your pull out faucet with our step-by-step guide. Get clean and purified water for your daily needs.
(Many of the links in this article redirect to a specific reviewed product. Your purchase of these products through affiliate links helps to generate commission for Storables.com, at no extra cost. Learn more)
Introduction
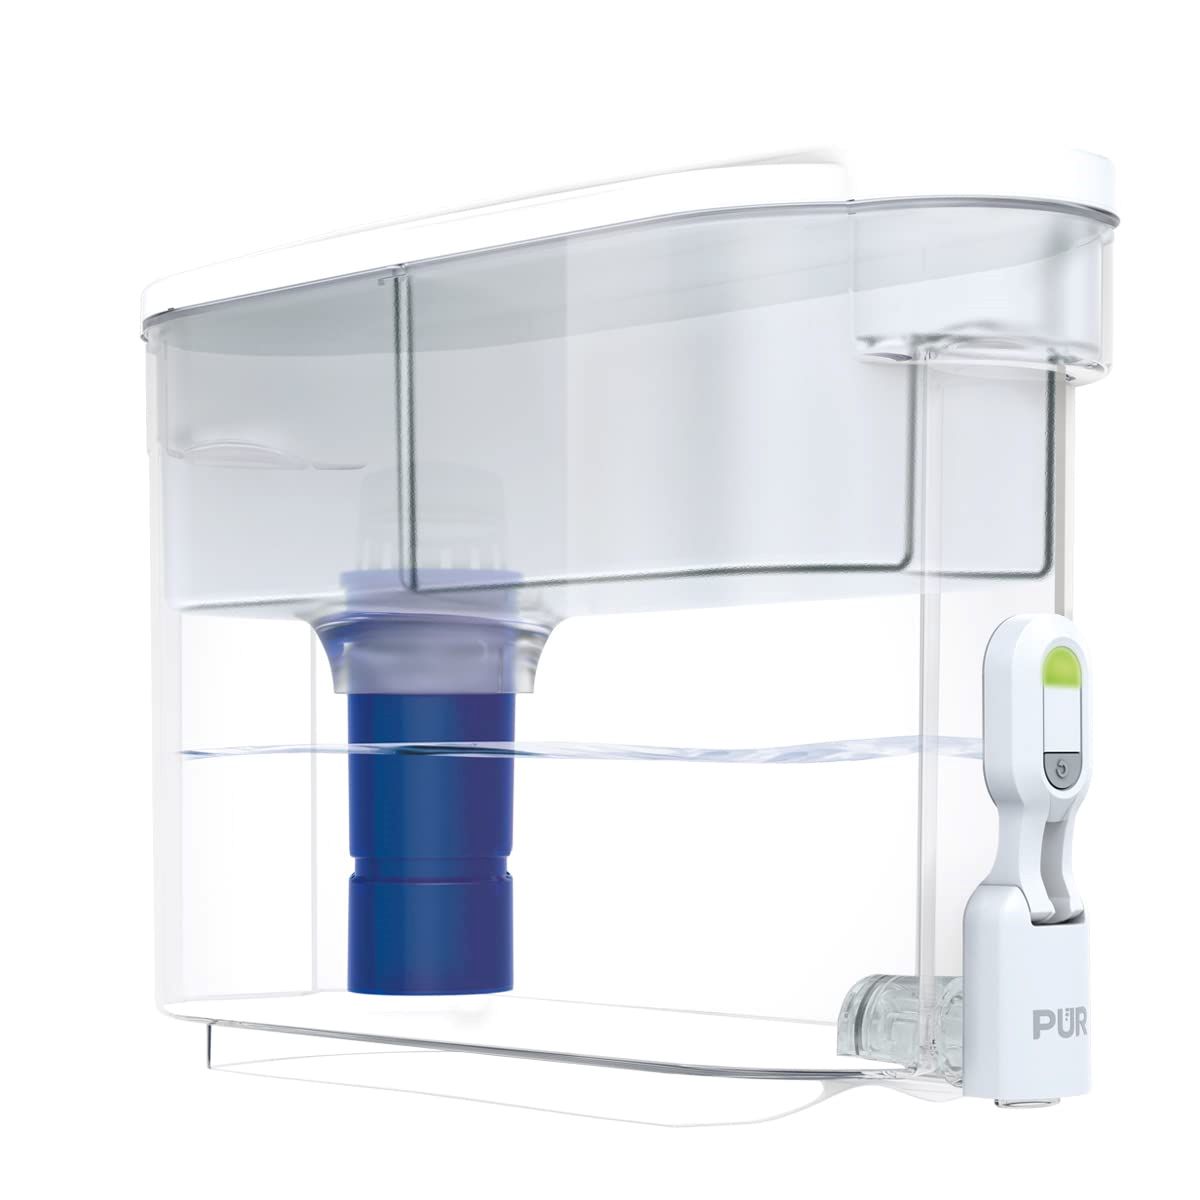
Welcome to a comprehensive guide on how to install a PUR water filter on a pull-out faucet. If you are looking to improve the quality of your tap water, a water filter is an excellent solution. PUR is a trusted brand known for its innovative water filtration systems that provide clean and great-tasting water right from your faucet. By following the steps outlined in this article, you’ll be able to enjoy the benefits of freshly filtered water in no time.
Key Takeaways:
- Enjoy clean and great-tasting water with a PUR water filter on your pull-out faucet. Follow the simple steps for a hassle-free installation and experience the benefits of purified water right from your faucet.
- Ensure optimal water quality by testing the filter installation and performing regular maintenance. With a PUR water filter, you can have confidence in the freshness and purity of your drinking water.
Read more: How To Install A Water Filter Faucet
Step 1: Gather the necessary tools and materials
Before you begin the installation process, it’s important to gather all the tools and materials you’ll need. This will ensure a smooth and efficient installation. Here’s a list of everything you’ll need:
- PUR water filter kit (which typically includes the filter, adapter, and connectors)
- Adjustable wrench
- Pipe tape or plumbers tape
- Clean cloth or towel
Make sure to have all these items readily available before proceeding to the next steps. Having them on hand will save you time and prevent any unnecessary interruptions during the installation process.
Step 2: Prepare the faucet for installation
Before attaching the water filter, you’ll need to prepare your pull-out faucet to ensure a proper fit. Follow these steps to get your faucet ready for installation:
- Close the water supply valves: Locate the water supply valves under your sink and turn them off by rotating them clockwise. This will prevent any water from flowing while you work on installing the filter.
- Clear the sink area: Remove any items around the sink area to create enough space for easy maneuvering during the installation process.
- Remove the aerator: Unscrew the aerator from the end of your faucet spout by turning it counterclockwise. Use an adjustable wrench if needed for a tight grip. Set the aerator aside in a safe place.
- Clean the faucet: Take a clean cloth or towel and wipe the spout and inside the aerator connection to remove any dirt, debris, or mineral buildup. This will ensure a clean and secure connection for the water filter.
Once you’ve completed these steps, your faucet will be ready for the water filter installation. Ensuring a clean and clutter-free workspace will make the process easier and more efficient.
Step 3: Attach the filter adapter to the faucet
Now that you have prepared your faucet, it’s time to attach the filter adapter. The adapter allows you to connect the water filter to your pull-out faucet. Follow these steps to securely attach the adapter:
- Take the filter adapter: Locate the filter adapter included in the PUR water filter kit. It is usually a small plastic piece that connects the filter to the faucet.
- Apply pipe tape: Take the pipe tape or plumbers tape and wrap it around the threads of the faucet spout. This will create a tight seal and prevent any leaks.
- Screw on the adapter: Carefully screw the filter adapter onto the faucet spout, making sure it is threaded securely. Use your fingers to tighten it initially, and then use an adjustable wrench for a final firm grip. Be careful not to overtighten and damage the faucet.
- Check for leaks: Once the adapter is attached, turn on the water supply valves slowly to allow water to flow through the adapter. Check for any leaks around the adapter connection. If you notice any leaks, tighten the adapter further or check if the pipe tape is properly sealed.
By completing these steps, you have successfully attached the filter adapter to your pull-out faucet. This adapter serves as the connection point between your faucet and the PUR water filter, allowing for effortless filtration of your tap water.
When installing a Pur water filter on a pull-out faucet, make sure to check the compatibility of the filter with your specific faucet model. Follow the manufacturer’s instructions carefully to ensure a proper and secure installation.
Step 4: Connect the filter to the adapter
With the filter adapter securely attached to your faucet, it’s time to connect the water filter itself. Follow these steps to ensure a proper connection:
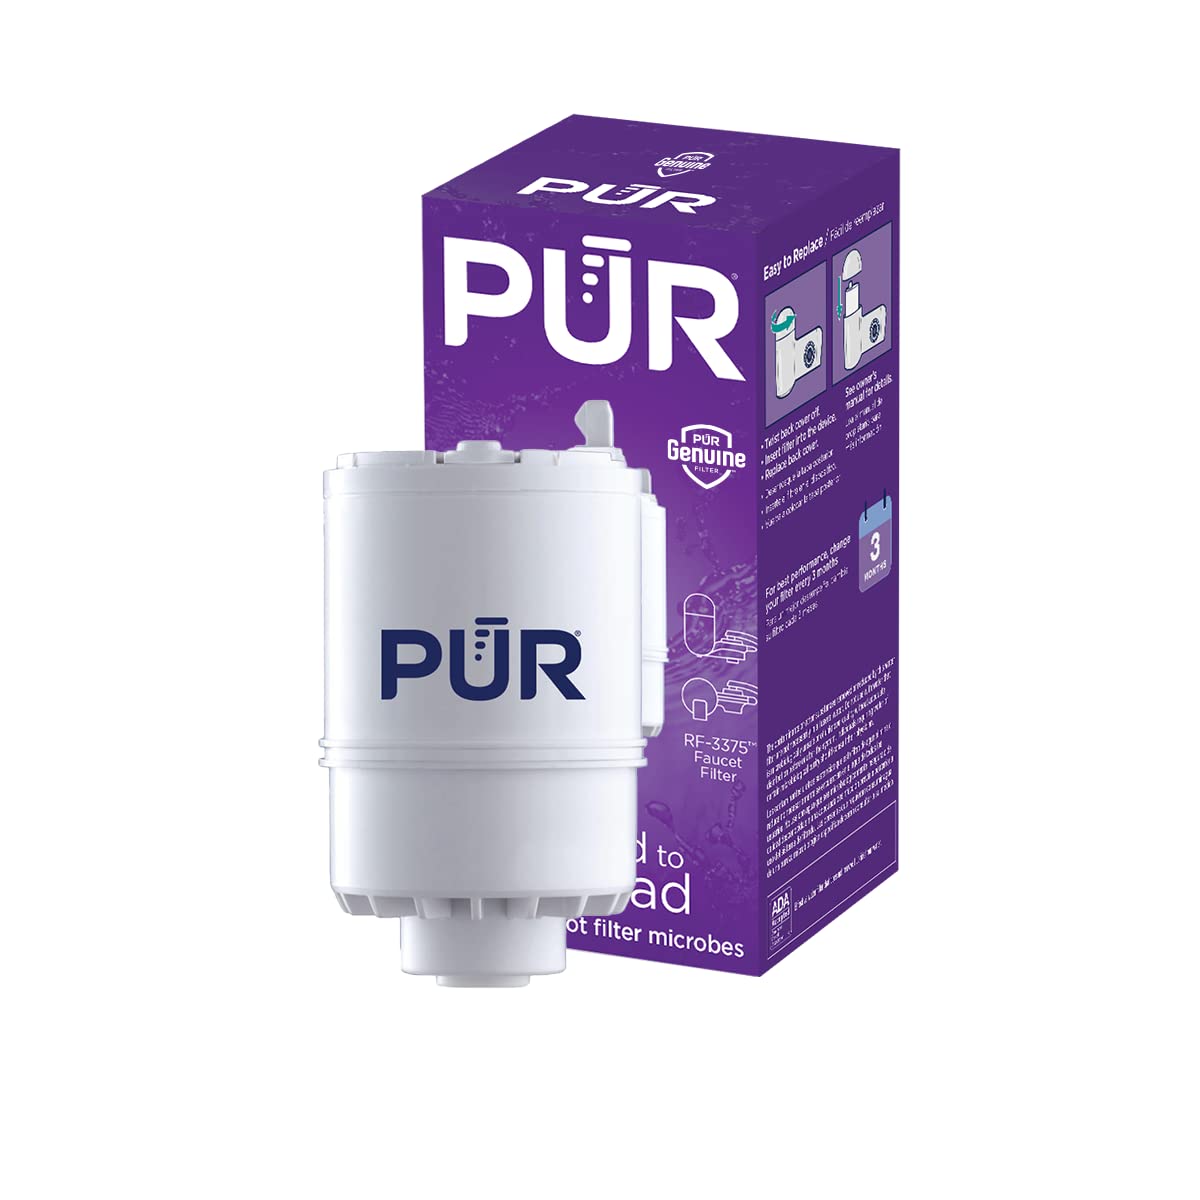
- Take the water filter: Locate the PUR water filter included in the kit. It usually consists of a filter cartridge housed in a plastic casing.
- Prepare the filter: Before connecting the filter, it’s important to prepare it according to the manufacturer’s instructions. This may involve removing any protective wrapping or rinsing the filter cartridge.
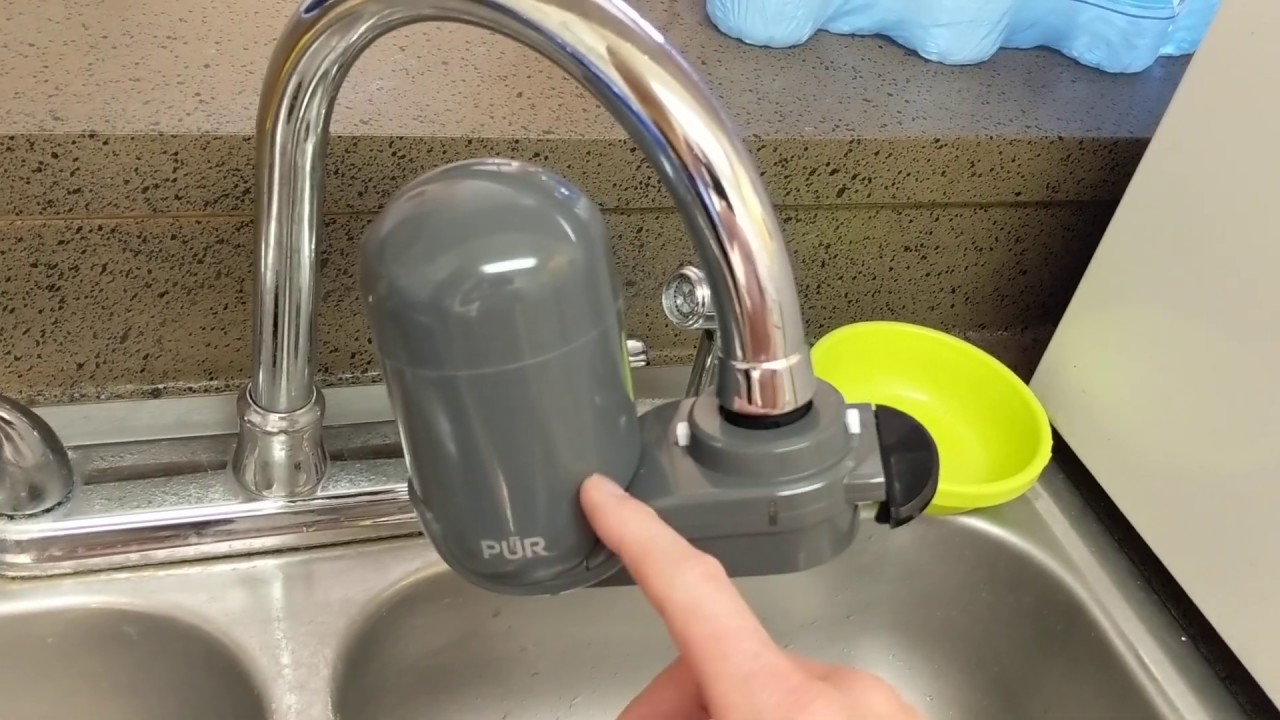
- Attach the filter to the adapter: Align the bottom of the filter with the adapter and insert it into the adapter housing. Twist the filter clockwise until it locks into place. Ensure that the filter is securely connected and does not wobble or come loose.
- Turn on the water supply: Slowly turn on the water supply valves to allow water to flow through the filter. Check for any leaks around the filter connection. If you notice leaks, make sure the filter is properly seated and tightened.
Once you’ve completed these steps, the water filter is now connected to the adapter, and water can flow through it for filtration. It’s important to frequently check the filter for any signs of wear or clogging and replace it as needed to maintain optimal water quality.
Read also: 12 Amazing Pur Water Faucet Filter for 2025
Step 5: Test the filter installation
After completing the installation process, it’s crucial to test the filter and ensure it is functioning correctly. Follow these steps to verify the successful installation of your PUR water filter:
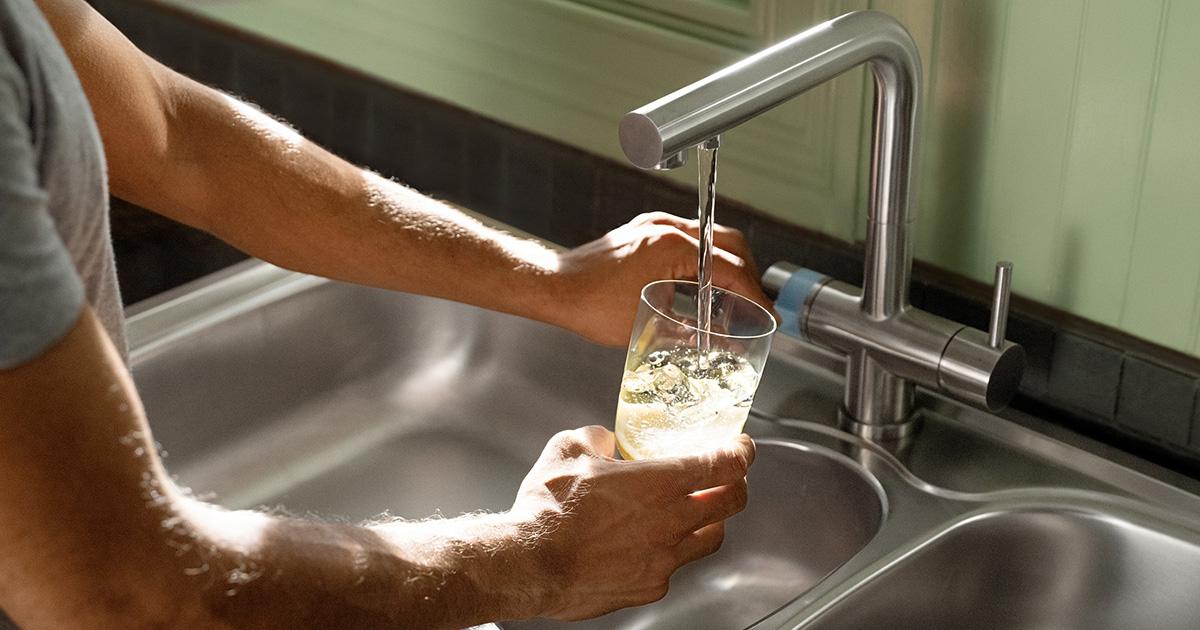
- Fill a glass with water: Turn on your faucet and fill a glass with water from the filtered side of the faucet. This is typically the side marked with a separate lever or switch.
- Check for taste and odor: Take a sip of the filtered water and assess its taste and odor. The PUR water filter is designed to remove impurities, chlorine, and other contaminants, resulting in fresh and clean-tasting water.
- Inspect for any leaks: While the filtered water is flowing, carefully examine the filter and adapter connections for any signs of leaks. If you notice any leaks, ensure that all connections are tightened properly and that the filter is securely attached.
- Check water flow: Assess the water flow from the filtered side of the faucet. It should be steady and consistent, indicating that the filter is allowing water to flow smoothly without any obstructions.
By testing the filter installation, you can have confidence in the effectiveness of your PUR water filter. If you encounter any issues with taste, odor, leaks, or water flow, refer to the manufacturer’s instructions or contact customer support for guidance on resolving the problem.
Conclusion
Congratulations! You have successfully installed a PUR water filter on your pull-out faucet. By following the steps outlined in this guide, you can now enjoy the benefits of clean and great-tasting water right from your faucet. The PUR water filter is designed to remove impurities, chlorine, and other contaminants, ensuring that you and your family have access to fresh and healthy drinking water.
Remember to periodically check the filter for any signs of wear or clogging and replace it as needed. Regular maintenance will help ensure that the filter continues to provide optimal water quality. Additionally, it’s essential to follow the manufacturer’s instructions for filter replacement and maintenance to maximize its lifespan and effectiveness.
Installing a water filter can significantly improve the taste and quality of your tap water, making it a worthwhile investment for your home. Whether you use it for drinking, cooking, or other household tasks, you can have peace of mind knowing that the PUR water filter is working to provide you with purified water.
We hope this guide has been helpful in assisting you with the installation process. Enjoy the benefits of clean and fresh water from your newly installed PUR water filter!
Now that you've mastered installing your PUR water filter, why not dive deeper into ensuring your water quality? If you're curious about more sophisticated options, our guide on water filtration showcases the latest and greatest in filtering technology, perfect for any home. For those looking to upgrade their kitchen fixtures, our detailed walkthrough on faucet installation makes adding that new sprayer a breeze. And don't miss our discussion on water purification, where you'll find top picks that guarantee the purest water, straight from your tap. Each guide is designed to make your next home improvement project as straightforward as possible.
Frequently Asked Questions about How To Install Pur Water Filter On Pull Out Faucet
Was this page helpful?
At Storables.com, we guarantee accurate and reliable information. Our content, validated by Expert Board Contributors, is crafted following stringent Editorial Policies. We're committed to providing you with well-researched, expert-backed insights for all your informational needs.


0 thoughts on “How To Install Pur Water Filter On Pull Out Faucet”