Articles
How To Take Off Sink Faucet Head
Modified: October 19, 2024
Learn how to take off the sink faucet head with these helpful articles. Discover step-by-step instructions and tips for a successful removal.
(Many of the links in this article redirect to a specific reviewed product. Your purchase of these products through affiliate links helps to generate commission for Storables.com, at no extra cost. Learn more)
Introduction
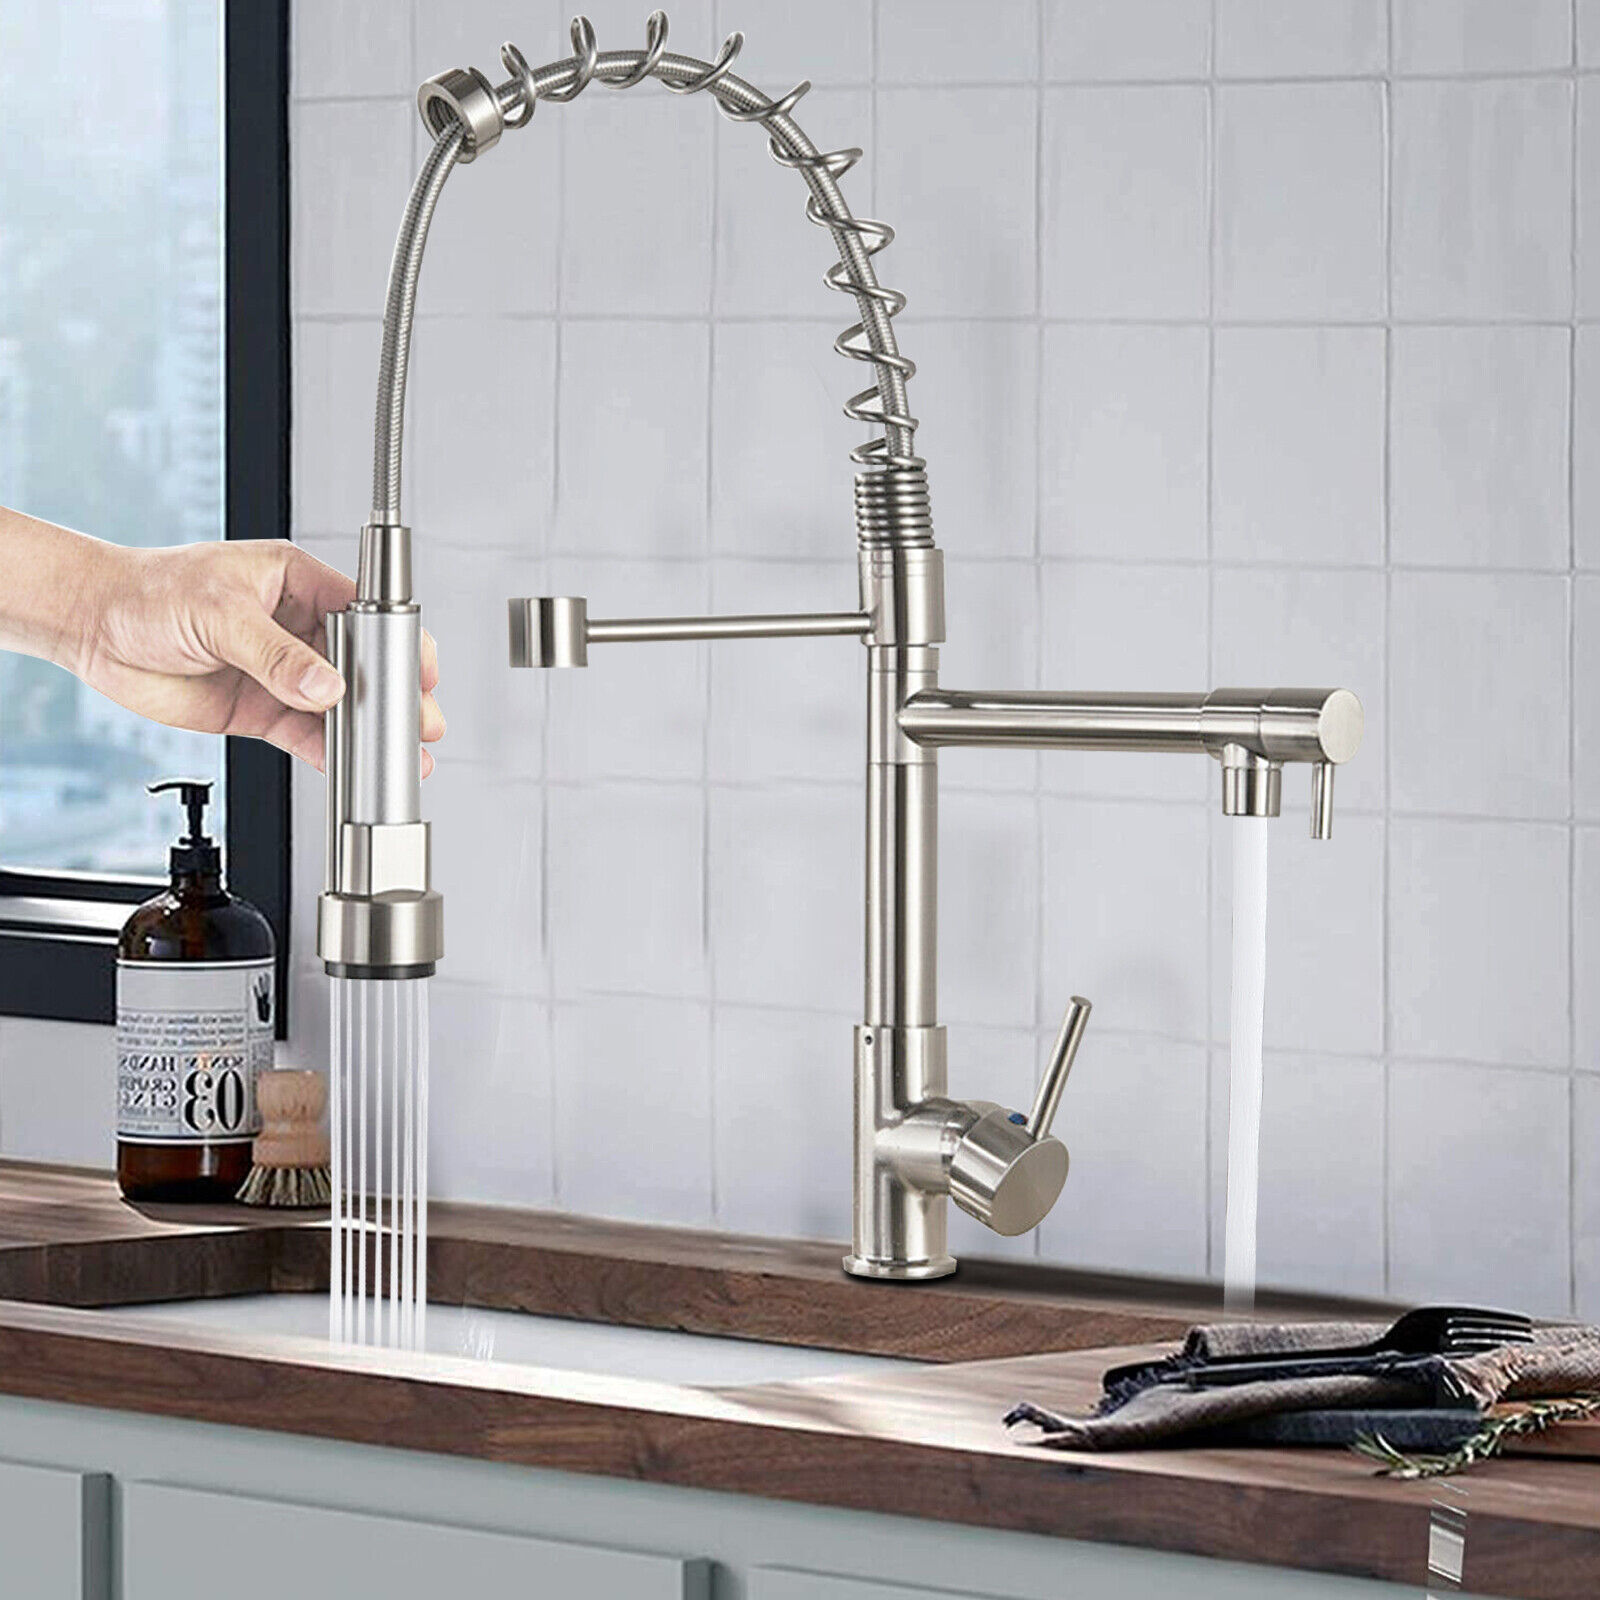
Having a functional sink faucet is essential in any household. However, over time, the faucet head may start to show signs of wear and tear or become clogged with mineral deposits, affecting its performance. In such cases, it becomes necessary to remove the sink faucet head for cleaning, repair, or replacement.
Removing the sink faucet head may seem like a daunting task, especially if you are not familiar with plumbing or DIY projects. However, with the right tools and a step-by-step approach, you can easily take off the sink faucet head and address any issues that may be causing problems.
In this article, we will guide you through the process of taking off the sink faucet head, from gathering the necessary tools to reassembling the faucet once the head has been removed. By following these steps, you can ensure a smooth and successful removal process, allowing you to clean or replace the faucet head as needed.
Before we dive into the steps, it’s important to note that the specific method of removing a sink faucet head may vary depending on the make and model of your faucet. Therefore, it is always a good idea to consult the manufacturer’s instructions or seek professional assistance if you are unsure about any step.
Key Takeaways:
- Easily remove and clean your sink faucet head by following simple steps and using basic tools like an adjustable wrench, plumber’s tape, and penetrating oil. Regular maintenance ensures optimal faucet performance.
- Properly reassemble the faucet components after cleaning to ensure smooth operation. Test for leaks and functionality to maintain a functional and efficient kitchen or bathroom fixture for years to come.
Read more: How To Clean A Sink Faucet Head
Step 1: Gather necessary tools
Before you begin the process of removing the sink faucet head, it’s important to gather the necessary tools. Having the right tools on hand will make the task easier and more efficient. Here are the tools you will need:
- Adjustable wrench
- Plumber’s tape
- Screwdriver (if applicable)
- Bucket or container
- Clean cloth or rag
- Penetrating oil (if needed)
The adjustable wrench is a crucial tool that will help you loosen and disconnect the various parts of the faucet head. Make sure you have the right size wrench that fits the nuts or connections on your specific faucet.
Plumber’s tape, also known as Teflon tape, is a thin white tape that is used to seal threaded connections and prevent leaks. This will come in handy when reassembling the faucet head.
If your faucet head is attached with screws, you may need a screwdriver to remove them. Check your faucet head to determine if a screwdriver is necessary.
A bucket or container will be useful to catch any water that might drip during the removal process. This will help keep your workspace clean and prevent water damage.
A clean cloth or rag is handy for wiping any excess water or dirt around the faucet head. This will ensure a clear view of the connections and make it easier to work with.
Finally, if your faucet head is stubborn or has been in place for a long time, you may need to use penetrating oil to loosen any rust or corrosion. This will make the removal process smoother and prevent damage to the faucet head or other components.
Once you have gathered all the necessary tools, you’re ready to move on to the next step: turning off the water supply.
Step 2: Turn off the water supply
Before you begin working on the sink faucet head, it’s important to turn off the water supply to prevent any accidental leaks or water damage. Here’s how you can do it:
- Locate the shut-off valves: Look under your sink for the shut-off valves. There should be two valves—one for hot water and one for cold water. Turn off both valves by turning them clockwise until they are fully closed. If you can’t find the shut-off valves under the sink, you may need to shut off the main water supply to your house.
- Release any pressure: Turn on the faucet and let any remaining water in the pipes run out. This will help release any pressure and make it easier to disconnect the faucet head without causing any water spray or splashes.
Once you have turned off the water supply and released any remaining pressure, you can move on to the next step: removing the faucet handle.
Note: It’s a good idea to place a towel or bucket underneath the sink to catch any water that might still be in the pipes. This will help minimize any mess or water damage during the removal process.
Step 3: Remove the faucet handle
With the water supply turned off, it’s time to remove the faucet handle. The faucet handle is the part that you use to control the flow and temperature of the water. Here’s how you can remove it:
- Locate the screw or cap: Look for a screw or cap on the handle. Depending on the faucet model, the screw or cap may be on the top of the handle or underneath it. If there is a cap, gently pry it off using a flathead screwdriver or your fingernail.
- Remove the screw: Once you have located the screw, use a screwdriver to remove it. Turn counterclockwise to loosen and remove the screw. Put the screw in a safe place where you won’t lose it.
- Take off the handle: With the screw removed, you should be able to easily lift off the handle. If it feels stuck or difficult to remove, try gently wiggling it back and forth while lifting. Be careful not to force it or apply too much pressure, as this could potentially damage the handle or other components.
Once you have successfully removed the faucet handle, you can proceed to the next step: taking off the aerator.
Note: Some faucet handles may have a more complex removal process, depending on the make and model. If you encounter any difficulties or if the handle doesn’t come off as expected, consult the manufacturer’s instructions or seek professional assistance.
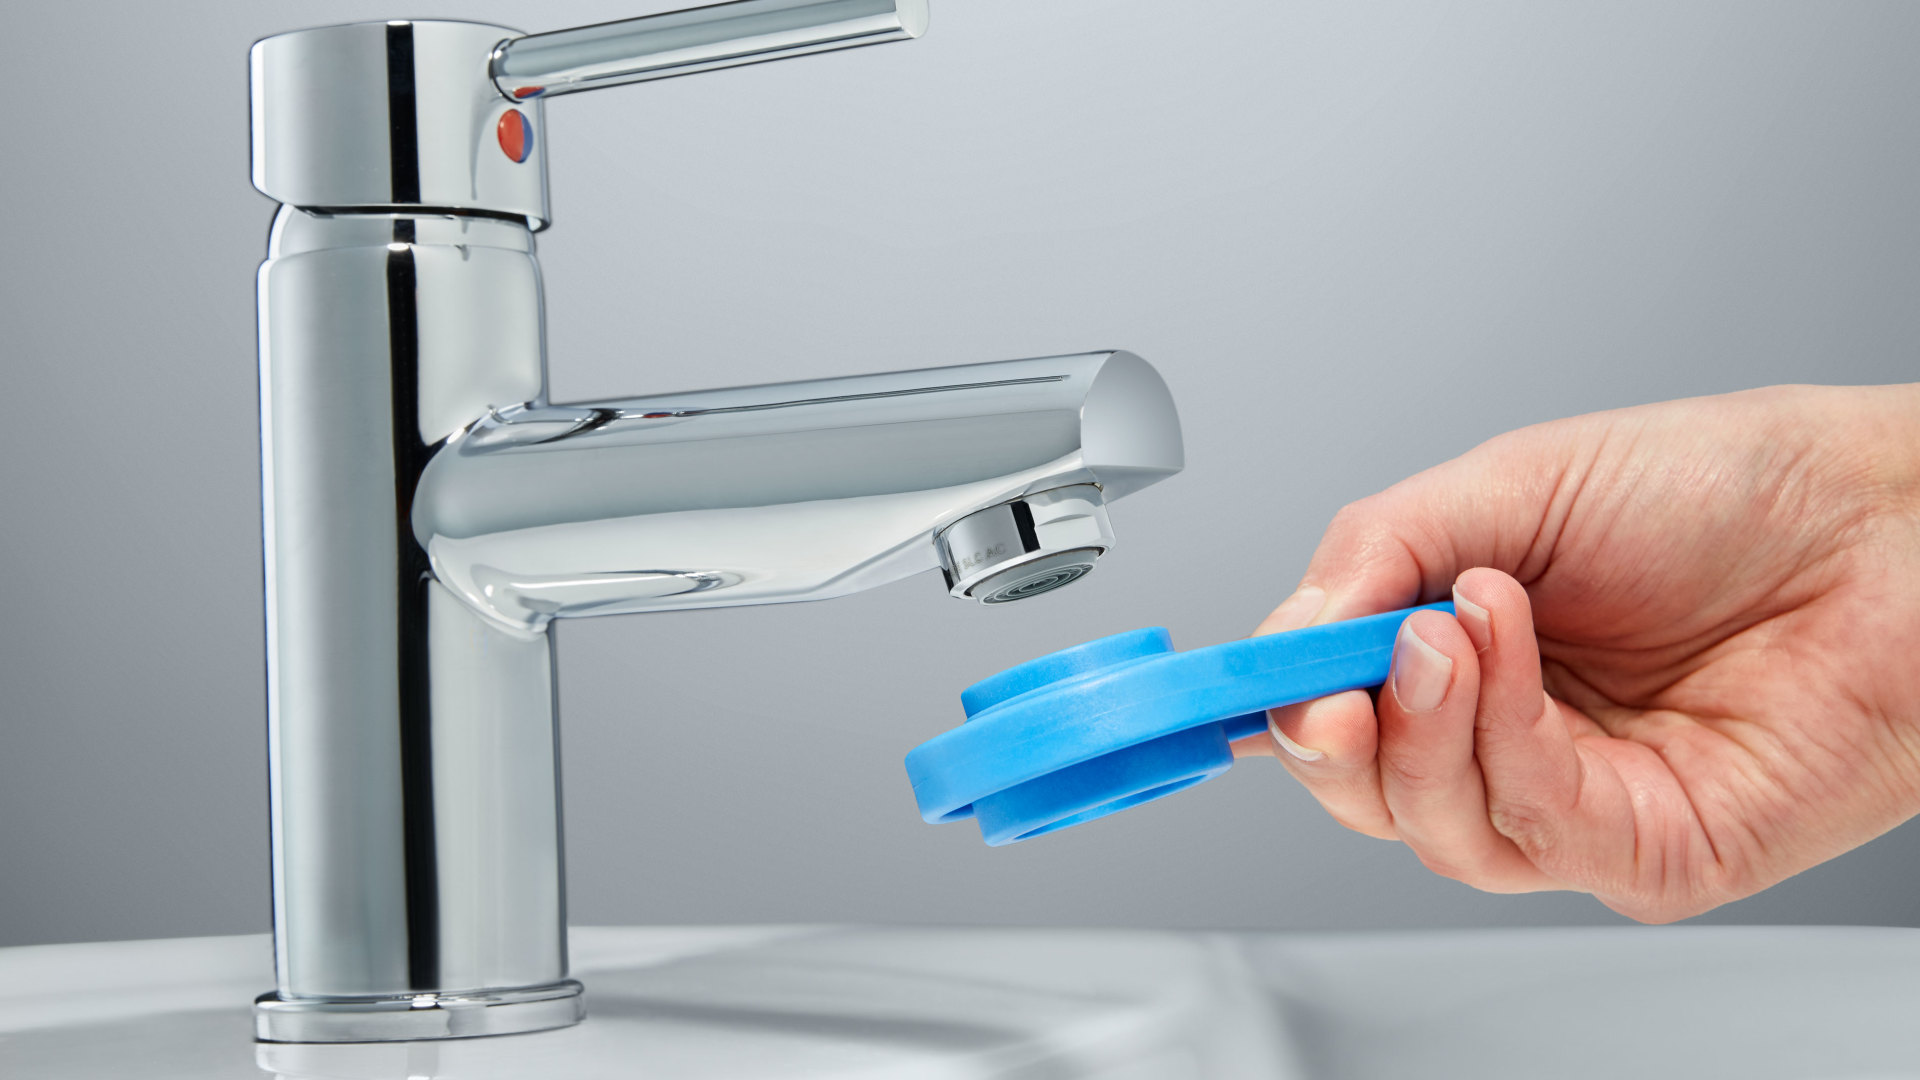
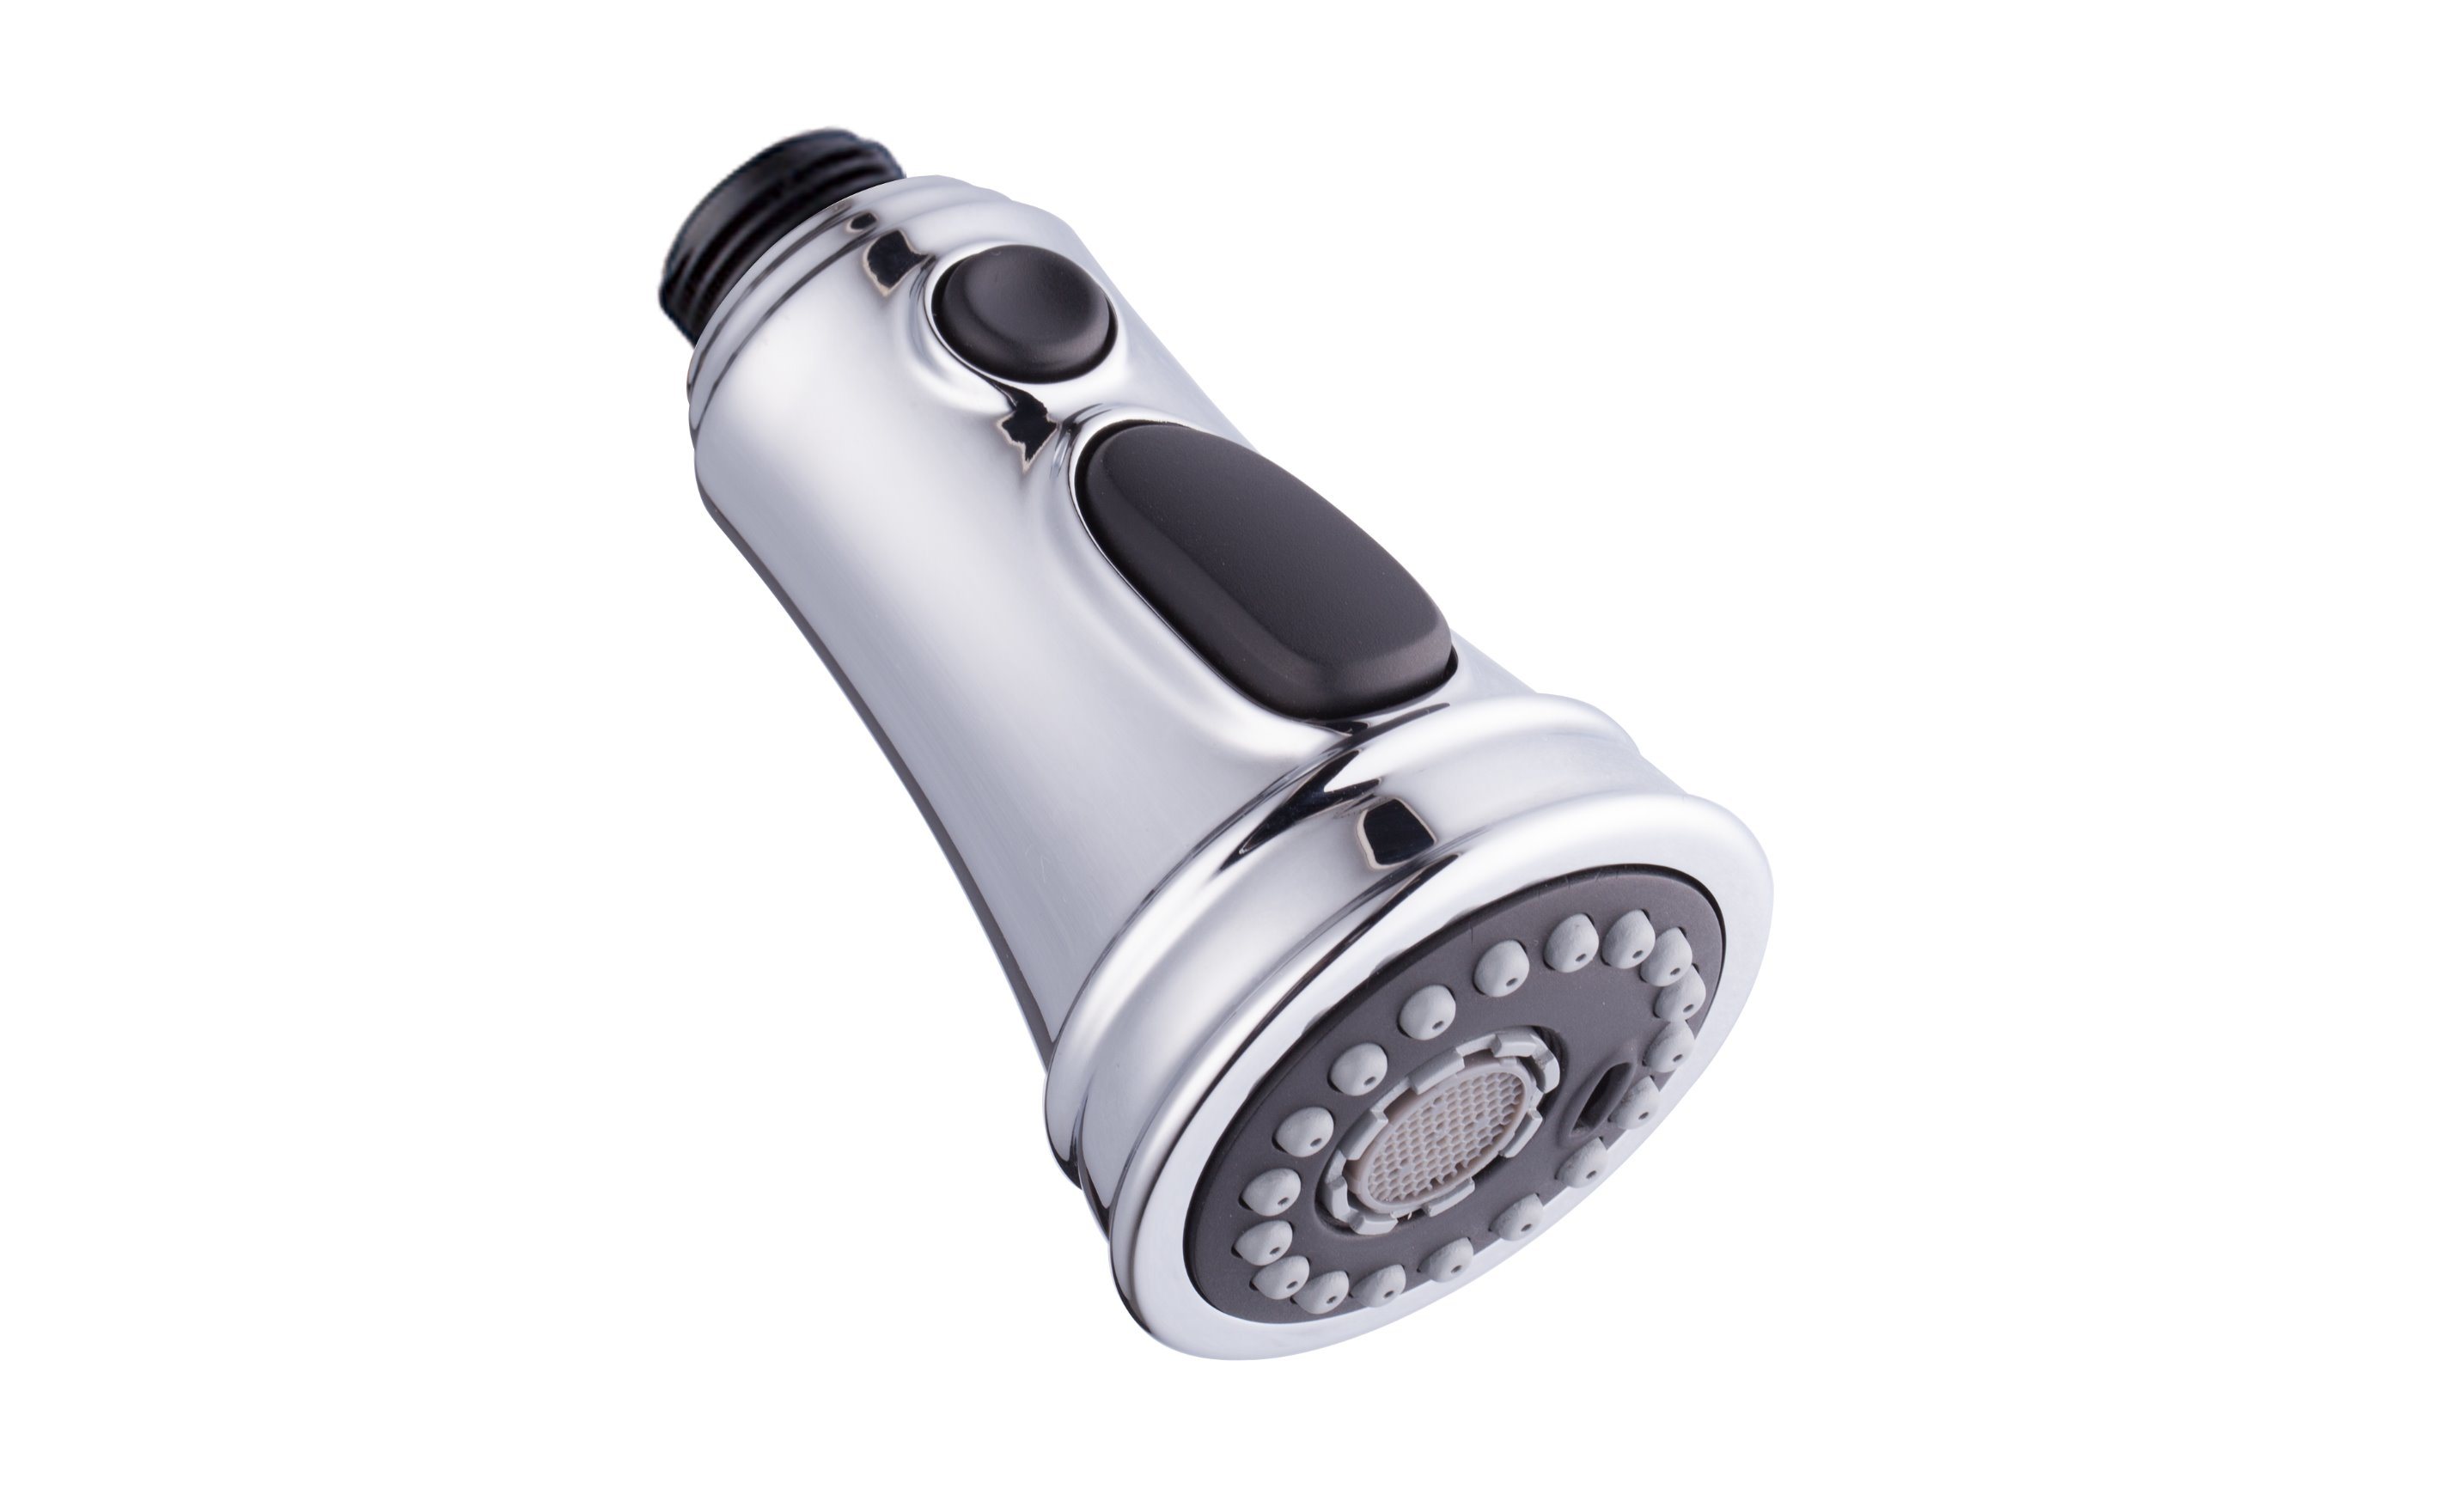
Step 4: Take off the aerator
After removing the faucet handle, the next step is to take off the aerator. The aerator is a small device located at the end of the faucet spout that helps control the flow and stream of water. Here’s how you can remove it:
- Inspect the aerator: Take a close look at the aerator to determine its structure and how it is attached to the faucet spout. Most aerators can be unscrewed by hand, while others may require the use of pliers or a wrench.
- Unscrew the aerator: If the aerator can be easily unscrewed by hand, simply twist it counterclockwise until it loosens and you can remove it. If it feels tight or difficult to unscrew by hand, wrap a clean cloth around the aerator to provide a better grip, and then use pliers or a wrench to carefully loosen and unscrew it.
- Set aside the aerator: Once the aerator is completely unscrewed, gently pull it away from the faucet spout. Place it in a safe place where you won’t lose it or cause any damage. Take note of the aerator’s design and any specific markings, as this information can be useful if you need to replace it later.
By removing the aerator, you will have better access to the rest of the faucet head components for cleaning or inspection. With the aerator successfully taken off, you can proceed to the next step: disconnecting the faucet head.
Note: If you are planning to replace the aerator, take it with you when purchasing a new one to ensure you get the correct size and style.
Before attempting to remove the sink faucet head, make sure to turn off the water supply to the faucet. This will prevent any water from spraying out and causing a mess during the removal process.
Read also: 8 Amazing Sink Faucet Head for 2025
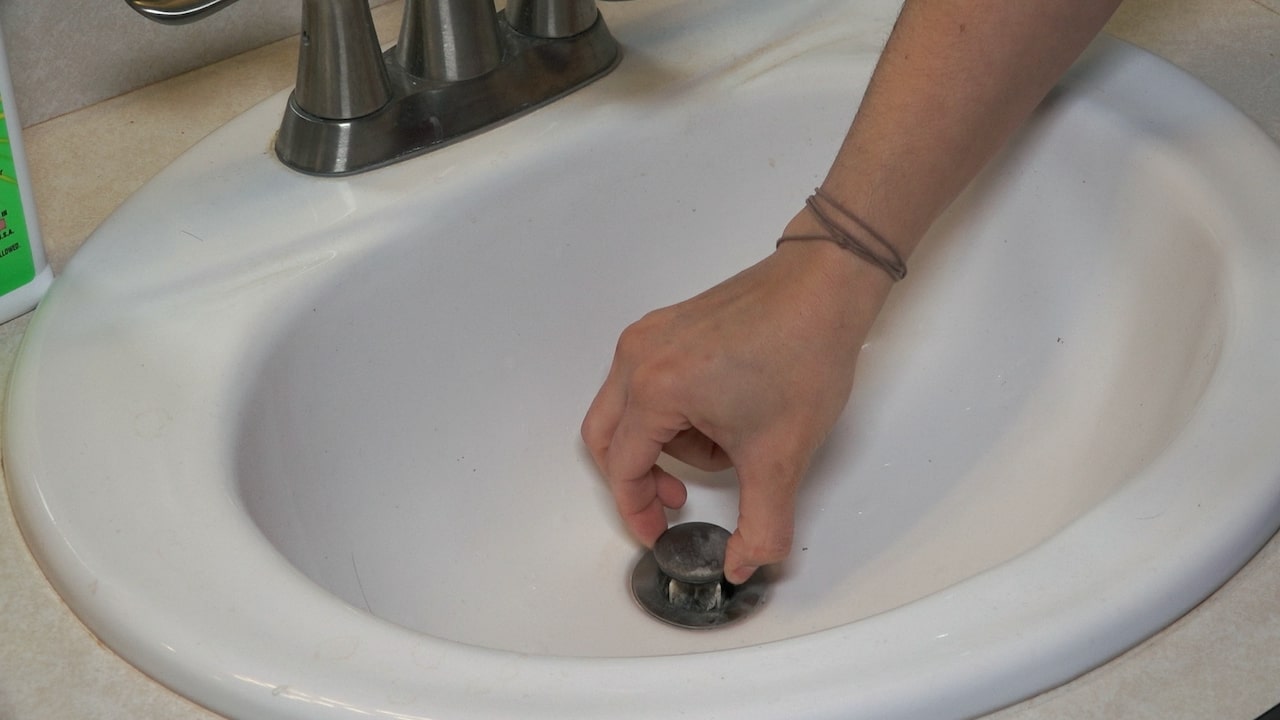
Step 5: Disconnect the faucet head
With the aerator removed, it’s time to disconnect the faucet head from the rest of the faucet assembly. This step will allow you to thoroughly clean or replace the faucet head. Follow these steps to disconnect the faucet head:
- Locate the connection point: Examine the area where the faucet head meets the neck or spout of the faucet. Look for any visible screws, nuts, or fasteners that are holding the faucet head in place.
- Loosen the connection: Using an adjustable wrench or pliers, carefully loosen and remove any screws or nuts that are securing the faucet head. Turn them counterclockwise to loosen them. Be mindful not to apply excessive force or overtighten, as it could damage the components.
- Disconnect the faucet head: Once the screws or nuts have been fully loosened, separate the faucet head from the rest of the faucet assembly. Gently pull the faucet head away from the neck or spout. If the faucet head feels stuck, you may need to apply some gentle force or twist it slightly to release it.
With the faucet head successfully disconnected, you can now proceed to the next step: cleaning and inspecting the faucet head.
Note: Some faucet heads may have a more complex or unique connection system. If you are unsure about how to disconnect the faucet head, consult the manufacturer’s instructions or seek professional assistance.
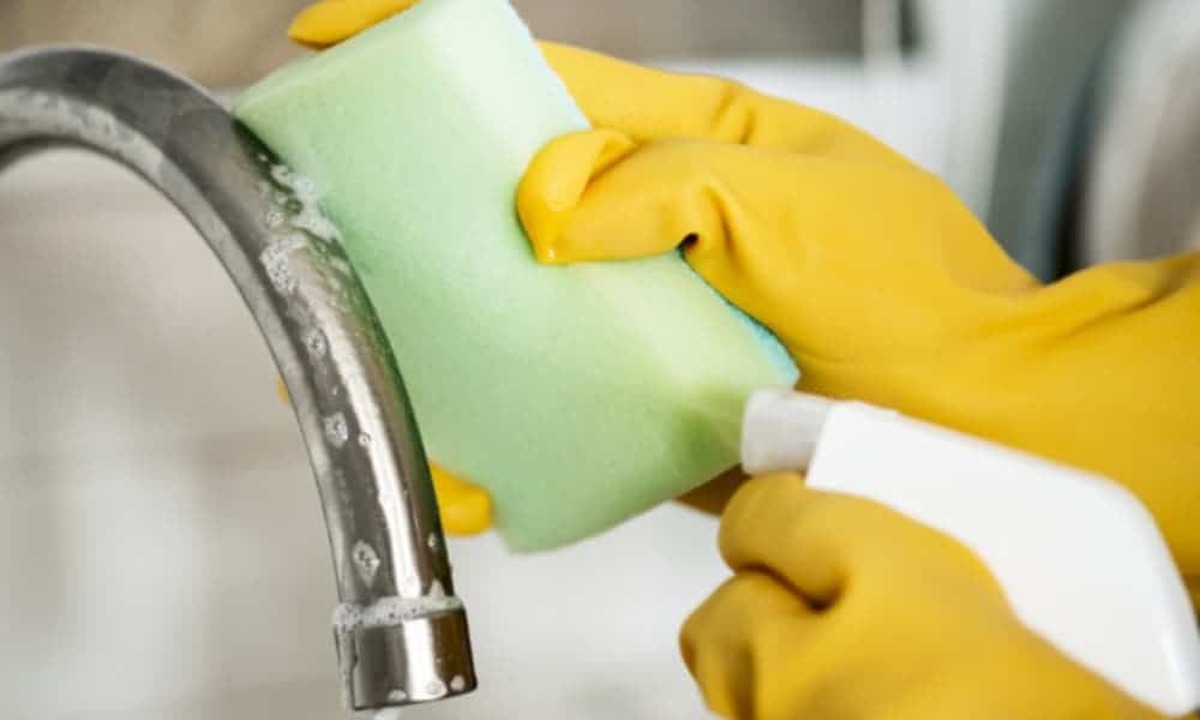
Step 6: Clean and inspect the faucet head
Now that the faucet head is disconnected, it’s time to clean and inspect it. Over time, mineral deposits, dirt, and other debris can accumulate inside the faucet head, affecting its performance and water flow. Here’s how you can clean and inspect the faucet head:
- Soak the faucet head: Fill a bowl or container with equal parts white vinegar and water. Submerge the faucet head in this solution and let it soak for about 20-30 minutes. The vinegar helps dissolve mineral deposits and loosen any stubborn dirt or grime.
- Clean the aerator: While the faucet head is soaking, take the opportunity to clean the aerator separately. Use an old toothbrush or a small brush to scrub away any remaining debris or build-up on the aerator. Rinse it thoroughly with water to remove any vinegar residue.
- Rinse the faucet head: After the soaking period, remove the faucet head from the vinegar solution and rinse it under warm water. Use your fingers or a soft brush to gently scrub away any remaining residue or particles.
- Inspect for damage: Take a close look at the faucet head for any signs of damage, such as cracks, leaks, or worn-out components. Pay attention to the internal parts as well, including the rubber gaskets or O-rings. If you notice any significant damage, consider replacing the faucet head.
- Reassemble the faucet head: Once the faucet head is clean and fully inspected, it’s time to reassemble it. Attach the faucet head back onto the neck or spout of the faucet and secure it by tightening any screws or nuts that were previously removed. Use an adjustable wrench or pliers to ensure a snug fit, but be careful not to overtighten.
With the faucet head cleaned, inspected, and reassembled, you can move on to the final step: reassembling the rest of the faucet.
Note: If you encounter any difficulties during the cleaning process or if the faucet head is still not functioning properly, consider consulting a plumber or replacing the faucet head altogether.
Step 7: Reassemble the faucet
After cleaning and inspecting the faucet head, it’s time to reassemble the rest of the faucet. Follow these steps to properly reassemble the faucet components:
- Replace the aerator: If you removed the aerator earlier, now is the time to put it back in place. Screw it onto the end of the faucet spout in a clockwise direction. Use your hand to tighten it securely, but be careful not to overtighten to avoid damaging the threads.
- Reattach the faucet handle: Take the faucet handle that you removed earlier and align it with the stem or valve. Insert the screw back into the hole and tighten it with a screwdriver or by hand, depending on the type of screw and handle. Make sure the handle is securely in place and can move smoothly to control the water flow.
- Turn on the water supply: Once the faucet handle is reattached, it’s time to turn on the water supply. Locate the shut-off valves and turn them counterclockwise to open them. This will allow the water to flow through the faucet again.
- Check for leaks: With the water supply turned on, check for any leaks around the faucet handle, spout, or aerator. If you notice any leaks, tighten the connections as needed. If the leaks persist, you may need to replace worn-out gaskets or seek professional assistance.
- Test the faucet: Finally, test the faucet by turning the handle to different positions and checking the water flow and temperature. Make sure the faucet operates smoothly and efficiently. If you notice any issues, such as reduced water flow or inconsistent temperature control, consider further inspection or contacting a plumber.
By following these steps, you can successfully reassemble the faucet and ensure that it functions properly. Remember to take your time and be gentle during the reassembly process to avoid damaging any components.
Congratulations! You have now completed the process of taking off the sink faucet head, cleaning it, and reassembling the faucet. Your sink should now have a clean and properly functioning faucet, ready for everyday use.
Conclusion
Taking off a sink faucet head may seem like a daunting task at first, but with the right tools and a step-by-step approach, it becomes a manageable DIY project. By following the steps outlined in this article, you can easily remove the faucet head, clean it thoroughly, and reassemble the faucet for optimal performance.
Remember, it’s important to gather the necessary tools, turn off the water supply, and remove the faucet handle before attempting to remove the faucet head. Taking these initial steps ensures a safe and efficient removal process.
Once the faucet head is disconnected, pay close attention to cleaning it. Soaking it in a vinegar solution helps dissolve mineral deposits, which can improve water flow and overall performance. Additionally, inspecting the faucet head for any damage or wear and tear allows you to address any potential issues early on.
Reassembling the faucet correctly is just as important as removing the faucet head. Make sure to securely attach the aerator, reattach the faucet handle, and turn on the water supply with caution. Checking for leaks and testing the faucet’s functionality ensures a successful reassembly process.
By following these steps, you can maintain and improve the performance of your sink faucet. However, if you encounter any difficulties or are unsure about any step, it’s always a good idea to consult the manufacturer’s instructions or seek professional assistance.
Remember, regular maintenance and cleaning of your faucet can help extend its lifespan and ensure smooth operation. By taking care of your sink faucet, you can enjoy a functional and efficient kitchen or bathroom fixture for years to come.
Now that you've mastered removing a sink faucet head, why not tackle more complex repairs or give your kitchen a fresh look? If that faucet still gives you trouble, our detailed guide on choosing the right faucet repair kits will ensure smooth operations. Or, if you're inspired to revamp more than just the faucet, our insights into a kitchen remodel that accentuates original features might just spark your creative side. Both articles provide valuable tips and are perfect for those looking to enhance their home's functionality and style.
Frequently Asked Questions about How To Take Off Sink Faucet Head
Was this page helpful?
At Storables.com, we guarantee accurate and reliable information. Our content, validated by Expert Board Contributors, is crafted following stringent Editorial Policies. We're committed to providing you with well-researched, expert-backed insights for all your informational needs.


0 thoughts on “How To Take Off Sink Faucet Head”