Articles
How To Drain A Toilet Tank
Modified: February 27, 2024
Learn how to drain a toilet tank safely and effectively with our informative articles. Find step-by-step instructions and expert tips to tackle this DIY task effortlessly.
(Many of the links in this article redirect to a specific reviewed product. Your purchase of these products through affiliate links helps to generate commission for Storables.com, at no extra cost. Learn more)
Introduction
When it comes to plumbing maintenance, learning how to drain a toilet tank is an essential skill for every homeowner. Whether you are planning to clean the toilet or make repairs, knowing the proper steps to drain the tank will help you avoid potential mishaps and ensure a smooth process.
Draining a toilet tank may seem daunting at first, but with the right tools and a basic understanding of the process, it can be a straightforward task. By following a few simple steps, you can effectively empty the tank without causing any damage or unnecessary mess.
In this article, we will guide you through the process of draining a toilet tank, step by step. From turning off the water supply to reactivating the toilet, we’ll cover everything you need to know to successfully drain the tank and complete your plumbing project with confidence.
So, let’s get started! Grab your tools and let’s dive into the world of toilet tank maintenance.
Key Takeaways:
- Draining a toilet tank is a manageable task with the right tools and steps. From turning off the water supply to testing the toilet, following the process ensures a well-maintained and functional bathroom fixture.
- Regular maintenance, including draining the tank, prolongs the toilet’s lifespan and prevents potential issues. With proper cleaning and reconnection of the water supply line, homeowners can confidently handle basic plumbing tasks.
Read more: How To Remove Toilet Tank
Tools and Materials Needed
Before you begin the process of draining a toilet tank, make sure you have the following tools and materials at hand:
- A pair of adjustable pliers
- A bucket or container to collect the water
- A sponge or towel
- A wrench
- Teflon tape
- A new water supply line (optional, if needed)
These tools and materials are essential for a smooth and efficient draining process. The adjustable pliers will help you disconnect the water supply line, while the bucket or container will collect the water as you empty the tank. The sponge or towel will come in handy for any minor spills or leaks.
The wrench is necessary for loosening and tightening any bolts or connections, and the Teflon tape will ensure a secure and leak-free reconnection of the water supply line. In case you notice any damage or wear on the existing water supply line, having a new one on hand can be beneficial for replacement.
By gathering these tools and materials before you start, you’ll have everything you need within reach, saving you time and preventing any unnecessary interruptions during the draining process.
Now that you have all the necessary tools and materials, it’s time to move on to the next step: turning off the water supply.
Step 1: Turn off the Water Supply
The first step in draining a toilet tank is to turn off the water supply. This will prevent any fresh water from entering the tank while you work on draining it. Follow these steps to turn off the water supply:
- Locate the water shut-off valve behind or near the toilet. It is typically a small knob or lever.
- Turn the knob clockwise or move the lever to the “off” position. This will stop the flow of water to the toilet tank.
- Give the toilet a flush to ensure that the water supply is indeed turned off. If no water enters the tank, then you have successfully shut off the water supply.
Turning off the water supply is important to prevent any accidents or flooding while you work on draining the tank. It will also make the process more convenient and manageable.
If you are unable to locate the water shut-off valve or if it is not functioning properly, you may need to shut off the main water supply to your home. Consult a professional plumber if you are unsure about this step.
Now that the water supply is turned off, you are ready to move on to the next step: flushing the toilet.
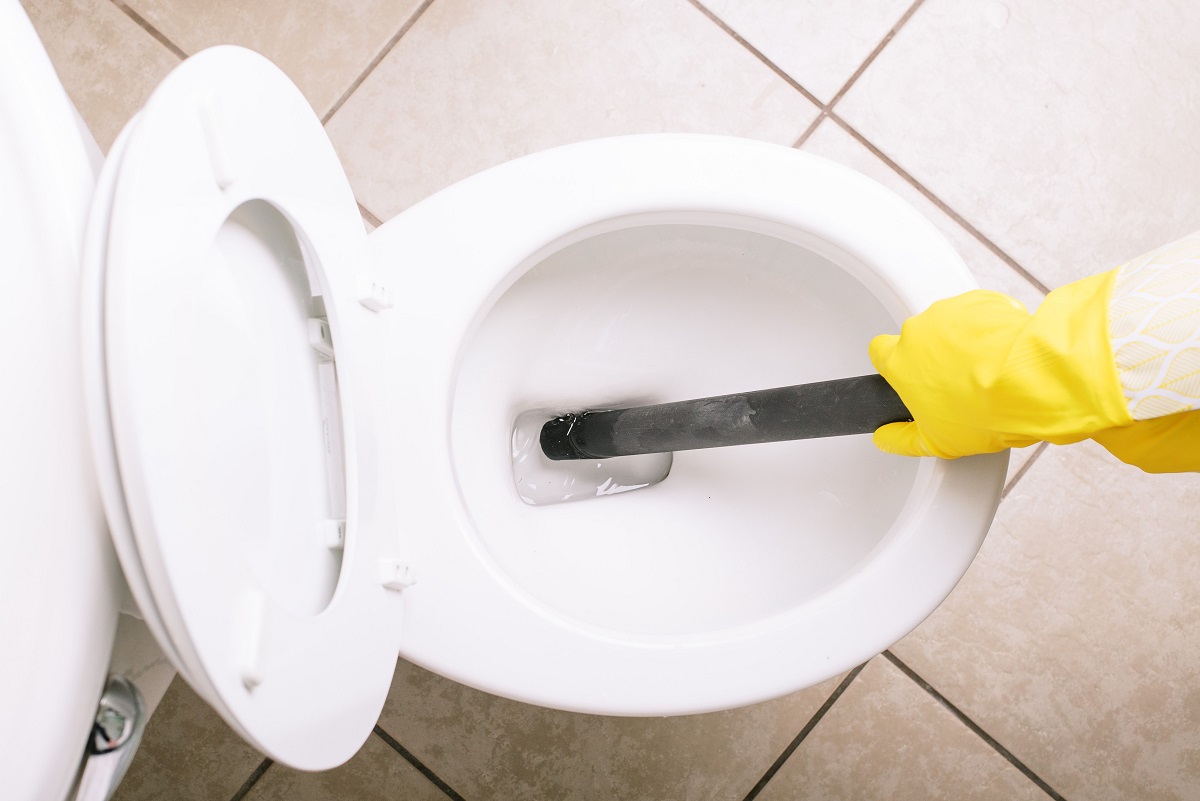
Step 2: Flush the Toilet
Once you have successfully turned off the water supply, the next step in draining a toilet tank is to flush the toilet. Flushing the toilet will help remove most of the water from the tank, making it easier to empty completely.
To flush the toilet, follow these simple steps:
- Locate the toilet handle, usually located on the side or the front of the tank.
- Press and hold the handle down firmly to activate the flushing mechanism.
- Keep holding the handle down until all the water from the tank has been flushed out and the toilet bowl is empty.
Flushing the toilet will drain a significant portion of the water in the tank, minimizing the amount of water you’ll need to empty manually. It’s important to hold the handle down to ensure a complete flush and clearing of the tank.
Once the flush is complete, you are ready to move on to the next step: removing the tank lid.
Caution: Take care not to flush the toilet again once the water supply has been turned off, as this may cause water to leak or overflow.
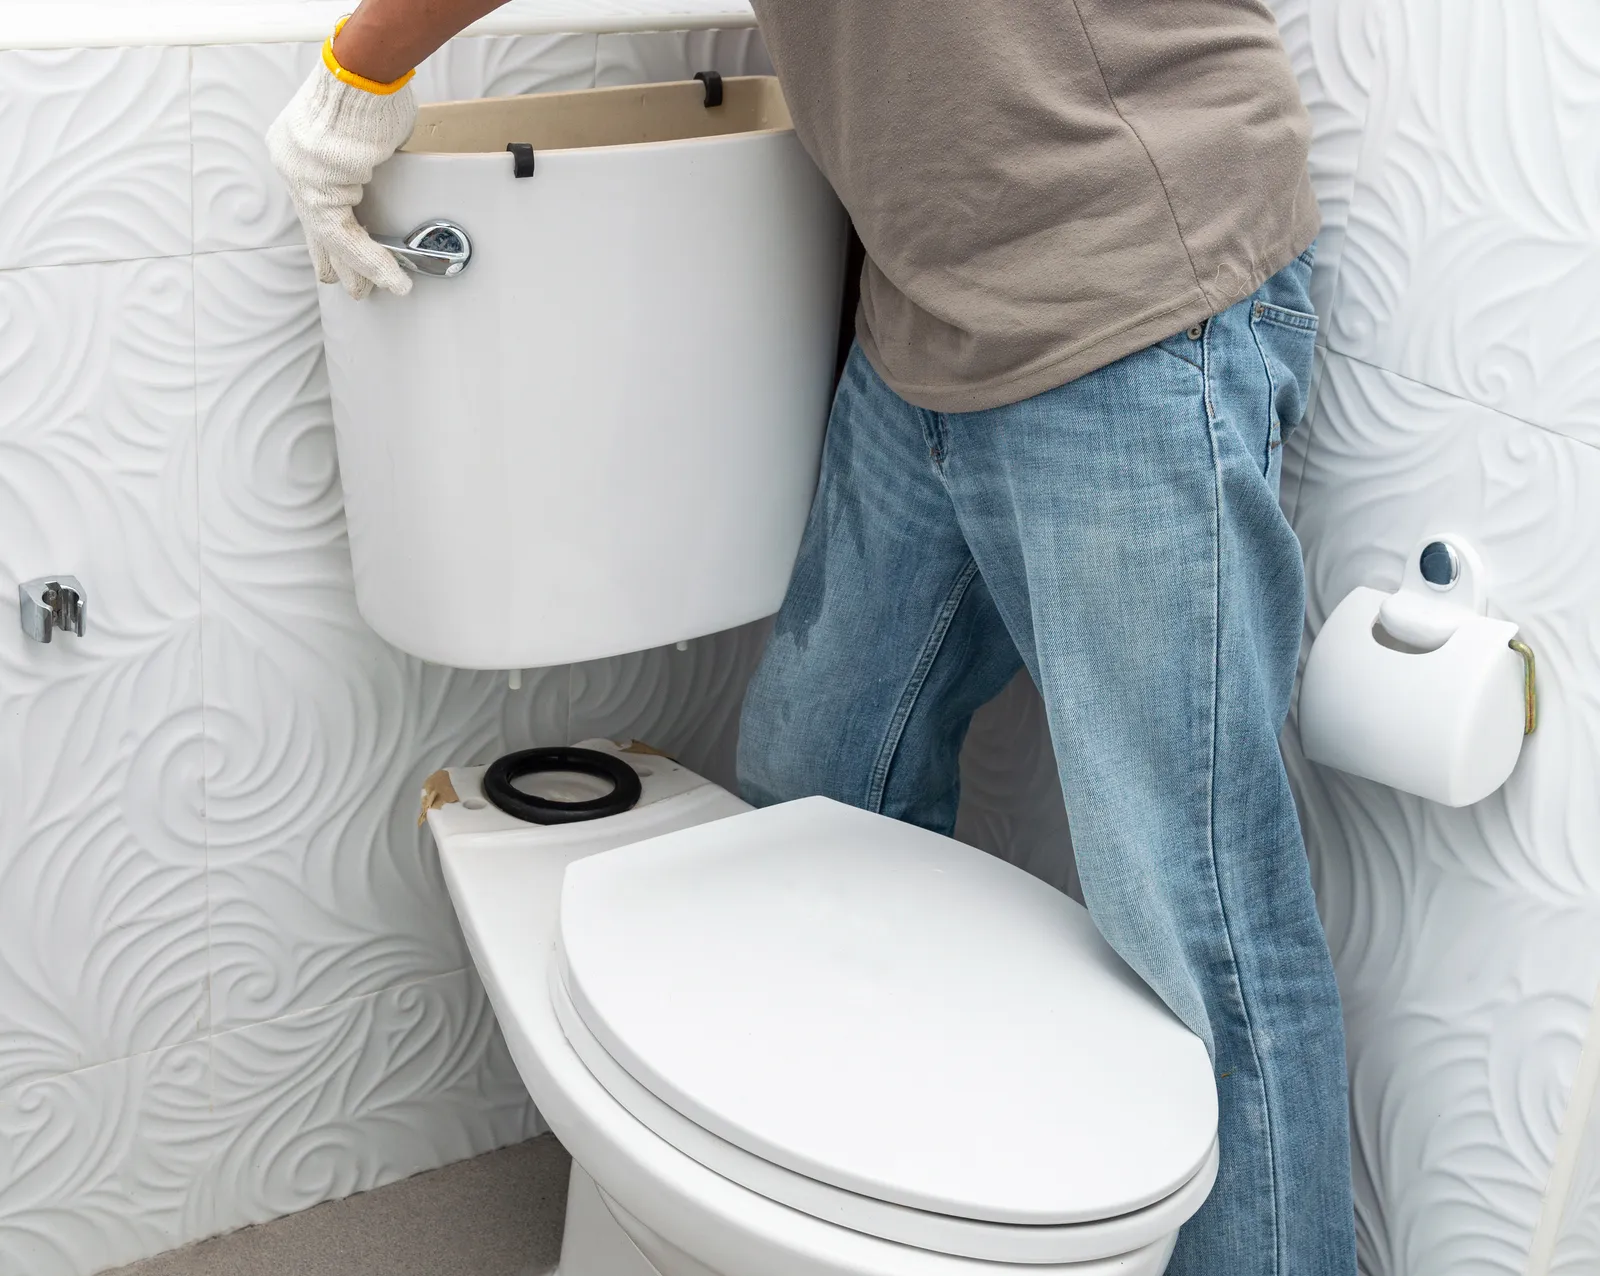
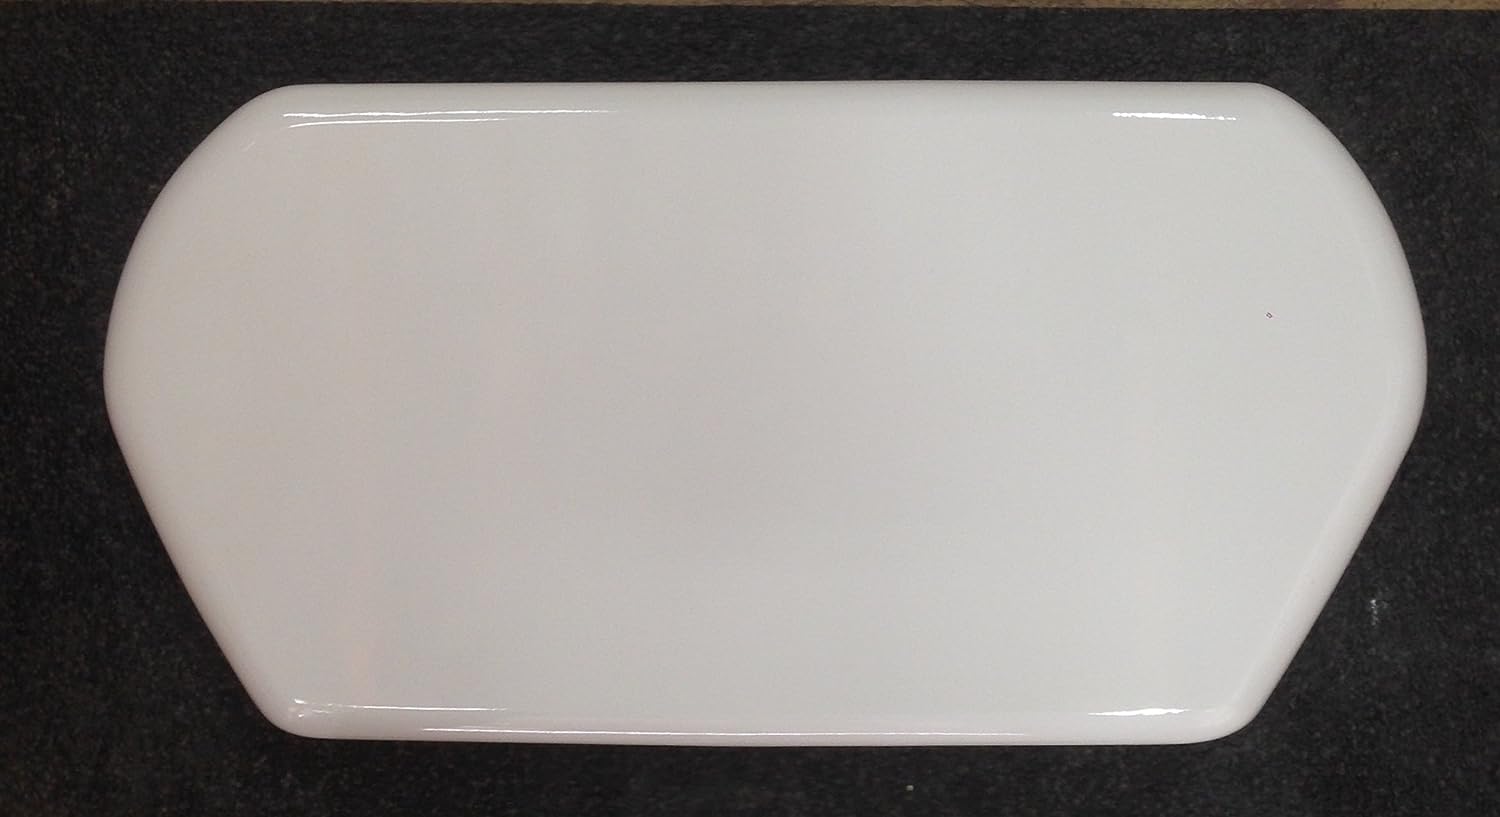
Step 3: Remove the Tank Lid
With the toilet flushed and the water supply turned off, the next step in draining a toilet tank is to remove the tank lid. The tank lid is typically made of ceramic or plastic and is located at the top of the toilet tank.
Follow these steps to remove the tank lid safely:
- Locate the tank lid and carefully lift it upwards.
- Place the lid on a flat and stable surface to prevent it from getting damaged or cracked.
Before removing the lid, it is important to note that some toilets may have additional components or mechanisms attached to the lid, such as a chain or flush lever. Take a moment to familiarize yourself with these parts and ensure they are not obstructing the lid’s removal.
Removing the tank lid will provide you with clear access to the inside of the tank, allowing for easier removal of the remaining water.
Remember to handle the tank lid with care to avoid any accidents or breakage. Now that the lid is removed, you can proceed to the next step: disconnecting the water supply line.
Read more: How To Replace Toilet Tank
Step 4: Disconnect the Water Supply Line
After removing the tank lid, the next step in draining a toilet tank is to disconnect the water supply line. The water supply line is usually a flexible tube that connects the toilet tank to the water shut-off valve or supply pipe.
Follow these steps to disconnect the water supply line:
- Locate the water supply line connection at the bottom of the toilet tank.
- Using a pair of adjustable pliers, grip the threaded coupling nut that connects the water supply line to the toilet tank.
- Turn the coupling nut counterclockwise to loosen it. Depending on the type of connection, you may need to hold the base of the water supply line with another pair of pliers to prevent it from twisting.
- Once the coupling nut is loose, continue unscrewing it by hand until the water supply line is completely disconnected from the toilet tank.
With the water supply line disconnected, any remaining water in the tank will begin to trickle out. It’s important to keep a bucket or container nearby to catch the water and prevent any spills or messes.
Ensure that the water supply line is fully disconnected before moving on to the next step. Take care not to force or over-tighten any connections, as this may cause damage.
Now that the water supply line is disconnected, it’s time to proceed to the next step: emptying the tank.
To drain a toilet tank, locate the shut-off valve behind the toilet and turn it clockwise to stop the water flow. Then, flush the toilet to remove the water from the tank. If necessary, use a sponge or towel to soak up any remaining water.
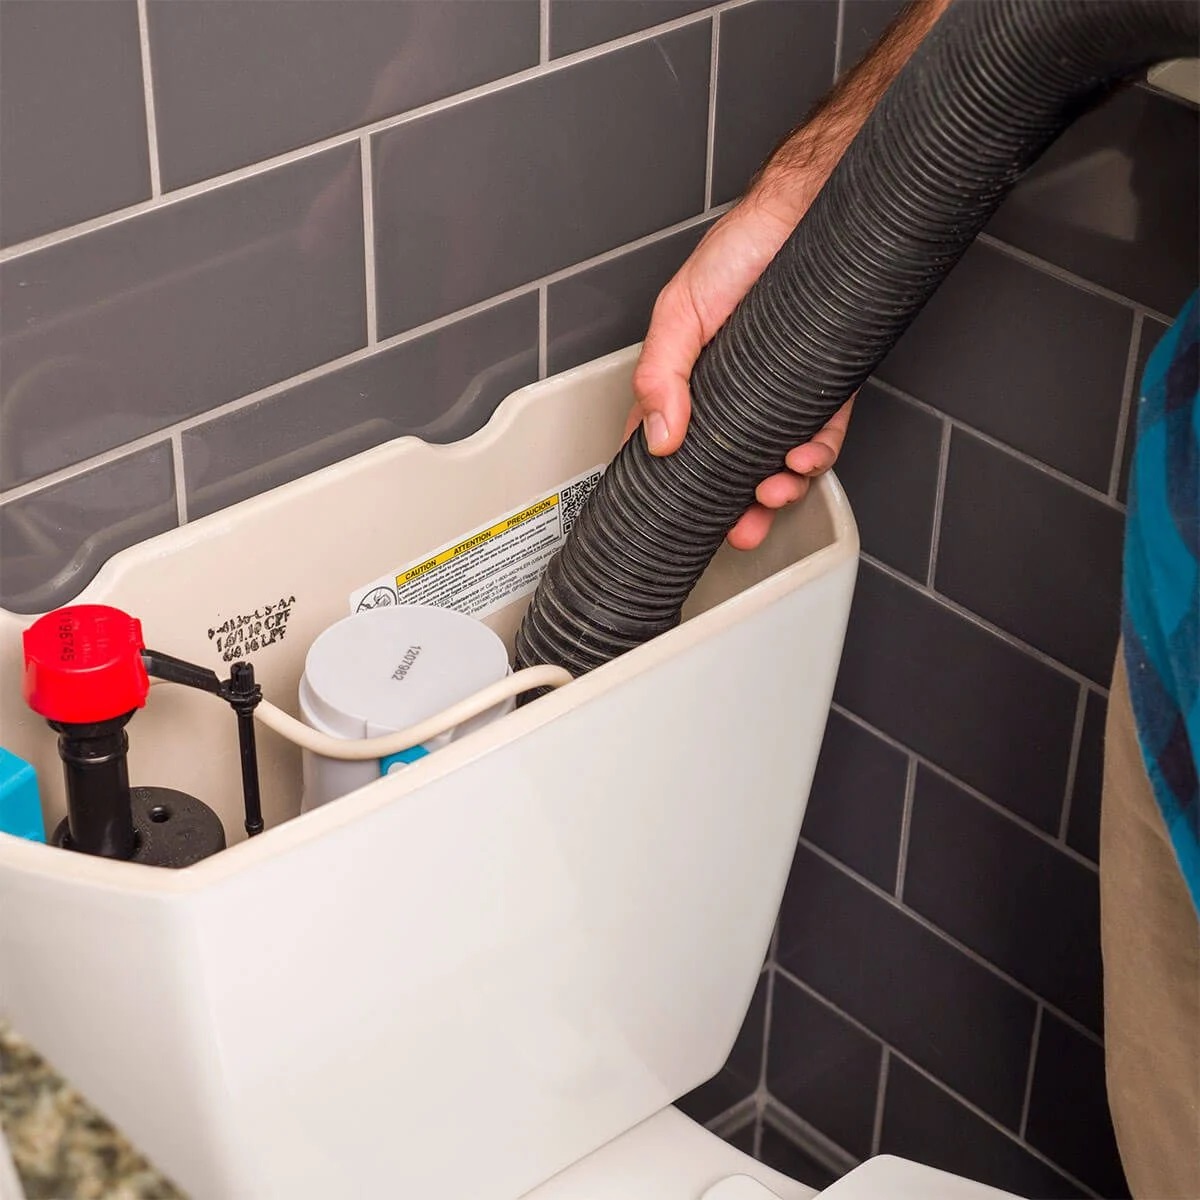
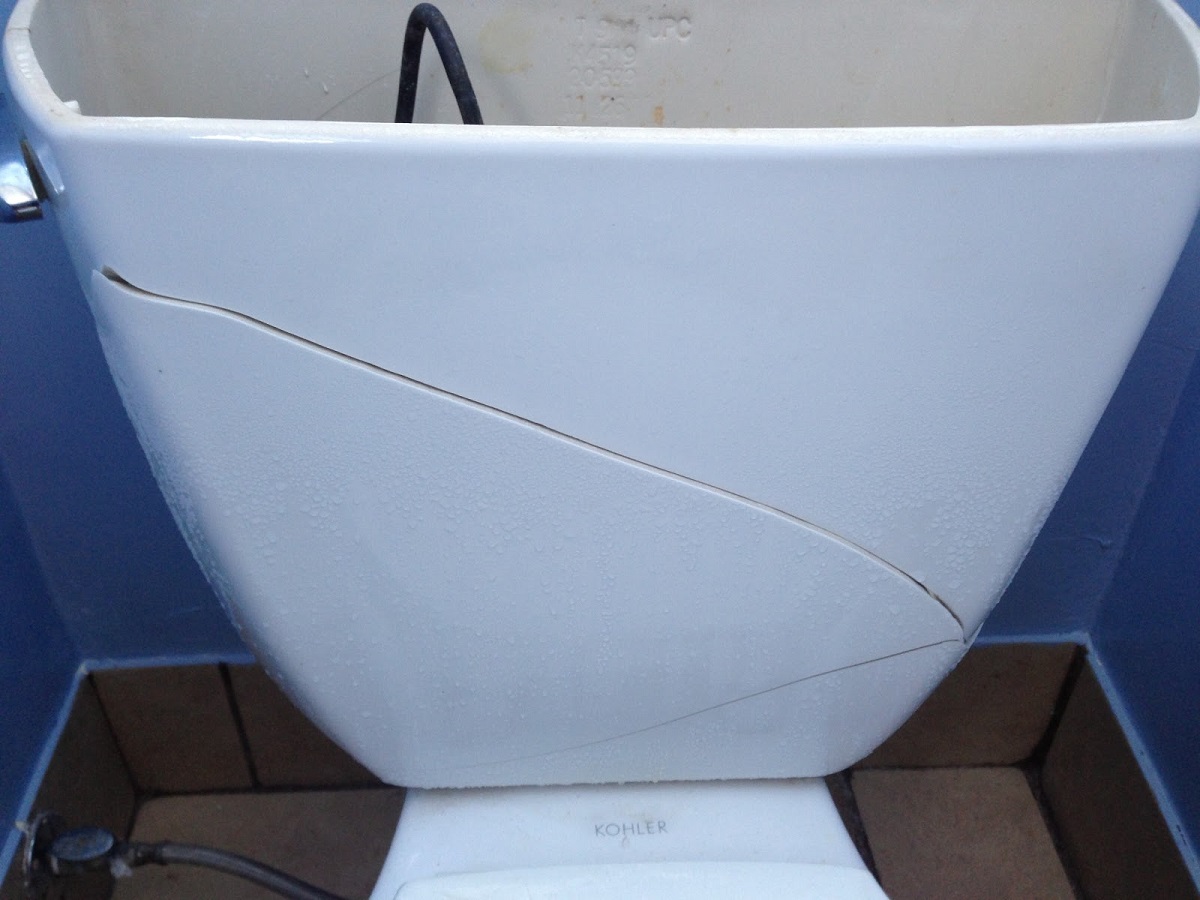
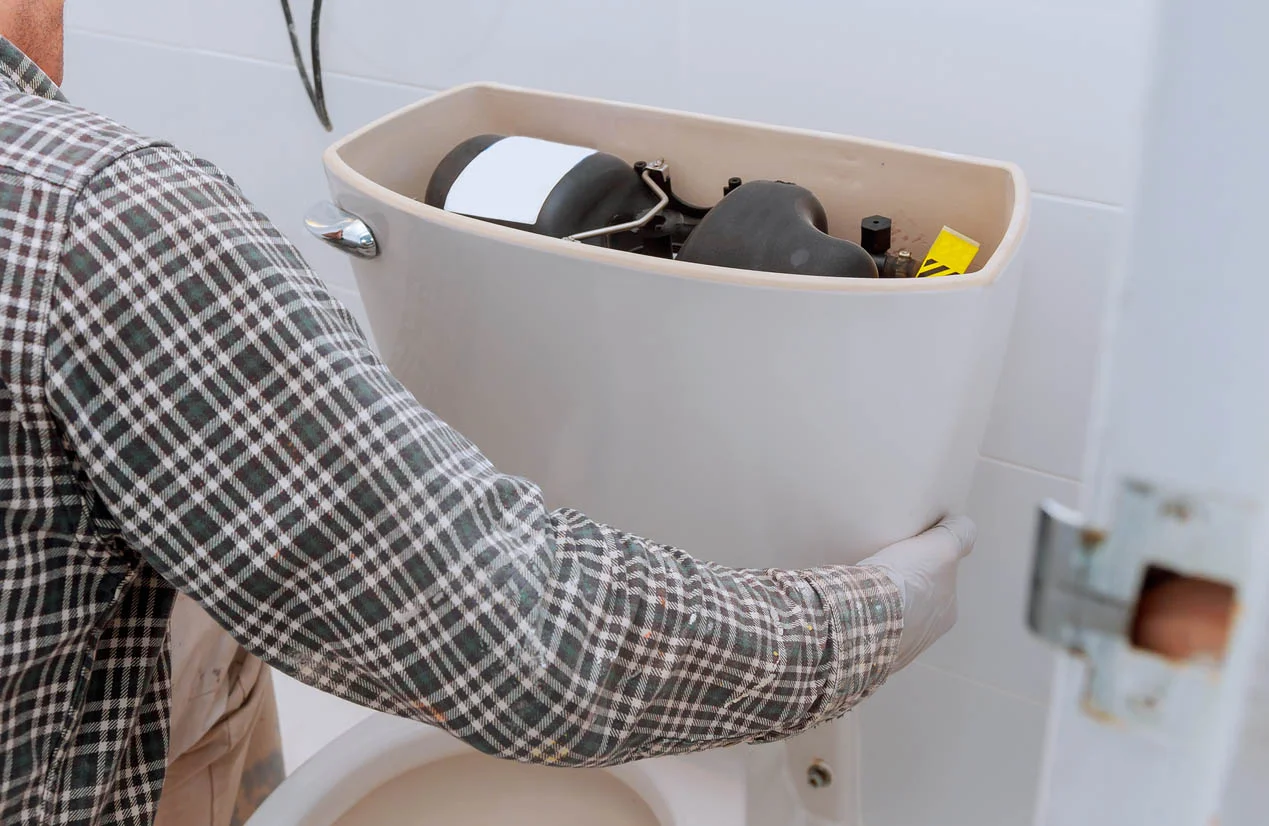
Step 5: Empty the Tank
With the water supply line disconnected, it’s time to empty the toilet tank. This step involves manually removing the remaining water from the tank to ensure it is completely drained.
Follow these steps to empty the tank:
- Place a bucket or container beneath the bottom of the tank to catch the water as it drains.
- Using both hands, carefully lift and tilt the toilet tank towards the bucket or container.
- Allow the water to flow out of the tank and into the bucket. Be cautious not to spill or splash the water when emptying the tank.
- Continue tilting the tank until no more water is flowing out.
- Once the tank is empty, carefully return it to its original position on top of the toilet bowl.
It’s important to note that while emptying the tank, you may encounter small parts or components, such as the fill valve or float assembly. Take care not to damage or dislodge these parts during the emptying process.
If there is a significant amount of water left in the tank that cannot be easily poured out, you can use a sponge or towel to soak up the remaining water and wring it into the bucket.
By properly emptying the tank, you ensure that no water remains, which is essential for certain repairs or maintenance tasks. With the tank emptied, you can now move on to the next step: cleaning the tank.
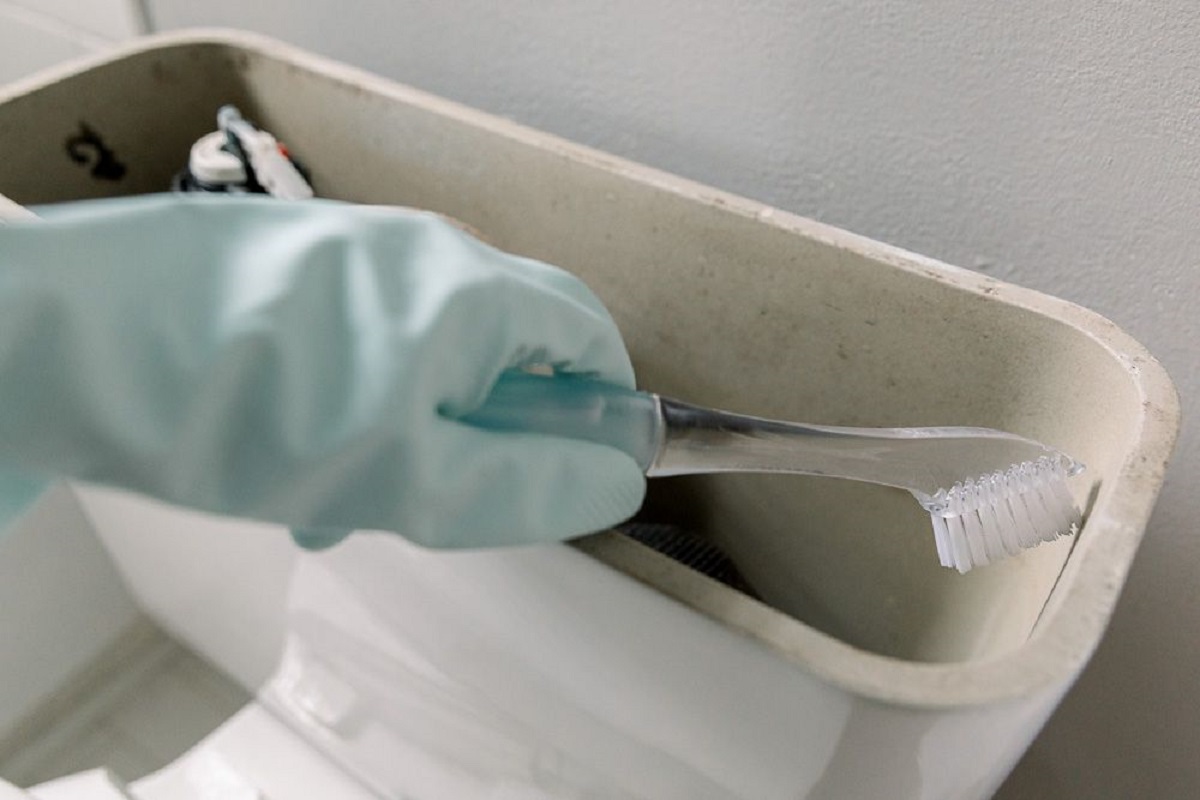
Step 6: Clean the Tank
Now that the toilet tank is empty, it’s time to give it a thorough cleaning. Cleaning the tank not only helps maintain proper hygiene but also ensures optimal performance and longevity of the toilet.
Follow these steps to clean the tank:
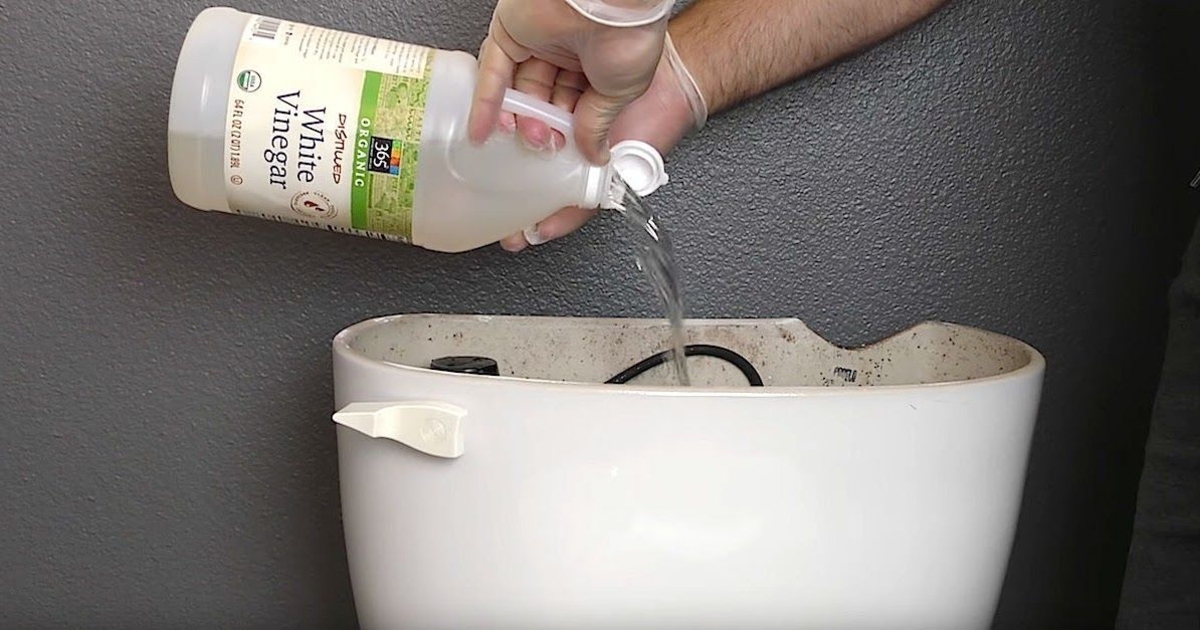
- Start by inspecting the tank for any visible dirt, debris, or mineral deposits. Use a sponge or a soft cloth to wipe away any surface grime.
- If there are stubborn stains or mineral deposits, you can create a cleaning solution by combining equal parts vinegar and water. Use this solution to soak the affected areas and scrub gently with a brush or sponge.
- Pay special attention to the areas around the flush valve, fill valve, and any other components inside the tank. These areas tend to accumulate mineral deposits over time and can affect the toilet’s performance.
- Once you have thoroughly cleaned the tank, flush it a few times with clean water to rinse away any residue or cleaning solution.
While cleaning the tank, it’s a good idea to inspect the internal components for any signs of wear or damage. Check the flapper, fill valve, and flush valve for any leaks, cracks, or corrosion. If you notice any issues, it may be necessary to replace these parts to ensure proper functioning of the toilet.
After cleaning and inspecting the tank, take a moment to wipe down the exterior surfaces, including the outside of the tank, the toilet bowl, and the surrounding areas for a thorough cleaning.
By maintaining a clean and well-maintained toilet tank, you can help prolong its lifespan and prevent potential issues down the line. With the tank cleaned, it’s time to move on to the next step: reconnecting the water supply line.
Step 7: Reconnect the Water Supply Line
With the toilet tank cleaned and ready, it’s time to reconnect the water supply line. Reconnecting the water supply line ensures that the tank can be refilled and the toilet can be used as intended.
Follow these steps to reconnect the water supply line:
- Inspect the end of the water supply line for any debris or old Teflon tape. Clean it if necessary.
- If the water supply line does not have Teflon tape or if the existing tape is worn out, wrap a few turns of fresh Teflon tape in a clockwise direction around the threads.
- Align the threaded coupling nut on the end of the water supply line with the inlet on the bottom of the toilet tank.
- Hand-tighten the coupling nut by turning it clockwise until snug.
- Using a pair of adjustable pliers, give the coupling nut a final quarter-turn to ensure a secure and watertight connection. Take care not to overtighten, as this can cause damage.
Ensure that the water supply line is securely attached to the toilet tank to avoid any leaks or water damage. The Teflon tape helps create a tight seal and prevents water from seeping out of the connection.
With the water supply line reconnected, you are ready to move on to the next step: turning on the water supply.
Caution: Do not turn on the water supply until the water supply line is fully connected to the toilet tank to avoid any leaks or water damage.
Read more: How To Clean A Toilet Bowl Tank
Step 8: Turn on the Water Supply
After reconnecting the water supply line, the next step in the process of draining a toilet tank is to turn on the water supply. Turning on the water supply will allow the tank to fill back up and prepare the toilet for use.
Follow these steps to turn on the water supply:
- Locate the water shut-off valve behind or near the toilet.
- Turn the valve counterclockwise or move the lever to the “on” position to allow water to flow into the toilet tank.
- Listen for the sound of running water as the tank begins to fill up. You may also notice water entering the toilet bowl.
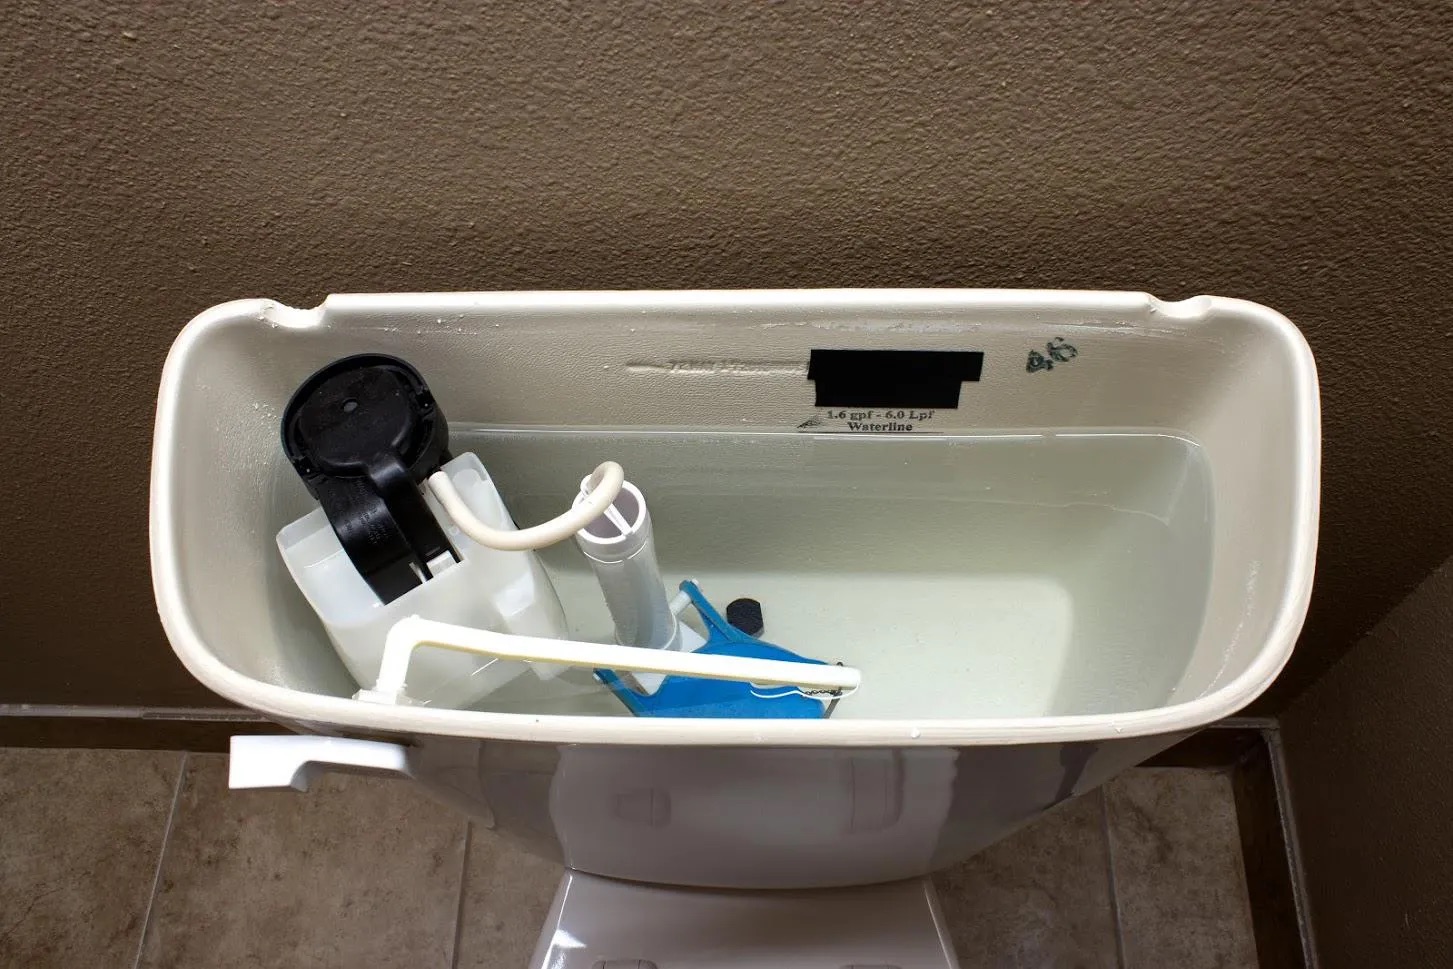
- Once the tank is filled, check the water level by lifting the float or submerging it with your hand. The water level should be about an inch below the top of the overflow tube. Adjust the float if necessary.
Turning on the water supply is a crucial step as it allows the tank to fill up, replenishing the water that was emptied during the draining process. It’s important to ensure that the water shut-off valve is fully open to enable a proper flow of water into the toilet tank.
With the water supply turned on, you have successfully completed the primary steps of draining a toilet tank. Now, it’s time to move on to the final step: testing the toilet.
Step 9: Test the Toilet
After turning on the water supply, the final step in the process of draining a toilet tank is to test the toilet to ensure that everything is functioning properly. Testing the toilet will help verify that there are no leaks, and it will confirm that the tank is filling up correctly.
Follow these steps to test the toilet:
- Press the toilet handle down to activate the flushing mechanism.
- Observe the flushing action and listen for any unusual sounds. The toilet should flush smoothly and without any excessive noise.
- After flushing, watch the tank refill with water. The water level should rise steadily, and the fill valve should shut off once the tank is filled.
- Check for any signs of water leakage around the base of the toilet, supply line connection, or any other visible areas. If you notice any leaks, tighten the connections or consider seeking professional assistance.
If the toilet flushes properly and there are no signs of leaks, then congratulations! You have successfully drained and refilled the toilet tank. Your toilet is now ready for regular use.
Should you encounter any issues during the testing process, such as a weak flush or persistent leaks, it may be necessary to consult a professional plumber to diagnose and address the problem.
By testing the toilet, you ensure that the draining process was successful and that the toilet is operating as it should. With the test complete, you can now enjoy a well-functioning and properly maintained toilet.
Conclusion
Learning how to drain a toilet tank is a valuable skill for any homeowner. It allows you to perform maintenance tasks, such as cleaning or repairing, without the risk of flooding or water damage. By following the step-by-step process outlined in this article, you can confidently and effectively drain a toilet tank.
Remember, before starting the process, gather all the necessary tools and materials, including adjustable pliers, a bucket or container, a sponge or towel, a wrench, Teflon tape, and a new water supply line if needed. These tools will make the process easier and ensure that you have everything you need to complete the task.
Start by turning off the water supply and flushing the toilet to remove most of the water from the tank. Then, carefully remove the tank lid to expose the inside of the tank. Disconnect the water supply line and empty the remaining water from the tank into a bucket or container.
Take the time to clean the tank thoroughly, removing dirt, debris, and any mineral deposits that may have accumulated. Inspect the internal components of the tank for any signs of wear or damage. Once cleaned, reconnect the water supply line, ensuring a secure and watertight connection using Teflon tape if necessary.
Finally, turn on the water supply and test the toilet by flushing it and checking for any leaks or unusual sounds. If everything functions properly, you have successfully drained and refilled the toilet tank.
Regular maintenance of your toilet, including draining the tank when necessary, can help prolong its lifespan and prevent potential issues down the line. By following these steps and taking the time to properly maintain your toilet, you can ensure its optimal performance and the satisfaction of a well-functioning bathroom fixture.
Remember, if you encounter any difficulties or if you are unsure about any part of the process, it is always best to consult a professional plumber for assistance. They have the expertise and knowledge to help you navigate any challenges or provide guidance.
Now that you are equipped with the knowledge of how to drain a toilet tank, you can confidently tackle any maintenance or repair tasks that come your way. Enjoy the peace of mind that comes with a well-maintained toilet and the ability to handle basic plumbing tasks in your home!
Frequently Asked Questions about How To Drain A Toilet Tank
Was this page helpful?
At Storables.com, we guarantee accurate and reliable information. Our content, validated by Expert Board Contributors, is crafted following stringent Editorial Policies. We're committed to providing you with well-researched, expert-backed insights for all your informational needs.


0 thoughts on “How To Drain A Toilet Tank”