
Articles
How To Clean Carpet Car Mats
Modified: August 22, 2024
Learn effective techniques to clean your carpet car mats in this informative article. Keep your car interior looking fresh and hygienic with these helpful tips.
(Many of the links in this article redirect to a specific reviewed product. Your purchase of these products through affiliate links helps to generate commission for Storables.com, at no extra cost. Learn more)
Introduction
Carpet car mats can quickly accumulate dirt, debris, and stains from daily use. Cleaning them regularly is essential not only for maintaining a fresh and appealing car interior, but also for prolonging the lifespan of the mats. However, cleaning carpet car mats can be a daunting task if you don’t have the right knowledge and supplies. In this article, we will guide you through the step-by-step process of effectively cleaning your carpet car mats, leaving them looking and smelling great.
Before diving into the cleaning process, it’s important to gather the necessary supplies. You will need:
- A vacuum cleaner with attachments
- A stiff-bristle brush
- A bucket of warm water
- A mild carpet cleaner or detergent
- A scrub brush
- A hose or access to a clean water source
- A clean towel or microfiber cloth
With these supplies in hand, you’re ready to begin the cleaning process. Let’s get started!
Key Takeaways:
- Regularly cleaning your carpet car mats is essential for a fresh and appealing car interior. Gather the right supplies, remove dirt and stains, and ensure thorough rinsing and drying for a successful cleaning process.
- By following the step-by-step guide, you can effectively remove dirt, stains, and odors from your car mats. Use mild cleaners, proper tools, and techniques to maintain a clean and comfortable driving experience.
Read more: How To Revive A Matted Carpet
Supplies Needed
Before you embark on the task of cleaning your carpet car mats, it’s important to gather all the necessary supplies. Here’s a list of what you will need:
- Vacuum cleaner with attachments: A vacuum cleaner will be your best friend when it comes to removing loose dirt and debris from the mats. Make sure you have the appropriate attachments for reaching into tight corners and crevices.
- Stiff-bristle brush: A stiff-bristle brush will help you loosen stubborn stains and dirt that may be deeply embedded in the carpet fibers. Choose a brush with bristles that are firm enough to be effective but not so stiff that they damage the carpet.
- Bucket of warm water: You’ll need a bucket of warm water to mix with the cleaning solution and rinse the mats. Warm water helps to break down stains and is also more effective in removing dirt and grime.
- Mild carpet cleaner or detergent: Choose a mild carpet cleaner or detergent specifically formulated for use on automotive carpets. Avoid using harsh or abrasive cleaners, as they can damage the carpet fibers. Read the label instructions carefully and follow the recommended dilution ratios.
- Scrub brush: A scrub brush with medium or soft bristles will help you agitate the cleaning solution and work it into the carpet fibers. Look for a brush with a comfortable grip and bristles that are effective without being too harsh.
- Hose or access to a clean water source: You’ll need access to a hose or a clean water source for rinsing the mats thoroughly. This is an important step to remove any remaining soap or cleaner residue and ensure a clean and fresh final result.
- Clean towel or microfiber cloth: Finally, have a clean towel or microfiber cloth on hand to blot and dry the mats once the cleaning process is complete. This will help absorb any excess moisture and prevent the growth of mold or mildew.
Having all these supplies ready will make the cleaning process much easier and more efficient. Now that you’re equipped with the necessary tools, it’s time to move on to the step-by-step process of cleaning your carpet car mats.
Step 1: Removing Loose Dirt and Debris
The first step in cleaning your carpet car mats is to remove any loose dirt and debris. This will make the subsequent cleaning process much more effective. Follow these steps to get rid of the surface-level dirt:
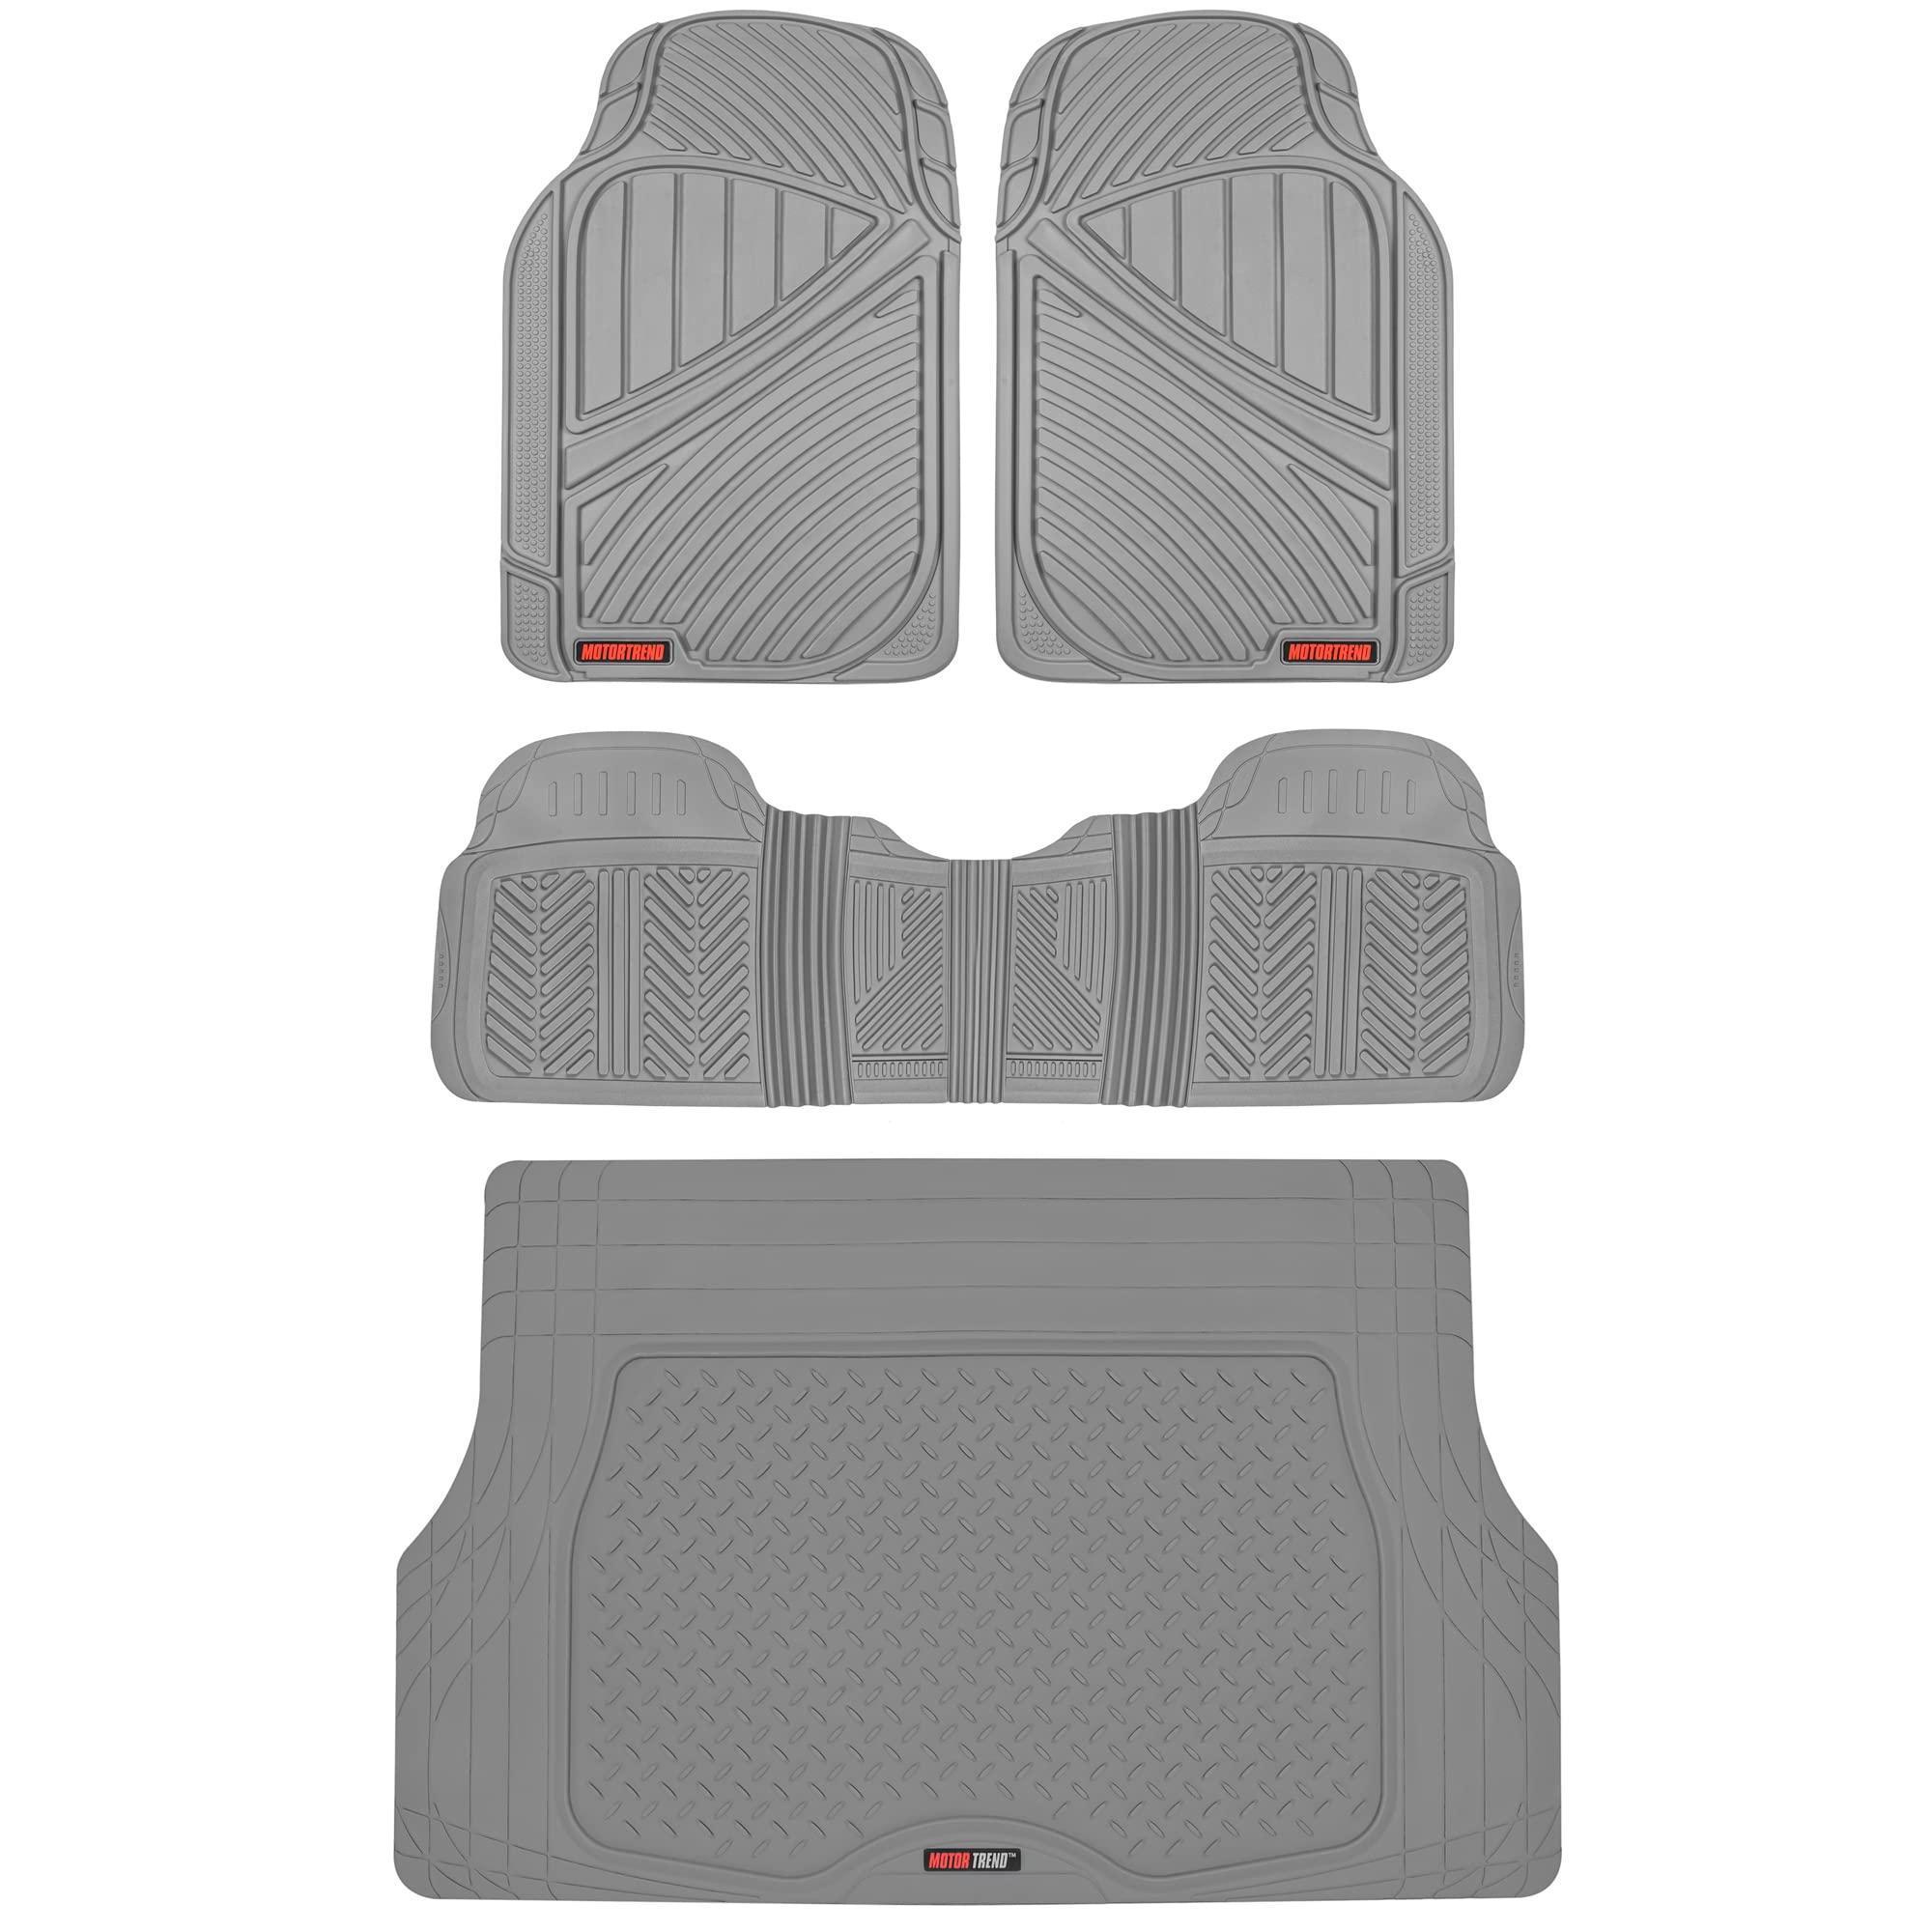
- Remove the mats from the car: Start by taking out the car mats from your vehicle. This will allow you to clean them more thoroughly without the risk of damaging your car interior.
- Shake off the loose dirt: Take each mat and give it a good shake outside to dislodge any loose dirt, crumbs, or debris. You’ll be surprised at how much dirt can accumulate on the surface and between the carpet fibers.
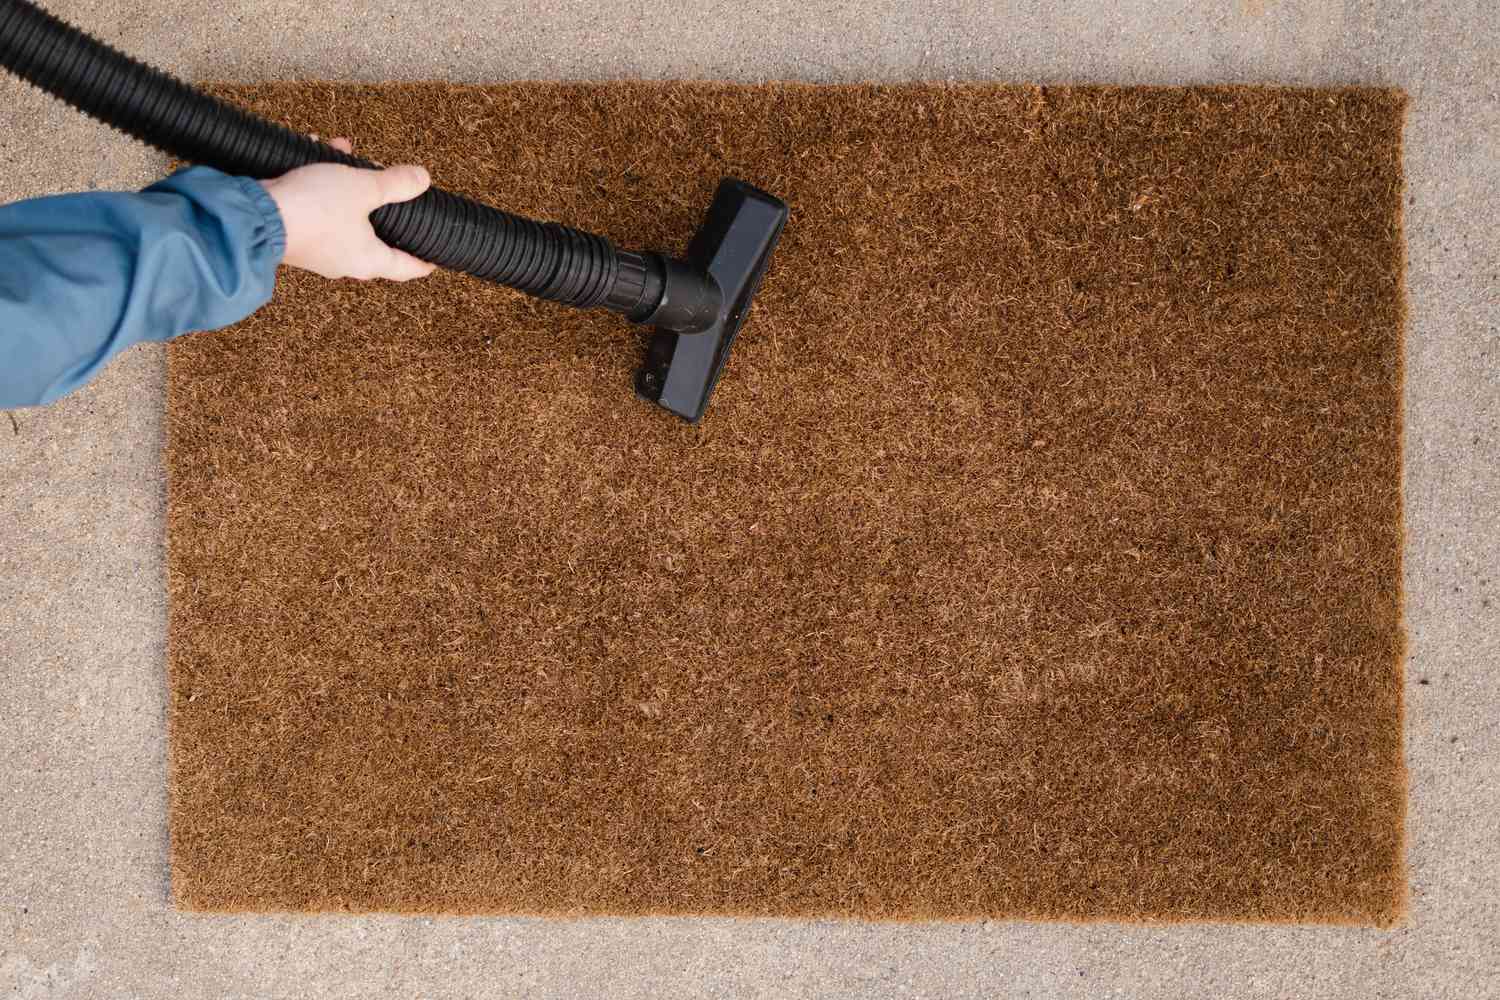
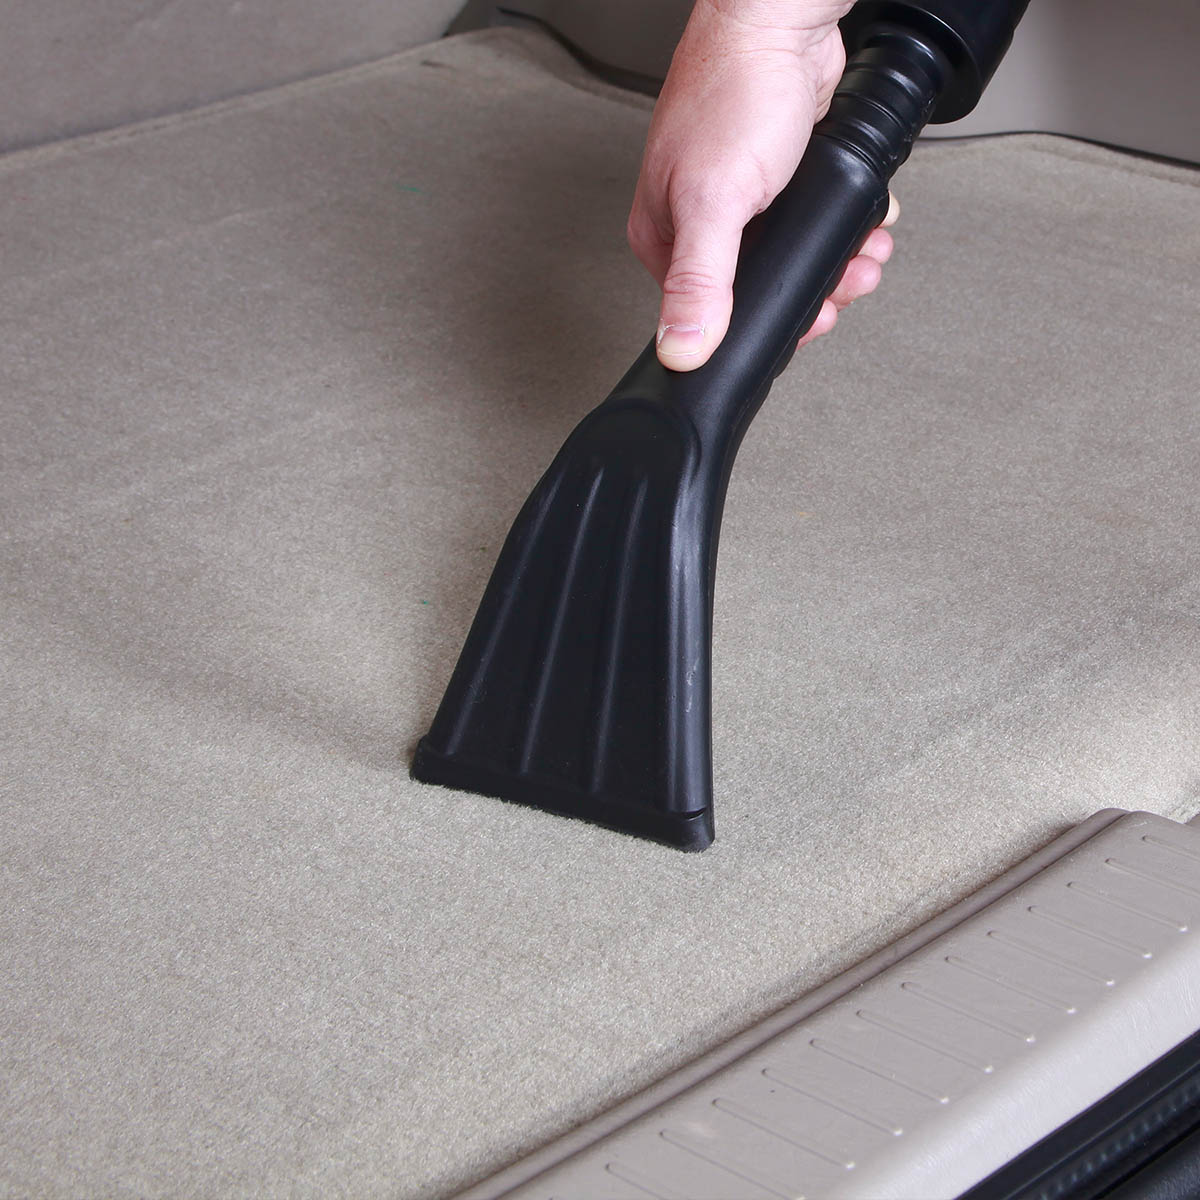
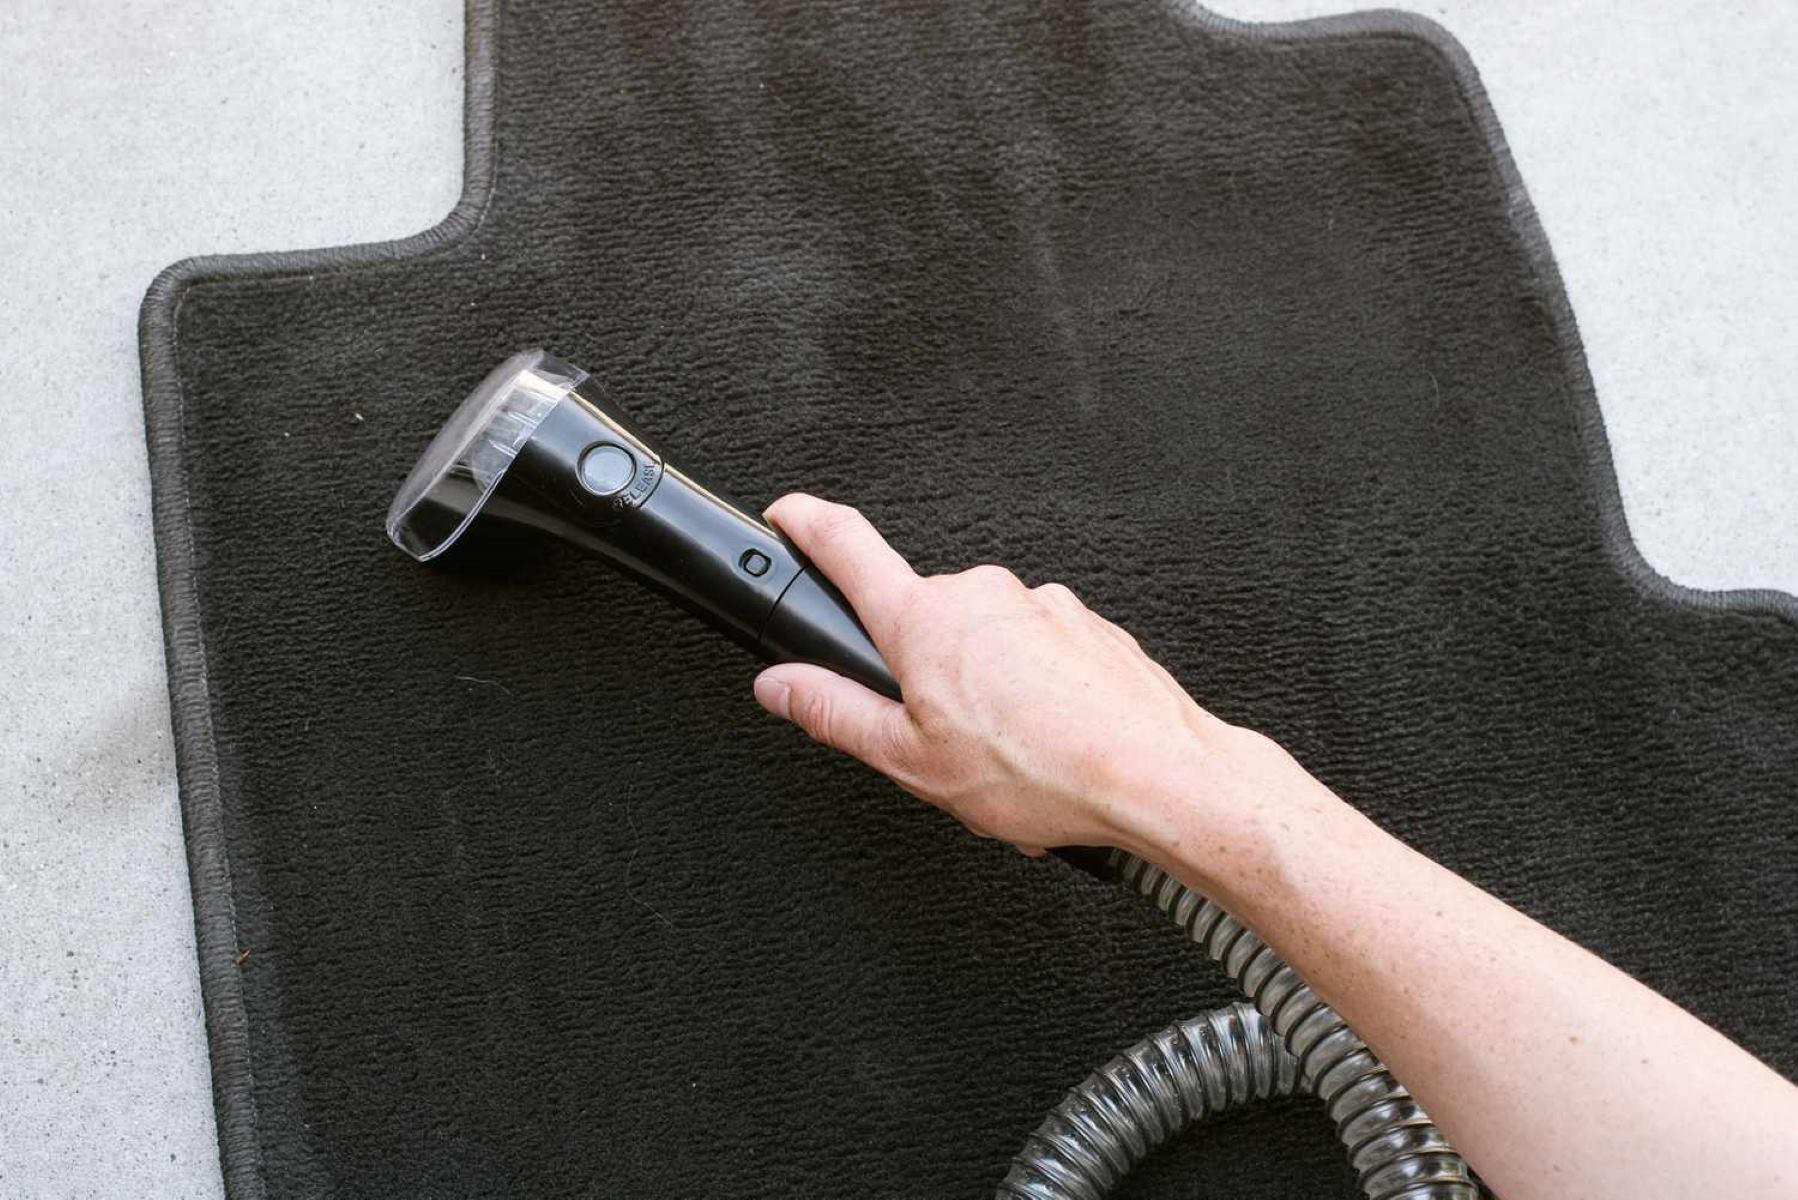
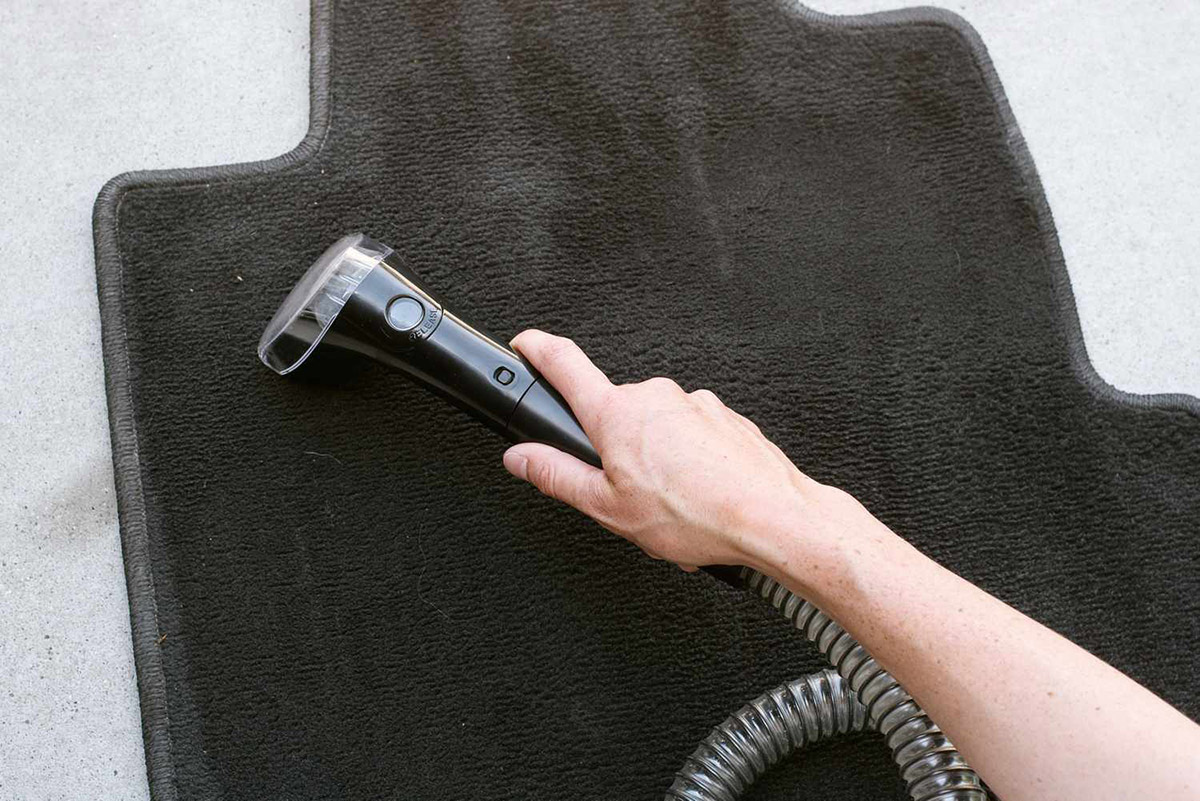
- Vacuum the mats: Use a vacuum cleaner with the appropriate attachment to thoroughly vacuum the mats. Start by running the vacuum over the surface of the mats to remove any remaining loose dirt. Then, use the attachment to reach into the corners and crevices, where dirt tends to accumulate.
- Tap the mats against a hard surface: For an extra thorough cleaning, you can gently tap the mats against a hard surface, such as a wall or the ground. This will help dislodge any stubborn dirt or debris that may be trapped deep within the carpet fibers.
- Brush the mats: If you notice any remaining dirt or stains, use a stiff-bristle brush to brush the mats in a back-and-forth motion. This will help lift the dirt and make it easier to remove in the next steps.
By removing the loose dirt and debris, you’re already on your way to having cleaner car mats. Now that the surface is clear, you can move on to treating any stains that may be present on the mats. This will be covered in the next step.
Step 2: Pre-Treating Stains
Stains on your carpet car mats can be unsightly and difficult to remove if not properly treated. To ensure the best results, it’s important to pre-treat any stains before proceeding with the overall cleaning process. Follow these steps to effectively pre-treat stains on your car mats:
- Identify the stains: Take a close look at your car mats and identify any visible stains. Common types of stains include food spills, liquid stains, grease or oil stains, and mud or dirt stains. Knowing what type of stain you’re dealing with will help you choose the appropriate stain removal method.
- Blot the stain: If the stain is still fresh and wet, use a clean towel or paper towel to blot up as much of the liquid as possible. Avoid rubbing the stain, as this can cause it to spread and penetrate deeper into the carpet fibers.
- Choose a suitable stain remover: Depending on the type of stain, you can use different stain removal methods. For food or liquid stains, a mixture of mild dish soap and warm water can be effective. Grease or oil stains may require a specialized grease-cutting cleaner. Mud or dirt stains can often be treated with a mild carpet cleaner or detergent.
- Apply the stain remover: Following the instructions on the stain remover’s label, apply the solution to the stained area of the car mat. Use a clean cloth or sponge to gently work the stain remover into the stain, applying light pressure without scrubbing too vigorously.
- Allow the stain remover to sit: Depending on the instructions provided by the stain remover, allow it to sit on the stain for a few minutes. This will help loosen the stain and make it easier to remove in the next step.
- Blot the stain again: After the stain remover has had some time to work, use a clean cloth or paper towel to blot the stained area. This will help remove the loosened stain particles. Repeat this step until the stain is no longer visible or significantly reduced.
By pre-treating the stains, you’re taking a proactive approach to ensure a more successful cleaning process. Now that the stains have been treated, it’s time to move on to the next step: cleaning the car mats.
Use a vacuum to remove loose dirt and debris from the car mats. Then, mix a solution of water and mild detergent, scrub the mats with a brush, and rinse with clean water. Allow them to air dry completely before putting them back in the car.
Step 3: Cleaning the Mats
With the loose dirt removed and stains pre-treated, it’s time to deep clean your carpet car mats. This step will effectively eliminate any remaining dirt, grime, and odors, leaving your mats looking and smelling fresh. Follow these steps to clean your car mats:
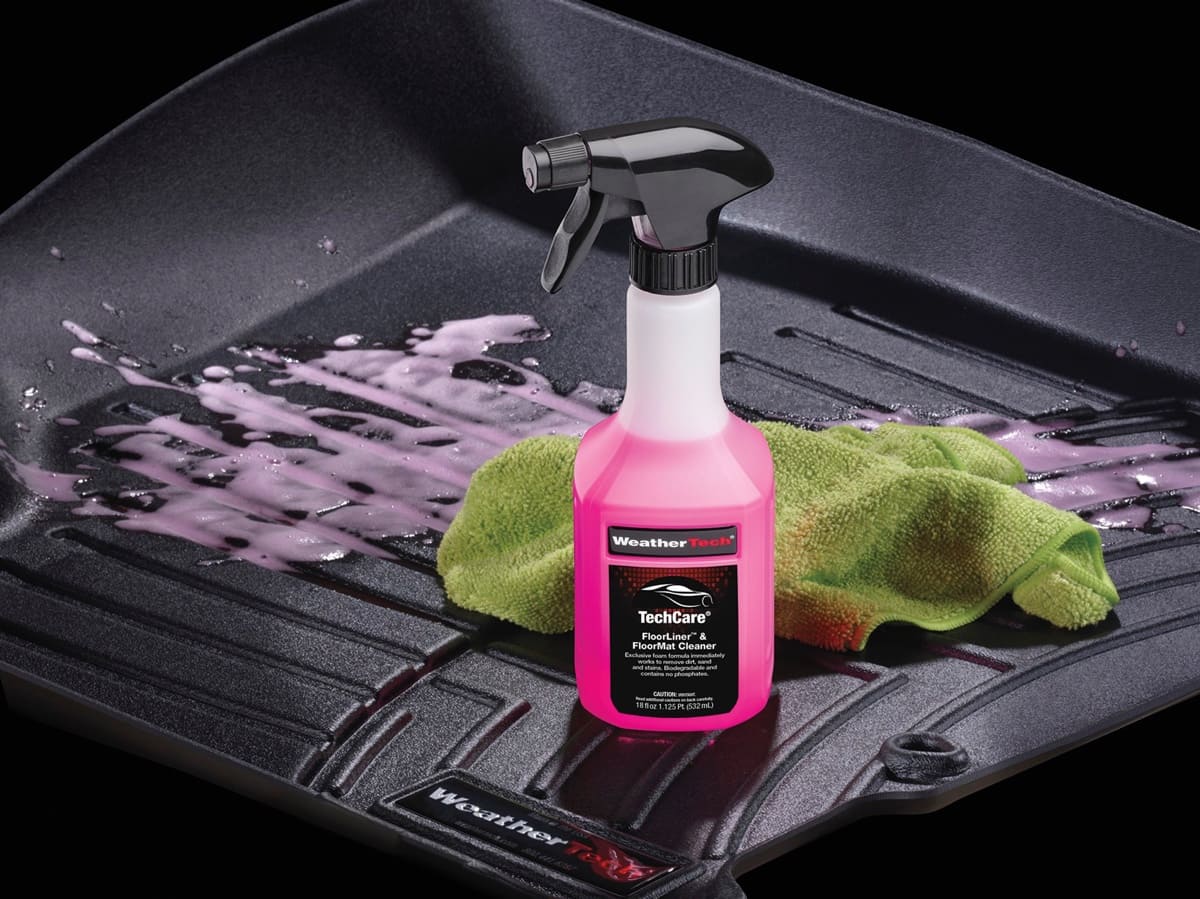
- Prepare the cleaning solution: Fill a bucket with warm water and add a small amount of mild carpet cleaner or detergent. Follow the instructions provided on the product’s label for the appropriate dilution ratio. Mix the solution well to create a soapy mixture.
- Dip the scrub brush in the cleaning solution: Take a scrub brush and dip it into the soapy mixture. Make sure the bristles are saturated with the cleaning solution, but not overly soaked.
- Scrub the mats: Working on one mat at a time, use the scrub brush to gently scrub the entire surface of the mat. Start from one corner and work your way across in small sections. Apply light pressure and use circular or back-and-forth motions to agitate the carpet fibers and loosen any embedded dirt.
- Pay attention to stained areas: If there are any remaining stains on the mat, focus more attention on those areas. Use the scrub brush to work the cleaning solution into the stain, and continue scrubbing until the stain is visibly reduced or removed.
- Rinse the mats: Once you have thoroughly scrubbed each mat, rinse them with clean water. This can be done using a hose or by thoroughly rinsing them under a faucet or in a bathtub. Make sure to remove all the soapy residue.
- Squeeze out excess water: After rinsing, gently squeeze out any excess water from the mats. Be careful not to wring or twist the mats too forcefully, as this can damage the carpet fibers.
By following these steps, you will effectively clean your carpet car mats and remove any ingrained dirt or stains. Now let’s move on to the next step: rinsing and drying the mats.
Read more: How To Clean Mold Out Of A Car Carpet
Step 4: Rinsing and Drying
After cleaning the car mats, it’s crucial to rinse them thoroughly to remove any remaining detergent or cleaning solution. Additionally, proper drying is essential to prevent the growth of mold or mildew. Follow these steps to rinse and dry your carpet car mats:
- Rinse the mats: Take the cleaned mats and rinse them thoroughly with clean water. This can be done using a hose, a clean bucket of water, or by thoroughly rinsing them under a faucet or in a bathtub. Make sure all the soap residue is rinsed off.
- Press out excess water: After rinsing, use your hands or a clean towel to gently press out any excess water from the mats. Avoid twisting or wringing them forcefully, as this can damage the carpet fibers.
- Hang the mats to dry: Find a suitable area, such as a clothesline or a sturdy drying rack, where you can hang the mats to air dry. Make sure they are in a well-ventilated space, away from direct sunlight or heat sources that could cause fading or damage.
- Allow sufficient drying time: The drying time will vary depending on the carpet thickness, weather conditions, and ventilation. It’s best to allow the mats to air dry completely before placing them back in your vehicle. This will ensure that no moisture is trapped, which can lead to unpleasant odors or the growth of mold and mildew.
- Check the mats for dryness: Before returning the mats to your car, make sure they are completely dry. Gently touch the carpet surface to ensure there is no moisture remaining. If you have any doubts, give them additional drying time or use a fan to speed up the process.
By rinsing and drying the mats properly, you not only ensure a clean and fresh result but also maintain the durability and longevity of your carpet car mats. Now, let’s move on to the final step: vacuuming the carpets.
Step 5: Vacuuming the Carpets
Once your carpet car mats are clean and dry, it’s important to give them a final vacuuming to ensure any loose dirt or debris is completely removed. This step will help keep your mats looking fresh and maintain their overall cleanliness. Follow these steps to effectively vacuum your carpet car mats:
- Get your vacuum ready: Ensure that your vacuum cleaner is equipped with the appropriate attachment for cleaning carpets. If needed, attach the crevice tool or upholstery brush.
- Place the mats on a clean surface: Find a clean and dry surface, such as a patio or garage floor, on which to lay the mats for vacuuming. This will help avoid reintroducing dirt or debris back into the mats.
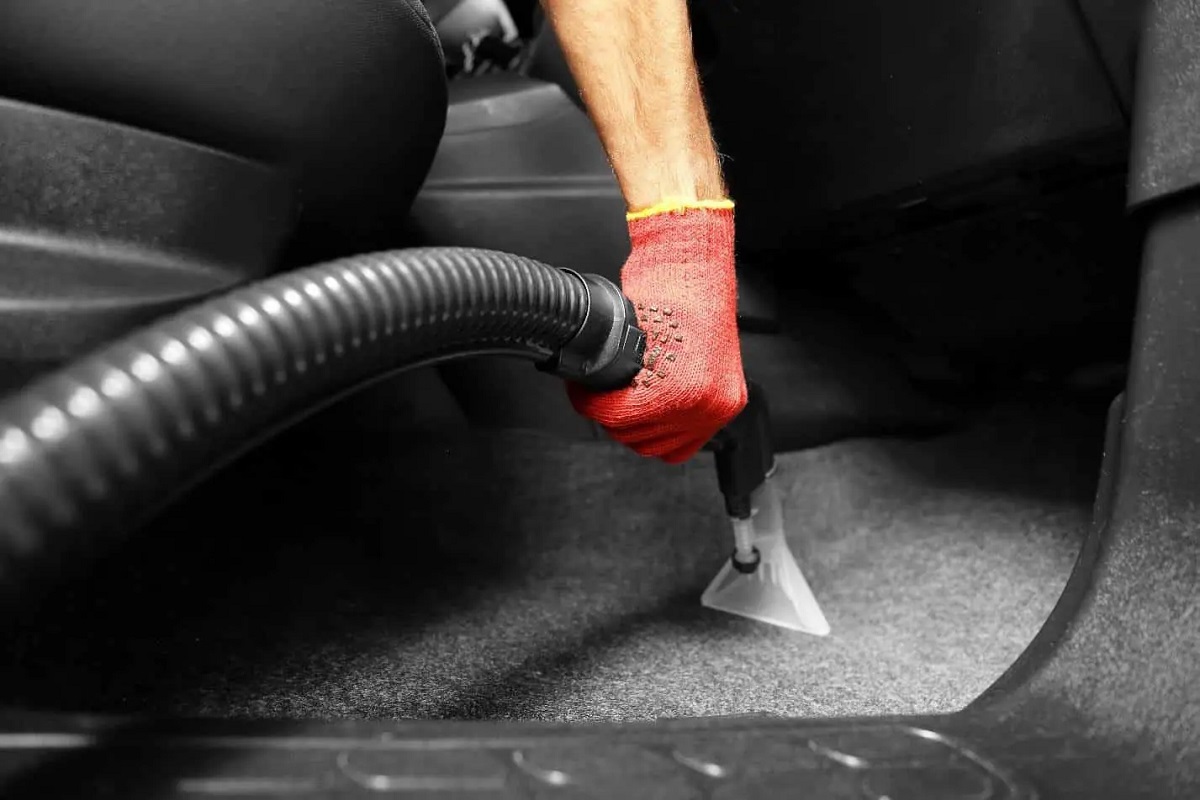
- Start vacuuming: Using the appropriate attachment, start vacuuming each mat. Begin by running the vacuum cleaner over the surface of the mat to pick up any loose dirt or debris. Then, use the attachment to thoroughly clean the corners, edges, and crevices of the mat.
- Apply additional pressure if necessary: If you notice any areas with persistent dirt or stains, you can apply gentle pressure with the vacuum attachment to agitate the carpet fibers. This will help dislodge any remaining particles for a thorough clean.
- Repeat the process if needed: After vacuuming one side of each mat, flip them over and repeat the process on the other side. This will ensure that both sides of the mats are clean and free from any dirt or debris.
- Inspect the mats: Once you’ve finished vacuuming, inspect the mats to make sure they are free from any visible dirt or debris. If you notice any remaining spots, use a hand-held vacuum or a lint roller to pick up the stubborn particles.
Vacuuming the carpets is the final step in maintaining the cleanliness of your carpet car mats. By removing any loose dirt or debris, you’ll not only keep your mats looking presentable but also extend their lifespan. Congratulations! Your carpet car mats are now clean and ready to be placed back in your vehicle.
Remember to clean your car mats regularly to prevent the buildup of dirt and stains. By incorporating this cleaning routine into your car maintenance, you can enjoy a fresh and comfortable driving experience every time.
Conclusion
Cleaning your carpet car mats doesn’t have to be a challenging task anymore. By following the step-by-step guide outlined in this article, you can effectively remove dirt, stains, and odors from your mats, leaving them looking and smelling fresh.
Starting with the removal of loose dirt and debris, followed by pre-treating stains, you can tackle even the toughest messes. Cleaning the mats with a suitable solution and scrub brush ensures a thorough clean, while rinsing and drying them properly prevents the growth of mold or mildew.
The final step of vacuuming removes any remaining dirt or debris, leaving your mats in pristine condition. Regularly cleaning your carpet car mats not only enhances the appearance of your car interior but also contributes to the longevity of your mats.
Remember, it’s always essential to use the right supplies and techniques to clean your car mats effectively. Choose mild cleaners, follow recommended dilution ratios, and utilize the proper tools to avoid damaging the carpet fibers.
By investing time and effort into maintaining the cleanliness of your carpet car mats, you can enjoy a more pleasant and comfortable driving experience. So, why wait? Gather your supplies, follow the steps outlined in this guide, and give your car mats the deep clean they deserve.
With clean and fresh carpet car mats, you’ll be able to cruise around in style and comfort, knowing that your car interior is in top-notch condition. Happy cleaning!
Frequently Asked Questions about How To Clean Carpet Car Mats
Was this page helpful?
At Storables.com, we guarantee accurate and reliable information. Our content, validated by Expert Board Contributors, is crafted following stringent Editorial Policies. We're committed to providing you with well-researched, expert-backed insights for all your informational needs.
