Articles
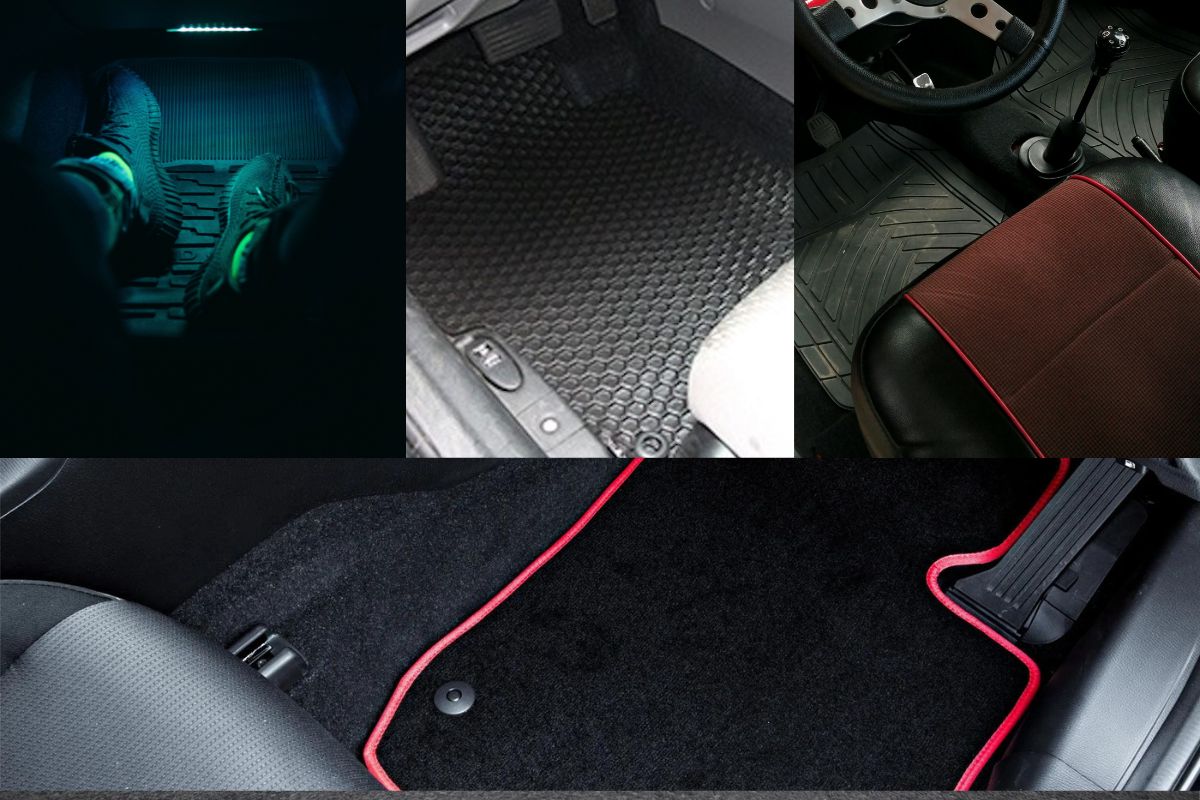
How To Install A Carpet In A Car
Modified: August 28, 2024
Learn how to install carpet in your car with our step-by-step articles. Transform your vehicle's interior with ease.
(Many of the links in this article redirect to a specific reviewed product. Your purchase of these products through affiliate links helps to generate commission for Storables.com, at no extra cost. Learn more)
Introduction
Car carpets play an essential role in enhancing the interior aesthetics and comfort of your vehicle. Over time, these carpets can become worn out, stained, or damaged, necessitating replacement. Installing a new carpet in your car can be a daunting task, but with the right tools, materials, and techniques, you can achieve professional-looking results.
In this article, we will guide you through the step-by-step process of installing a carpet in your car. Whether you’re a seasoned DIY enthusiast or a beginner, this guide will provide you with the knowledge and confidence to transform your car’s interior.
Before we delve into the installation process, it’s important to gather all the necessary materials. You will need a new carpet specifically designed for your car make and model, carpet padding, a utility knife, adhesive, a staple gun, a heat gun, a vacuum cleaner, and a set of basic hand tools. Additionally, make sure you have a well-ventilated workspace and wear protective gloves and goggles to ensure your safety during the installation process.
Now that you have everything you need, let’s dive into the steps involved in installing a carpet in your car. We will begin by preparing the car interior to create a clean and organized workspace.
Key Takeaways:
- Transform Your Car’s Interior
By following the detailed steps in this guide, you can confidently install a new carpet in your car, enhancing its aesthetics and comfort. Enjoy a fresh and personalized driving space that reflects your style and attention to detail. - Achieve Professional Results
With patience, precision, and the right tools, you can achieve a professional-looking carpet installation. From preparation to reassembly, each step contributes to a successful and long-lasting transformation of your car’s interior.
Read more: How To Replace A Carpet In A Car
Step 1: Preparing the Car Interior
Before you can begin installing a new carpet in your car, it’s crucial to prepare the car interior by removing any items that may hinder the installation process. Follow these steps to ensure a smooth and hassle-free preparation:
1. Start by removing the floor mats, seat covers, and any other loose objects from the car. This will give you a clear workspace and prevent any damage to these items during the installation process.
2. Next, detach the seats from their mounts. This step will provide you with easier access to the car floor and allow you to install the carpet more accurately. Refer to your car’s manual for specific instructions on removing the seats.
3. Carefully remove the seat belts from their anchor points. Be sure to keep all the necessary bolts and screws in a safe place, as you will need them later for reassembly.
4. Take out the door sill plates and kick panels. These components are usually held in place by screws or clips and can be easily removed with a screwdriver or trim panel removal tool. Set them aside for later reinstallation.
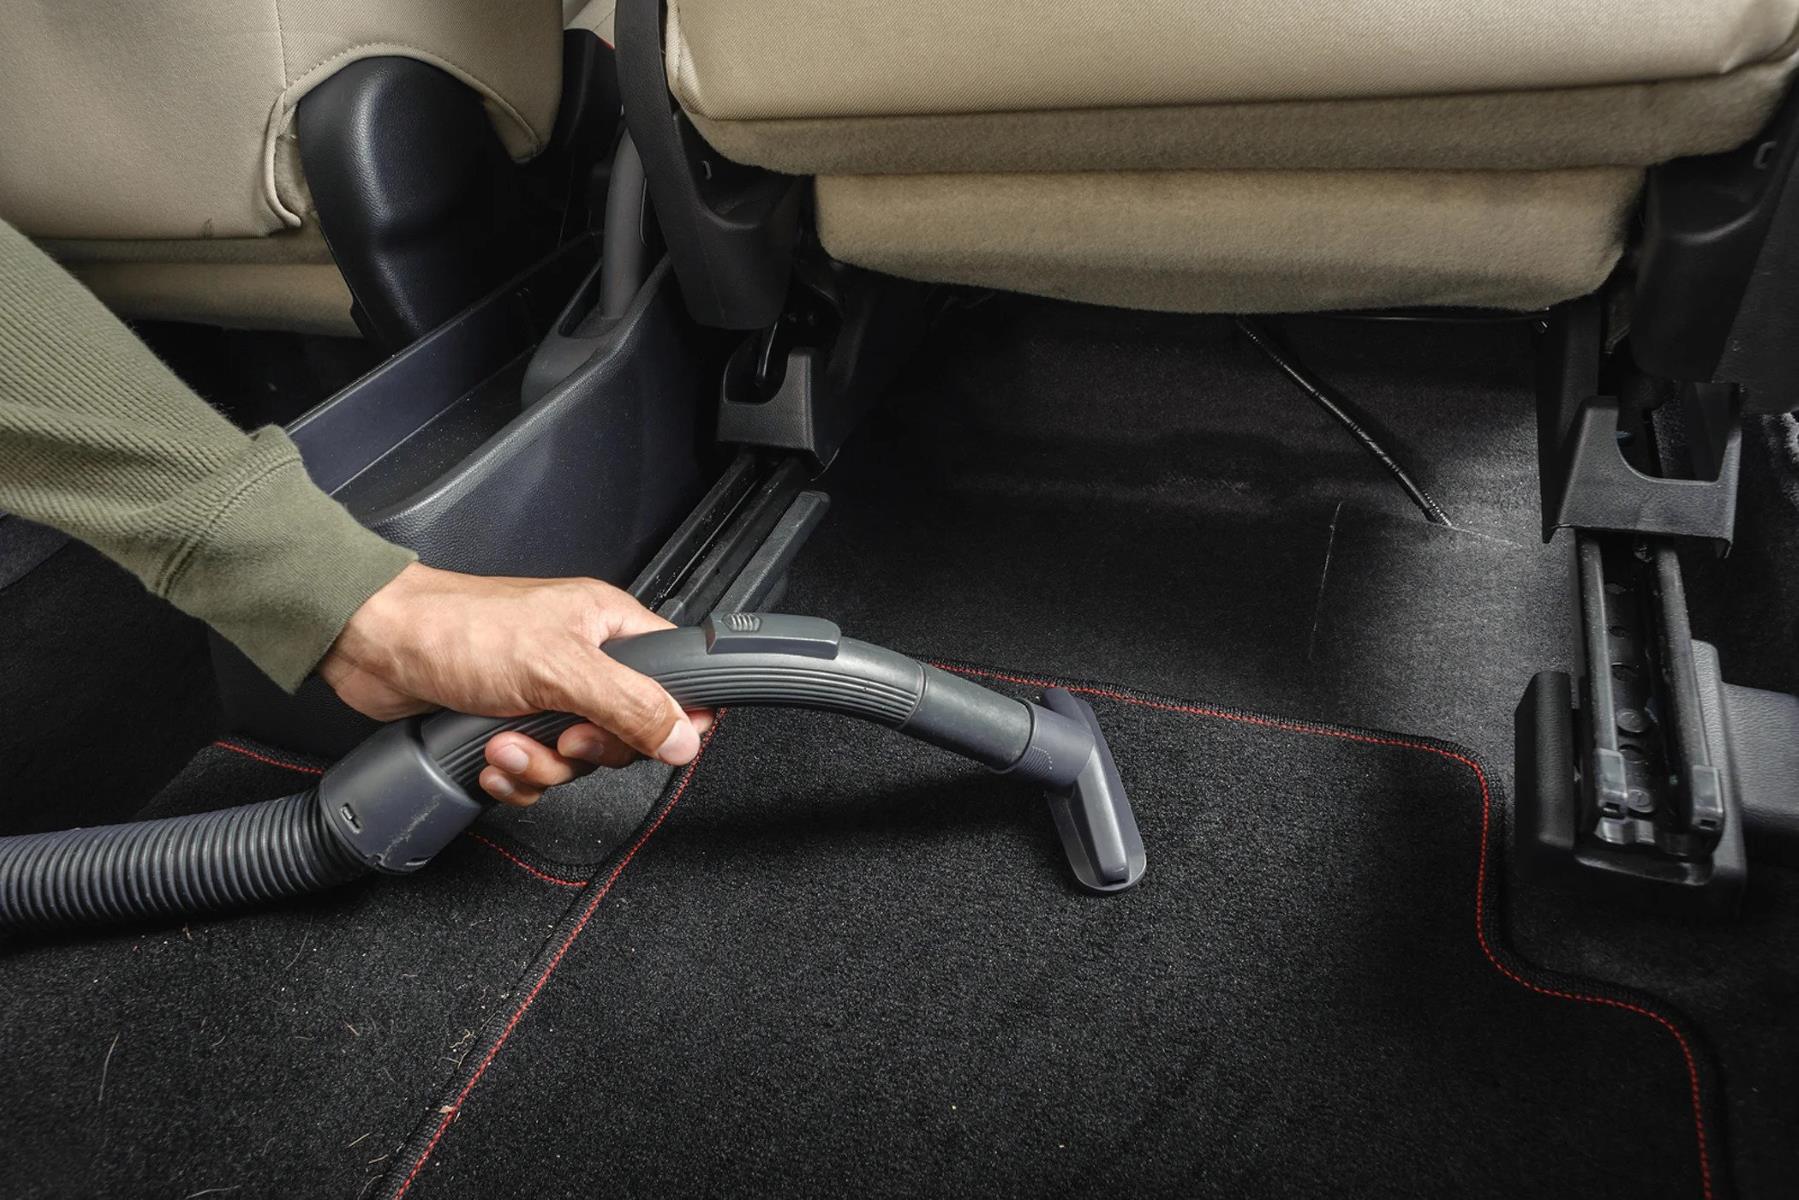
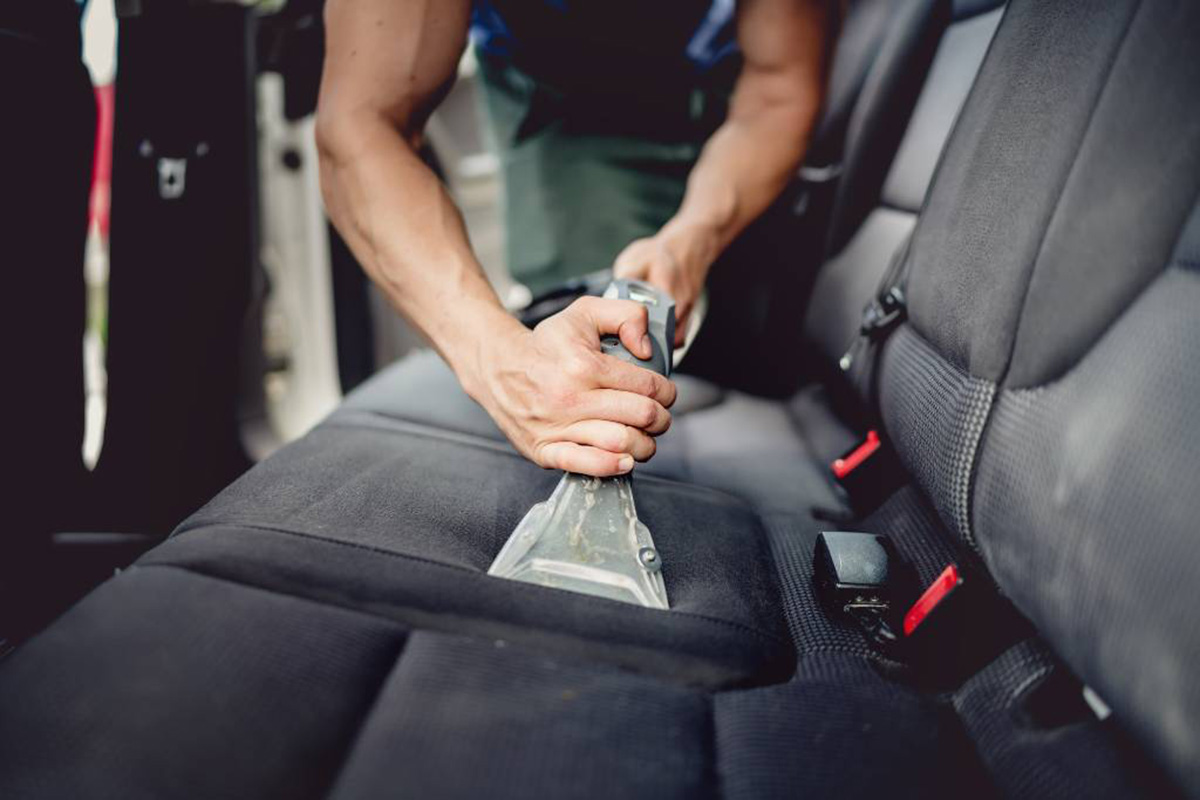
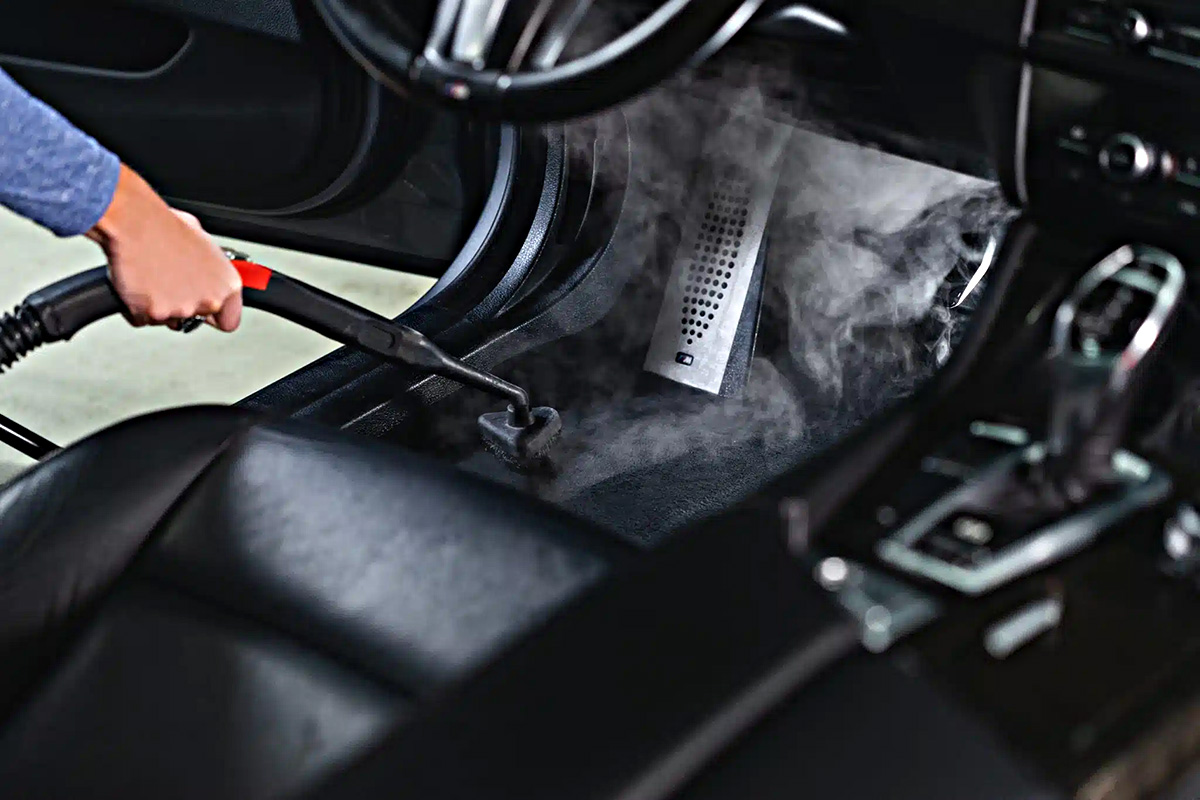
5. Use a vacuum cleaner to thoroughly clean the car interior, especially the floor and the areas where the carpet will be installed. Remove any dust, dirt, or debris, as these can affect the adhesion of the carpet and result in an uneven installation.
By taking the time to properly prepare the car interior, you are setting the foundation for a successful carpet installation. The next step is to remove the old carpet, which we will cover in detail in the following section.
Step 2: Removing the Old Carpet
Now that you have prepared the car interior, it’s time to remove the old carpet. This step requires patience and attention to detail to avoid damaging any underlying components. Follow these steps to effectively remove the old carpet:
1. Starting with the driver’s side, locate the edge of the carpet near the door sill area. Carefully lift the corner of the carpet using a trim panel removal tool or your hands.
2. Slowly peel back the carpet, working your way towards the center of the car. Be mindful of any wires, sensors, or connectors that may be attached to the carpet and disconnect them as needed. Keep track of which wires go where to make reinstallation easier later.
3. As you move towards the center of the car, you may encounter areas where the carpet is secured with clips or screws. Use a screwdriver or appropriate tool to remove these fasteners and release the carpet.
4. Once you have fully removed the old carpet from one side, repeat the process on the other side of the car. Take your time to ensure all the edges are properly lifted and that there are no hidden attachments.
5. With both sides of the carpet removed, carefully lift and fold it over to expose the rear portion of the car. Remove any clips or fasteners securing the carpet in this area, and then proceed to fold and remove the carpet completely.
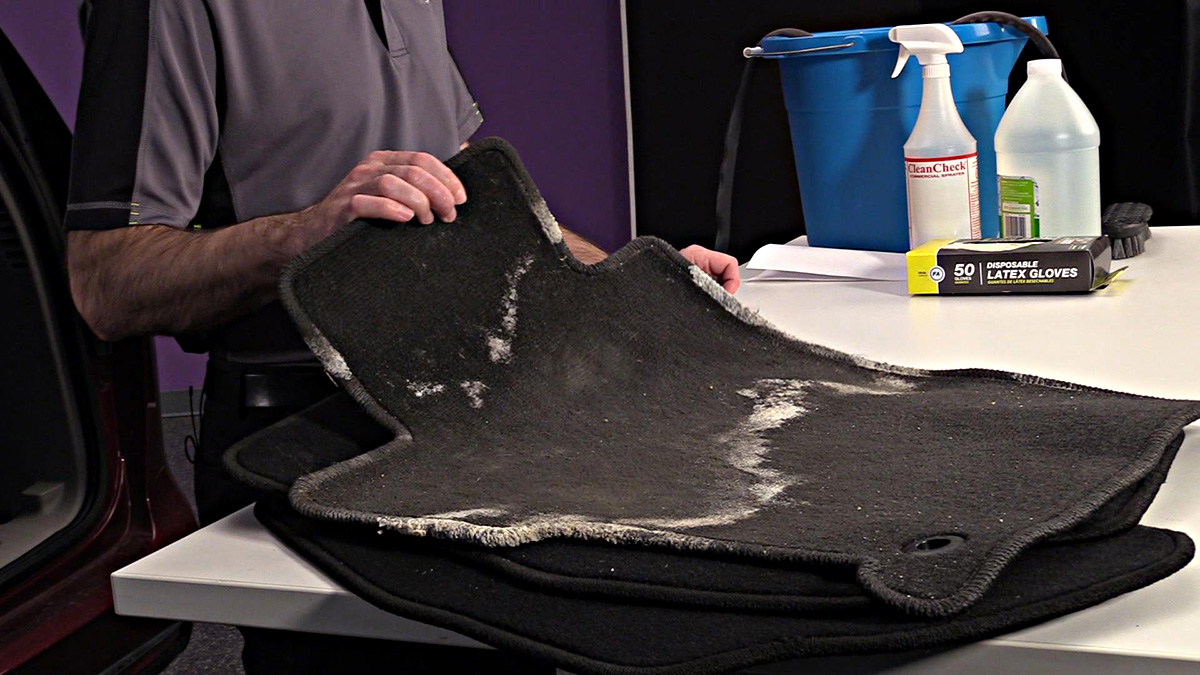
6. After removing the old carpet, inspect the car floor for any signs of damage, rust, or moisture. Address these issues before proceeding with the installation of the new carpet to ensure a clean and solid base.
By following these steps, you can safely and effectively remove the old carpet from your car. With the old carpet out of the way, it’s time to move on to the next step: cleaning and prepping the car floor.
Step 3: Cleaning and Prepping the Floor
With the old carpet removed, it’s essential to thoroughly clean and prepare the car floor before installing the new carpet. This step ensures proper adhesion and a smooth installation process. Follow these steps to clean and prep the floor:
1. Start by vacuuming the entire floor area to remove any loose dirt, debris, or remnants from the old carpet. Pay close attention to corners, crevices, and under the seats to ensure a thorough cleaning.
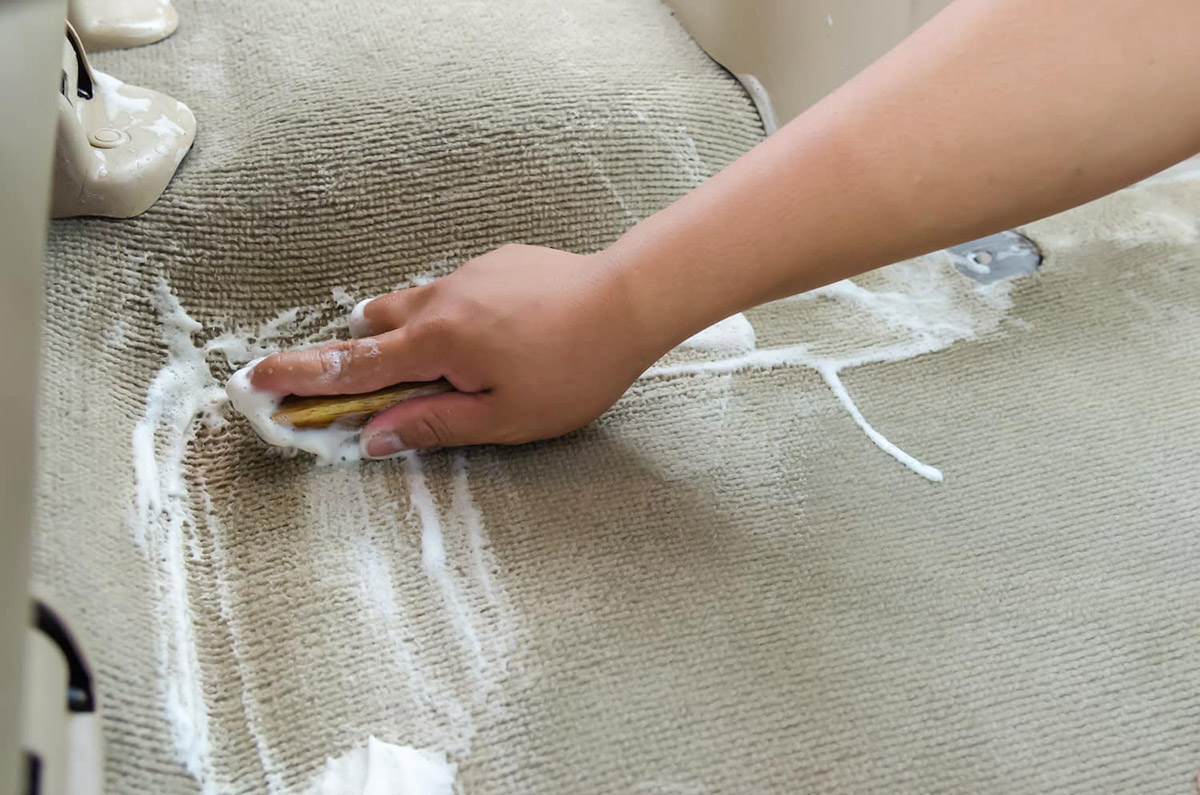
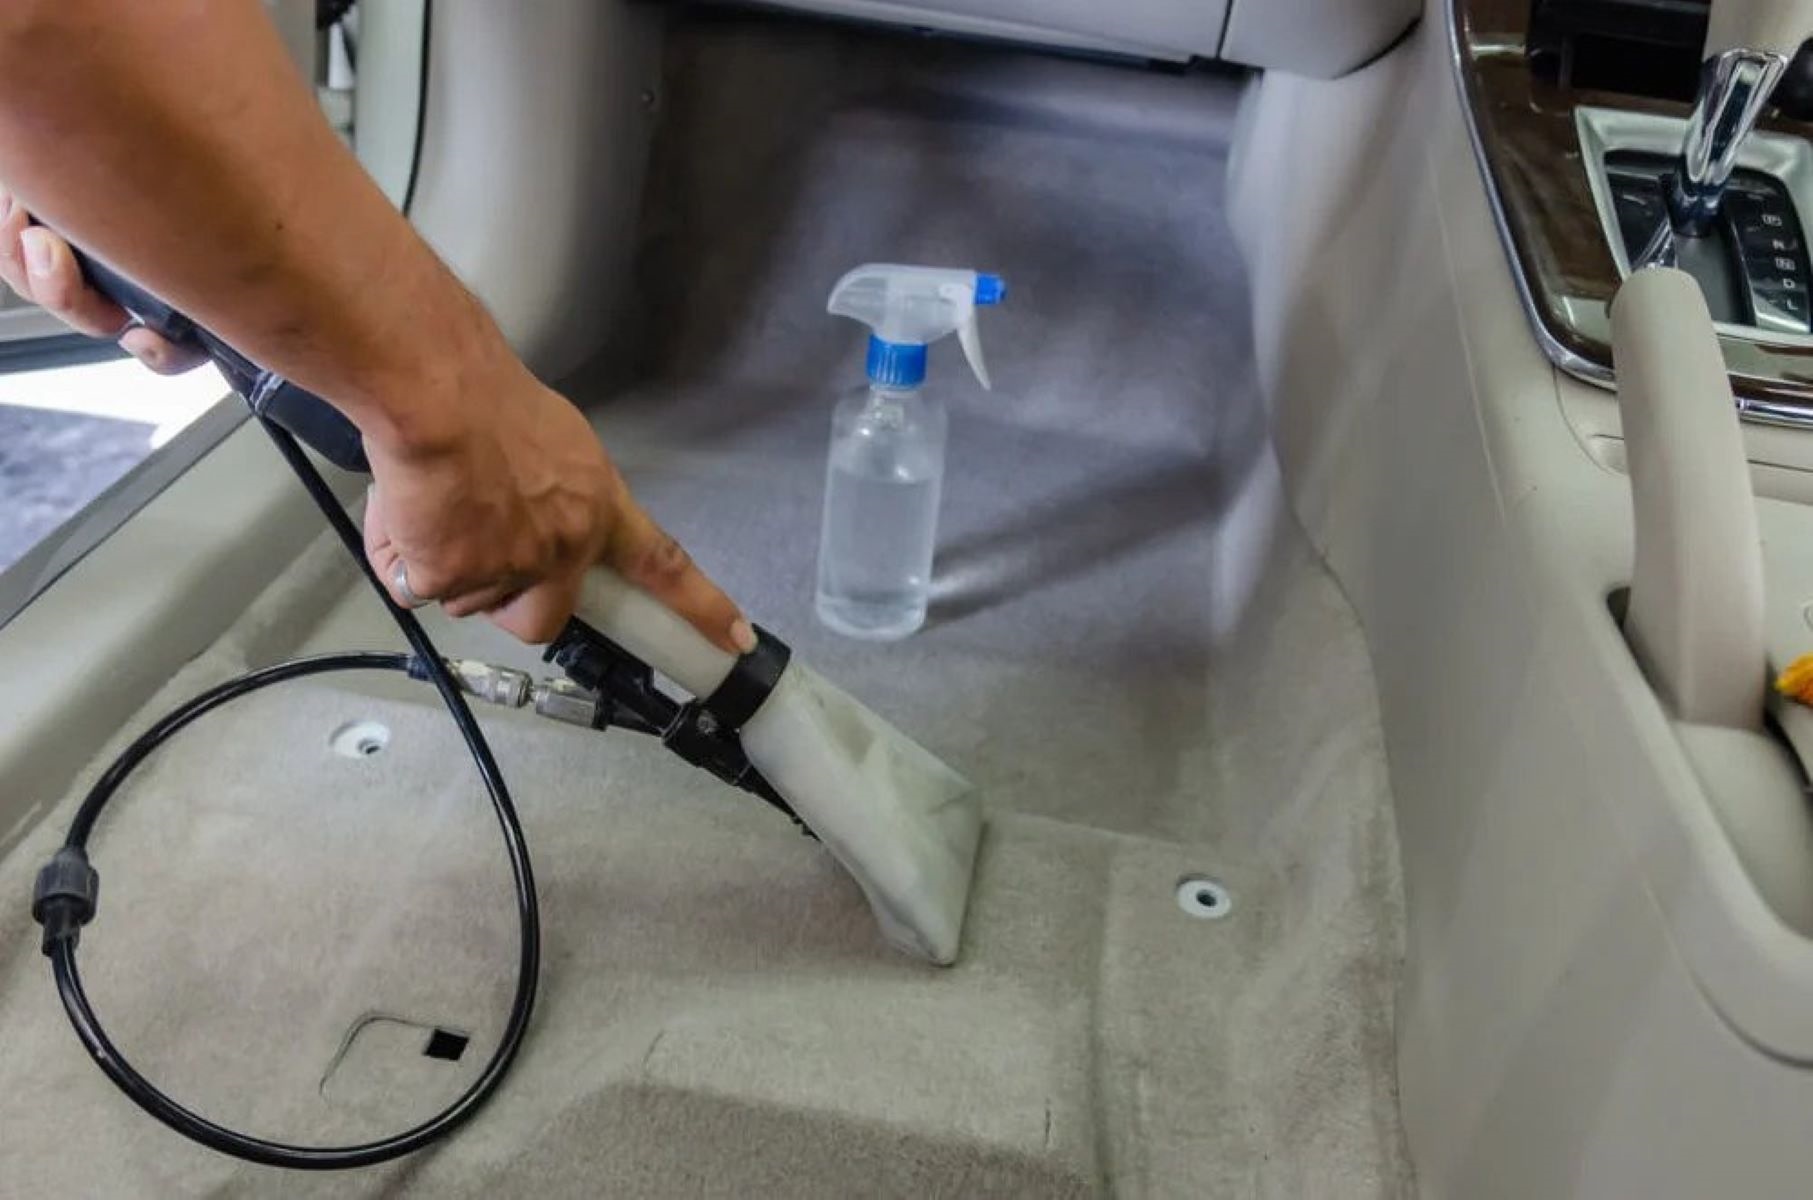
2. If you notice any stubborn stains or sticky residue on the car floor, use a mild carpet cleaner or upholstery cleaner to spot-treat the affected areas. Gently scrub the stains with a brush or sponge, and then wipe away any excess cleaning solution with a damp cloth. Allow the floor to fully dry before proceeding to the next step.
3. With the floor clean and dry, inspect the car floor for any signs of rust, moisture, or damage. Address any issues accordingly to prevent further complications down the line. If necessary, consult a professional for repairs or treatment of rust and moisture-related problems.
4. Once the floor is in good condition, apply a layer of automotive carpet adhesive primer. This primer helps promote adhesion between the floor and the new carpet. Follow the manufacturer’s instructions for application and drying times.
5. As the primer dries, cut the new carpet to fit the dimensions of your car’s interior. Use the old carpet as a template or measure the dimensions carefully to ensure accuracy. Leave some extra material around the edges for trimming later.
6. Lay the new carpet in the car, starting from the rear and working your way towards the front. Gently press and smooth the carpet into place, ensuring a snug fit. Take your time to align the carpet with the contours and edges of the car floor for a professional-looking installation.
By thoroughly cleaning and prepping the car floor, you are setting the foundation for a seamless installation of the new carpet. With the floor prepped and the new carpet in place, it’s time to move on to the next step: cutting and shaping the new carpet.
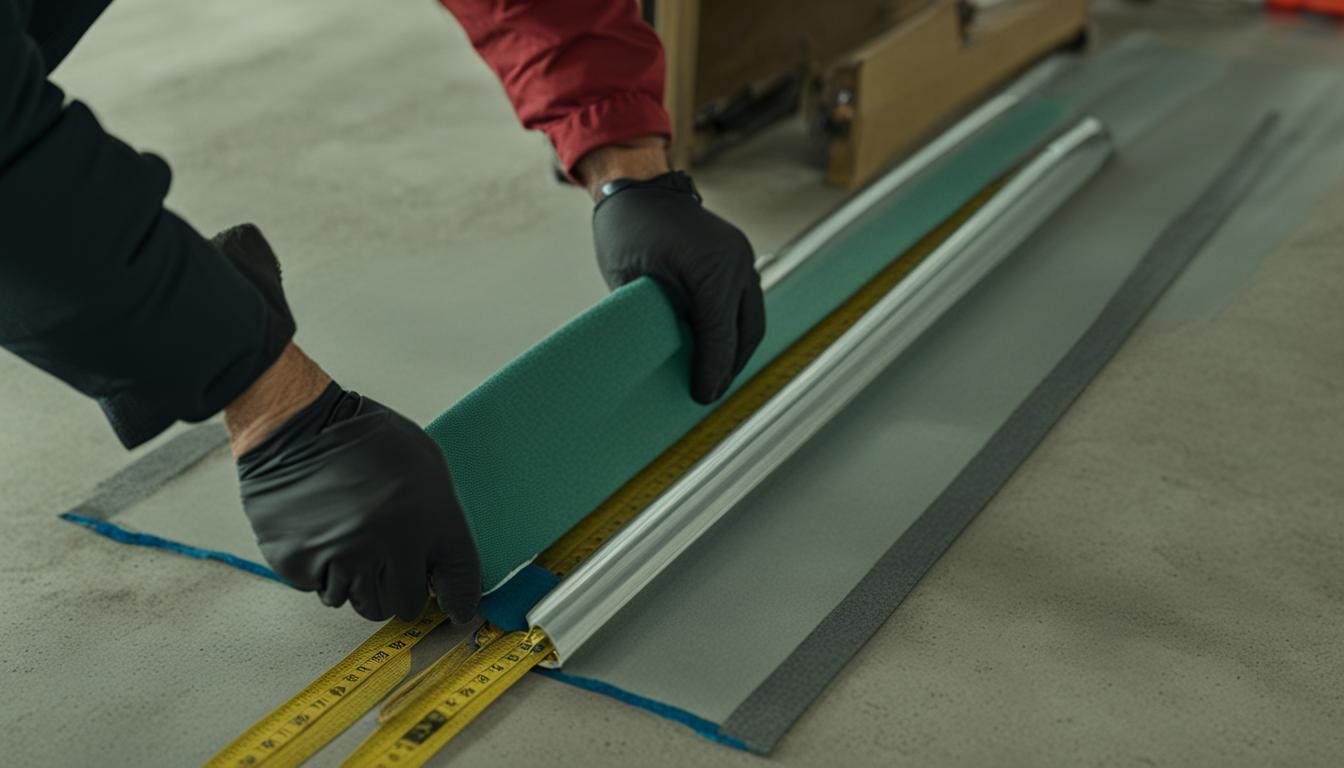
Step 4: Cutting and Shaping the New Carpet
Now that the car floor is clean and prepped, it’s time to cut and shape the new carpet to fit your specific vehicle. This step requires precision and attention to detail to ensure a proper and professional-looking installation. Follow these steps to cut and shape the new carpet:
1. Start by placing the new carpet over the car floor, ensuring it is properly aligned and covers the entire area. Use the edges and contours of the floor as a guide.
2. Using a utility knife or carpet-cutting tool, carefully trim off any excess material from the edges of the carpet. Take your time and cut slowly to avoid any uneven edges. It’s better to err on the side of caution and leave a bit of extra material that can be trimmed later if needed.
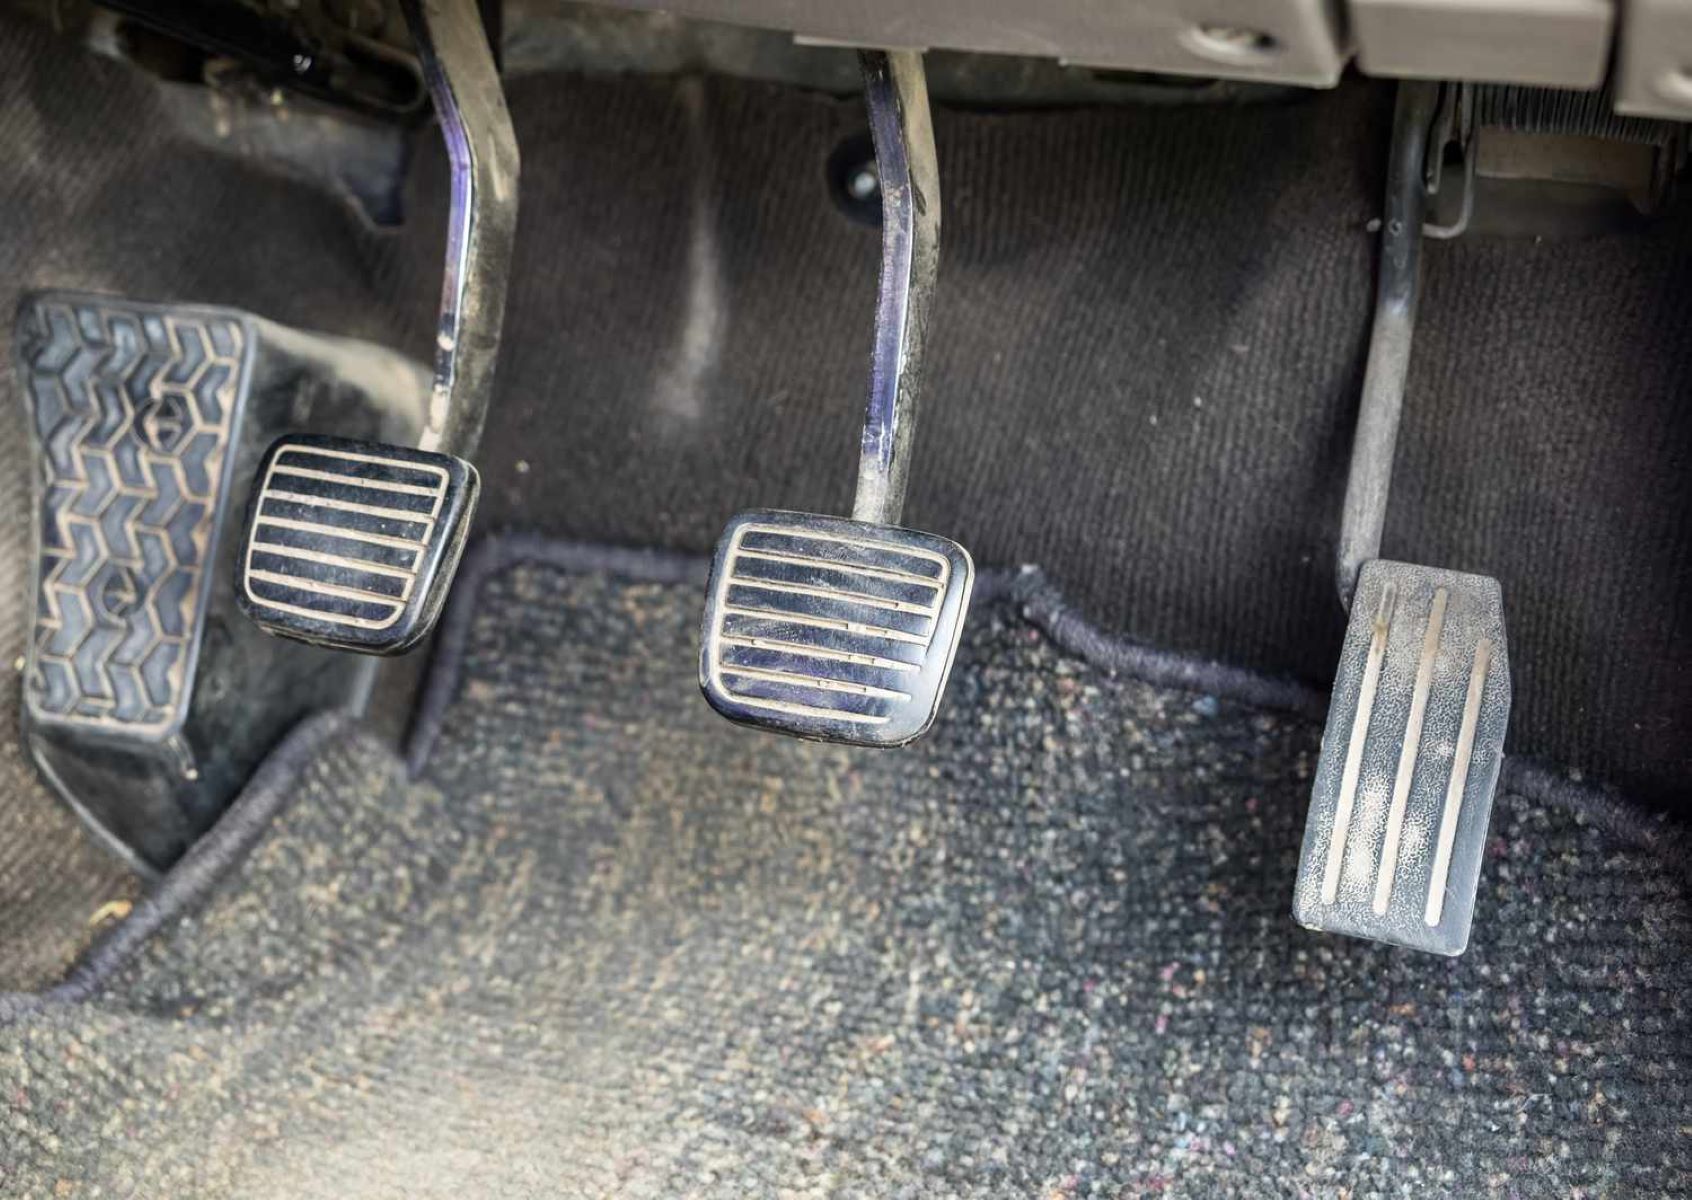
3. Pay close attention to areas around the seats, pedals, center console, and other interior components. Make small incisions as needed to allow the carpet to fit properly around these obstacles. Take care not to cut too much material or damage any underlying wires or connectors.
4. As you trim and shape the carpet, periodically check the fit by laying it back onto the car floor. Ensure that it lies flat and smooth, with no excess or wrinkled areas. Adjust as necessary and continue trimming until you achieve the desired fit.
5. Once you are satisfied with the fit, lift the carpet and apply a layer of adhesive to the car floor. Be sure to follow the manufacturer’s instructions for proper adhesive application and drying times. Apply adhesive to the entire floor or in smaller sections, depending on the type of adhesive used.
6. Place the shaped carpet back onto the floor, starting from the rear and working your way towards the front. Gently press and smooth the carpet into place, ensuring it adheres securely to the floor. Take care to align the carpet with the contours and edges for a professional finish.
By cutting and shaping the new carpet to fit your car’s interior, you are ensuring a precise and tailored installation. With the carpet in place, it’s time to move on to the next step: installing the carpet padding for added comfort and insulation.
Before installing a carpet in your car, make sure to thoroughly clean and vacuum the floor to remove any dirt or debris. This will ensure a smooth and clean surface for the new carpet to be installed.
Read more: How To Dry A Wet Car Carpet
Step 5: Installing the Carpet Padding
Installing carpet padding is an important step in the process of carpet installation in your car. The padding provides cushioning, insulation, and sound deadening properties, giving you a more comfortable and enjoyable driving experience. Follow these steps to install the carpet padding:
1. Start by laying out the carpet padding material over the car floor, ensuring it covers the entire area. Trim off any excess padding material using a utility knife or scissors, following the contours of the car floor.
2. Once the padding is cut to size, lift it up and apply adhesive to the car floor. You can use double-sided carpet tape or adhesive spray designed for automotive use. Make sure to apply the adhesive evenly and follow the manufacturer’s instructions for proper application and drying time.
3. Carefully place the padding back onto the car floor, starting from the rear and working your way towards the front. Press down on the padding to ensure it adheres well to the floor and smooth out any wrinkles or bubbles.
4. Take care to align the edges of the padding with the edges of the car floor and ensure it is centered properly. Use a rolling pin or a carpet roller to firmly press down on the padding and ensure proper adhesion.
5. As you work with the padding, be mindful of any areas where the padding might interfere with existing wires, connectors, or car components. Make small incisions or adjustments as necessary to accommodate these obstacles while maintaining a smooth and even padding installation.
6. Once the padding is securely in place, trim off any excess material that extends beyond the edges of the car floor. Use a utility knife or scissors to achieve clean and even cuts.
By installing carpet padding, you are adding an extra layer of comfort and insulation to your car’s interior. With the padding securely in place, it’s time to move on to the next step: Installing the new carpet.
Step 6: Installing the New Carpet
Now that the car floor is prepped and the carpet padding is in place, it’s time to install the new carpet. This step requires precision and attention to detail to ensure a seamless and professional installation. Follow these steps to install the new carpet:
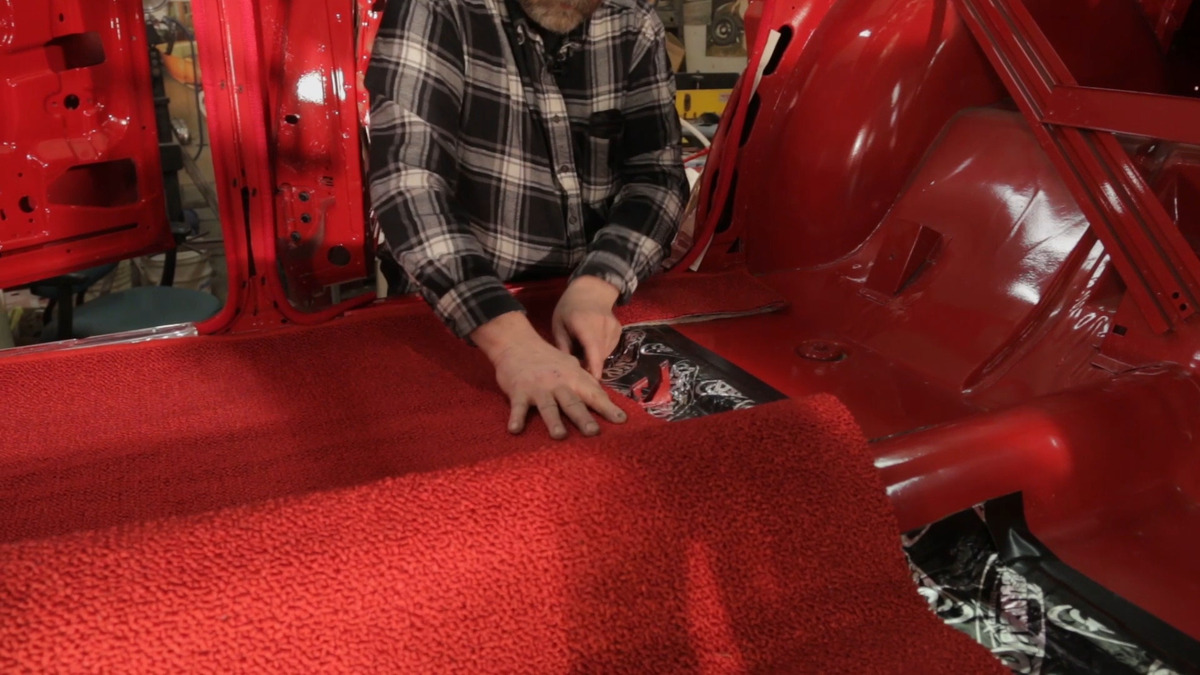
1. Begin by laying the new carpet over the car floor, ensuring it is properly aligned and covers the entire area. Take care to position it carefully, following the contours of the car floor and aligning it with the edges of the padding.
2. Gently press down on the carpet to secure it to the padding. Start from the rear and work your way towards the front, smoothing out any wrinkles or bubbles as you go along.
3. As you work with the carpet, be mindful of any areas where it might interfere with existing wires, connectors, or car components. Make small incisions or adjustments as necessary to accommodate these obstacles while maintaining a smooth and even carpet installation.
4. Pay attention to the edges of the carpet, ensuring they are neatly tucked under the door sills and kick panels. This will give the installation a clean and finished look.
5. Once the carpet is in place, use a carpet trim tool or a utility knife to trim off any excess material from the edges. Take your time and cut carefully to achieve clean and even cuts.
6. As you trim the carpet, take care not to cut too close to the edges or expose any bare areas of the car floor. It’s better to leave a bit of extra material that can be trimmed later if needed.
7. After trimming, use a heat gun to carefully warm and mold the carpet around any bends, curves, or contours in the car interior. This will help the carpet conform to the shape of the car and ensure a precise fit.
8. Once the carpet is trimmed and molded, gently press down on the entire surface to ensure proper adhesion to the padding. Use a carpet roller or a rolling pin to firmly press down and remove any air pockets.
By following these steps, you can achieve a professional-looking carpet installation in your car. With the new carpet securely in place, it’s time to move on to the next step: securing the carpet in place.
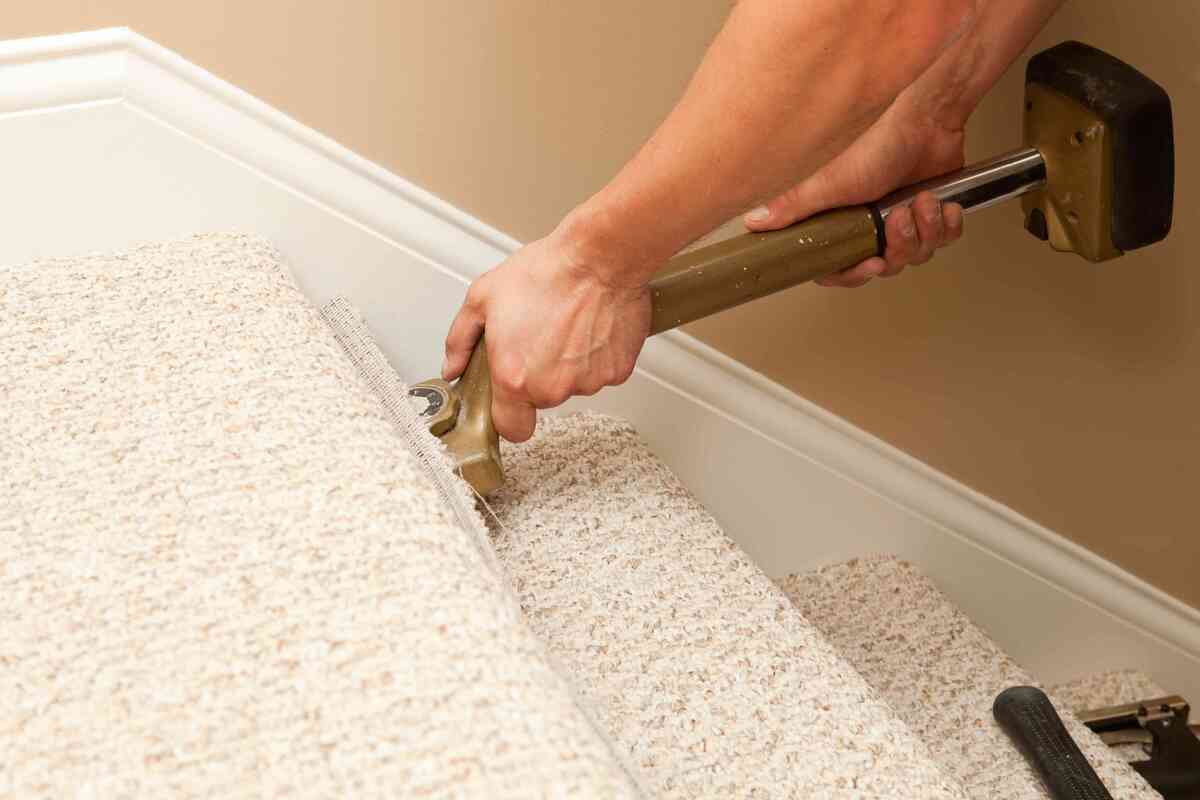
Step 7: Securing the Carpet in Place
To ensure the longevity and stability of the newly installed carpet, it’s important to secure it in place. This step involves the use of adhesive and fasteners to prevent the carpet from shifting or moving while driving. Follow these steps to properly secure the carpet:
1. Lift a corner of the carpet near the door sill area and apply a carpet adhesive to the car floor. Use a brush or a small applicator to spread the adhesive evenly across the floor surface.
2. Gently press down on the carpet to secure it to the adhesive. Begin from the corner and work your way towards the center, smoothing out any wrinkles or bubbles as you go along. Repeat this process for all sides of the carpet.
3. If desired, you can also use a staple gun to further secure the carpet to the car floor. Lift the corner of the carpet and place a staple at a slight angle, making sure it goes through the carpet and into the padding or floor. Repeat this process every few inches along the perimeter of the carpet.
4. Take care to avoid placing staples in areas where they may interfere with existing wires, connectors, or car components. If necessary, make small adjustments or incisions to accommodate these obstacles while maintaining a secure carpet installation.
5. As you work with the staples, be mindful of not over-stapling or damaging the carpet. Take your time and apply just enough staples to ensure the carpet remains well-secured without causing any damage or distortion.
6. Once the carpet is fully secured, go over the entire surface again to ensure there are no loose or unsecured areas. Use your hands or a carpet roller to press down on any spots that may need extra attention.
7. Double-check all the edges of the carpet, particularly around the door sills and kick panels. Ensure they are neatly tucked under and secure, giving the installation a clean and finished look.
By properly securing the carpet, you can prevent it from shifting or becoming loose while driving. This not only improves the overall appearance of your car’s interior but also ensures a safe and comfortable driving experience. With the carpet securely in place, it’s time to move on to the final step: reassembling the car interior.
Step 8: Reassembling the Car Interior
With the carpet installation complete, it’s time to reassemble the car interior to its original state. This step involves reinstalling the seats, door sill plates, kick panels, and any other components that were removed during the installation process. Follow these steps to reassemble the car interior:
1. Begin by reattaching the door sill plates and kick panels. Line them up with the corresponding slots or screw holes and secure them in place using the appropriate screws or clips. Make sure they are snug against the carpet for a clean and seamless look.
2. Move on to reinstalling the seats. Refer to your car’s manual for specific instructions on reattaching the seats properly. Ensure that the seat bolts and screws are tightened securely to prevent any movement or instability.
3. Depending on the design of your car, you may need to reconnect any wires, sensors, or connectors that were disconnected during the installation process. Refer to your car’s manual or the markings on the wires to ensure proper connection.
4. Take the time to thoroughly inspect the car interior for any loose or forgotten items. Double-check that all seat belts, clips, and fasteners are securely in place. Ensure that everything looks neat and tidy before moving on to the final step.
5. Once you are satisfied with the reassembly of the car interior, take a moment to clean and polish any surfaces that may have gathered dust or debris during the installation process. Use a clean cloth and appropriate cleaning products to restore the interior to its original shine.
6. Finally, take a step back and admire your handiwork. Notice how the new carpet has transformed the look and feel of your car’s interior. Enjoy the fresh scent and revitalized appearance.
By reassembling the car interior, you are putting the final touches on the carpet installation. This step completes the process and allows you to fully appreciate the results of your hard work. Now, it’s time to hit the road and enjoy your newly installed car carpet!
Read more: How To Clean Carpet Car Mats
Conclusion
Installing a new carpet in your car can greatly enhance its aesthetics and comfort. By following the step-by-step guide provided in this article, you can achieve a professional-looking installation that will breathe new life into your vehicle’s interior.
From preparing the car interior to removing the old carpet, cleaning and prepping the floor, cutting and shaping the new carpet, installing the carpet padding, securing the carpet in place, and reassembling the car interior, each step plays a crucial role in achieving a successful and long-lasting installation.
In addition to the technical aspects of the installation process, it’s important to remember to take your time, be patient, and pay attention to detail. This will ensure that every step is done correctly and result in a flawless end product.
By installing a new carpet in your car, you can enjoy a fresh and clean interior that reflects your personal style. Whether you choose a sleek and modern design or a cozy and plush option, the new carpet will provide a comfortable and inviting space for your everyday driving.
Remember to choose a high-quality carpet that is specifically designed for your car’s make and model. This will ensure a precise fit and compatibility with your vehicle’s interior.
Lastly, don’t forget to properly maintain and care for your new carpet. Regular vacuuming, spot-cleaning, and occasional deep-cleaning will help preserve its appearance and prolong its lifespan.
With a new carpet in your car, you can drive with confidence and pride, knowing that your vehicle’s interior is both comfortable and visually appealing. So, gather your tools, materials, and creativity, and embark on this exciting journey of installing a new carpet in your car. Enjoy the process and revel in the satisfaction of a job well done!
Frequently Asked Questions about How To Install A Carpet In A Car
Was this page helpful?
At Storables.com, we guarantee accurate and reliable information. Our content, validated by Expert Board Contributors, is crafted following stringent Editorial Policies. We're committed to providing you with well-researched, expert-backed insights for all your informational needs.