Articles
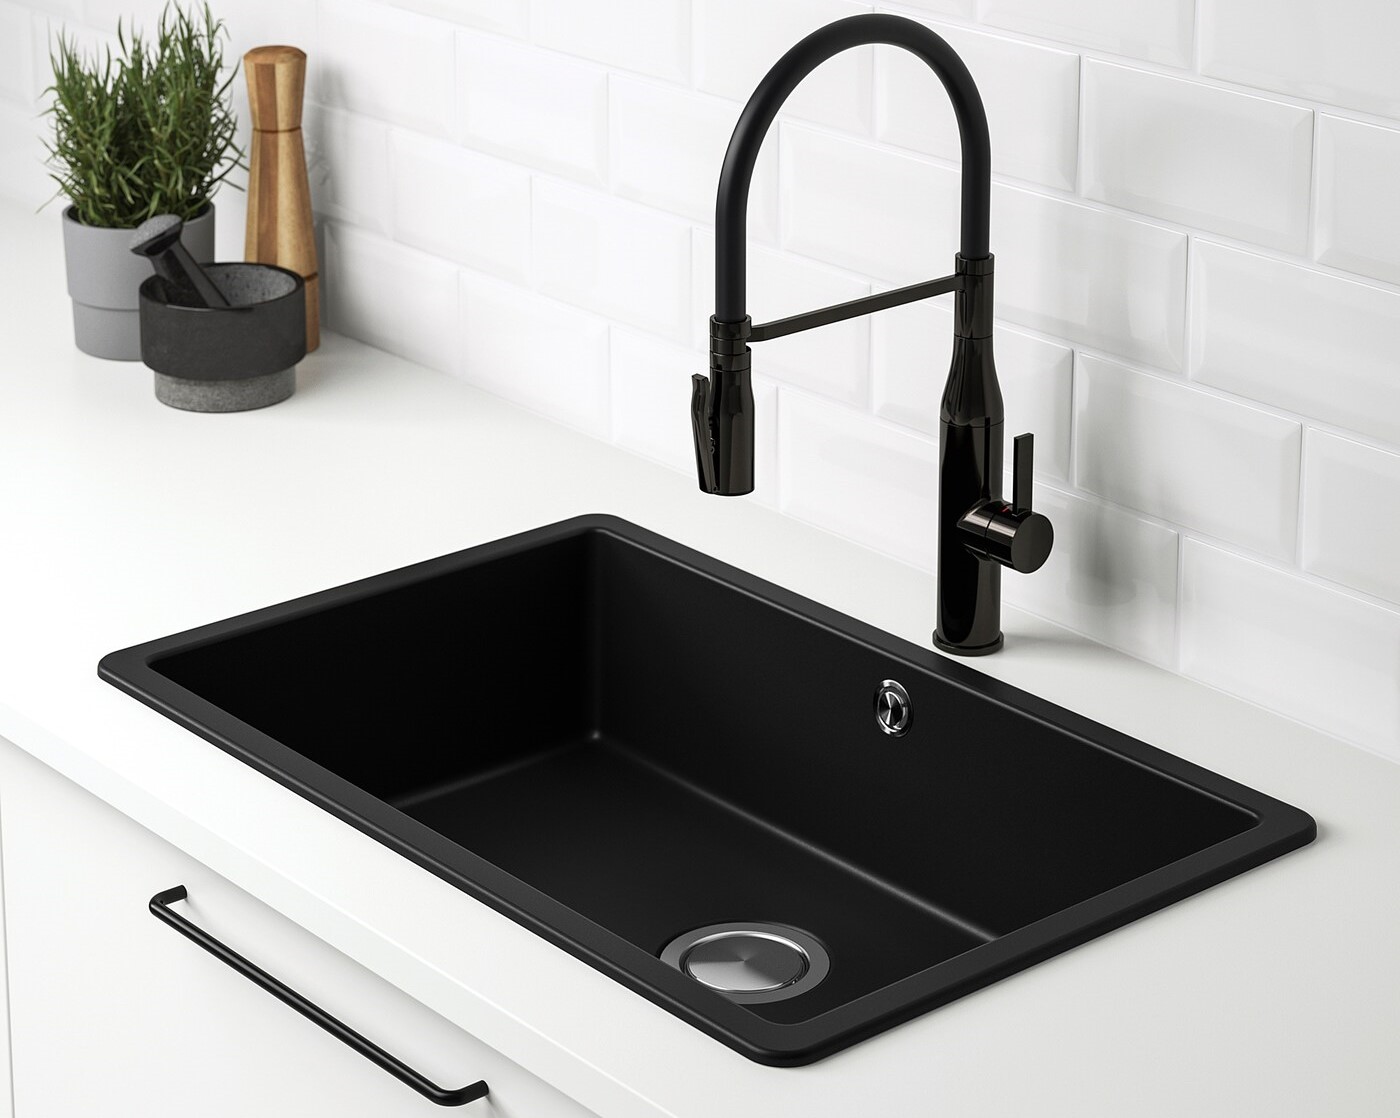
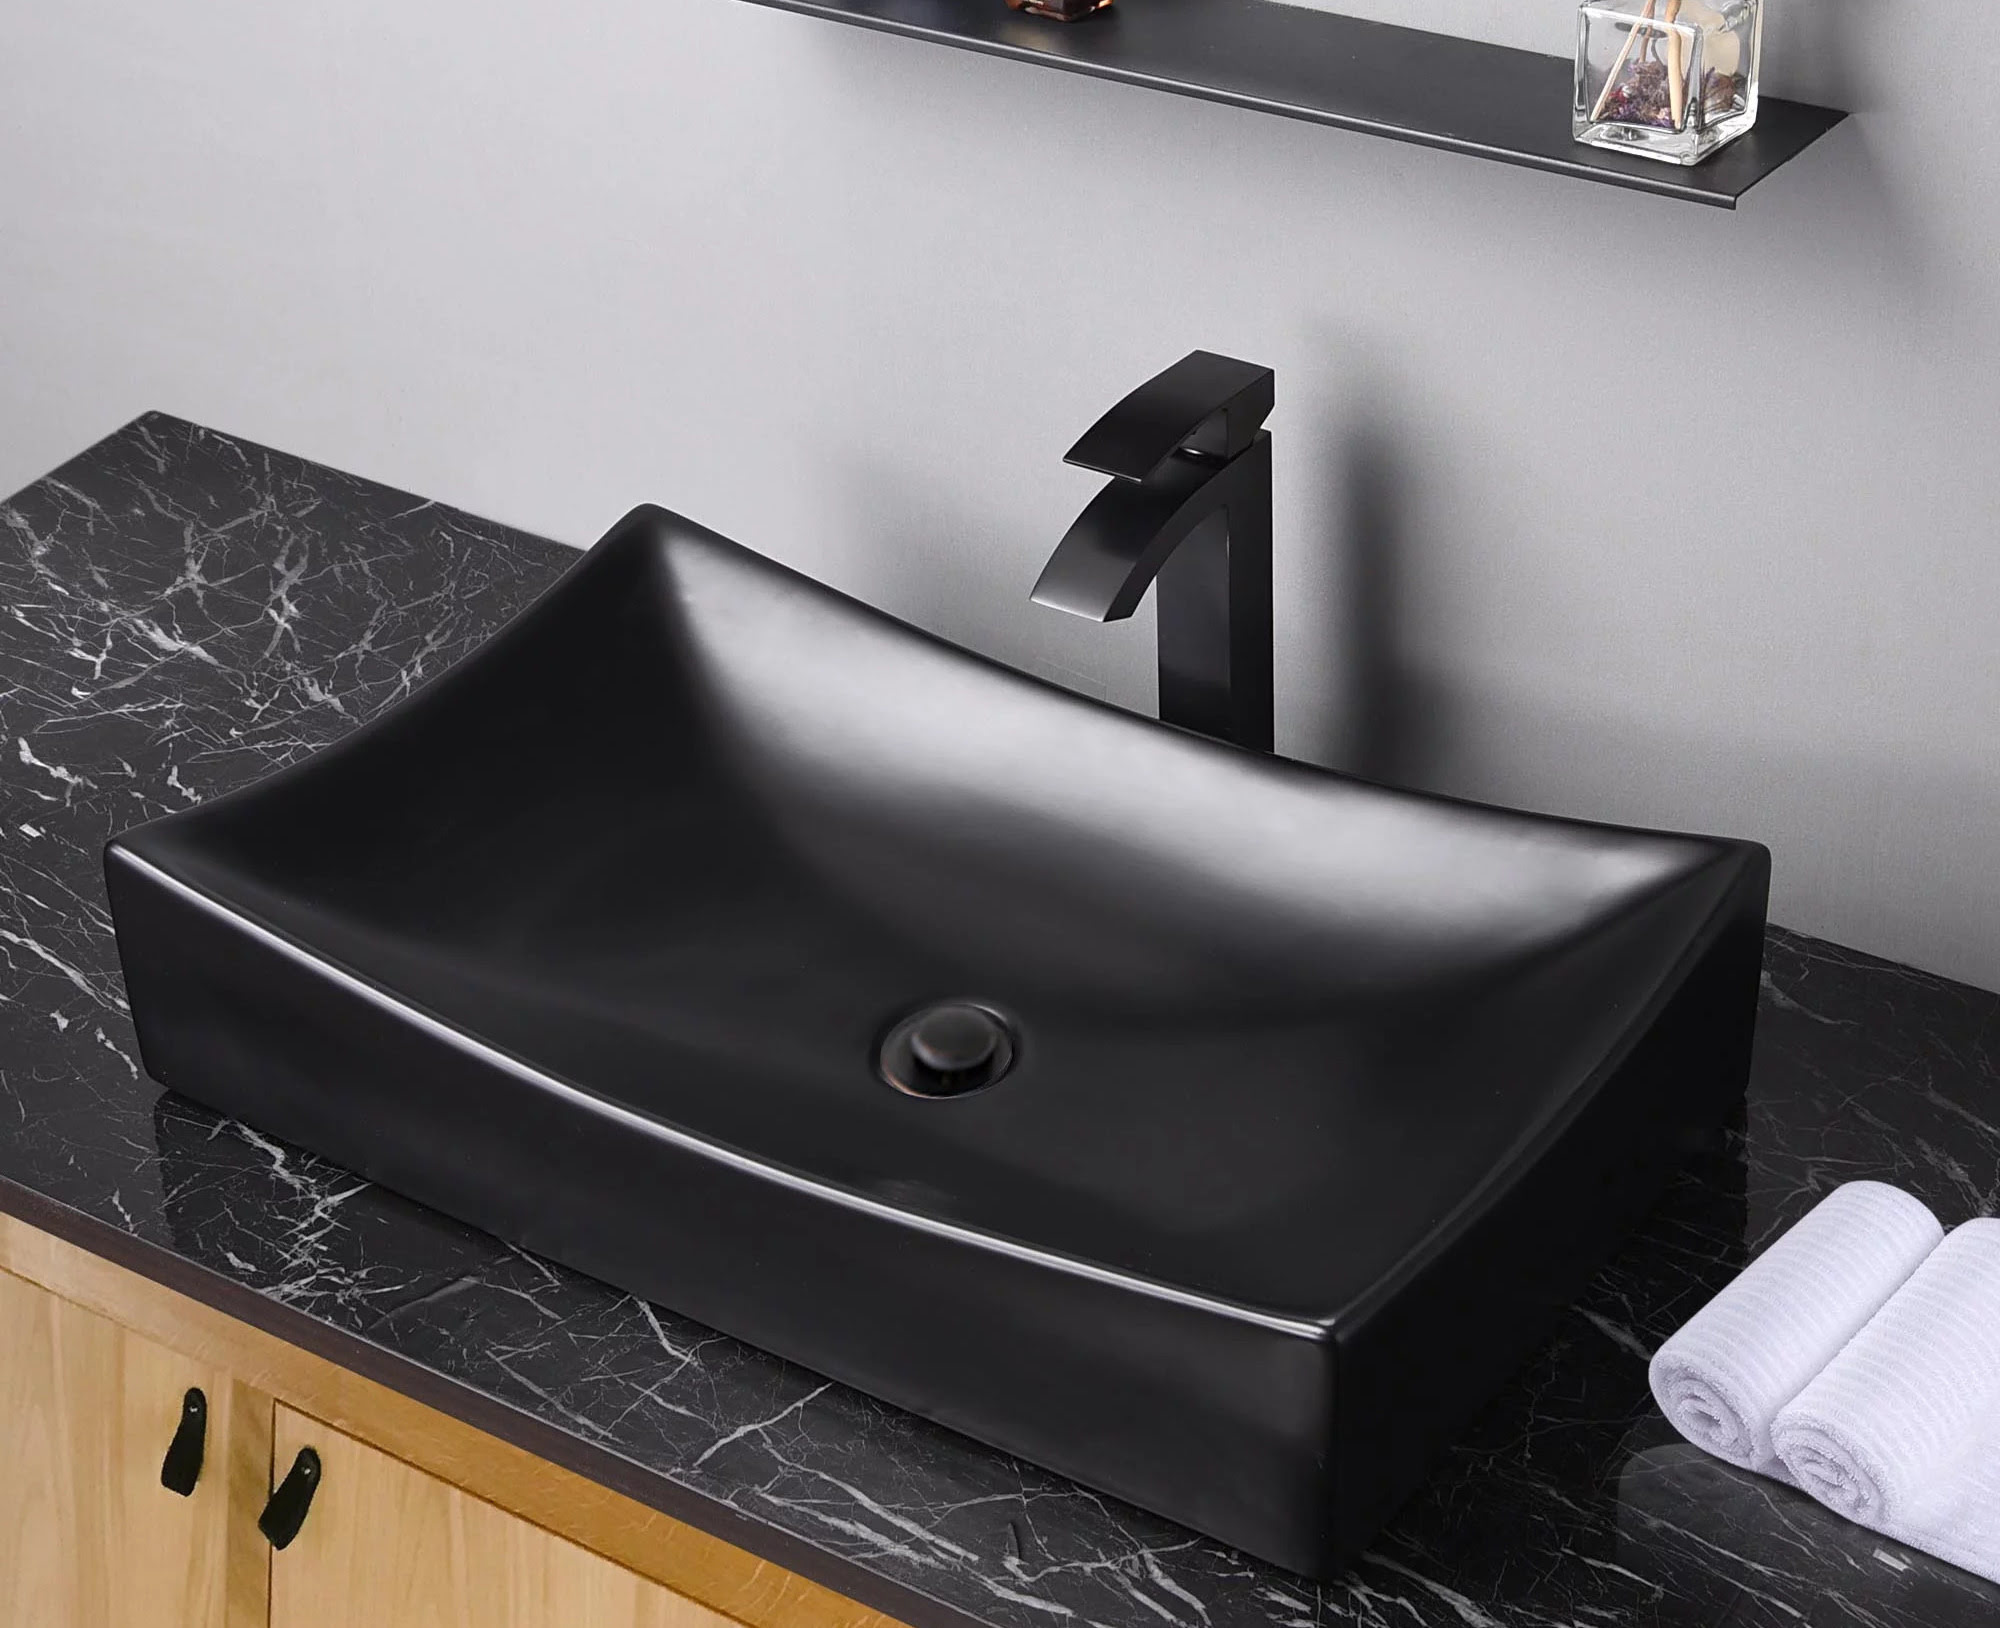
How To Clean A Black Sink
Modified: January 6, 2024
Learn effective techniques and tips to clean your black sink with our informative articles. Say goodbye to stains and dirt with our expert advice.
(Many of the links in this article redirect to a specific reviewed product. Your purchase of these products through affiliate links helps to generate commission for Storables.com, at no extra cost. Learn more)
Introduction
Having a black sink can add a touch of sophistication and elegance to any kitchen or bathroom. However, over time, black sinks can accumulate stains, dirt, and grime, making them look dull and unappealing. Cleaning a black sink may seem like a daunting task, but with the right materials and techniques, you can restore its lustrous shine.
In this article, we will guide you through the step-by-step process of cleaning a black sink. From preparing the sink to applying the finishing touches, we will provide you with effective methods to get rid of stains and maintain a clean and beautiful sink.
Before diving into the cleaning process, it is important to gather the necessary materials. Having these items ready will make the cleaning process more efficient and effective.
Key Takeaways:
- Restore the luster of your black sink by following a simple step-by-step cleaning process using common household items like baking soda, vinegar, and mild dish soap. Keep your sink looking elegant and pristine with regular maintenance.
- Achieve a deep clean and maintain the beauty of your black sink by incorporating gentle cleaning techniques and materials. From preparing the sink to adding the finishing touches, follow these steps to ensure a thorough and satisfying cleaning experience.
Read more: How To Clean Black Blanco Sink
Materials Needed
To clean your black sink, you will need the following materials:
- Mild dish soap or a specialized sink cleaner
- Baking soda
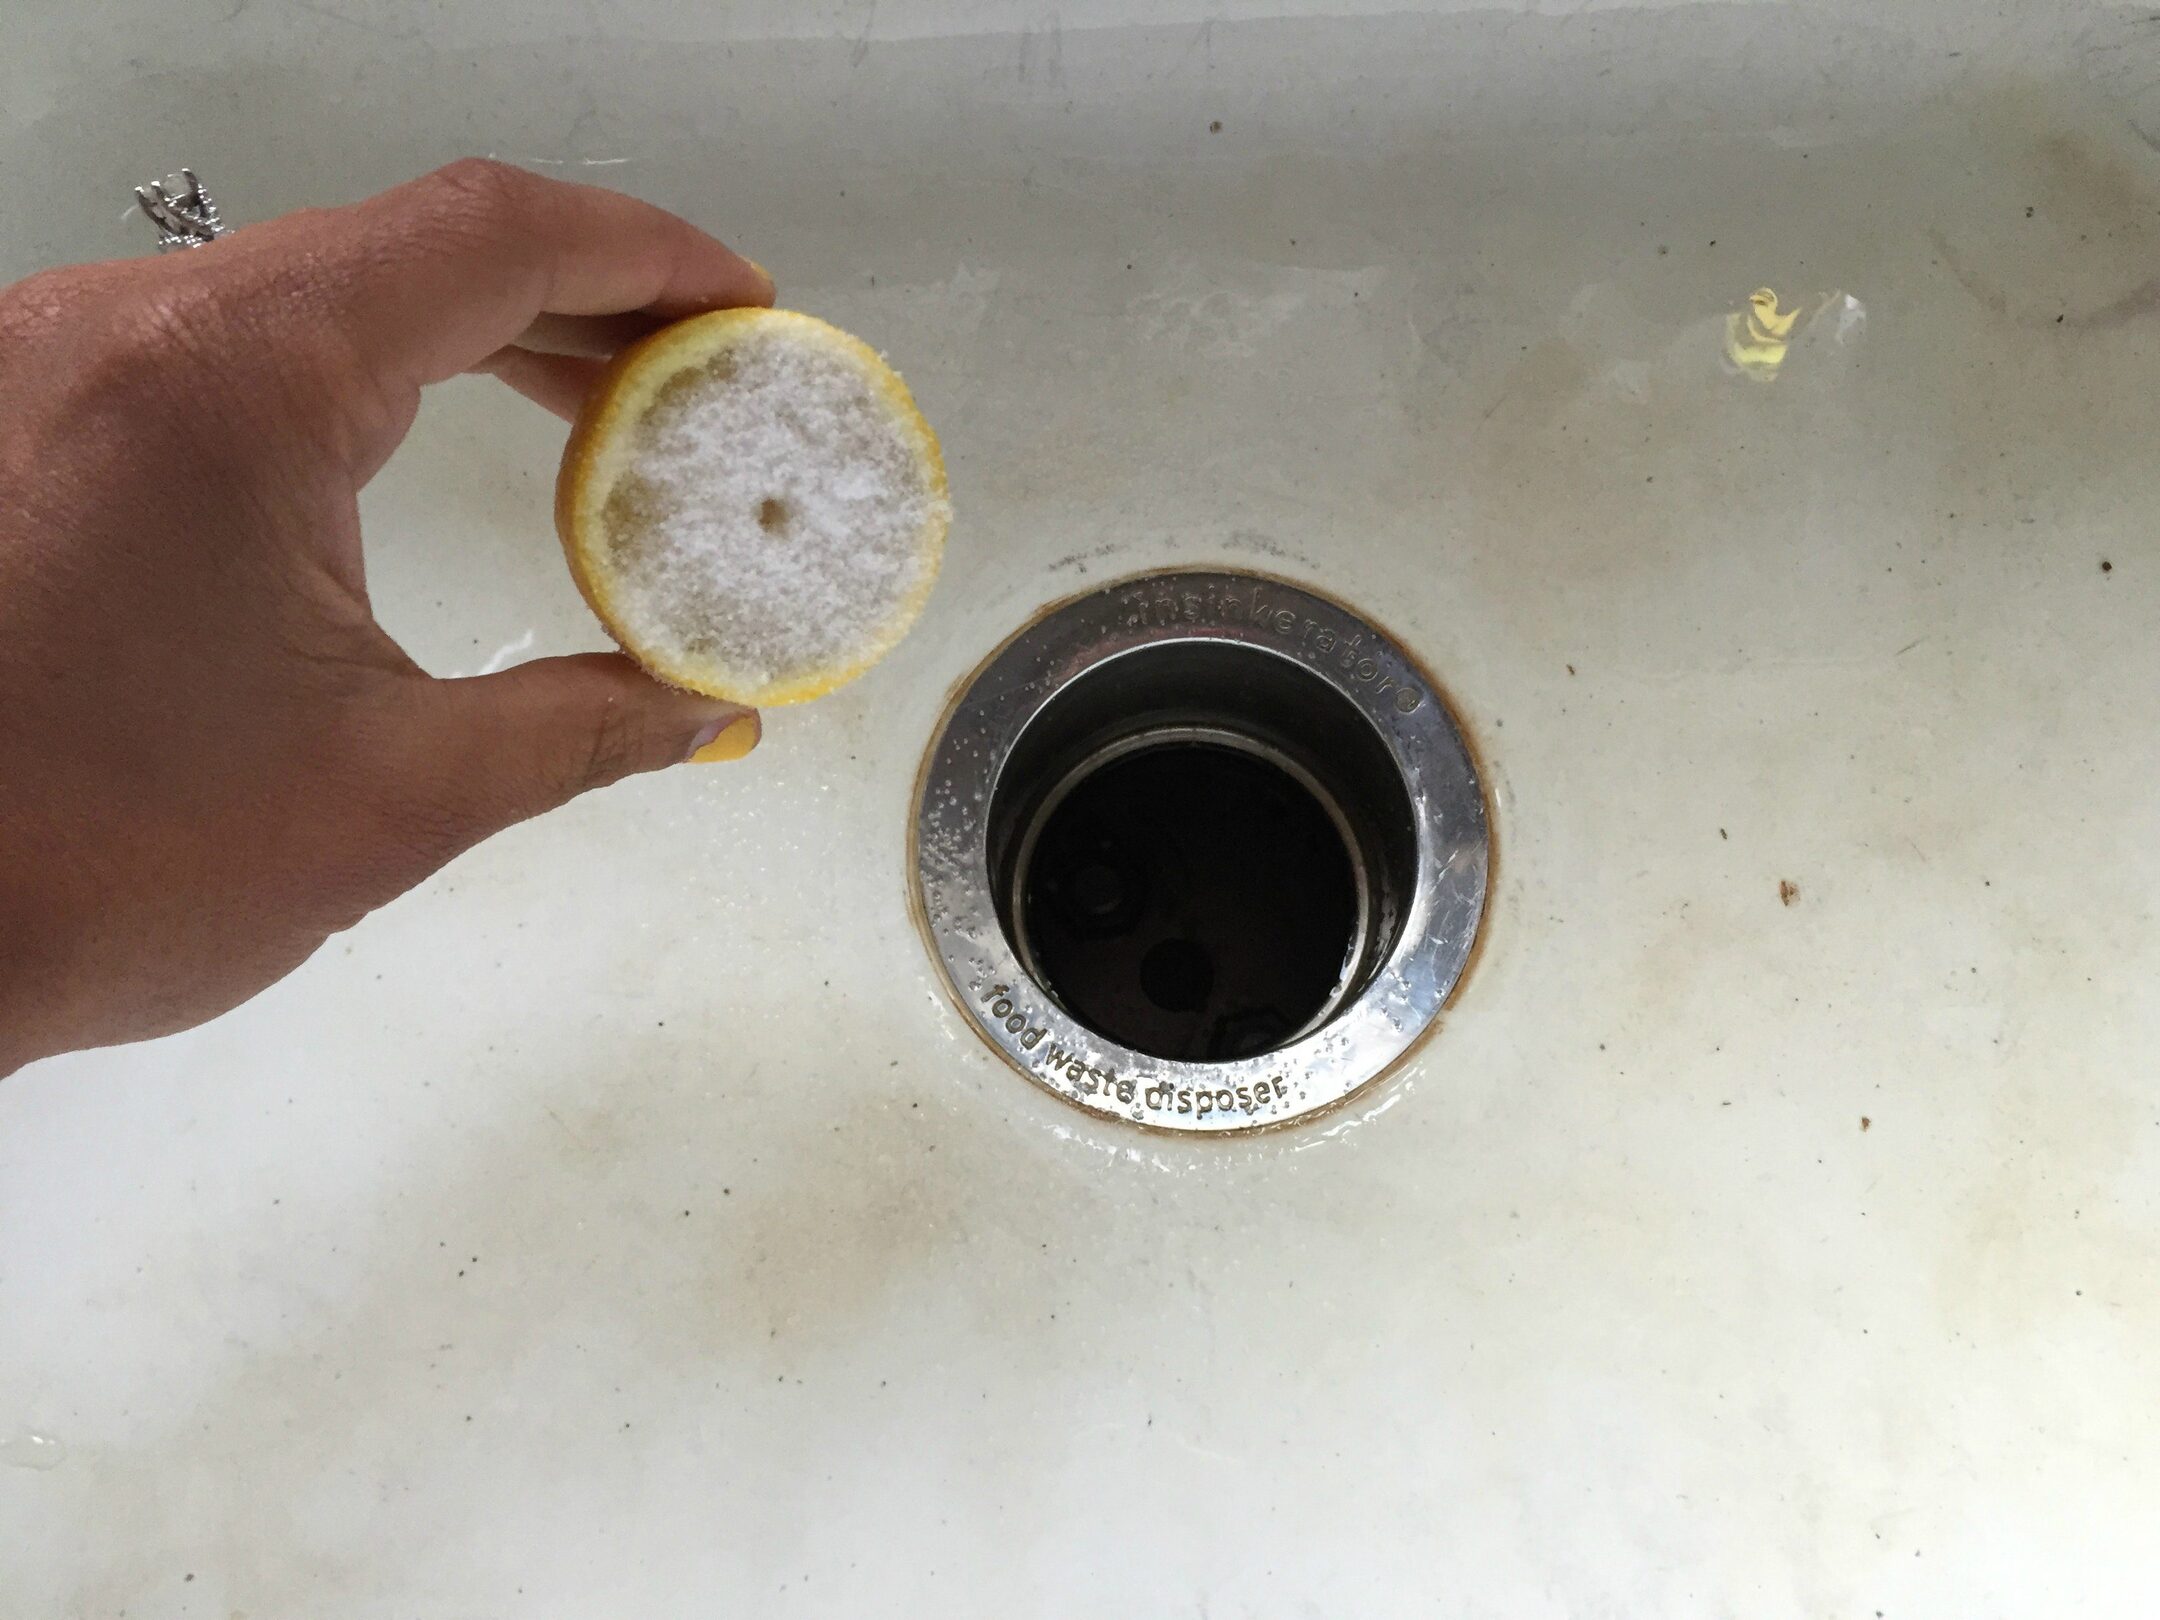
- Vinegar or lemon juice
- Cloth or sponge
- Soft-bristle brush or toothbrush
- Microfiber cloth or towel
- Rubber gloves
These materials are easily accessible and can be found in most households. If you don’t have any of these items on hand, they are readily available in grocery and home improvement stores.
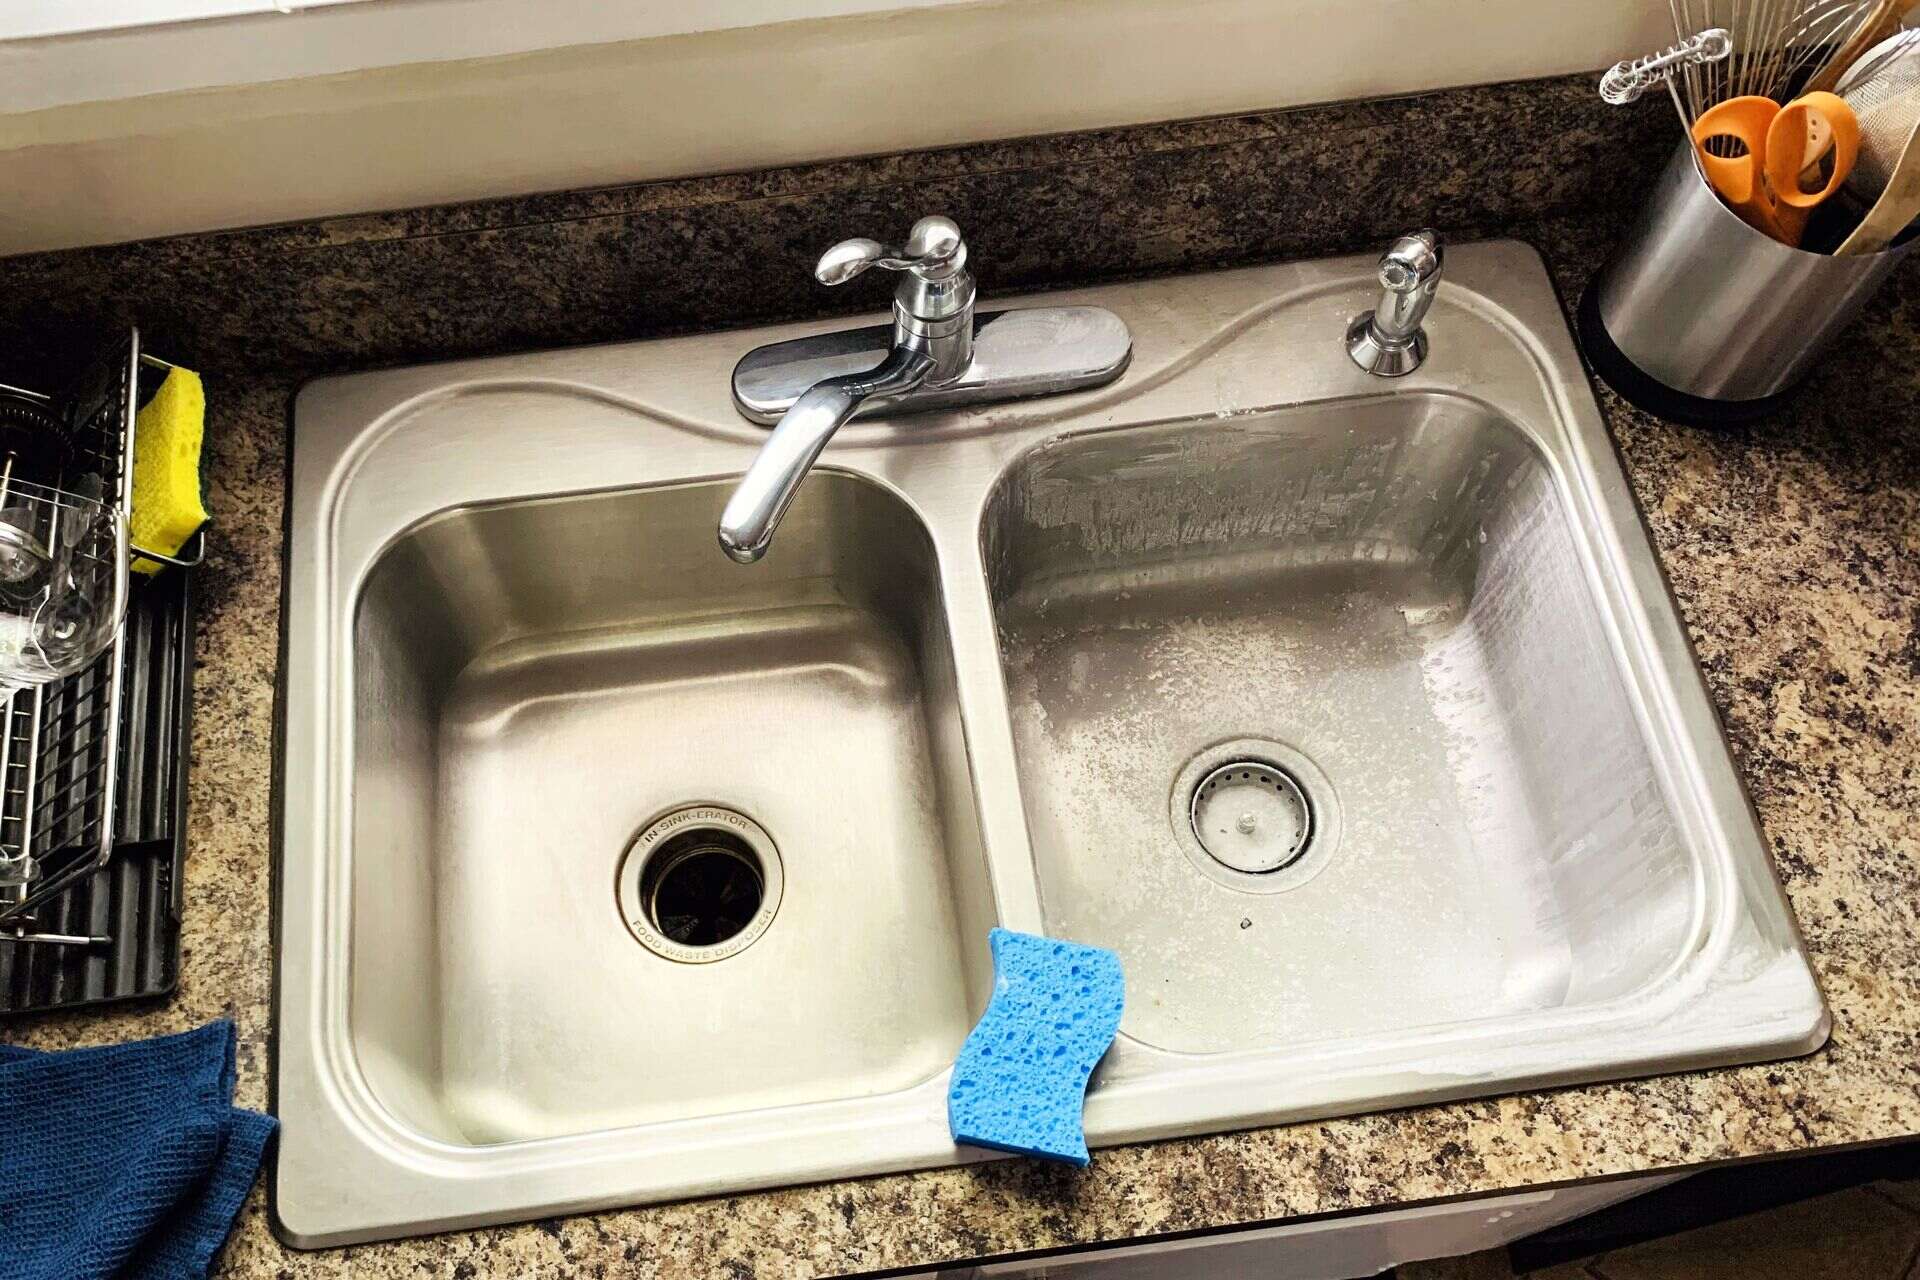
Step 1: Preparing the Sink
The first step in cleaning your black sink is to prepare the surface by removing any loose debris and surface dirt. Here’s how you can do it:
- Clear the sink: Start by removing any dishes, utensils, or other items from the sink. Dispose of any food remnants and empty the sink to provide a clear workspace.
- Rinse the sink: Use warm water to thoroughly rinse the sink. This will help remove loose dirt and particles that may be stuck to the surface.
- Protect yourself: Before proceeding, it’s a good idea to put on rubber gloves to protect your hands from any harsh chemicals or abrasive materials you may use during the cleaning process.
By preparing the sink and getting rid of any loose debris, you will create a clean canvas to work with and ensure a deeper and more effective cleaning.
Step 2: Removing Stains and Dirt
Over time, black sinks can develop stains and dirt that can be stubborn to remove. In this step, we will focus on eliminating these stains and restoring the sink’s pristine appearance. Follow these steps:
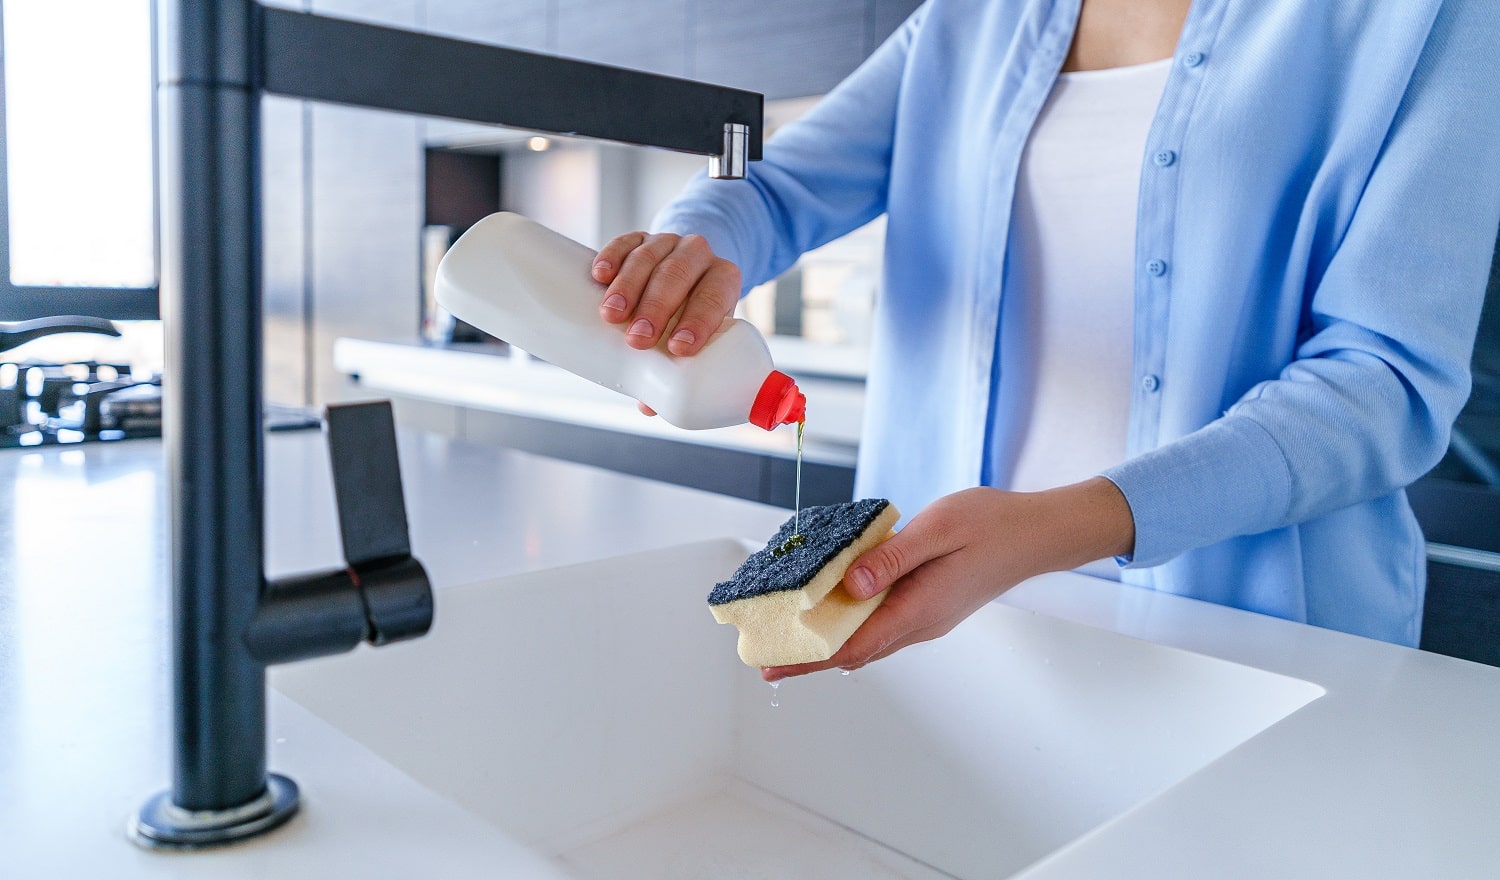
- Create a cleaning solution: Mix equal parts of mild dish soap (or specialized sink cleaner) and warm water in a bowl or bucket. This solution will help break down grease and grime without damaging the sink’s surface.
- Apply the solution: Dip a cloth or sponge into the cleaning solution and gently rub it onto the stained areas of the sink. Pay extra attention to any noticeable stains or discoloration.
- Let it sit: Allow the cleaning solution to sit on the stains for a few minutes. This will give it time to penetrate the dirt and break it down effectively.
- Scrub the sink: After letting the solution sit, take a soft-bristle brush or a toothbrush and gently scrub the stained areas in a circular motion. Apply a bit of pressure to effectively remove the dirt and stains. Avoid using abrasive materials that may scratch the sink’s surface.
- Rinse thoroughly: Once you’ve scrubbed the sink, rinse it thoroughly with warm water to remove any residual cleaning solution and loosened dirt. This will leave your sink looking fresh and clean.
By following these steps, you’ll be able to tackle even the toughest stains and dirt, revitalizing your black sink and bringing back its original shine.
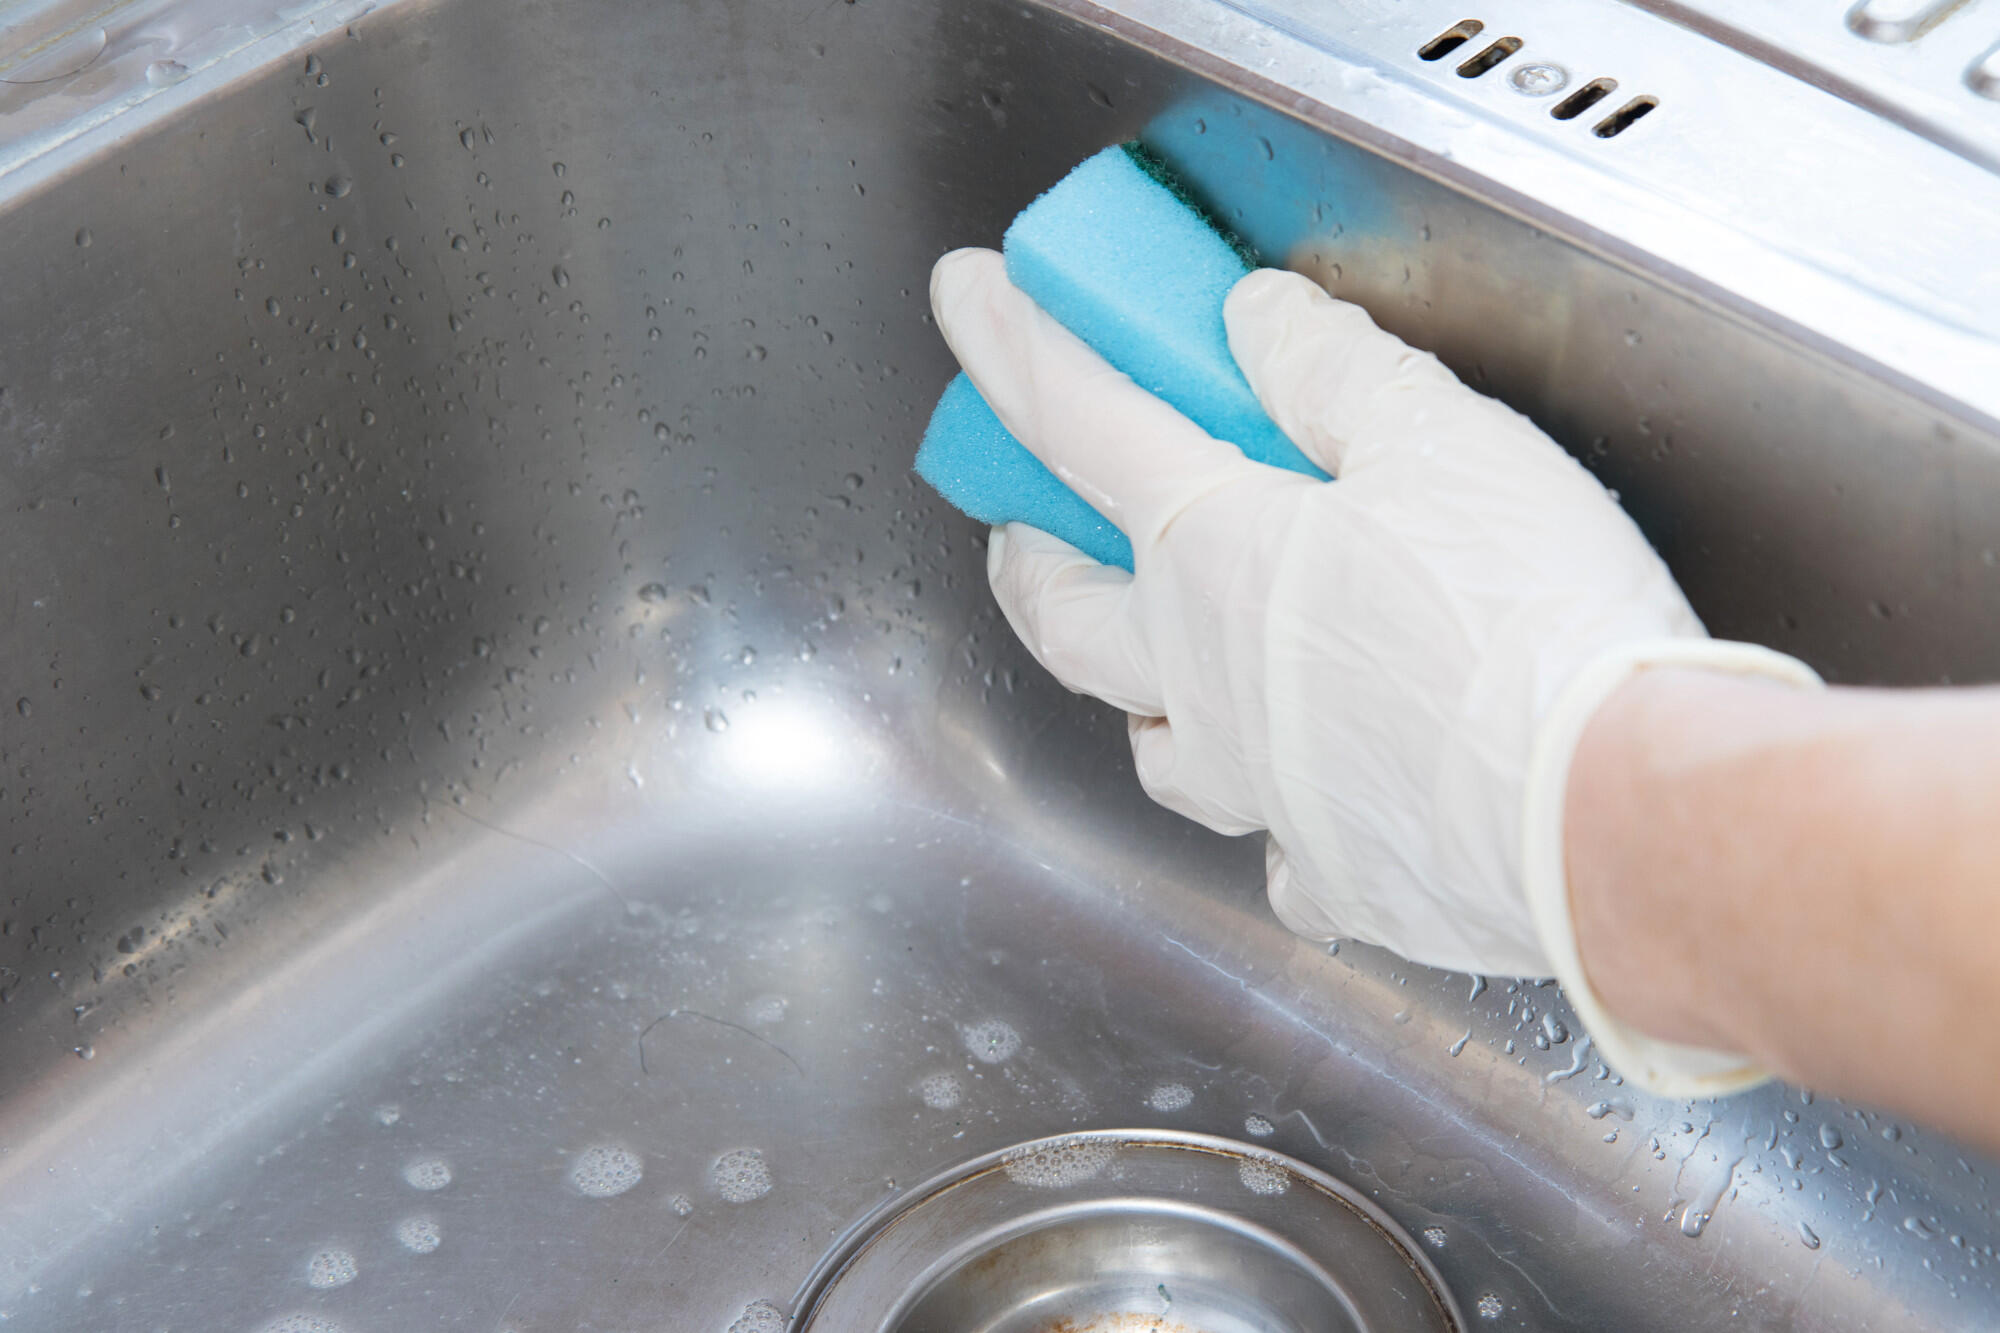
To clean a black sink, mix baking soda and water to form a paste. Use a soft sponge to scrub the sink, then rinse with water and dry with a clean cloth to prevent water spots.
Step 3: Scrubbing the Sink
After removing the stains and dirt, it’s time to give your black sink a thorough scrub to ensure a deep clean. Follow these steps to effectively scrub the sink:
- Apply baking soda: Sprinkle a generous amount of baking soda directly onto the surface of the sink. Baking soda is a natural cleaning agent that can help remove tough stains and odors.
- Scrub the sink: Take a damp cloth or sponge and use it to scrub the sink, focusing on areas that require extra attention. The baking soda will act as a gentle abrasive, helping to remove any remaining stains and residue.
- Use a toothbrush: For hard-to-reach corners and tight spaces, use a toothbrush to scrub the sink. The bristles of the toothbrush will effectively clean these areas without scratching the surface.
- Rinse with water: Once you’ve finished scrubbing the sink, thoroughly rinse it with warm water. This will remove any leftover baking soda and residue, leaving your sink clean and fresh.
By incorporating baking soda into your cleaning routine, you can achieve a deeper clean and remove any lingering stains or odors from your black sink.
Read more: How To Clean A Black Composite Sink
Step 4: Rinsing and Drying
Now that you have finished scrubbing the sink, it’s essential to rinse off any remaining cleaning agents and moisture to prevent streaks or water spots. Follow these steps to ensure a proper rinse and drying process:
- Rinse with warm water: Thoroughly rinse the sink with warm water, making sure to remove any traces of cleaning solution or baking soda. Use your hands or a clean cloth to wipe away any residue.
- Inspect for any missed spots: Take a close look at the sink to ensure that no dirt or stains have been overlooked. If you notice any spots that require further cleaning, repeat the previous steps to address them.
- Dry the sink: To prevent water spots, use a microfiber cloth or a soft towel to carefully dry the sink. Gently wipe in circular motions, ensuring that the entire sink surface is thoroughly dried.
Drying the sink after rinsing is crucial to maintain its cleanliness. It helps prevent mineral deposits from forming, enhances the appearance of the sink, and minimizes the risk of water spots.
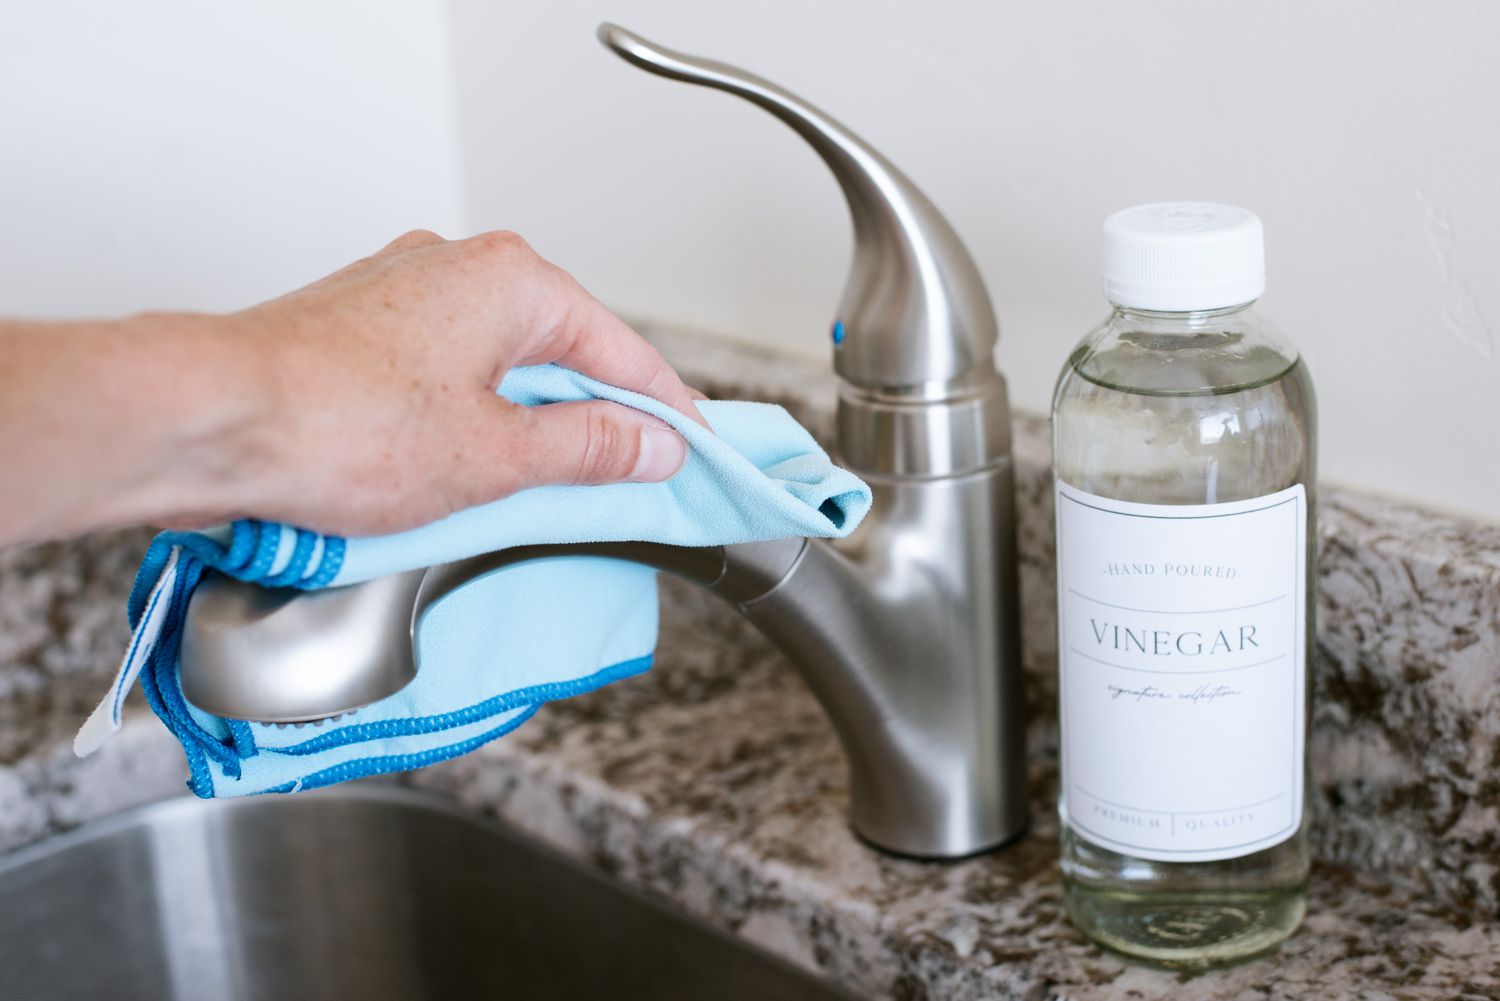
Step 5: Finishing Touches
To complete the cleaning process and add the final touches to your black sink, follow these steps:
- Polish the sink: To bring out the natural shine of your black sink, you can use a specialized sink polish or a small amount of vinegar or lemon juice. Apply it to a cloth and gently buff the sink in circular motions. This will help remove any remaining residue and enhance the sink’s luster.
- Check for any scratches: Take a closer look at the sink’s surface to ensure that no scratches or marks have occurred during the cleaning process. If you notice any, use a sink touch-up kit or a black sink repair gel to fix them, following the manufacturer’s instructions.
- Maintain regular cleaning: To keep your black sink looking its best, incorporate regular cleaning into your routine. Wipe away any spills, clean it regularly with mild dish soap, and avoid using abrasive cleaners or scrub brushes that can damage the surface.
By giving your black sink a final polish and addressing any scratches, you can achieve a truly clean and polished appearance. Remember to maintain regular cleaning habits to ensure your black sink stays in pristine condition for years to come.
Conclusion
Cleaning a black sink doesn’t have to be a daunting task. With the right materials and proper techniques, you can restore its shine and keep it looking beautiful for years to come.
By following the step-by-step process outlined in this article, you can effectively remove stains, dirt, and grime from your black sink. Preparing the sink, removing stains, scrubbing, rinsing and drying, and adding the finishing touches will ensure a thorough and satisfying cleaning experience.
Remember to use mild dish soap or a specialized sink cleaner, along with gentle and non-abrasive materials such as baking soda and soft brushes or sponges. Regular maintenance and avoiding harsh chemicals or abrasive cleaners will help preserve the integrity of your black sink and prevent any damage.
By incorporating these cleaning practices into your routine, you can enjoy a dazzling and pristine black sink that adds a touch of elegance and sophistication to your kitchen or bathroom.
So, roll up your sleeves, gather the materials, and start cleaning your black sink today. You’ll be amazed at the transformative power of a little bit of effort and attention to detail.
Frequently Asked Questions about How To Clean A Black Sink
Was this page helpful?
At Storables.com, we guarantee accurate and reliable information. Our content, validated by Expert Board Contributors, is crafted following stringent Editorial Policies. We're committed to providing you with well-researched, expert-backed insights for all your informational needs.


0 thoughts on “How To Clean A Black Sink”