Articles
How To Clean Utility Sink
Modified: October 20, 2024
Learn the best techniques and tips to effectively clean your utility sink with our informative articles. Achieve a spotless and well-maintained sink effortlessly!
(Many of the links in this article redirect to a specific reviewed product. Your purchase of these products through affiliate links helps to generate commission for Storables.com, at no extra cost. Learn more)
Introduction
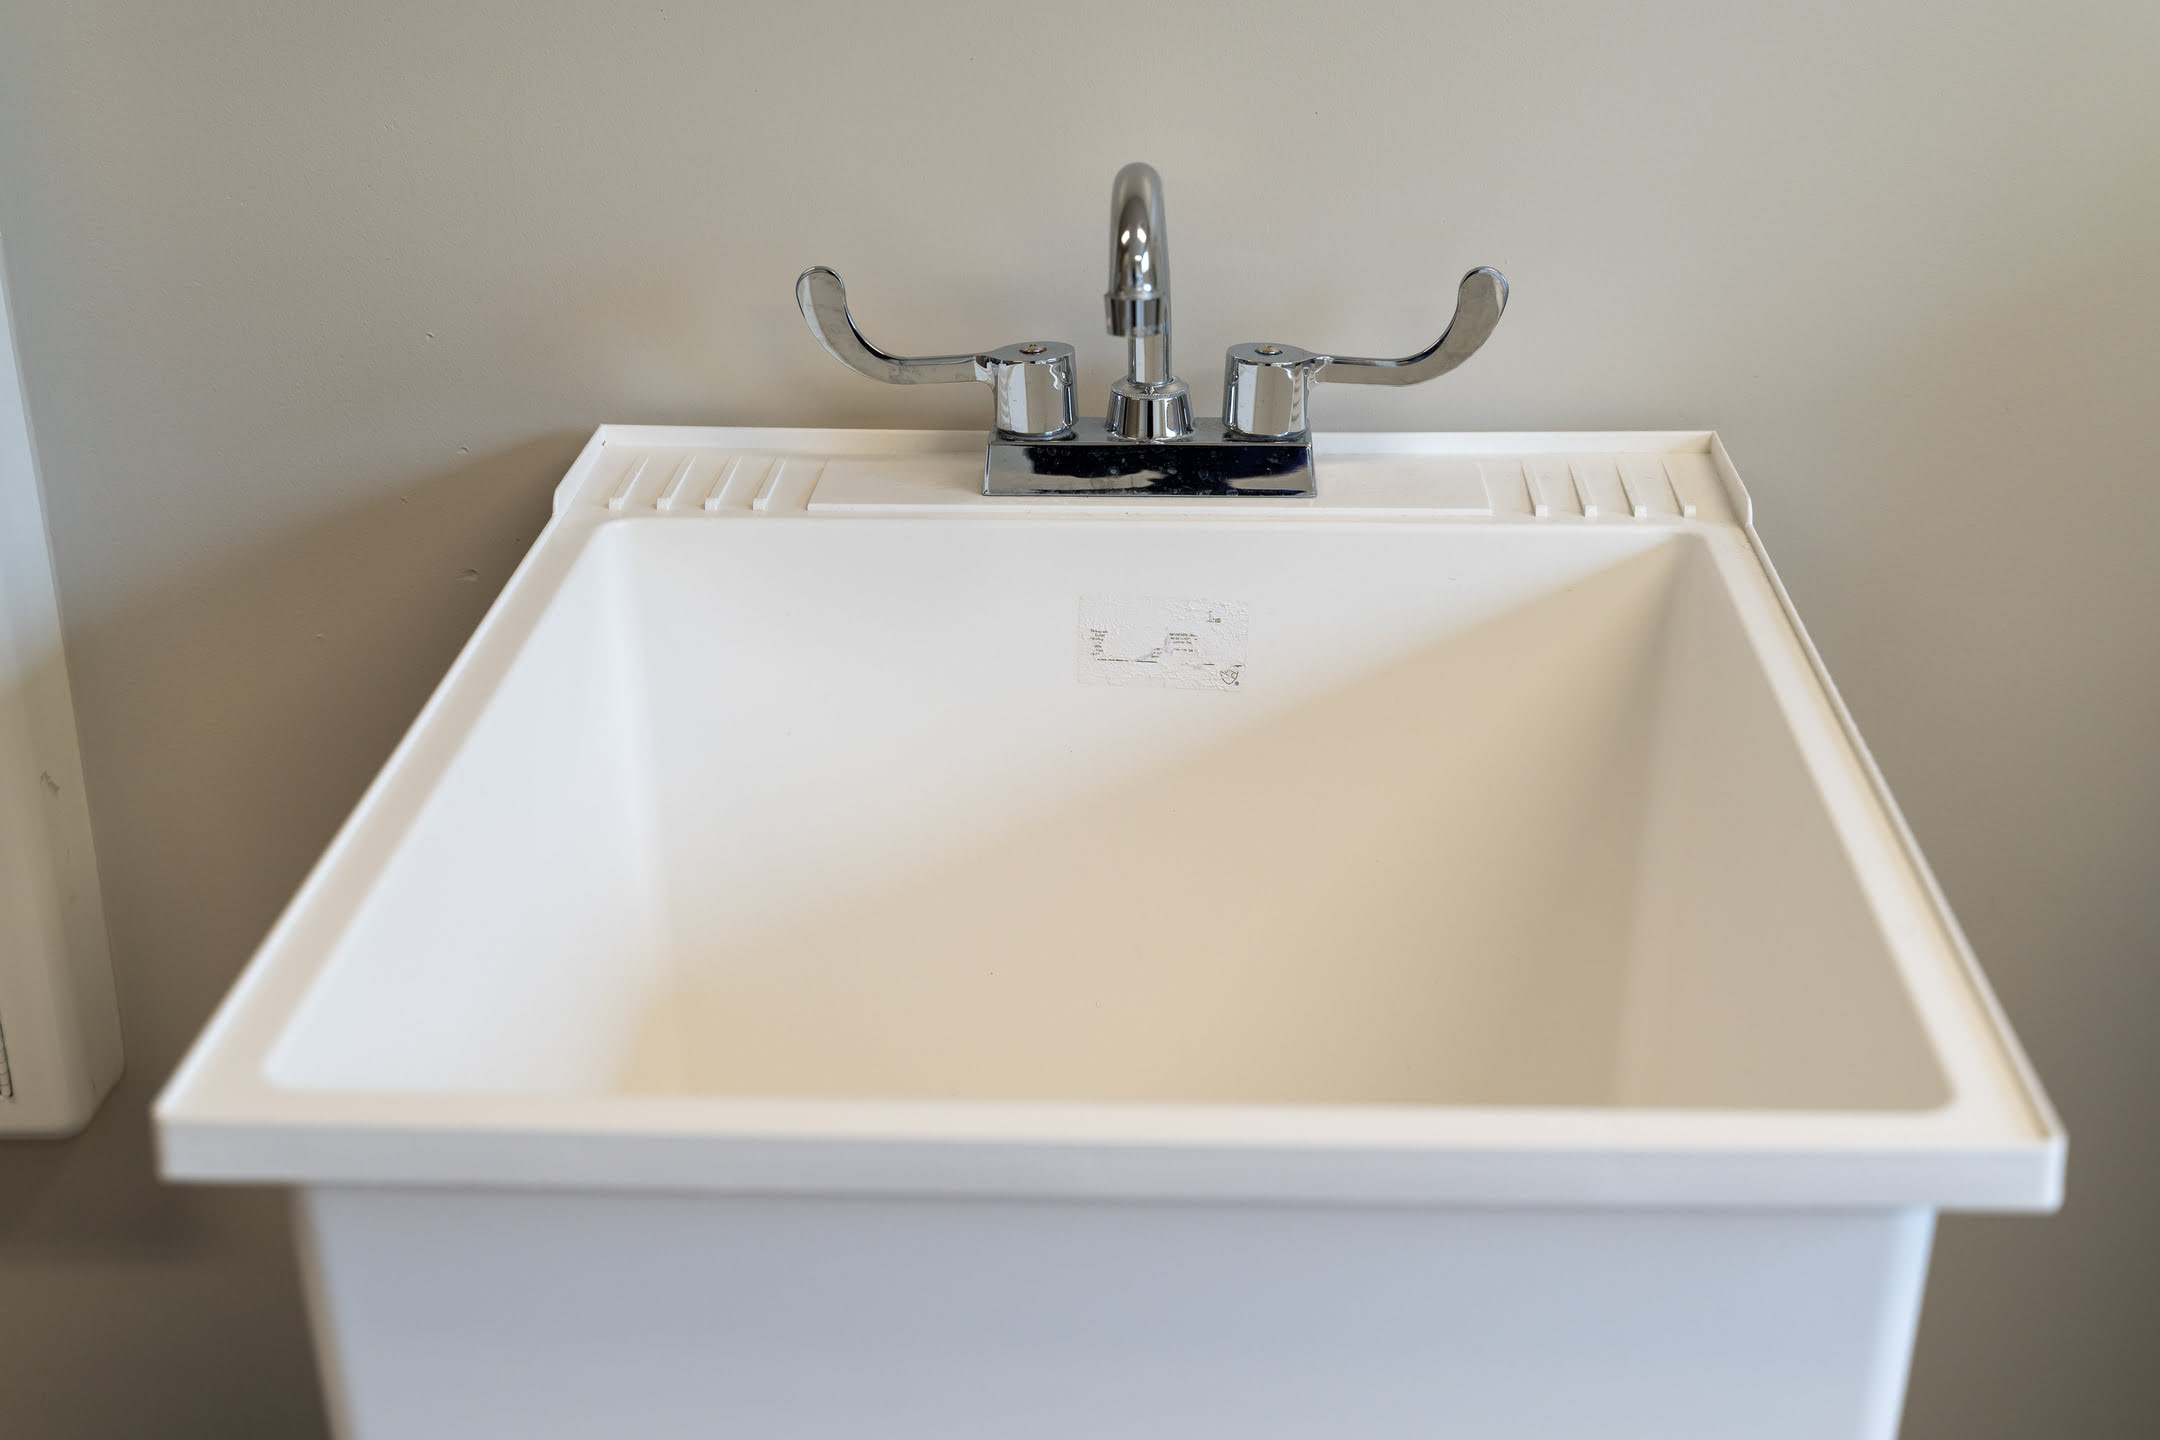
Having a clean and tidy utility sink is essential for maintaining a hygienic and organized space. Whether you use your utility sink for laundry, gardening, or other household tasks, it can accumulate dirt, grime, and even stubborn stains over time. Cleaning your utility sink not only improves its appearance but also helps prevent the growth of bacteria and keeps it functioning optimally.
In this comprehensive guide, we will walk you through the step-by-step process of cleaning your utility sink to ensure it sparkles and remains sanitary. With the right materials and techniques, you can easily restore your utility sink to its original glory.
Before we jump in, it is important to gather the necessary materials. You will need:
- Abrasive cleaner (such as baking soda, vinegar, or commercial sink cleaner)
- Soft scrub brush or sponge
- Gloves to protect your hands
- Microfiber cloth
- Old toothbrush
- Warm water
- Optional: Lemon or lemon juice for removing stains
Now, let’s dive into the step-by-step process of cleaning your utility sink and restoring it to its cleanest state.
Key Takeaways:
- Regular cleaning and maintenance of your utility sink, using simple materials like baking soda and vinegar, can easily restore its cleanliness and prevent the growth of bacteria, ensuring a hygienic and visually appealing space.
- Don’t neglect your utility sink! By following the step-by-step cleaning process and optional stain removal techniques like using lemon or baking soda paste, you can achieve a sparkling, well-maintained sink for all your household needs.
Read more: What Is A Utility Sink
Materials Needed
Before you begin cleaning your utility sink, it is important to gather all the necessary materials. Having everything at hand will make the cleaning process more efficient and ensure that you have everything you need to tackle any stains or grime. Here is a list of materials you will need:
- Abrasive cleaner: This can be baking soda, vinegar, or a commercial sink cleaner. Each of these options is effective at removing dirt, grime, and stains from your utility sink.
- Soft scrub brush or sponge: You will need a soft scrub brush or sponge to apply the abrasive cleaner and scrub away any dirt or stains. Make sure the brush or sponge is gentle enough to not scratch the surface of your sink.
- Gloves: It is important to protect your hands while cleaning. Wearing gloves will not only keep your hands clean but also protect them from any harsh chemicals in the cleaning products.
- Microfiber cloth: A microfiber cloth is perfect for wiping down and drying the sink after cleaning. It is highly absorbent and leaves no lint behind, giving your sink a streak-free finish.
- Old toothbrush: An old toothbrush is handy for reaching tight corners, crevices, and hard-to-reach areas of your sink.
- Warm water: You will need warm water to rinse off the cleaner and remove any residue from the sink.
- Optional: Lemon or lemon juice: If your utility sink has stubborn stains, using lemon or lemon juice can help break down the stains and leave your sink smelling fresh.
Now that you have all the necessary materials, let’s move on to the step-by-step process of cleaning your utility sink.
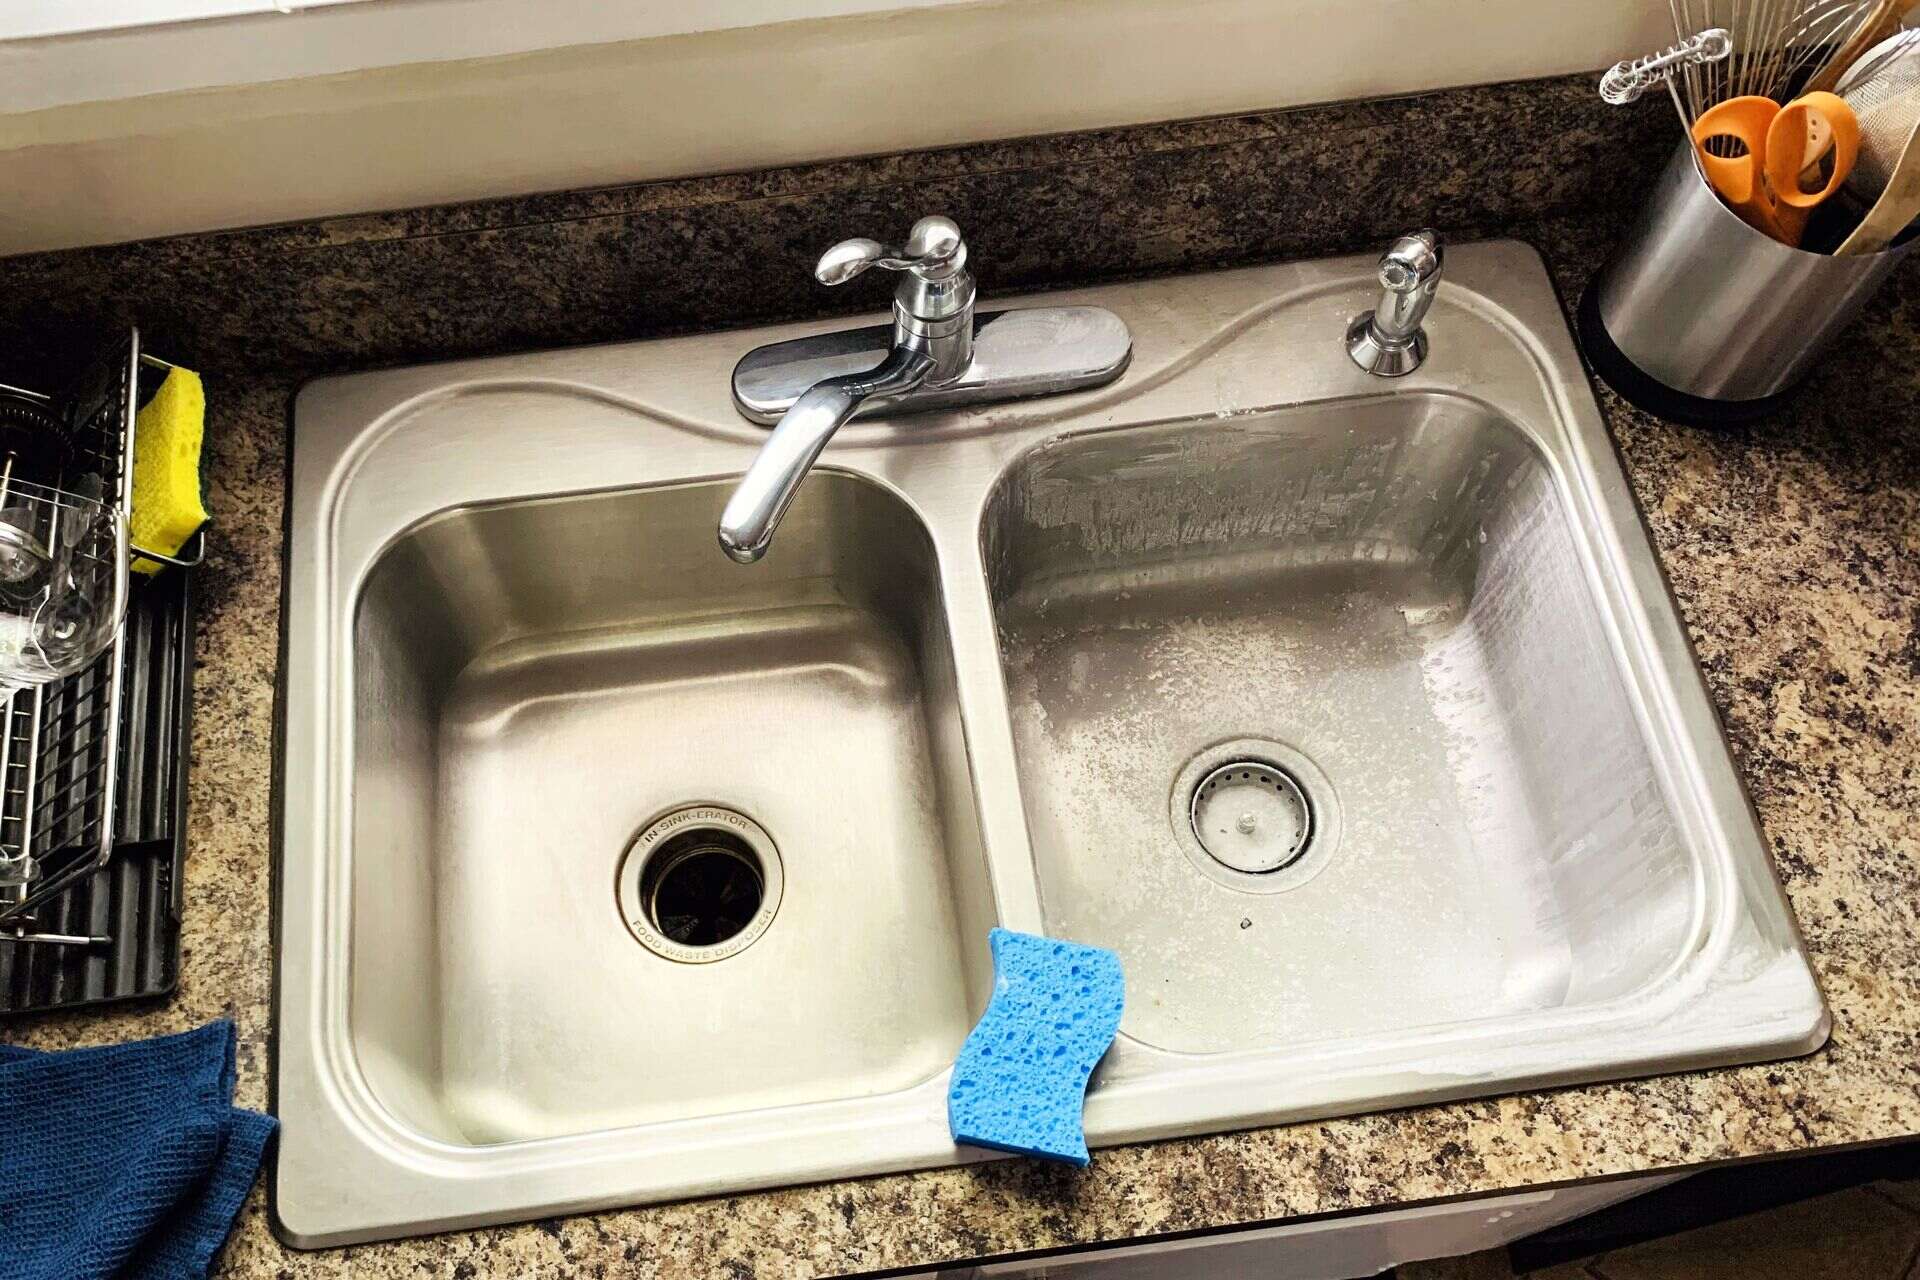
Step 1: Clearing the Sink
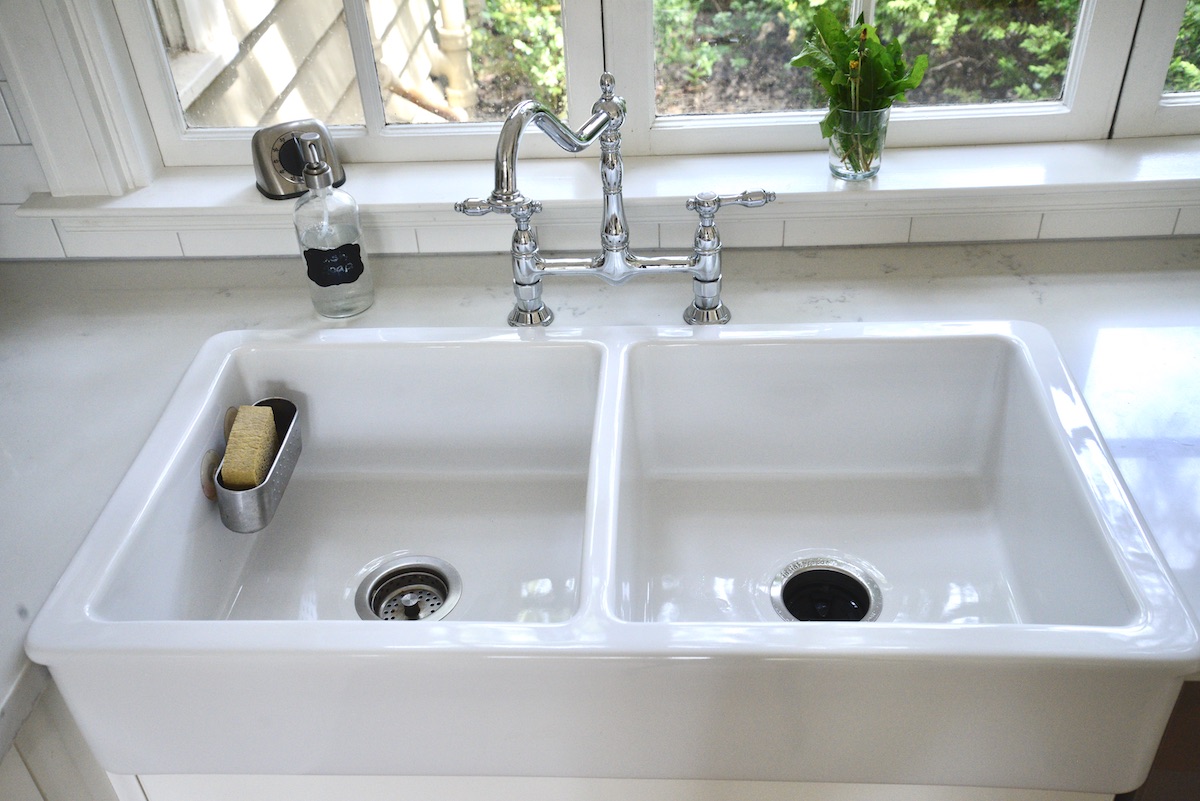
Before you begin cleaning your utility sink, it is important to clear out any items and debris that may be inside. Remove any dishes, utensils, or other objects that might be in the sink. Dispose of any trash or food scraps that may have accumulated.
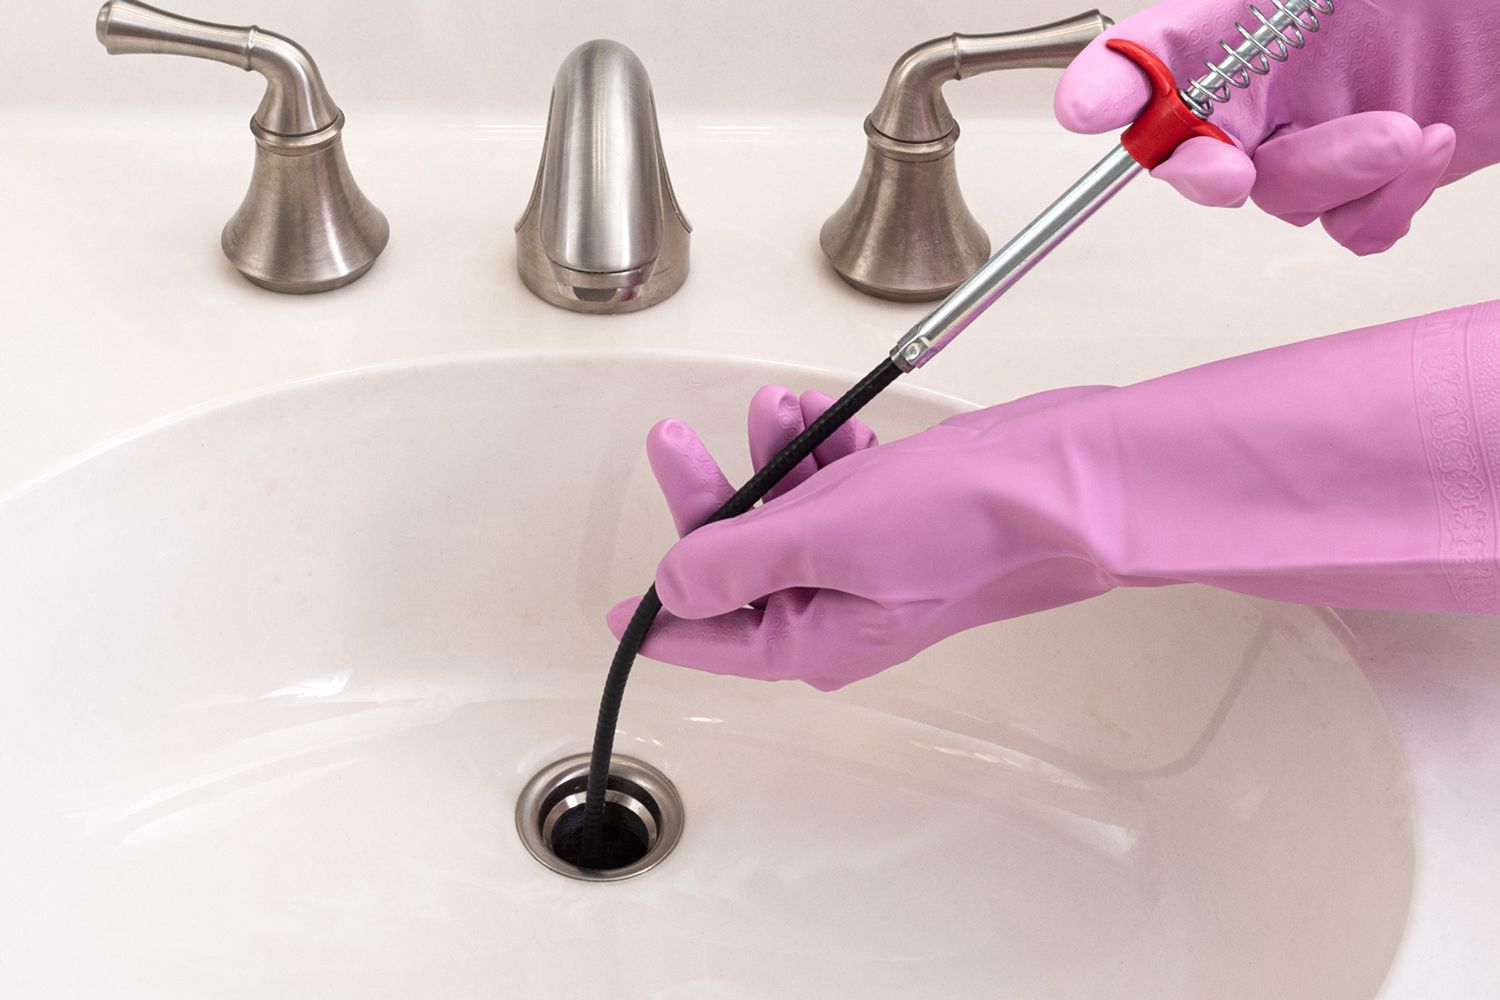
If there are any large pieces of debris or food particles stuck in the sink drain, use a glove or a paper towel to carefully remove them. You can also use a plunger to help loosen and remove any clogs in the drain if necessary.
Once the sink is cleared, rinse it with warm water to remove any loose dirt or residue. This will provide a clean surface to work with when applying the cleaner.
Now that the sink is clear and ready, let’s move on to the next step: applying the cleaner.
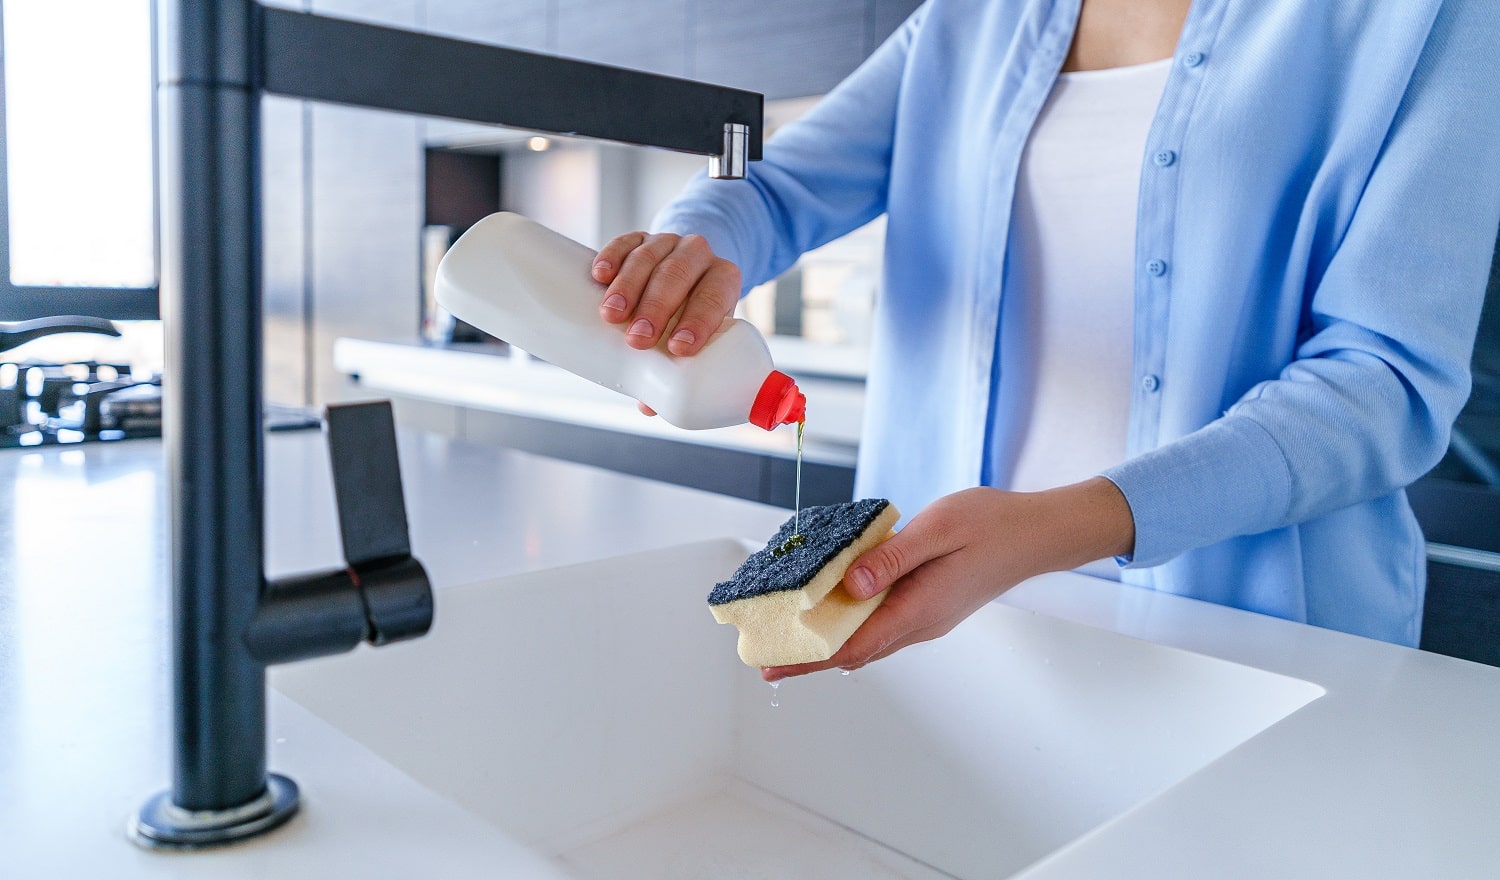
Step 2: Apply the Cleaner
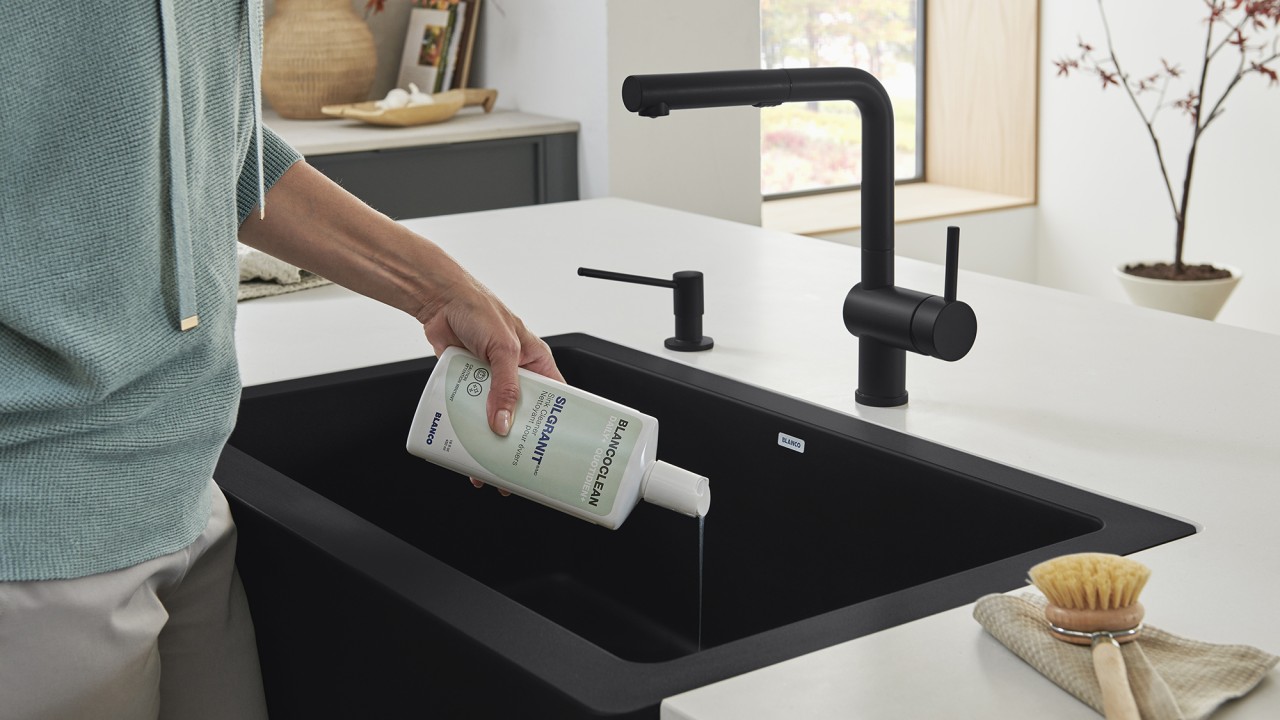
Now that you have cleared the sink, it’s time to apply the cleaner and start removing any built-up dirt and grime. As mentioned earlier, you can use an abrasive cleaner such as baking soda, vinegar, or a commercial sink cleaner.
If you are using baking soda, sprinkle a generous amount over the surface of the sink. If you are using vinegar, you can either fill a spray bottle with vinegar and spray it directly onto the sink or soak a cloth or sponge in vinegar and apply it to the surface. For commercial sink cleaners, simply follow the instructions on the packaging.
Allow the cleaner to sit on the surface of the sink for a few minutes to penetrate the dirt and stains. This will make the scrubbing process easier and more effective.
Remember to wear gloves to protect your hands from any chemicals in the cleaner. Safety should always be a priority when cleaning.
Once the cleaner has had time to work its magic, it’s time to move on to the next step: scrubbing the sink.
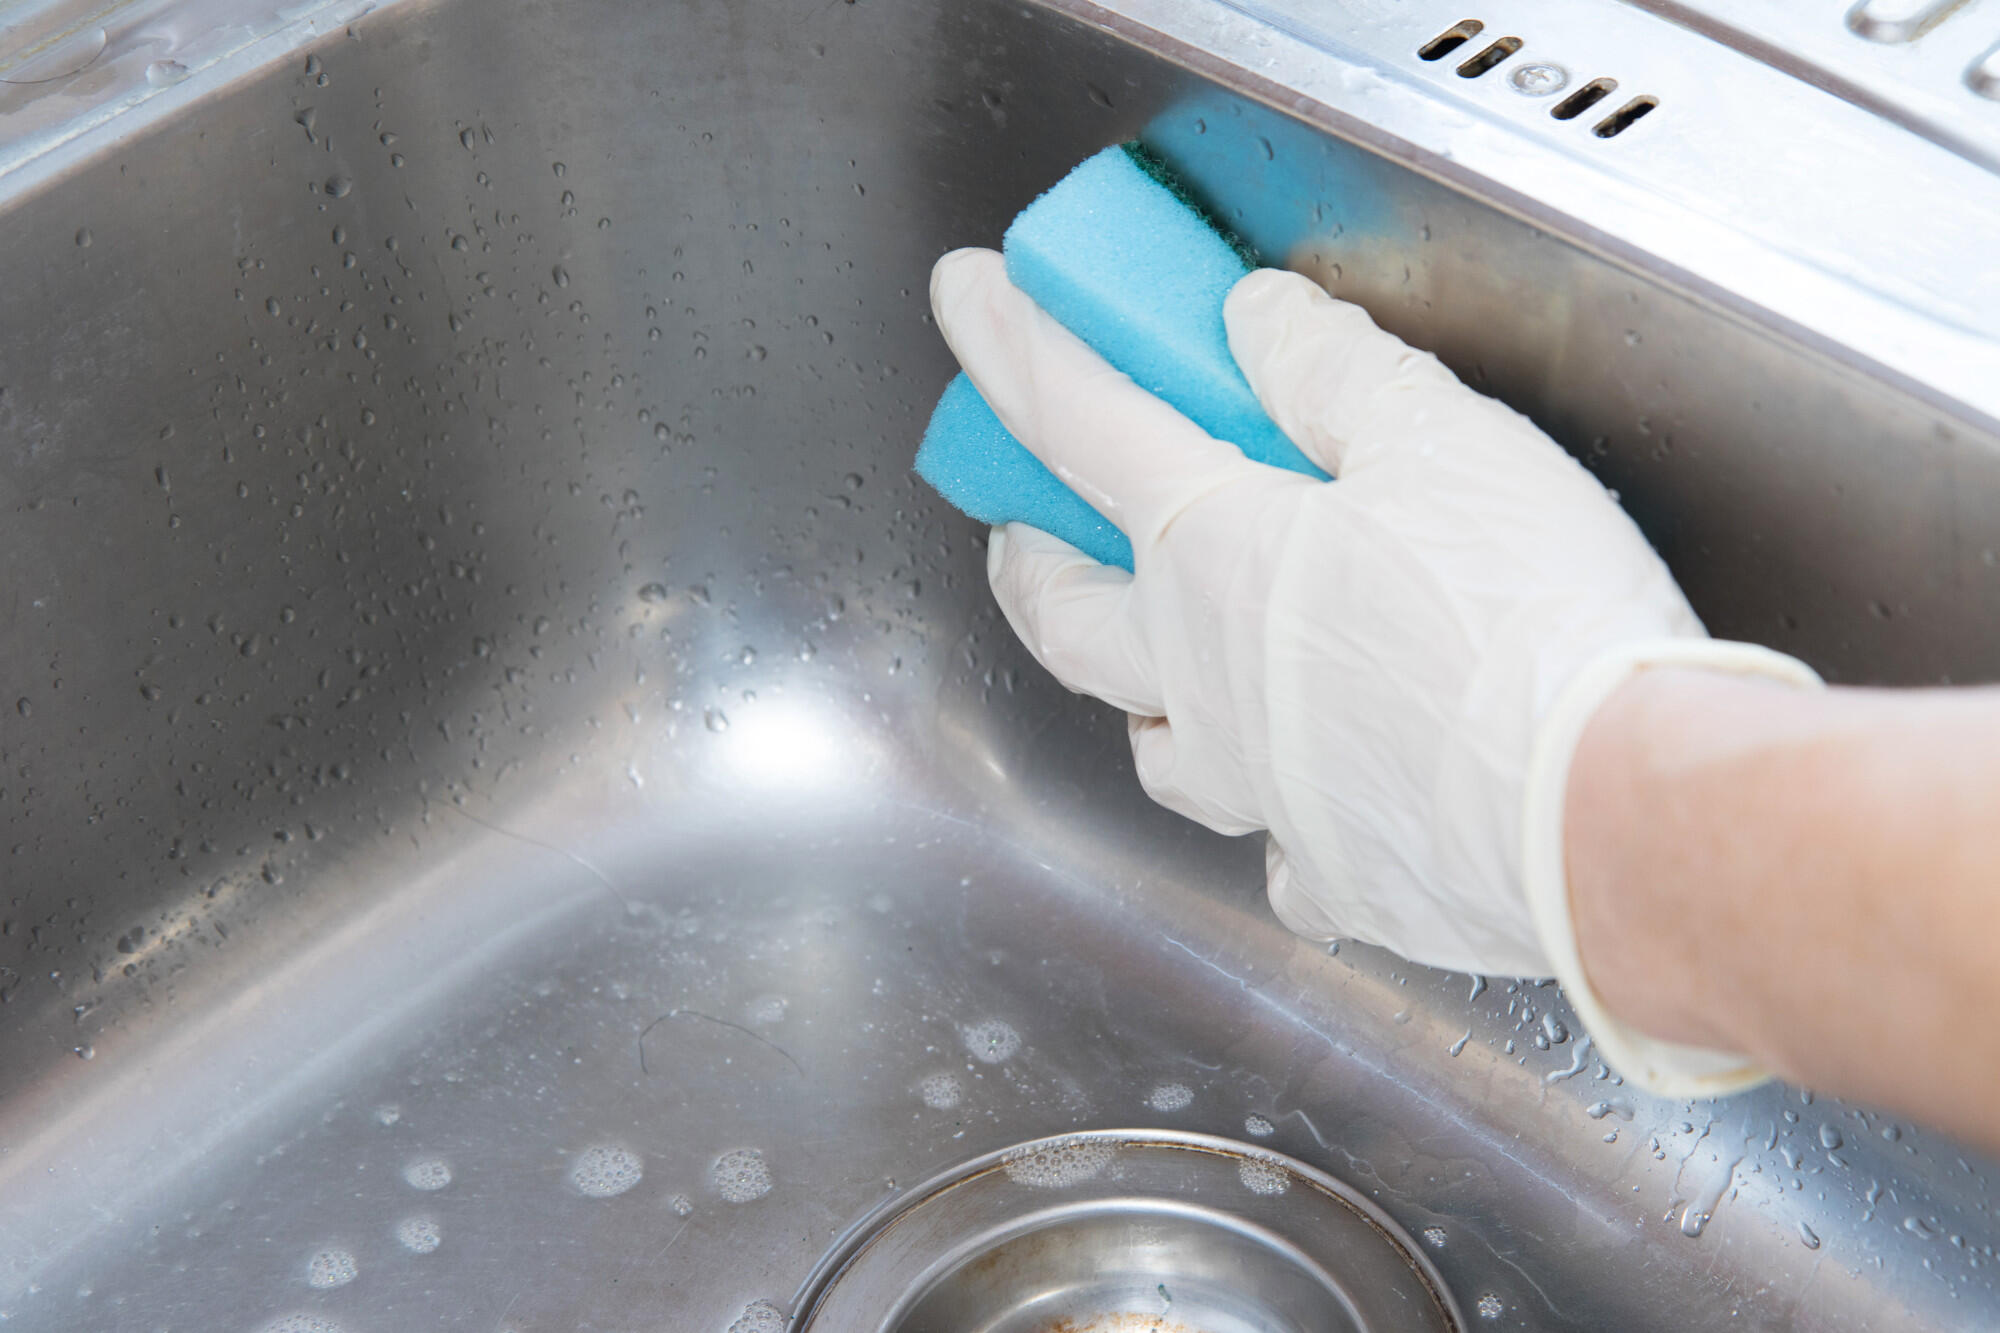
Step 3: Scrubbing the Sink
Now that the cleaner has had time to work its magic, it’s time to grab your soft scrub brush or sponge and start scrubbing the sink.
Dip the brush or sponge in warm water to moisten it, and then use small circular motions to scrub the entire surface of the sink. Pay special attention to any areas with built-up dirt, stains, or grime.
If you encounter stubborn stains or deposits, you can apply a bit more pressure and focus on those areas. For tough stains, you can also use the old toothbrush to scrub them away.
As you scrub, periodically rinse your brush or sponge in warm water to remove any debris and ensure you are working with a clean tool. This will help prevent any dirt or grime from being spread around the sink.
Continue scrubbing the sink until you have covered the entire surface and are satisfied with the cleanliness. If needed, you can repeat the scrubbing process with the cleaner to achieve a deeper clean.
Once you are done scrubbing, it’s time to move on to the next step: rinsing the sink.
To clean a utility sink, start by removing any debris and then scrub the surface with a mixture of water and mild detergent. For tough stains, use a paste of baking soda and water. Rinse thoroughly and dry with a clean cloth.
Read more: How To Install Utility Sink In Basement
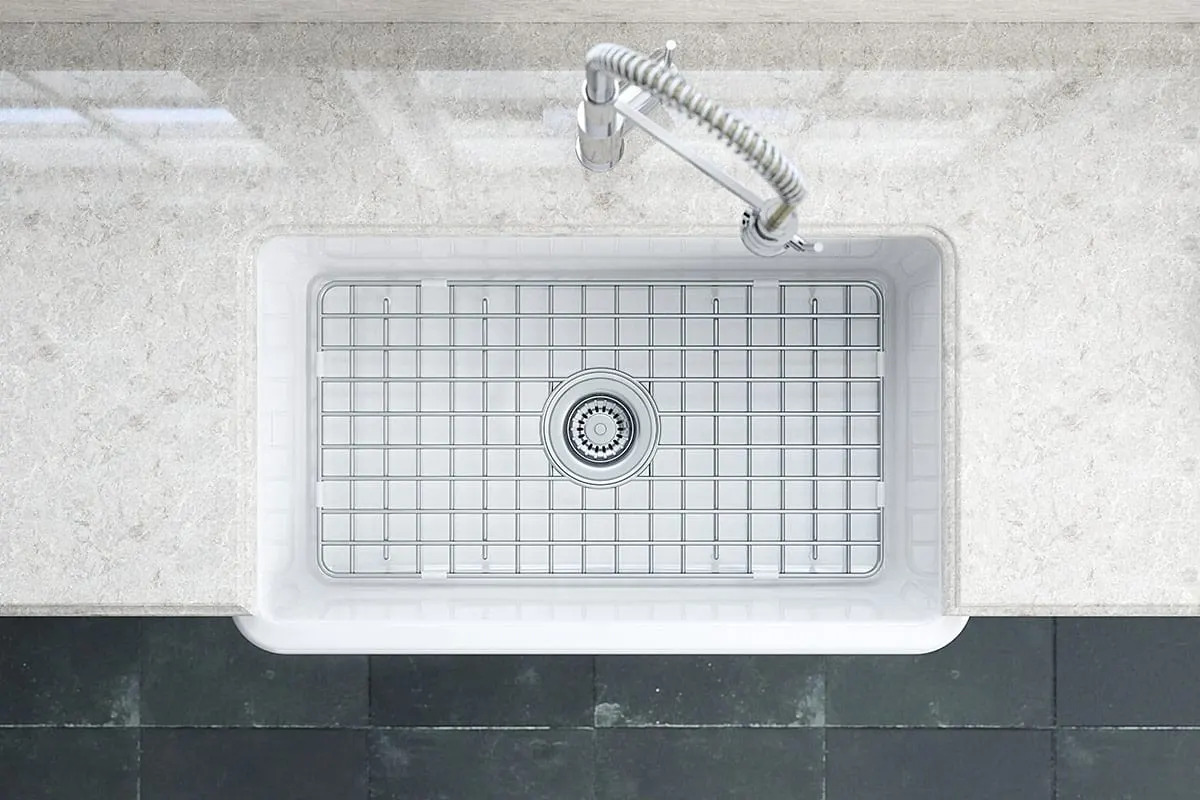
Step 4: Rinsing the Sink
After scrubbing the sink, it’s important to thoroughly rinse away any remaining cleaner and residue. This step will ensure that your sink is clean and free from any chemicals.
Start by turning on the faucet and allowing warm water to flow into the sink. Use your hand or a cup to splash water all over the surface of the sink, ensuring that every area is rinsed.
Continue rinsing until you no longer see any suds or traces of the cleaner. Be thorough in your rinsing to ensure that no residue is left behind.
If you have a detachable sprayer or faucet head, use it to spray water across the sink and reach all the corners and crevices.
Once you’re done rinsing the sink, take a moment to inspect it and make sure it looks clean and free of any remaining dirt or stains. If necessary, repeat the rinsing process to ensure a thorough clean.
Now that the sink is rinsed and clean, it’s time to move on to the next step: cleaning the faucet.
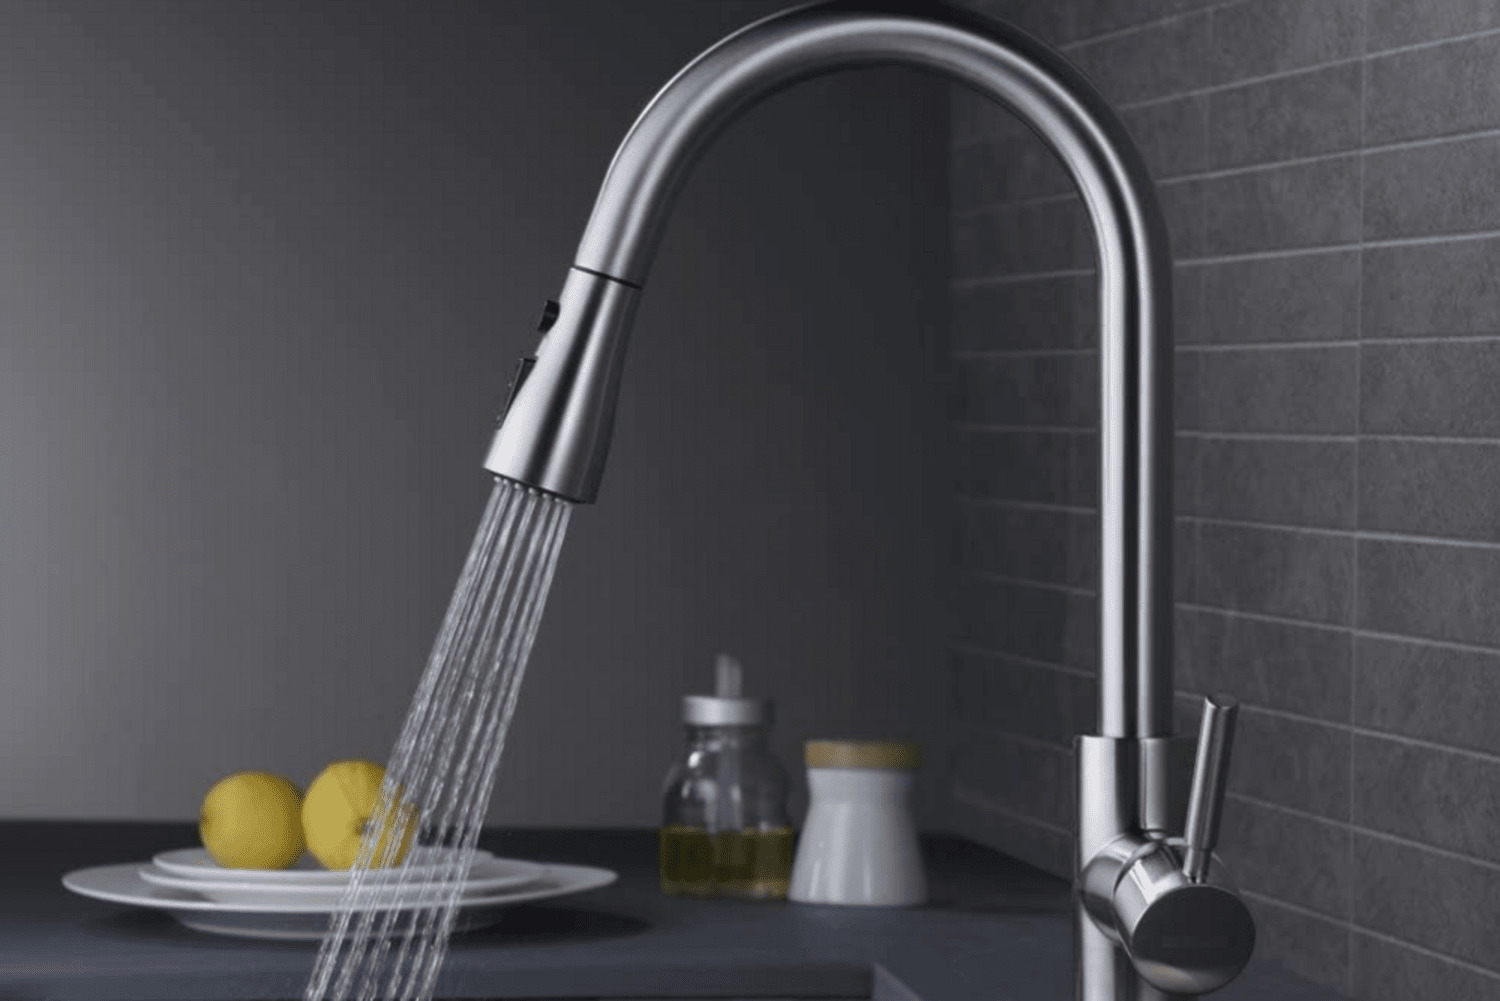
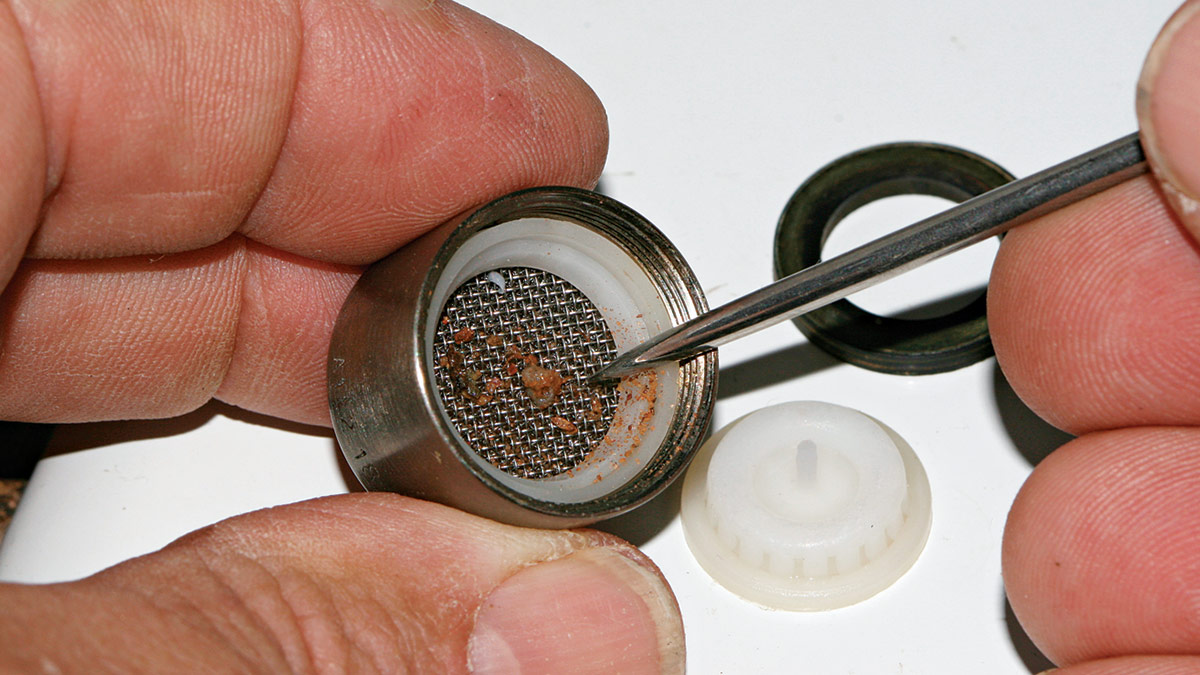
Step 5: Cleaning the Faucet
While cleaning the utility sink, it’s important not to neglect the faucet. The faucet can accumulate dirt, water spots, and grime, so it’s essential to give it some attention as well.
Start by dampening a microfiber cloth with warm water. Gently wipe down the entire surface of the faucet, including the handles and spout, to remove any loose dirt or residue.
For any stubborn stains or water spots, you can use a mixture of water and vinegar. Dip a cloth into the vinegar solution and gently scrub the affected areas. Be careful not to use any abrasive materials or harsh chemicals that could damage the faucet’s finish.
For hard-to-reach areas or tight spaces, use an old toothbrush dipped in the vinegar solution to scrub away any grime or buildup.
Once you have thoroughly cleaned the faucet, rinse it with warm water and wipe it dry with a clean microfiber cloth.
Take a moment to admire your sparkling clean faucet. It’s now time to move on to the next step: removing stains (optional).
Step 6: Removing Stains (Optional)
If your utility sink has stubborn stains that are not easily removed with the previous steps, you can take some additional measures to tackle them.
One effective method is to use lemon or lemon juice. Cut a lemon in half or squeeze some lemon juice onto the stained areas of the sink. Let it sit for a few minutes to allow the acidity of the lemon to break down the stains.
Afterward, use a soft scrub brush or sponge to gently scrub the stained areas. The natural acidity of the lemon will help to remove the stains and leave your sink smelling fresh.
If the lemon method does not fully remove the stains, you can make a paste using baking soda and water. Apply the paste to the stains and use a brush or sponge to scrub them away.
For particularly stubborn stains, you can try using a commercial stain remover or a mixture of hydrogen peroxide and baking soda. However, be sure to follow the instructions on the product and test it on a small, inconspicuous area of the sink first to avoid any damage.
Once the stains are successfully removed, rinse the sink thoroughly with warm water and wipe it dry with a clean cloth.
Now that you have tackled any stains in your sink, it’s time to move on to the final step: drying the sink.
Step 7: Drying the Sink
After thoroughly cleaning and rinsing your utility sink, it’s important to properly dry it to prevent any water spots or streaks from forming. Drying the sink will also help restore its shine and leave it looking spotless.
Start by using a clean microfiber cloth to wipe down the entire surface of the sink. Pay special attention to corners, edges, and any areas where water may pool. Make sure to remove any excess water or moisture.
If your sink has a stainless steel or chrome finish, you can use a dry, lint-free cloth to buff the surface and remove any remaining water spots or streaks. This will give your sink a polished and shiny appearance.
It’s also a good idea to dry the faucet separately using a soft cloth to prevent water spots and keep it looking clean and shiny.
Once the sink and faucet are fully dry, take a step back and admire your sparkling clean utility sink. It’s now ready for use!
Remember, regular cleaning and maintenance of your utility sink will help keep it in top condition and prolong its lifespan. Make it a habit to clean your sink regularly to prevent the accumulation of dirt and stains.
By following these step-by-step instructions and using the proper cleaning techniques, you can enjoy a clean, hygienic, and visually appealing utility sink for all your household needs.
So go ahead, give your utility sink the attention it deserves and enjoy the satisfaction of a clean and well-maintained space!
Thank you for reading and happy cleaning!
Read more: Best Utility Sink With Cabinet For Your Home
Conclusion
Keeping your utility sink clean and free from dirt, grime, and stains is essential for maintaining a hygienic and organized space. With the step-by-step process provided in this guide, you can easily clean your utility sink and restore it to its pristine condition.
From clearing the sink and applying the cleaner to scrubbing away dirt and rinsing off residue, each step plays a crucial role in achieving a clean and sparkling sink. Additionally, taking the time to clean the faucet and removing stubborn stains brings the entire sink to a new level of cleanliness.
Remember to gather the necessary materials, such as an abrasive cleaner, a soft scrub brush or sponge, gloves, and a microfiber cloth, before starting the cleaning process. Optional steps, like using lemon or lemon juice for stains, can be employed if necessary.
Properly drying your sink after cleaning helps prevent water spots and streaks and leaves it looking polished and shiny. Regular maintenance and cleaning of your utility sink will ensure it remains in optimal condition and continues to serve its purpose effectively.
By following the tips and techniques outlined in this guide, you can easily keep your utility sink clean, hygienic, and visually appealing for all your household needs.
So, don’t neglect your utility sink any longer. Take the time to give it the thorough cleaning it deserves, and enjoy the satisfaction of a clean and functional space.
Thank you for reading, and happy cleaning!
Frequently Asked Questions about How To Clean Utility Sink
Was this page helpful?
At Storables.com, we guarantee accurate and reliable information. Our content, validated by Expert Board Contributors, is crafted following stringent Editorial Policies. We're committed to providing you with well-researched, expert-backed insights for all your informational needs.


0 thoughts on “How To Clean Utility Sink”