
Articles
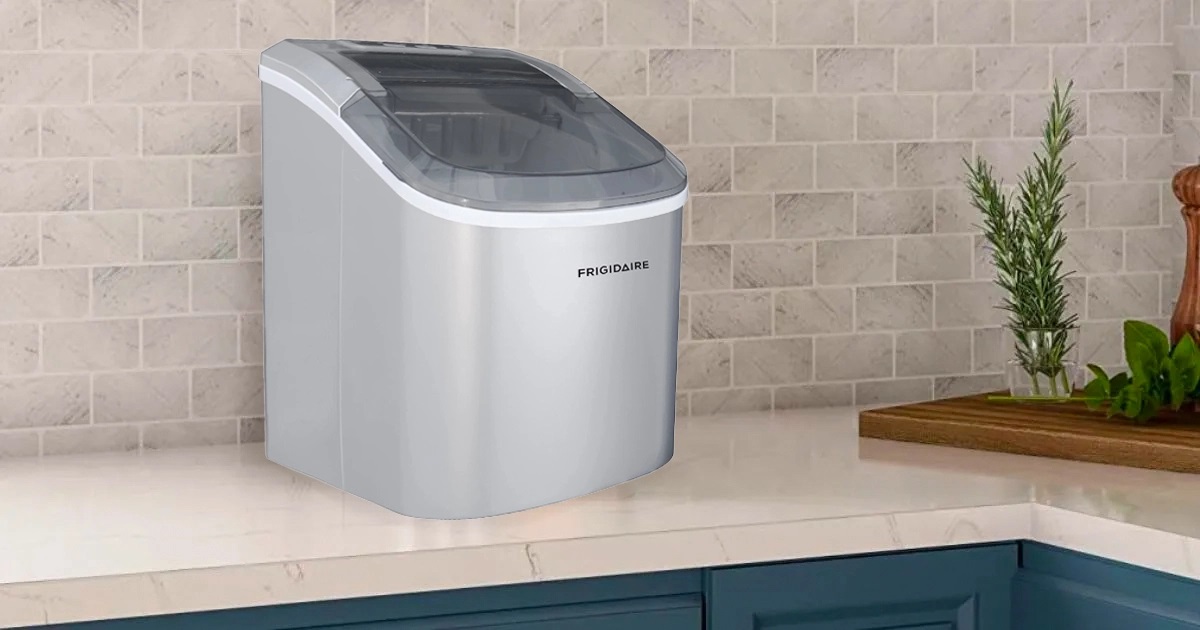
How To Clean Frigidaire Countertop Ice Maker
Modified: August 16, 2024
Learn how to clean your Frigidaire countertop ice maker with these helpful articles. Keep your ice maker running smoothly and efficiently!
(Many of the links in this article redirect to a specific reviewed product. Your purchase of these products through affiliate links helps to generate commission for Storables.com, at no extra cost. Learn more)
Introduction
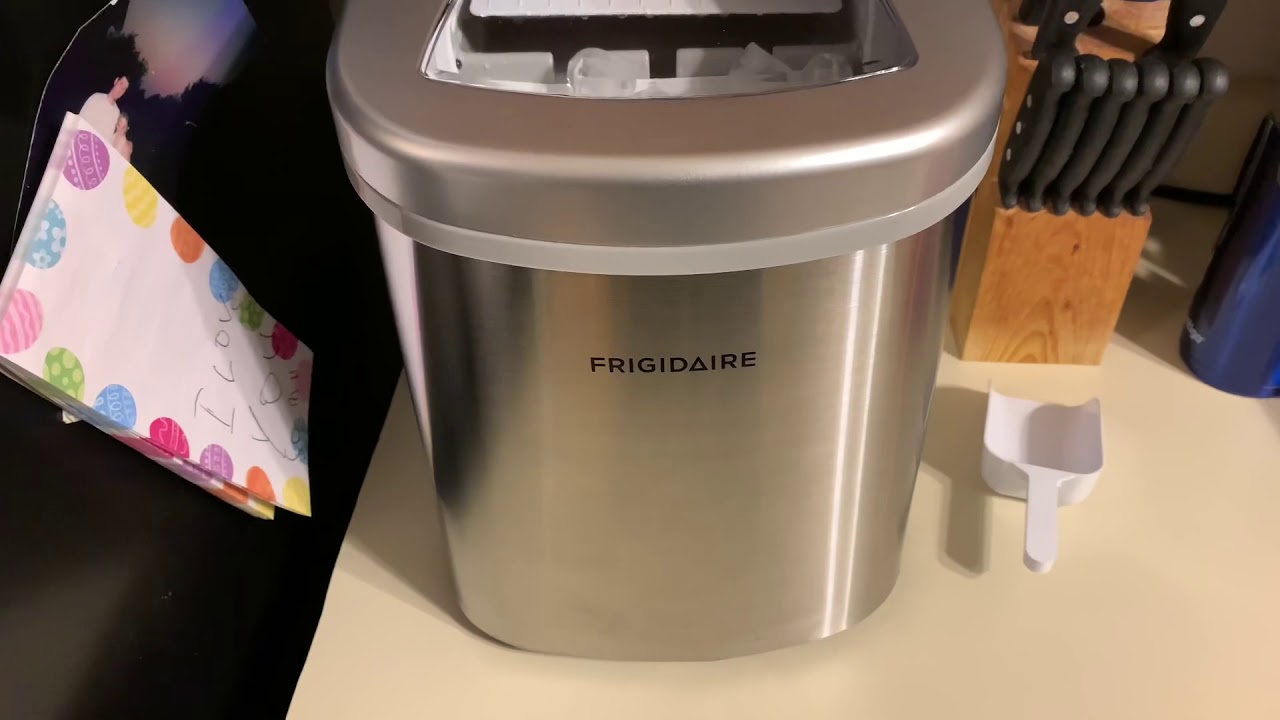
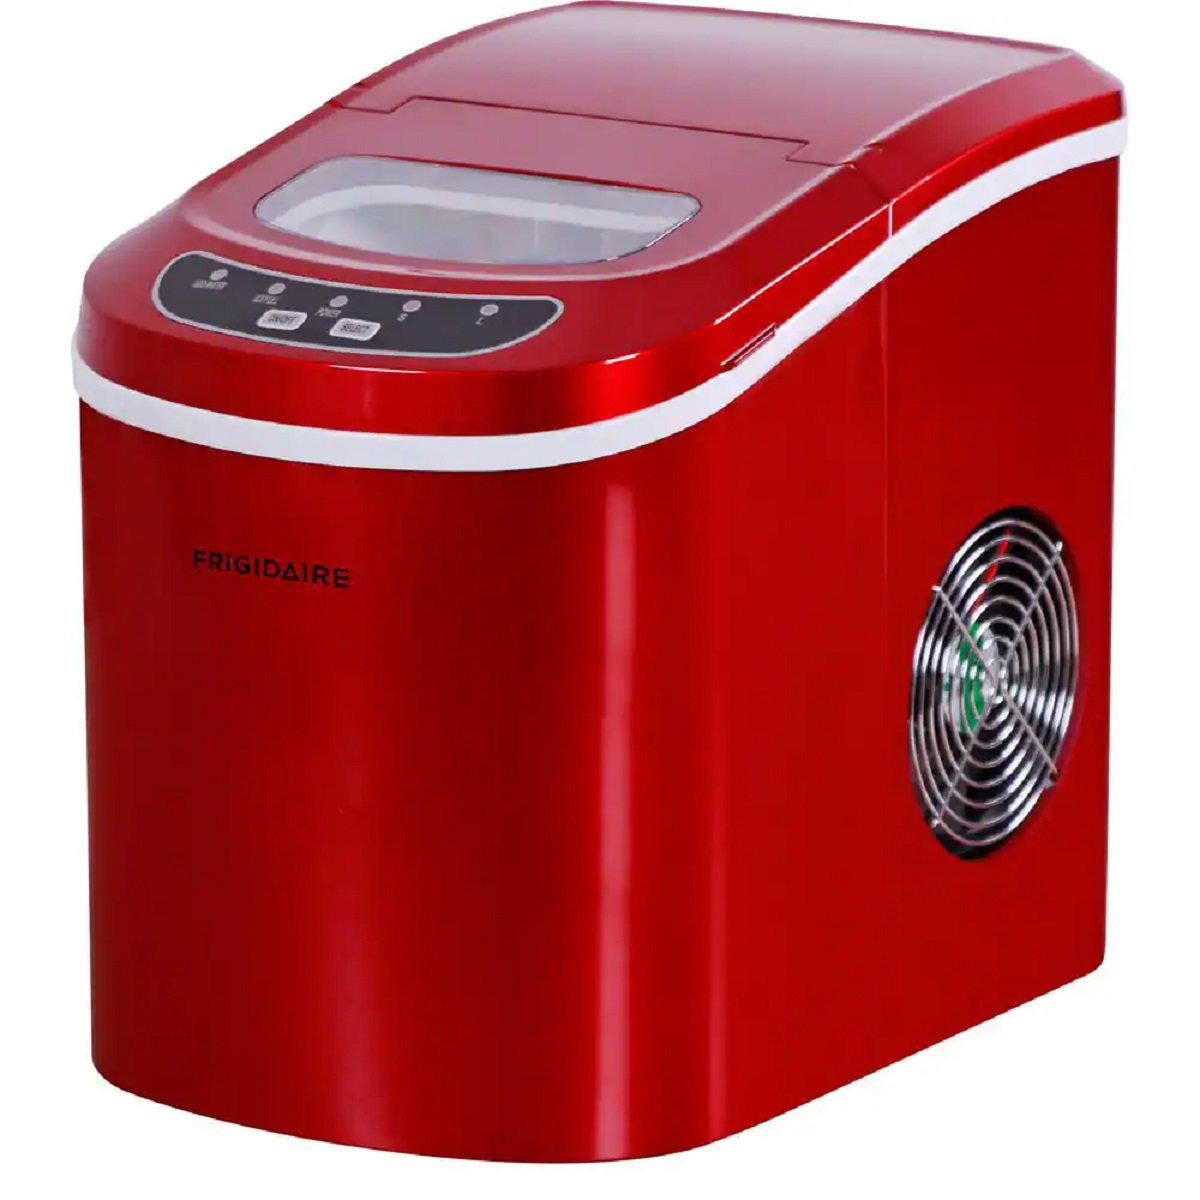
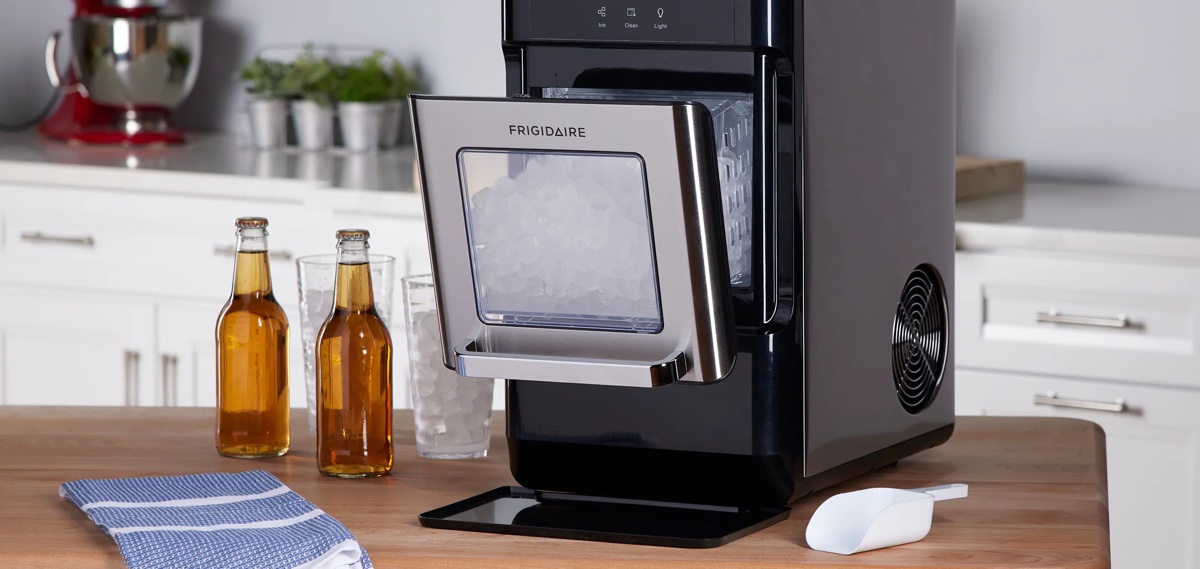
Having a Frigidaire countertop ice maker can be a convenient addition to any kitchen or entertaining space. Whether you use it for making refreshing drinks or keeping food items cool, it’s important to ensure that your ice maker is clean and free from any built-up residue or bacteria.
In this article, we will guide you through the steps on how to clean your Frigidaire countertop ice maker. By following these instructions, you can maintain the efficiency and quality of your ice maker, allowing it to continue producing clean and fresh ice cubes.
Before we begin, it’s crucial to prioritize safety. Make sure to read and understand the manufacturer’s instructions provided with your ice maker. Additionally, always unplug the machine before starting the cleaning process to avoid any electrical accidents or malfunctions. Now, let’s gather the necessary materials and get started!
Key Takeaways:
- Regular cleaning and maintenance of your Frigidaire countertop ice maker is crucial to ensure the production of clean and fresh ice cubes, enhancing the lifespan of the appliance.
- Prioritizing safety, gathering necessary materials, and following the step-by-step cleaning process will result in a well-maintained and efficient Frigidaire countertop ice maker.
Safety Precautions
When cleaning your Frigidaire countertop ice maker, it’s essential to prioritize safety to prevent any accidents or injuries. Here are some safety precautions to keep in mind:
- Read the manufacturer’s instructions: Before starting the cleaning process, thoroughly read and understand the manufacturer’s instructions provided with your ice maker. These instructions may contain specific safety guidelines or precautions that are unique to your specific model.
- Unplug the ice maker: Always unplug the ice maker from the power source before cleaning. This will prevent any electrical accidents or malfunctions during the cleaning process.
- Avoid using abrasive materials: When cleaning the ice maker’s interior and exterior, avoid using abrasive materials such as scouring pads or abrasive cleaners. These can damage the surfaces of the ice maker and affect its performance.
- Use rubber gloves: To protect your hands from any cleaning chemicals or residues, it’s recommended to wear rubber gloves throughout the cleaning process. This will help prevent skin irritation or allergic reactions.
- Ensure proper ventilation: It’s important to clean your ice maker in a well-ventilated area. This will ensure proper airflow and prevent any build-up of fumes from cleaning agents.
- Follow cleaning agent instructions: If you decide to use a cleaning agent or solution, carefully read and follow the instructions provided by the manufacturer. Improper use of cleaning agents can be harmful to the ice maker or your health.
- Keep children and pets away: When cleaning your ice maker, make sure to keep children and pets away from the area. This will minimize the risk of accidents or injuries.
- Avoid submerging electrical components: When cleaning the removable parts of your ice maker, avoid submerging any electrical components in water. This can damage the electrical components and compromise the performance of the ice maker.
By following these safety precautions, you can ensure a safe and efficient cleaning process for your Frigidaire countertop ice maker. Now, let’s move on to the materials you’ll need for the cleaning process.
Materials Needed
Before you begin cleaning your Frigidaire countertop ice maker, it’s important to gather all the necessary materials. Having these items on hand will make the cleaning process more efficient and effective. Here are the materials you’ll need:
- Warm water: You’ll need warm water to rinse and clean the removable parts of the ice maker.
- Mild dish soap: A mild dish soap will help in removing any grime or residue from the exterior and interior surfaces of the ice maker.
- Vinegar: Vinegar is a natural cleaning agent that can help remove hard water deposits or scale buildup from the ice maker components.
- Soft cleaning cloth or sponge: Use a soft cleaning cloth or sponge to wipe down the exterior and interior surfaces of the ice maker.
- Toothbrush or small brush: A toothbrush or small brush can be handy for reaching into crevices and removing any stubborn residue.
- Rubber gloves: Rubber gloves will protect your hands from cleaning chemicals and prevent skin irritation.
- Microfiber towel: A microfiber towel is ideal for drying and polishing the surfaces of the ice maker.
Having these materials readily available will ensure that you have everything you need to effectively clean your Frigidaire countertop ice maker. Now that we have the materials, let’s move on to the step-by-step cleaning process.
Step 1: Unplug and Empty the Ice Maker
The first step in cleaning your Frigidaire countertop ice maker is to unplug the machine from the power source. This is crucial to ensure your safety during the cleaning process and to prevent any electrical accidents or malfunctions.
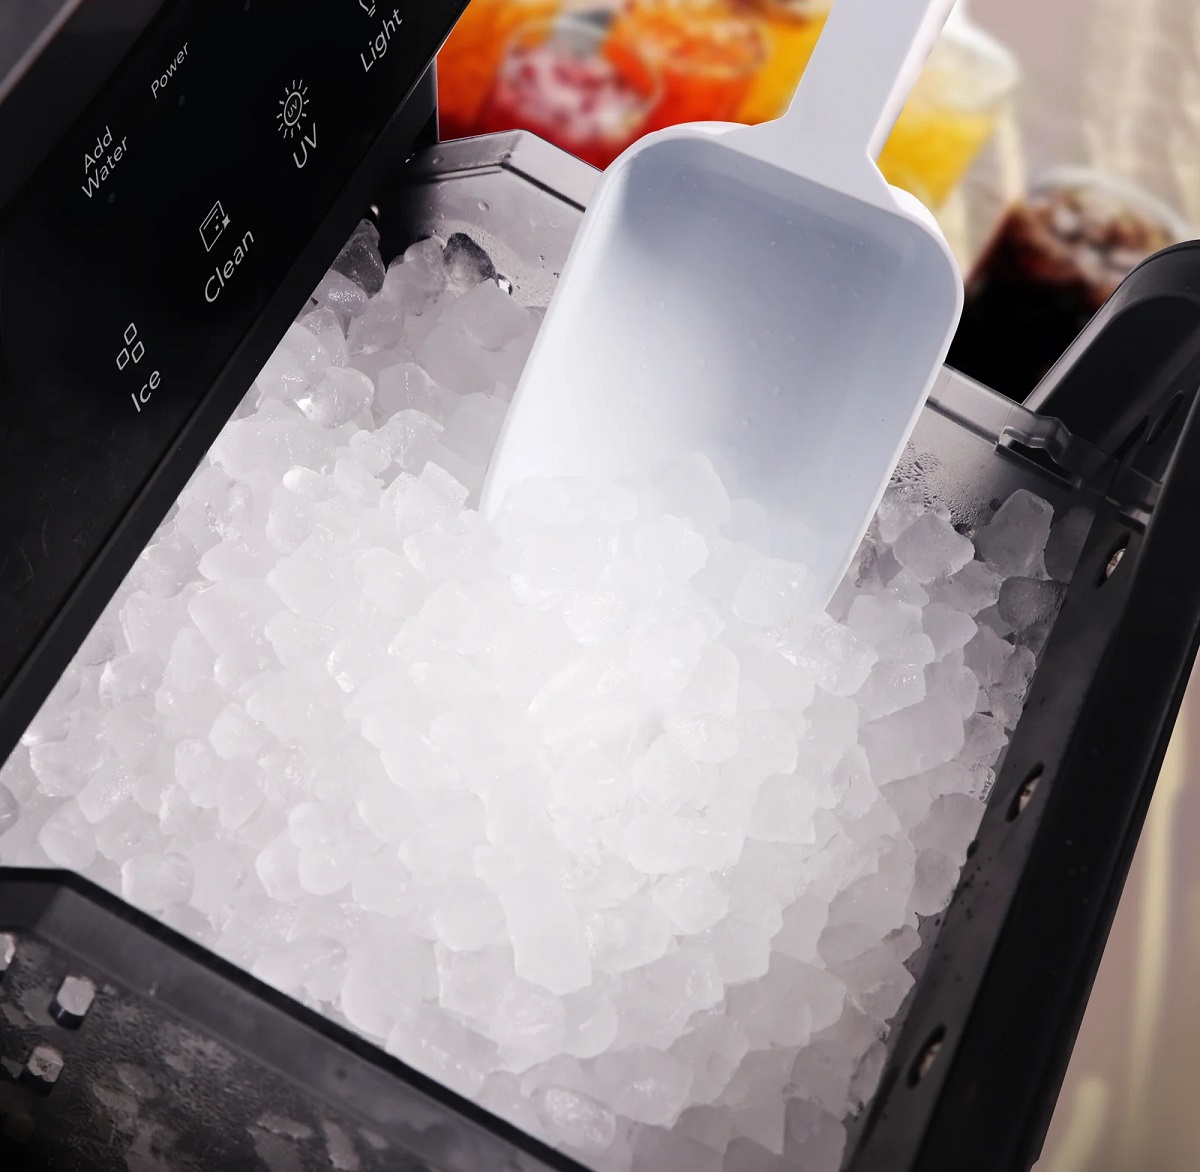
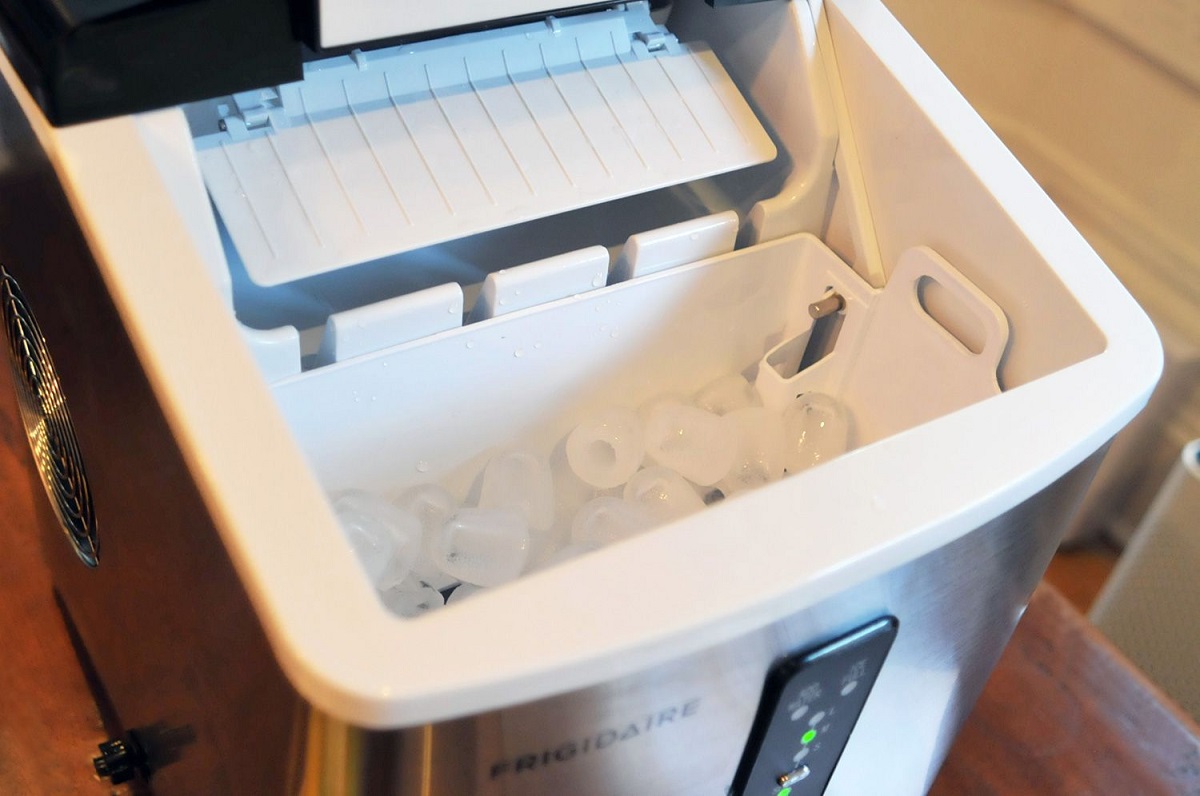
Once the ice maker is unplugged, it’s time to empty the ice bin. Depending on the model of your ice maker, you may need to remove the ice bin from the machine to empty it completely. Carefully lift or slide out the ice bin and discard any remaining ice cubes into the sink or a suitable container.
After emptying the ice bin, give it a quick rinse with warm water to remove any lingering residue or particles. Set the ice bin aside for later cleaning.
Next, use a damp cloth or sponge to wipe down the interior of the ice maker. Pay special attention to areas where ice may have built up, such as the ice making tray or ice chute. Make sure to remove any loose debris or residue.
Once the interior is wiped clean, take a moment to inspect the ice maker for any visible signs of damage or wear. Look for any cracks, leaks, or loose parts that may need repair or replacement.
With the ice maker unplugged and emptied, you’re now ready to move on to the next step: removing the removable parts for cleaning.
Step 2: Remove Removable Parts
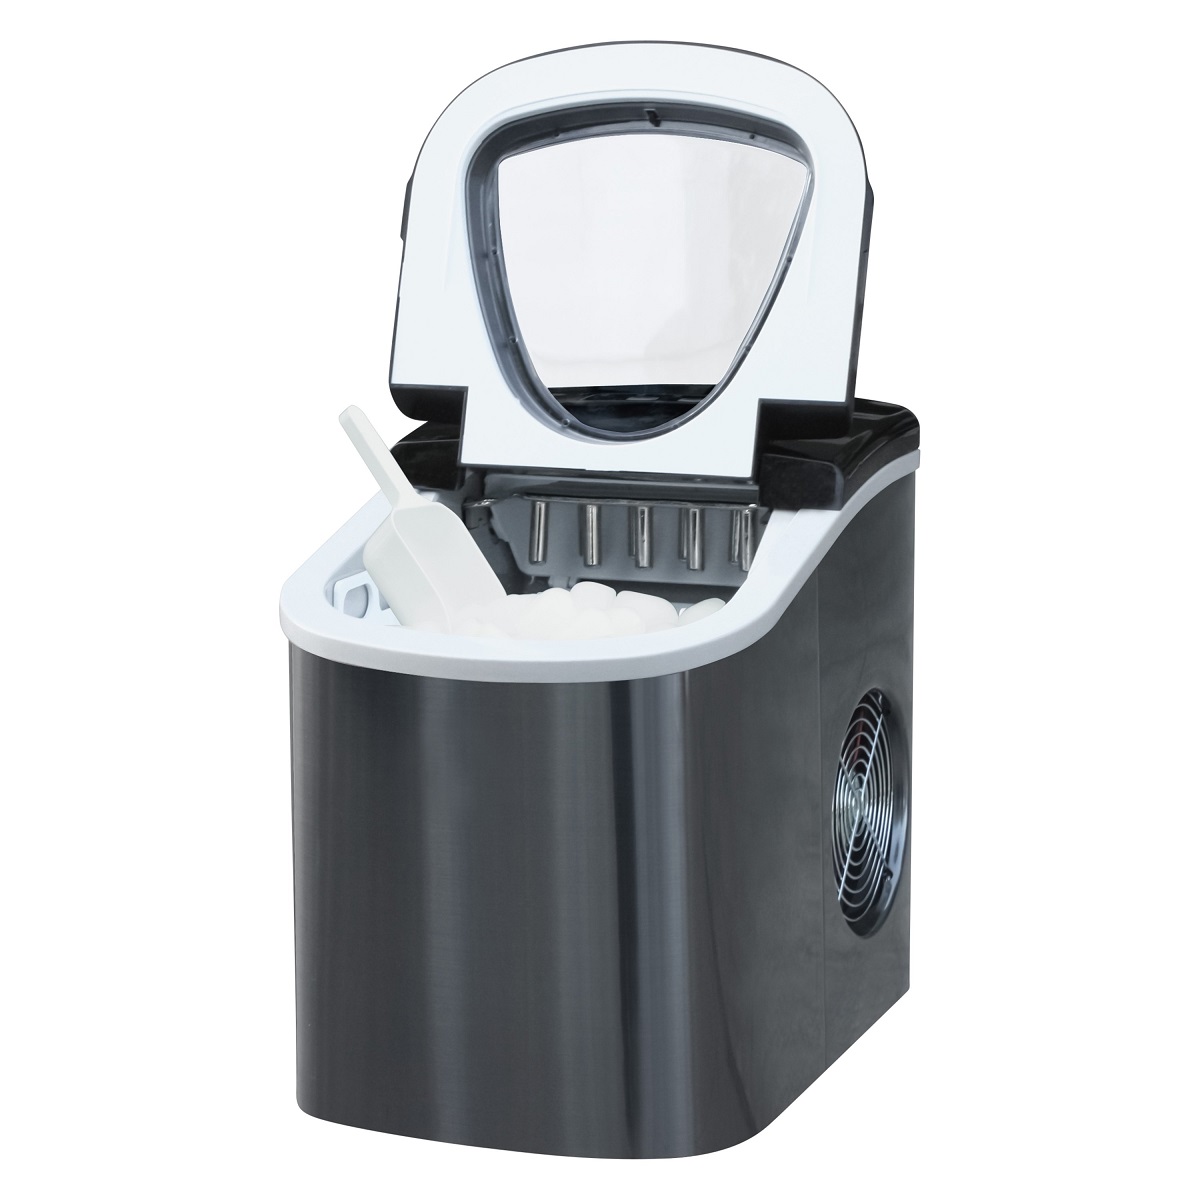
In this step, we will focus on removing the removable parts of your Frigidaire countertop ice maker. These parts include the ice making tray, water reservoir, and any other detachable components that may be present in your specific model.
Start by locating and removing the ice making tray. Depending on your ice maker model, this may involve lifting a lid or releasing a latch to access the tray. Carefully remove the tray and set it aside for cleaning.
Next, check if your ice maker has a removable water reservoir. If it does, locate the reservoir and carefully detach it from the machine. Take note of any water or ice that may be present in the reservoir and dispose of it.
In some ice maker models, there may be additional removable parts such as filters or ice scoops. If your ice maker has these components, remove them as well and set them aside for cleaning.
Once you have removed all the removable parts, it’s important to handle them with care. Avoid using excessive force or causing any damage to these components, as they are essential for the proper functioning of your ice maker.
With the removable parts removed, you’re now ready to move on to the next step: cleaning the exterior of the ice maker.
To clean a Frigidaire countertop ice maker, mix a solution of equal parts water and white vinegar, then run it through a cycle. Wipe down the interior with a soft cloth and repeat the cycle with clean water to remove any vinegar residue.
Read more: How To Clean A Frigidaire Nugget Ice Maker
Step 3: Clean the Exterior
Now that the removable parts of your Frigidaire countertop ice maker have been removed, it’s time to focus on cleaning the exterior surfaces of the machine. This step will help remove any dust, dirt, or grime that may have accumulated.
Start by dampening a soft cleaning cloth or sponge with warm water. Gently wipe down the exterior surfaces of the ice maker, including the control panel, buttons, and any other visible areas. Use a mild dish soap if necessary, but be careful not to use abrasive materials that can scratch the surface.
Pay special attention to areas that may be prone to buildup, such as around the buttons or corners of the machine. Use a toothbrush or a small brush to reach into crevices and remove any stubborn residue.
If there are any visible stains or marks on the exterior surfaces, you can create a solution of warm water and mild dish soap. Dip a cloth or sponge into the solution, wring out any excess liquid, and gently scrub the affected areas. Rinse the cloth or sponge and wipe away any soapy residue.
Once you have thoroughly cleaned the exterior surfaces, use a microfiber towel to dry and polish the ice maker. This will help remove any remaining moisture and leave the machine looking clean and shiny.
Take a moment to inspect the exterior for any signs of damage or wear. If you notice any cracks, scratches, or loose parts, it may be necessary to contact a professional for repair or replacement.
With the exterior surfaces of your Frigidaire countertop ice maker clean and dry, you’re now ready to move on to the next step: cleaning the interior of the machine.
Step 4: Clean the Interior
Now that the exterior of your Frigidaire countertop ice maker is clean, it’s time to focus on cleaning the interior. This step is especially important as it ensures that the ice maker produces clean and fresh ice cubes.
Start by preparing a solution of warm water and mild dish soap. Dip a soft cleaning cloth or sponge into the solution, wring out any excess liquid, and gently wipe down the interior surfaces of the ice maker. Pay close attention to areas that come into contact with water or ice, such as the ice making tray and water reservoir.
If there are any stubborn stains or residue inside the ice maker, you can create a cleaning solution using equal parts vinegar and warm water. Dip a cloth or sponge into the vinegar solution and gently scrub the affected areas. Vinegar is a natural cleaning agent that helps remove hard water deposits or scale buildup.
In some cases, you may notice mineral deposits or scale buildup in the water reservoir or ice making tray. To remove these deposits, you can fill the reservoir with a mixture of equal parts vinegar and water and let it sit for about 15-20 minutes. After the time has elapsed, empty the reservoir and rinse it thoroughly with warm water.
For hard-to-reach areas or tight corners inside the ice maker, use a toothbrush or small brush to scrub away any residue. Be gentle to avoid damaging any internal components of the ice maker.
Once you have thoroughly cleaned the interior surfaces of the ice maker, rinse them with warm water to remove any soapy residue. Take care to rinse off all traces of cleaning solution to ensure that the ice produced is free from any chemicals or flavors.
After rinsing, use a soft cloth or towel to dry the interior of the ice maker. Make sure all surfaces are completely dry to prevent the growth of mold or mildew.
With the interior of your Frigidaire countertop ice maker clean and dry, you’re now ready to move on to the next step: cleaning and reassembling the removable parts.
Step 5: Clean and Reassemble Removable Parts
Now that you have cleaned the interior of your Frigidaire countertop ice maker, it’s time to focus on cleaning and reassembling the removable parts. These parts include the ice making tray, water reservoir, filters, and any other detachable components specific to your model.
Start by taking the ice making tray and give it a thorough cleaning. Rinse it with warm water to remove any remaining cleaning solution or residue. Use a toothbrush or small brush to remove any leftover debris or mineral deposits.
If your ice maker has a removable water reservoir, clean it using the same warm water and mild dish soap solution. Rinse it thoroughly to remove any soapy residue and dry it completely before reattaching it to the ice maker.
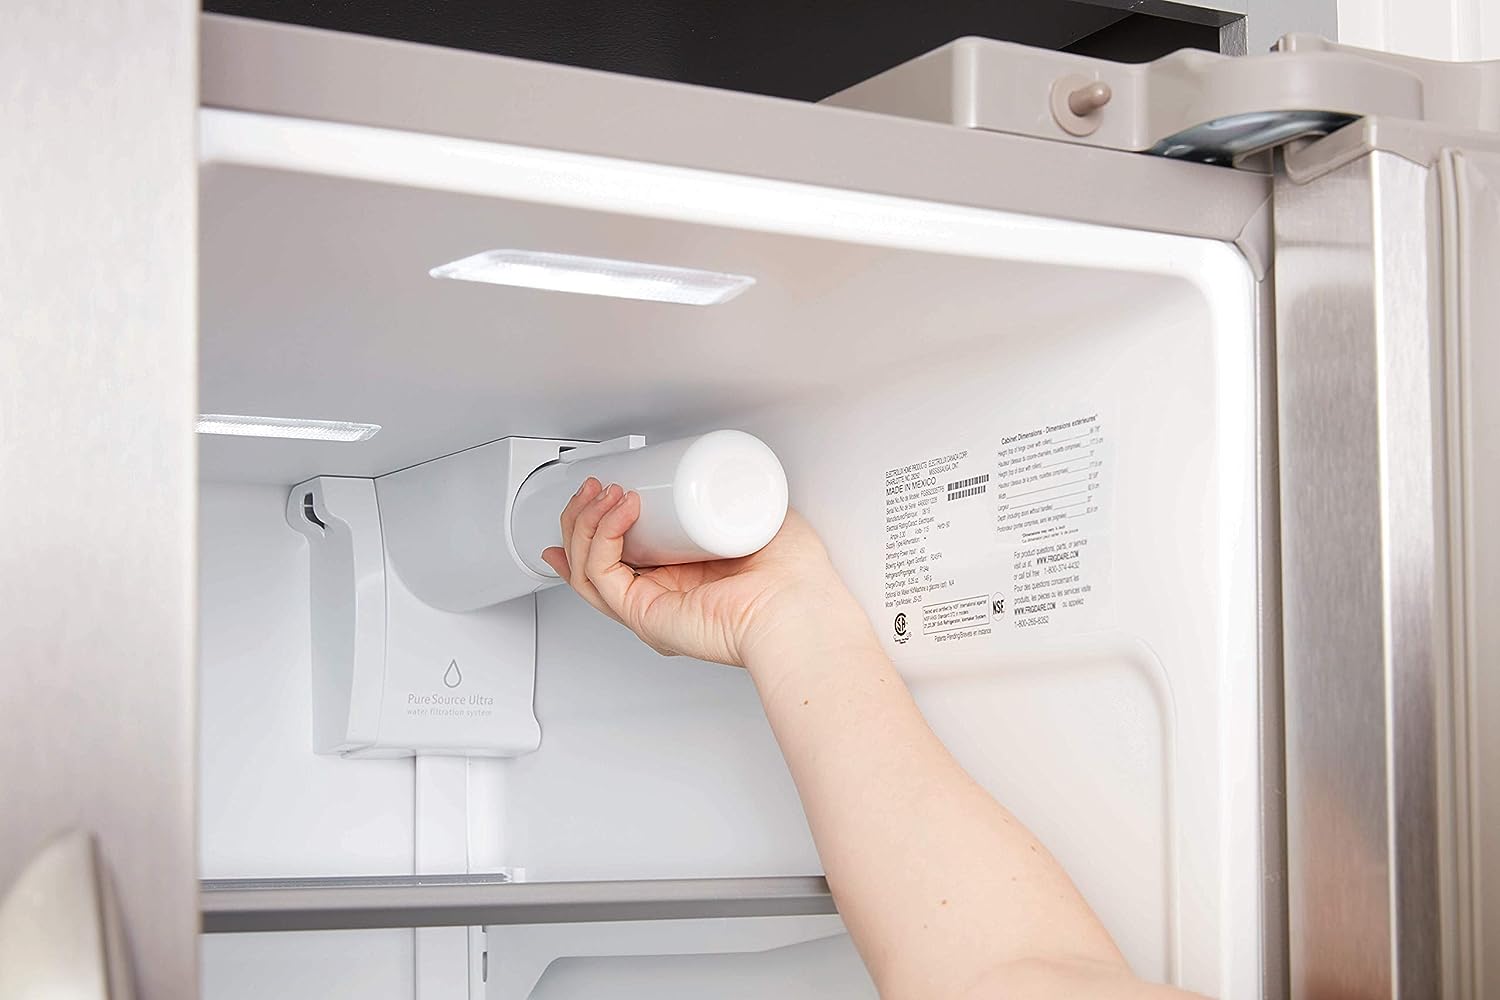
For filters or other detachable components, refer to the manufacturer’s instructions on how to properly clean and maintain them. Follow their recommendations to ensure that the filters are clean and functioning properly.
Once you have cleaned and dried the removable parts, it’s time to reassemble them. Carefully reattach the ice making tray, water reservoir, filters, and any other components according to the manufacturer’s instructions.
Ensure that all parts are securely and correctly installed to prevent any leaks or malfunctions. Double-check that the ice making tray is properly aligned and that the water reservoir is securely in place.
After reassembling the removable parts, take a moment to visually inspect the interior of the ice maker to ensure that everything is in its proper position and that there are no loose or damaged components.
With the removable parts cleaned and reassembled, you’re ready to move on to the final step: plugging in and testing the ice maker.
Step 6: Plug In and Test the Ice Maker
After cleaning and reassembling the removable parts of your Frigidaire countertop ice maker, it’s time to plug it back in and test its functionality. This final step ensures that the ice maker is working properly and producing clean and fresh ice cubes.
Carefully plug in the ice maker to the power source and ensure that it is securely connected. Take a moment to check if the power indicator light is on, indicating that the machine is receiving power.
Once the ice maker is plugged in, it’s time to fill the water reservoir. Use clean, filtered water to ensure the quality of the ice cubes. Take care not to overfill the reservoir and always follow the recommended water level indicated by the manufacturer.
Depending on the model of your ice maker, it may take some time for the first batch of ice cubes to be produced. Allow the machine to run for a few hours to ensure that it is functioning properly. During this time, you may notice some initial discoloration or odd-tasting ice cubes, which is normal and should improve with subsequent batches.
As the ice maker operates, check for any signs of leaks, unusual sounds, or malfunctions. If you notice anything out of the ordinary, consult the manufacturer’s instructions or contact their customer support for assistance.
Once the ice maker has produced a few batches of ice cubes and everything appears to be working properly, it’s ready to use for your refreshments or cooling needs. Enjoy the convenience of having a clean and efficient Frigidaire countertop ice maker!
Remember, regular cleaning and maintenance of your ice maker is essential to prolong its lifespan and ensure the production of clean and fresh ice cubes. It is recommended to clean the ice maker at least every three months, or more frequently if you notice any issues or signs of contamination.
With the final step completed, you have successfully cleaned and tested your Frigidaire countertop ice maker. Enjoy the benefits of having a well-maintained appliance that consistently provides you with ice cubes whenever you need them.
Read more: What To Use To Clean A Countertop Ice Maker
Conclusion
Cleaning your Frigidaire countertop ice maker is an essential part of its maintenance to ensure the production of clean and fresh ice cubes. By following the step-by-step process outlined in this article, you can effectively clean and maintain your ice maker, keeping it in optimal condition.
Throughout the cleaning process, it’s important to prioritize safety by following the manufacturer’s instructions, unplugging the machine, and using appropriate cleaning materials. Additionally, taking precautions such as wearing rubber gloves and ensuring proper ventilation will enhance your safety and protect the integrity of the ice maker.
Remember to gather all the necessary materials before you begin cleaning, including warm water, mild dish soap, vinegar, soft cleaning cloth, toothbrush, rubber gloves, and a microfiber towel. Having these items on hand will make the process easier and more efficient.
Each step, from unplugging and emptying the ice maker to cleaning the exterior, interior, and removable parts, is crucial for maintaining the cleanliness and functionality of your ice maker. Proper cleaning and reassembling of the removable parts is essential to prevent any leaks or malfunctions.
After completing the cleaning process, plugging in and testing the ice maker ensures its proper functionality. Monitor the machine for any unusual sounds, leaks, or malfunctions and consult the manufacturer’s instructions or customer support if needed.
Regular cleaning and maintenance of your Frigidaire countertop ice maker not only improves its lifespan but also ensures the production of clean ice cubes for your enjoyment. It is recommended to clean the ice maker every three months or more frequently if necessary.
By following these guidelines and keeping your Frigidaire countertop ice maker clean, you can continue to enjoy fresh and clean ice cubes for all your cooling and beverage needs. Cheers to a well-maintained ice maker!
Frequently Asked Questions about How To Clean Frigidaire Countertop Ice Maker
Was this page helpful?
At Storables.com, we guarantee accurate and reliable information. Our content, validated by Expert Board Contributors, is crafted following stringent Editorial Policies. We're committed to providing you with well-researched, expert-backed insights for all your informational needs.

0 thoughts on “How To Clean Frigidaire Countertop Ice Maker”