Articles
How To Defrost Frigidaire Ice Maker
Modified: August 25, 2024
Discover effective methods for defrosting your Frigidaire ice maker with these helpful articles. Learn how to thaw your ice maker quickly and efficiently.
(Many of the links in this article redirect to a specific reviewed product. Your purchase of these products through affiliate links helps to generate commission for Storables.com, at no extra cost. Learn more)
Introduction
Having an ice maker in your Frigidaire refrigerator is a convenient and practical feature. It allows you to enjoy crisp and refreshing ice cubes whenever you need them. However, over time, ice makers can become frozen or develop ice buildup, leading to reduced ice production or malfunctioning. Defrosting the Frigidaire ice maker is an essential maintenance task that can help resolve these issues and ensure optimal performance.
In this article, we will guide you through the process of defrosting your Frigidaire ice maker. We will explain the steps required to prepare, defrost, clean, and reassemble the ice maker to get it running smoothly again. Additionally, we will provide you with helpful tips and precautions to ensure a successful defrosting process.
Understanding the Frigidaire Ice Maker
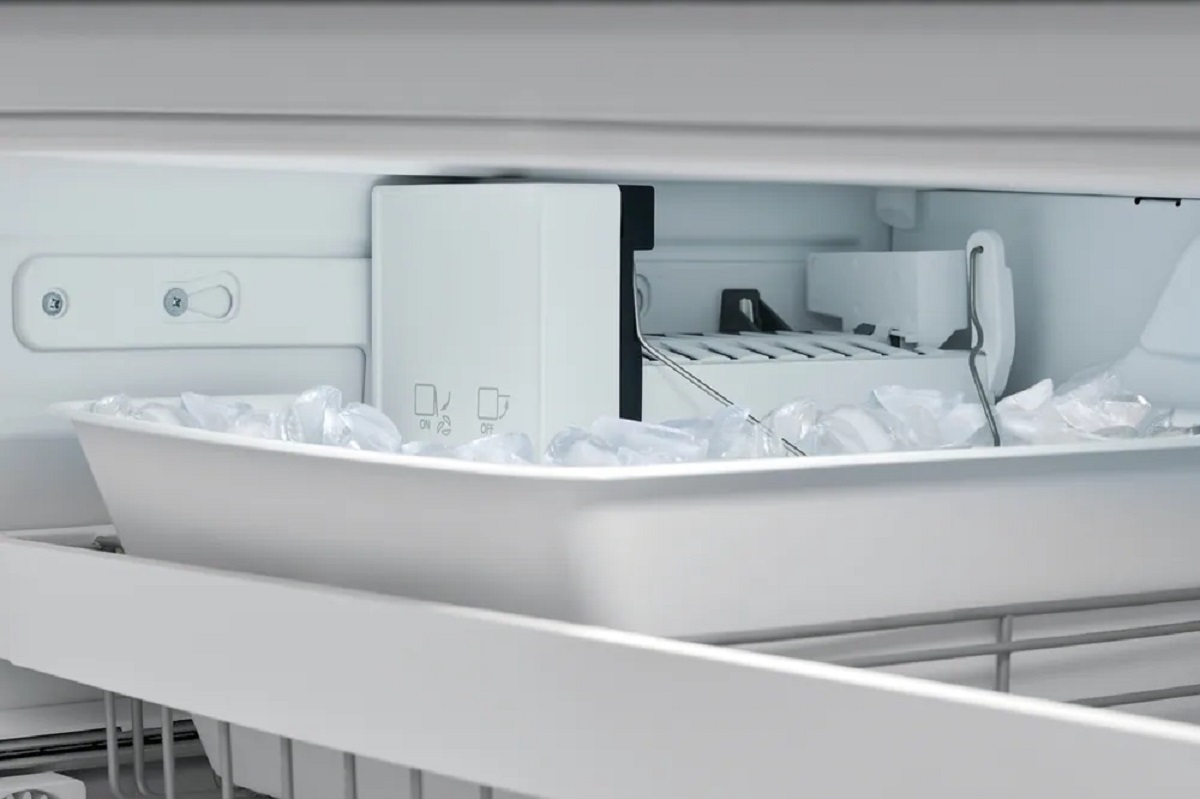
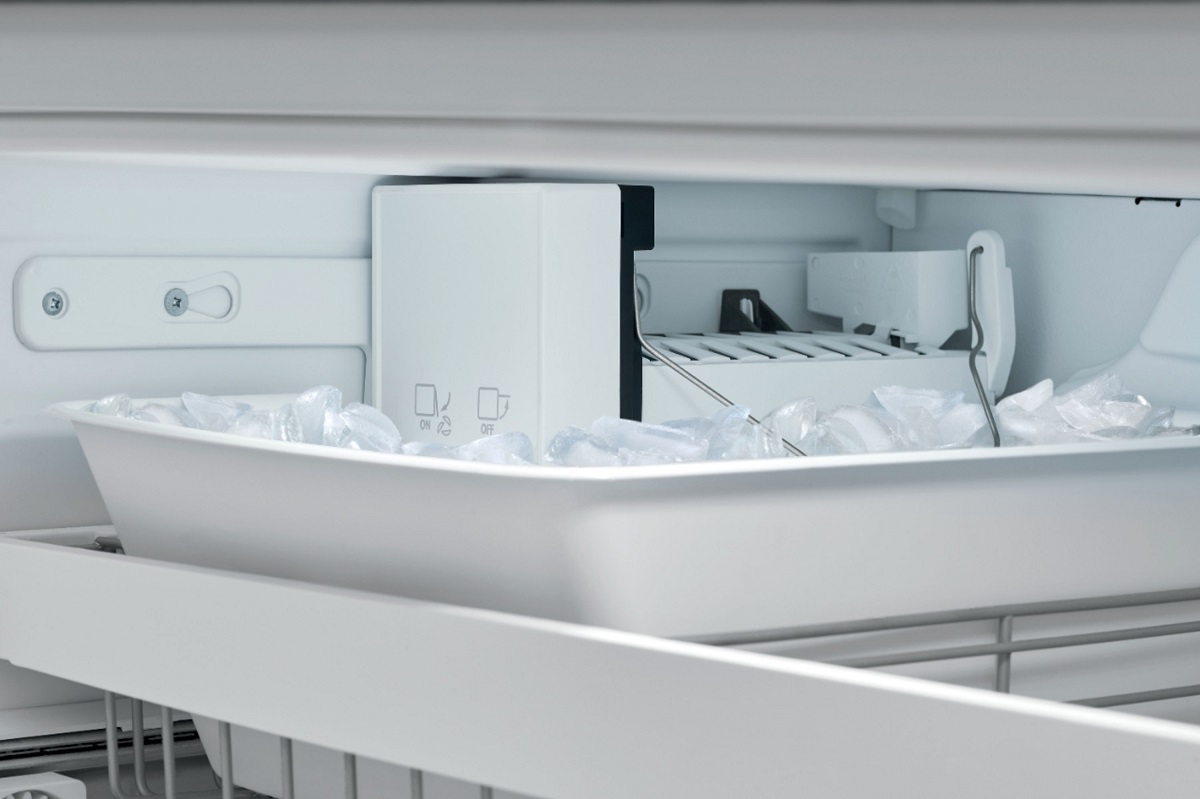
Before diving into the defrosting process, it’s important to have a basic understanding of how the Frigidaire ice maker works. The ice maker consists of several components, including a water inlet valve, an ice mold, a thermostat, a motor, and a heating element.
The water inlet valve controls the flow of water into the ice mold, filling it with water. The water then freezes in the mold, forming ice cubes. The thermostat measures the temperature inside the ice maker and signals the motor to start rotating when the ice cubes are ready to be released. The motor turns a metal arm, pushing the ice cubes out of the mold and into a collection bin. Finally, the heating element helps release the ice cubes by warming the bottom of the mold slightly.
Preparing the Ice Maker for Defrosting
Before you begin the defrosting process, it’s crucial to prepare the ice maker properly. Start by turning off the ice maker and unplugging your Frigidaire refrigerator from the power source. This will ensure your safety and prevent any damage to the appliance.
Next, remove the ice maker’s collection bin and empty it of any ice cubes. You should also remove any loose ice or debris from the ice mold, as this can interfere with the defrosting process. Take a moment to inspect the ice maker for any visible signs of damage or wear, such as cracks or leaks. If you notice any issues, consider contacting a professional for repairs before proceeding with the defrosting.
Once the ice maker is empty and inspected, gather the necessary tools for the defrosting process. You may need a hairdryer, a towel or cloth, a small brush, and a mild cleaning solution. Having these tools on hand will make the defrosting and cleaning tasks more manageable.
Key Takeaways:
- Properly preparing and defrosting your Frigidaire ice maker is essential for optimal performance. Follow the steps, use the right tools, and take precautions to ensure a safe and effective defrosting process.
- After defrosting, cleaning, and reassembling your ice maker, conduct a thorough test to confirm proper functionality. Monitor ongoing performance and establish a regular cleaning routine to maintain a steady supply of clean and refreshing ice cubes.
Read more: How To Defrost Whirlpool Ice Maker
Understanding the Frigidaire Ice Maker
Before diving into the defrosting process, it’s important to have a basic understanding of how the Frigidaire ice maker works. The ice maker consists of several components, each playing a vital role in the ice-making process.
The water inlet valve is responsible for controlling the flow of water into the ice maker. When you initiate the ice-making process, the valve opens to allow water to enter the ice mold. Once the mold is filled, the valve closes to prevent any further water flow.
The ice mold is the mold where the water is poured. It’s designed in a specific shape to create individual ice cubes. As the water enters the mold, it freezes and forms ice cubes over a period of time.
The thermostat is a crucial component that measures the temperature inside the ice maker. It is responsible for signaling the motor to start rotating when the ice cubes are frozen and ready for release. The motor turns a metal arm that pushes the ice cubes out of the mold and into a collection bin.
The heating element is another essential part of the ice maker. Its purpose is to slightly warm the bottom of the mold, allowing the ice cubes to loosen and easily drop into the collection bin when the motor rotates the arm.
All these components work together to create a seamless ice-making process. However, over time, ice can accumulate inside the ice maker, resulting in reduced efficiency and ice production. This buildup can be caused by factors such as a malfunctioning thermostat, a faulty heating element, or simply prolonged usage without regular cleaning.
To maintain the optimal performance of the Frigidaire ice maker, it’s crucial to periodically defrost and clean it. This ensures that the ice maker functions properly and produces clean and refreshing ice cubes for your enjoyment.
Now that we have a better understanding of how the Frigidaire ice maker works, let’s move on to the preparation steps required before starting the defrosting process.
Preparing the Ice Maker for Defrosting
Before you begin the defrosting process, it’s important to properly prepare the Frigidaire ice maker. This will help ensure a smooth and effective defrosting experience.
Here are the steps to follow:
- Turn off the ice maker: Locate the power switch or button that controls the ice maker and turn it off. This will prevent the ice maker from attempting to make ice during the defrosting process.
- Unplug the refrigerator: To ensure your safety and avoid any electrical hazards, unplug your Frigidaire refrigerator from the power source. This step is crucial before performing any maintenance tasks.
- Empty the collection bin: Remove the collection bin from the ice maker and empty it of any ice cubes. Discard any excess ice or debris that may have accumulated in the bin.
- Inspect the ice maker: Take a moment to visually inspect the ice maker for any signs of damage or wear. Look for cracks, leaks, or loose components. If you notice any issues, it’s advisable to contact a professional for repairs before proceeding with the defrosting process.
- Clean the ice mold: Using a towel or cloth, wipe down the ice mold to remove any loose ice or debris. This will help ensure that the defrosting process is more effective and that the ice maker functions optimally after defrosting.
- Gather the necessary tools: Before starting the defrosting process, gather the tools you will need. These might include a hairdryer, a towel or cloth, a small brush, and a mild cleaning solution. Having these items on hand will aid in the defrosting and cleaning tasks.
By properly preparing the ice maker before defrosting, you ensure a safer and more efficient process. Now that the Frigidaire ice maker is ready, we can proceed to the next steps, which involve defrosting the ice maker itself.
Defrosting the Frigidaire Ice Maker
Now that you have prepared the Frigidaire ice maker, it’s time to defrost it and remove any ice buildup that may be affecting its performance. The following steps will guide you through the defrosting process:
- In a safe and well-ventilated area, position the hairdryer on a low or medium heat setting. Hold the hairdryer a few inches away from the ice maker to avoid causing any damage due to excessive heat.
- Direct the airflow from the hairdryer towards the ice maker, paying close attention to the ice mold and other areas where ice buildup may be present. Move the hairdryer in a back-and-forth motion to evenly distribute the heat and melt the ice.
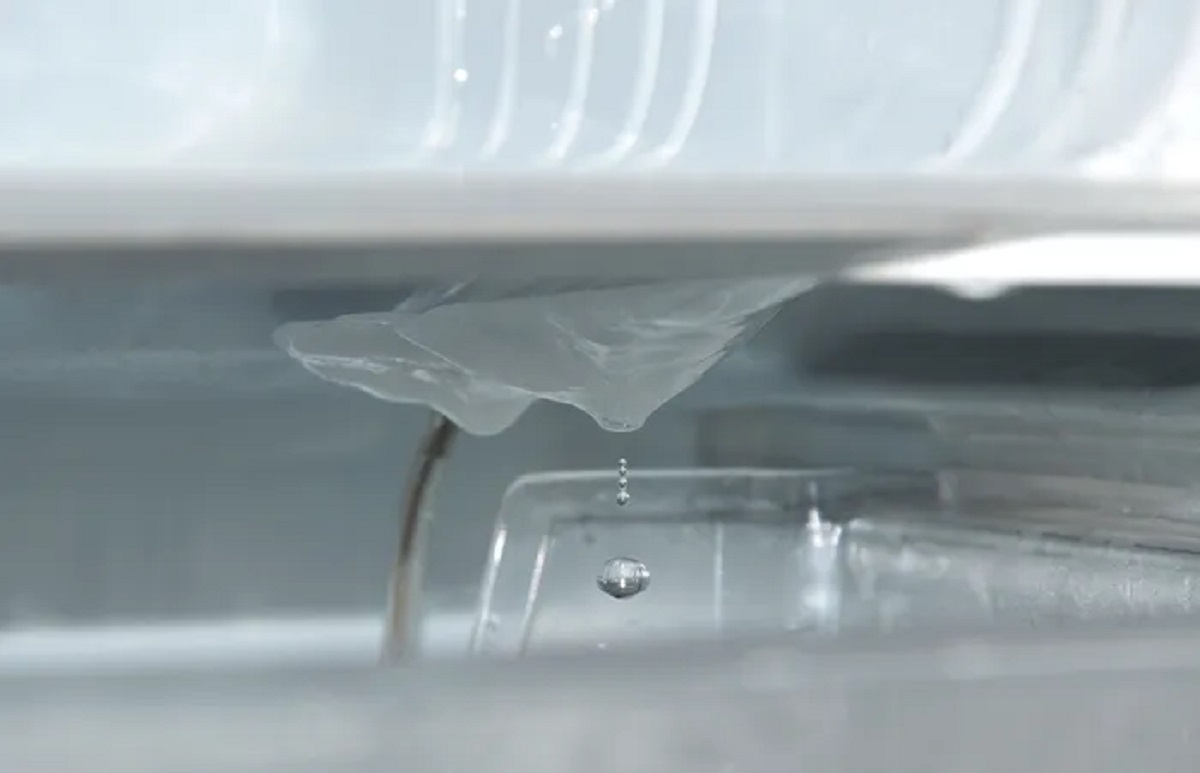
- Continue applying heat until you notice the ice starting to melt and break away from the ice mold. Be patient during this process, as it may take some time depending on the amount of ice buildup.
- As the ice melts, use a towel or cloth to wipe away any water or ice residue to prevent it from refreezing. Additionally, use a small brush to gently remove any stubborn ice that may still be clinging to the ice maker.
- Once you have removed all the ice buildup, take the opportunity to clean the ice maker. Use a mild cleaning solution and a cloth to wipe down the interior components of the ice maker, including the ice mold, collection bin, and other accessible areas.
- Rinse the cleaning solution with clean water and dry the ice maker thoroughly with a towel or cloth.
It’s important to note that defrosting the Frigidaire ice maker might require several rounds of applying heat and wiping away the melted ice. Be patient and thorough in your approach to ensure that all ice buildup is removed.
Once you have successfully defrosted and cleaned the ice maker, it’s time to reassemble the components and perform a test to ensure that everything is functioning properly.
To defrost a Frigidaire ice maker, unplug the unit and remove any ice buildup. Use a hairdryer on a low setting to gently melt any remaining ice. Be sure to dry the unit thoroughly before plugging it back in.
Cleaning and Reassembling the Ice Maker
After defrosting the Frigidaire ice maker, it’s important to clean and reassemble the components before testing it. Proper cleaning helps maintain optimal performance and ensures that the ice produced is clean and safe to consume. Follow these steps to clean and reassemble the ice maker:
- Inspect the ice maker parts: Check all the components of the ice maker, including the ice mold, collection bin, and any other parts you removed during the defrosting process. Ensure that they are clean and free of any residue or debris.
- Clean the ice mold: Use a mild cleaning solution and a cloth to thoroughly clean the ice mold. Pay special attention to removing any mineral deposits or hard water stains that may have accumulated over time. Rinse the mold with clean water and dry it completely before proceeding.
- Clean the collection bin: Wash the collection bin with warm, soapy water to remove any remaining ice or dirt. Rinse it thoroughly and dry it completely before placing it back into the ice maker.
- Reassemble the ice maker: Carefully place the cleaned and dry components back into their respective positions within the ice maker. Ensure that they fit snugly and securely.
- Plug in the refrigerator: Once the ice maker is reassembled, plug the refrigerator back into the power source. This will restore the power to the ice maker and initiate the ice-making process.
- Allow time for ice production: Depending on the model and settings of your Frigidaire refrigerator, it may take several hours for the ice maker to produce a full batch of ice cubes. Be patient and allow enough time for the ice maker to cycle and produce ice.
Cleaning and reassembling the ice maker is an important step to ensure that it functions properly and delivers clean ice cubes. Once you have completed these steps, it’s time to test the ice maker to confirm that it’s working as expected.
Read more: How To Defrost A Samsung Ice Maker
Testing the Ice Maker after Defrosting
After defrosting, cleaning, and reassembling the Frigidaire ice maker, it’s crucial to conduct a test to ensure that it’s functioning properly. Follow these steps to test the ice maker:
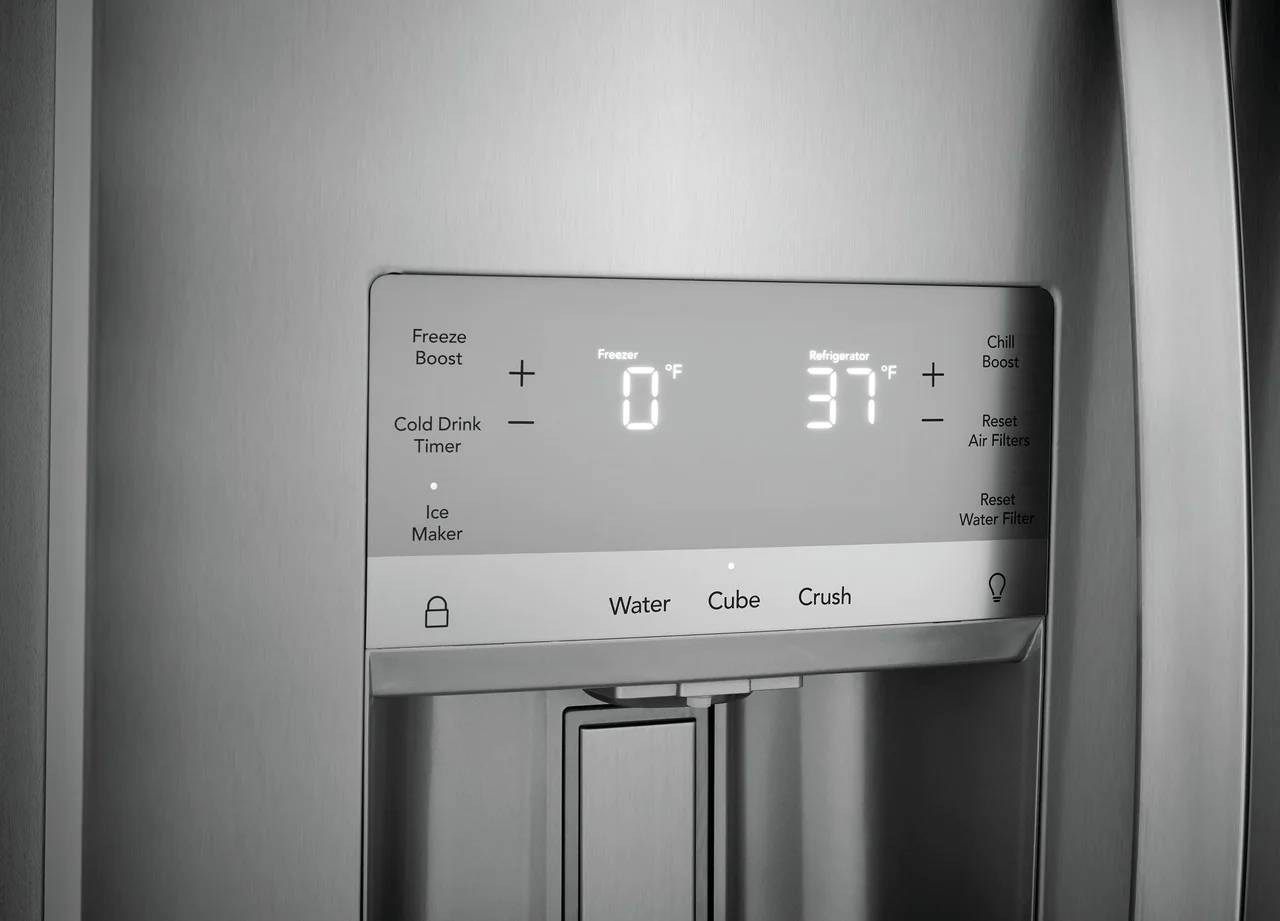
- Turn on the ice maker: Locate the power switch or button that controls the ice maker and turn it on. This will activate the ice-making process.
- Allow time for ice production: Depending on your Frigidaire refrigerator model, it may take a few hours for the ice maker to produce a full batch of ice cubes. During this time, refrain from opening the freezer door repeatedly to allow the ice maker to work undisturbed.
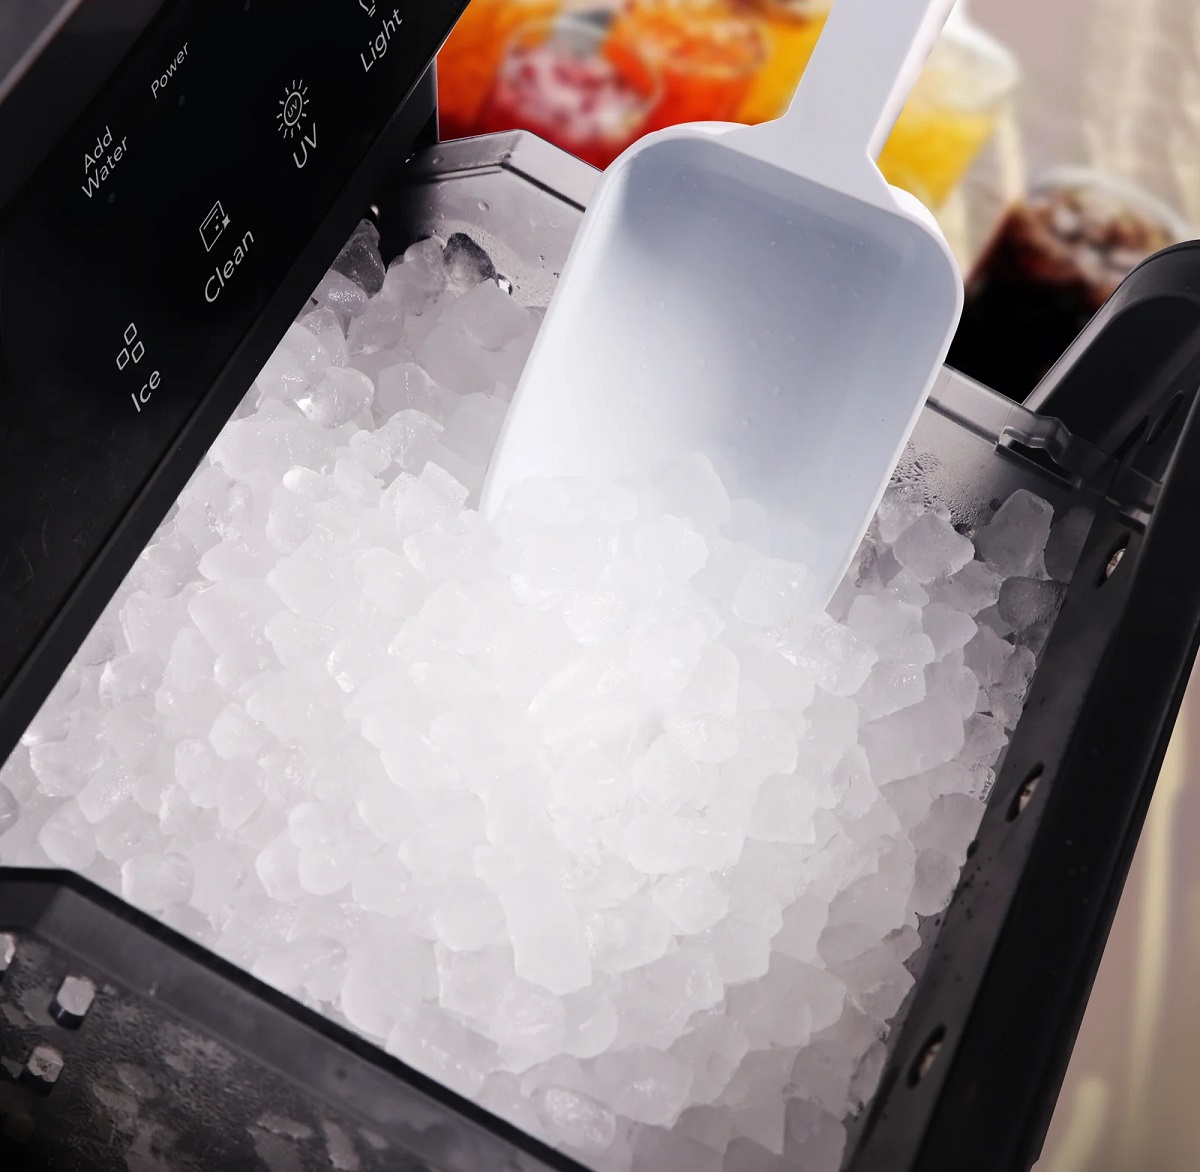
- Monitor ice production: Check the ice maker periodically to see if it’s producing ice. After a few hours, you should notice ice cubes beginning to form in the ice mold. Keep an eye on the ice bin and make sure it’s filling up with ice cubes.
- Check for any issues: While observing the ice maker, ensure that the motor is rotating to dispense the ice cubes into the collection bin. Also, listen for any unusual noises or vibrations that could indicate a malfunction.
- Confirm proper functionality: Once the ice bin is full of ice cubes, try dispensing a few cubes into a glass to test the ice maker’s functionality. If the ice dispenses smoothly without any issues, it confirms that the ice maker is working properly.
- Monitor ongoing performance: After testing, continue to monitor the ice maker’s performance over the next few days. Ensure that it consistently produces ice cubes and that the ice bin doesn’t become overfilled or jammed.
If you notice any issues during the testing process, such as a lack of ice production, unusual noises, or ice getting stuck, it may indicate a problem that requires further troubleshooting or professional assistance. In such cases, it’s advisable to consult the Frigidaire user manual or contact customer support for guidance.
By conducting a thorough test after defrosting, you can ensure that your Frigidaire ice maker is fully operational and ready to provide you with a constant supply of refreshing ice cubes.
Tips and Precautions for Defrosting the Frigidaire Ice Maker
When defrosting your Frigidaire ice maker, it’s essential to follow proper procedures and take certain precautions to ensure a safe and effective defrosting process. Here are some tips to keep in mind:
- Read the user manual: Before attempting to defrost your ice maker, familiarize yourself with the specific instructions provided in the Frigidaire user manual. This will give you a better understanding of the process and any model-specific recommendations.
- Ensure safety: Always prioritize safety during the defrosting process. Unplug the refrigerator from the power source before starting, and handle electrical appliances, such as hairdryers, with caution.
- Choose the right tools: Use appropriate tools, such as a hairdryer on a low or medium heat setting, to defrost your ice maker. Avoid using sharp objects or excessive force that could damage the components.
- Allow ample time: Defrosting the ice maker may take some time, especially if there is significant ice buildup. Be patient and avoid rushing the process to ensure thorough defrosting.
- Keep towels and cloths nearby: Have towels and cloths readily available during the defrosting process to wipe away melted ice and prevent it from refreezing on surfaces or causing slips and falls.
- Maintain good ventilation: Work in a well-ventilated area when defrosting the ice maker to allow for proper airflow. This will help speed up the defrosting process and prevent the accumulation of moisture.
- Inspect for damage: Take the opportunity to visually inspect the ice maker for any signs of damage, such as cracks or leaks, while defrosting. Address any issues promptly to avoid further complications.
- Regularly clean the ice maker: Alongside defrosting, establish a regular cleaning routine for the ice maker. This helps prevent ice buildup and maintains optimal performance. Follow the manufacturer’s recommendations for cleaning frequency and methods.
- Consult professional help if needed: If you encounter any difficulties or suspect a more complex issue with your ice maker, consider consulting a professional technician for assistance. They can provide expert guidance and ensure proper repairs if necessary.
By following these tips and precautions, you can effectively and safely defrost your Frigidaire ice maker, keeping it in optimal working condition and ensuring a steady supply of ice cubes for your convenience.
Conclusion
Defrosting your Frigidaire ice maker is an essential maintenance task that helps ensure optimal performance and uninterrupted ice production. By understanding the workings of the ice maker, properly preparing it for defrosting, and following the correct steps, you can successfully remove ice buildup and restore its functionality.
Remember to take precautions during the defrosting process, such as unplugging the refrigerator and handling electrical appliances with care. Allow ample time for the ice to melt and clean the ice maker thoroughly before reassembling it.
Once the ice maker is reassembled, conduct a test to ensure everything is working as expected. Monitor ongoing performance to ensure consistent ice production and address any issues promptly.
To maintain the ice maker’s long-term performance, establish a regular cleaning routine and follow the manufacturer’s recommendations. This will help prevent future ice buildup and ensure a continuous supply of clean and refreshing ice cubes.
Should you encounter difficulties or suspect a more complex issue, don’t hesitate to seek professional assistance. They can provide expert advice and repairs if needed.
By following these guidelines and incorporating regular maintenance, you can enjoy the convenience of a well-functioning Frigidaire ice maker and enjoy refreshing ice cubes whenever you desire.
Now that you've tackled defrosting your Frigidaire ice maker, why not spruce up your entire home with some essential upkeep? Our next guide covers all you need to keep your living space in prime condition. From routine checks to simple fixes, mastering home maintenance ensures a comfortable, safe environment for everyone. Don't miss out on these invaluable insights – start improving your home today!
Frequently Asked Questions about How To Defrost Frigidaire Ice Maker
Was this page helpful?
At Storables.com, we guarantee accurate and reliable information. Our content, validated by Expert Board Contributors, is crafted following stringent Editorial Policies. We're committed to providing you with well-researched, expert-backed insights for all your informational needs.

0 thoughts on “How To Defrost Frigidaire Ice Maker”