Home>Articles>How To Remove Ice Maker From Frigidaire Freezer
Articles
How To Remove Ice Maker From Frigidaire Freezer
Modified: October 19, 2024
Learn how to remove the ice maker from your Frigidaire freezer with these helpful articles. Save time and hassle with our step-by-step guides.
(Many of the links in this article redirect to a specific reviewed product. Your purchase of these products through affiliate links helps to generate commission for Storables.com, at no extra cost. Learn more)
Introduction
Welcome to our guide on how to remove the ice maker from a Frigidaire freezer. Whether you’re upgrading your ice maker or need to perform maintenance or repairs, knowing the proper steps to remove it is essential. With this step-by-step guide, you’ll be able to safely and effectively remove the ice maker from your Frigidaire freezer without any hassle.
Having an ice maker in your freezer is a convenient feature that allows you to have ice readily available at any time. However, there may come a time when you need to remove or replace it. This could be due to a malfunction, the need for repairs, or simply wanting to upgrade your ice maker to a more advanced model.
Before you begin the removal process, it’s important to familiarize yourself with the safety precautions to ensure that you and your appliance remain unharmed during the procedure. Additionally, gathering the necessary tools and materials beforehand will make the process smoother and more efficient.
By following the steps outlined in this guide, you’ll be able to remove the ice maker from your Frigidaire freezer with ease. Once removed, you’ll have the option to clean the area thoroughly and perform any necessary maintenance or repairs on the ice maker itself. Then, if desired, you can reinstall the ice maker or replace it with a new one.
So, whether you’re a seasoned DIY enthusiast or just starting out, this guide will provide you with all the information you need to successfully remove the ice maker from your Frigidaire freezer. Let’s get started!
Key Takeaways:
- Safely and efficiently remove the ice maker from your Frigidaire freezer by following step-by-step instructions, prioritizing safety, and preparing the necessary tools and materials.
- Reinstall the ice maker with confidence after cleaning the freezer and performing any maintenance or repairs, ensuring the continued convenience of having ice readily available.
Read more: How To Remove Ice From Freezer
Safety Precautions
Before you begin the process of removing the ice maker from your Frigidaire freezer, it’s important to prioritize safety. By taking necessary precautions, you can minimize the risk of injury and ensure that the removal goes smoothly. Here are some essential safety measures to keep in mind:
- Disconnect the power: Before you start, make sure to unplug the freezer from the power source. This will prevent any electrical shocks or accidents while working on the appliance.
- Wear protective gear: It’s always a good idea to wear gloves to protect your hands from any sharp edges or potential injuries. Additionally, safety goggles can shield your eyes from debris or any small parts that might loosen during the removal process.
- Clear the area: Clear the workspace around the freezer to ensure there is enough room to maneuver and access the ice maker. Remove any items or obstacles that may hinder your progress or cause accidents.
- Handle with care: Be cautious while handling any tools or equipment during the removal process. Sharp tools or heavy objects can cause injury if not handled properly. Always use proper lifting techniques and ask for assistance if necessary.
- Follow manufacturer’s instructions: While this guide provides a general overview, it’s important to consult your Frigidaire freezer’s manual for specific instructions related to your model. Different models may have slight variations in the removal process, so it’s vital to follow the manufacturer’s guidelines.
- Turn off the water supply: If your ice maker is connected to a water supply, ensure that the water supply is shut off before attempting to remove the ice maker. This will prevent any water leakage or flooding during the removal process.
- Take your time: Patience is key during the removal process. Rushing or applying excessive force can lead to damage to the appliance or injury. Take your time, follow each step carefully, and if you encounter any difficulties or uncertainties, seek professional assistance.
By following these safety precautions, you can ensure a safe and successful removal of the ice maker from your Frigidaire freezer. Remember, safety should always be your top priority when working with appliances or performing any DIY tasks.
Tools and Materials Needed
Before you begin removing the ice maker from your Frigidaire freezer, gather the necessary tools and materials. Having these items on hand will make the removal process smoother and more efficient. Here’s a list of tools and materials you’ll need:
- Phillips screwdriver: You’ll need a Phillips screwdriver to remove any screws securing the ice maker to the freezer.
- Adjustable wrench: An adjustable wrench will come in handy for disconnecting the water supply line.
- Bucket or towels: Have a bucket or towels ready to catch any water that may leak from the water supply line.
- Cleaning supplies: Prepare cleaning supplies such as mild soap or vinegar and a soft cloth or sponge to clean the freezer once the ice maker is removed.
- Replacement parts (optional): If you plan on replacing the ice maker with a new one, make sure you have the replacement parts on hand.
Make sure to have all these tools and materials easily accessible before you start the removal process. This way, you won’t have to interrupt the process to search for missing items.
Keep in mind that specific Frigidaire freezer models may require additional tools or materials. It’s always a good idea to consult your freezer’s manual or do some research to ensure you have everything you need for your particular model.
Now that you’re prepared with the necessary tools and materials, let’s move on to the step-by-step process of removing the ice maker from your Frigidaire freezer.
Step 1: Turn off the Ice Maker
The first step in removing the ice maker from your Frigidaire freezer is to turn it off. This will prevent the ice maker from attempting to make ice during the removal process and avoid any potential damage or hazards. Here’s how to turn off the ice maker:
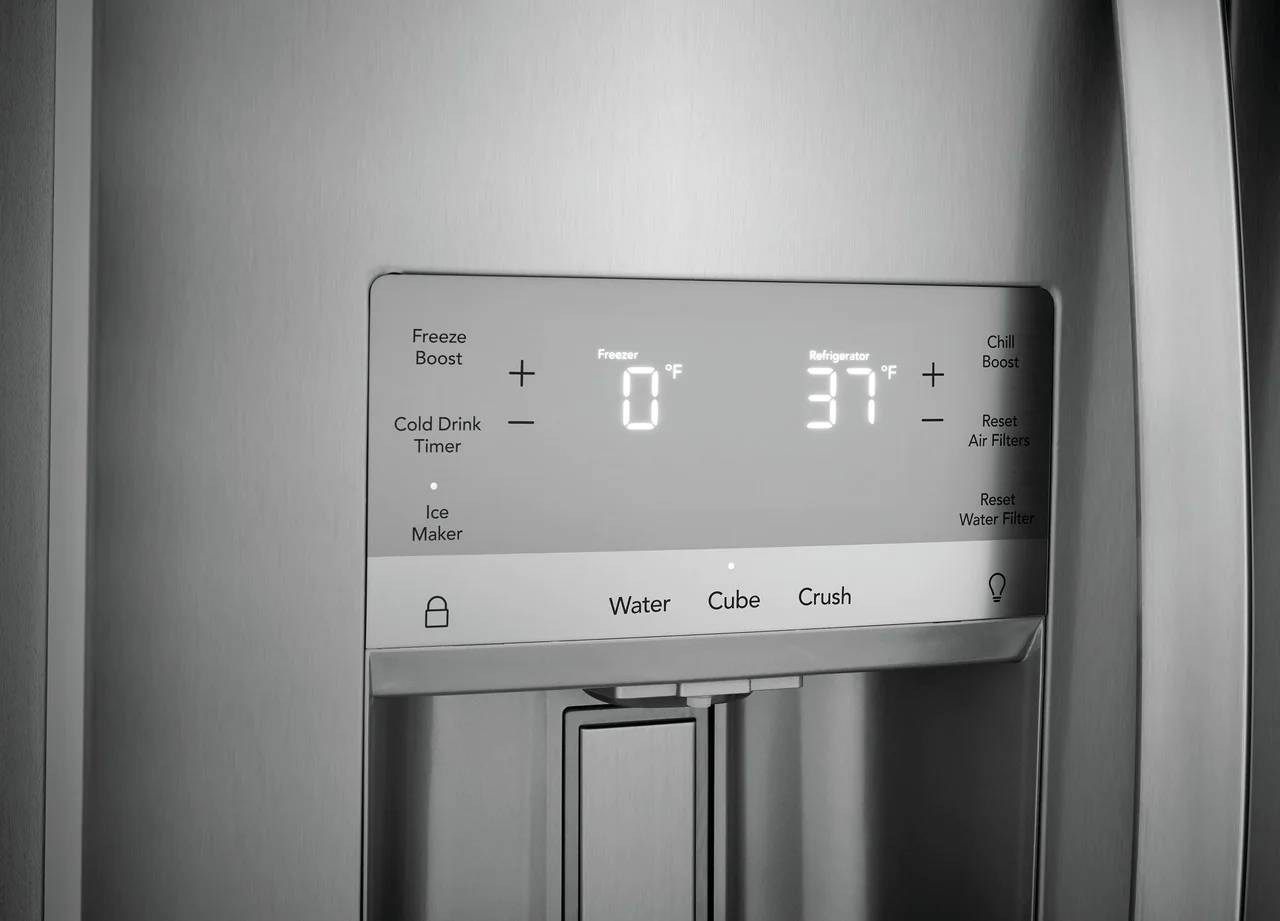
- Locate the ice maker control switch or button. This is typically located on the front of the ice maker or inside the freezer.
- If there is a switch, flip it to the “Off” position. If there is a button, press and hold it until the ice maker shuts off.
- Listen for any sounds or indicators that confirm the ice maker has turned off, such as the sound of the motor stopping or the LED light on the ice maker going off.
- Double-check the ice maker to ensure it is indeed turned off. You can do this by opening the freezer and visually inspecting the ice maker for any signs of activity or ice production.
Once you have successfully turned off the ice maker, you can proceed with the next steps of the removal process. Taking the time to turn off the ice maker will help prevent any mishaps or complications during the removal process and ensure a smooth transition.
Now that we have turned off the ice maker, we can move on to Step 2: Emptying the Freezer.
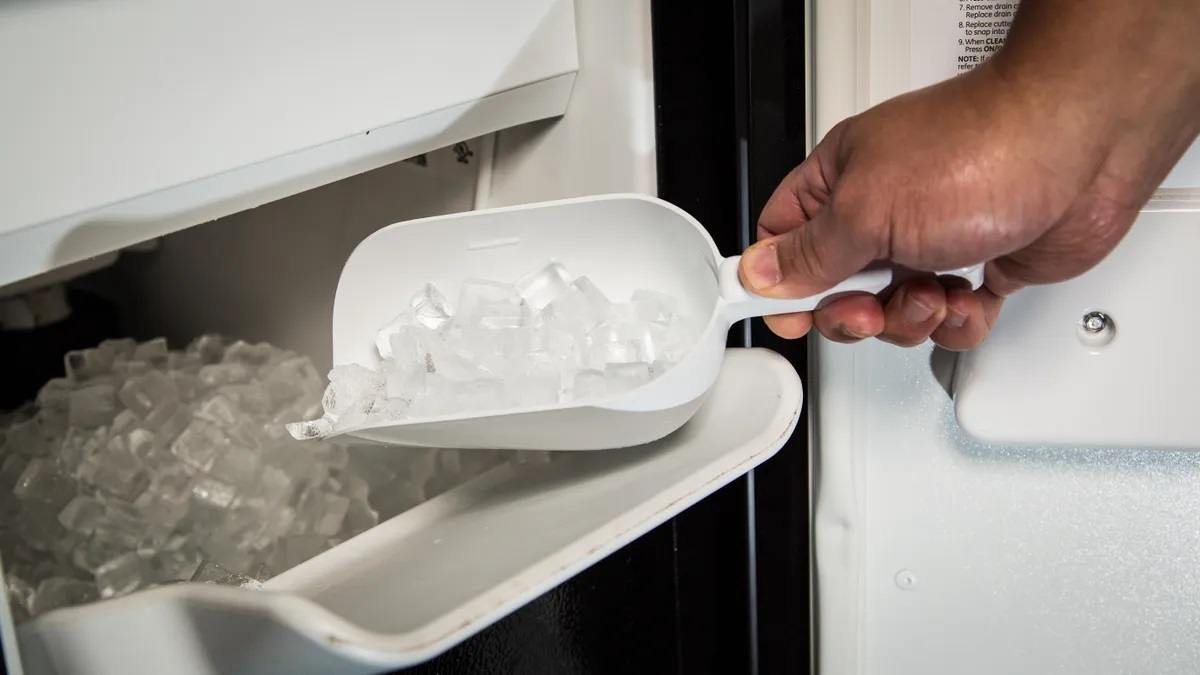
Step 2: Empty the Freezer
Before you can safely remove the ice maker from your Frigidaire freezer, it’s important to empty the contents of the freezer. This will provide you with ample space to work and prevent any items from getting in the way or getting damaged during the removal process. Follow these steps to empty the freezer:
- Take out any perishable items first.
- Transfer the perishable items to a cooler or another freezer to keep them from thawing.
- Remove any non-perishable items and place them aside temporarily.
- Take this opportunity to sort through and discard any expired or unwanted items.
By emptying the freezer, you create a clear workspace and reduce the risk of accidents or damage to your stored items. It also allows for easier access to the ice maker and related components during the removal process.
Once you have emptied the freezer, securely store the perishable items to keep them fresh. Make sure to close the freezer door to maintain the temperature inside while you continue with the ice maker removal.
Now that the freezer is empty, we can proceed to Step 3: Locating the Ice Maker.
Read more: How To Make Ice in Frigidaire Ice Maker
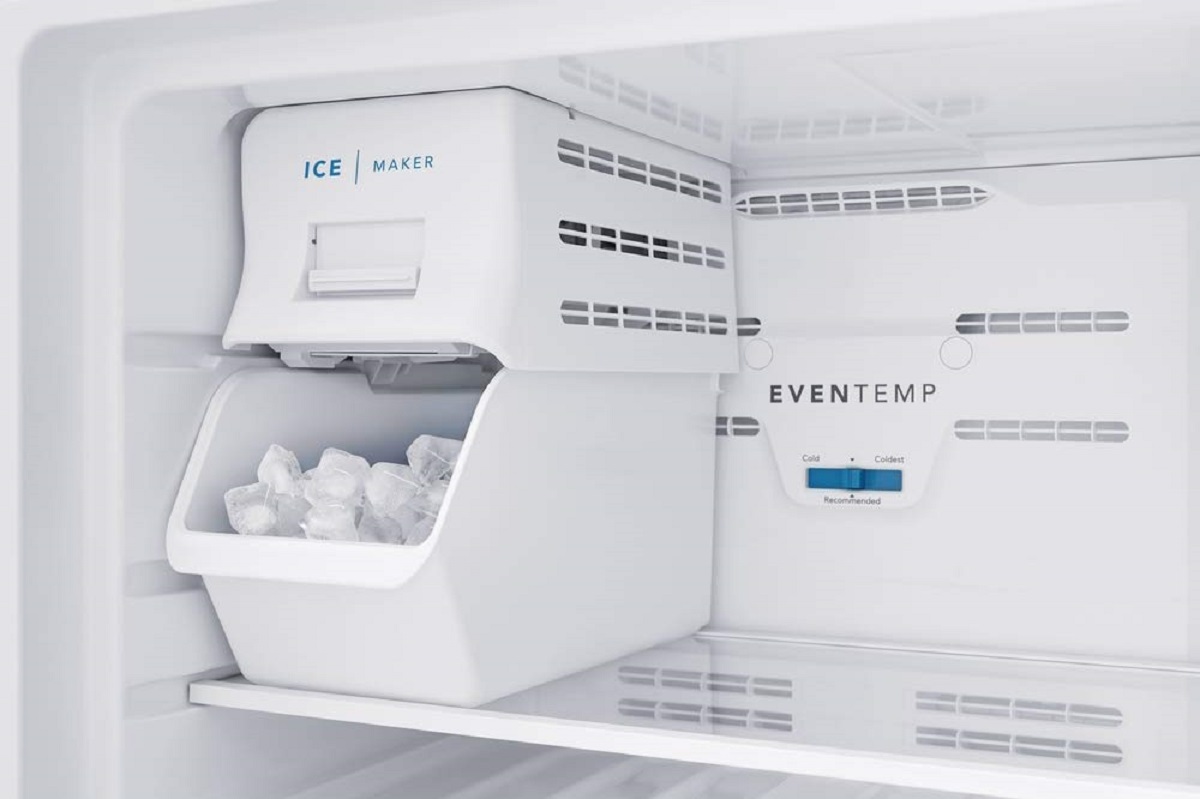
Step 3: Locate the Ice Maker
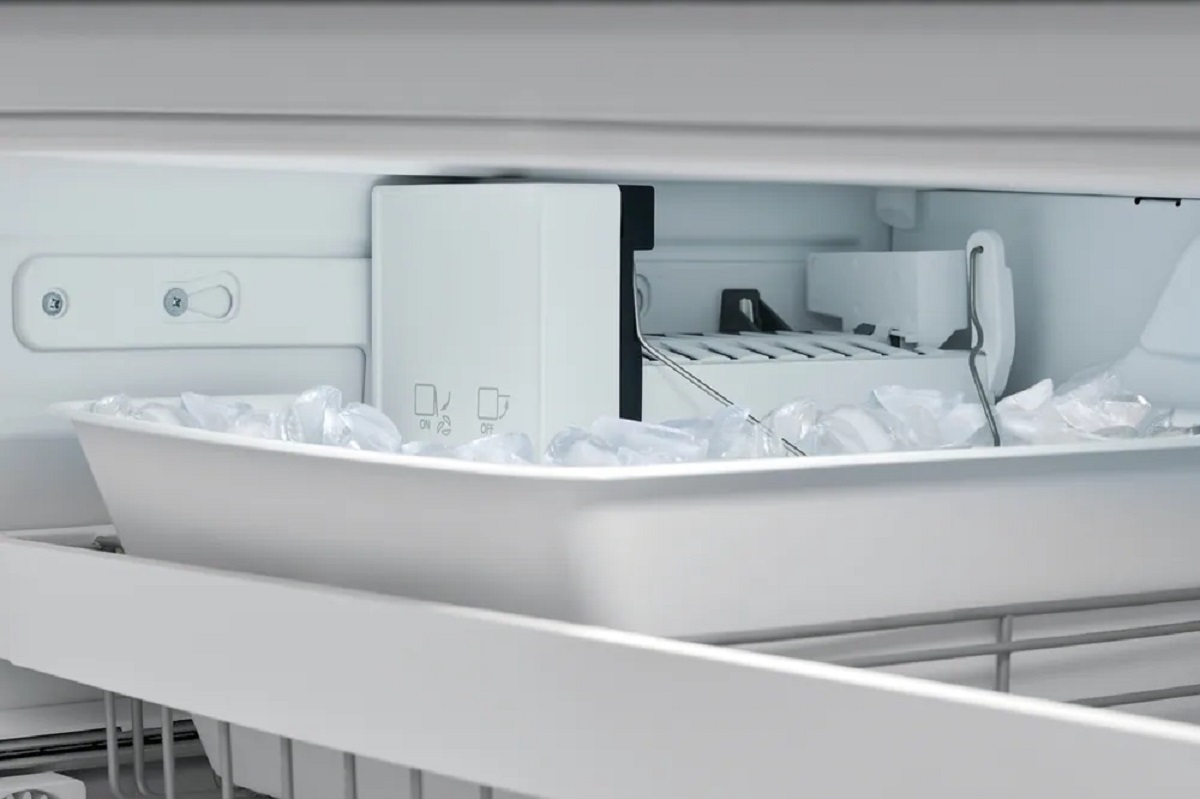
Now that you have emptied the contents of your Frigidaire freezer, it’s time to locate the ice maker. The ice maker is typically located near the top of the freezer compartment, either on the side or at the back. Follow these steps to locate the ice maker:
- Open the freezer door fully to get a clear view of the interior.
- Look for a rectangular or square-shaped device attached to the freezer wall or ceiling.
- Check for any labels or markings indicating that it is the ice maker.
- If you’re having trouble locating the ice maker, consult your freezer’s manual for specific instructions or refer to Frigidaire’s official website for diagrams or guides specific to your model.
Once you have successfully located the ice maker, take a moment to examine the area around it. Note the presence of any screws, brackets, or other components that will need to be removed in subsequent steps.
Getting familiar with the location of the ice maker will help you navigate the removal process smoothly and efficiently. Now that you have located the ice maker, we can move on to Step 4: Disconnecting the Water Supply Line.
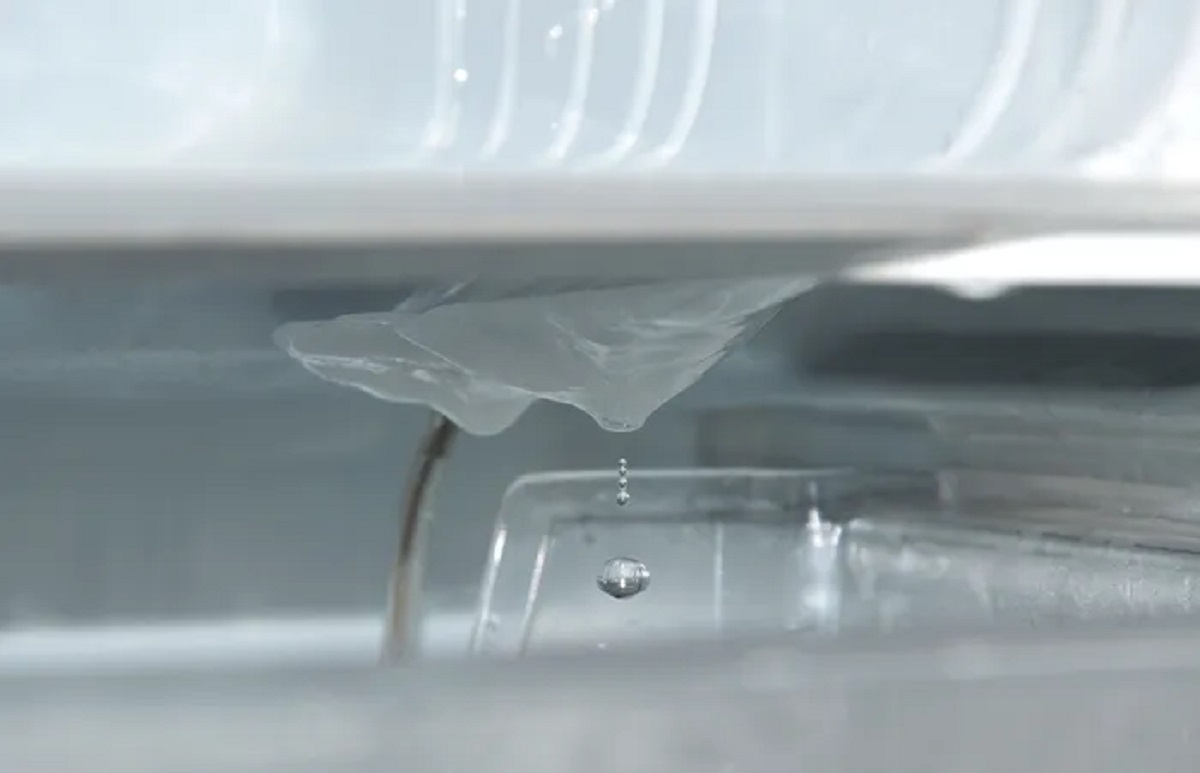
Step 4: Disconnect the Water Supply Line
Before removing the ice maker from your Frigidaire freezer, you need to disconnect the water supply line. This will prevent any water leakage or damage during the removal process. Follow these steps to disconnect the water supply line:
- Locate the water supply valve. This is typically located behind or near the freezer, often connected to a nearby wall.
- Turn off the water supply by rotating the valve handle clockwise until it is fully closed. This will stop the flow of water to the ice maker.
- Prepare a bucket or towels to catch any water that may have been in the line.
- Locate the connection point between the water supply line and the ice maker. This is usually located towards the back of the ice maker.
- Using an adjustable wrench, carefully loosen the nut securing the water supply line to the ice maker.
- Gently pull the water supply line away from the ice maker to disconnect it.
- Be prepared for any residual water to drain from the line. Direct any dripping water into the bucket or use towels to soak it up.
- If necessary, use plumber’s tape to secure the end of the water supply line and prevent any leaks.
By disconnecting the water supply line, you ensure a smooth and mess-free removal process. It’s important to take caution when disconnecting the line to avoid damaging the connections or causing any water leakage.
With the water supply line disconnected, we can now proceed to Step 5: Remove the Mounting Bracket.
Before removing the ice maker from your Frigidaire freezer, make sure to unplug the refrigerator and shut off the water supply. Then, follow the manufacturer’s instructions for removing the ice maker, which typically involves locating and removing the mounting screws and disconnecting the wiring harness.
Step 5: Remove the Mounting Bracket
Now that you have disconnected the water supply line, it’s time to remove the mounting bracket that secures the ice maker to the freezer. The mounting bracket is usually attached with screws or clips, and removing it will allow you to easily detach the ice maker. Follow these steps to remove the mounting bracket:
- Locate the screws or clips that are securing the mounting bracket to the freezer. These are typically situated on the sides or top of the bracket.
- Using a Phillips screwdriver, carefully loosen and remove the screws. If your ice maker has clips, gently press or squeeze them to release the bracket.
- Once the screws or clips are removed, slide the mounting bracket away from the freezer wall. Take care not to damage any surrounding components or wiring.
- Set the mounting bracket and screws aside in a safe place, as you will need them for reinstallation if desired.
Removing the mounting bracket will free up the ice maker, allowing you to proceed with removing the ice maker assembly from the freezer. Take your time and be gentle when removing the mounting bracket to avoid any accidental damage.
With the mounting bracket removed, we can now move on to Step 6: Unplug the Ice Maker.
Step 6: Unplug the Ice Maker
With the mounting bracket removed, it’s time to unplug the ice maker from the freezer. Unplugging the ice maker is a crucial step in the removal process to ensure the safe and proper detachment of the unit. Follow these steps to unplug the ice maker:
- Locate the power cord that is connected to the ice maker. It is typically located at the back or side of the ice maker.
- Gently pull the power cord from the electrical socket to disconnect the ice maker from the power source.
- Inspect the power cord for any signs of damage, such as frayed wires or exposed insulation. If you notice any damage, it is recommended to replace the power cord before reinstalling the ice maker.
By unplugging the ice maker, you ensure that there is no electrical power running through the unit during the removal process. This reduces the risk of electrical shocks and allows for a safe and hassle-free removal.
With the ice maker unplugged, we can now proceed to Step 7: Remove the Ice Maker Assembly.
Read more: How To Remove Ice Maker From Fridge?
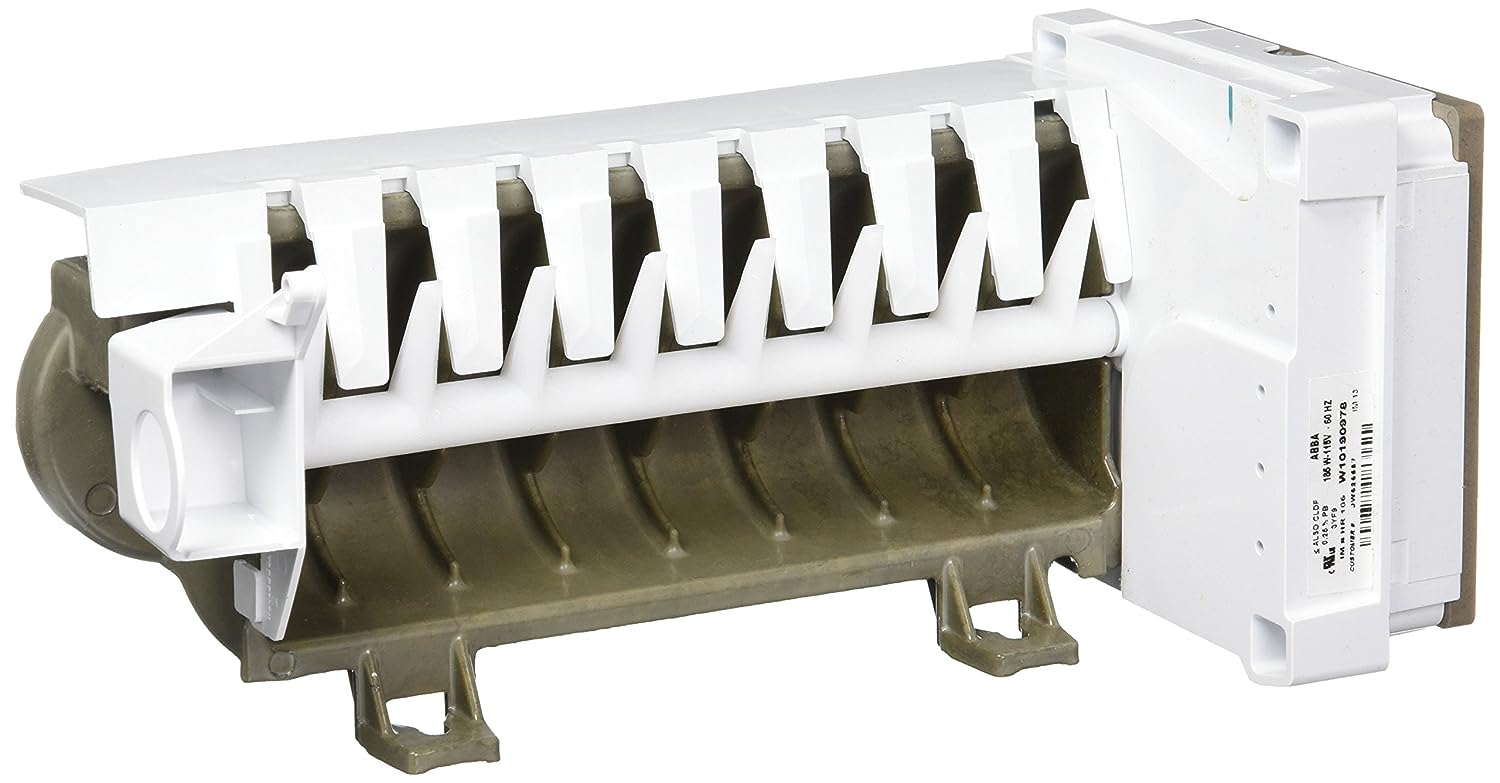
Step 7: Remove the Ice Maker Assembly
Now that you have disconnected the power, water supply, and removed the mounting bracket, it’s time to remove the ice maker assembly from your Frigidaire freezer. The ice maker assembly is the main unit that holds the ice maker and related components. Follow these steps to remove the ice maker assembly:
- While supporting the ice maker assembly, gently lift and tilt it forward to release it from the mounting slots or brackets.
- Once the ice maker assembly is free from the mounting slots, carefully pull it forward to expose the wiring harness.
- Locate the wiring harness that connects the ice maker to the freezer.
- Depress the tab or clip on the wiring harness connector to release it from the ice maker.
- Gently pull the wiring harness connector away from the ice maker to disconnect it.
- Set the ice maker assembly aside in a safe place, away from any potential damage or interference.
Removing the ice maker assembly completes the process of detaching the ice maker from your Frigidaire freezer. Take your time and be cautious when handling the ice maker assembly to avoid any damage or accidental disconnection of components.
With the ice maker assembly removed, you can proceed to Step 8: Clean the Freezer.
Step 8: Clean the Freezer
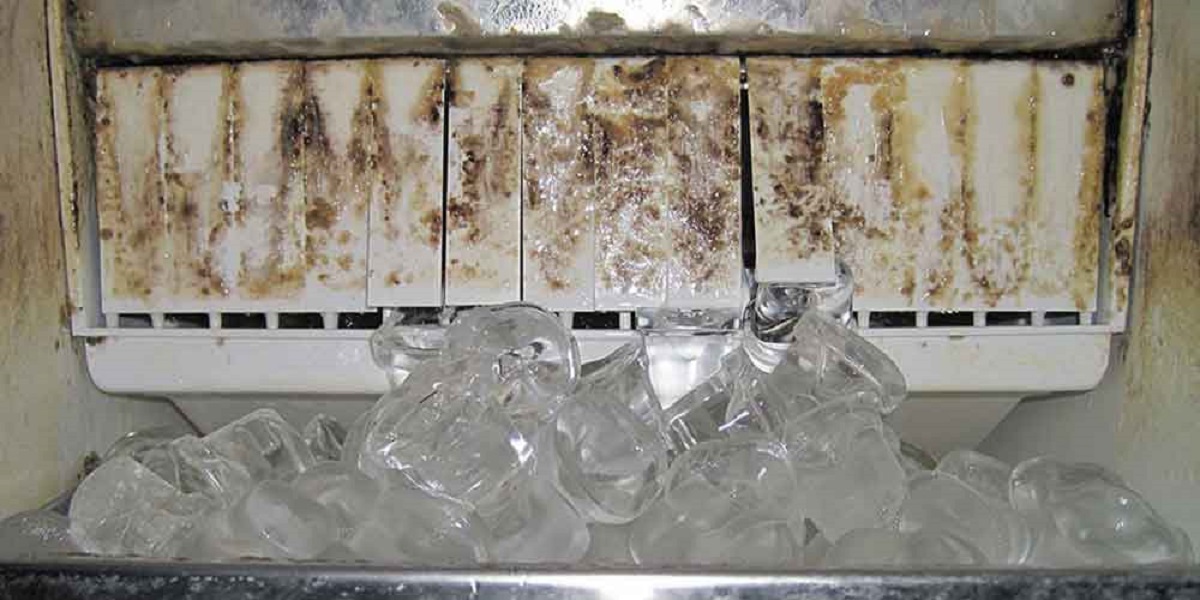
Now that the ice maker has been removed from your Frigidaire freezer, it’s a perfect opportunity to clean and sanitize the freezer’s interior. This step is essential for maintaining a hygienic and odor-free environment for your food. Follow these steps to clean the freezer:
- Start by preparing a mixture of warm water and a mild detergent, or a solution of equal parts water and vinegar.
- Using a soft cloth or sponge, dip it into the cleaning solution and gently wipe down the walls, shelves, and any other interior surfaces of the freezer.
- Pay special attention to any spills, stains, or stuck-on residue, and use a gentle scrubbing motion to remove them.
- Rinse the cloth or sponge with clean water and wipe down the interior again to remove any soapy residue.
- If there are any stubborn stains or odors, you can use a paste made of baking soda and water to scrub the affected areas.
- Once the interior of the freezer is clean, dry it thoroughly with a clean towel or allow it to air dry before reintroducing any food.
- Before placing food back into the freezer, ensure that it is properly wrapped or stored in airtight containers to maintain freshness and prevent freezer burn.
Cleaning the freezer not only helps to remove any lingering odors but also ensures a clean and sanitary environment for your food. It’s a good practice to periodically clean your freezer, even if you haven’t removed the ice maker, to maintain optimal food storage conditions.
Now that you have cleaned the freezer, we can move on to Step 9: Reinstalling the Ice Maker.
Step 9: Reinstalling the Ice Maker
After cleaning the freezer and completing any necessary maintenance or repairs on the ice maker, you may choose to reinstall it. Reinstalling the ice maker will allow you to continue enjoying the convenience of having ice readily available. Follow these steps to reinstall the ice maker in your Frigidaire freezer:
- Position the ice maker assembly in front of the mounting slots or brackets inside the freezer.
- Ensure that the wiring harness is accessible and aligned with the connector on the freezer wall.
- Gently push the ice maker assembly into the mounting slots or brackets, making sure they securely fit in place.
- Connect the wiring harness by gently pushing the connector from the ice maker into the corresponding connector on the freezer wall. You may need to depress a tab or clip to properly connect them.
- Once the wiring harness is securely connected, verify that the ice maker assembly is in the correct position and aligned with any screw holes or clips for the mounting bracket.
- If the freezer has a mounting bracket, reattach it by inserting and tightening the screws or snapping the clips back into place.
- Ensure that all connections are secure and properly aligned before proceeding.
- If you disconnected the water supply line, refer to the manufacturer’s instructions to properly reconnect it, ensuring a tight and leak-free connection.
- Once everything is reinstalled and connected, restore power to the freezer by plugging it back into the electrical socket.
By carefully following these steps, you can successfully reinstall the ice maker in your Frigidaire freezer. Remember to double-check all connections and alignments before turning on the ice maker to ensure proper functionality.
With the ice maker reinstalled, you can now enjoy the convenience of having ice readily available once again.
Congratulations! You have completed the process of removing and reinstalling the ice maker in your Frigidaire freezer. If you encountered any difficulties during the process or need further assistance, it is always recommended to consult the manufacturer’s manual or seek professional help.
Thank you for using our guide, and we hope it has been helpful in accomplishing your ice maker removal and reinstallation tasks.
Conclusion
Removing the ice maker from your Frigidaire freezer may seem daunting at first, but with the proper knowledge and guidance, it can be a straightforward process. In this comprehensive guide, we have provided you with a step-by-step walkthrough on how to remove the ice maker safely and efficiently.
By following the outlined steps, including turning off the ice maker, emptying the freezer, locating the ice maker, disconnecting the water supply line, removing the mounting bracket, unplugging the ice maker, removing the ice maker assembly, cleaning the freezer, and finally, reinstalling the ice maker, you can successfully complete the task.
Remember to prioritize safety by following the necessary precautions throughout the process. Wear protective gear, clear the workspace, and handle tools and equipment with care. It’s important to take your time, be thorough, and consult your Frigidaire freezer’s manual for any model-specific instructions.
Additionally, use this opportunity to clean the freezer and perform any maintenance or repairs on the ice maker if needed. This will help ensure optimal performance and longevity of the appliance.
We hope that this guide has provided you with the confidence and knowledge necessary to remove the ice maker from your Frigidaire freezer. Whether you’re upgrading your ice maker, performing maintenance, or making repairs, you now have the skills to do it yourself.
Thank you for choosing to follow our guide, and may your ice maker removal process be a success. Enjoy the continued convenience of having ice readily available in your Frigidaire freezer!
Ready for more freezer fun and fixes? Don't miss our guide on selecting the best options available next year, especially if you're thinking about upgrading. Whether you're seeking reliability or innovative features, learning about top Frigidaire freezers will prove invaluable. Also, if your current ice maker is acting up, don't fret! We've got a straightforward guide to help with any Frigidaire repairs you might need. Arm yourself with the knowledge to keep your appliances in tip-top shape!
Frequently Asked Questions about How To Remove Ice Maker From Frigidaire Freezer
Was this page helpful?
At Storables.com, we guarantee accurate and reliable information. Our content, validated by Expert Board Contributors, is crafted following stringent Editorial Policies. We're committed to providing you with well-researched, expert-backed insights for all your informational needs.

0 thoughts on “How To Remove Ice Maker From Frigidaire Freezer”