Articles
How Does Countertop Ice Maker Work
Modified: September 2, 2024
Discover how countertop ice makers work and learn more about this convenient appliance in our informative articles.
(Many of the links in this article redirect to a specific reviewed product. Your purchase of these products through affiliate links helps to generate commission for Storables.com, at no extra cost. Learn more)
Introduction
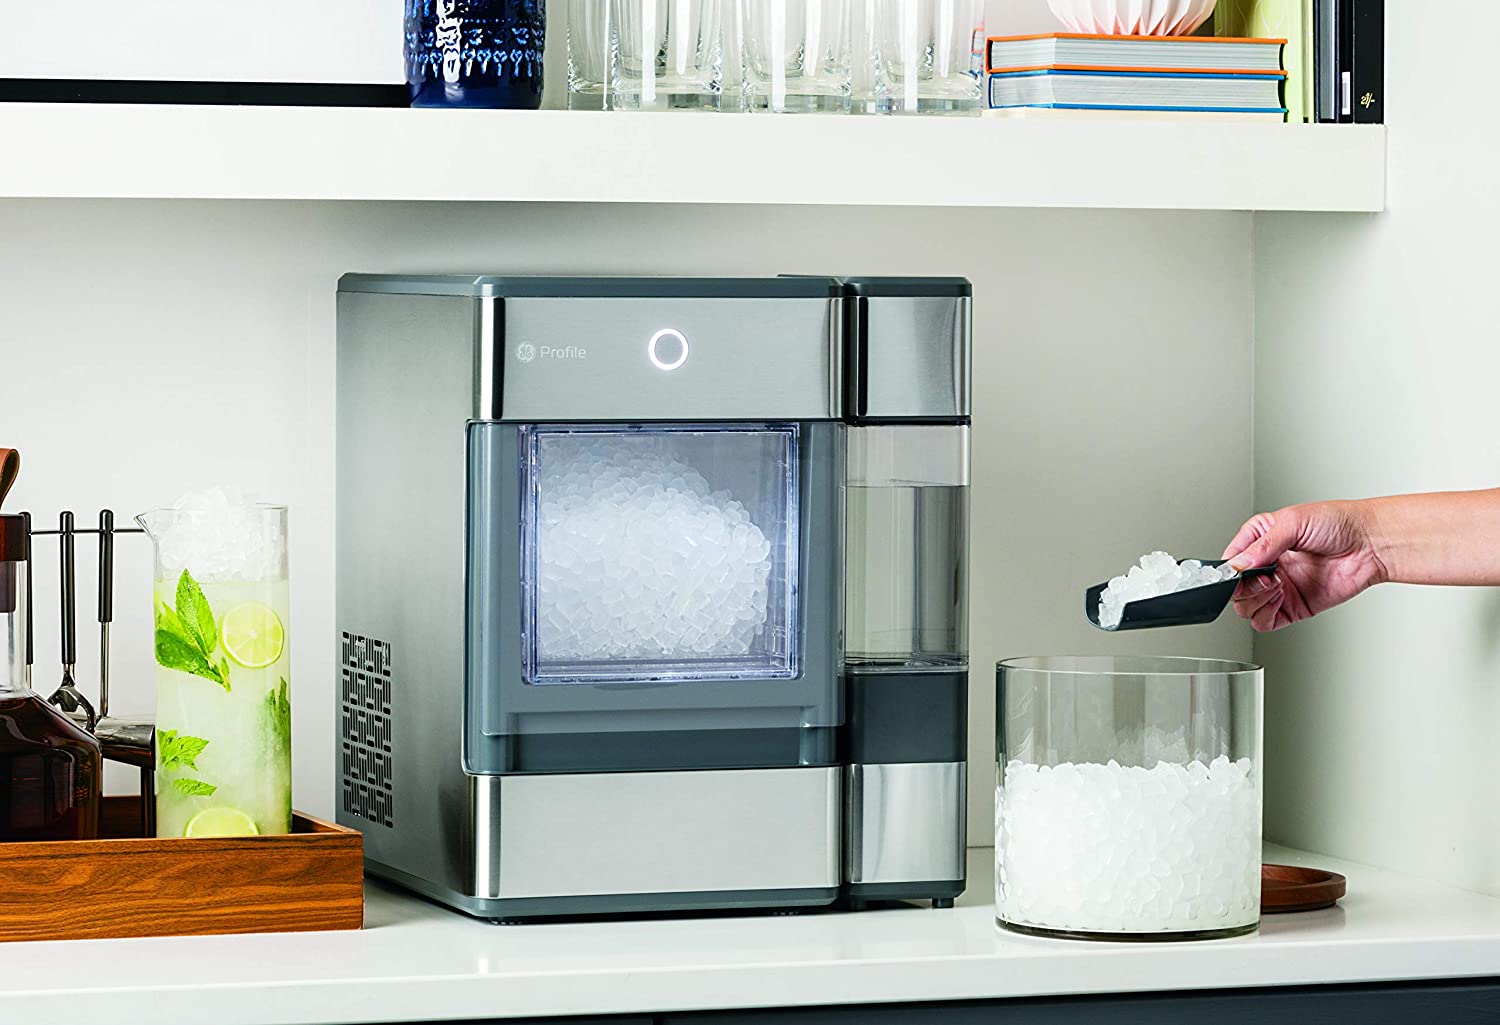
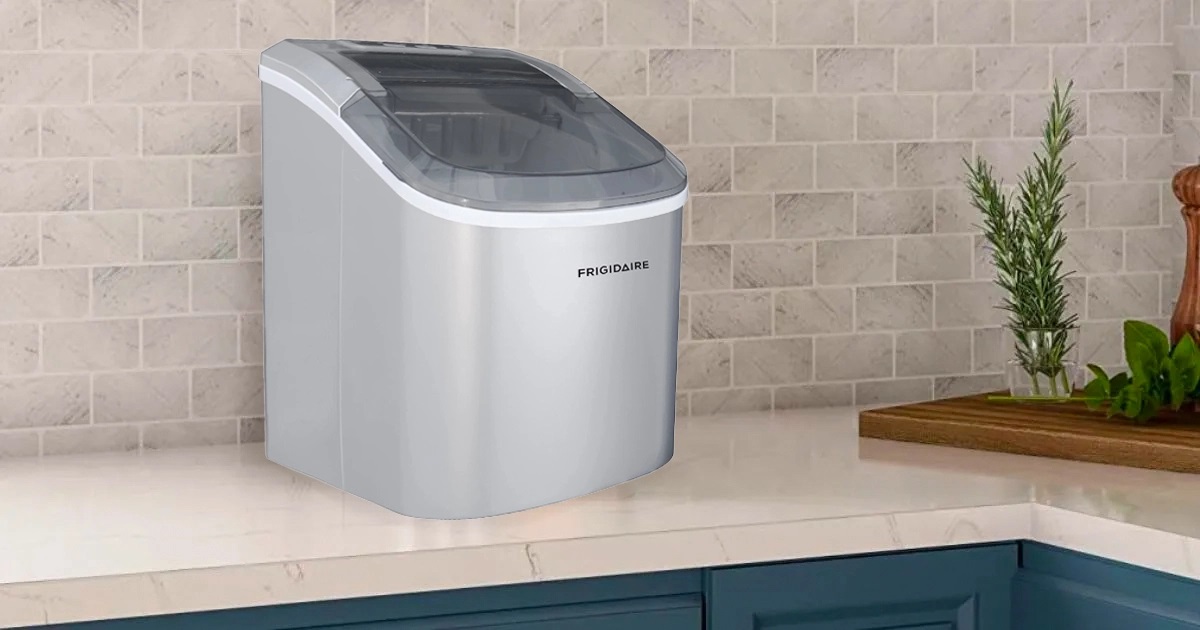
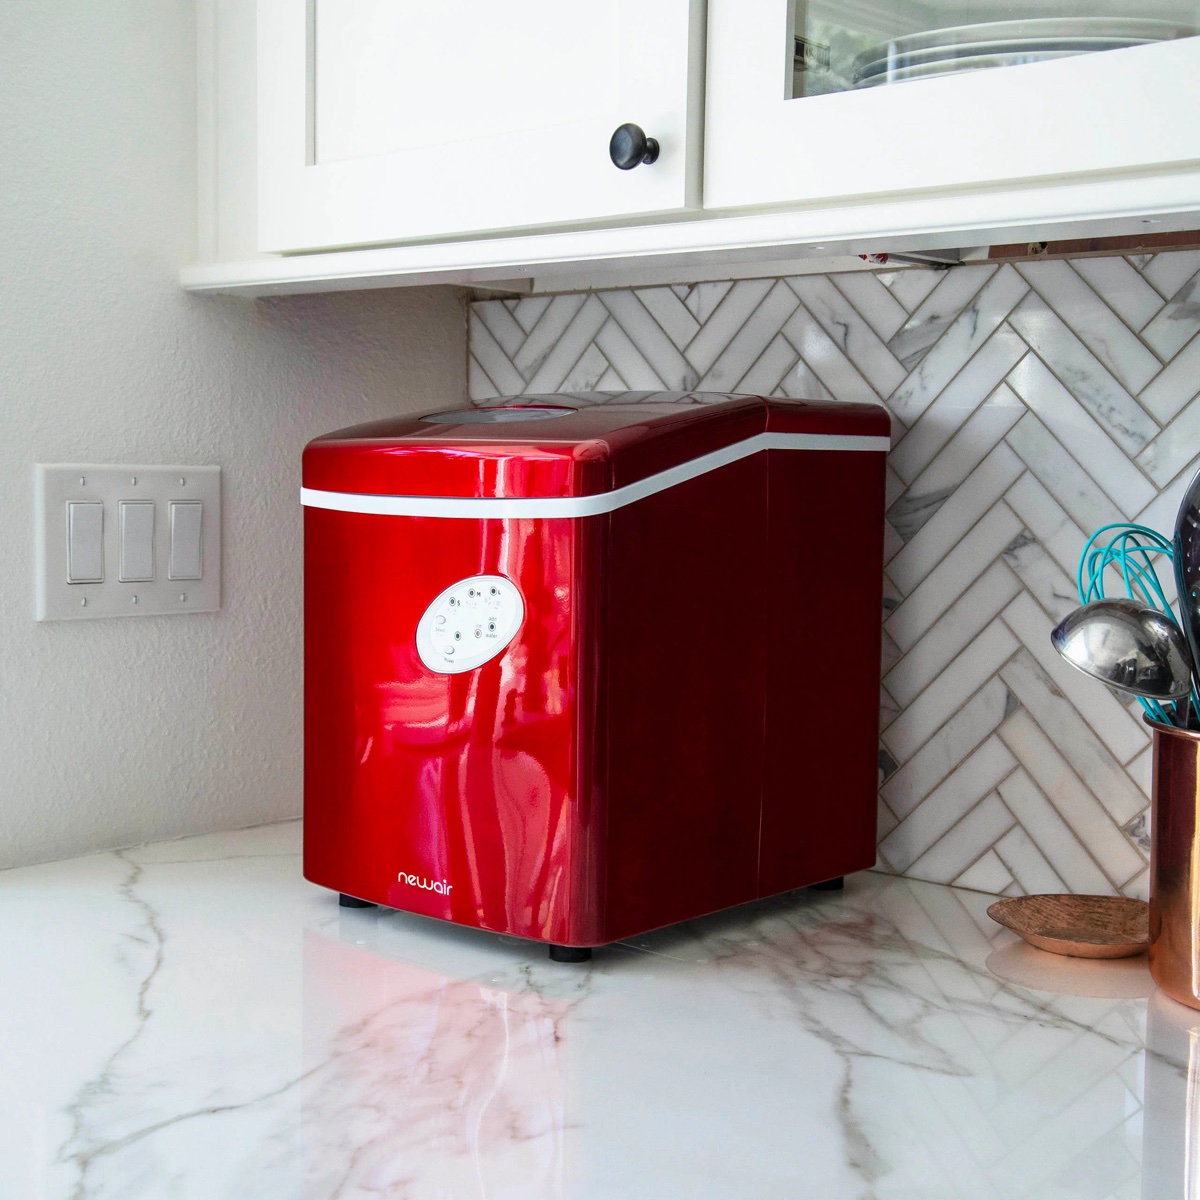
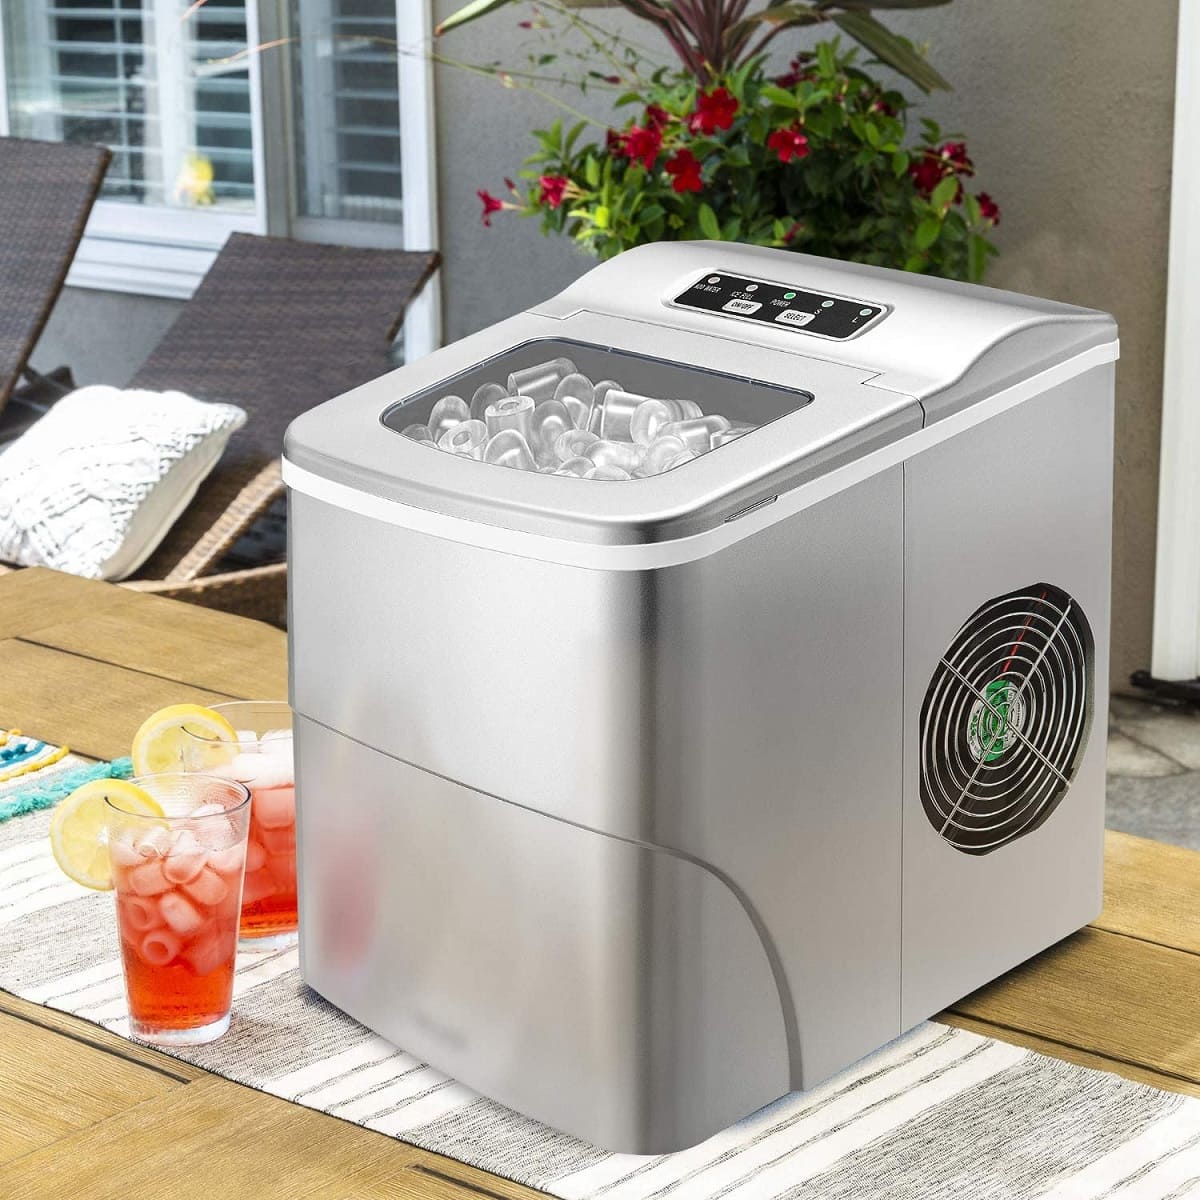
A countertop ice maker is a handy appliance that allows you to have a constant supply of ice cubes without the need for a dedicated freezer ice maker or repeatedly buying bags of ice from the store. Whether you’re hosting a party, serving beverages at home, or enjoying a refreshing drink on a hot summer day, having an ice maker on your countertop can add convenience and ensure you never run out of ice.
In this article, we will explore how a countertop ice maker works, its various components, and the ice-making process. Understanding the inner workings of this compact yet powerful appliance will help you appreciate its functionality and make the most out of your ice maker.
So, let’s dive in and unravel the fascinating world of countertop ice makers!
Key Takeaways:
- Enjoy a constant supply of ice cubes with a countertop ice maker, understanding its components, maintenance, and energy efficiency. Say goodbye to constantly buying bags of ice and embrace the convenience of customizable ice cubes at home.
- Keep your countertop ice maker in top condition by regularly cleaning and maintaining it. Optimize energy usage, ensure sanitary ice production, and enjoy a continuous supply of refreshing ice cubes for all your needs.
Read more: How Does An Ice Maker Work?
Components of a Countertop Ice Maker
A countertop ice maker consists of several key components that work together to produce ice cubes efficiently. While the exact design and arrangement may vary between different models and brands, the fundamental components remain the same. Let’s take a closer look at each of these components:
- Water Inlet: This is where you pour water into the ice maker. It is typically located on the top or side of the appliance and can be easily accessed.
- Water Pump: The water pump is responsible for circulating water from the water inlet to the ice-making mechanism. It helps ensure a continuous flow of water, enabling the ice maker to produce ice cubes consistently.
- Ice-Making Mechanism: This is the heart of the ice maker, where the actual ice-making process occurs. It usually consists of a metal tray or mold, which is filled with water from the water pump. The tray is then cooled, allowing the water to freeze and turn into ice cubes.
- Compressor: The compressor is a vital component of the ice maker’s cooling system. It works by compressing and expanding a refrigerant gas, which facilitates the cooling process necessary for ice formation. This is similar to how a refrigerator works.
- Condenser: The condenser is responsible for dissipating heat generated by the compressor. It helps cool down the refrigerant gas, allowing it to revert into a liquid state.
- Fan: A fan is typically present in an ice maker to aid in the cooling process. It helps circulate air, allowing the condenser to effectively release heat and maintain the optimal temperature within the ice maker.
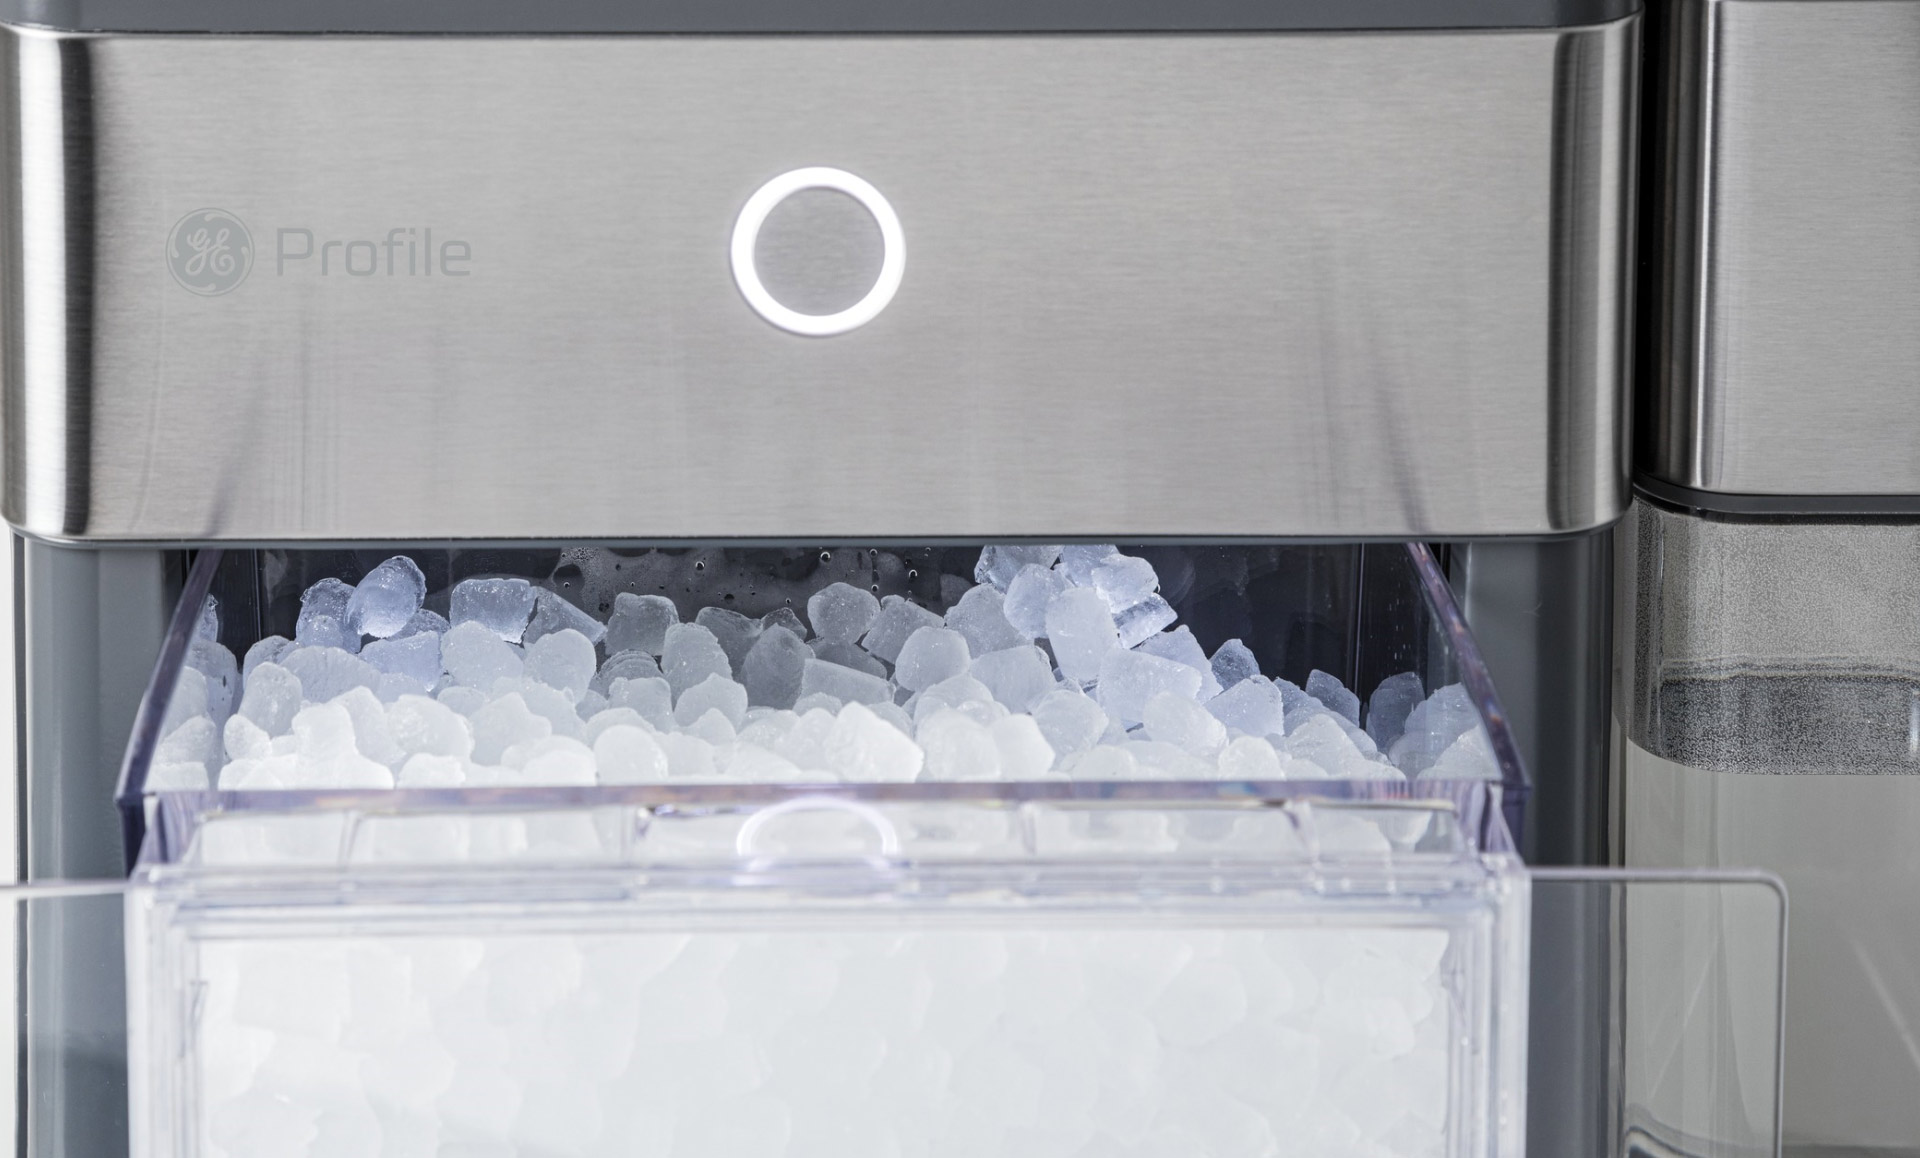
- Storage Bin: Once the ice cubes are formed, they are collected in a storage bin located at the bottom of the ice maker. The storage bin is insulated to help keep the ice cubes frozen for longer periods. Some models may come with a transparent window, allowing you to easily monitor the ice level.
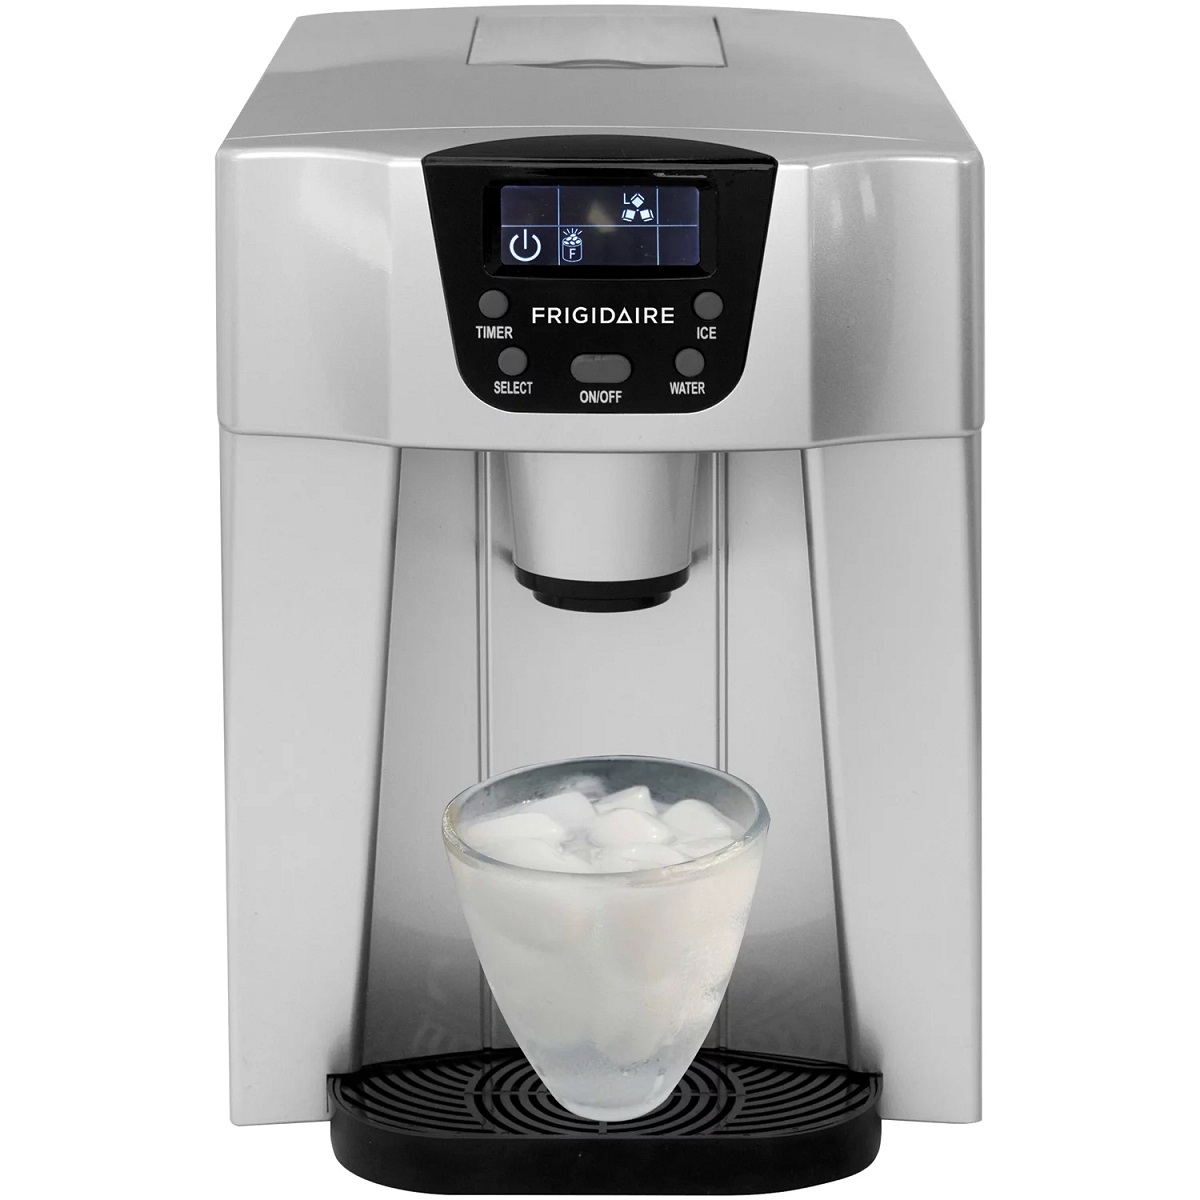
- Control Panel and Settings: On the front of the ice maker, you’ll find a control panel with various settings and indicators. This allows you to select the desired ice cube size, start or stop the ice-making process, and monitor the status of the ice maker.
- Power Cord: The power cord is used to plug the ice maker into an electrical outlet, providing the necessary power to operate the appliance.
By understanding the different components of a countertop ice maker, you can appreciate the technology behind it and make an informed decision when purchasing one for your home or office.
Water Supply and Filtration
In order to produce clean and high-quality ice cubes, a countertop ice maker requires a reliable water source and filtration system. Let’s take a closer look at the water supply and filtration process:
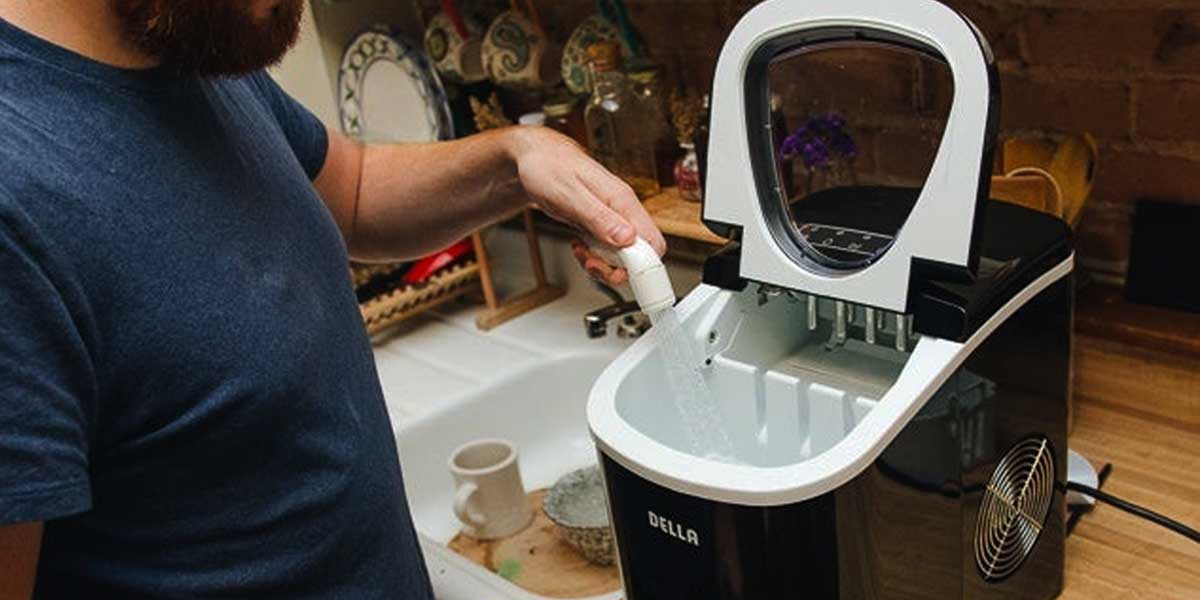
Water Source: Most countertop ice makers are designed to work with tap water. You simply pour water into the designated water inlet of the ice maker, and it will automatically start the ice-making process.
Filtration System: While tap water is generally safe for ice making, it may contain impurities, such as minerals, chlorine, or other contaminants, that can affect the taste and clarity of the ice cubes. Some high-end countertop ice makers feature built-in filtration systems that help remove these impurities, resulting in cleaner and better-tasting ice cubes. If your ice maker doesn’t have a built-in filtration system, it is recommended to use filtered or bottled water to ensure the quality of the ice cubes.
If your ice maker comes with a water filter, it is essential to regularly replace the filter according to the manufacturer’s instructions. This will ensure that the water used to make ice remains filtered and free from any unwanted substances.
Water Level Control: To maintain the proper water level for ice production, most countertop ice makers are equipped with a water level sensor. This sensor detects the water level in the ice-making mechanism and automatically stops the water supply once the desired level is reached. This helps prevent any overflowing or water waste.
It is important to regularly check the water level in your ice maker and refill it as needed to ensure uninterrupted ice production. Most ice makers have a transparent window on the top or side, allowing you to easily monitor the water level.
By ensuring a clean and reliable water supply, along with proper filtration, you can enjoy crystal-clear and refreshing ice cubes from your countertop ice maker.
Ice Making Process
The ice making process in a countertop ice maker involves several steps to transform water into frozen cubes of ice. Let’s walk through the typical ice making process:
- Water Fill: To start the ice making process, you pour water into the ice maker’s water inlet. The water is then directed to the ice-making mechanism through a water pump.
- Freezing: Once the water reaches the ice-making mechanism, it is distributed evenly into ice molds or trays. The cooling system, consisting of a compressor and condenser, gets to work by lowering the temperature inside the ice maker. This causes the water to freeze and solidify into ice cubes.
- Ice Formation: As the water is frozen, it expands, gradually filling up the individual compartments of the ice molds. This process usually takes around 10-20 minutes, depending on the size of the ice cubes selected and the ambient temperature.
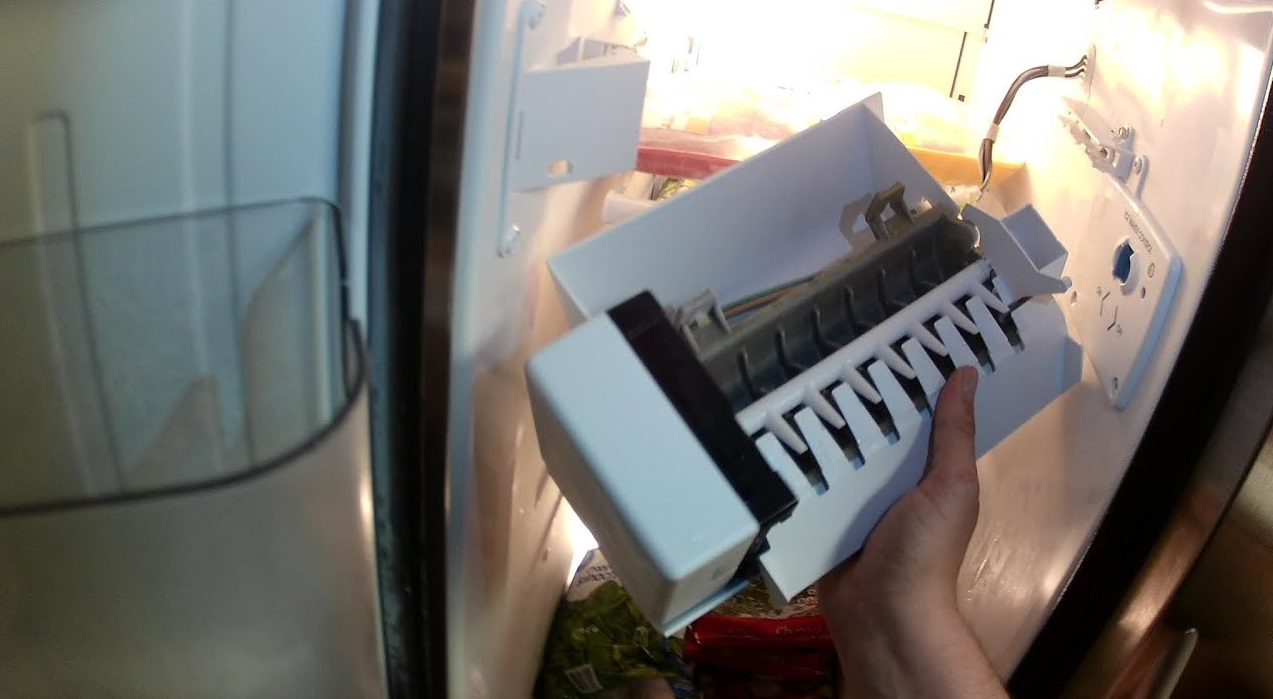
- Harvesting: Once the ice cubes are fully formed, the ice maker’s harvesting mechanism comes into play. In some models, a metal prong or rod is used to gently release the ice cubes from the mold by pushing them out. The ice cubes then drop into the storage bin below. Other models may have a heating element that warms the mold slightly, causing the ice cubes to detach and fall into the bin.
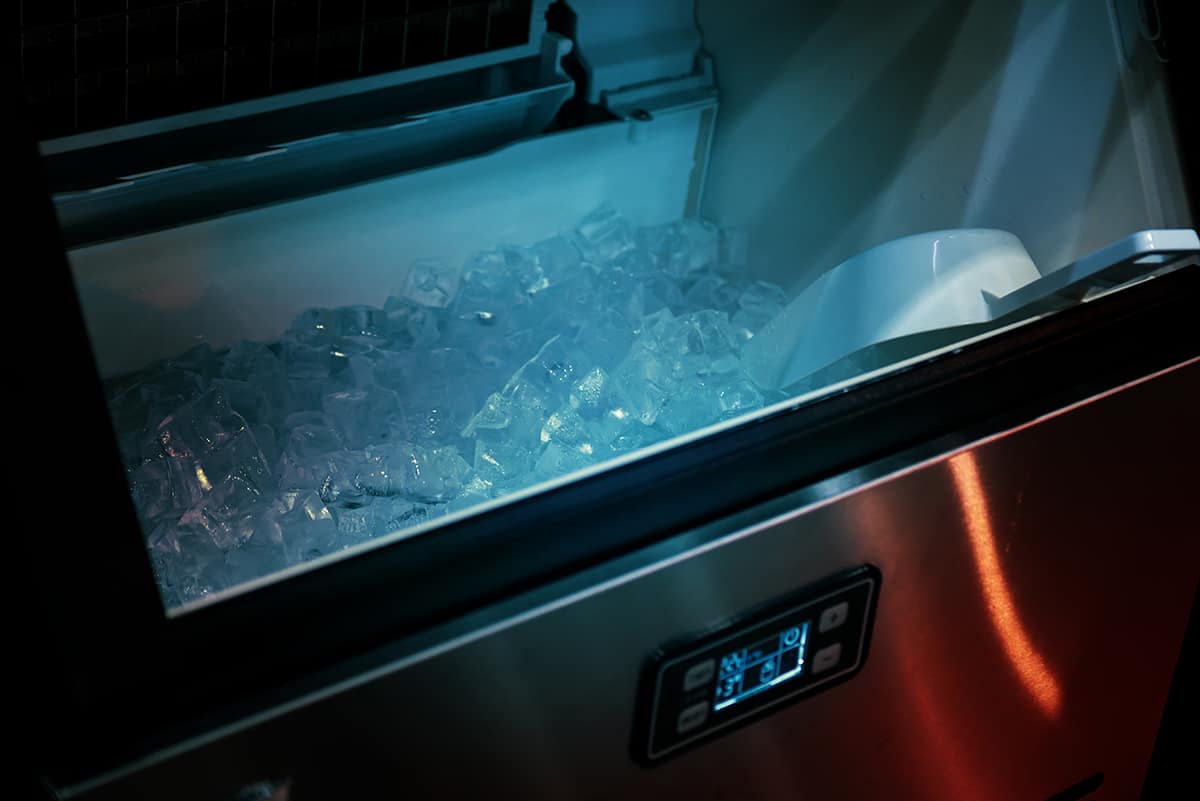
- Storage: The ice cubes collected in the storage bin are kept at a freezing temperature to prevent melting. The bin is usually insulated to maintain the ice cubes’ quality and prolong their longevity.
- Continued Ice Making: The ice maker will continue to produce ice cubes as long as there is water in the container and the ice maker is turned on. Some models have a sensor that detects the ice level and pauses the production process if the bin is full. Once you remove some ice cubes, the ice maker will resume making more.
It’s important to note that the ice making process may vary slightly depending on the brand and model of the countertop ice maker. Some ice makers offer additional features like the ability to choose ice cube sizes or the option to make crushed or nugget ice. However, the basic principle of converting water into ice cubes remains the same.
By understanding the ice making process, you can appreciate the technology behind your countertop ice maker and ensure that you have a steady supply of ice cubes whenever you need them.
Cooling System
The cooling system is a crucial part of a countertop ice maker as it enables the freezing and solidification of water into ice cubes. Let’s delve into the details of how the cooling system works:
The cooling system in a countertop ice maker typically consists of two main components: the compressor and the condenser.
Compressor: The compressor is the heart of the cooling system. It operates by compressing and expanding a refrigerant gas, usually a type of Freon, which is a heat-absorbing compound. The compressor is powered by electricity and is responsible for generating the cooling effect required for ice formation.
When the ice maker is turned on, the compressor begins the cooling cycle. It compresses the refrigerant gas, causing it to become hot and high-pressure. As the gas is compressed, its molecules become tightly packed, and they gain thermal energy, further increasing their temperature. This hot, high-pressure gas is then passed on to the condenser.
Condenser: The condenser works in conjunction with the compressor to dissipate the heat absorbed from the refrigerant gas. It is located near the compressor and is typically made up of a series of metal coils or fins.
As the hot, high-pressure gas enters the condenser, it begins to lose heat to the surrounding air. The metal coils or fins of the condenser provide a large surface area for the heat exchange process. The refrigerant gas cools down and converts into a high-pressure liquid as it releases its heat to the environment. The condenser essentially acts as a heat sink, allowing the refrigerant to transition to its liquid state.
Once the refrigerant gas has completely released its heat and transformed into a liquid, it flows through the expansion valve into the evaporator, restarting the cooling cycle from the beginning.
The cooling system of a countertop ice maker ensures that the temperature inside the ice maker decreases significantly, causing the water within the ice-making mechanism to freeze and form ice cubes. The continuous cooling process allows for the consistent production of ice cubes.
It is worth noting that the cooling system of a countertop ice maker can be energy-efficient, especially if it is well-insulated and has a properly functioning compressor. This ensures that the ice maker operates efficiently and minimizes energy consumption.
Understanding the cooling system of a countertop ice maker can help you appreciate the engineering behind this essential appliance and make informed decisions when purchasing or operating one for your home or office.
Read more: How Does A Refrigerator Ice Maker Work
Harvesting Mechanism
The harvesting mechanism of a countertop ice maker is responsible for releasing the fully formed ice cubes from the ice-making mechanism, allowing them to drop into the storage bin below. Let’s explore how this mechanism works:
There are two common types of harvesting mechanisms found in countertop ice makers:
Mechanical Release: In this type of harvesting mechanism, a metal prong or rod is used to gently release the ice cubes from the ice mold. The prong pushes against the bottom of the mold, dislodging the ice cubes and causing them to fall into the storage bin. The motion of the prong is usually controlled by a motor or solenoid mechanism, which is activated once the ice cubes are fully frozen and ready to be harvested. This type of harvesting mechanism is commonly found in simpler and more affordable countertop ice makers.
Heating Release: Some countertop ice makers employ a heating element as the harvesting mechanism. When the ice cubes are ready to be harvested, a small amount of heat is applied to the bottom of the ice mold, causing the ice to slightly melt and detach from the mold. Once released, the ice cubes fall into the storage bin below. The heating element is carefully designed to apply just enough heat to release the ice cubes without melting them entirely. This type of harvesting mechanism is often found in more advanced and higher-end countertop ice makers.
Regardless of the type of harvesting mechanism, there is usually a delay between the ice cubes being released and the next ice-making cycle. This delay allows the ice cubes to drop into the storage bin and provides enough time for any remaining water droplets to drain away from the ice mold, ensuring that the next batch of ice cubes will be formed properly.
It’s important to note that the harvesting mechanism is typically synchronized with the control panel and the ice-making process. The control panel allows you to start or stop the ice-making process or adjust the ice cube size, while the harvesting mechanism ensures that the ice cubes are released at the appropriate time.
Understanding the harvesting mechanism of a countertop ice maker can help you better appreciate the engineering behind this appliance and ensure that your ice maker operates efficiently and produces a steady supply of ice cubes.
A countertop ice maker works by using an electric motor, water reservoir, and cooling components to freeze water into ice cubes. The machine then releases the ice into a storage bin for use. Regular cleaning and maintenance will ensure optimal performance.
Storage Bin
The storage bin in a countertop ice maker is the designated area where the ice cubes are collected and stored until they are ready to be used. It plays a crucial role in maintaining the quality and accessibility of the ice cubes. Let’s explore the key aspects of the storage bin:
Capacity: The capacity of the storage bin can vary depending on the size and design of the countertop ice maker. Some ice makers have a smaller storage bin that can hold around 1-2 pounds of ice, while others may have a larger bin that can store up to 5-6 pounds of ice. Consider your ice consumption needs and the available space in your kitchen when choosing an ice maker with an appropriate storage capacity.
Insulation: The storage bin is typically insulated to maintain the temperature of the ice cubes. Insulation helps prevent the ice cubes from melting too quickly by reducing heat transfer from the surroundings. This allows you to store ice cubes for longer periods without experiencing significant melting. The insulation also helps to reduce the formation of frost and ice buildup on the walls of the bin.
Transparent Window: Many countertop ice makers have a transparent viewing window on the top or side of the storage bin. This allows you to monitor the ice level easily without opening the bin. Being able to see the ice level helps you determine if it’s time to harvest the ice or if you need to refill the water reservoir for continued ice production.
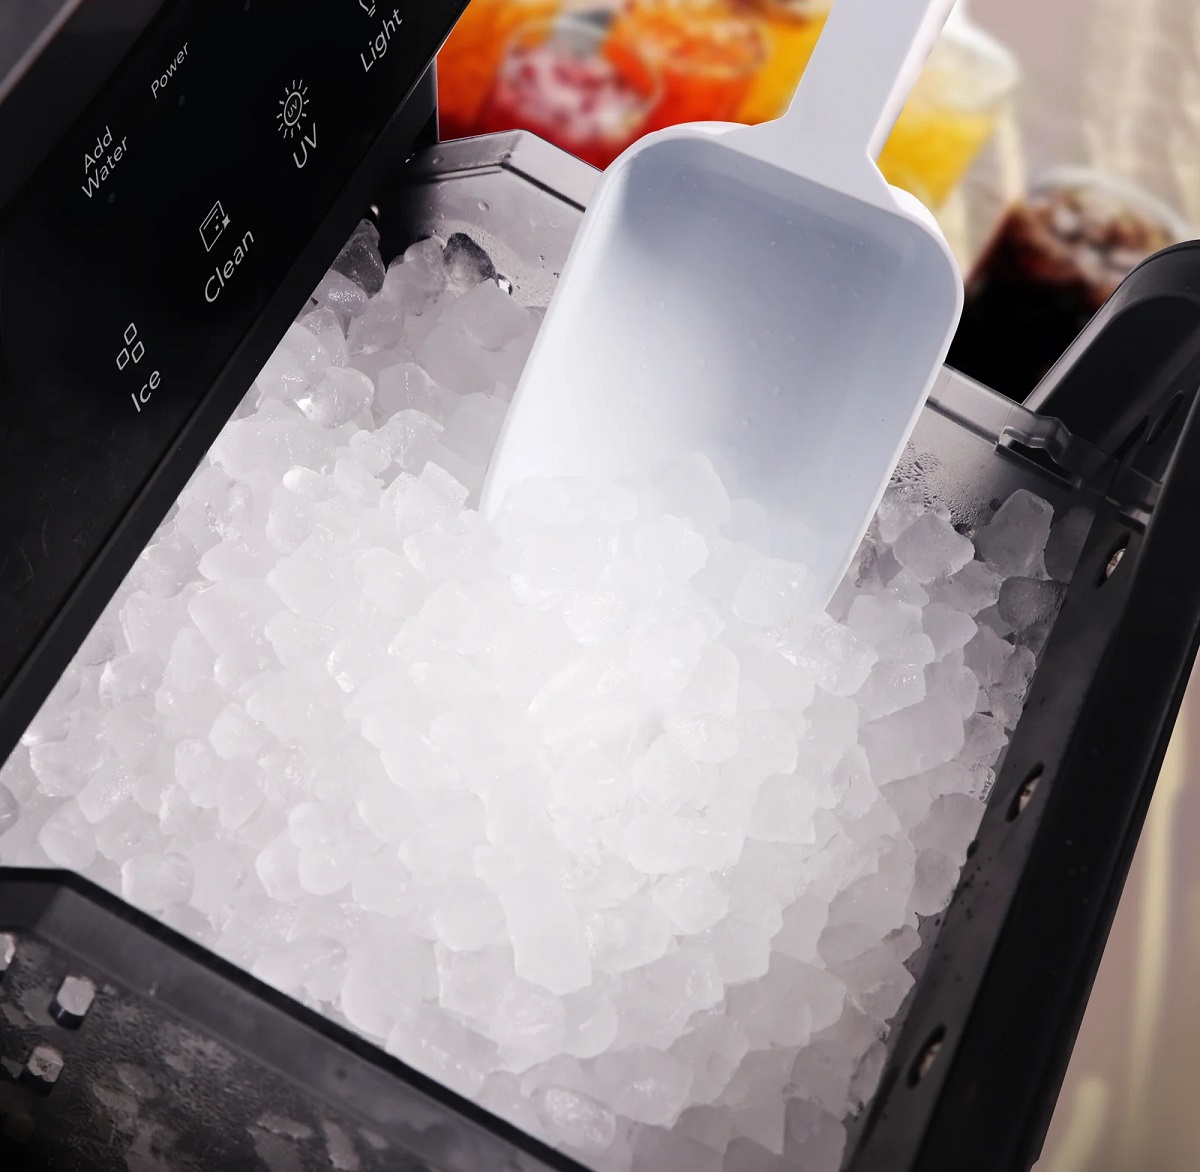
Ice Scoop or Basket: Some countertop ice makers come with a built-in ice scoop or a removable basket for conveniently transferring the ice cubes to your glass, cooler, or other containers. The ice scoop or basket is designed to fit perfectly in the storage bin and often has a handle for easy handling. It’s important to use the provided scoop or basket to maintain sanitary conditions and prevent contamination of the ice cubes.
Drainage System: Occasionally, water from melted ice cubes or condensation may accumulate in the storage bin. To prevent the bin from overflowing, countertop ice makers are equipped with a drainage system that allows excess water to be drained away. Some models have a manual drain plug that needs to be opened when draining the water, while others have an automatic drainage system that takes care of it for you.
Cleaning and Maintenance: It’s essential to regularly clean and maintain the storage bin of your countertop ice maker. This helps ensure the hygienic storage of ice cubes and prevents the buildup of residue or odors. Follow the manufacturer’s instructions for cleaning and sanitizing the bin, and always use mild cleaning solutions that are safe for food contact.
The storage bin of a countertop ice maker is a vital component for storing and preserving the quality of ice cubes. By properly maintaining and utilizing the storage bin, you can ensure a constant supply of ice cubes whenever you need them.
Control Panel and Settings
The control panel of a countertop ice maker provides you with convenient access to various settings and features, allowing you to customize your ice-making experience. Let’s explore the key aspects of the control panel:
On/Off Button: The on/off button is the primary control to start or stop the ice-making process. By pressing this button, you can activate or deactivate the ice maker as needed. It’s important to note that some models may have an automatic shut-off feature that turns off the ice maker when the storage bin is full or when the ice-making cycle is complete.
Ice Cube Size Selection: Many countertop ice makers offer the option to select the size of the ice cubes produced. You can usually choose between small, medium, or large sizes, depending on your preferences and intended use. This feature allows you to customize the ice cubes to your liking, whether you prefer smaller cubes for faster chilling or larger cubes for longer-lasting cooling.
Indicator Lights: Indicator lights on the control panel provide valuable information about the status of the ice maker. These lights may include power indicators to confirm if the ice maker is turned on, ice full indicators to alert you when the storage bin is full, and water refill indicators to remind you to add more water to the ice maker. The lights help you monitor the ice-making process and take appropriate action when needed.
Time and Delay Settings: Some advanced countertop ice makers come with time and delay settings. This feature allows you to schedule the ice-making process to start at a specific time, ensuring that you always have a fresh batch of ice ready when you need it. Delay settings can be helpful for planning ahead, especially when entertaining guests or preparing for parties.
Water Level Sensors: Countertop ice makers often incorporate water level sensors to detect the amount of water present in the reservoir. These sensors help prevent overfilling or underfilling by automatically stopping the water supply when the desired level is reached. Water level indicators on the control panel inform you of the current water status, indicating when it’s time to refill the water reservoir.
User-Friendly Interface: The control panel is designed to be user-friendly and intuitive. It often consists of buttons, touchscreen panels, or a combination of both. The interface provides easy navigation between settings and options, ensuring a smooth and straightforward user experience. Detailed instructions on the control panel itself or in the user manual guide you through the operation and maintenance of the ice maker.
Understanding the control panel and the available settings of your countertop ice maker allows you to make the most of its features and functionalities. By utilizing the settings effectively, you can customize your ice-making experience and enjoy a continuous supply of ice cubes tailored to your specific preferences.
Maintenance and Cleaning
To ensure the optimal performance and longevity of your countertop ice maker, regular maintenance and cleaning are essential. Here are some key maintenance and cleaning practices to keep in mind:
Regular Cleaning: It’s important to clean the ice maker regularly to remove any buildup of minerals, residue, or bacteria that can affect the quality and taste of the ice cubes. Follow the manufacturer’s instructions for cleaning, which may involve using a mild cleaning solution and warm water. Avoid using harsh chemicals or abrasive cleaners that can damage the ice maker’s surfaces.
Drainage and Water Reservoir: If your ice maker has a drainage system, make sure to periodically check and clean the drain plug or tubing to prevent clogging. Empty any water accumulated in the drainage system to maintain proper performance. Additionally, clean the water reservoir periodically to remove any potential contaminants or impurities.
Storage Bin Cleaning: Clean the storage bin regularly to prevent bacteria growth and maintain the quality of the ice cubes. Empty the bin and wipe its surfaces using a solution of warm water and mild detergent. Rinse thoroughly and allow the bin to dry before using it again. Avoid using harsh chemicals or abrasive materials that can scratch or damage the bin’s interior.
Ice Scoop or Basket: If your ice maker comes with a scoop or basket, clean it after each use to maintain sanitation. Wash the scoop or basket with warm soapy water, rinse thoroughly, and let it air dry before placing it back in the ice maker. This helps prevent any contamination of the ice cubes.
Water Filter Replacement: If your countertop ice maker has a built-in water filter, follow the manufacturer’s instructions for replacing it regularly. This ensures that the water used in the ice-making process remains filtered and free from impurities that can affect the taste and quality of the ice cubes.
Storage and Unplugging: If you plan to store the ice maker for an extended period or when not in use, make sure to empty the water reservoir and storage bin to prevent stagnant water and potential mold growth. Also, unplug the ice maker and clean its exterior surfaces using a soft cloth and mild detergent, wiping away any dust or dirt.
By following these maintenance and cleaning practices, you can keep your countertop ice maker in optimal condition, ensuring that it produces clean and high-quality ice cubes for your enjoyment.
Read more: How Does Frigidaire Ice Maker Work
Energy Efficiency
Energy efficiency is an important factor to consider when using a countertop ice maker as it can impact both your electricity bills and the environmental footprint of the appliance. Here are some key aspects of energy efficiency to keep in mind:
Power Consumption: The power consumption of a countertop ice maker can vary depending on the size, model, and features of the appliance. Look for an ice maker with an energy-efficient design and low power consumption. Many manufacturers provide energy ratings or information about the ice maker’s power usage, allowing you to make an informed decision before purchasing.
Insulation: Proper insulation in the ice maker can help reduce energy consumption by minimizing heat transfer and maintaining the desired temperature more efficiently. An insulated storage bin, as well as well-insulated walls and components, can contribute to energy efficiency by reducing the frequency and duration of cooling cycles.
Automatic Shut-Off: Many countertop ice makers come with an automatic shut-off feature. This feature can help conserve energy by turning off the ice maker when the storage bin is full or when the ice-making cycle is complete. It prevents unnecessary energy consumption and eliminates the need for manual monitoring.
Timer and Delay Functions: Some ice makers have timer and delay functions that allow you to schedule the ice-making process in advance. By utilizing these functions, you can ensure that the ice maker operates during off-peak energy hours or when it is most convenient for you. This helps optimize energy usage and may result in cost savings.
Proper Ventilation: Ensure that your countertop ice maker is placed in a well-ventilated area. Adequate airflow around the appliance allows for efficient heat dissipation, preventing the compressor from working harder than necessary. Avoid placing the ice maker near heat sources or in confined spaces that can inhibit proper ventilation.
Regular Maintenance: Regularly cleaning and maintaining your ice maker can help ensure optimal performance and energy efficiency. Dust, dirt, and debris accumulation can hinder the appliance’s airflow and put additional strain on its components, resulting in increased energy consumption. Follow the manufacturer’s guidelines for maintenance and cleaning to keep the ice maker running efficiently.
Energy-Saving Features: Some advanced countertop ice makers may feature additional energy-saving options, such as eco mode or energy-efficient settings. These settings can help further reduce power consumption by adjusting the cooling cycles, compressor operation, or ice production rate to conserve energy while still meeting your ice needs.
By considering these energy efficiency aspects and implementing simple practices, you can optimize the energy usage of your countertop ice maker, reduce your environmental impact, and potentially save on energy costs in the long run.
Conclusion
A countertop ice maker is a convenient and efficient appliance that provides a constant supply of ice cubes whenever you need them. Understanding how a countertop ice maker works and its various components can help you appreciate the technology behind this essential kitchen appliance. From the water supply and filtration system to the ice-making process, cooling system, harvesting mechanism, storage bin, control panel, and maintenance practices, each component plays a vital role in ensuring optimal ice production and quality.
By taking care of your countertop ice maker and following proper maintenance and cleaning routines, you can prolong its lifespan, maintain sanitary ice cube production, and ensure energy efficiency. Regularly cleaning the ice maker, including the storage bin and ice scoop, helps eliminate any buildup of impurities or bacteria that may affect the taste or smell of the ice cubes. Additionally, keeping the appliance well-maintained, properly ventilated, and optimizing energy usage through energy-efficient settings and practices, helps reduce both electricity consumption and environmental impact.
Whether you’re hosting a party, enjoying a cold beverage at home, or need ice for various other purposes, a countertop ice maker offers convenience and a continuous supply of ice cubes. It eliminates the need for constantly buying bags of ice and provides you with the flexibility to customize the ice cube size to suit your preferences and needs.
When choosing a countertop ice maker, consider factors such as capacity, energy efficiency, filtration system, and control panel features. It’s also worth looking for a reputable brand that offers a reliable warranty and good customer support to ensure a positive ownership experience.
In conclusion, a countertop ice maker is a valuable addition to any kitchen or office space. Its ability to produce ice cubes efficiently and consistently brings convenience and enjoyment to your everyday life. By understanding how it works and implementing proper maintenance practices, you can make the most out of your countertop ice maker and always have a refreshing supply of ice cubes at hand.
Frequently Asked Questions about How Does Countertop Ice Maker Work
Was this page helpful?
At Storables.com, we guarantee accurate and reliable information. Our content, validated by Expert Board Contributors, is crafted following stringent Editorial Policies. We're committed to providing you with well-researched, expert-backed insights for all your informational needs.
0 thoughts on “How Does Countertop Ice Maker Work”