Articles
How To Defrost A Samsung Ice Maker
Modified: October 20, 2024
Learn how to defrost a Samsung ice maker with our helpful articles. Get step-by-step instructions and expert tips to solve ice maker issues.
(Many of the links in this article redirect to a specific reviewed product. Your purchase of these products through affiliate links helps to generate commission for Storables.com, at no extra cost. Learn more)
Introduction
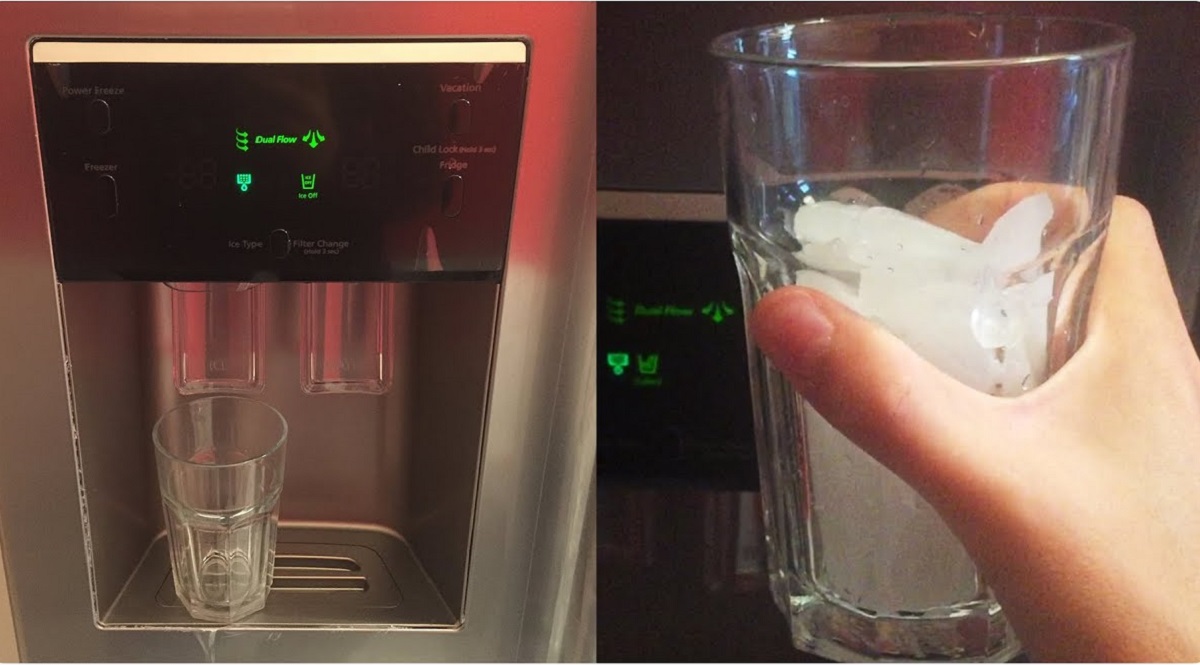
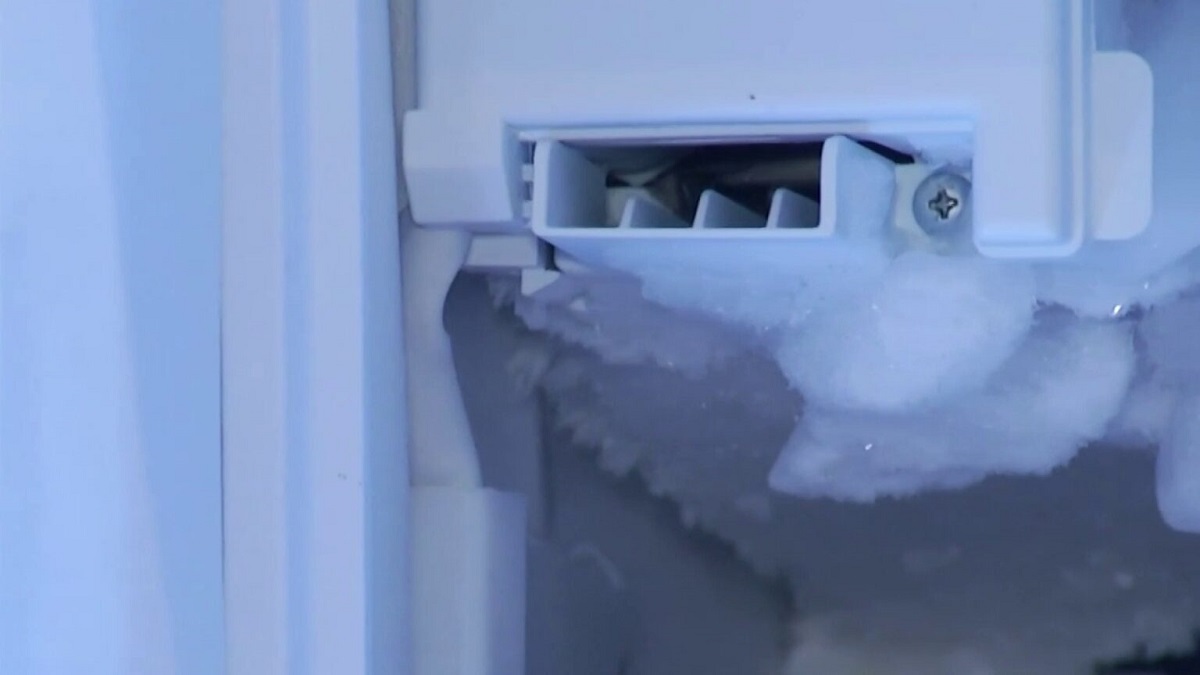
Having a properly functioning ice maker is a convenience that many of us enjoy. However, if you own a Samsung refrigerator and notice that the ice maker is not producing ice as it should or is producing smaller, misshapen, or cloudy ice cubes, it may be time to defrost the ice maker. Over time, ice can build up in the freezer compartment, blocking the ice maker’s mechanism and hindering its ability to produce ice. Fortunately, defrosting a Samsung ice maker is a relatively simple process that you can do at home with a few tools and materials. In this article, we will guide you through the steps to defrost your Samsung ice maker and get it back to producing clean, perfectly formed ice cubes.
Key Takeaways:
- Defrosting a Samsung ice maker is a simple DIY process that involves turning off the ice maker, removing and cleaning the ice bin, allowing natural defrosting, and checking for blockages. Regular maintenance ensures optimal ice production.
- Gather the necessary tools and materials, follow the step-by-step guide, and exercise caution to safely and effectively defrost your Samsung ice maker. Regular maintenance and care will ensure a consistent supply of clean, perfectly-formed ice cubes.
Read more: How To Defrost Samsung French Door Ice Maker
Tools and Materials Needed
Before you begin the process of defrosting your Samsung ice maker, there are a few tools and materials that you will need to gather. Make sure you have the following items on hand:
- Soft cloth or sponge
- Towel or absorbent mat
- Bucket or container
- Warm water
- Mild dish soap
- Plastic scraper or spatula
These tools and materials will help you effectively remove the ice build-up and clean your ice maker during the defrosting process.
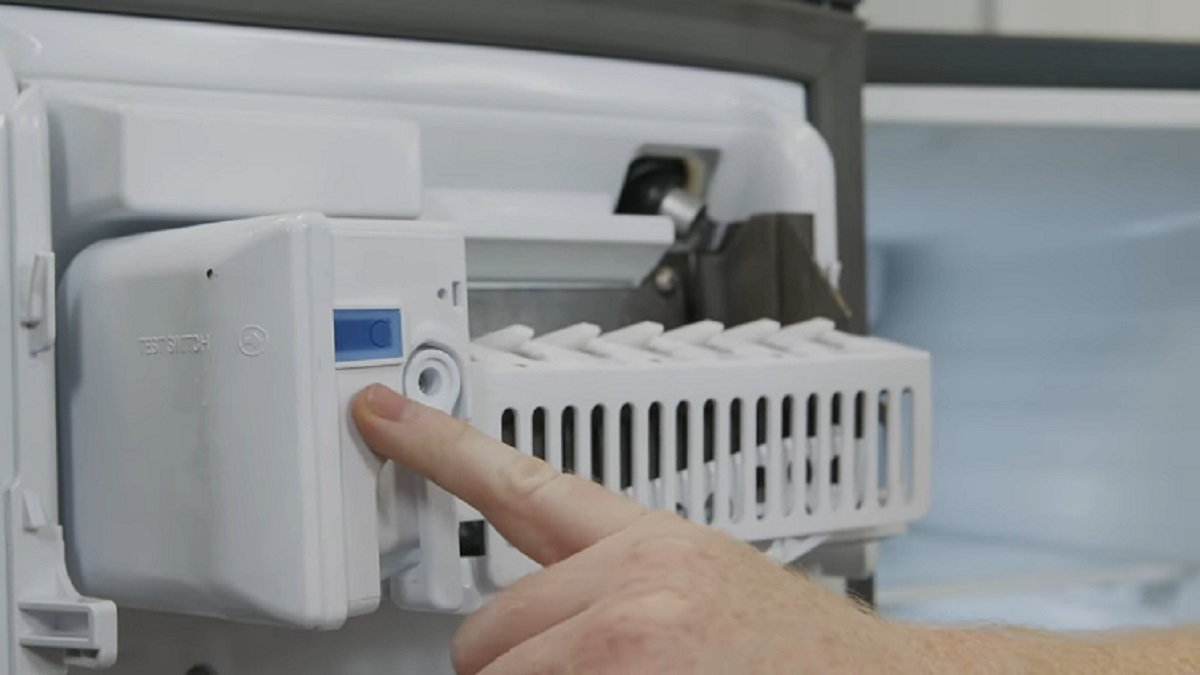
Step 1: Turn Off the Ice Maker
The first step in defrosting your Samsung ice maker is to ensure that it is turned off. This will prevent any new ice from being produced during the defrosting process and allow the existing ice to melt more efficiently.
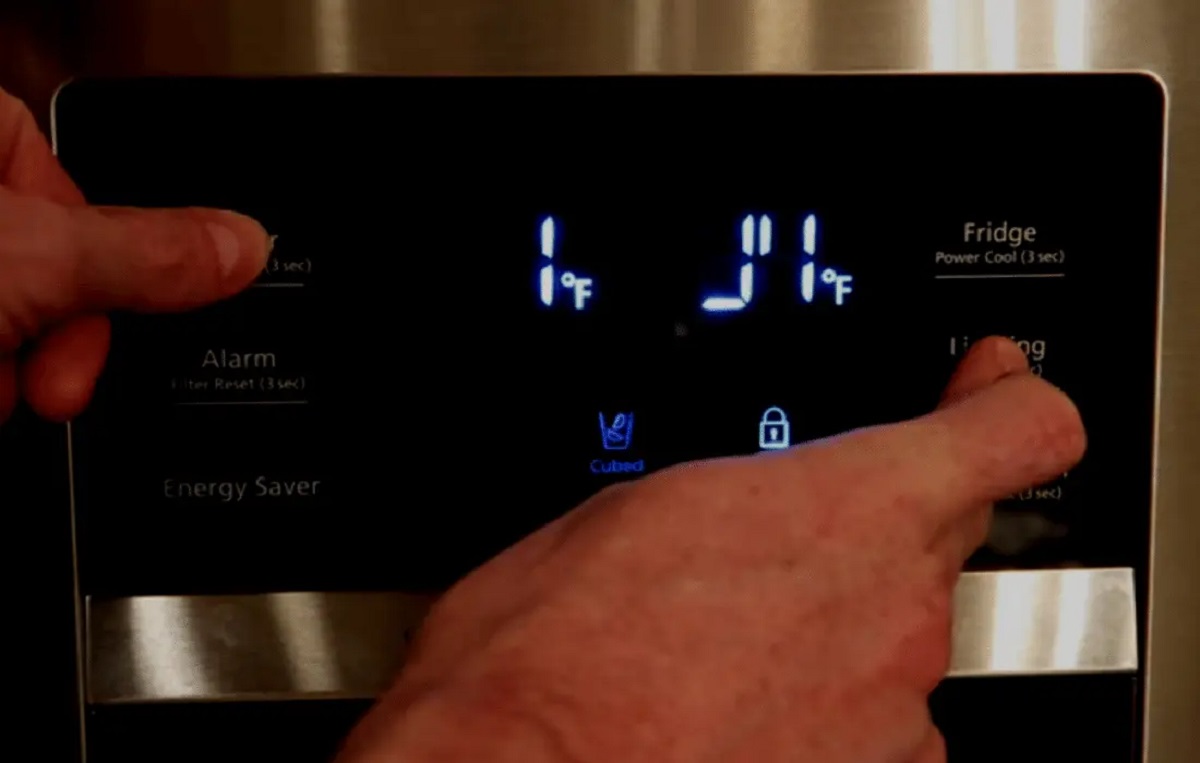
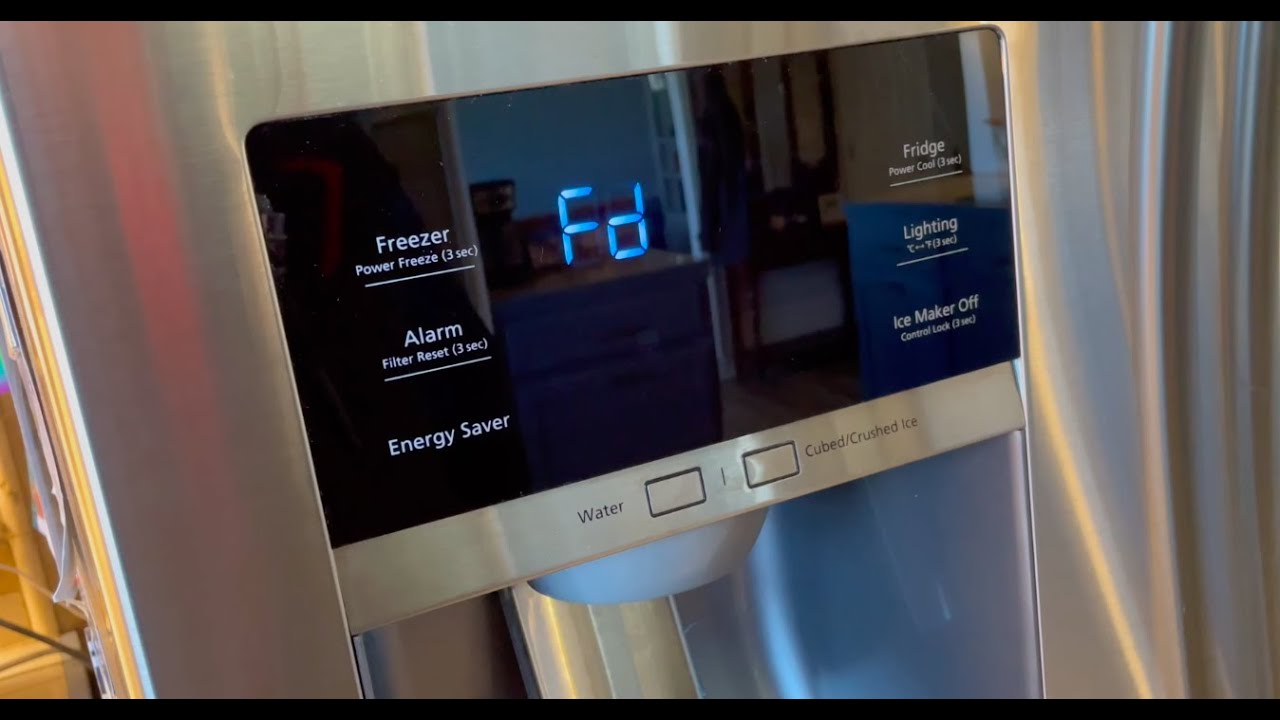
To turn off the ice maker, locate the power switch or control panel on your refrigerator. It is usually located on the front or side of the ice maker compartment. Switch it to the “Off” position, or follow the manufacturer’s instructions to deactivate the ice maker.
Once the ice maker is successfully turned off, you can proceed to the next steps to defrost and clean the ice maker and its components.
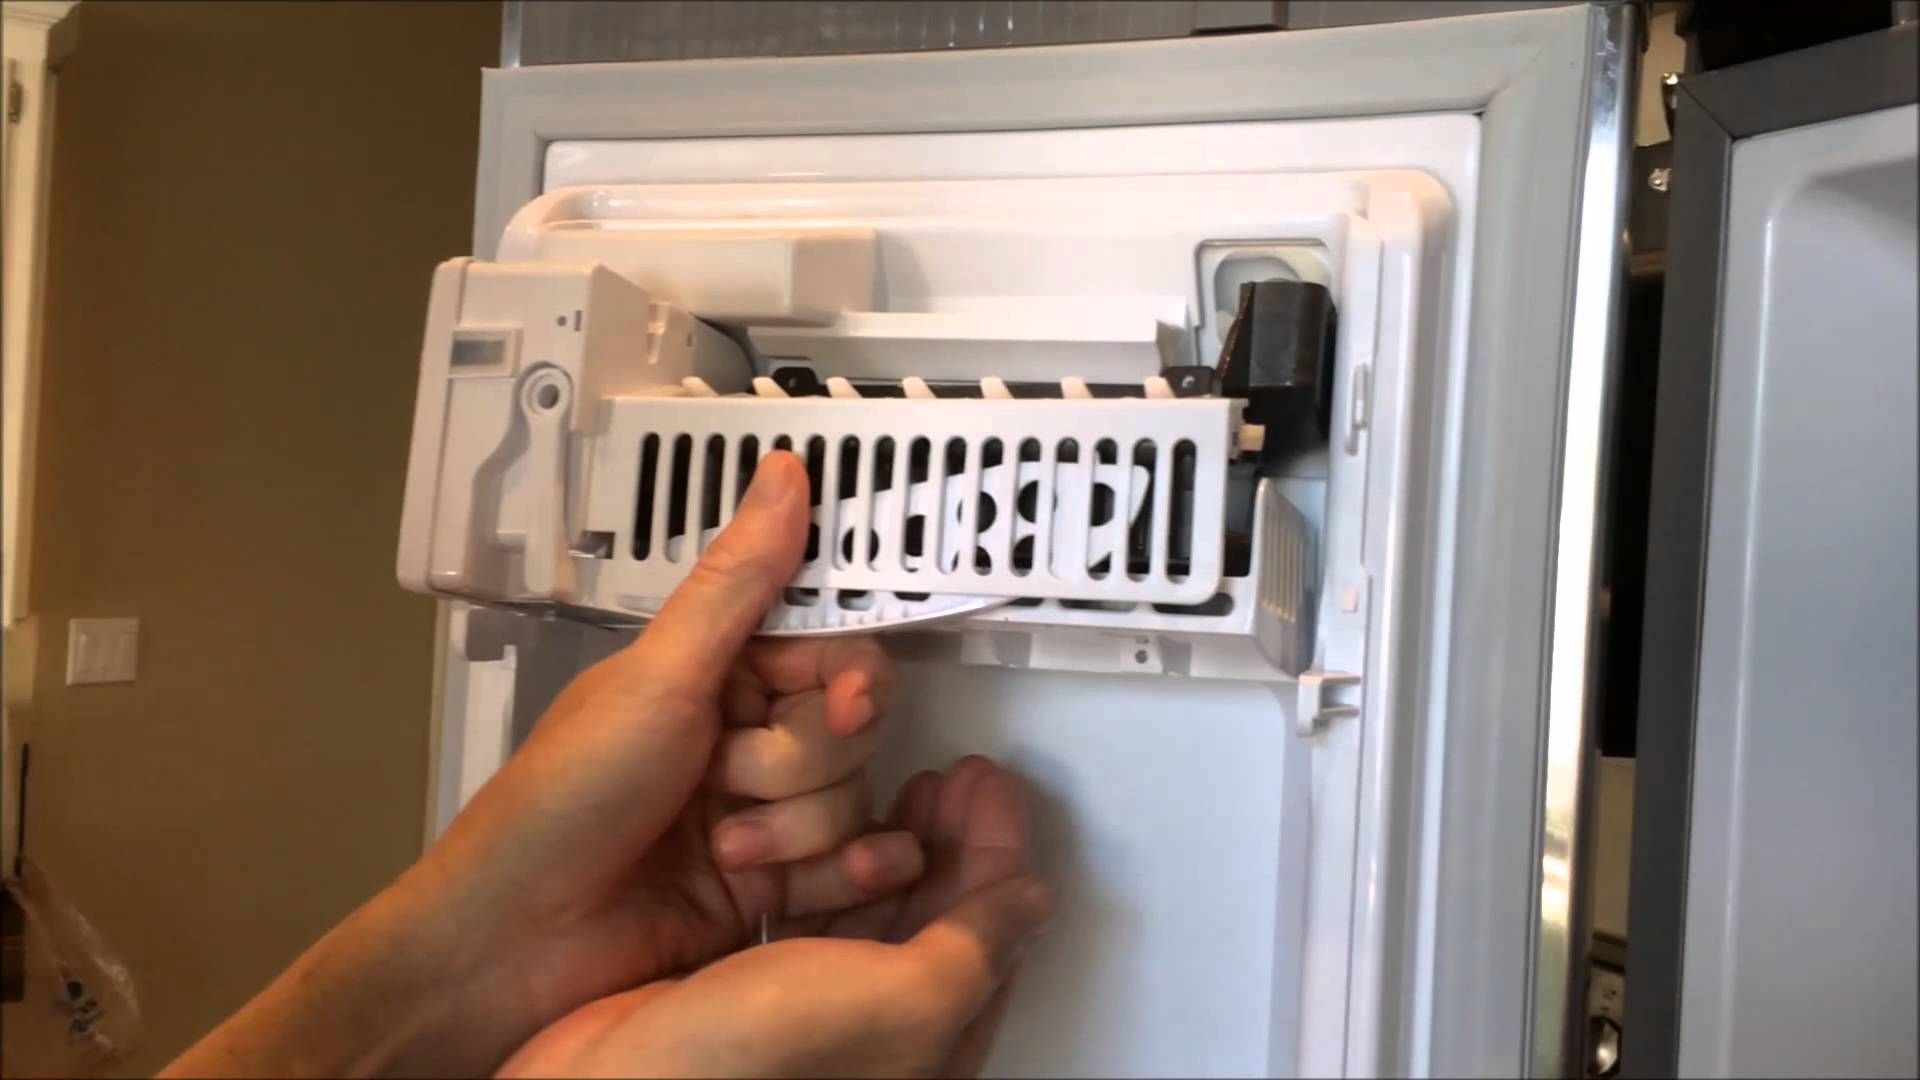
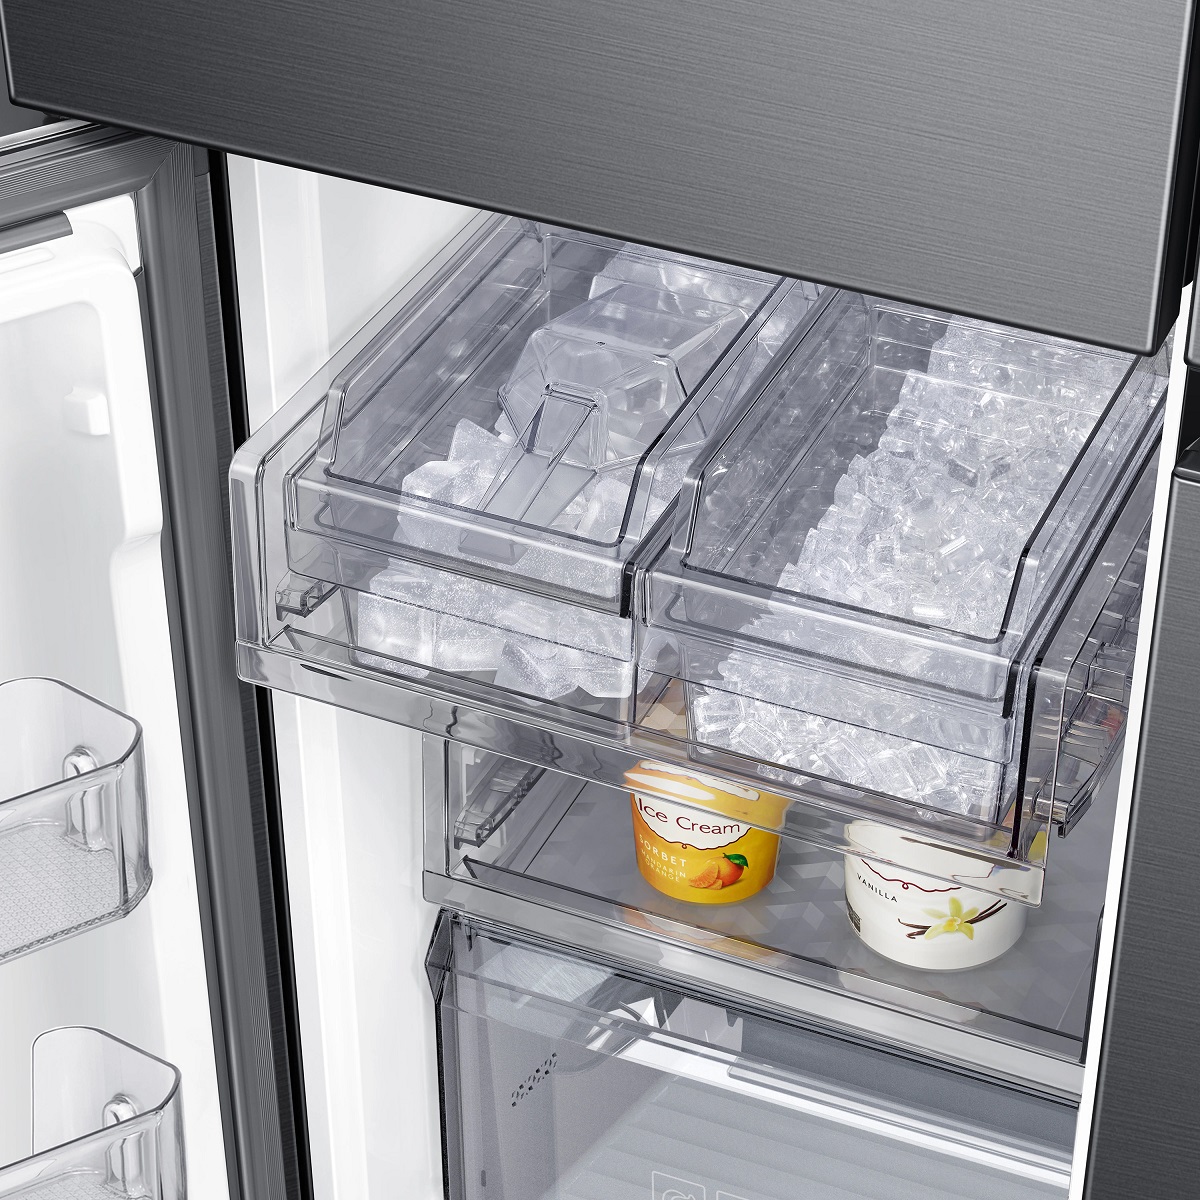
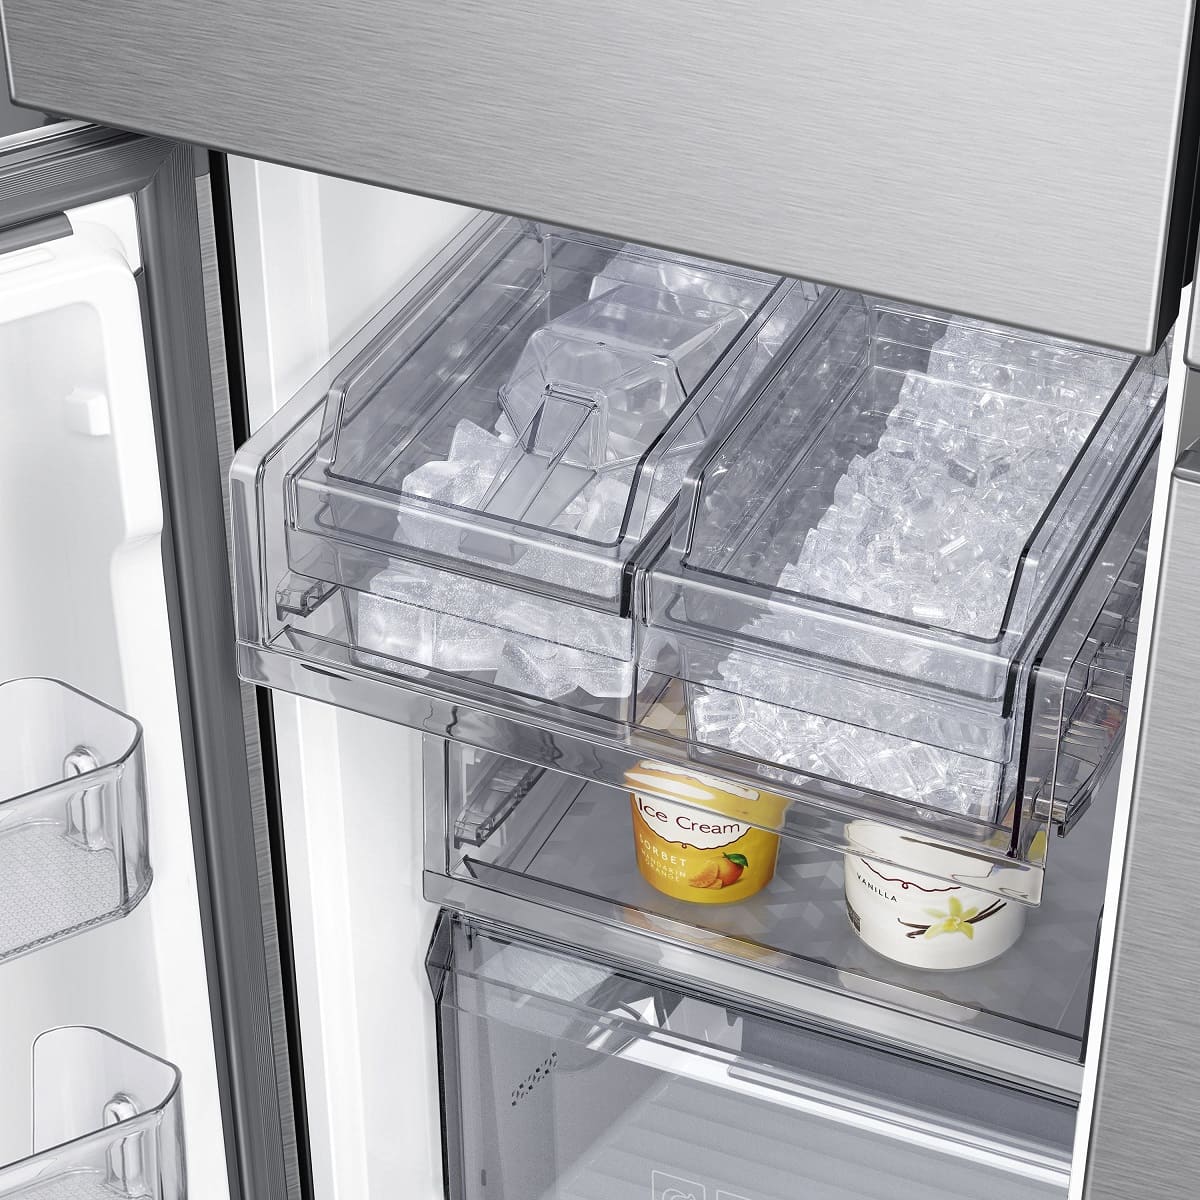
Step 2: Remove the Ice Bin
With the ice maker turned off, it’s time to remove the ice bin from your Samsung refrigerator. The ice bin is where the ice cubes are stored before being dispensed.
Start by opening the freezer door. Locate the ice bin, which is usually located towards the top of the freezer compartment. Depending on your refrigerator model, there may be a release button or lever that needs to be pressed or pulled to release the ice bin. Refer to the manufacturer’s instructions if you’re unsure how to remove it.
Once you release the ice bin, gently pull it out from the freezer compartment. Be careful not to spill any ice cubes that may still be inside the bin. If the ice bin feels stuck, double-check if there are any additional locks or mechanisms holding it in place.
Once the ice bin is removed, place it on a towel or an absorbent mat to catch any melting ice. This will prevent any water from spilling onto your freezer or kitchen floor.
With the ice bin safely removed, you can now move on to the next steps in the defrosting process.
Step 3: Empty and Clean the Ice Bin
After removing the ice bin from the freezer compartment, it’s time to empty and clean it to ensure that any residue or build-up is removed.
Start by emptying the ice cubes from the bin into a sink or container. If the ice has become stuck together, you can gently tap the bottom of the bin to loosen them. Dispose of any remaining ice cubes that are discolored or have an unusual odor.
Next, prepare a solution of warm water and mild dish soap. Dip a soft cloth or sponge into the soapy water and use it to wipe down the inside of the ice bin. Pay attention to any areas where ice may have accumulated or stuck, and make sure to clean them thoroughly. Rinse the bin with clean water to remove any soap residue.
Dry the ice bin completely using a clean towel or allow it to air dry. Make sure there is no moisture left inside the bin before proceeding to the next step.
At this point, you can also clean the exterior of the ice bin if needed. Use a damp cloth and mild dish soap to clean any dirt or stains on the outside of the bin. Rinse with clean water and dry thoroughly.
Once the ice bin is emptied and cleaned, it’s ready to be reassembled after the defrosting process is complete.
Read more: How To Defrost Whirlpool Ice Maker
Step 4: Defrost the Ice Maker
Now that the ice bin is clean, it’s time to defrost the ice maker itself. This step involves allowing the ice build-up inside the ice maker and freezer compartment to melt.
Leave the freezer door open to allow warm air to circulate and expedite the melting process. You can place a towel or absorbent mat at the base of the freezer to catch any water that may drip during defrosting.
Be patient and allow the ice to melt naturally. Avoid attempting to speed up the process by using sharp objects or heat sources, as this can damage the ice maker and freezer components.
Depending on the amount of ice build-up, the defrosting process may take several hours or even overnight. It’s important to let the ice melt completely to ensure proper functioning of the ice maker.
During the defrosting process, you may notice water pooling in the freezer compartment. Check the towel or absorbent mat regularly and replace it if saturated to prevent any overflow or water damage to your refrigerator.
Once all the ice has melted and the freezer compartment is clear of any visible ice or frost, you can move on to the next step to check for any blockages.
To defrost a Samsung ice maker, unplug the refrigerator and remove any ice buildup. Use a hairdryer on a low setting to gently melt the ice, being careful not to damage the ice maker. Once the ice is melted, plug the refrigerator back in and allow the ice maker to resume normal operation.
Step 5: Check for Blockages
With the ice maker defrosted, it’s important to ensure that there are no blockages that may hinder its functionality. Blocked or clogged components can prevent the proper production and dispensing of ice.
Start by visually inspecting the ice maker and its components, such as the ice tray and dispenser chute. Look for any obstructions, such as ice chunks or debris, that may be blocking the pathway.
If you notice any blockages, gently remove them using a plastic scraper or spatula. Be cautious not to damage any delicate parts of the ice maker in the process. Ensure that the ice tray, dispenser chute, and surrounding areas are free from any debris or ice particles.
Additionally, check the water supply line that connects to the ice maker. Make sure it is not bent or kinked, as this can disrupt the water flow. Straighten the line if needed or consult a professional if you suspect any issues with the water supply.
By checking for blockages and ensuring a clear pathway, you are setting the stage for the optimized performance of your Samsung ice maker.
Step 6: Reassemble the Ice Maker
After ensuring that there are no blockages and the ice maker is clear of any debris, it’s time to reassemble the ice maker and prepare it for use.
Start by carefully sliding the ice bin back into its designated position in the freezer compartment. Make sure it is properly aligned and securely placed. This will allow the ice to be collected and stored once the ice maker starts producing ice again.
If there are any accessories or attachments that were removed during the defrosting process, such as ice trays or dividers, reattach them as instructed by the manufacturer. These accessories may vary depending on your specific Samsung refrigerator model.
Double-check that all components are in their correct positions and securely in place before moving on to the final step.
Once you have reassembled the ice maker, you are now ready to turn it back on and start enjoying a steady supply of ice cubes.
Step 7: Turn On the Ice Maker
With the ice maker reassembled, the final step is to turn it back on and resume its ice-making operation.
Locate the power switch or control panel for the ice maker on your Samsung refrigerator. It is usually located on the front or side of the ice maker compartment. Switch it to the “On” position or follow the manufacturer’s instructions to activate the ice maker.
Once the ice maker is turned on, it will begin its cycle of producing ice. It may take some time for the ice maker to fill the ice bin and produce a sufficient amount of ice. Be patient, as it may take a few hours or even a day for the ice maker to reach its optimal ice-making capacity.
Monitor the ice production to ensure that the ice cubes are formed properly and are not misshapen or cloudy. If you notice any issues with the ice quality, refer to your Samsung refrigerator’s user manual or contact customer support for troubleshooting assistance.
Regularly checking and cleaning your ice maker, and occasionally defrosting it, can help maintain its performance and extend its lifespan.
By following these steps and properly maintaining your Samsung ice maker, you can enjoy a consistent supply of clean and perfectly-formed ice cubes for all your cooling needs.
Read more: How To Defrost Frigidaire Ice Maker
Additional Tips and Precautions
Here are some additional tips and precautions to keep in mind when defrosting your Samsung ice maker:
- Always refer to the manufacturer’s instructions specific to your Samsung refrigerator model for guidance on how to properly defrost and clean the ice maker.
- Do not use sharp objects or abrasive materials to remove ice or frost, as they can damage the ice maker and its components.
- Use caution when handling and cleaning the ice maker to avoid injury. Be mindful of any sharp edges or delicate parts.
- Regularly clean and maintain your Samsung refrigerator to prevent ice build-up and ensure optimal performance of the ice maker.
- Consider using filtered water in your refrigerator to improve the taste and clarity of the ice cubes.
- If you are unsure about any step or encounter any difficulties, contact the Samsung customer support or seek assistance from a professional technician.
- Do not force any components or apply excessive pressure when reassembling the ice maker. Make sure everything fits properly and securely.
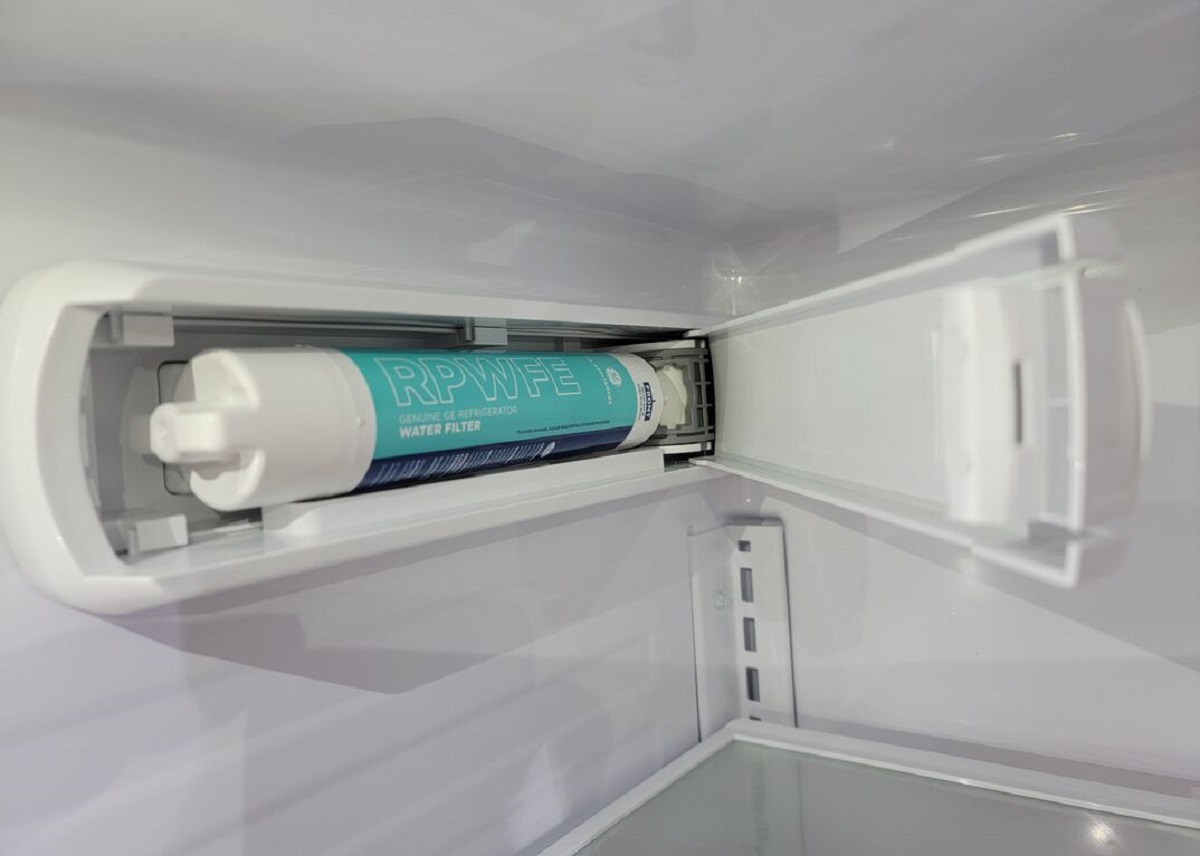
- Periodically check the water filter in your Samsung refrigerator and replace it as recommended by the manufacturer to maintain the quality of the ice cubes.
- If you experience persistent issues with your ice maker, such as recurring ice build-up or inconsistent ice production, it may be necessary to seek professional help for repairs or maintenance.
- Keep the area around the ice maker clean and free from any obstructions to ensure proper air circulation and prevent potential issues.
Following these additional tips and precautions will help you maintain a functional and efficient ice maker in your Samsung refrigerator.
Conclusion
Defrosting a Samsung ice maker is a relatively straightforward process that can help resolve issues with ice production and ensure the efficient operation of your refrigerator. By following the steps outlined in this guide, you can safely and effectively defrost your ice maker and get it back to producing clean, crystal-clear ice cubes.
Remember to gather the necessary tools and materials, such as a soft cloth or sponge, warm water, mild dish soap, and a plastic scraper, before starting the defrosting process. Take the time to turn off the ice maker and remove the ice bin, empty and clean the ice bin thoroughly, and patiently allow the ice maker to defrost naturally. Check for any blockages and reassemble the ice maker before turning it back on and enjoying a fresh supply of ice.
By taking regular care of your Samsung ice maker and addressing any issues promptly, you can ensure its optimal performance and longevity. Remember to consult the manufacturer’s instructions and seek professional assistance when needed.
Now that you have the knowledge and tools to defrost your Samsung ice maker, you can say goodbye to ice production problems and enjoy the convenience of having a reliable ice maker in your refrigerator.
Frequently Asked Questions about How To Defrost A Samsung Ice Maker
Was this page helpful?
At Storables.com, we guarantee accurate and reliable information. Our content, validated by Expert Board Contributors, is crafted following stringent Editorial Policies. We're committed to providing you with well-researched, expert-backed insights for all your informational needs.


0 thoughts on “How To Defrost A Samsung Ice Maker”