Articles
How To Clean Joy My Little Steamer
Modified: August 16, 2024
Learn how to clean your Joy My Little Steamer with these helpful articles. Keep your steamer in top condition and enjoy wrinkle-free clothes effortlessly.
(Many of the links in this article redirect to a specific reviewed product. Your purchase of these products through affiliate links helps to generate commission for Storables.com, at no extra cost. Learn more)
Introduction
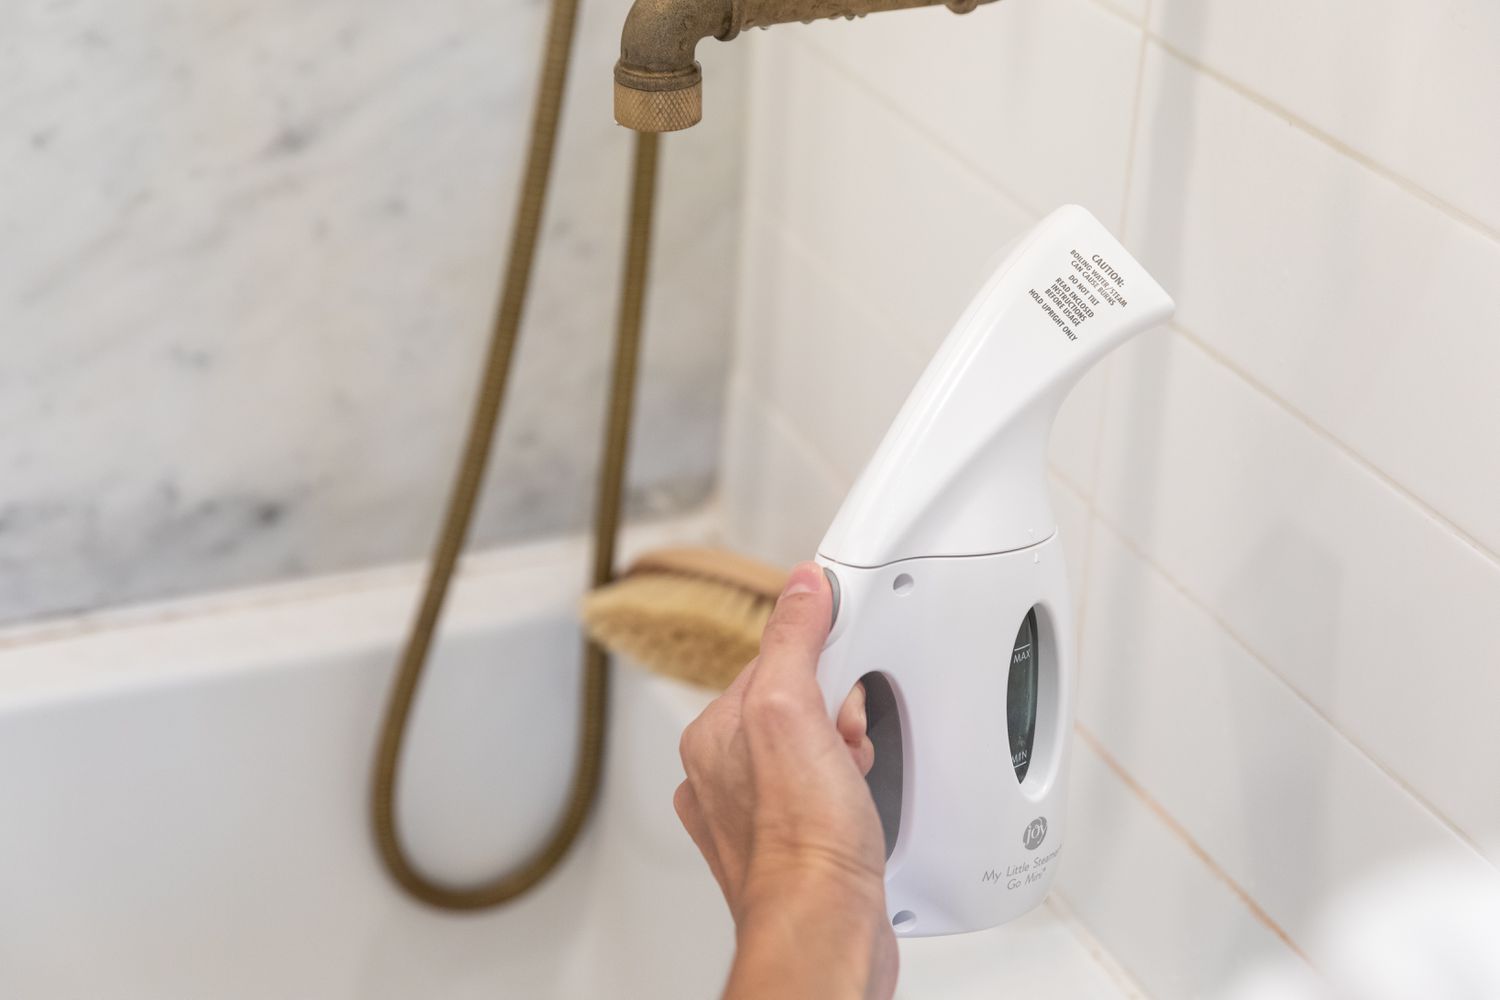
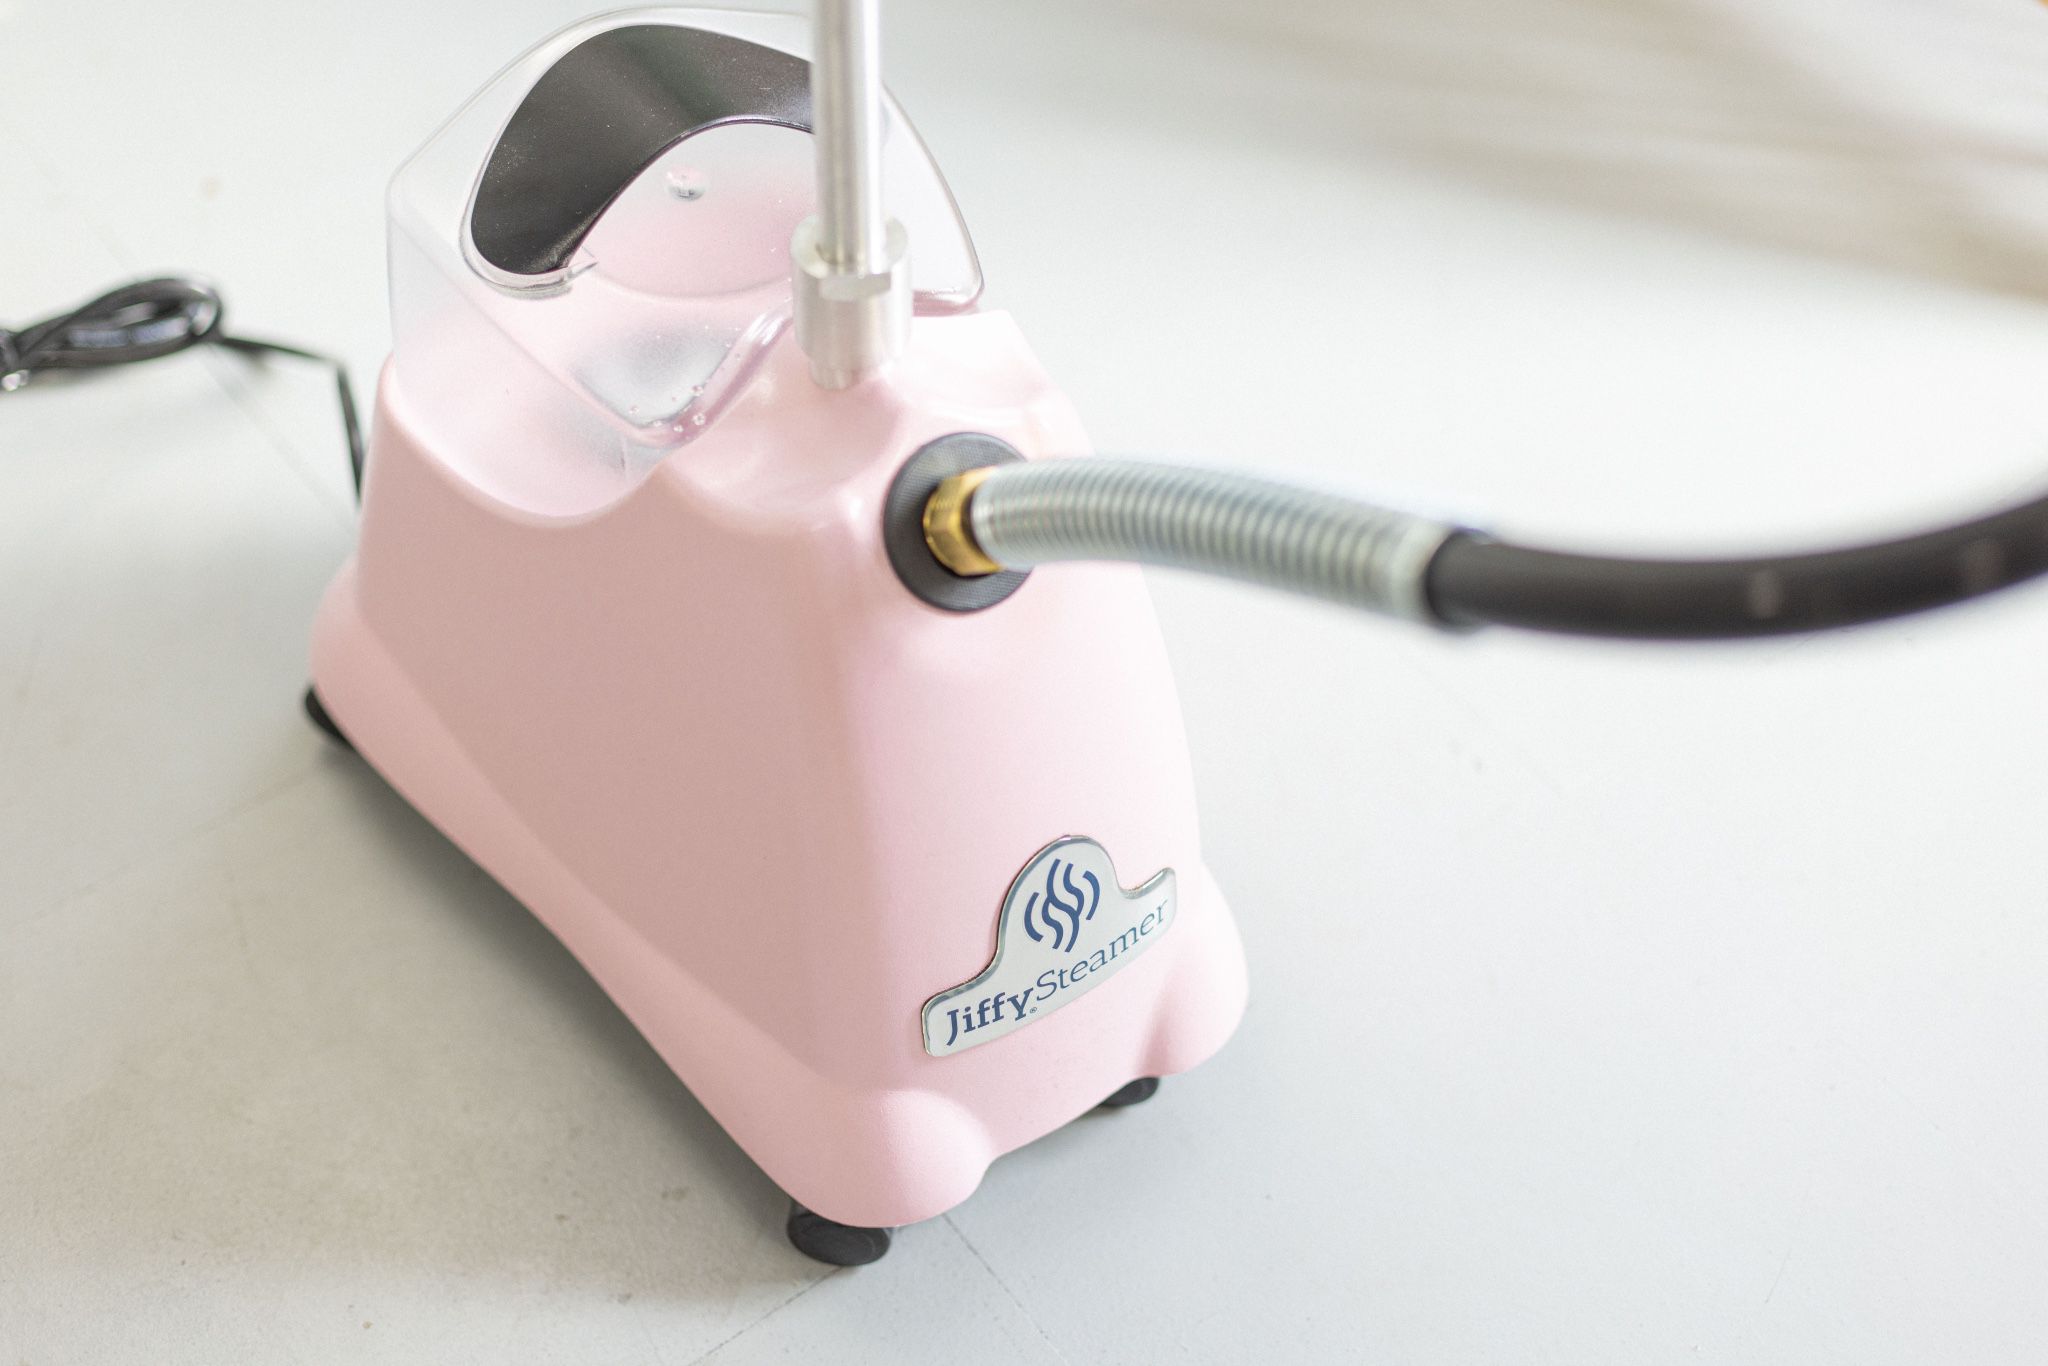
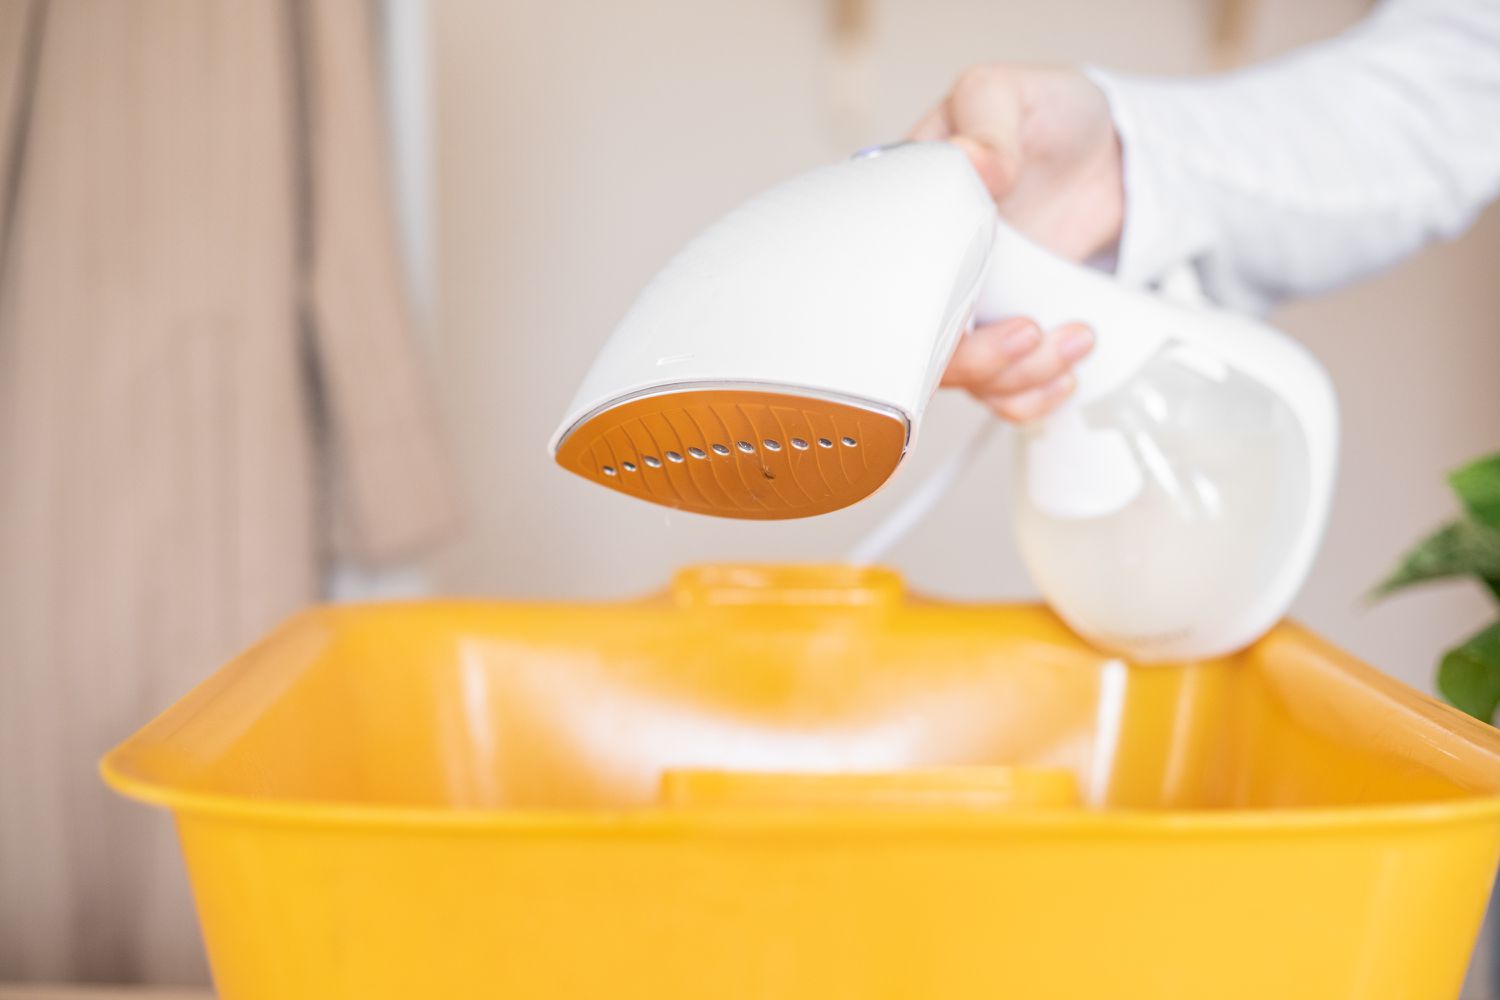
Welcome to this comprehensive guide on how to clean the Joy My Little Steamer. If you are a proud owner of this versatile steamer, keeping it clean and well-maintained is essential to ensure optimal performance and longevity. In this article, we will take you through a step-by-step process to help you clean your Joy My Little Steamer effectively.
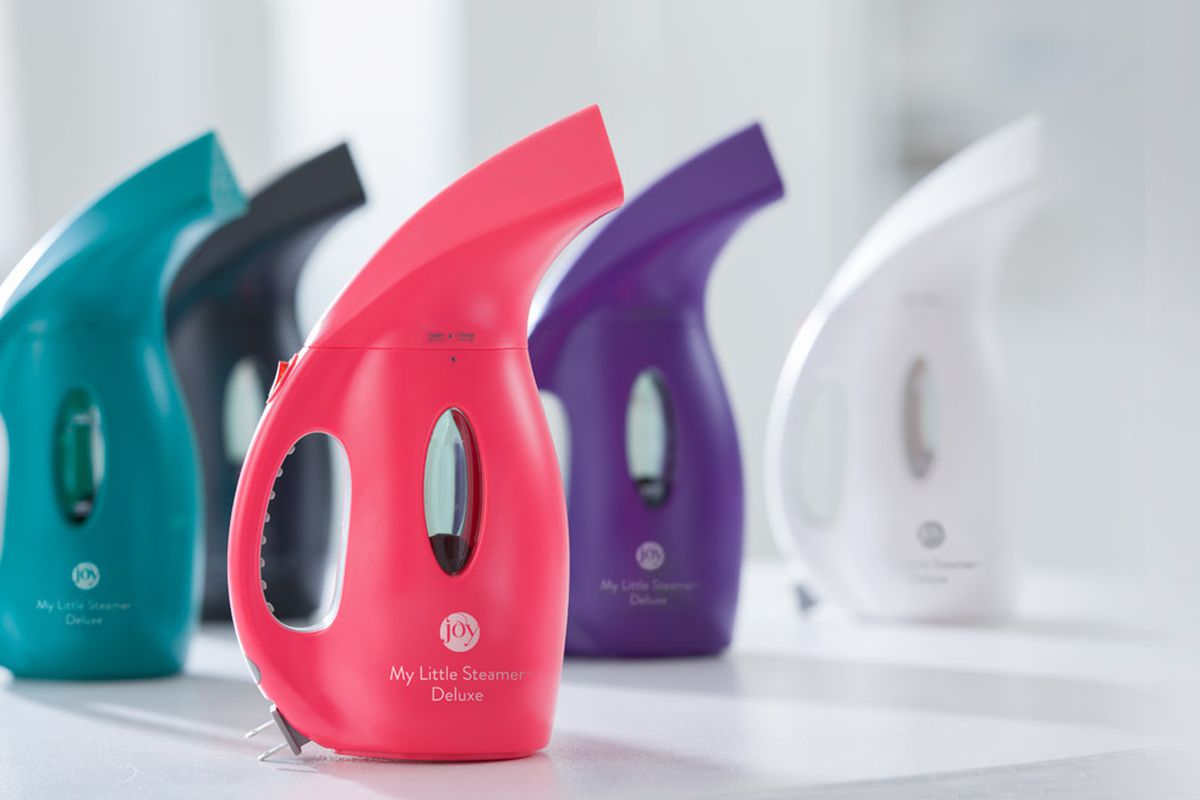
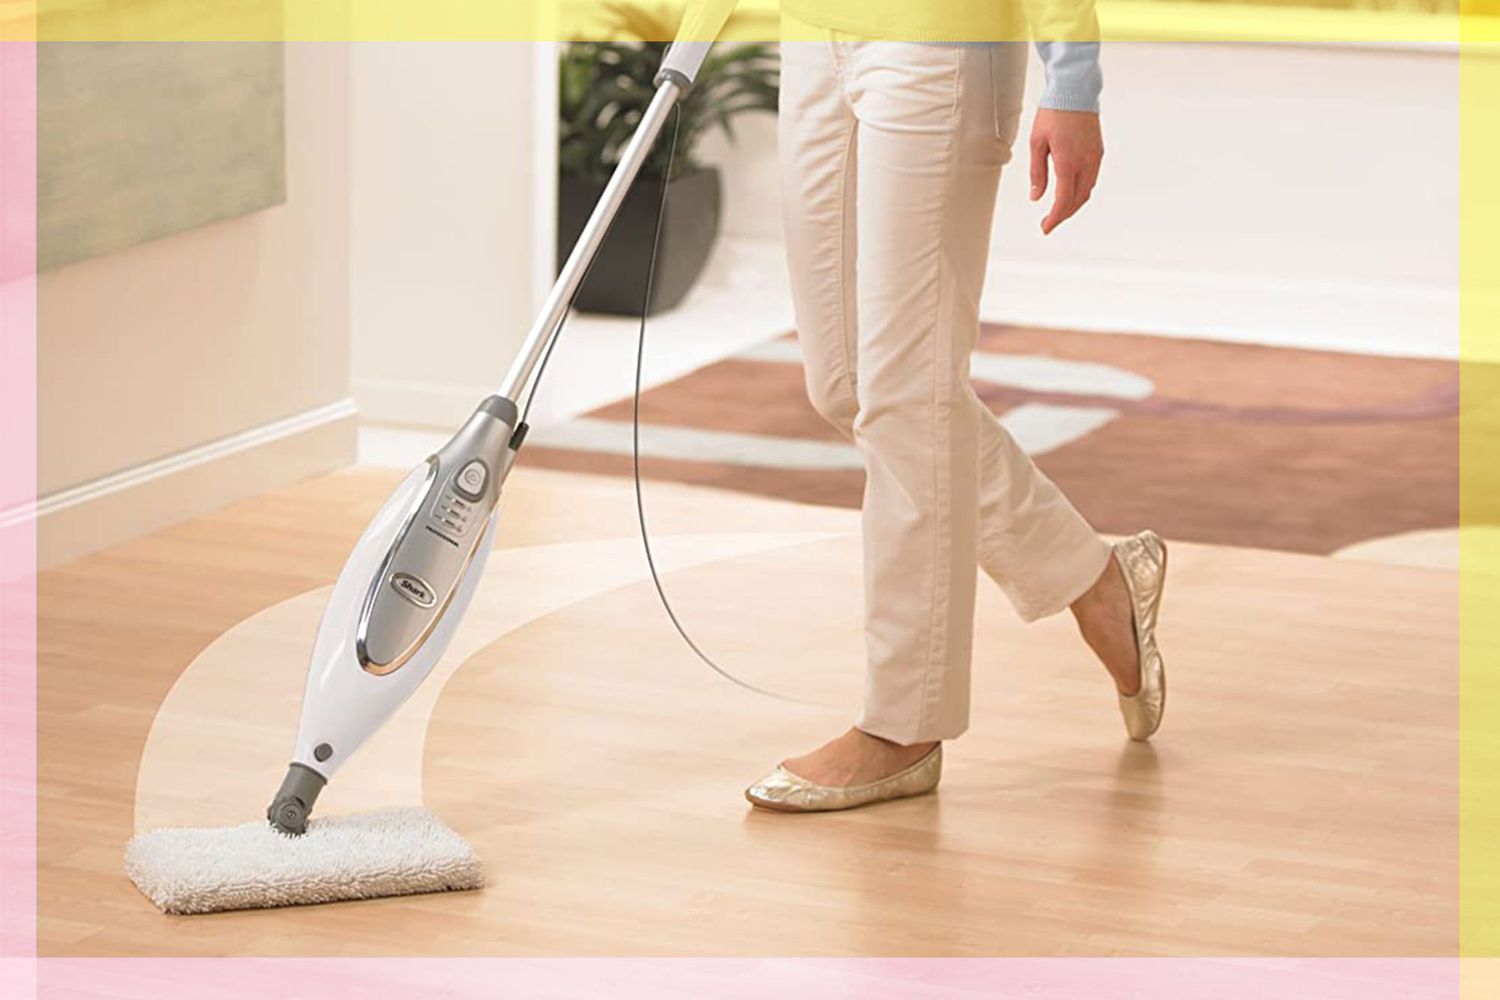
The Joy My Little Steamer is a popular choice for many households due to its compact size and powerful steam capabilities. It is perfect for tackling wrinkles on clothing, refreshing upholstery, and sanitizing various surfaces. To keep your steamer working efficiently and extend its lifespan, regular cleaning is vital. By following the steps outlined in this guide, you can maintain the cleanliness of your Joy My Little Steamer and enjoy its benefits for years to come.
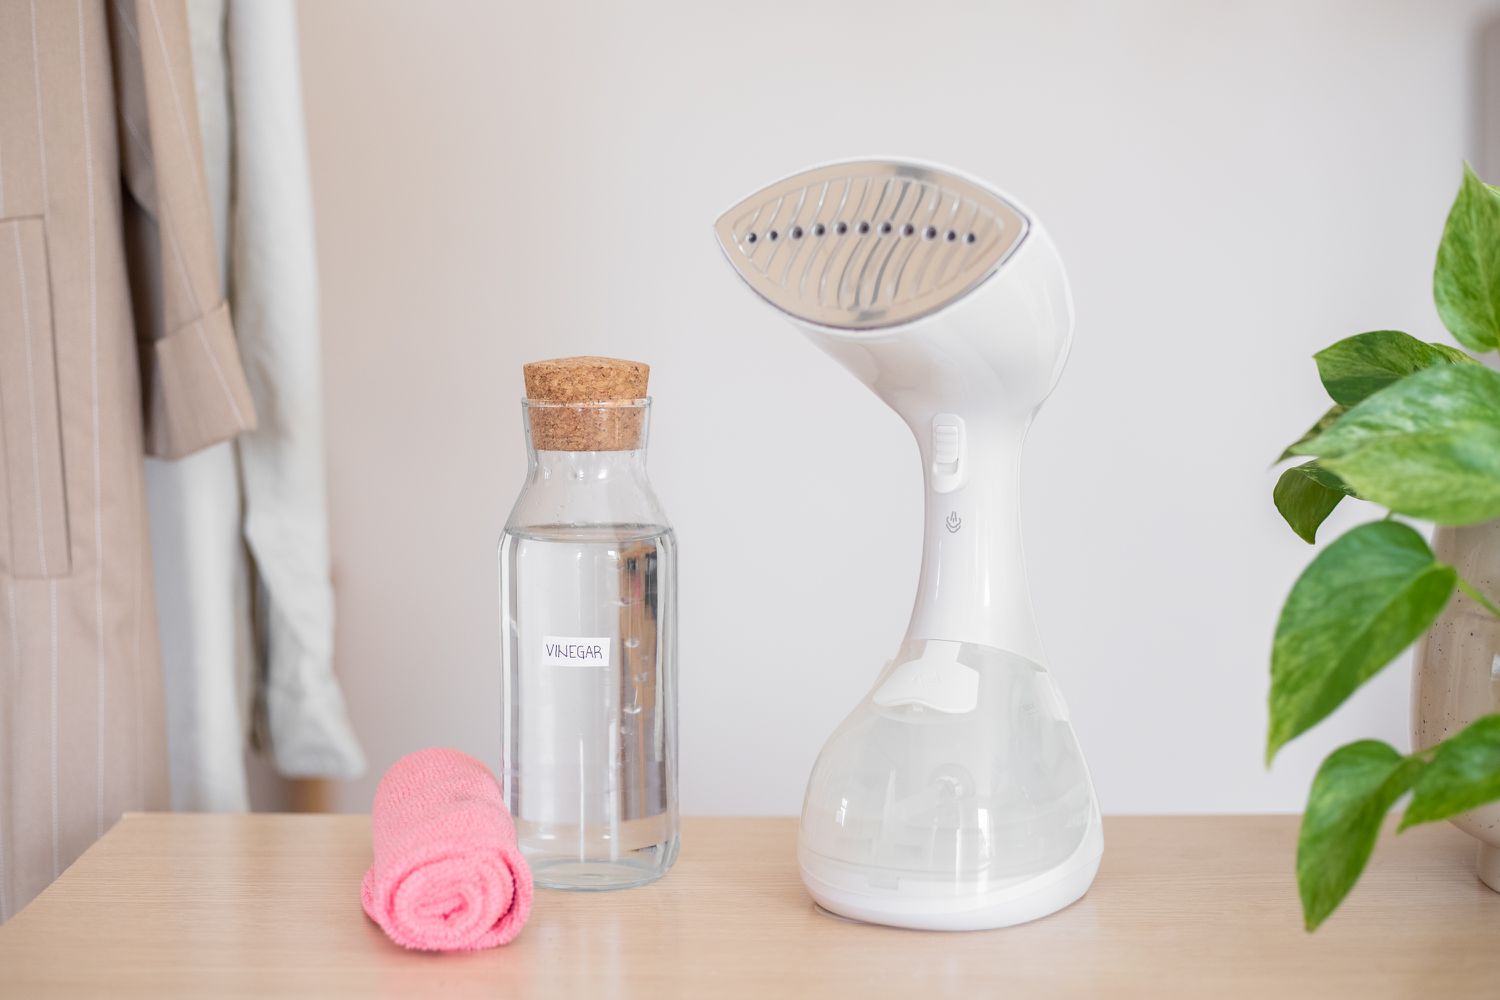
Before we dive into the cleaning process, let’s gather the supplies you will need:
Key Takeaways:
- Regular cleaning and maintenance of your Joy My Little Steamer is crucial for optimal performance and longevity. Gather the necessary supplies and follow the step-by-step guide to ensure a well-maintained and efficient steamer.
- Properly drying and storing your steamer after cleaning is essential to prevent mold or mildew growth and prolong its lifespan. Follow the recommended steps to ensure your Joy My Little Steamer stays clean, functional, and ready for use.
Read also: 12 Best My Little Steamer Go Mini for 2025
Supplies Needed
- Distilled water
- Vinegar
- Mild dish soap
- Clean cloth or sponge
- Cotton swabs
Make sure you have these supplies on hand before you begin cleaning your Joy My Little Steamer.
Key Takeaways:
- Regular cleaning and maintenance of your Joy My Little Steamer is crucial for optimal performance and longevity. Gather the necessary supplies and follow the step-by-step guide to ensure a well-maintained and efficient steamer.
- Properly drying and storing your steamer after cleaning is essential to prevent mold or mildew growth and prolong its lifespan. Follow the recommended steps to ensure your Joy My Little Steamer stays clean, functional, and ready for use.
Read also: 12 Best My Little Steamer Go Mini for 2025
Supplies Needed
In order to clean your Joy My Little Steamer effectively, you will need the following supplies:
- Distilled water: Using distilled water is highly recommended as it helps prevent mineral buildup in the steamer. Tap water may contain impurities that can clog the steamer and affect its performance.
- Vinegar: Vinegar is a natural cleaning agent that can help remove stubborn stains and mineral deposits from the steamer.
- Mild dish soap: A mild dish soap can be used to clean the exterior parts of the steamer.
- Clean cloth or sponge: These will be used to wipe down the steamer and remove any dirt or residue.
- Cotton swabs: Cotton swabs are useful for reaching tight spots and cleaning smaller, intricate parts of the steamer.
Having these supplies readily available will make the cleaning process easier and more efficient. Now that you have gathered your cleaning materials, let’s move on to the step-by-step cleaning instructions for your Joy My Little Steamer.
Step 1: Preparing the Steamer
Before you begin the cleaning process, it is important to prepare your Joy My Little Steamer properly. Follow these steps to ensure a safe and effective cleaning session:
- Unplug the steamer: Safety should always be a top priority. Start by unplugging the steamer from the power source to prevent any electrical mishaps during the cleaning process.
- Allow the steamer to cool down: Steamers can get hot during use. Give your Joy My Little Steamer some time to cool down completely before you start cleaning. This will prevent any burns or accidents while handling the device.
- Empty the water tank: If there is any remaining water in the water tank, carefully pour it out. Make sure the steamer is completely free of water before proceeding.
Once you have prepared your Joy My Little Steamer, you can move on to the next step of the cleaning process. In step 2, we will focus on cleaning the water tank to ensure optimal steam production and performance.
Step 2: Cleaning the Water Tank
The water tank of your Joy My Little Steamer is an essential component that needs regular cleaning to maintain its efficiency and prevent any buildup of mineral deposits. Follow these steps to clean the water tank effectively:
- Fill the tank with vinegar and water mixture: Start by preparing a solution of equal parts vinegar and water. Pour this mixture into the water tank of your steamer. The acidic properties of vinegar will help dissolve any mineral deposits and disinfect the tank.
- Let it sit: Allow the vinegar and water mixture to sit in the water tank for about 30 minutes. This will give it enough time to break down any residue or scale that has accumulated.
- Empty the tank: After the solution has soaked for the appropriate amount of time, carefully pour it out of the water tank. Dispose of the solution properly.
- Rinse with clean water: Rinse the water tank thoroughly with clean water to remove any remaining vinegar residue. This will ensure that there is no vinegar odor or taste left behind.
- Dry the tank: To prevent any mold or mildew growth, make sure the water tank is completely dry before reattaching it to the steamer. You can use a clean cloth or allow it to air dry.
Once you have successfully cleaned the water tank, you can move on to the next step, which is cleaning the steam nozzle.
Read also: 9 Best Joy Steamer for 2025
Step 3: Cleaning the Steam Nozzle
The steam nozzle is an important part of your Joy My Little Steamer, as it is responsible for delivering the powerful steam that helps remove wrinkles and refresh fabrics. Over time, the steam nozzle can accumulate mineral deposits or become clogged, affecting the steamer’s performance. Follow these steps to clean the steam nozzle effectively:
- Detach the steam nozzle: Depending on your steamer model, the steam nozzle may be detachable or fixed. If it is detachable, carefully remove it from the steamer.
- Inspect the nozzle: Take a close look at the steam nozzle and check for any visible mineral deposits or blockages. Use a cotton swab to gently clean the nozzle and remove any debris.
- Soak in vinegar: If the nozzle has stubborn mineral deposits, you can soak it in vinegar for about 15-20 minutes. Fill a bowl with vinegar and place the nozzle in it. The acidic properties of vinegar will help break down the deposits.
- Rinse with clean water: After soaking, rinse the steam nozzle thoroughly with clean water to remove any remaining vinegar or loosened deposits. This will prevent any vinegar residue from affecting the steam quality.
- Dry the nozzle: Ensure that the steam nozzle is completely dry before reattaching it to the steamer. You can use a clean cloth or allow it to air dry.
Once you have cleaned the steam nozzle, you can proceed to the next step, which involves cleaning the steam head of your Joy My Little Steamer.
To clean your Joy My Little Steamer, mix equal parts of water and white vinegar in the steamer’s water tank. Turn on the steamer and let it run until the tank is empty. This will help remove any mineral deposits and keep your steamer clean and functioning properly.
Step 4: Cleaning the Steam Head
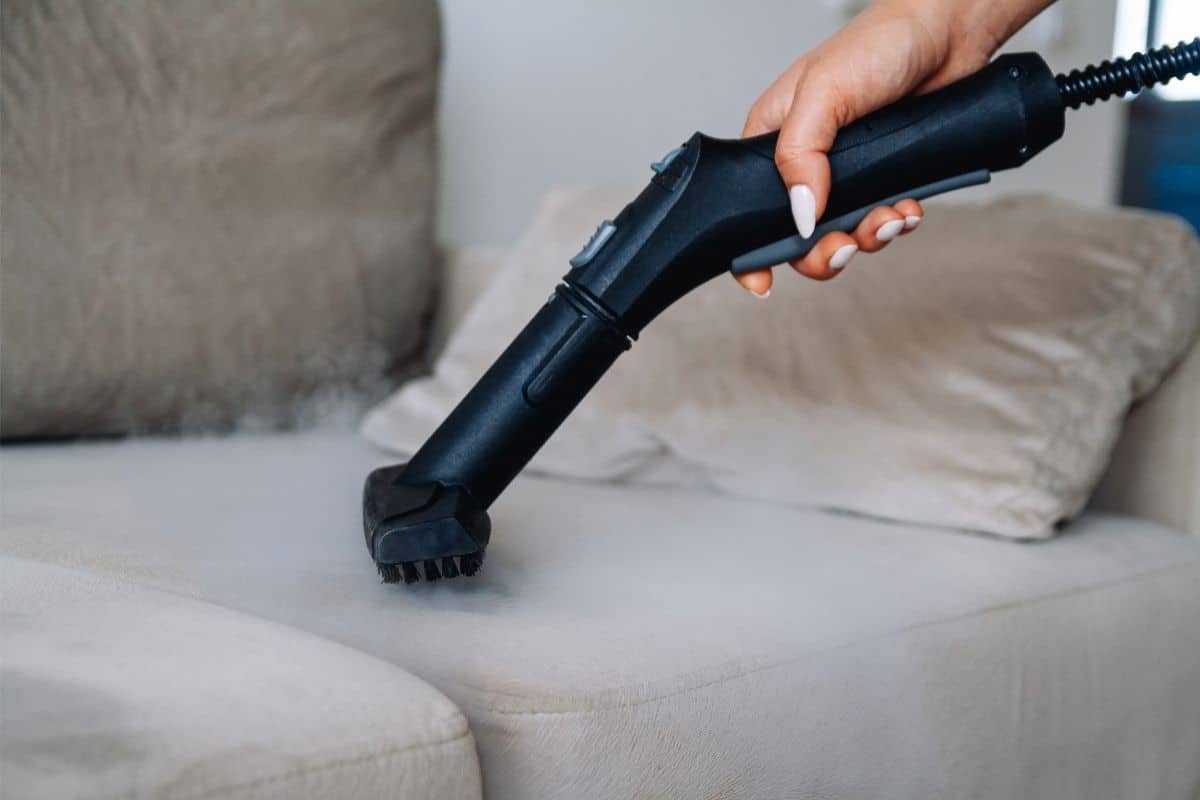
The steam head of your Joy My Little Steamer is responsible for distributing the steam onto the fabrics and other surfaces you wish to clean or refresh. Over time, the steam head can accumulate dirt, lint, or product residue, which may affect its performance. Follow these steps to clean the steam head effectively:
- Remove any attachment: If there is any attachment or accessory connected to the steam head, detach it before cleaning. This will allow you to clean the steam head more thoroughly.
- Inspect the steam head: Take a closer look at the steam head and check for any visible dirt, debris, or residue. Use a damp cloth or sponge to wipe away any surface dirt or grime.
- Clean crevices and corners: Pay attention to the crevices and corners of the steam head, as these areas can accumulate more residue. Use a cotton swab or a small brush to gently clean these hard-to-reach areas.
- Wipe down with vinegar: To remove any stubborn residue or product buildup, dampen a cloth or sponge with vinegar. Gently wipe the steam head, ensuring to cover all surfaces.
- Rinse with clean water: After wiping with vinegar, rinse the steam head thoroughly with clean water to remove any remaining vinegar residue. This step is important to ensure that there is no vinegar odor or taste left on the steam head.
- Dry the steam head: Before reattaching any attachments or accessories, make sure that the steam head is completely dry. You can use a clean cloth or allow it to air dry.
Once you have completed cleaning the steam head, you can move on to the next step, which involves cleaning the attachment brushes, if applicable.
Step 5: Cleaning the Attachment Brushes
If your Joy My Little Steamer comes with attachment brushes, it’s important to clean them regularly to maintain their effectiveness and ensure optimal performance. Follow these steps to clean the attachment brushes:
- Remove the brushes: If your steamer has detachable attachment brushes, carefully remove them from the steam head.
- Inspect the brushes: Take a close look at the attachment brushes and check for any visible dirt, lint, or debris. Use your fingers or a cloth to remove any loose particles.
- Soak in warm, soapy water: Prepare a bowl of warm water and add a few drops of mild dish soap. Place the attachment brushes in the soapy water and let them soak for a few minutes. This will help loosen any dirt or residue.
- Scrub the brushes: After soaking, take a clean toothbrush or a small brush and gently scrub the attachment brushes to remove any remaining dirt or residue. Pay attention to the bristles and ensure they are clean and free from any debris.
- Rinse with clean water: Rinse the attachment brushes thoroughly with clean water to remove any soapy residue. This will ensure that there is no lingering soap on the brushes.
- Dry the brushes: Before reattaching the brushes to the steam head, make sure they are completely dry. You can place them on a towel or let them air dry.
Once the attachment brushes are clean and dry, you can proceed to the next step, which involves cleaning the power cord and body of your Joy My Little Steamer.
Step 6: Cleaning the Power Cord and Body
The power cord and body of your Joy My Little Steamer may accumulate dust, dirt, or product residue over time. Cleaning these areas will not only enhance the appearance of your steamer but also ensure its longevity. Follow these steps to clean the power cord and body effectively:
- Unplug the steamer: Before cleaning the power cord and body, ensure that your steamer is unplugged from the power source.
- Wipe down the power cord: Use a clean, damp cloth to gently wipe the entire length of the power cord. Pay attention to any visible dirt or residue. Be careful not to saturate the cord as excess moisture can damage the electrical components.
- Clean the body of the steamer: Use a damp cloth or sponge to wipe down the exterior surface of your Joy My Little Steamer. Remove any dirt, dust, or residue that may have accumulated. For stubborn stains or residues, you can use a mild dish soap solution. Ensure that the cloth or sponge is not dripping wet.
- Dry the power cord and body: After cleaning, use a dry cloth or allow the power cord and body to air dry completely. It is important to ensure that no moisture remains before plugging in the steamer again.
Once the power cord and body are clean and dry, you can proceed to the final step of the cleaning process, which involves drying and storing the steamer properly.
Read also: 9 Amazing Joy Mangano Steamer for 2025
Step 7: Drying and Storing the Steamer
Properly drying and storing your Joy My Little Steamer is essential to maintain its functionality and prolong its lifespan. Follow these steps to ensure your steamer is dried and stored correctly:
- Let the steamer air dry: After cleaning all the components, allow your Joy My Little Steamer to air dry completely. This will help prevent any mold or mildew growth.
- Inspect for any remaining moisture: Check all the parts, including the water tank, steam nozzle, steam head, attachment brushes, power cord, and body, for any signs of moisture. Use a dry cloth or tissue to absorb any remaining moisture if necessary.
- Store in a cool, dry place: Find a suitable storage location for your steamer. It should be a cool and dry place, away from direct sunlight or extreme temperatures. Make sure the steamer is stored in an upright position to prevent any water leakage.
- Protect the cord: To keep the power cord in good condition, you can use a cord organizer or wrap it loosely around the steamer. This will prevent tangles or damage to the cord.
- Store attachments separately: If your steamer comes with attachment brushes or accessories, it is best to store them separately to avoid any damage or misplacement.
- Regular maintenance: Schedule regular maintenance sessions to keep your Joy My Little Steamer in optimal condition. This includes cleaning the steamer after each use and performing deep cleaning at least once a month.
By following these steps for drying and storing your Joy My Little Steamer, you will ensure that it stays clean, functional, and ready to use whenever you need it.
Now that you have completed the cleaning process and learned how to properly store your steamer, you can enjoy the benefits of a well-maintained Joy My Little Steamer for a long time to come.
Conclusion
Cleaning your Joy My Little Steamer is a crucial task that should be performed regularly to keep it in optimal condition. By following the step-by-step guide outlined in this article, you can effectively clean each component of your steamer and ensure its longevity and performance.
Remember to gather the necessary supplies, including distilled water, vinegar, mild dish soap, clean cloth or sponge, and cotton swabs, before starting the cleaning process. Preparing your steamer by unplugging it and allowing it to cool down is essential for safety.
Throughout the cleaning process, pay close attention to each component of the steamer. Clean the water tank, steam nozzle, steam head, attachment brushes, power cord, and body thoroughly to remove any dirt, mineral deposits, or product residue that may affect the steamer’s performance.
After cleaning, it is important to let all the components air dry completely before storing the steamer in a cool, dry place. Taking care of the power cord, storing attachments separately, and performing regular maintenance will further enhance the longevity of your Joy My Little Steamer.
By following these guidelines, you can keep your Joy My Little Steamer in optimal condition for years to come. Regular cleaning not only ensures that your steamer performs at its best but also improves its efficiency and extends its lifespan.
So, go ahead and give your Joy My Little Steamer the TLC it deserves. Enjoy the benefits of wrinkle-free clothes, refreshed upholstery, and sanitized surfaces, knowing that your steamer is clean and well-maintained!
Keeping your Joy My Little Steamer clean ensures optimal performance, but there's more to learn about steam-based cleaning solutions. Curious about the broader capabilities of steam cleaning devices? Our article on what steam cleaners achieve covers various uses and benefits. For those who prioritize smooth, fresh-looking garments, our review of top fabric steamers highlights leading models for the upcoming year. Home maintenance enthusiasts will find our guide on innovative dryer vent cleaning tools invaluable for keeping your appliance in peak condition. Dive into these reads to expand your home care toolkit!
Frequently Asked Questions about How To Clean Joy My Little Steamer
Was this page helpful?
At Storables.com, we guarantee accurate and reliable information. Our content, validated by Expert Board Contributors, is crafted following stringent Editorial Policies. We're committed to providing you with well-researched, expert-backed insights for all your informational needs.
0 thoughts on “How To Clean Joy My Little Steamer”